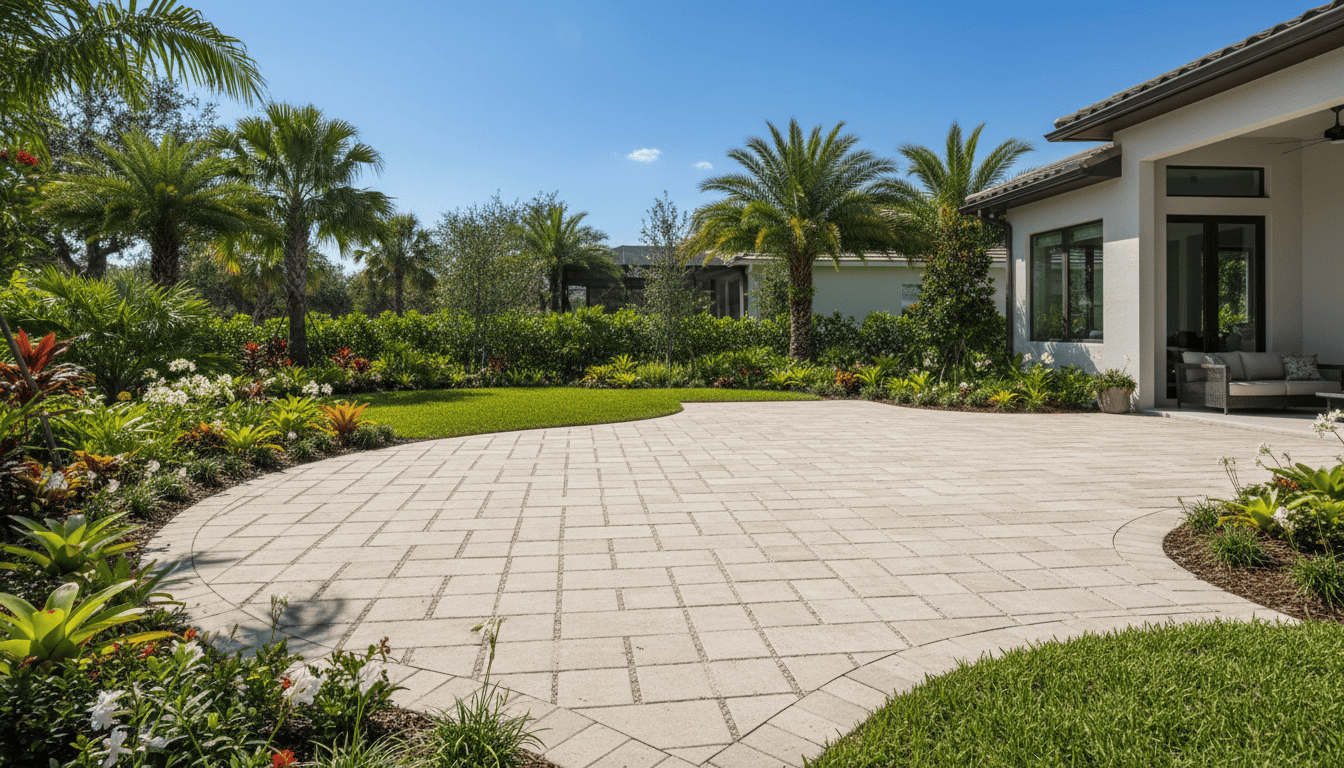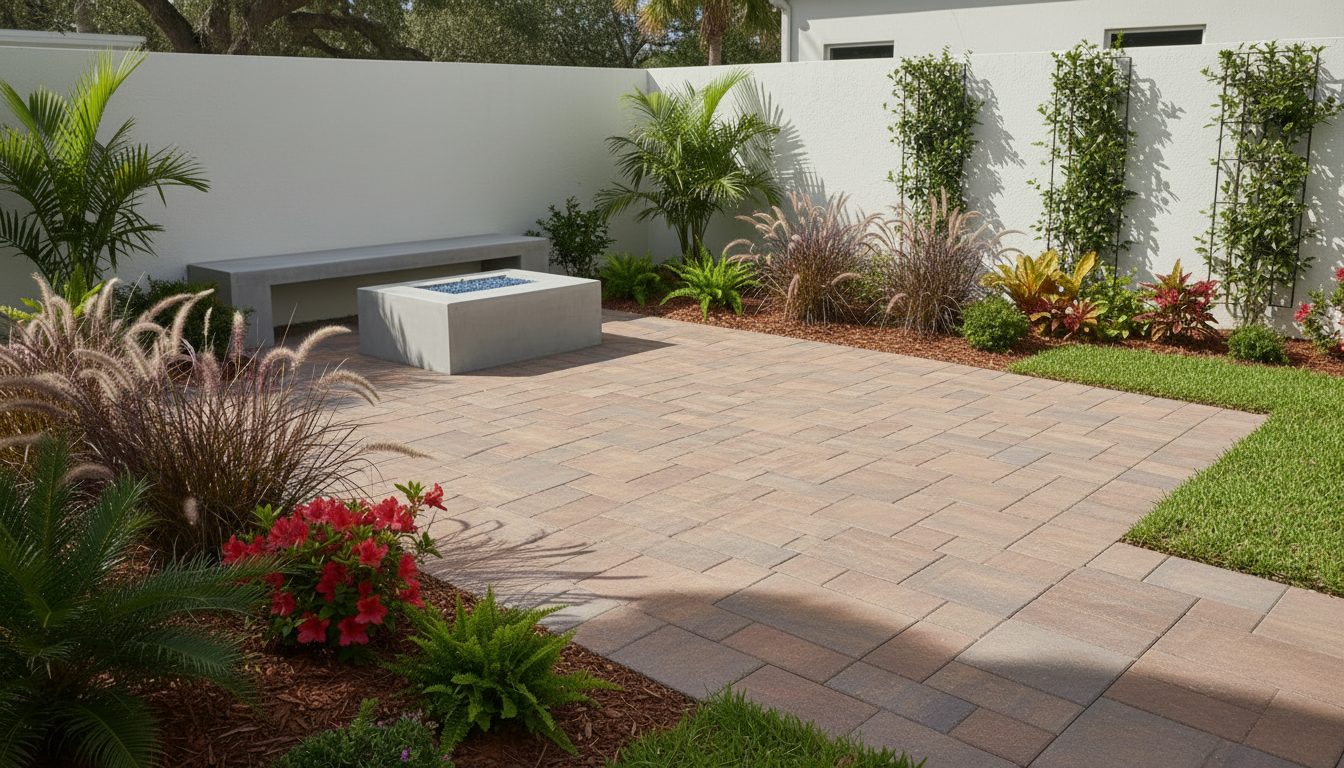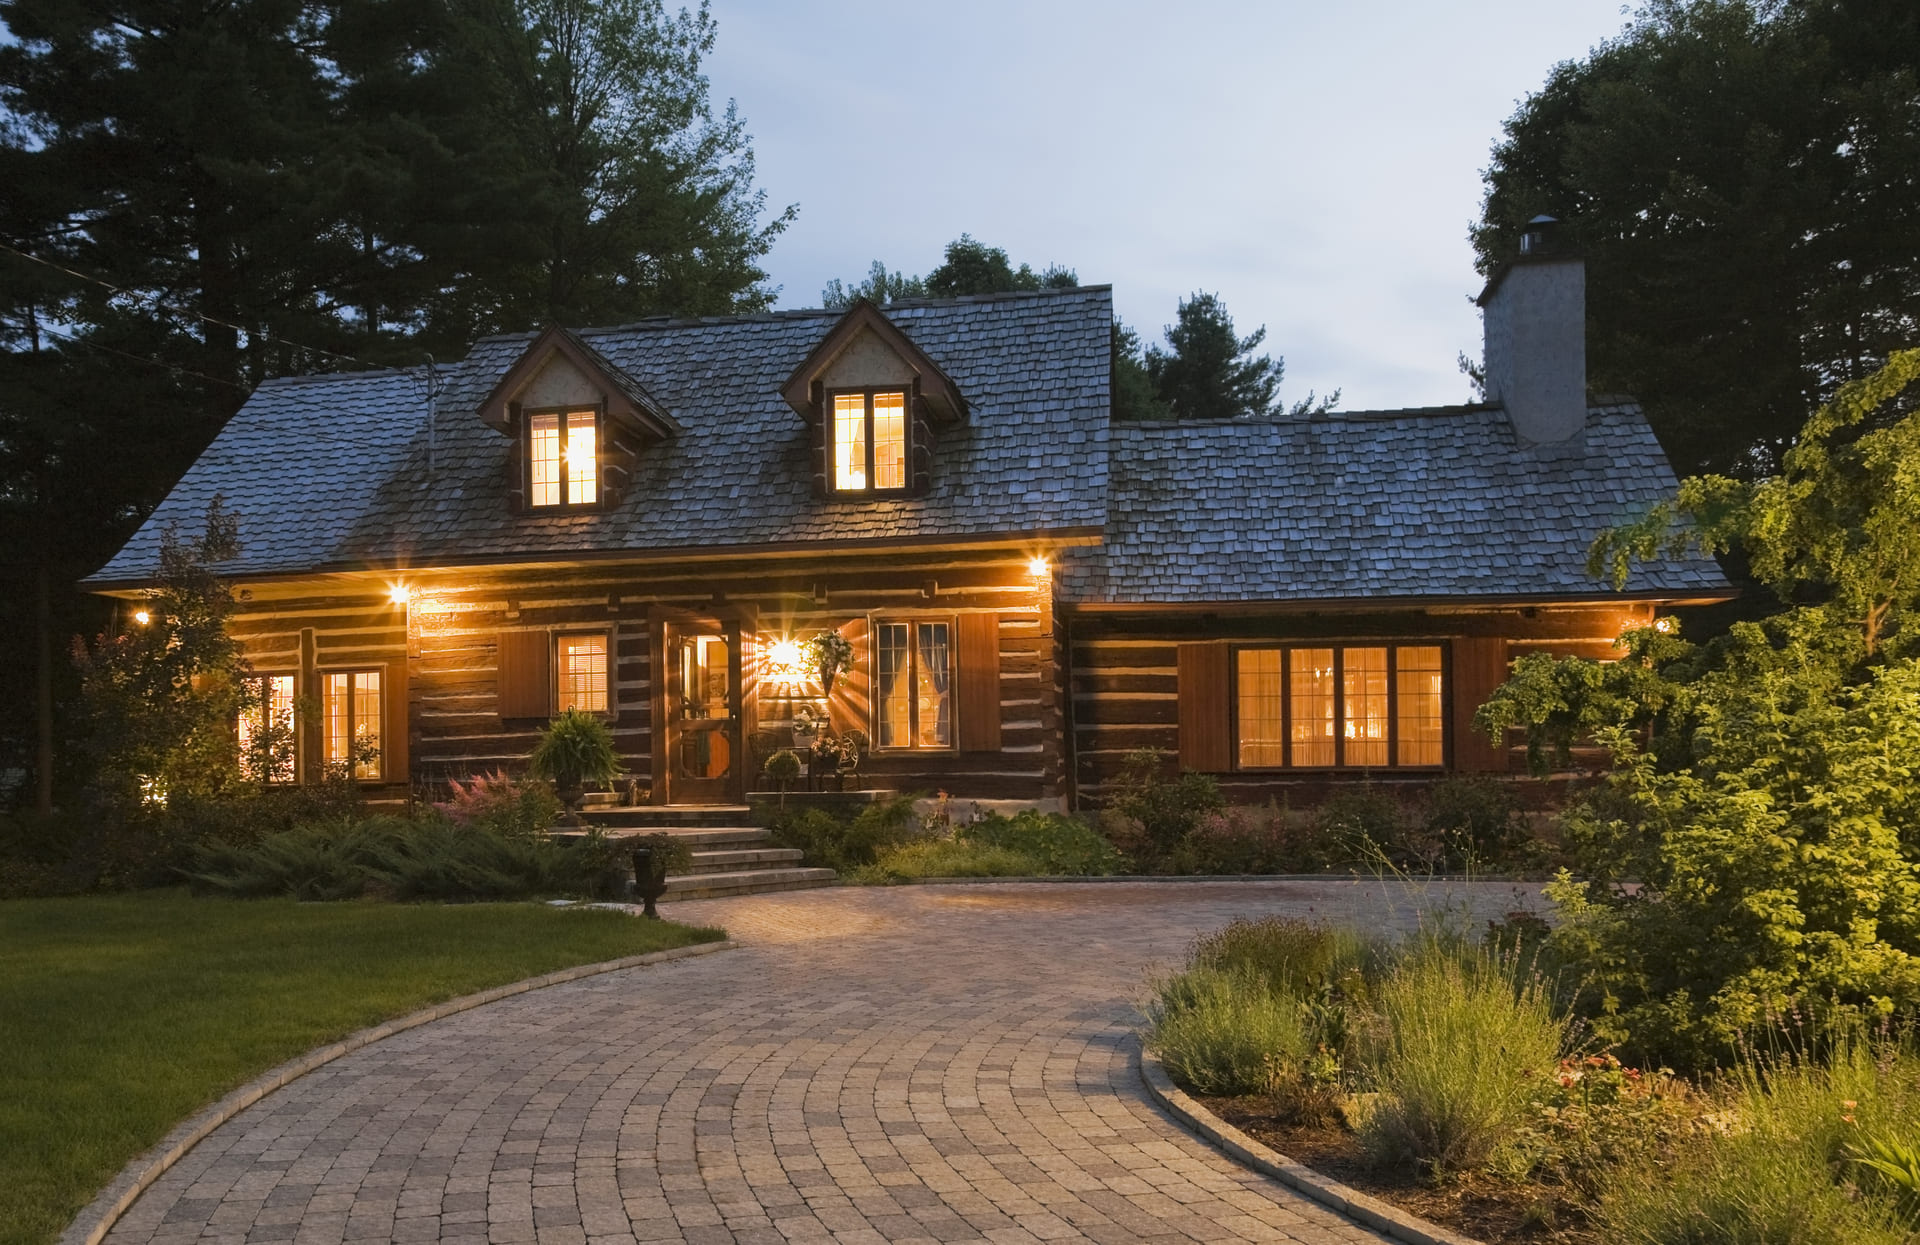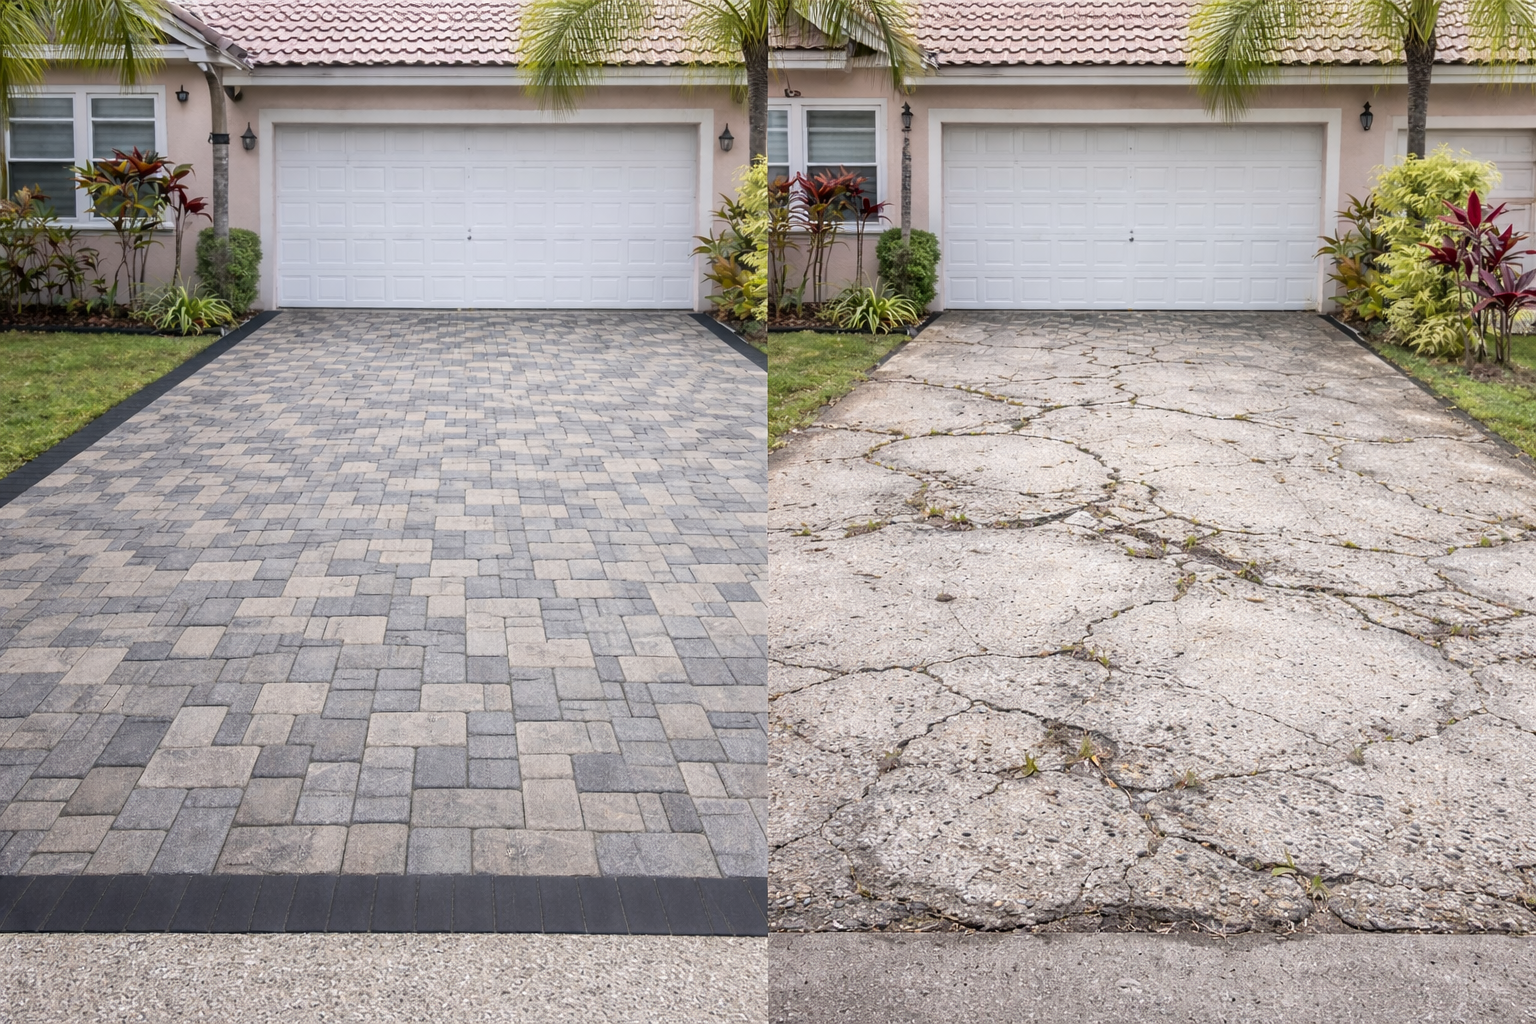
Pavers are one of the most durable and attractive outdoor solutions available for Florida homes — but only when installed and maintained correctly. Many issues homeowners face with pavers are not caused by the material itself, but by poor installation or lack of proper maintenance.
Florida’s sandy soil, heavy rainfall, heat, and humidity make professional installation essential. When done right, pavers can last decades with minimal upkeep. When done wrong, they can shift, sink, or lose their visual appeal far too soon.
This guide explains how professional paver installation works in Florida, why each step matters, and how proper maintenance protects your investment long-term.
Why Proper Paver Installation Matters in Florida
Florida presents unique challenges for outdoor hardscapes:
- Sandy and shifting soil
- Heavy, sudden rainstorms
- High temperatures and UV exposure
- Frequent foot and vehicle traffic
Without the correct installation process, even high-quality pavers can fail prematurely. Proper installation ensures stability, drainage, safety, and durability.
Step 1: Site Evaluation and Planning
Every successful paver project begins with careful planning.
What professionals evaluate first
- Soil condition and compaction needs
- Natural slope and drainage direction
- Load requirements (walkway vs driveway)
- Connection points to existing structures
- Intended use of the space
This step determines how deep the base must be and how drainage will be managed.
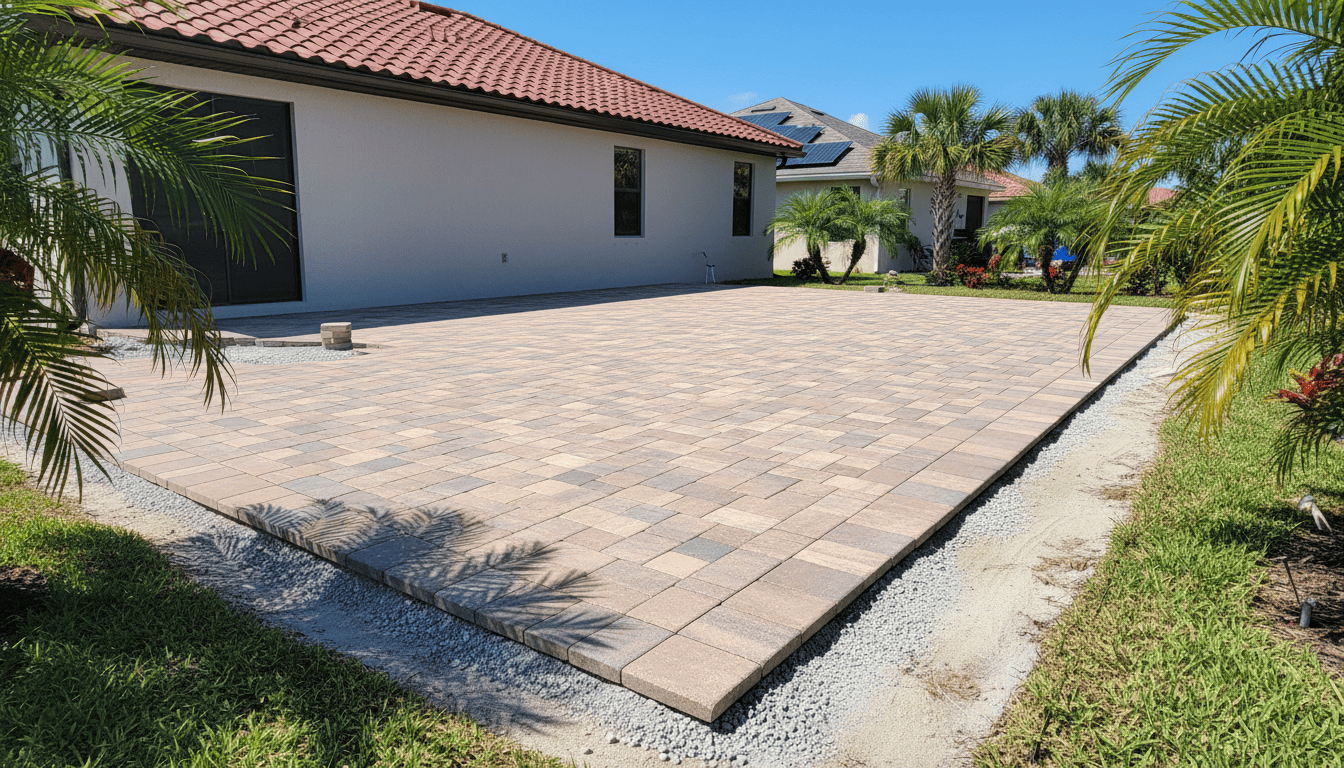
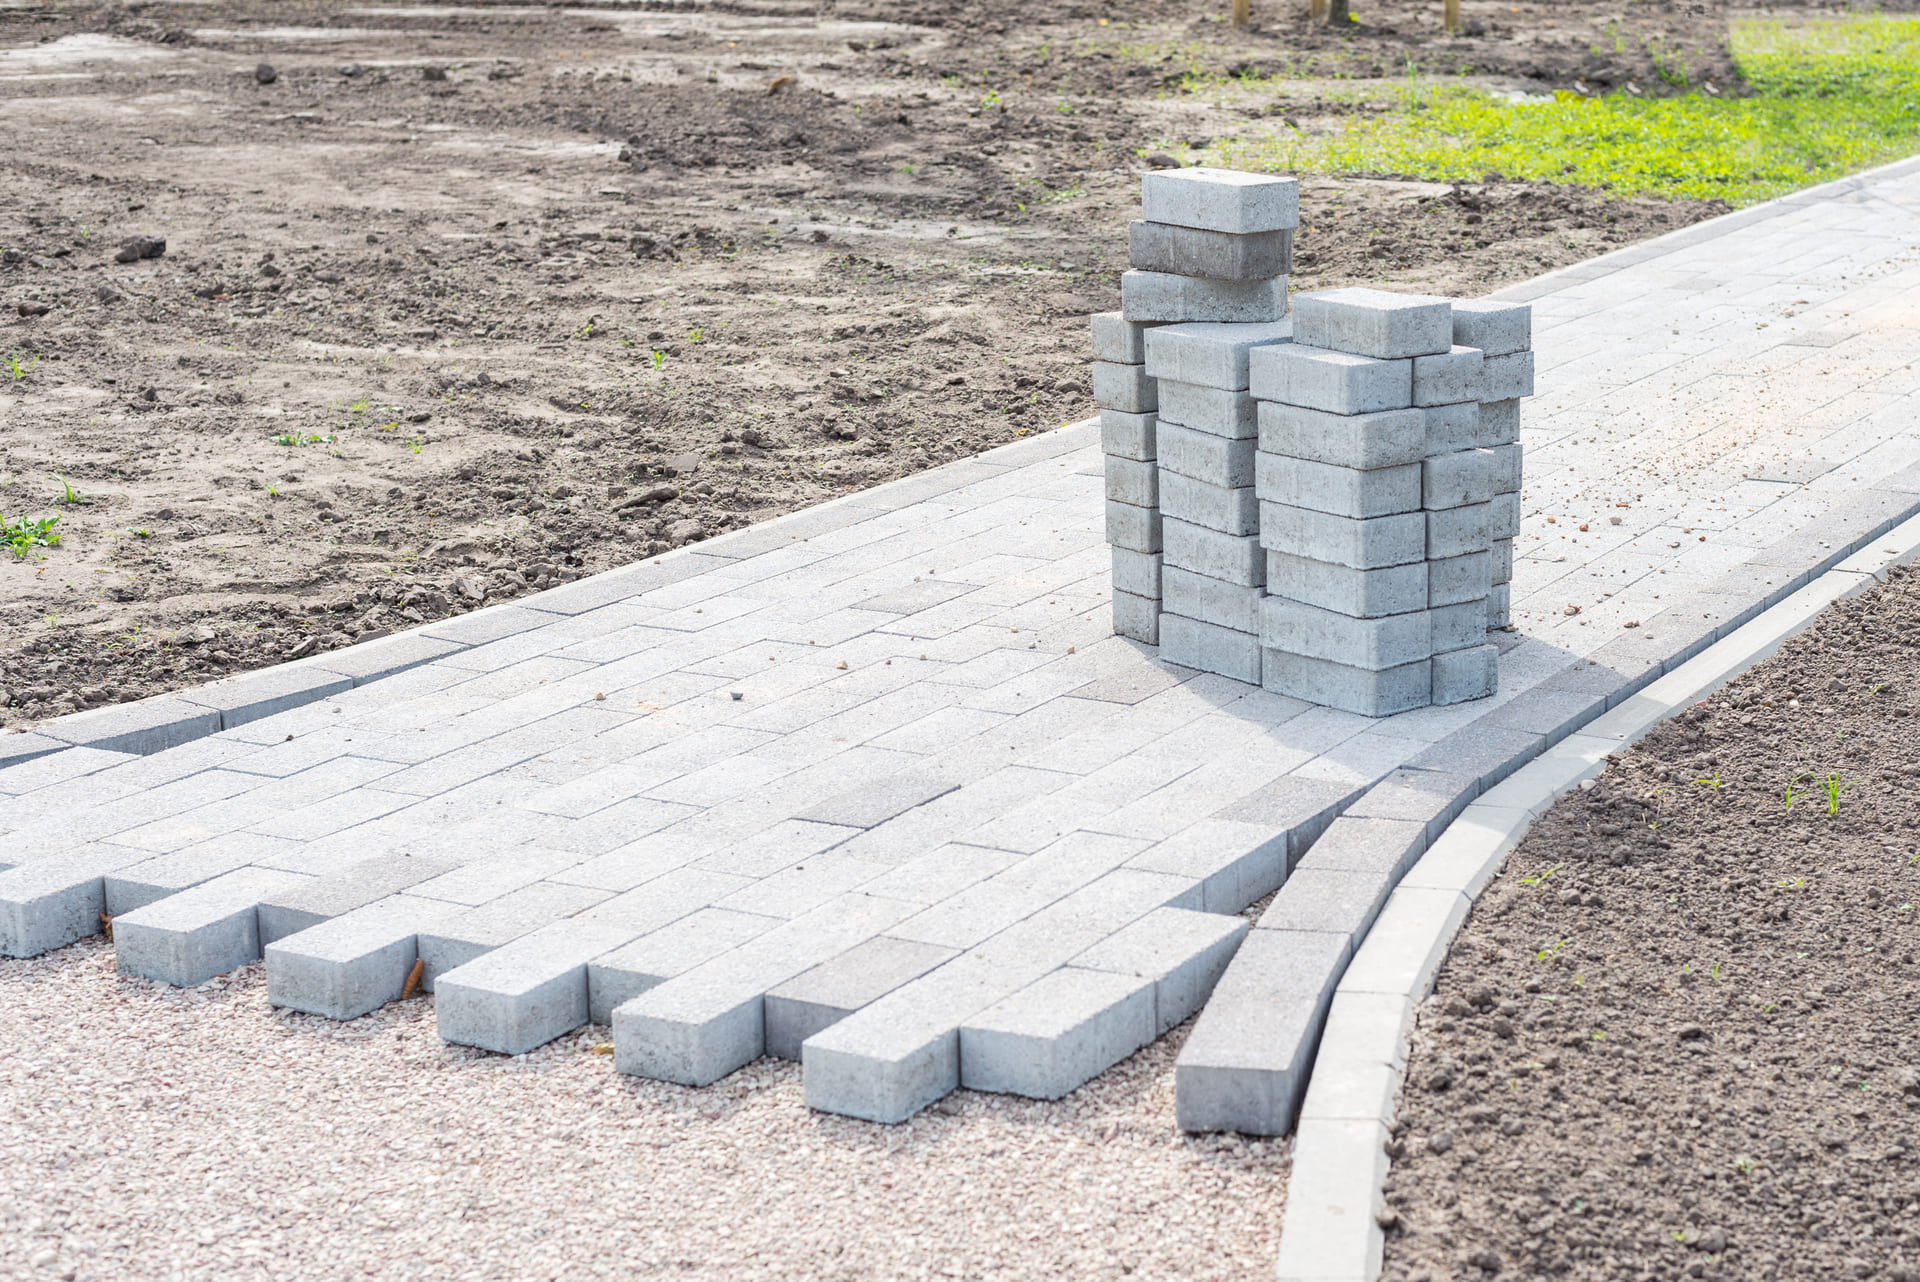
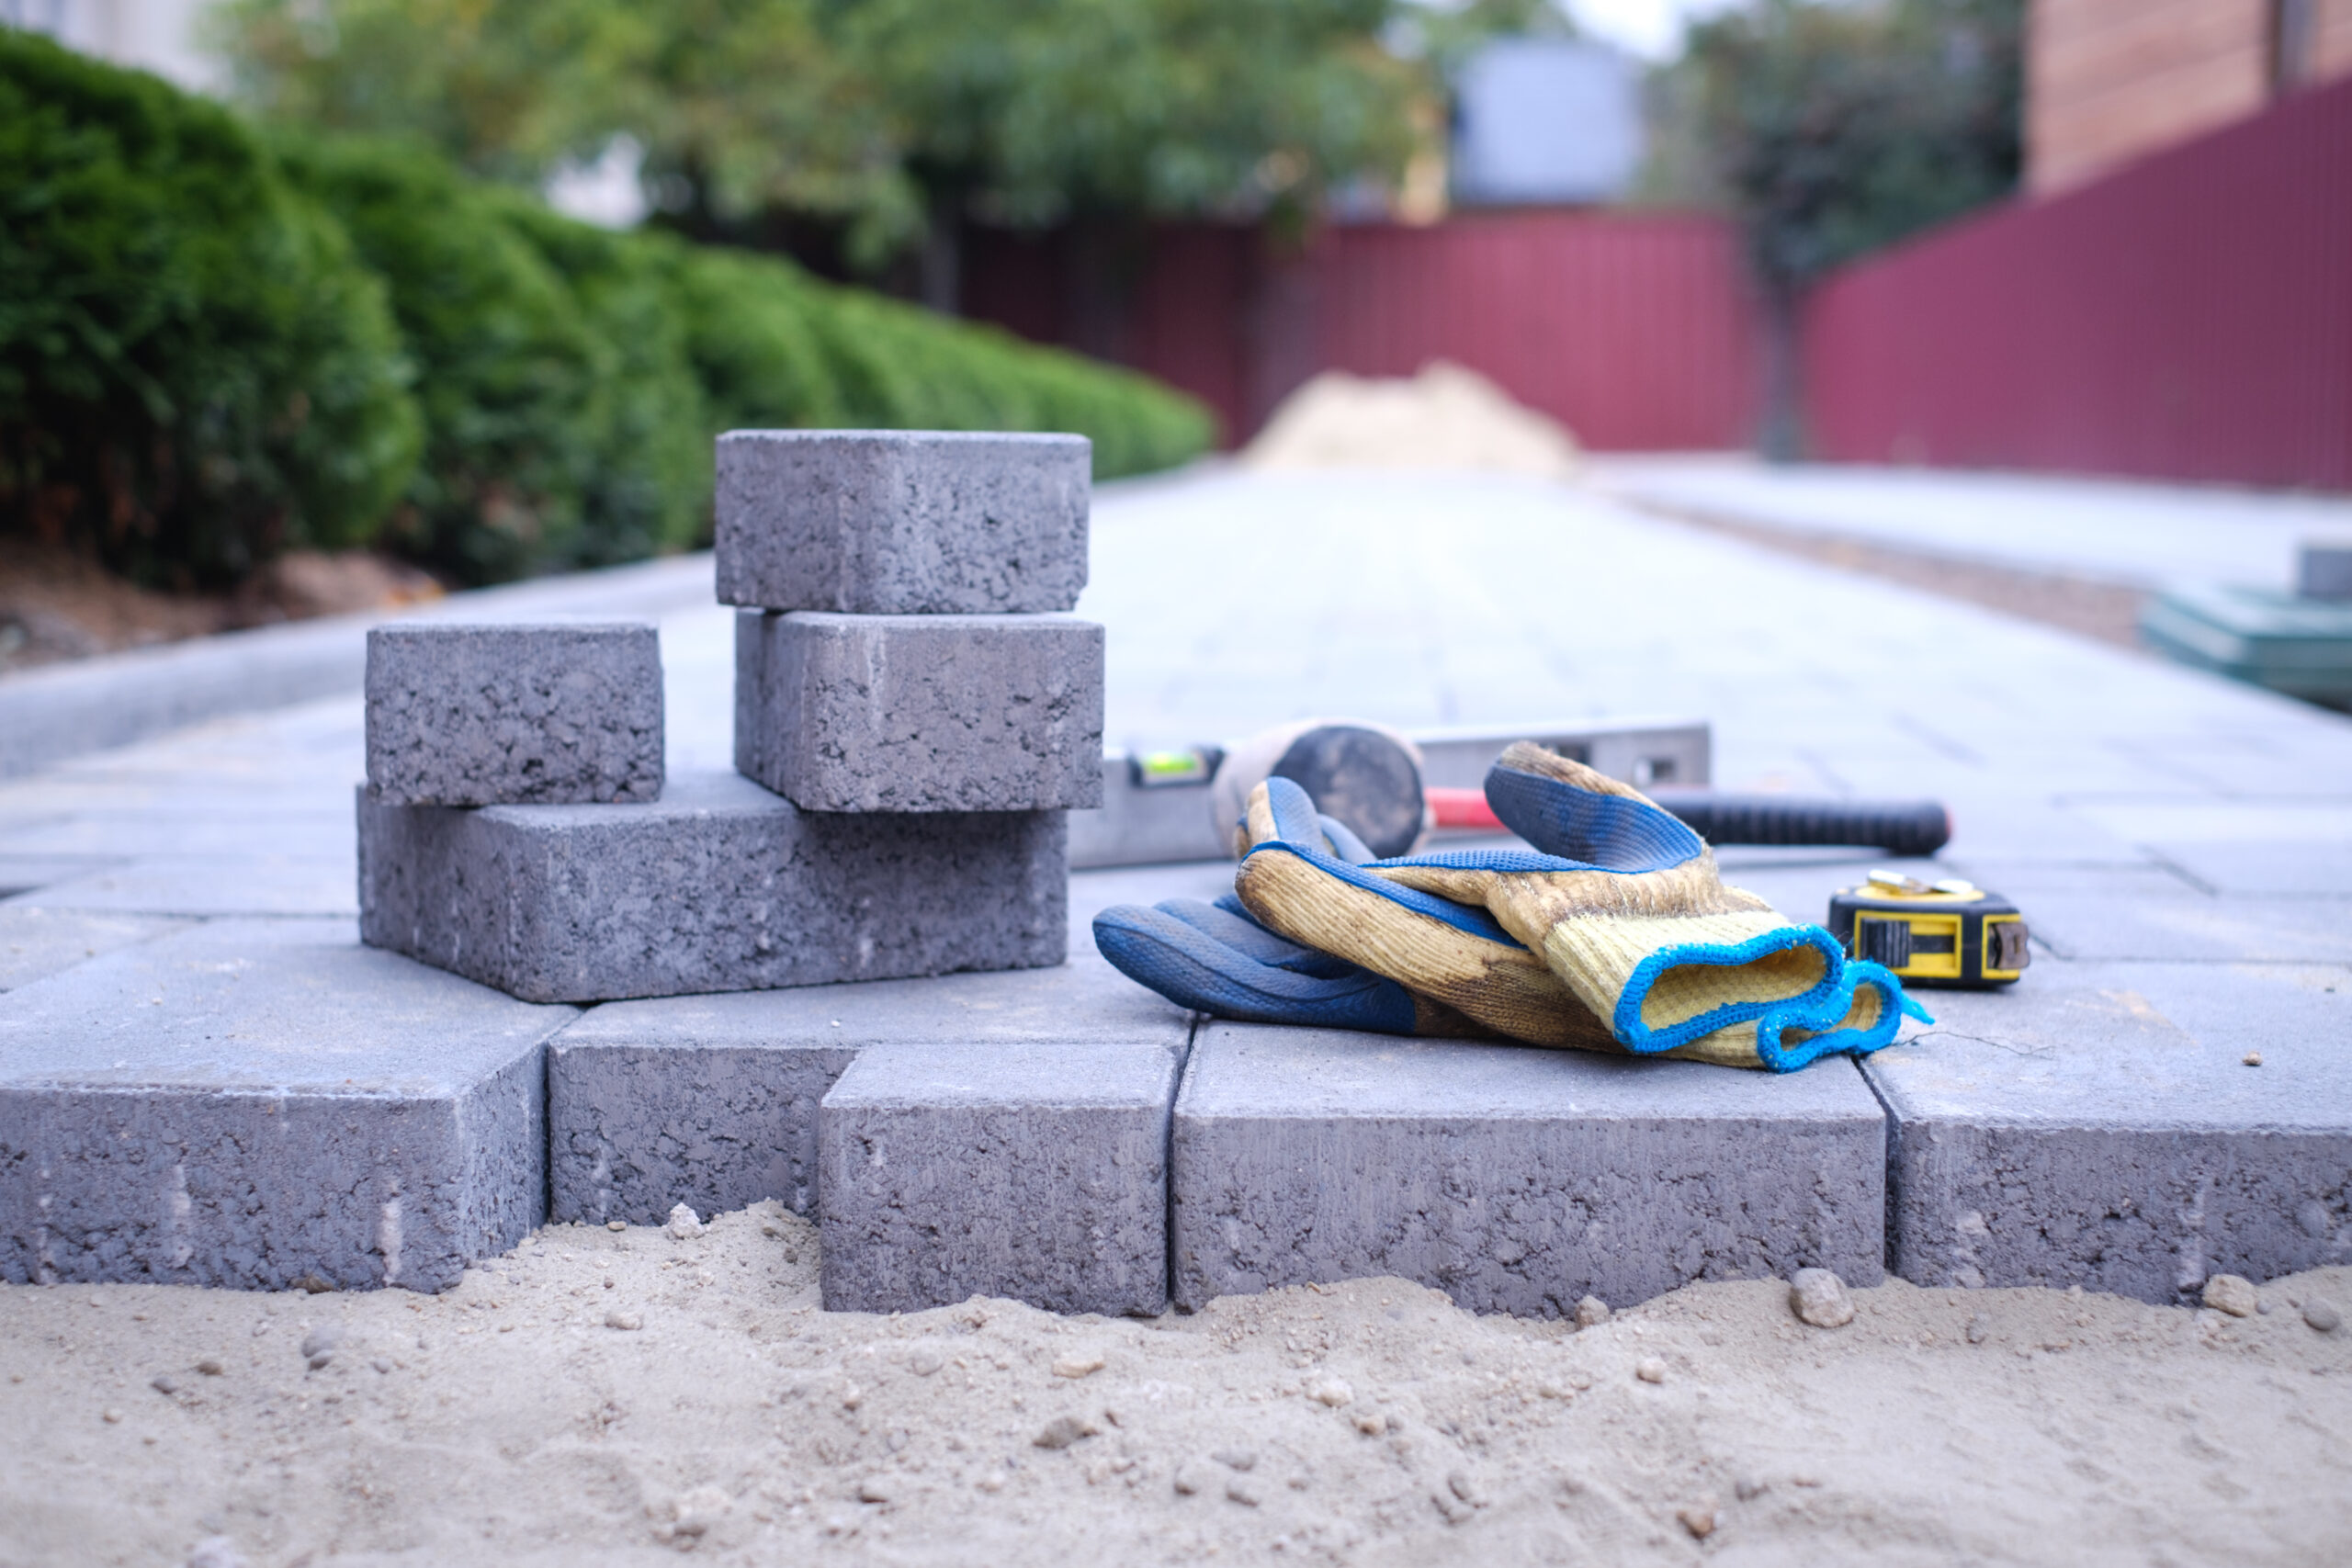
Step 2: Excavation and Base Preparation
Base preparation is the most critical phase of paver installation.
Professional base preparation includes
- Removing soil to the proper depth
- Compacting subgrade layers
- Installing crushed stone or gravel base
- Mechanical compaction for stability
In Florida, skipping or rushing this step leads to settling and uneven surfaces.
Step 3: Installing the Bedding Layer
After the base is compacted, a bedding layer is added.
Bedding layer purpose
- Provides a level surface
- Allows precise paver alignment
- Helps distribute loads evenly
This layer is carefully screeded to ensure a flat, consistent surface.
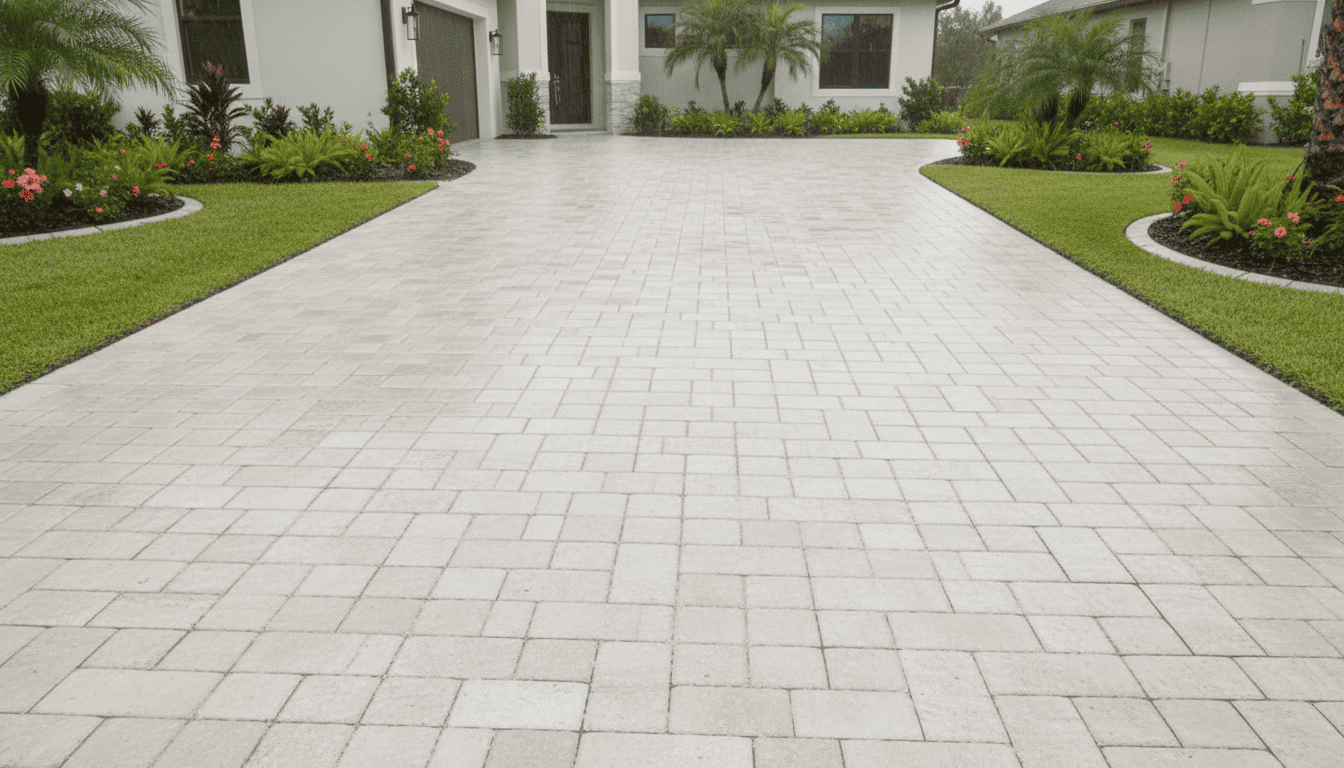
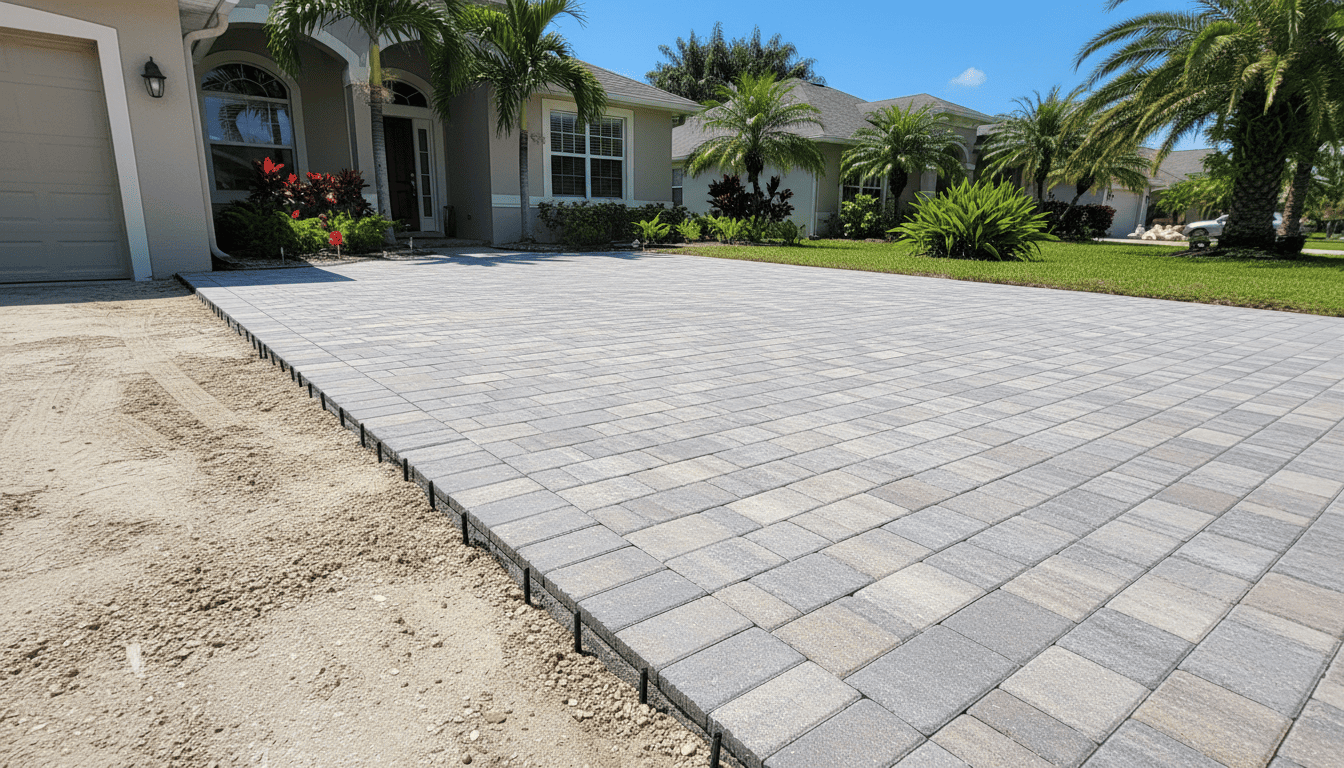
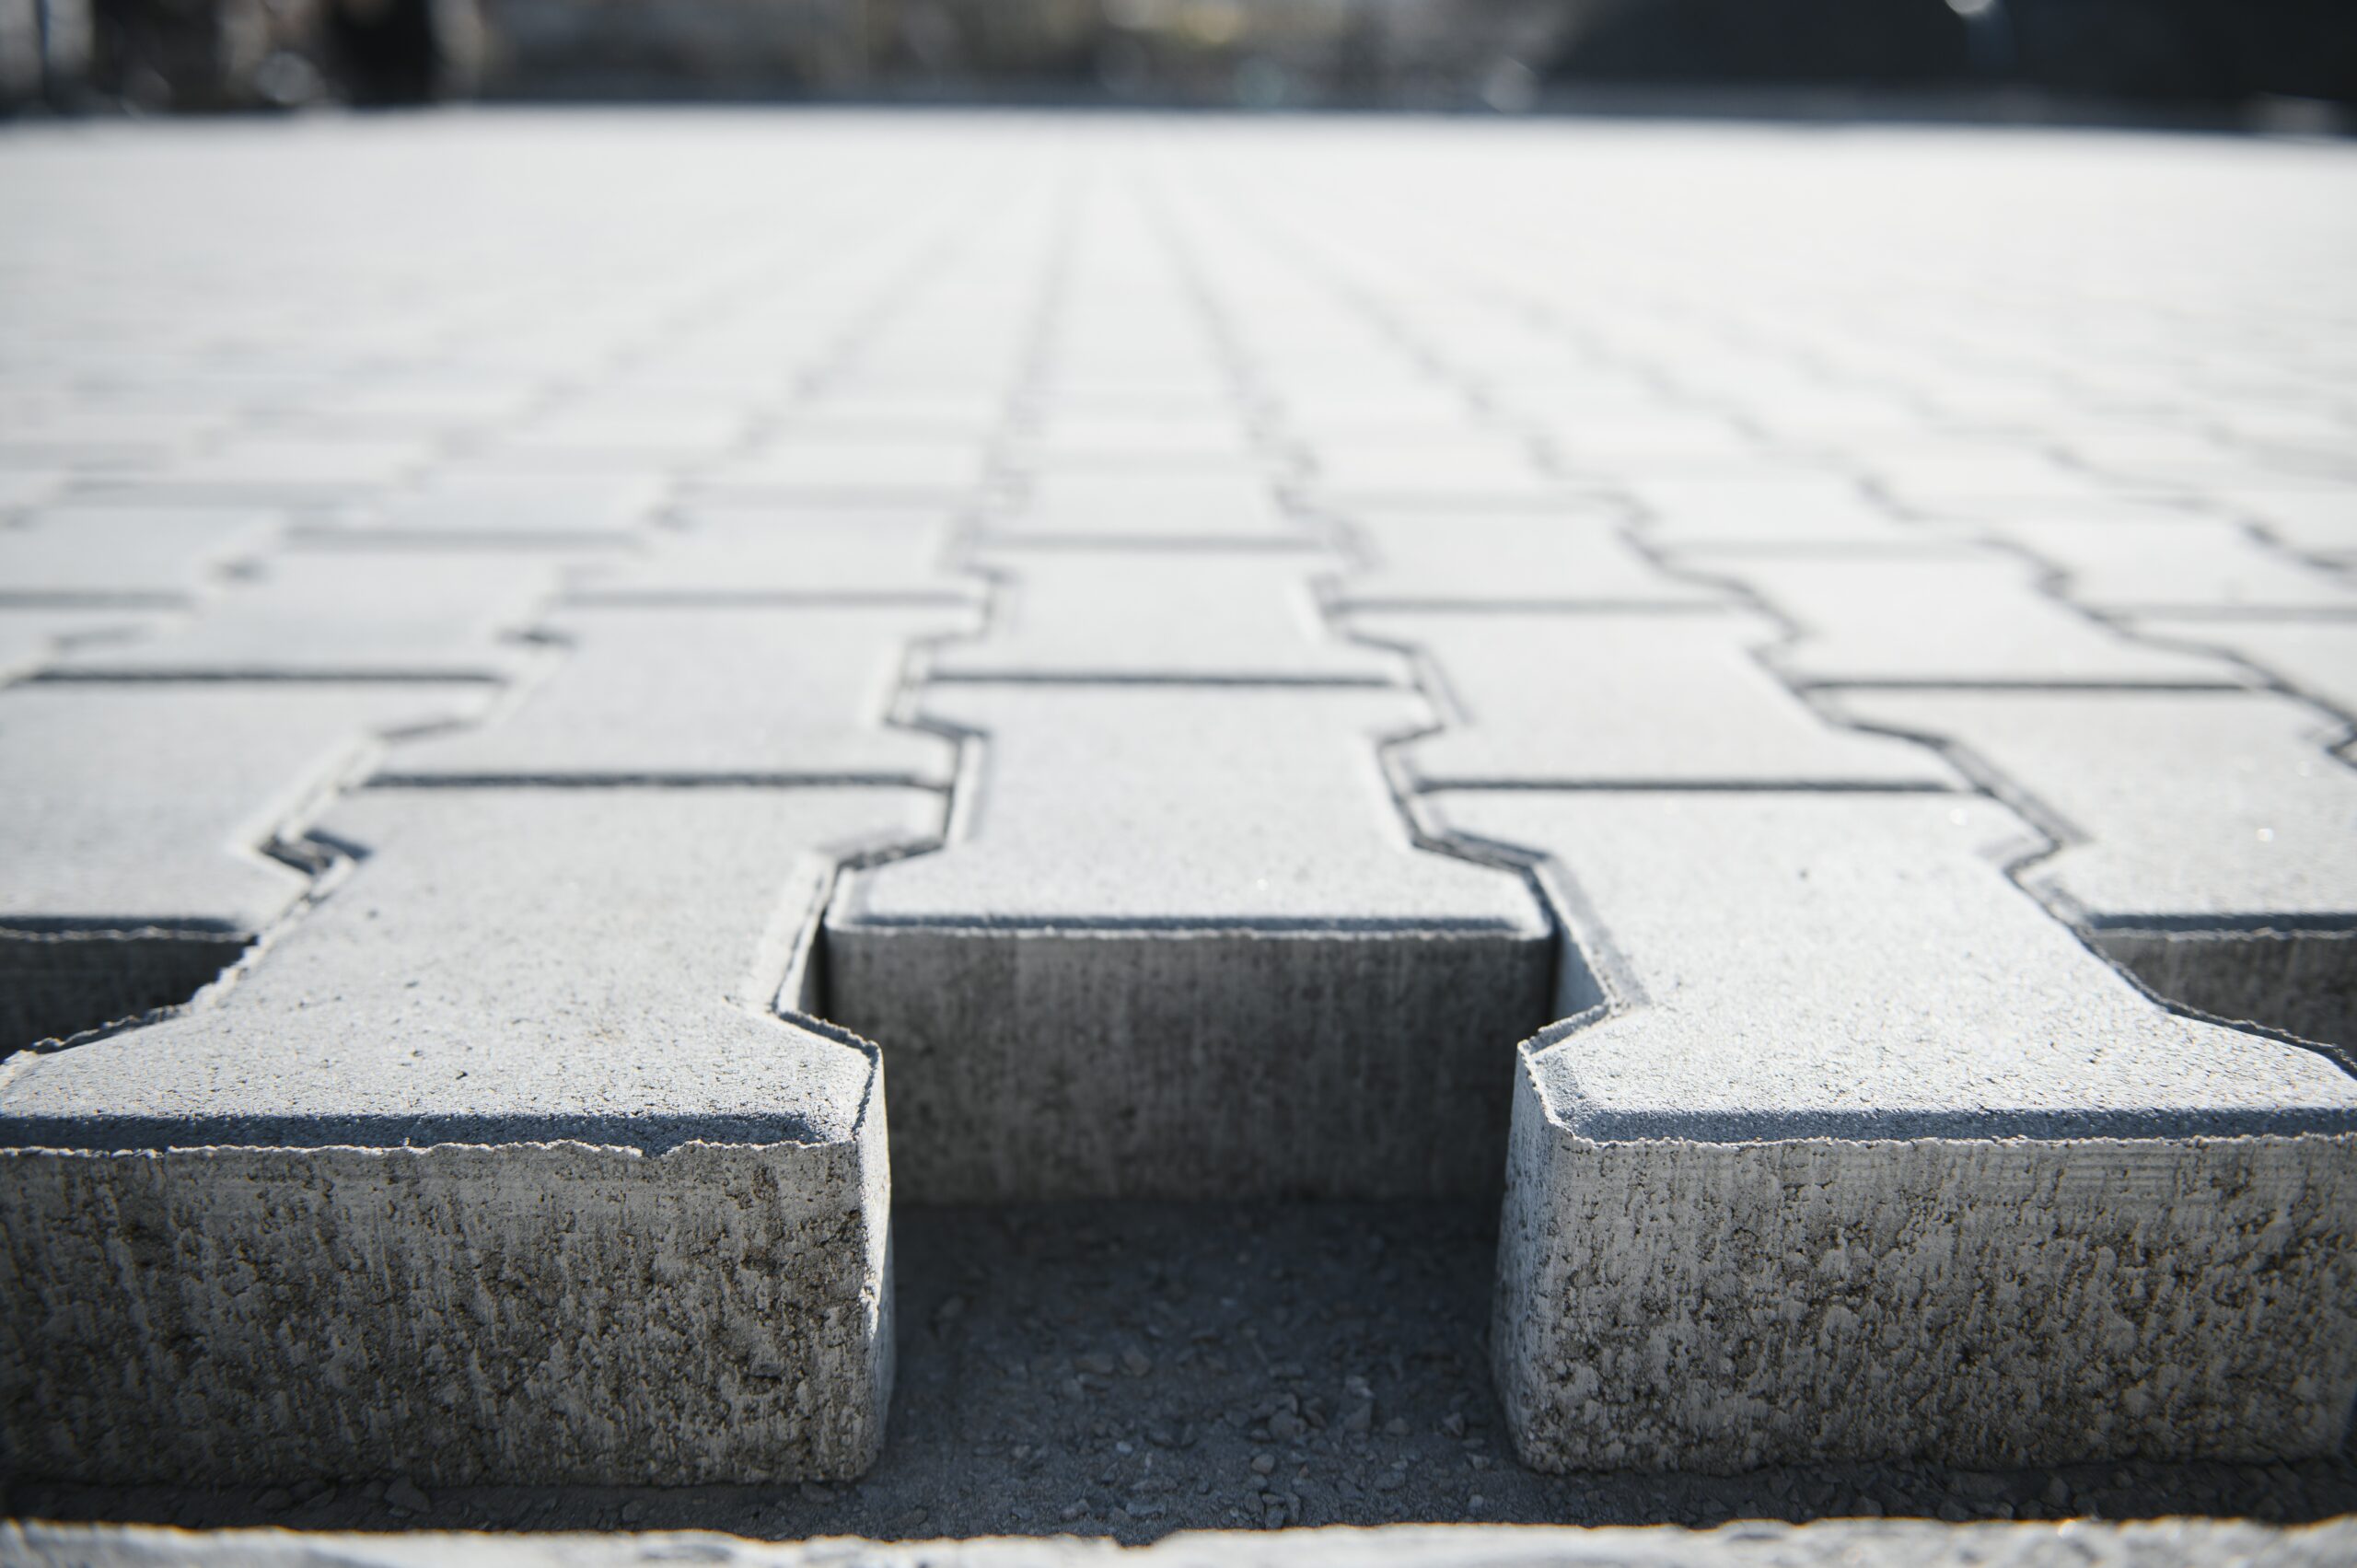
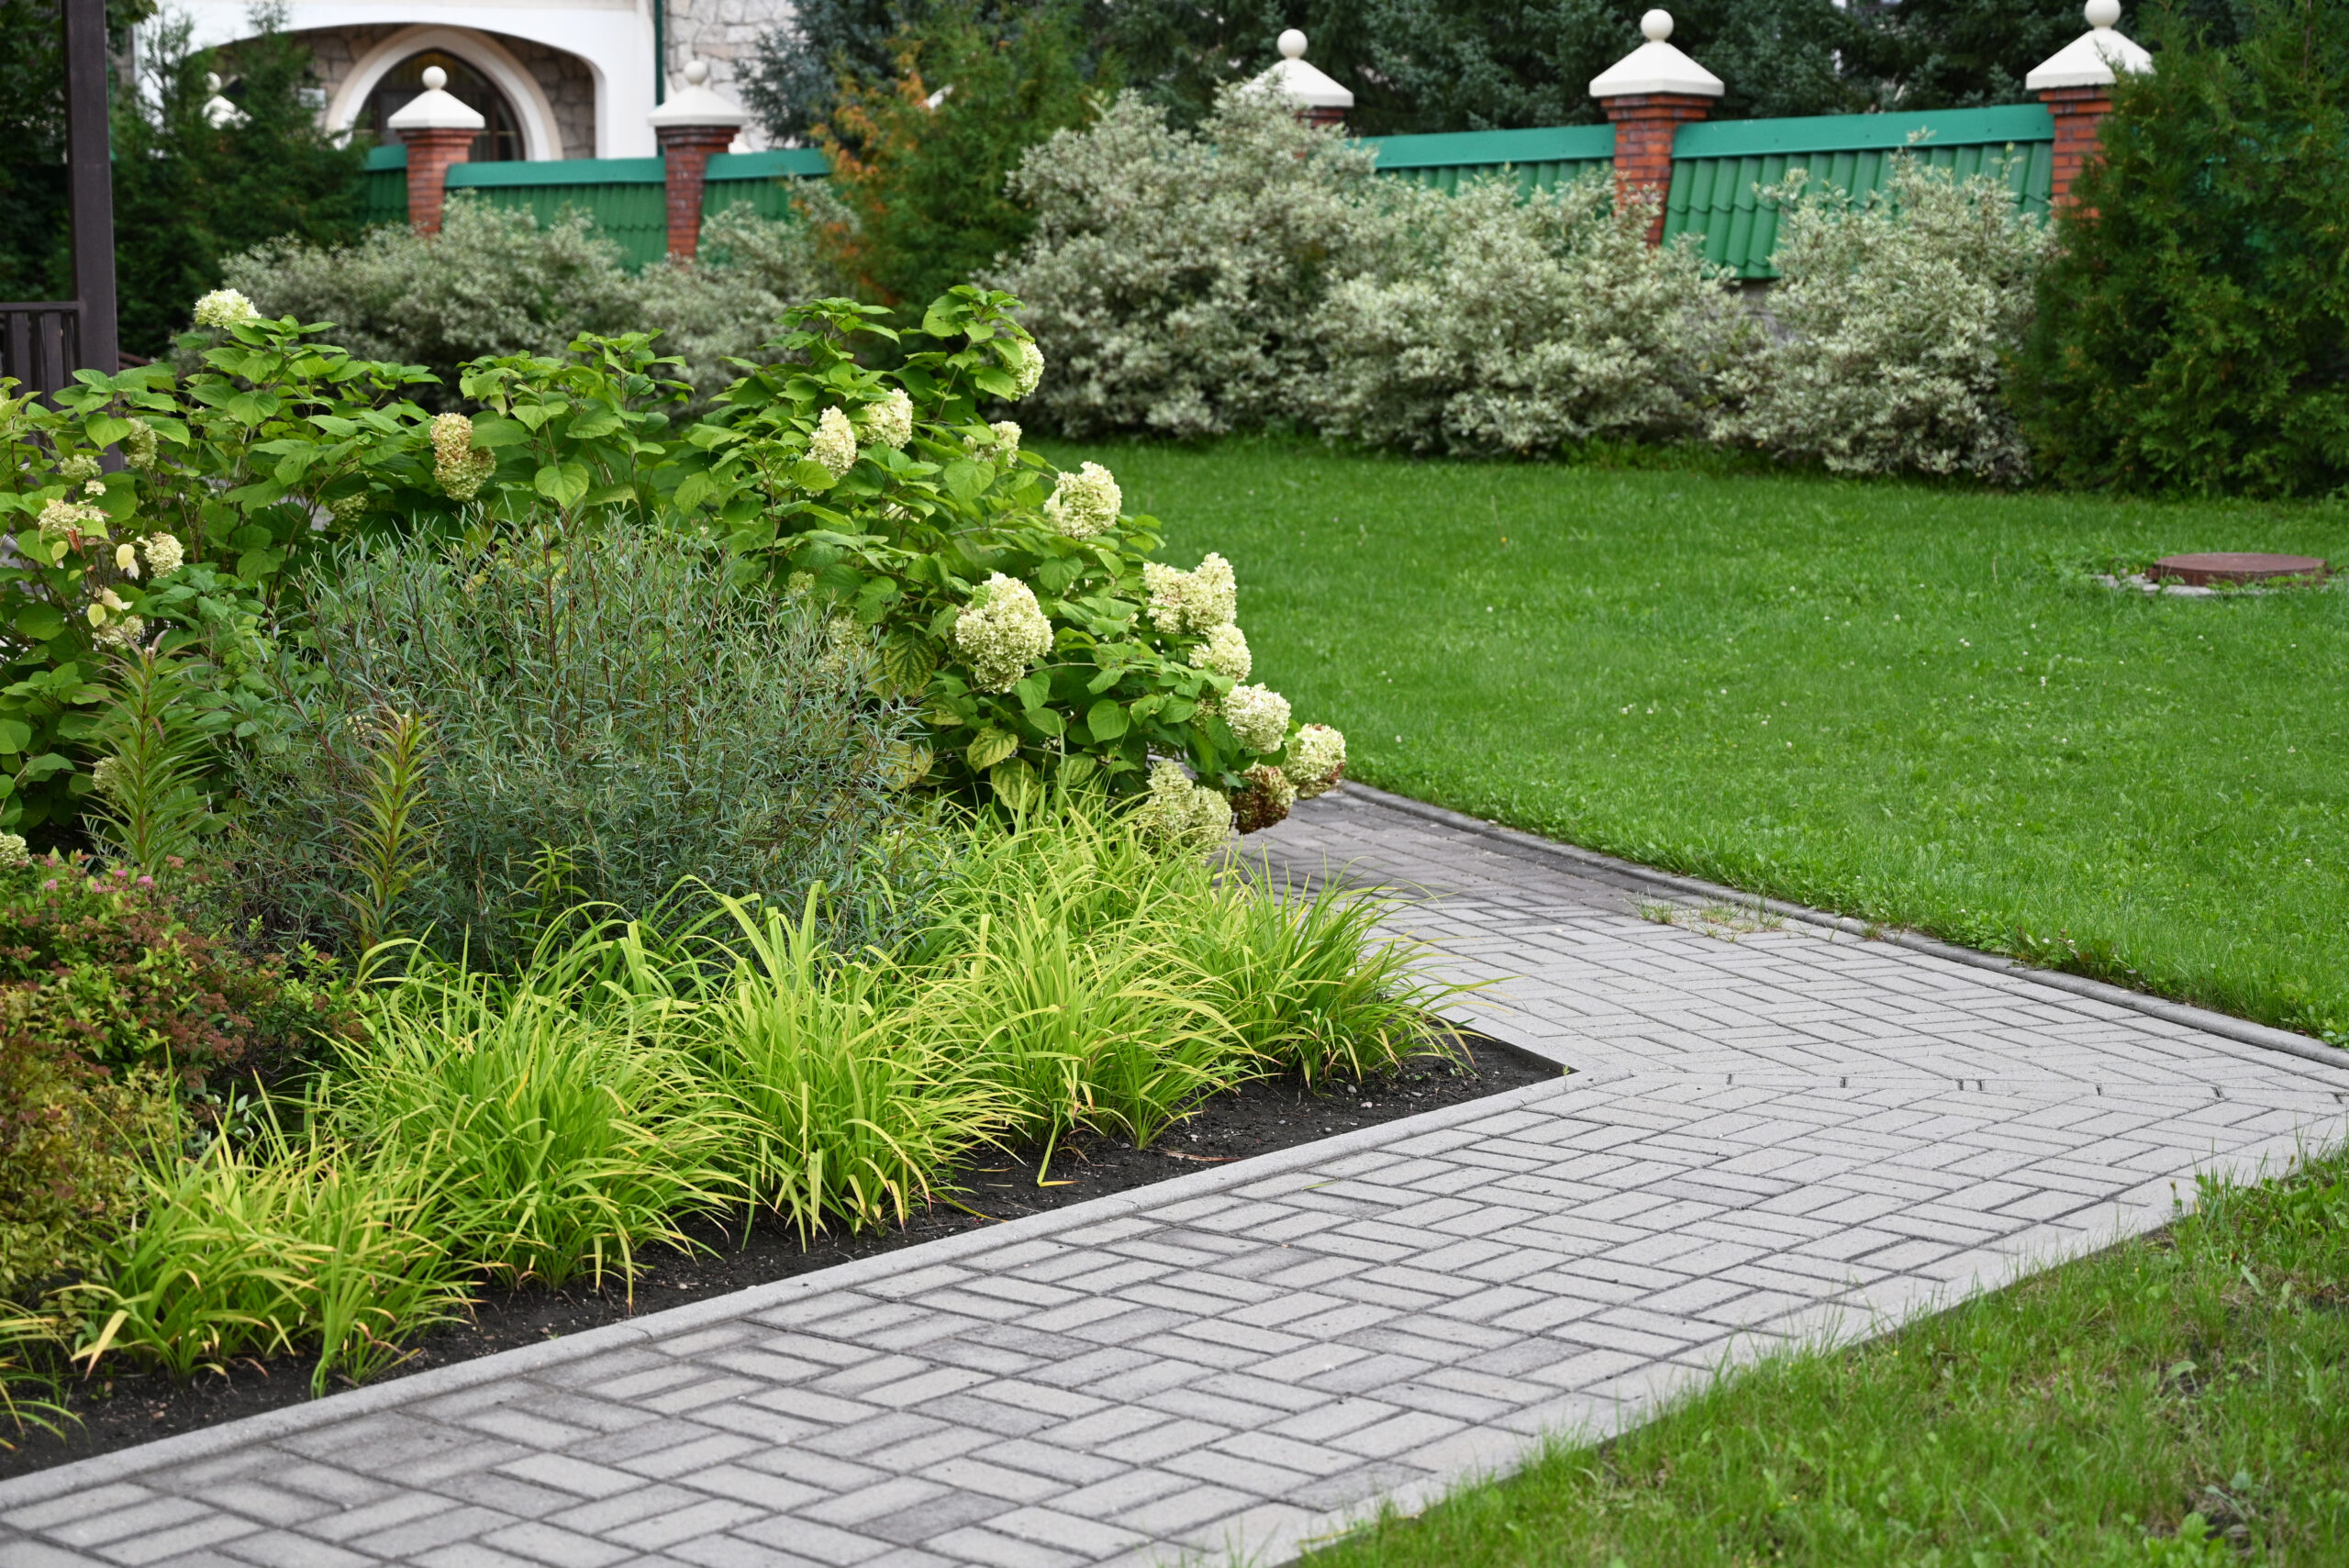
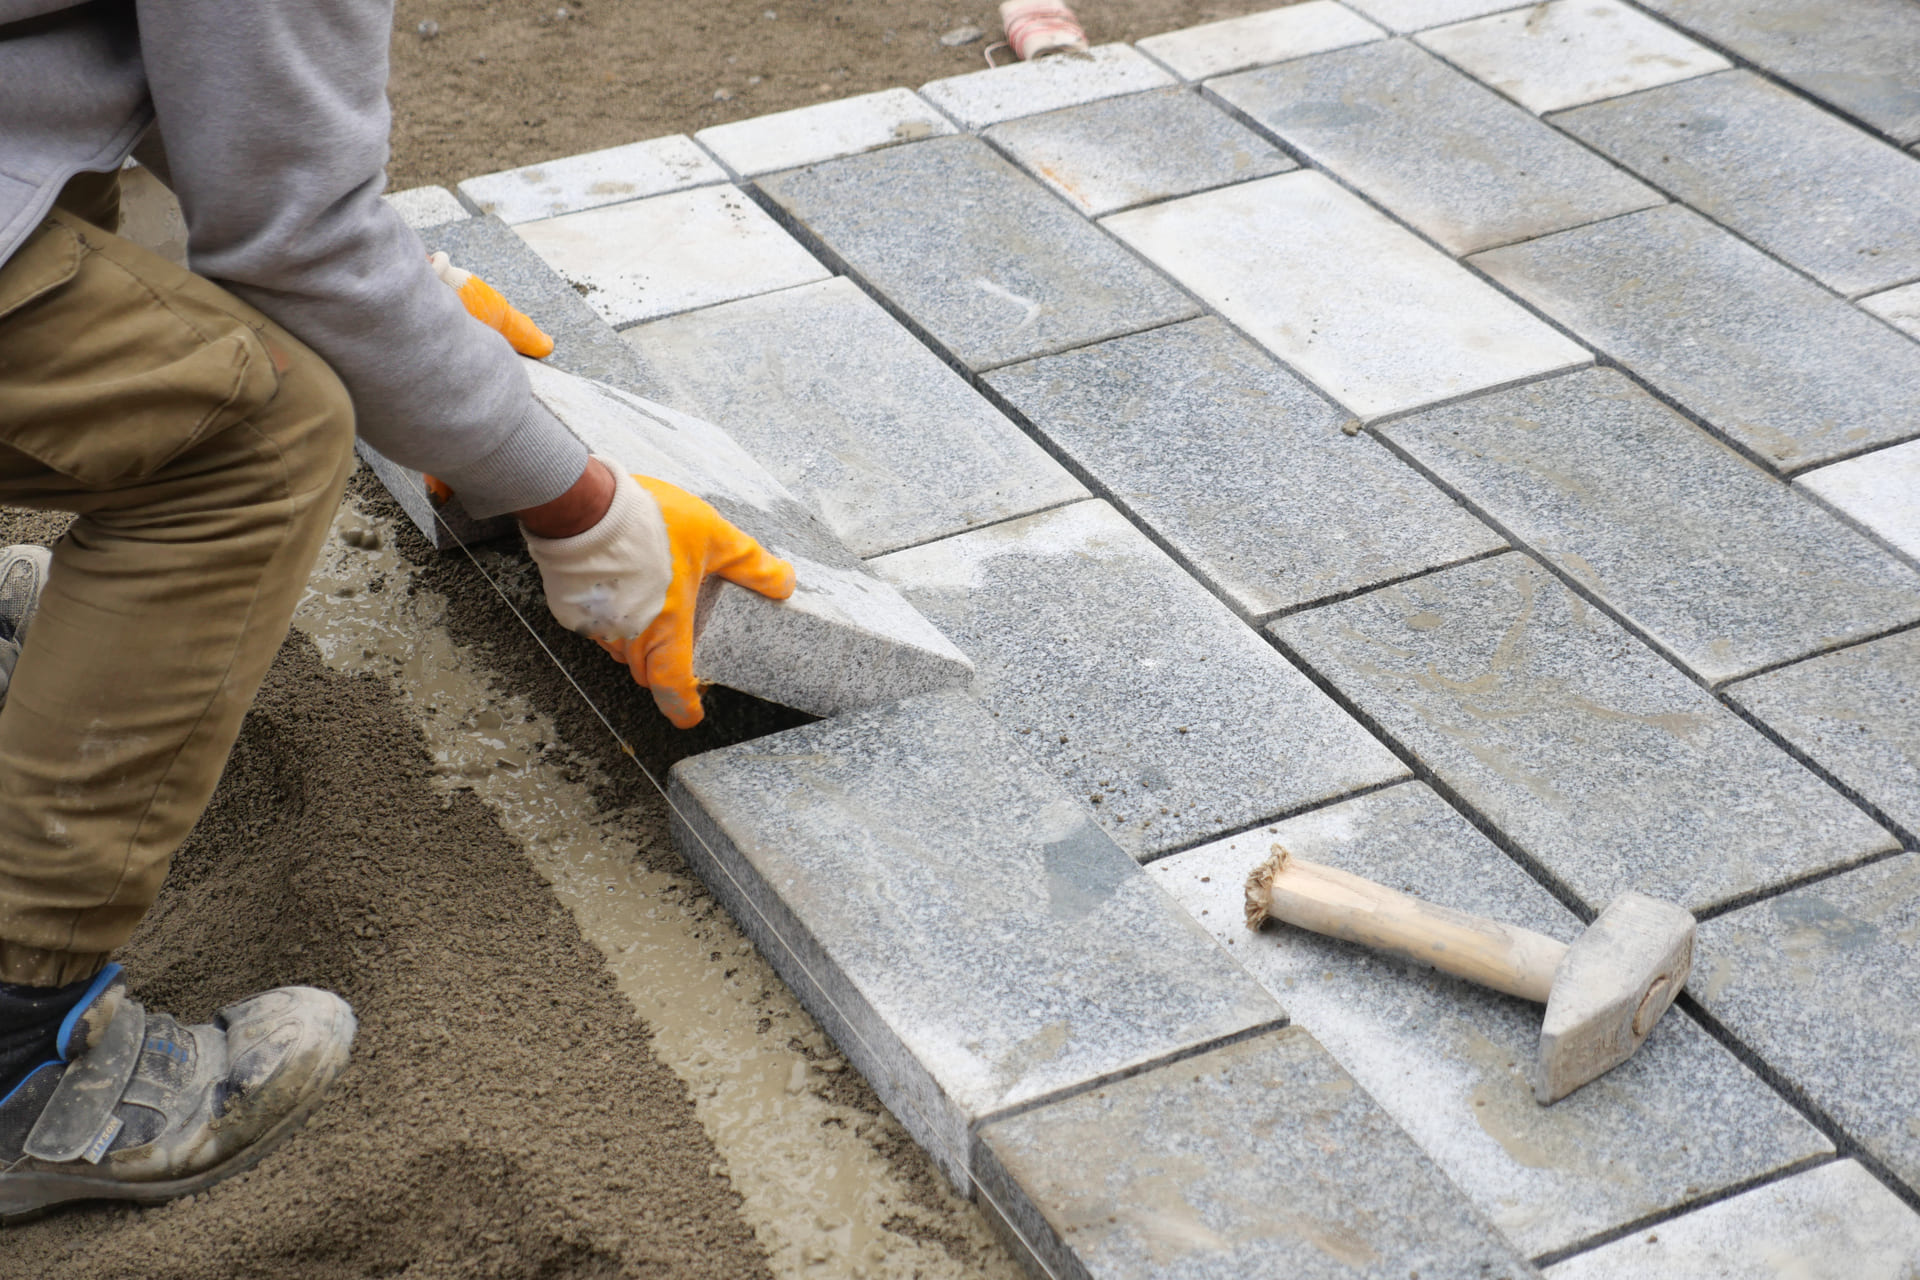
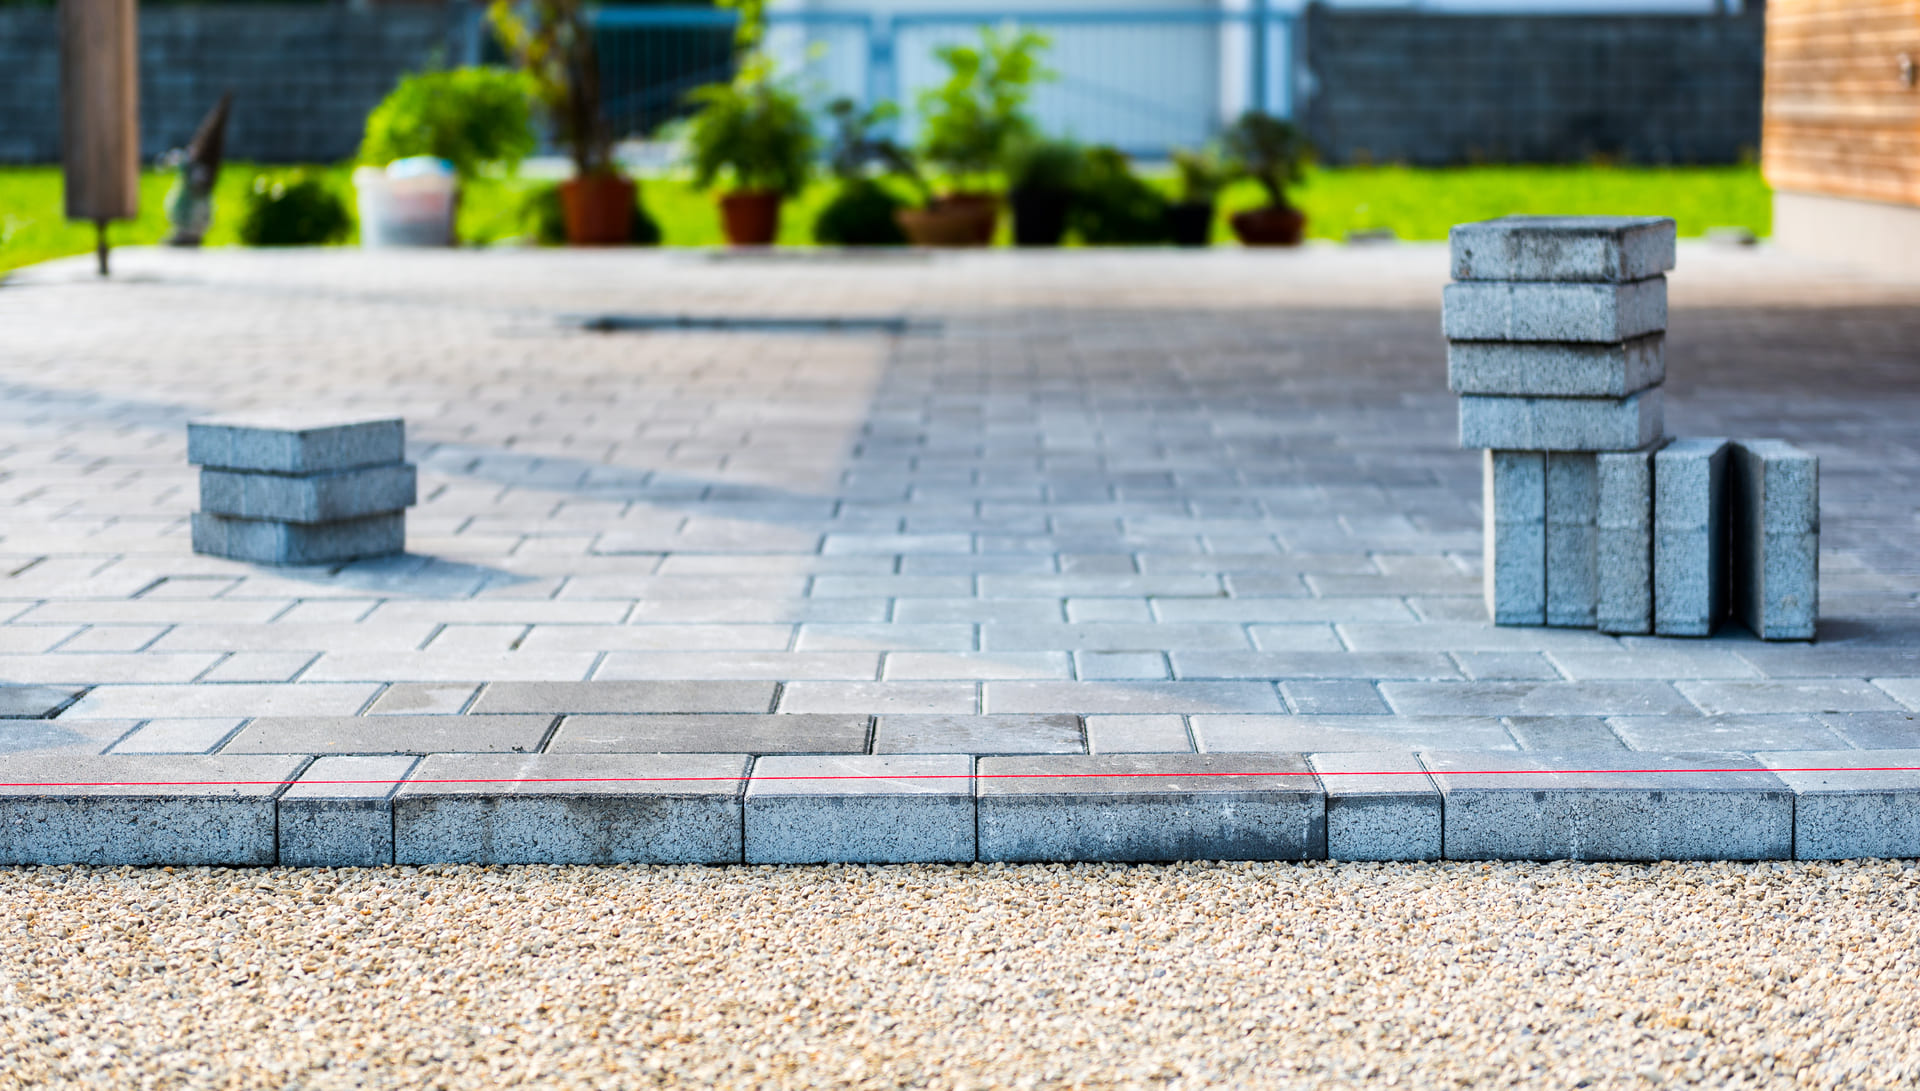
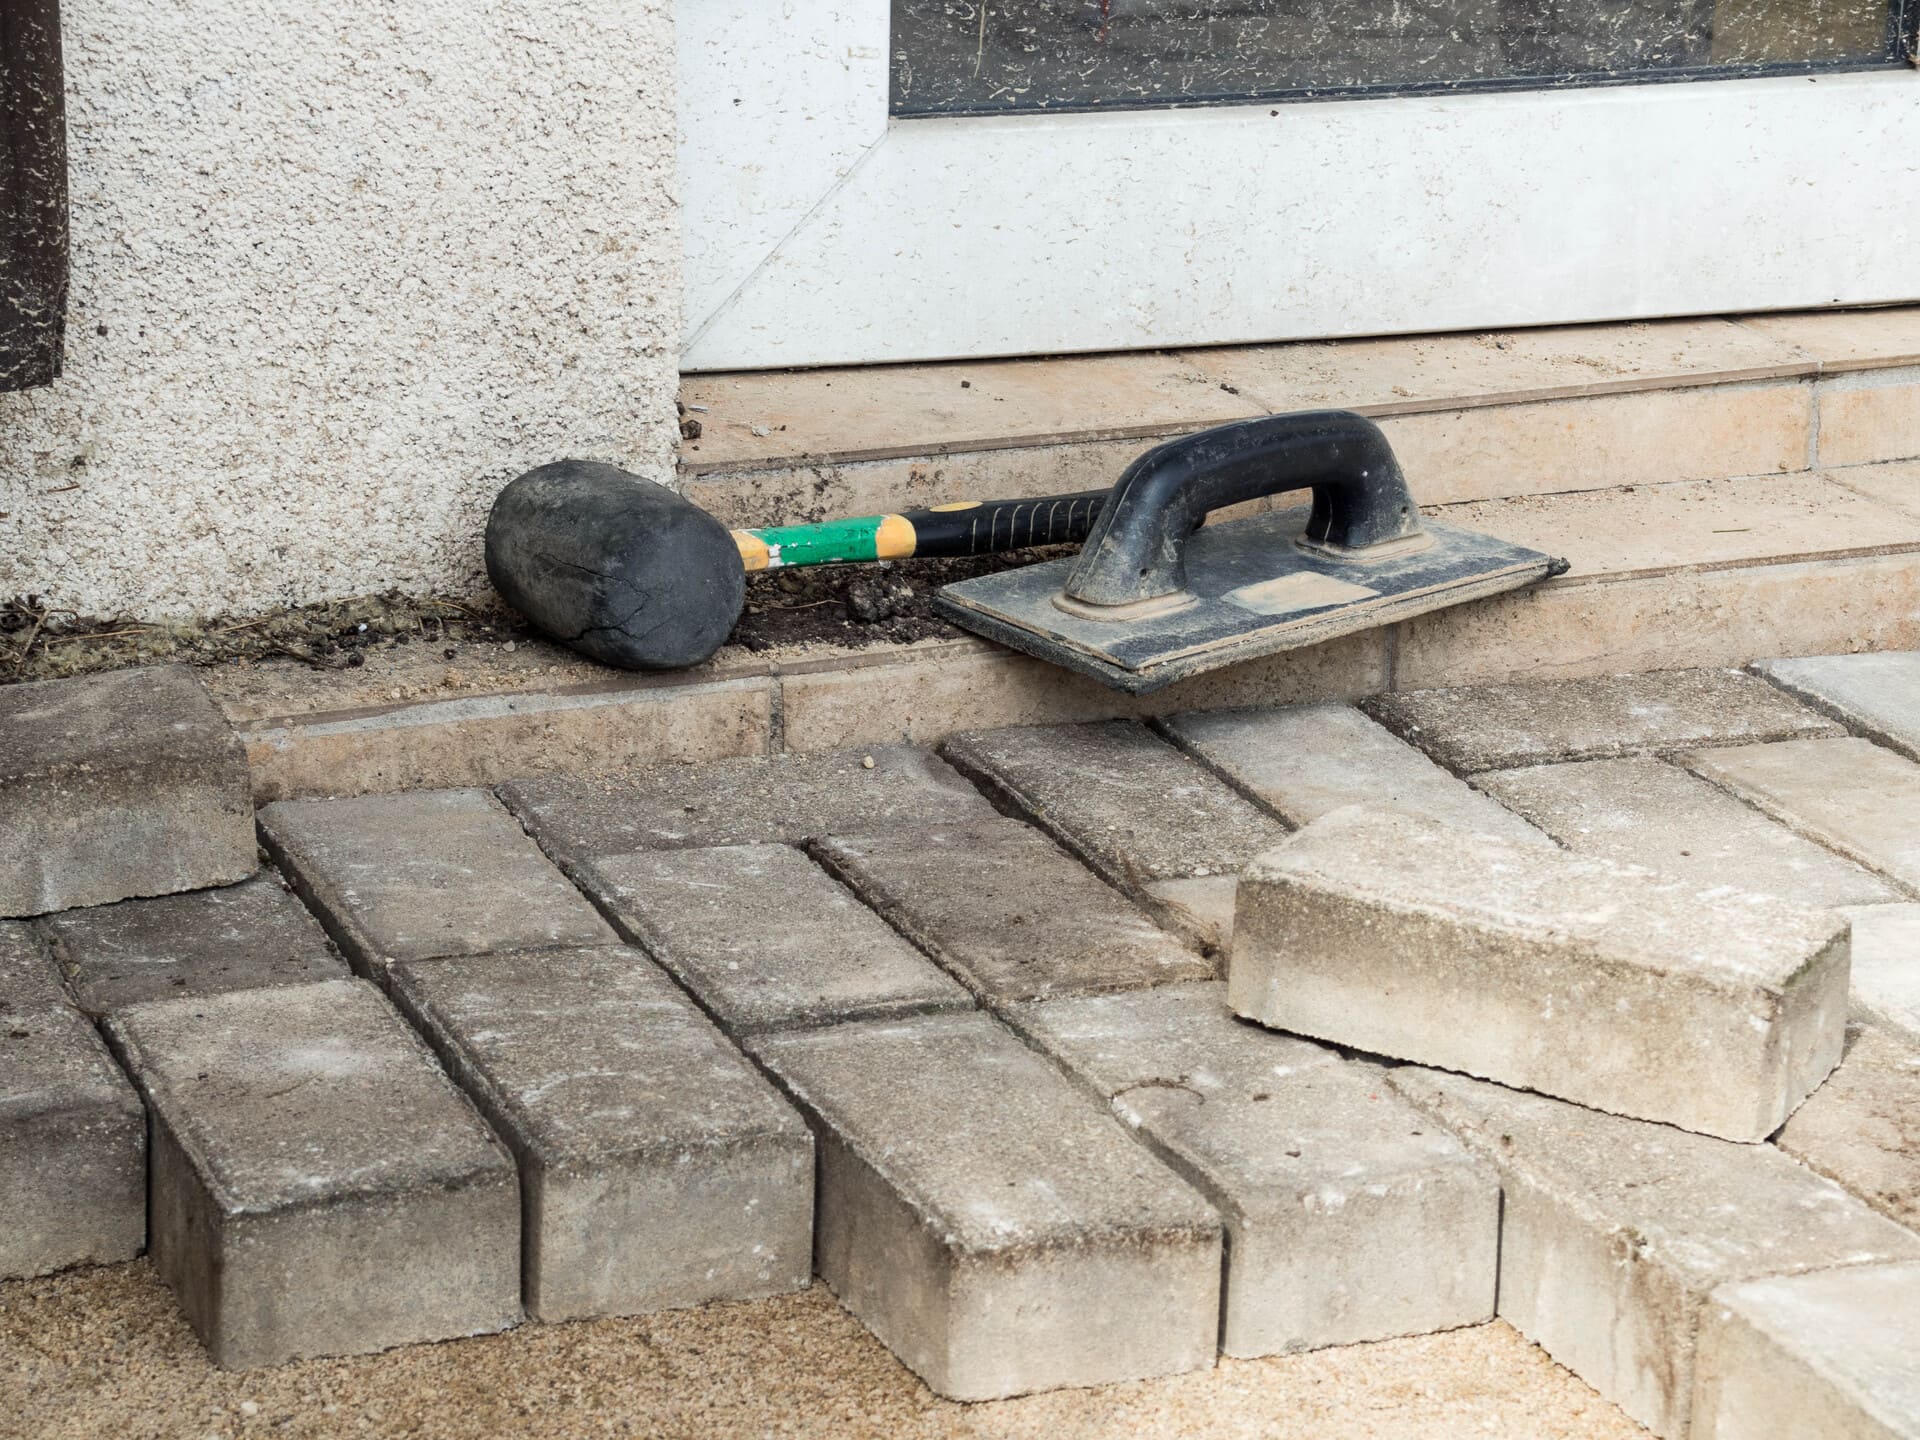
Step 4: Laying the Pavers
Once the base and bedding are ready, pavers are installed according to the chosen design.
Key installation details
- Following the selected pattern precisely
- Maintaining consistent spacing
- Starting from fixed reference points
- Cutting edges cleanly for borders and curves
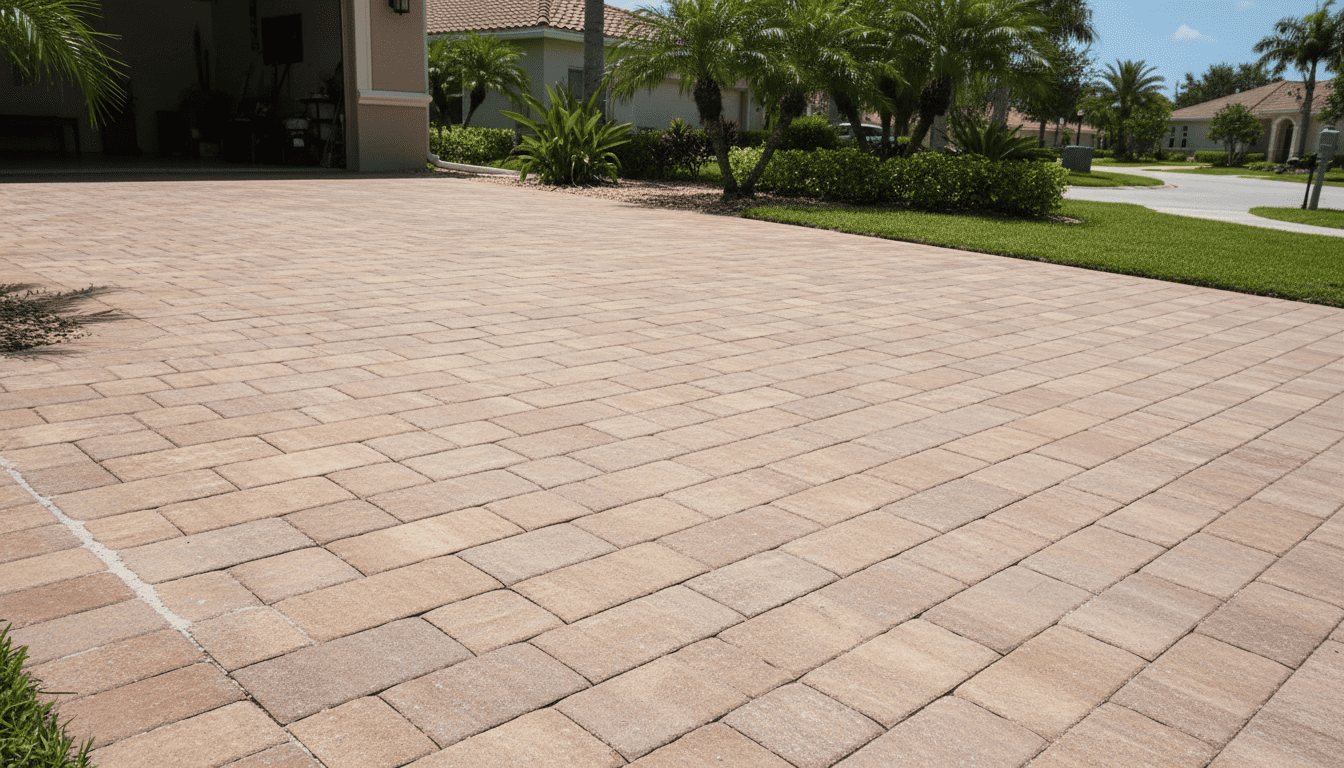
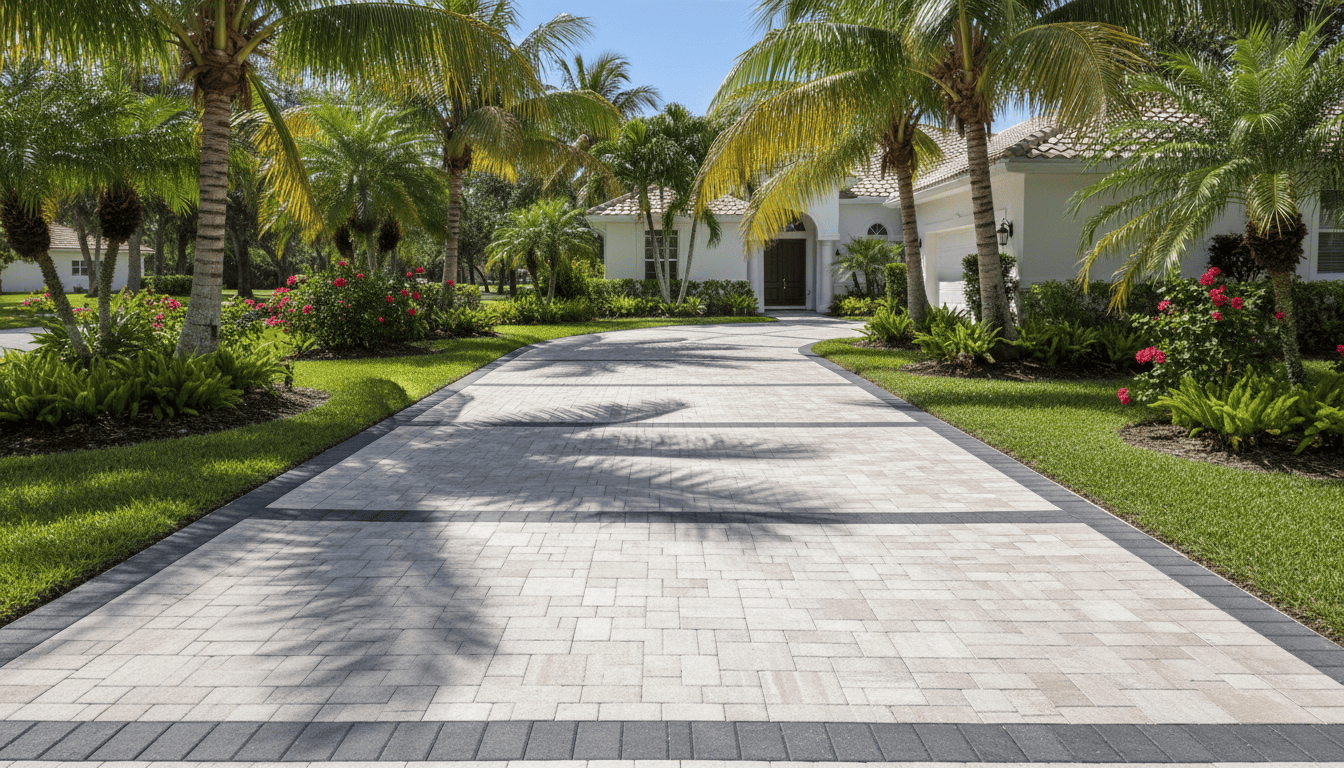
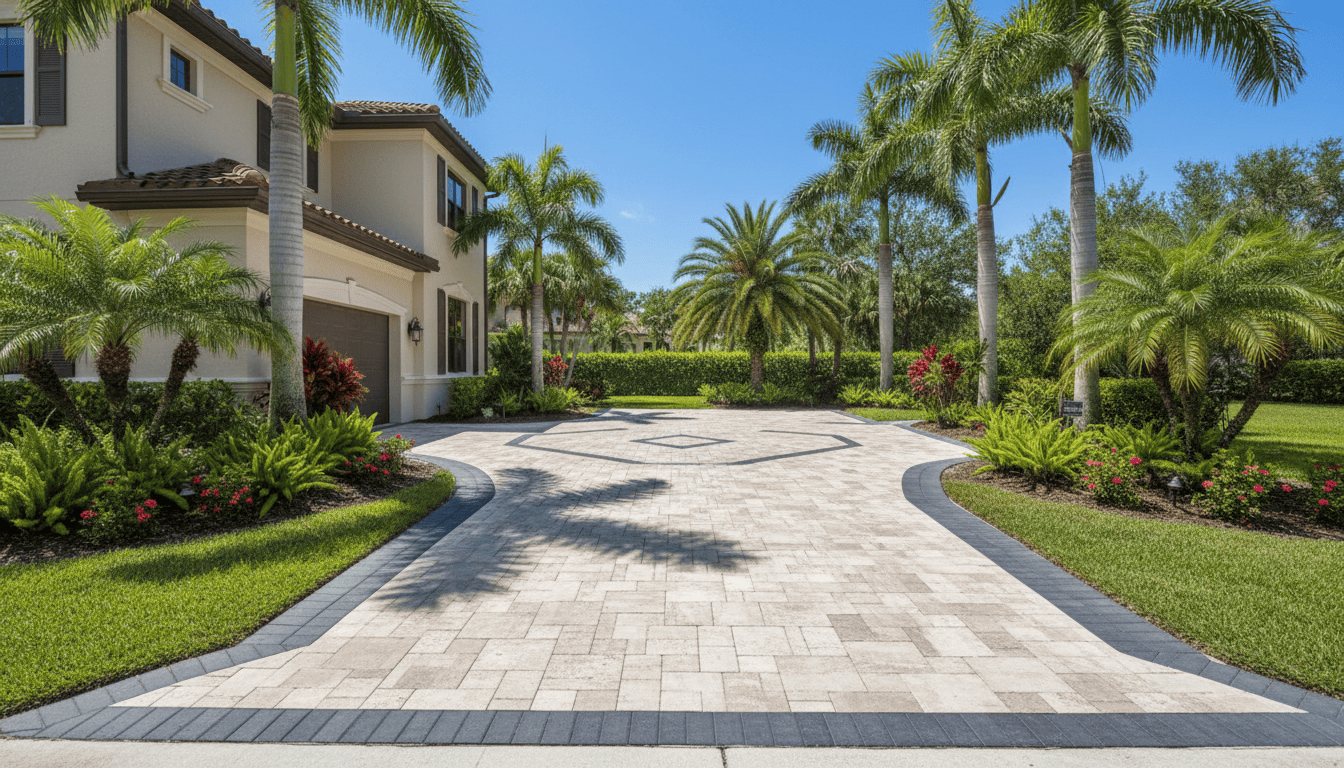
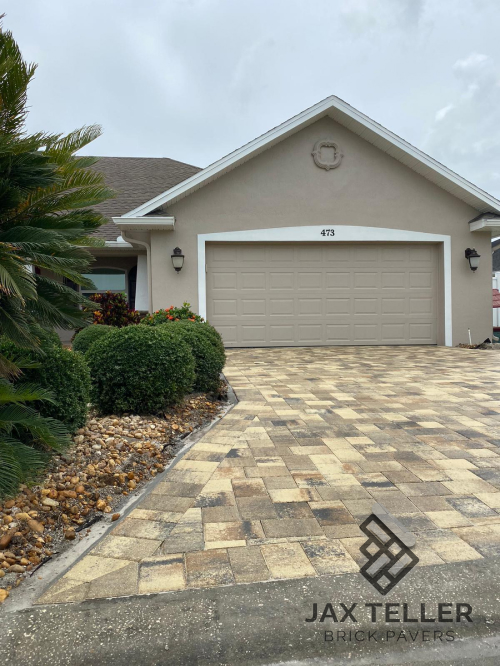
Patterns like herringbone are often used in driveways for added strength.
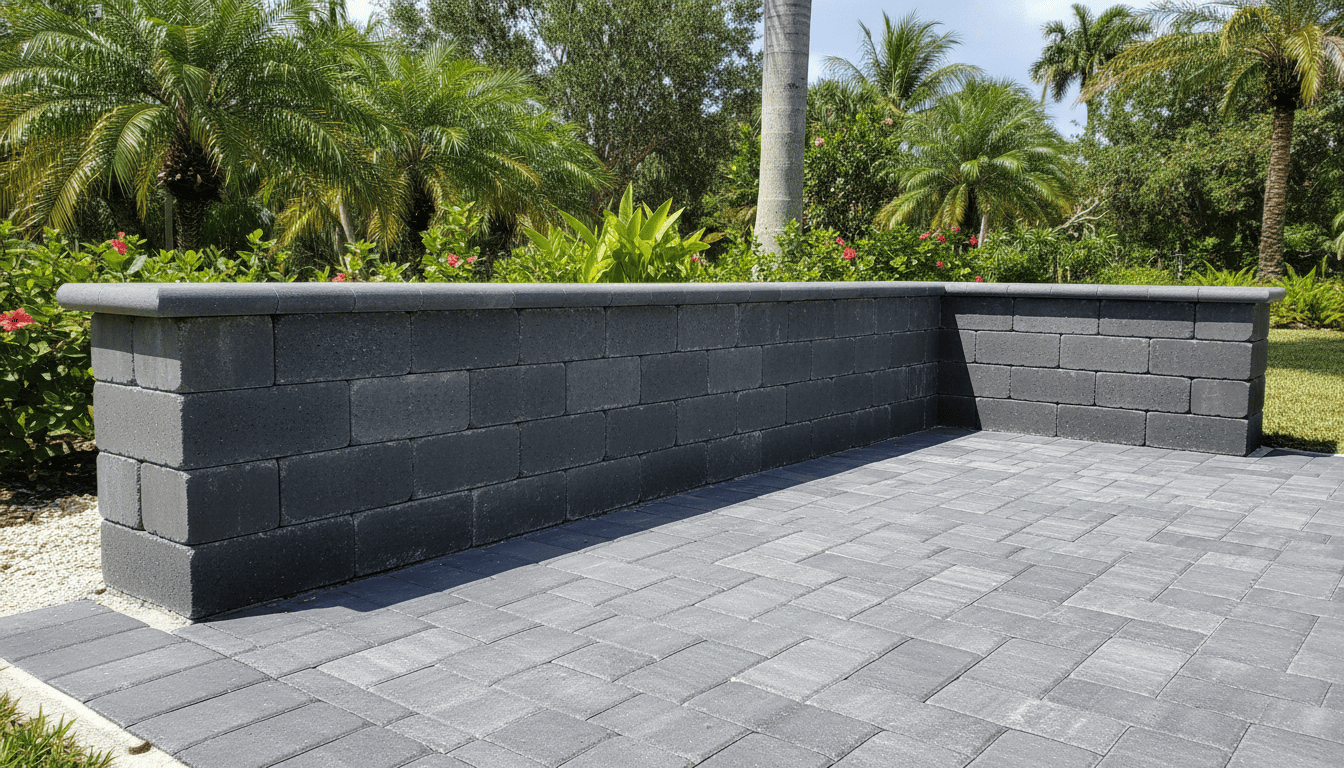
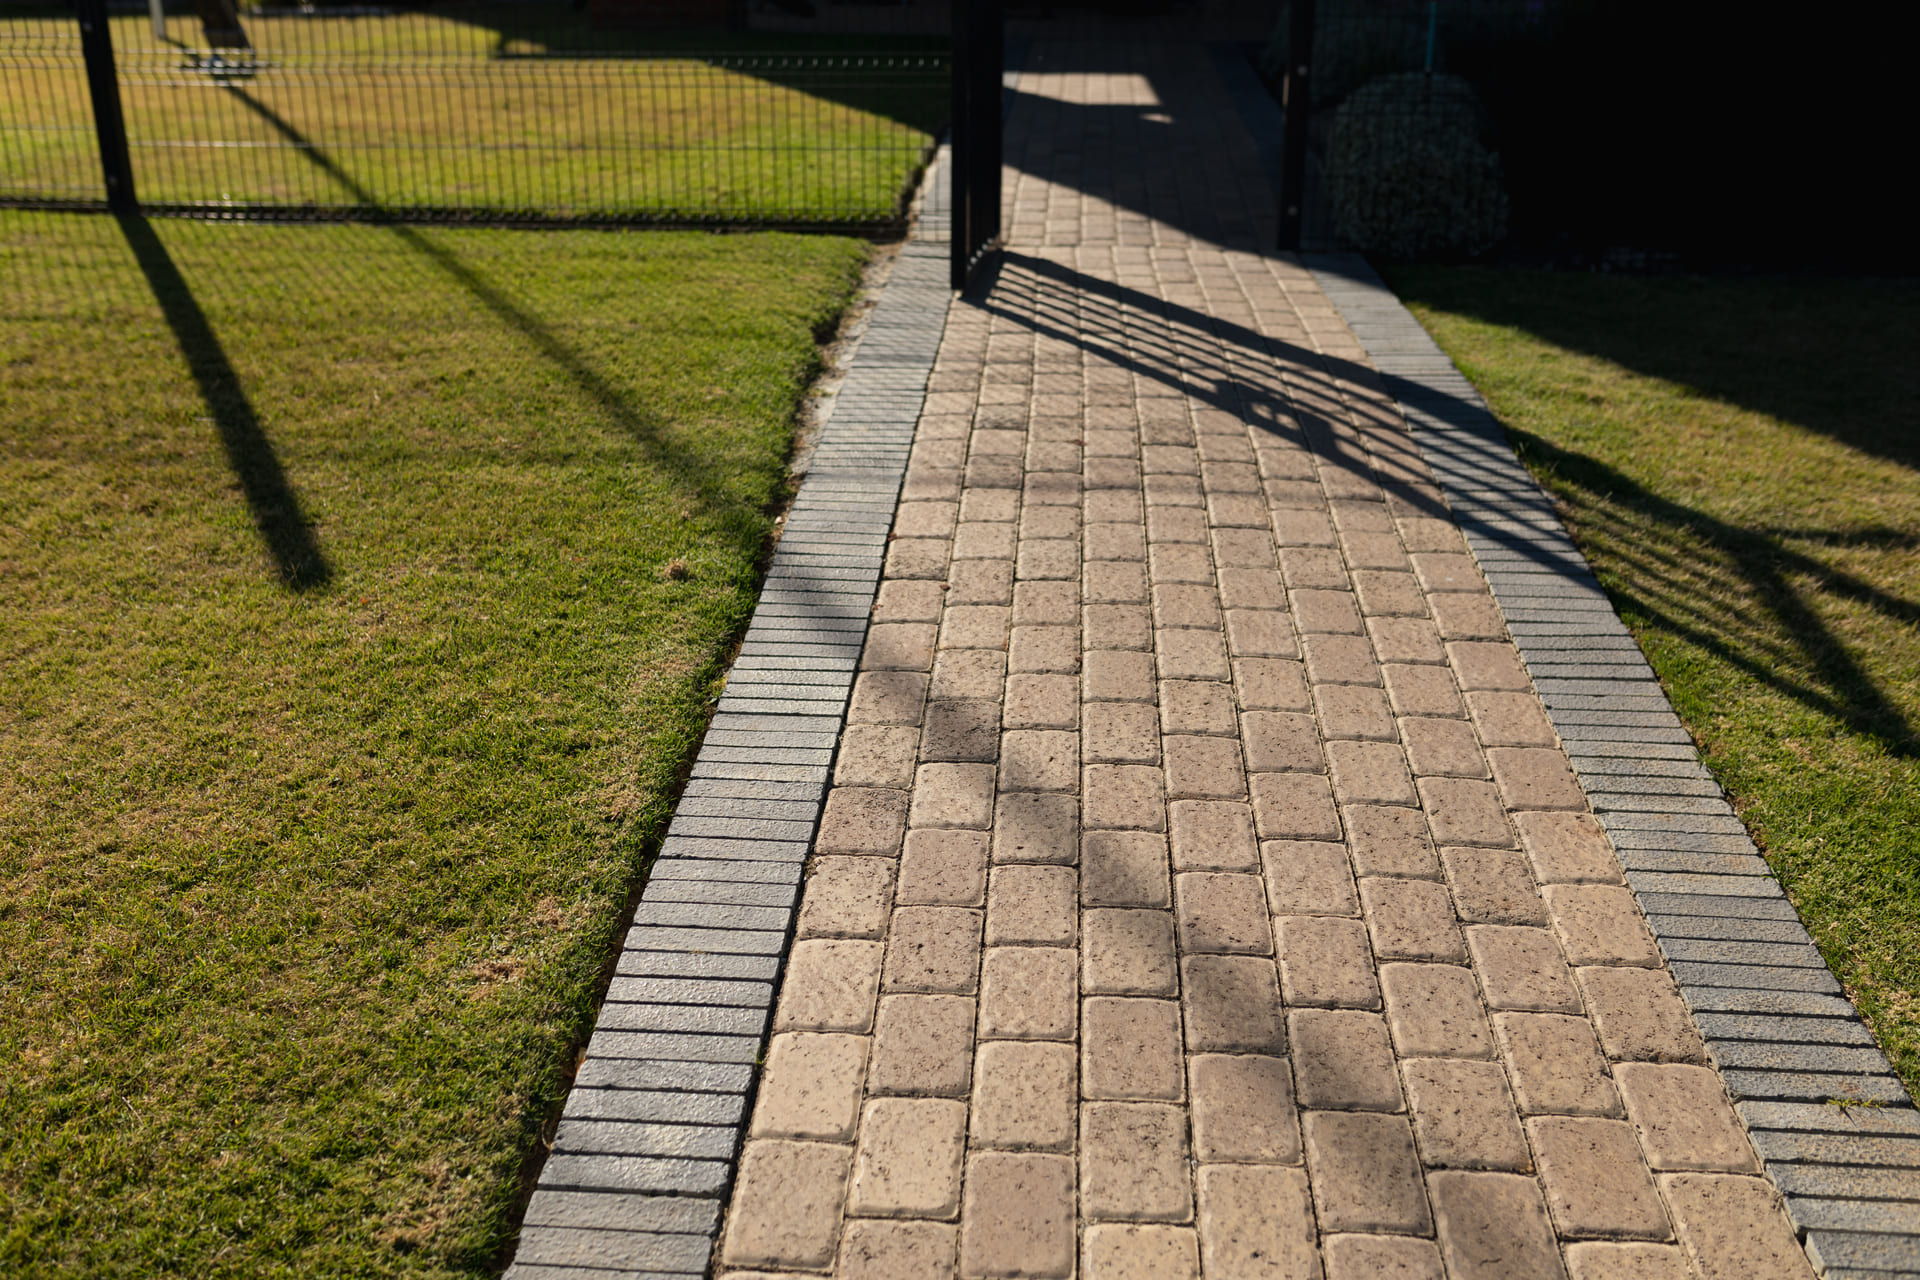
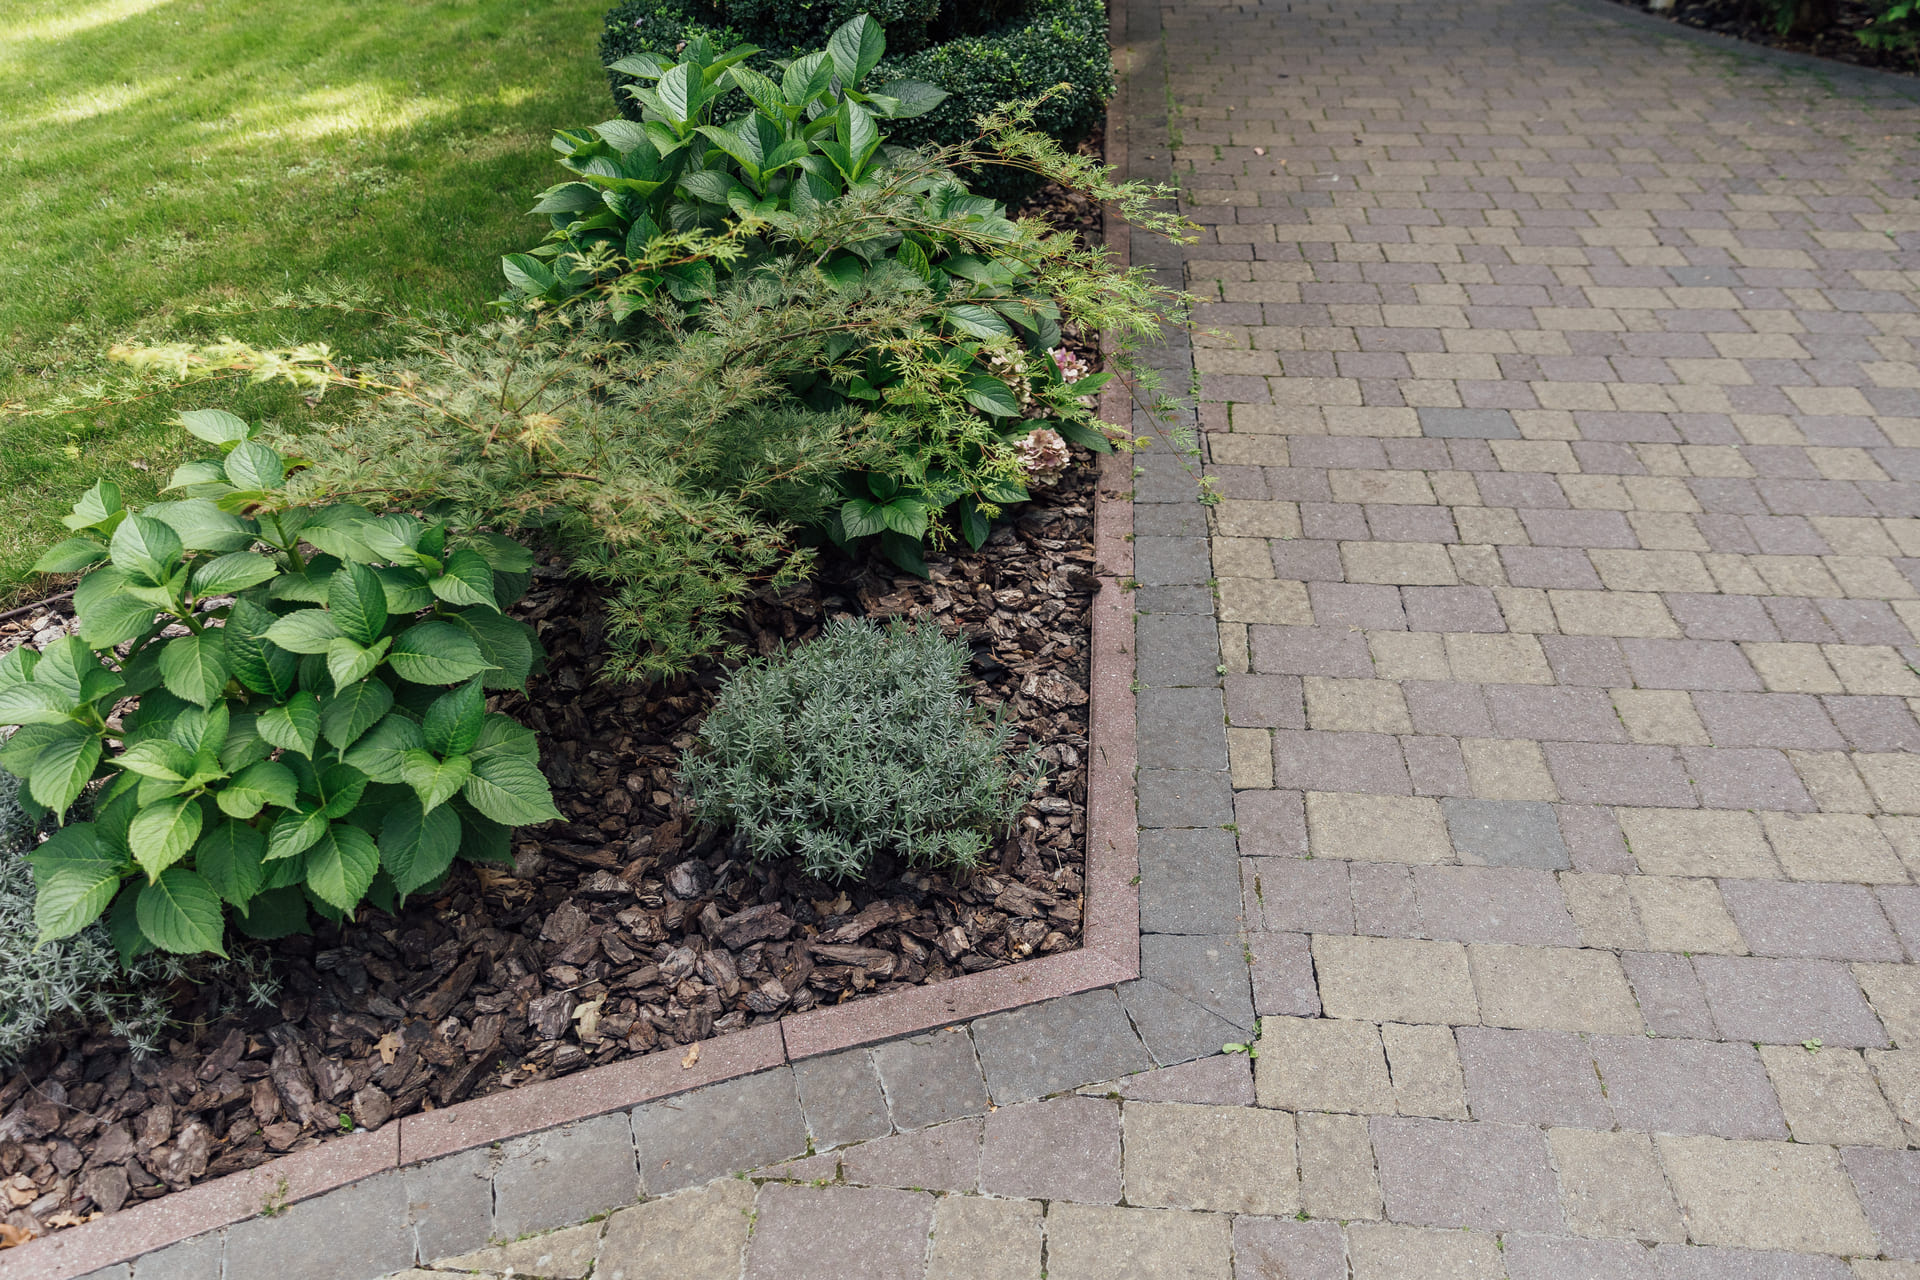
Step 5: Edge Restraints and Border Support
Edge restraints prevent pavers from spreading or shifting.
Why edge restraints matter
- Lock pavers in place
- Maintain clean lines
- Protect against movement from traffic or erosion
Without proper edge restraint, pavers will eventually lose alignment.
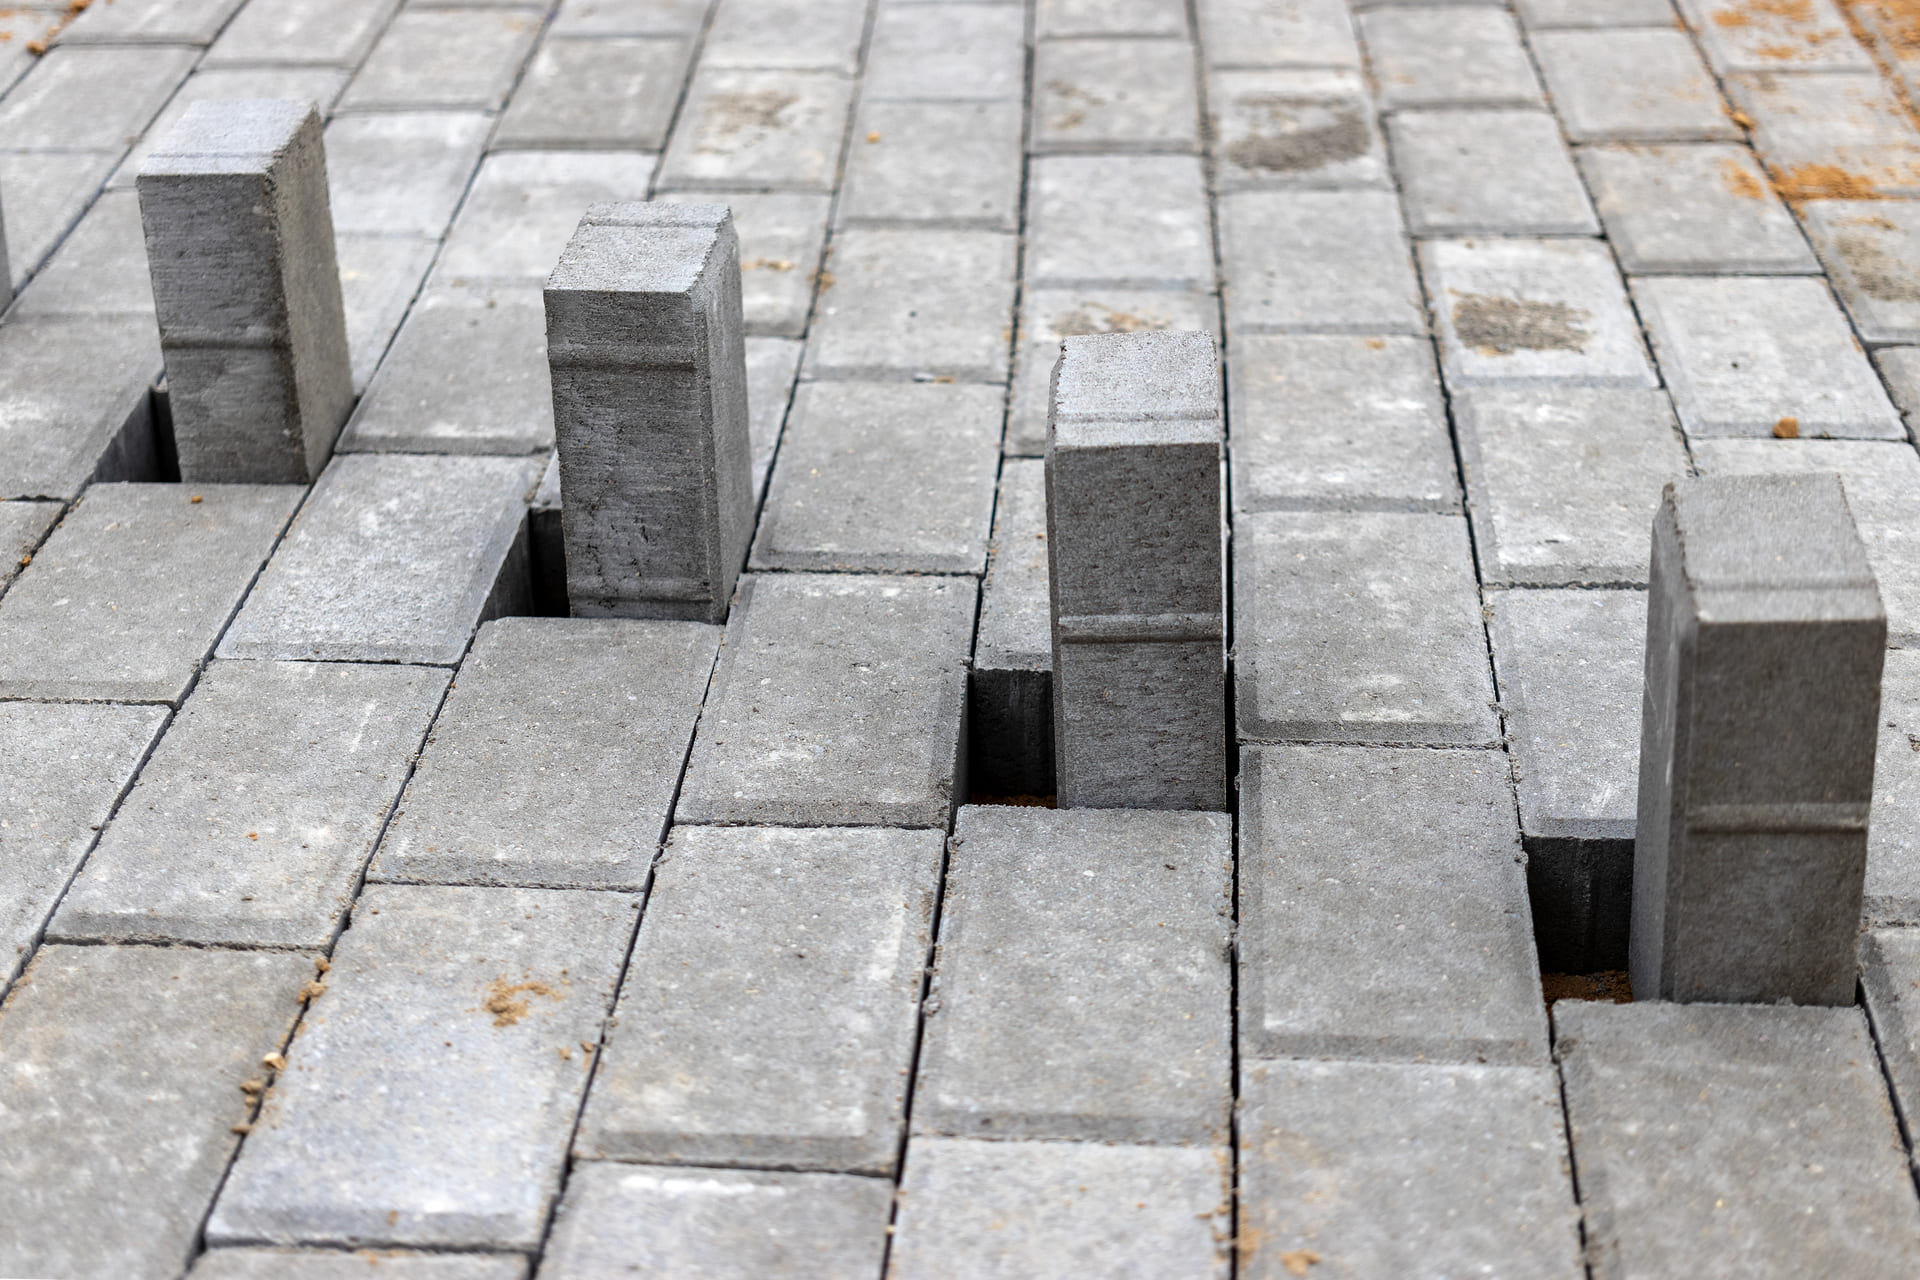
Step 6: Joint Sanding and Compaction
After laying pavers, joints are filled with sand.
Benefits of joint sand
- Locks pavers together
- Reduces weed growth
- Improves surface stability
Polymeric sand is commonly used in Florida because it hardens when activated with water.
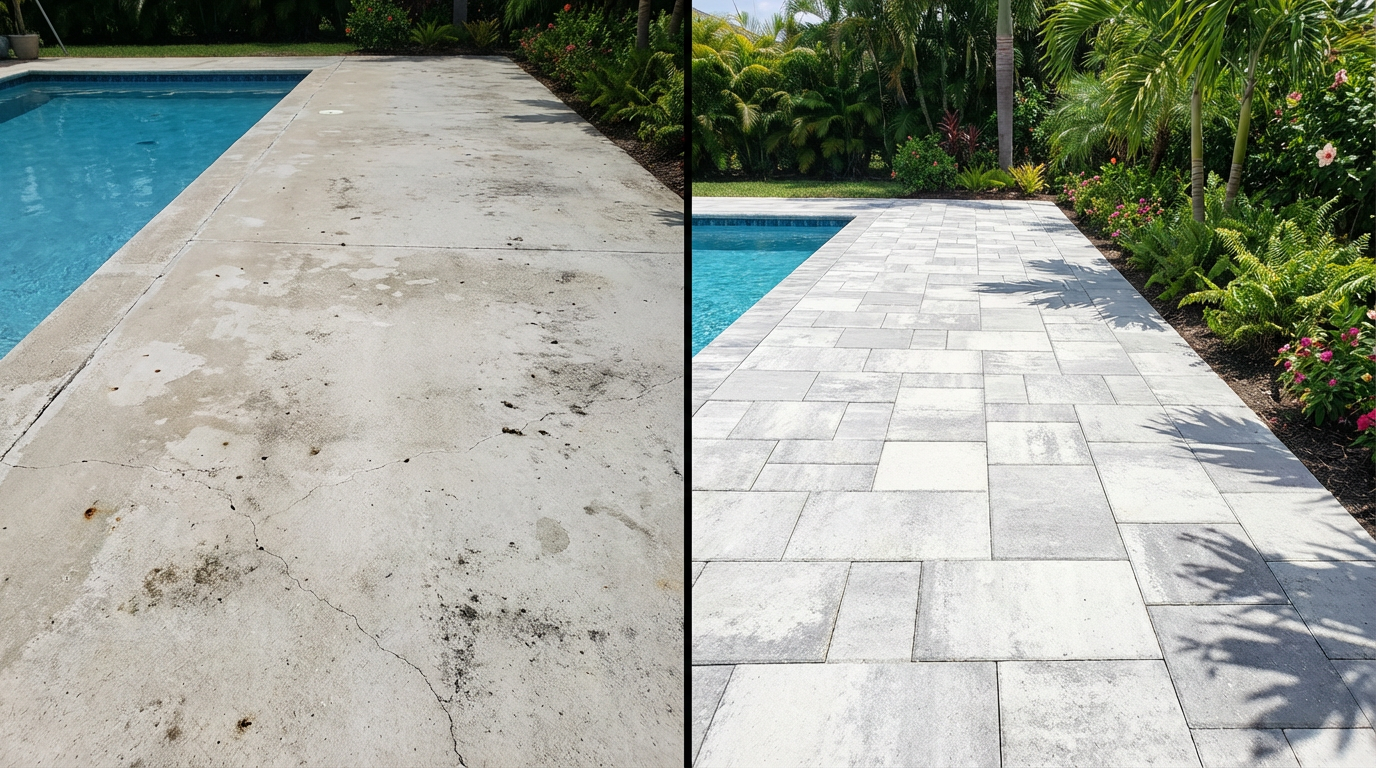
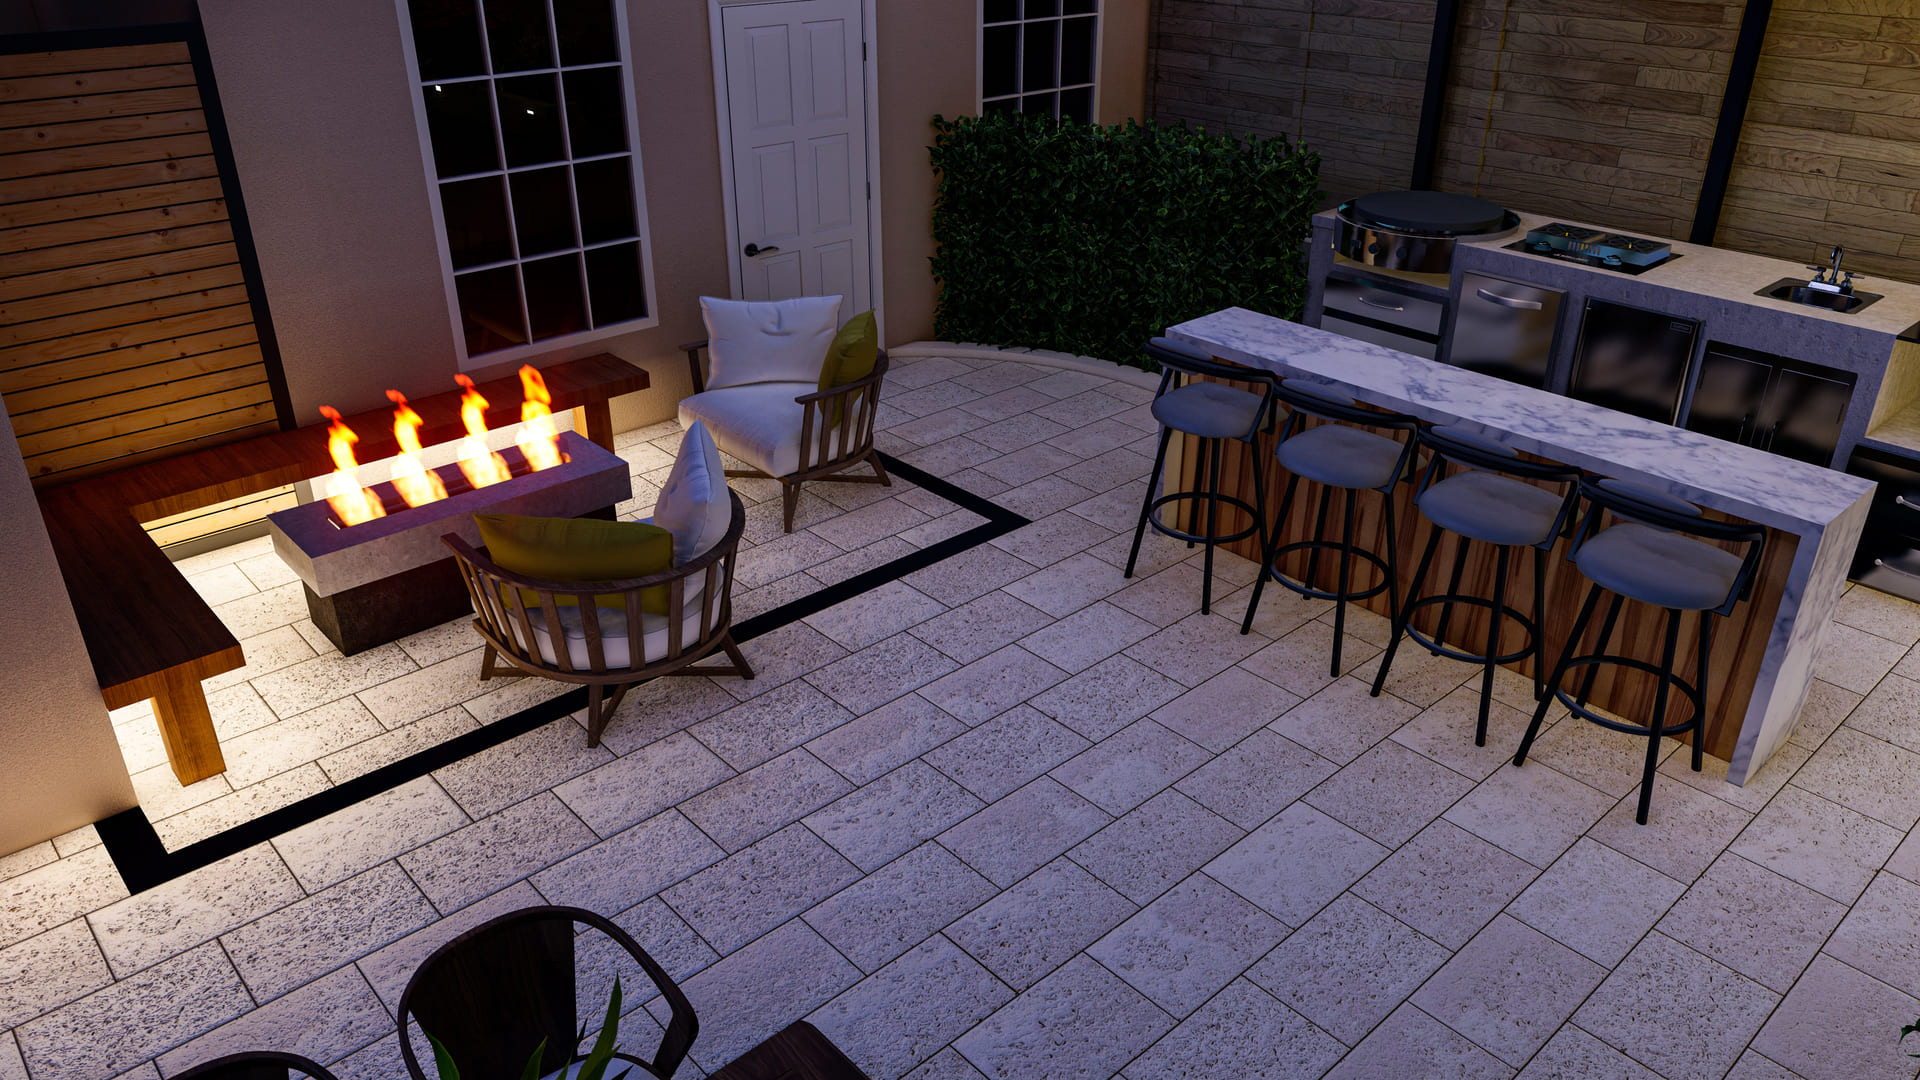
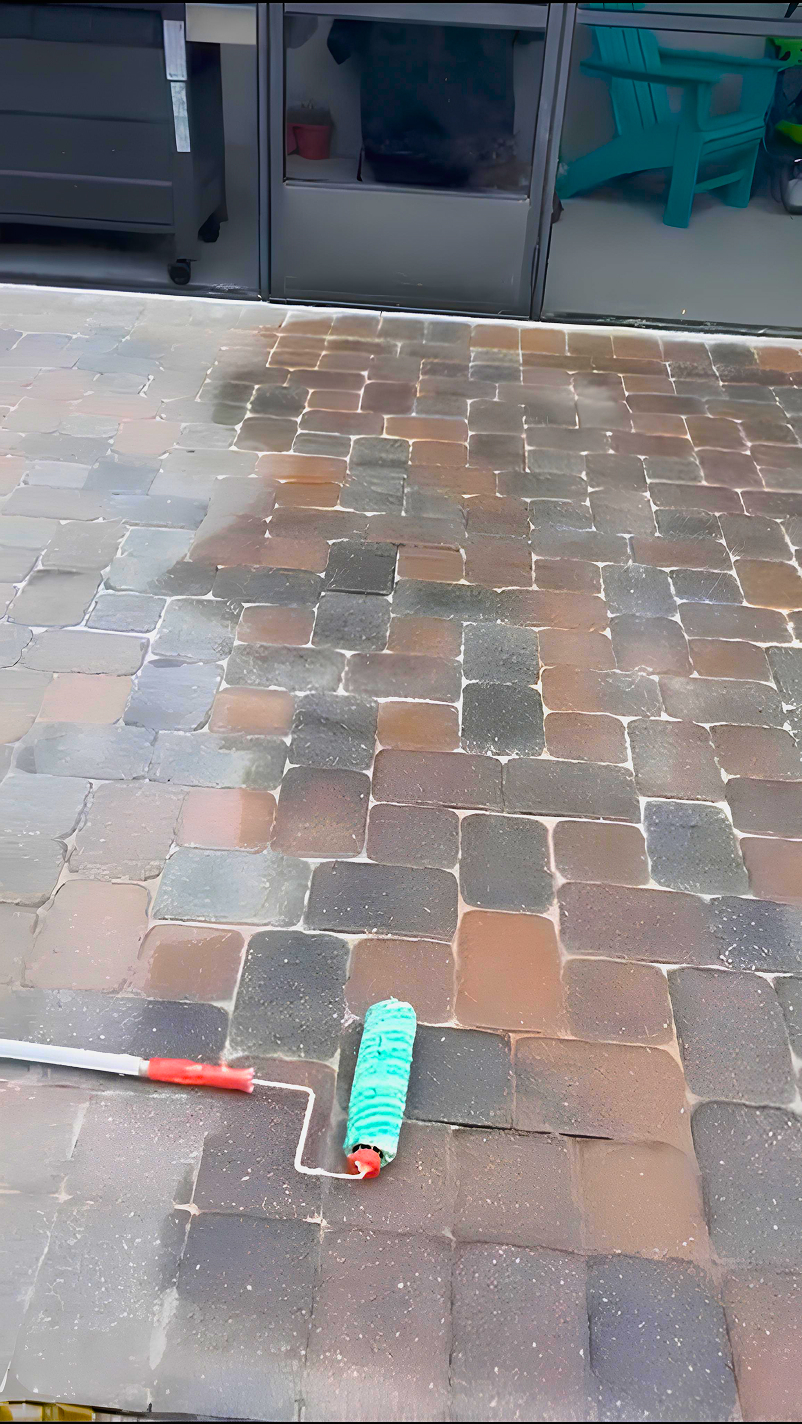
Step 7: Sealing the Pavers (Optional but Recommended)
Sealing is not always required, but it offers several benefits.
Advantages of sealing
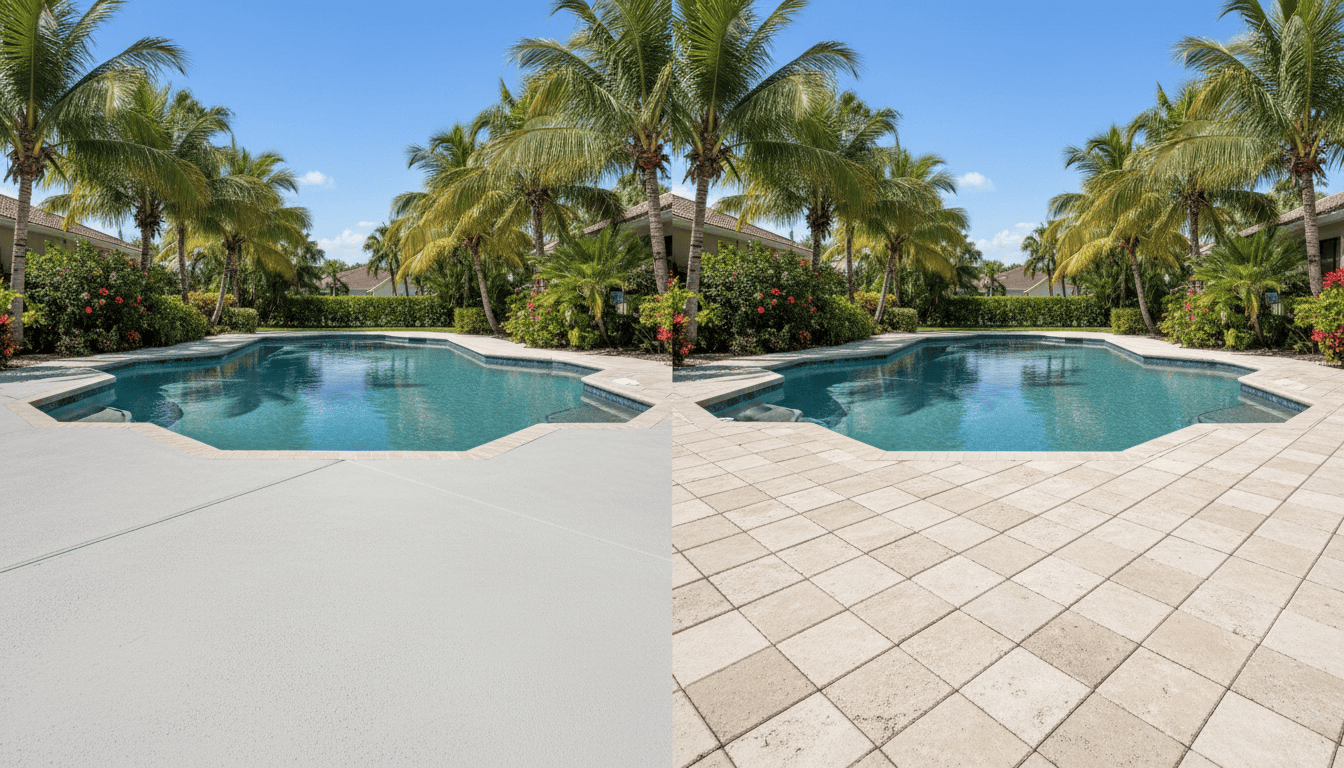
- Enhances color and appearance
- Protects against stains and oil
- Reduces fading from UV exposure
- Makes cleaning easier
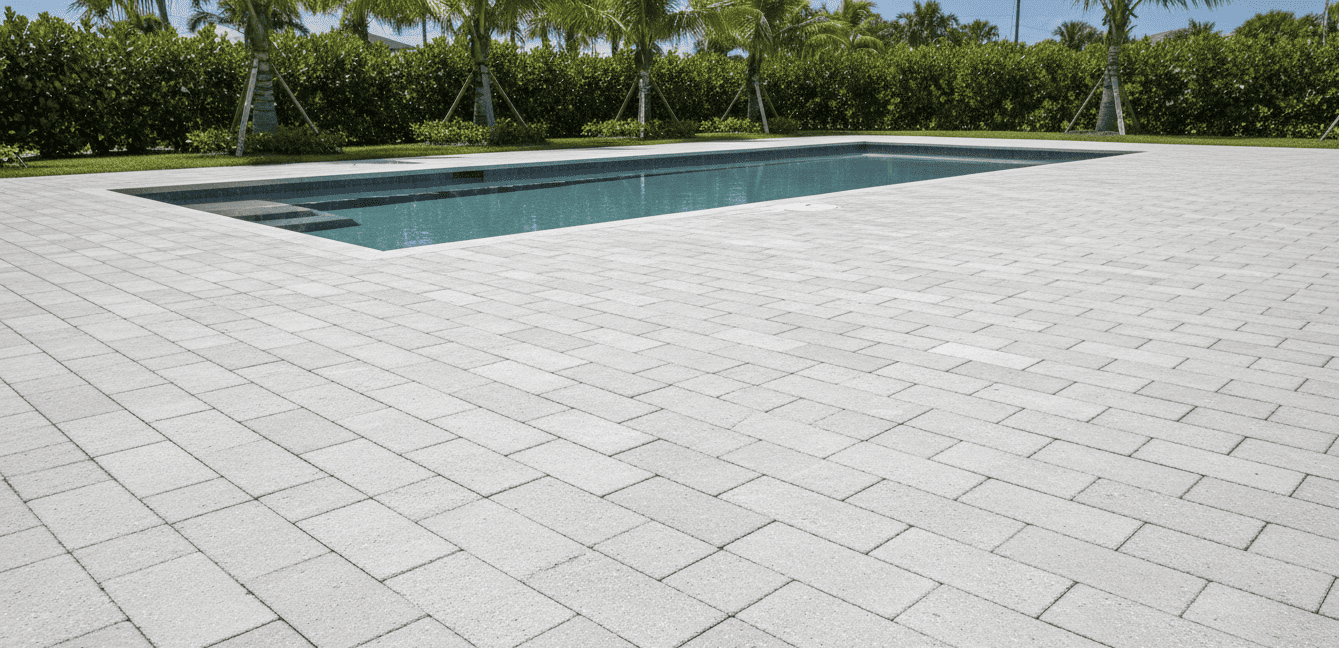
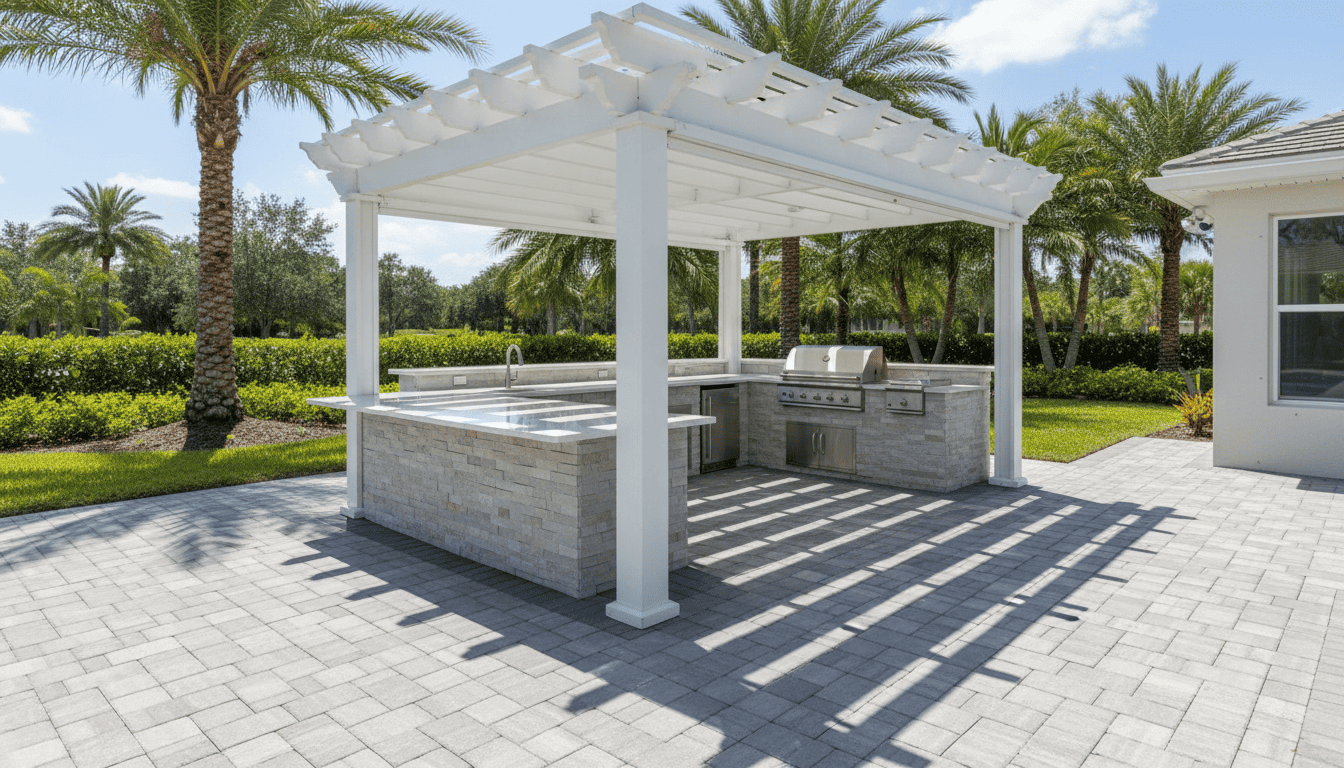
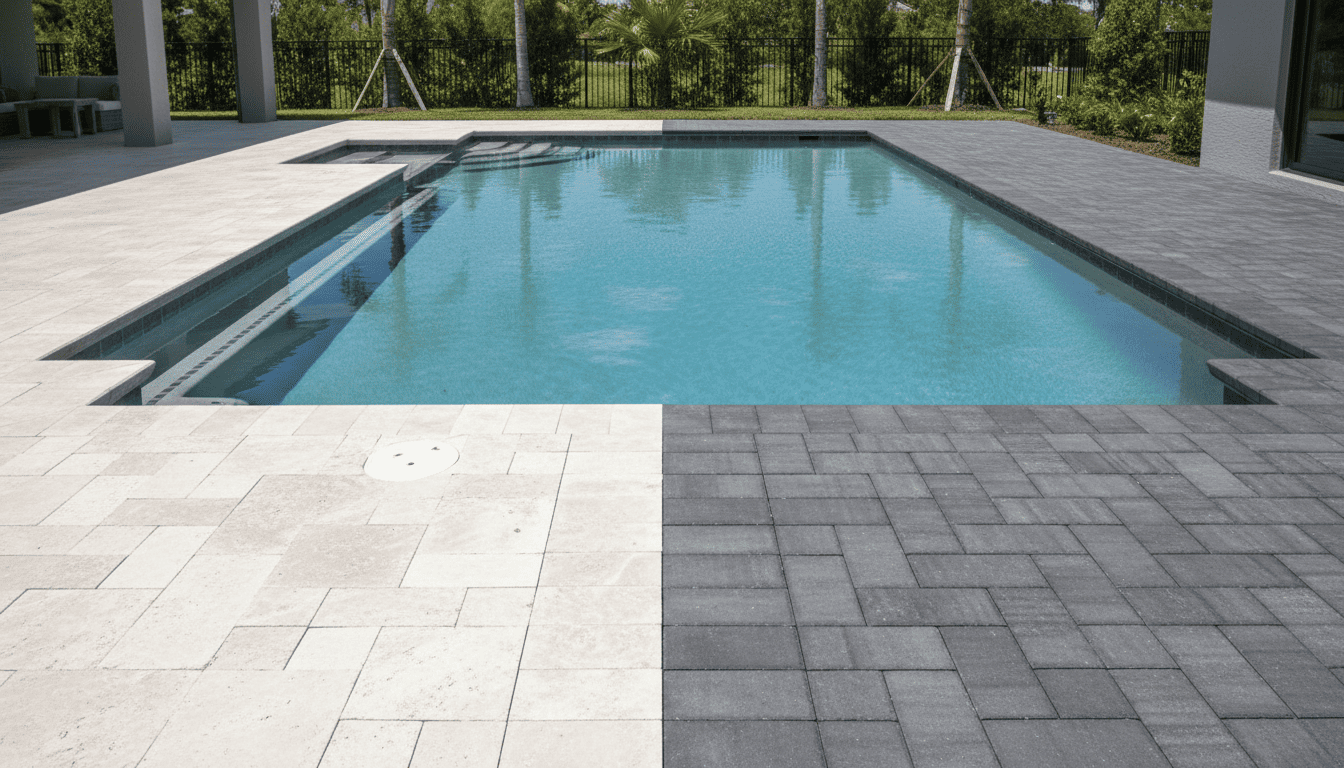
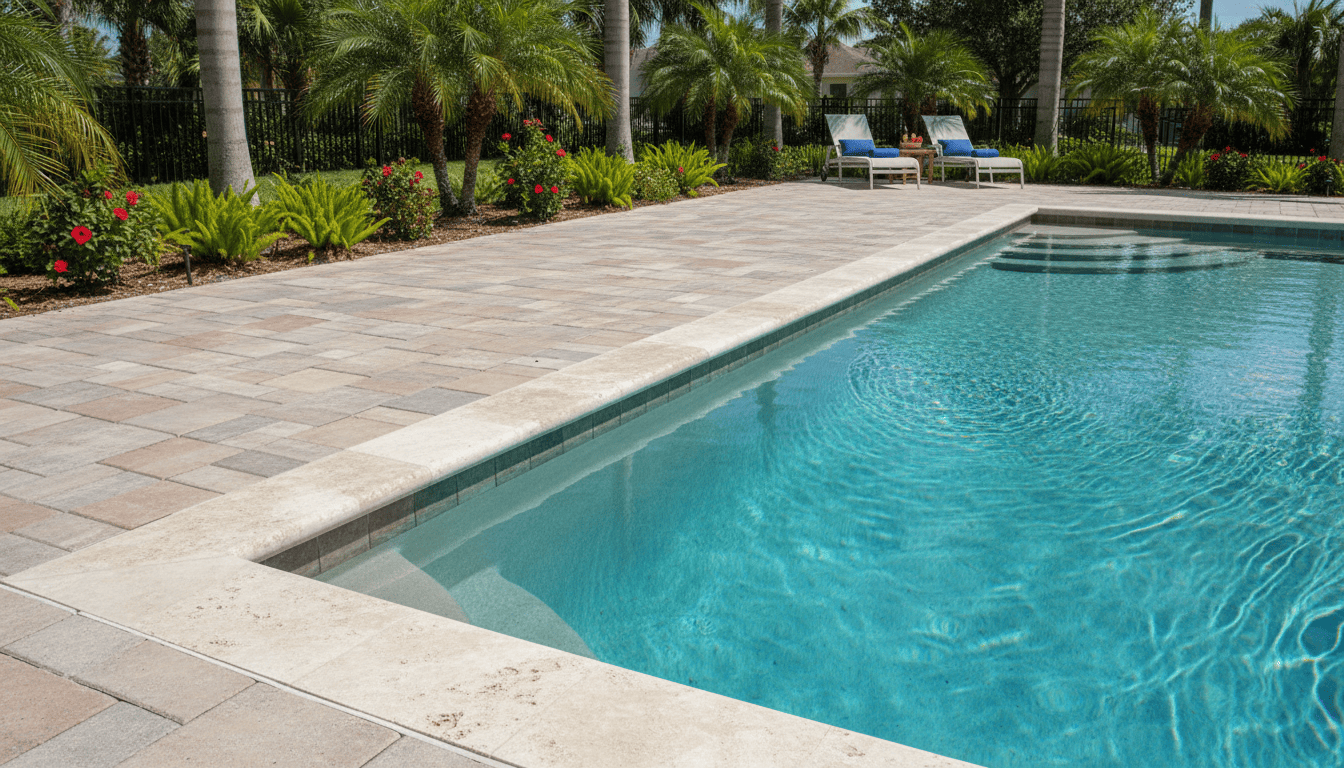
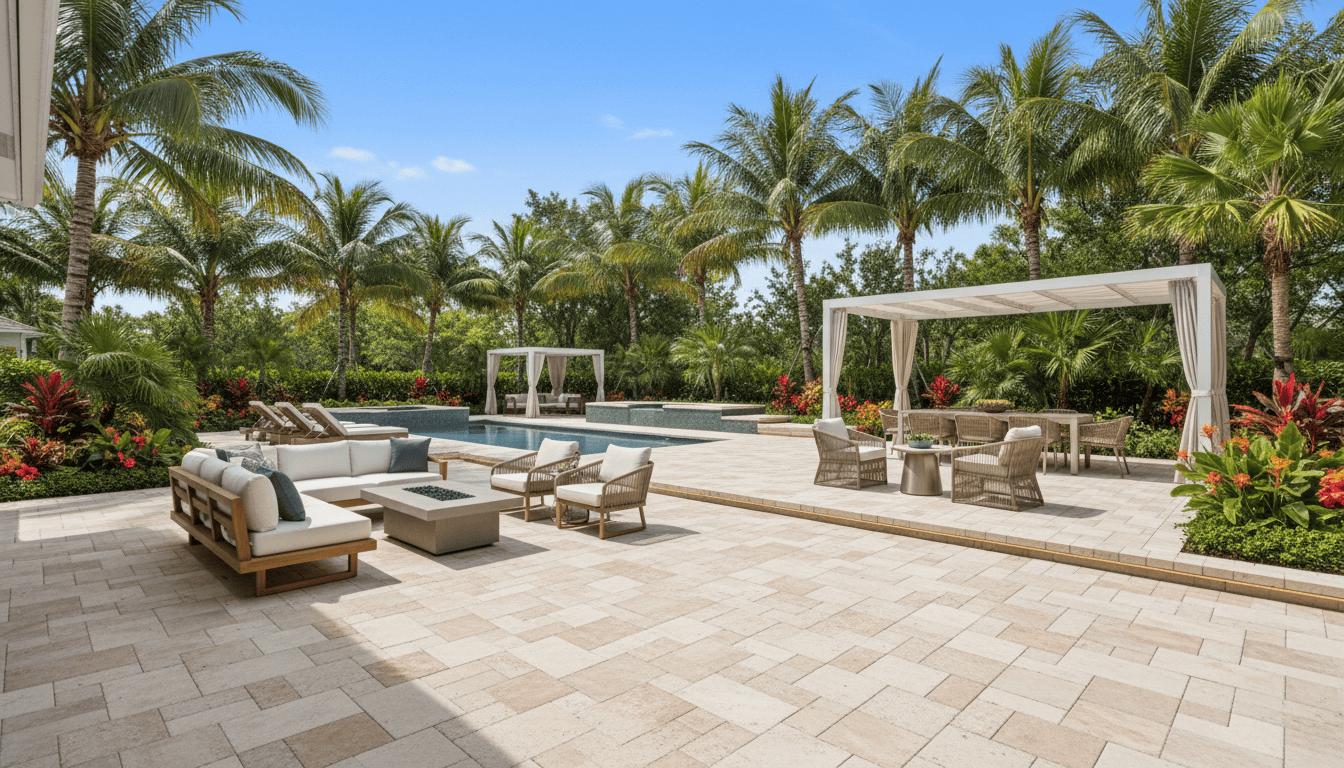
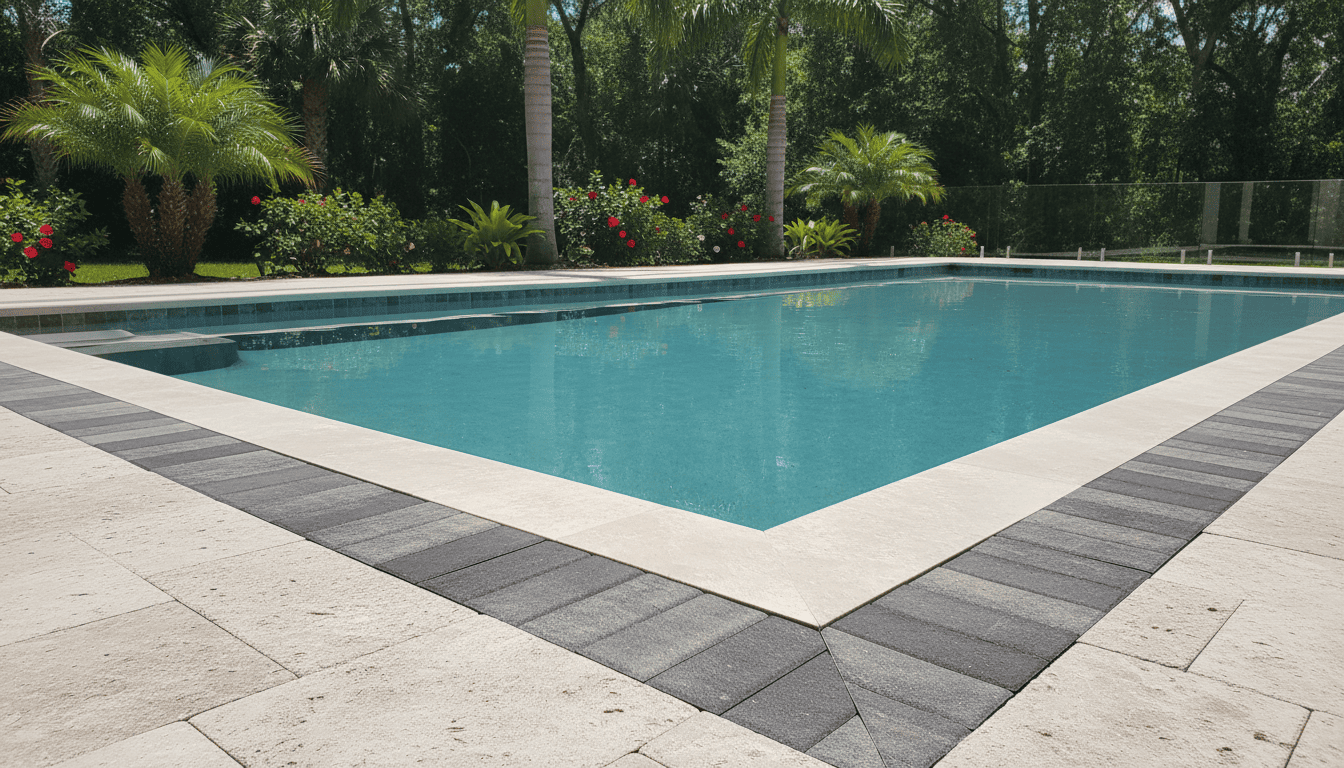
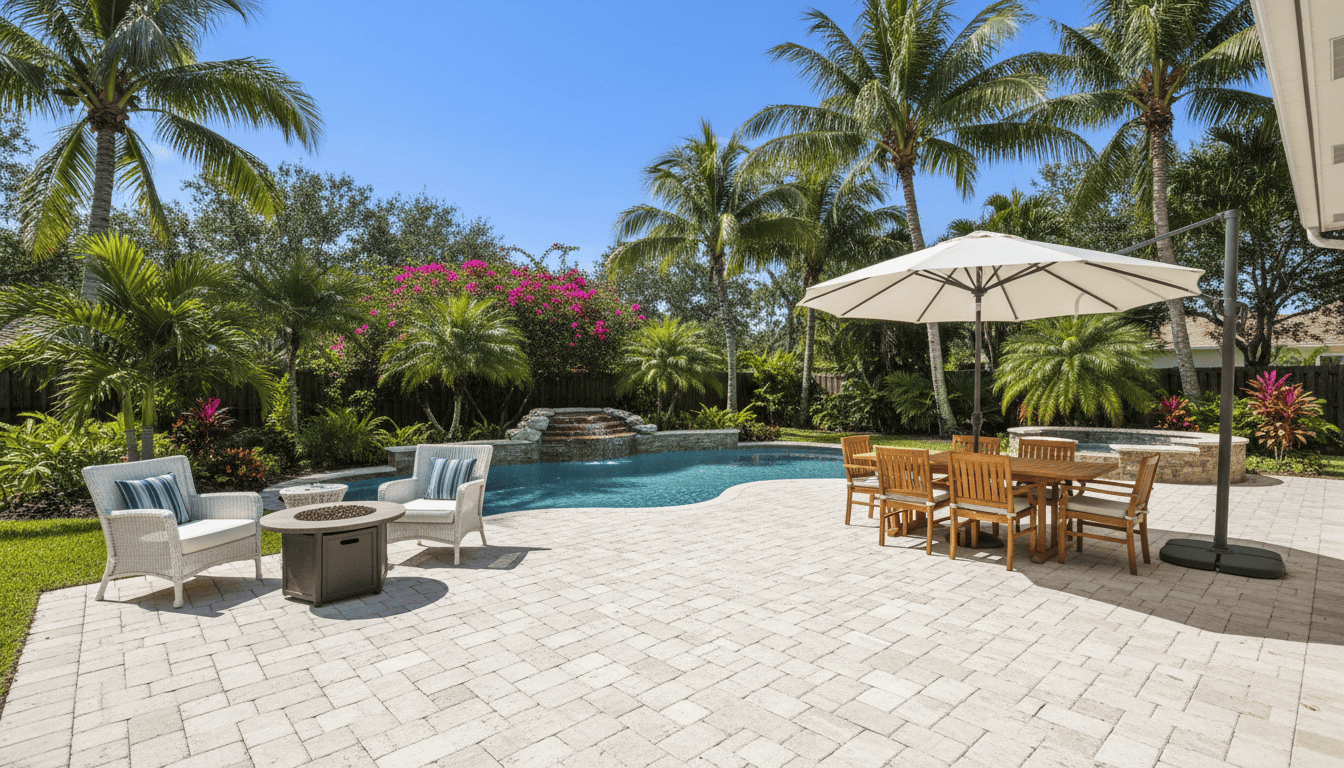
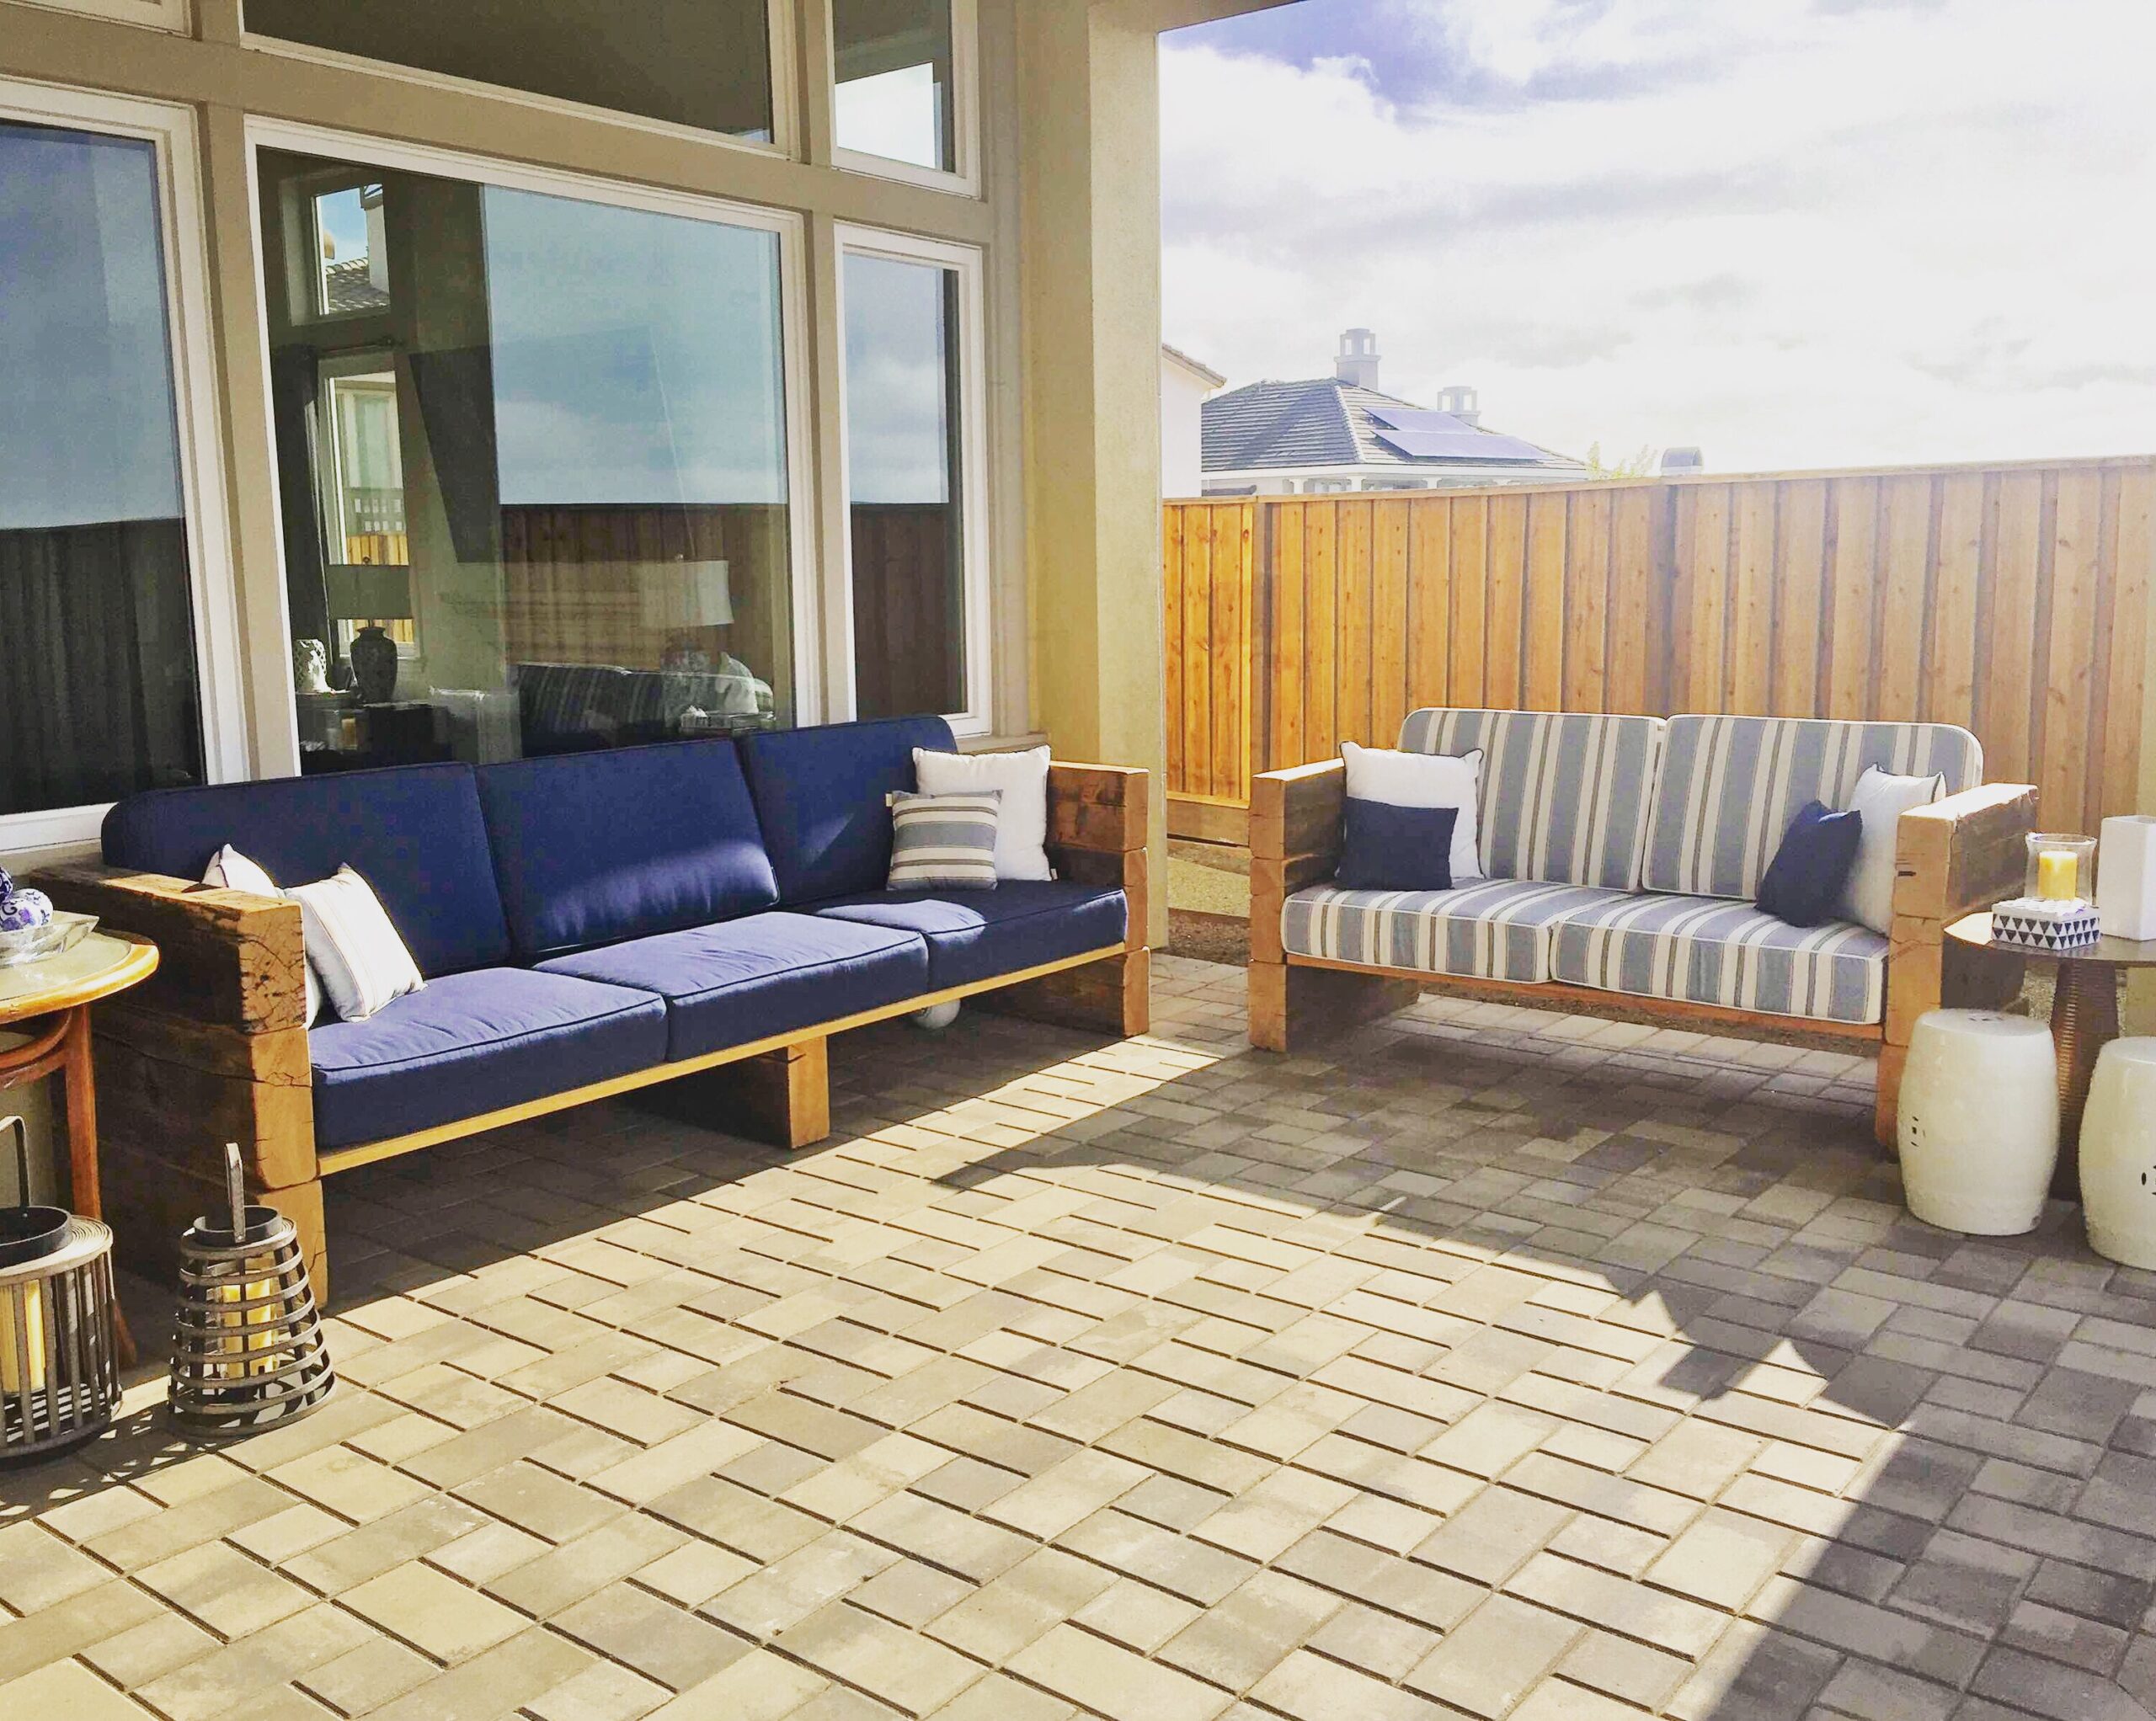
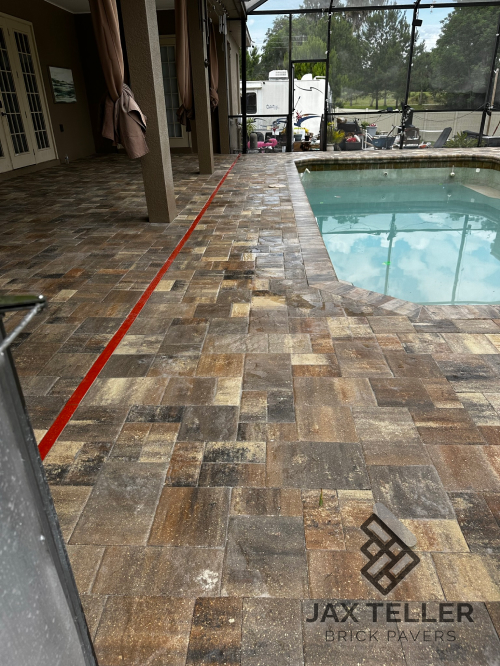
In Florida, sealing is especially useful for driveways, pool decks, and patios.
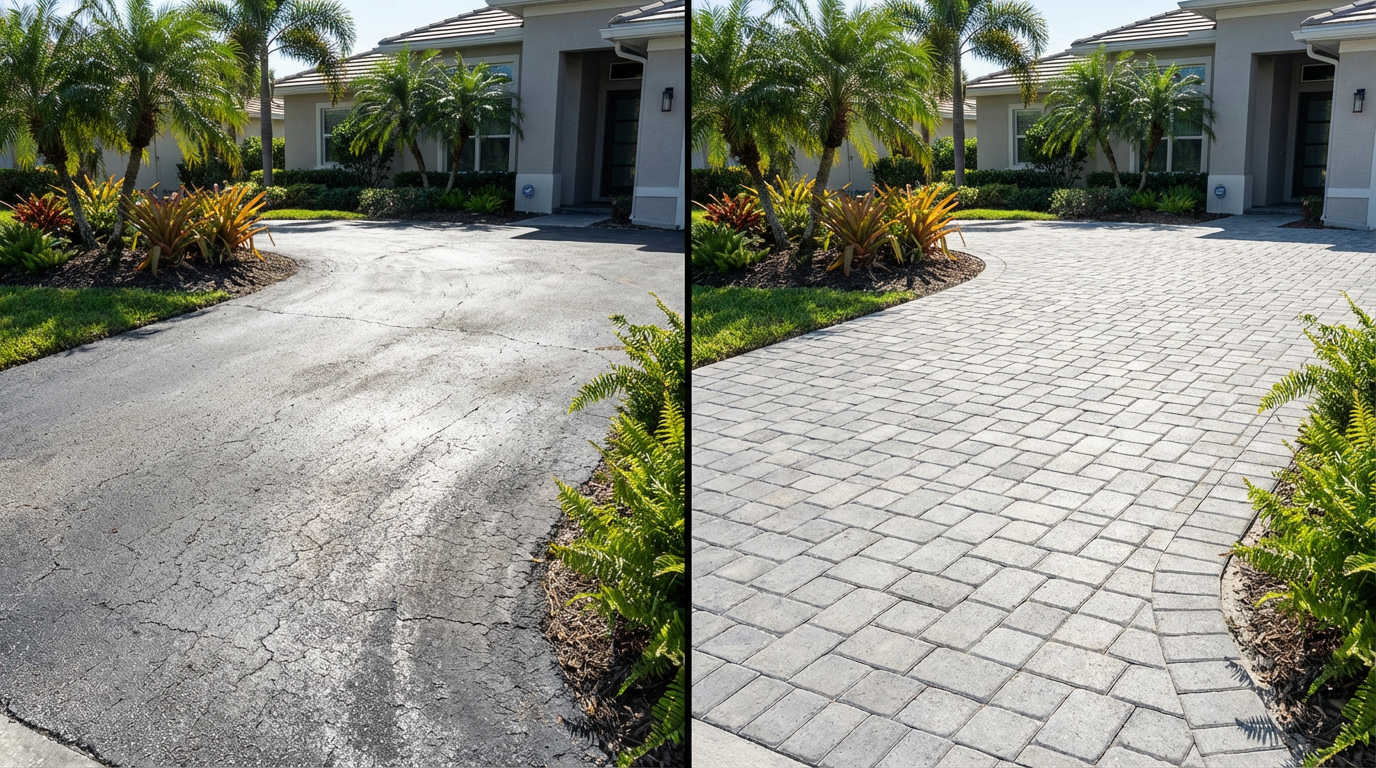
Common Paver Installation Mistakes to Avoid
Many paver problems come from shortcuts during installation.
Common mistakes
- Insufficient base depth
- Poor compaction
- Ignoring drainage slope
- Skipping edge restraints
- Uneven joint sanding
Professional installation eliminates these risks.
Paver Maintenance in Florida: What Homeowners Should Know
Pavers are low maintenance — but not maintenance-free.
Why maintenance matters
- Preserves appearance
- Prevents joint erosion
- Reduces weed growth
- Extends lifespan
A simple routine keeps pavers looking new.
Routine Cleaning and Care
Recommended maintenance habits
- Sweep debris regularly
- Rinse surfaces to prevent buildup
- Clean stains promptly with neutral cleaners
- Avoid harsh chemicals
These steps prevent discoloration and surface damage.
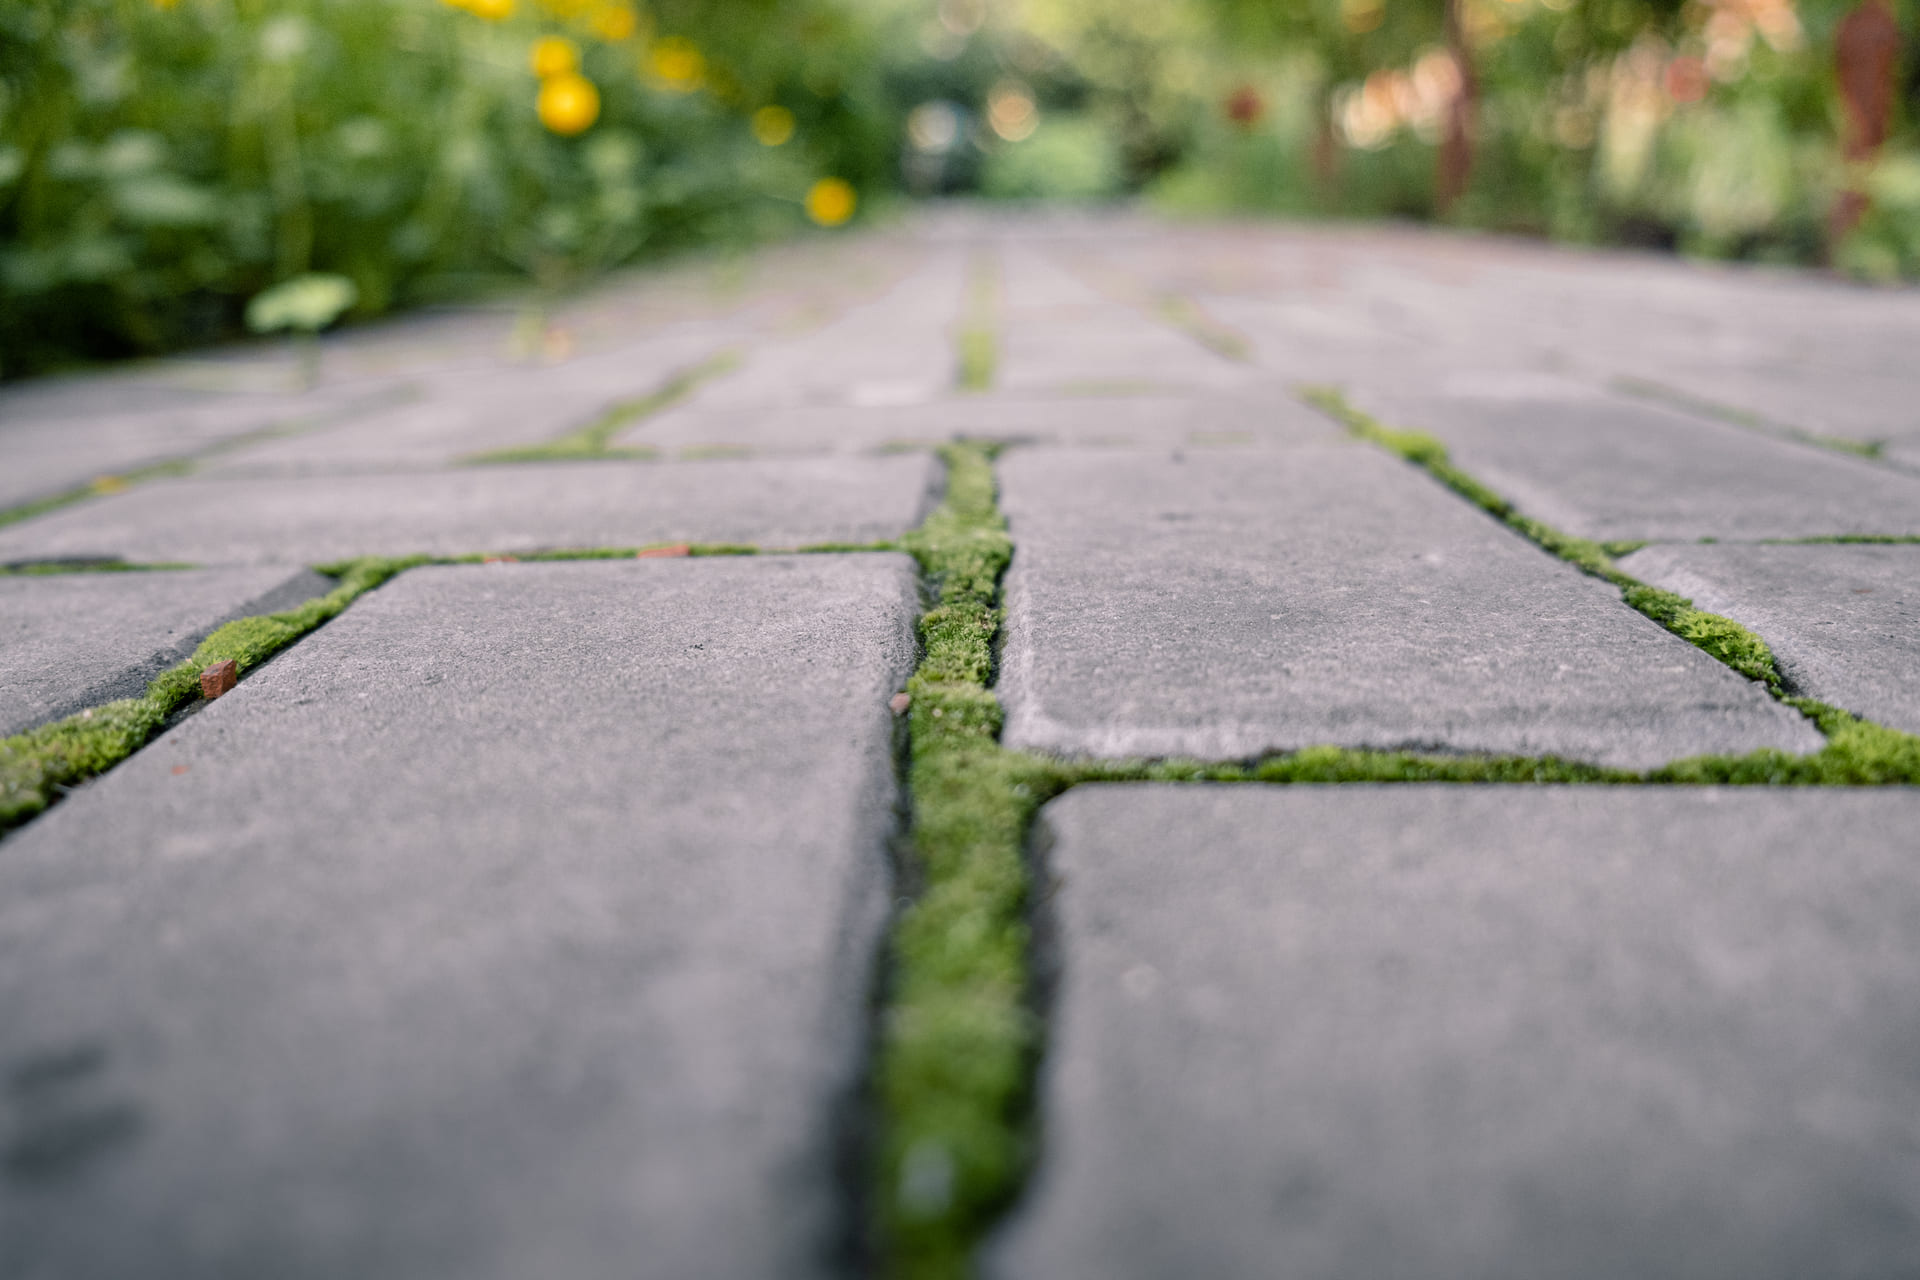
Joint Sand Maintenance
Over time, joint sand can wear away.
Signs joint sand needs attention
- Visible gaps between pavers
- Increased weed growth
- Loose or shifting pavers
Reapplying sand restores stability and appearance.
Sealing Maintenance Schedule
If pavers are sealed, resealing may be needed periodically.
Typical sealing schedule
- Every 3–5 years for high-traffic areas
- After deep cleaning or joint repair
Sealing frequency depends on exposure and usage.
Inspecting Pavers After Storms
Florida storms can be intense.
After heavy rain:
- Check for settling
- Inspect edges and borders
- Clear debris from joints
Early detection prevents small issues from becoming major repairs.
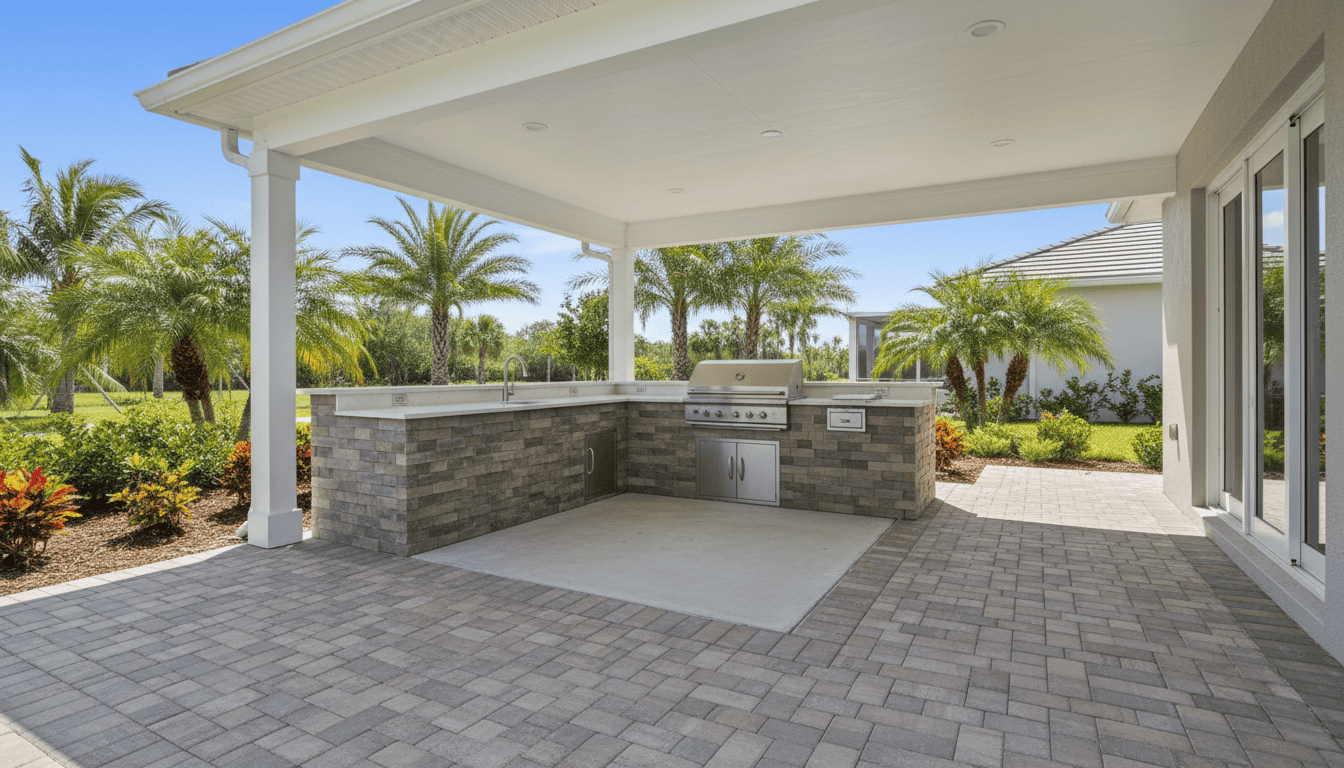
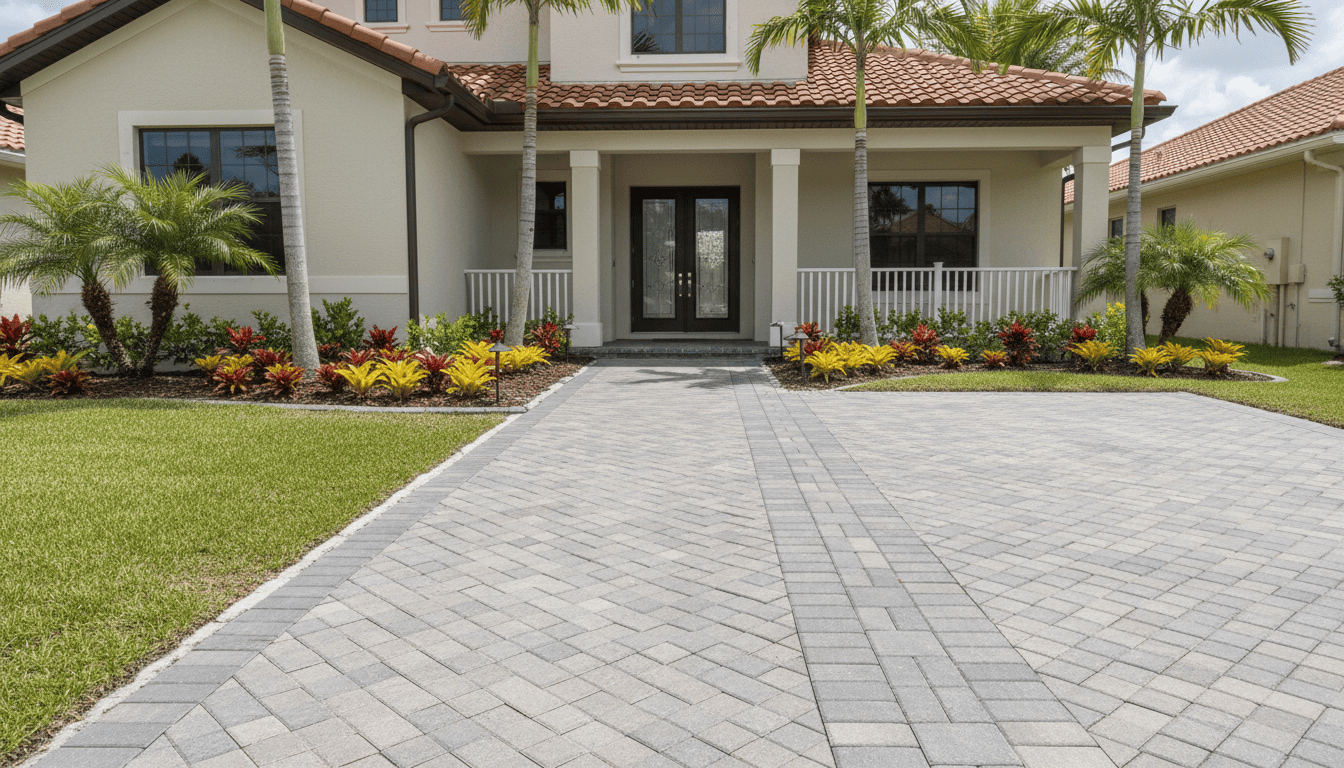
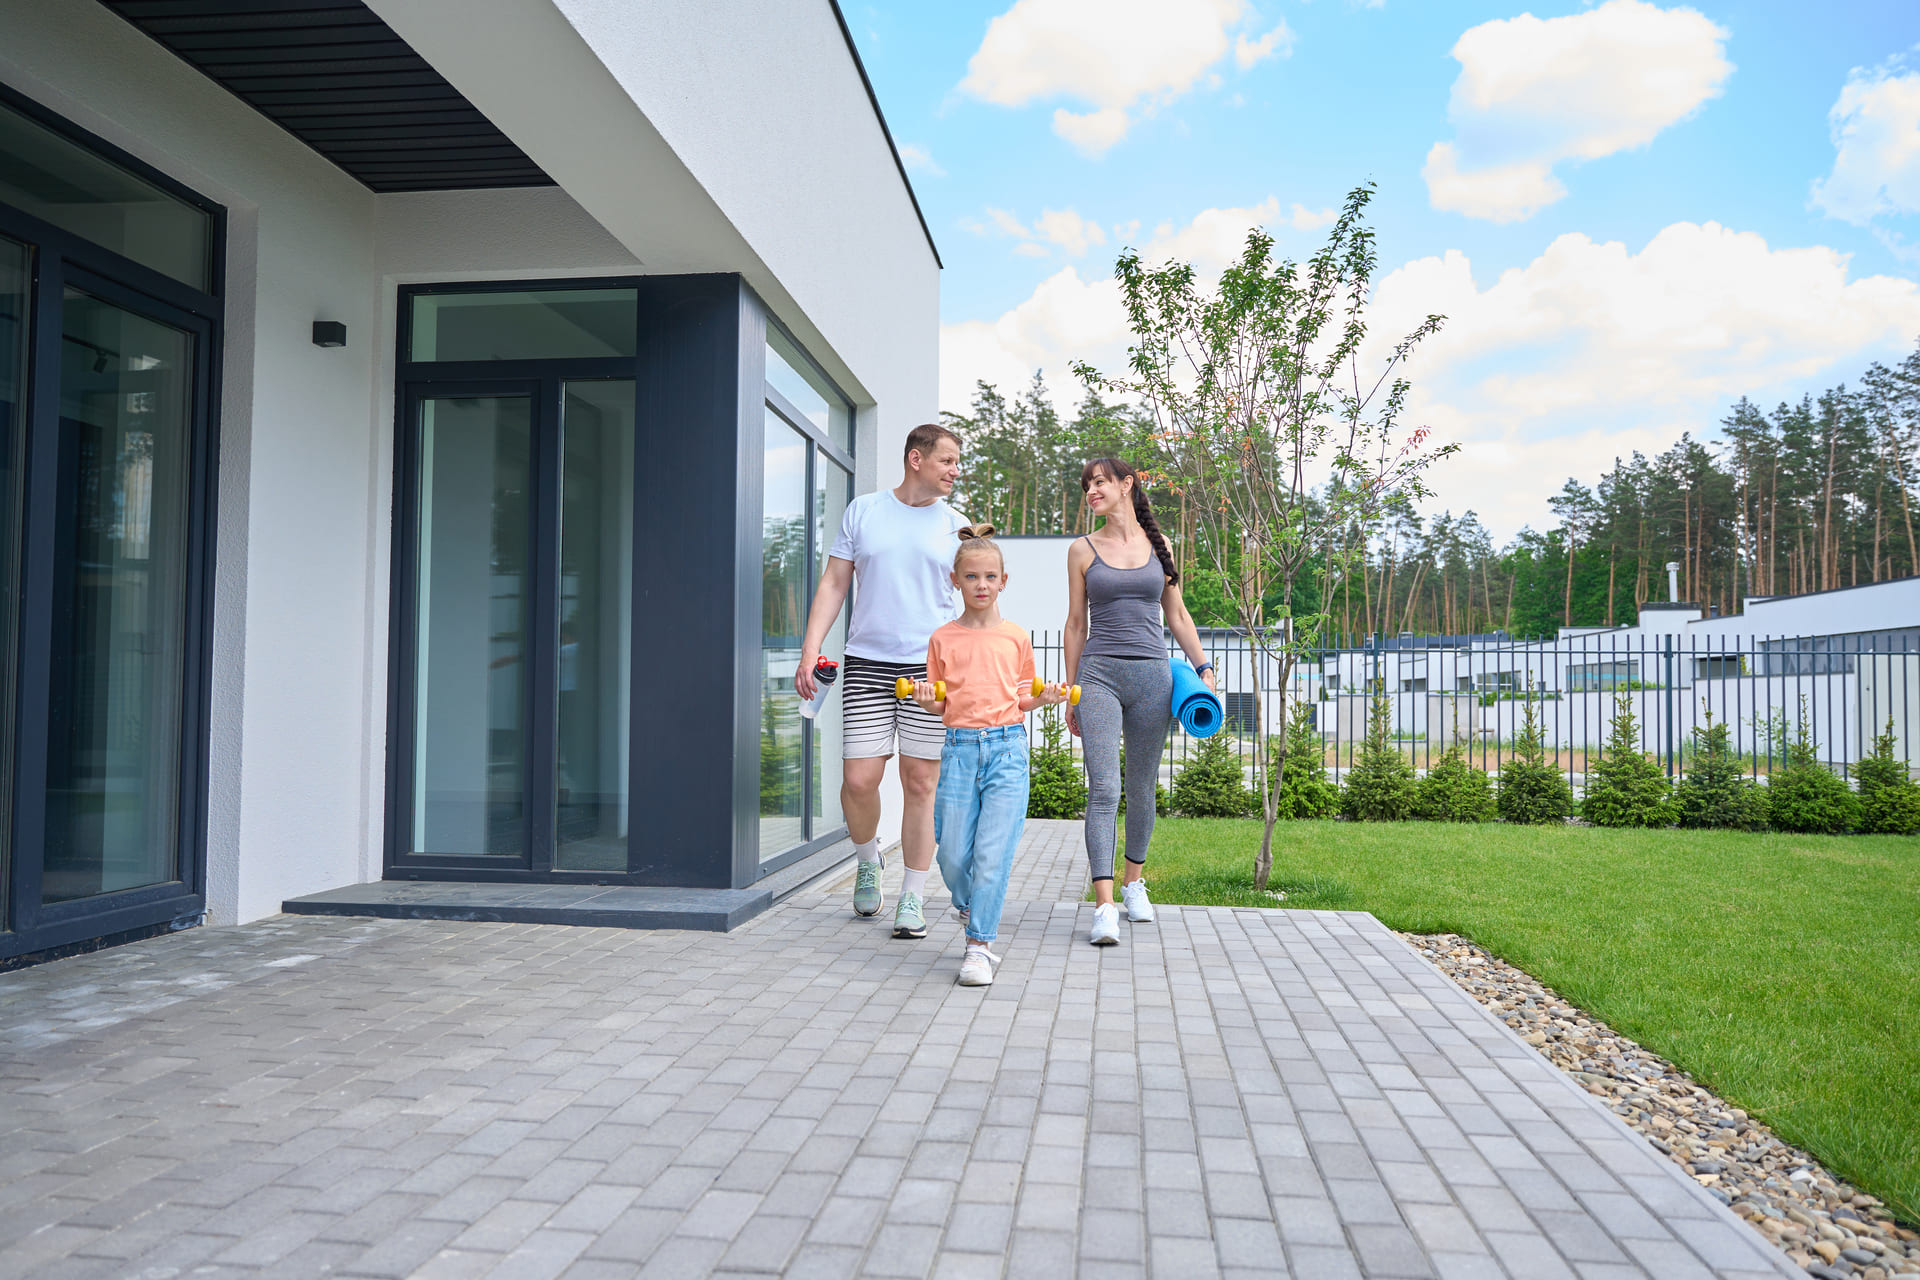
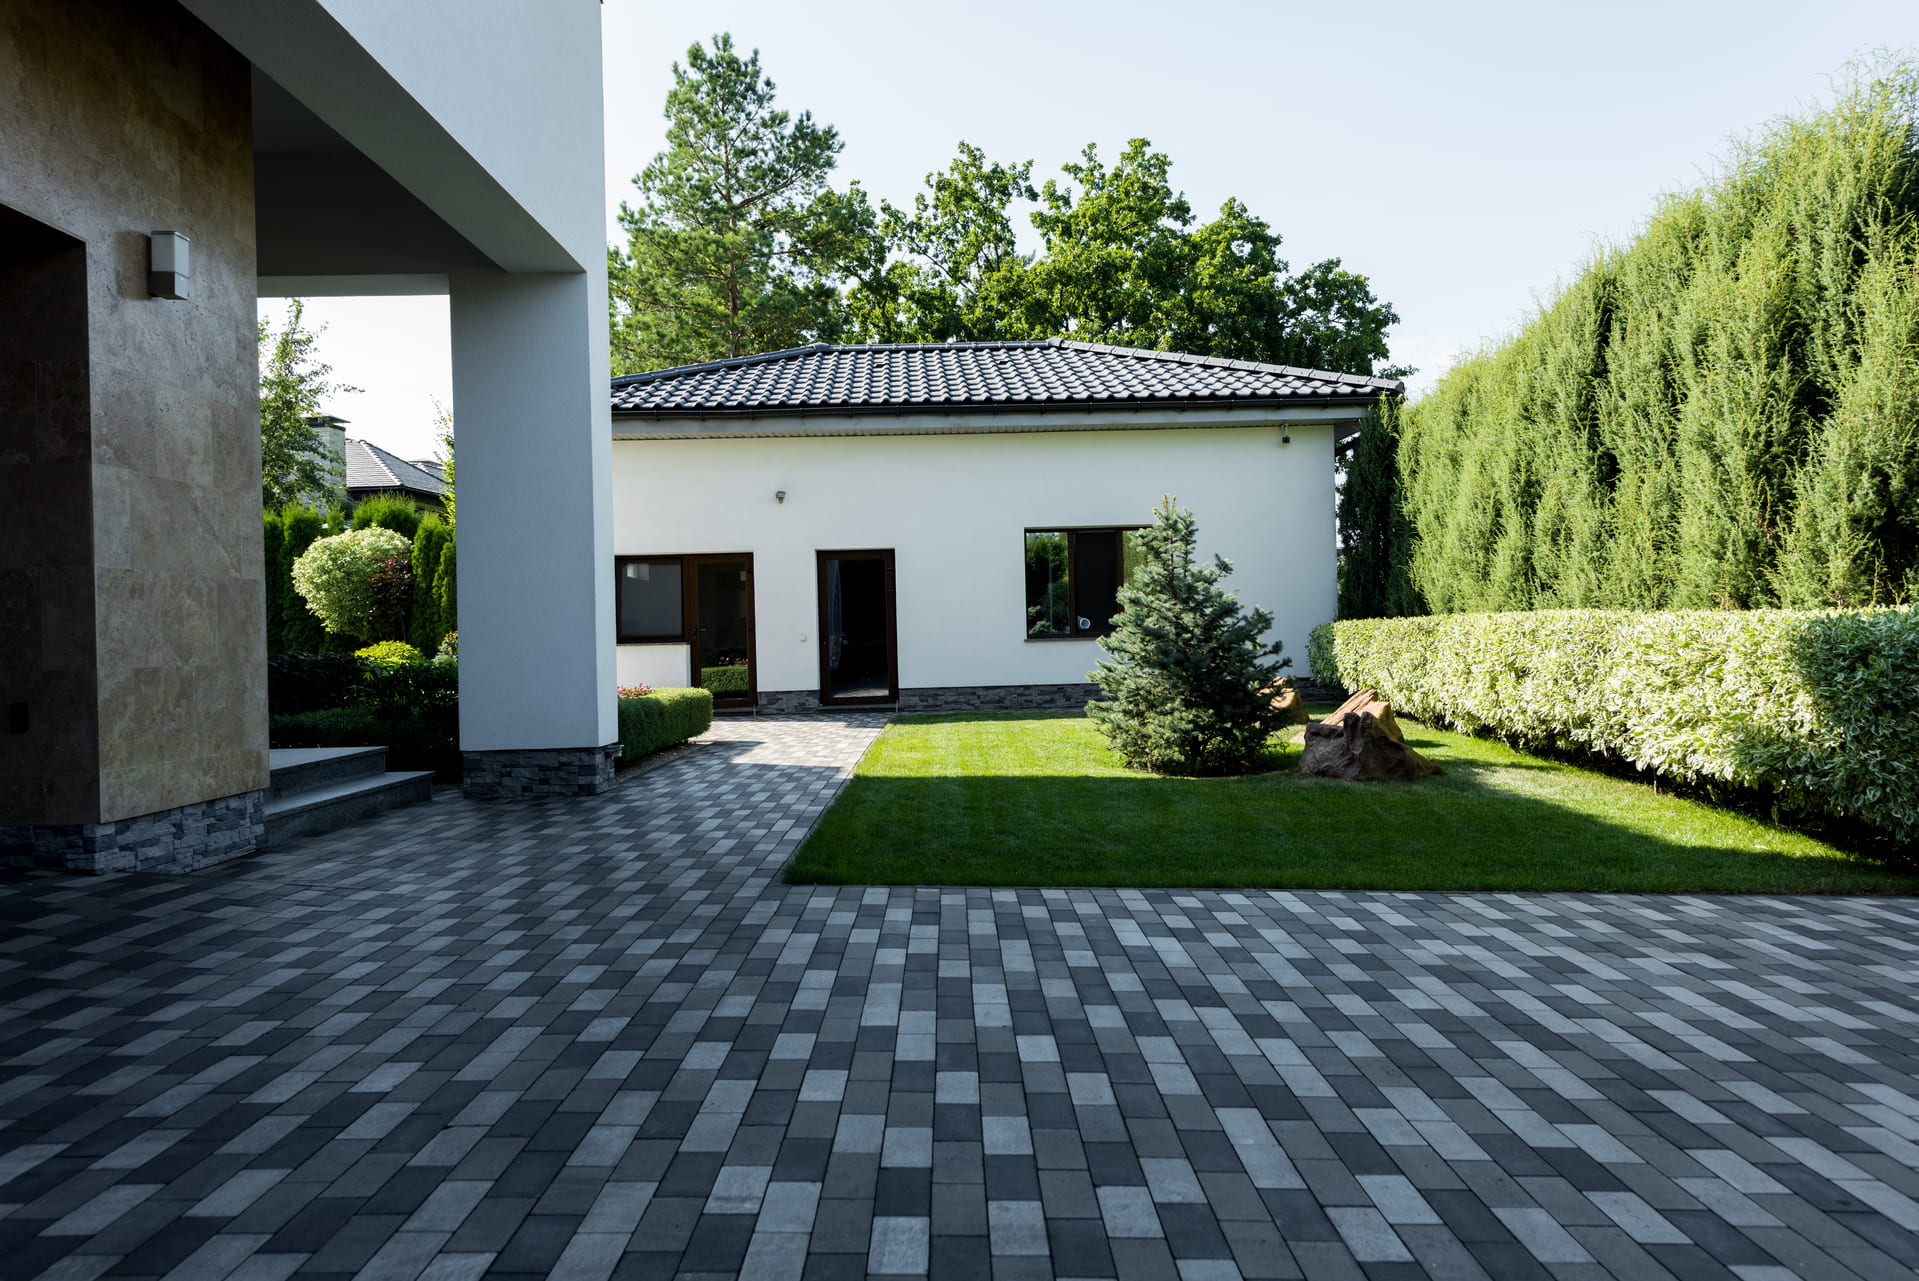
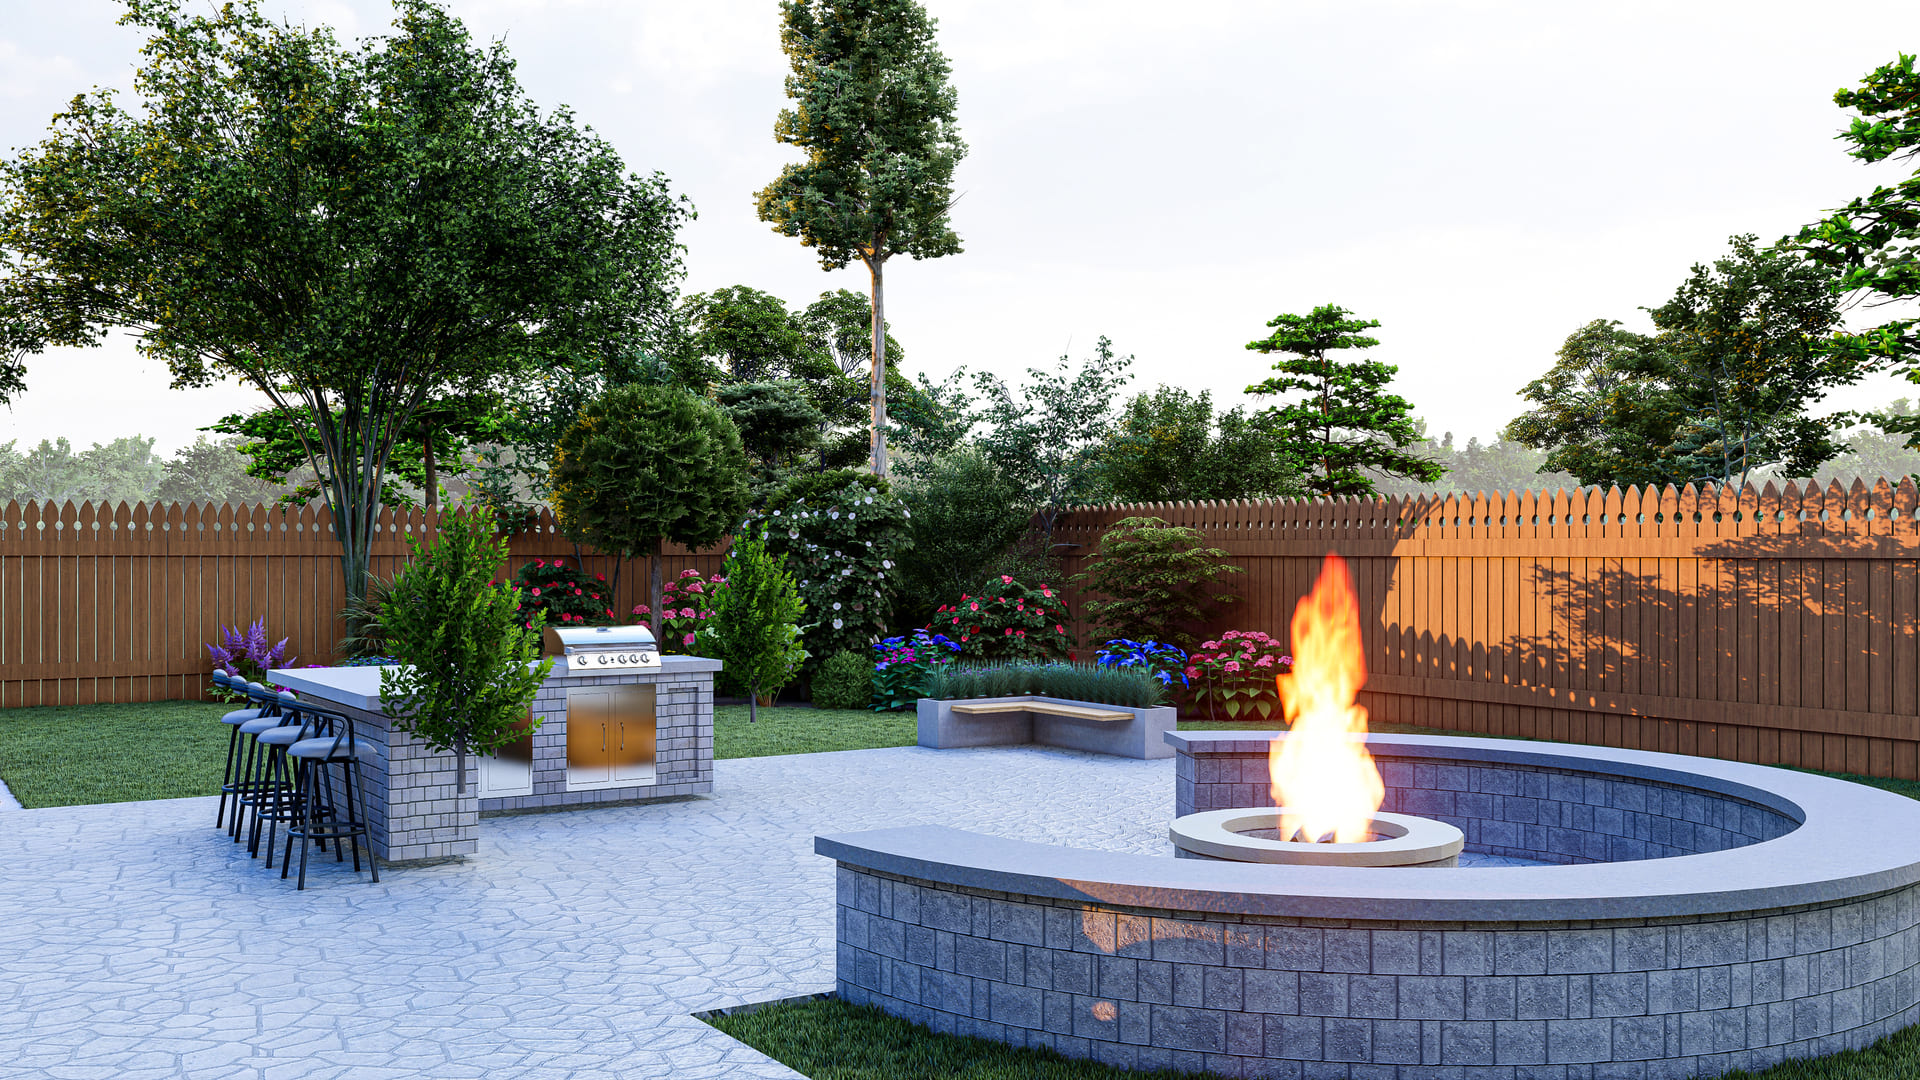
Longevity: How Long Do Pavers Last?
With professional installation and proper maintenance:
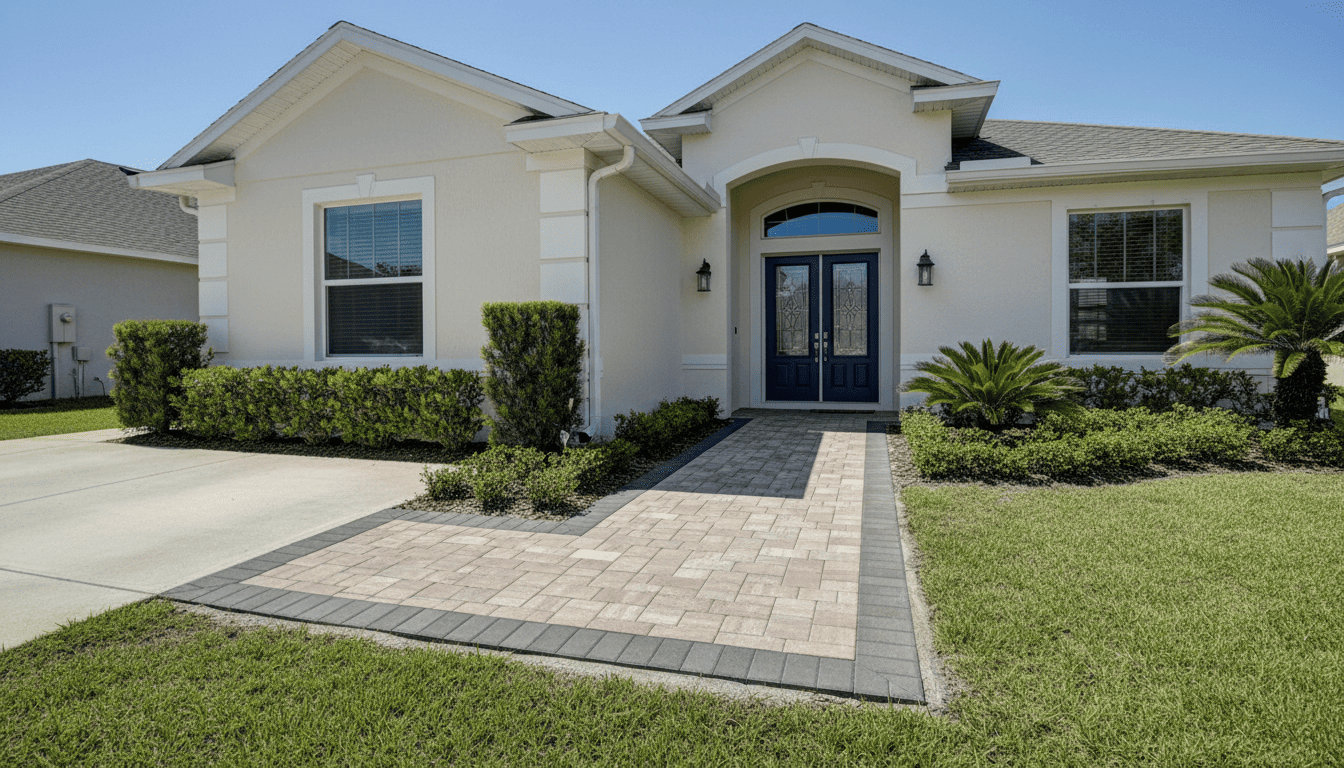
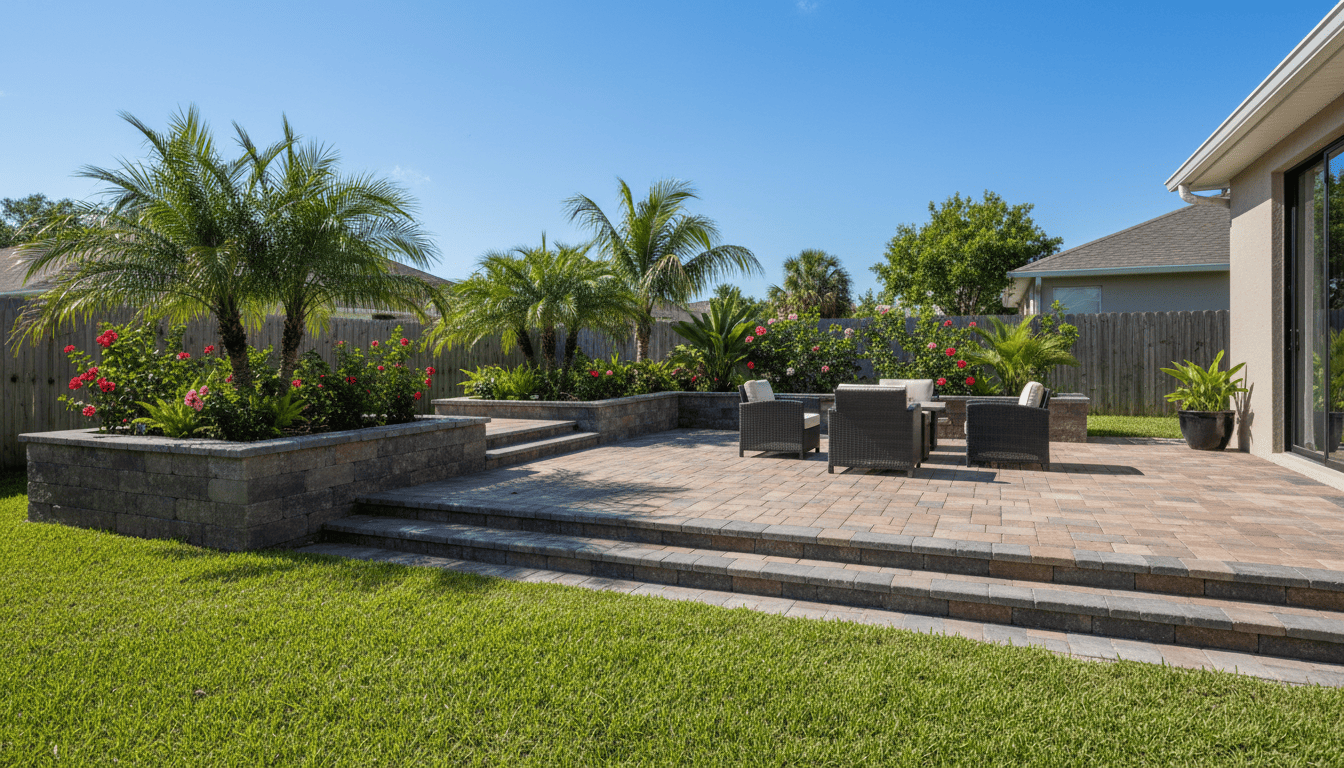
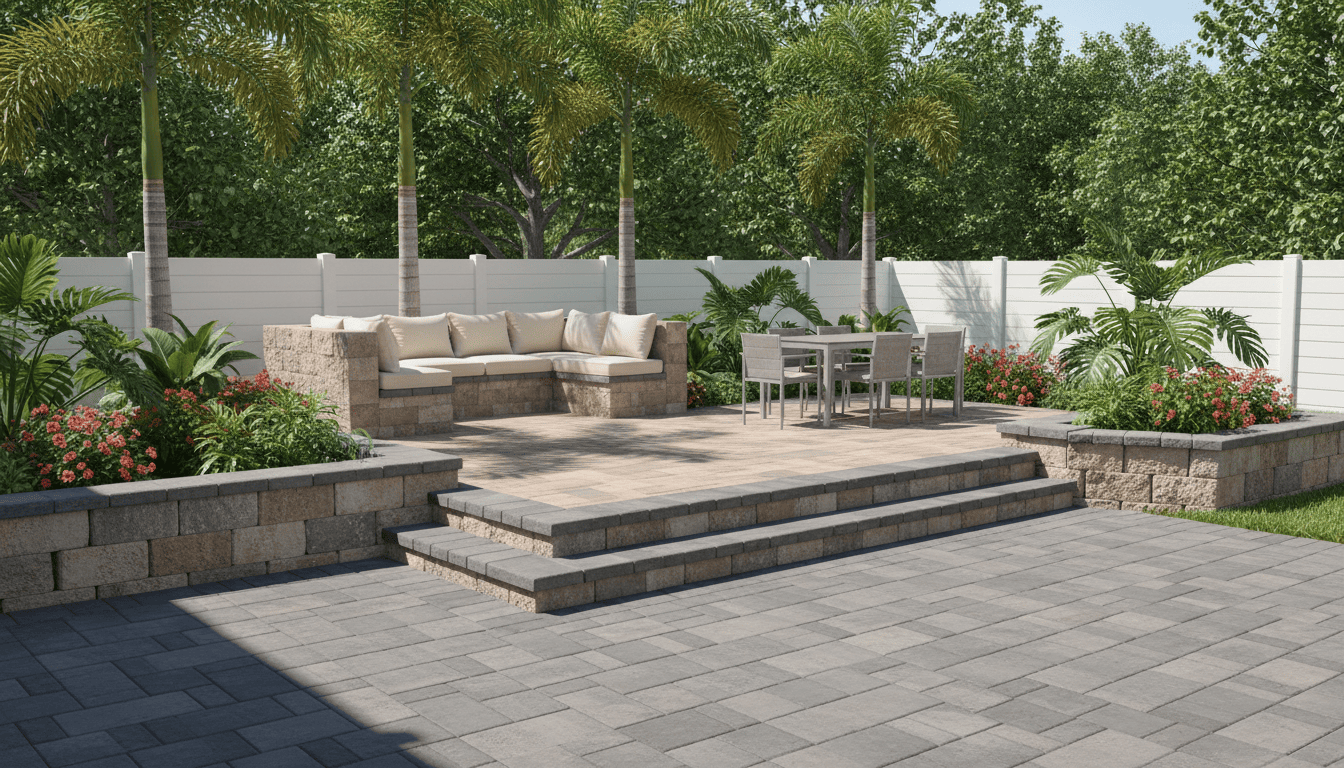
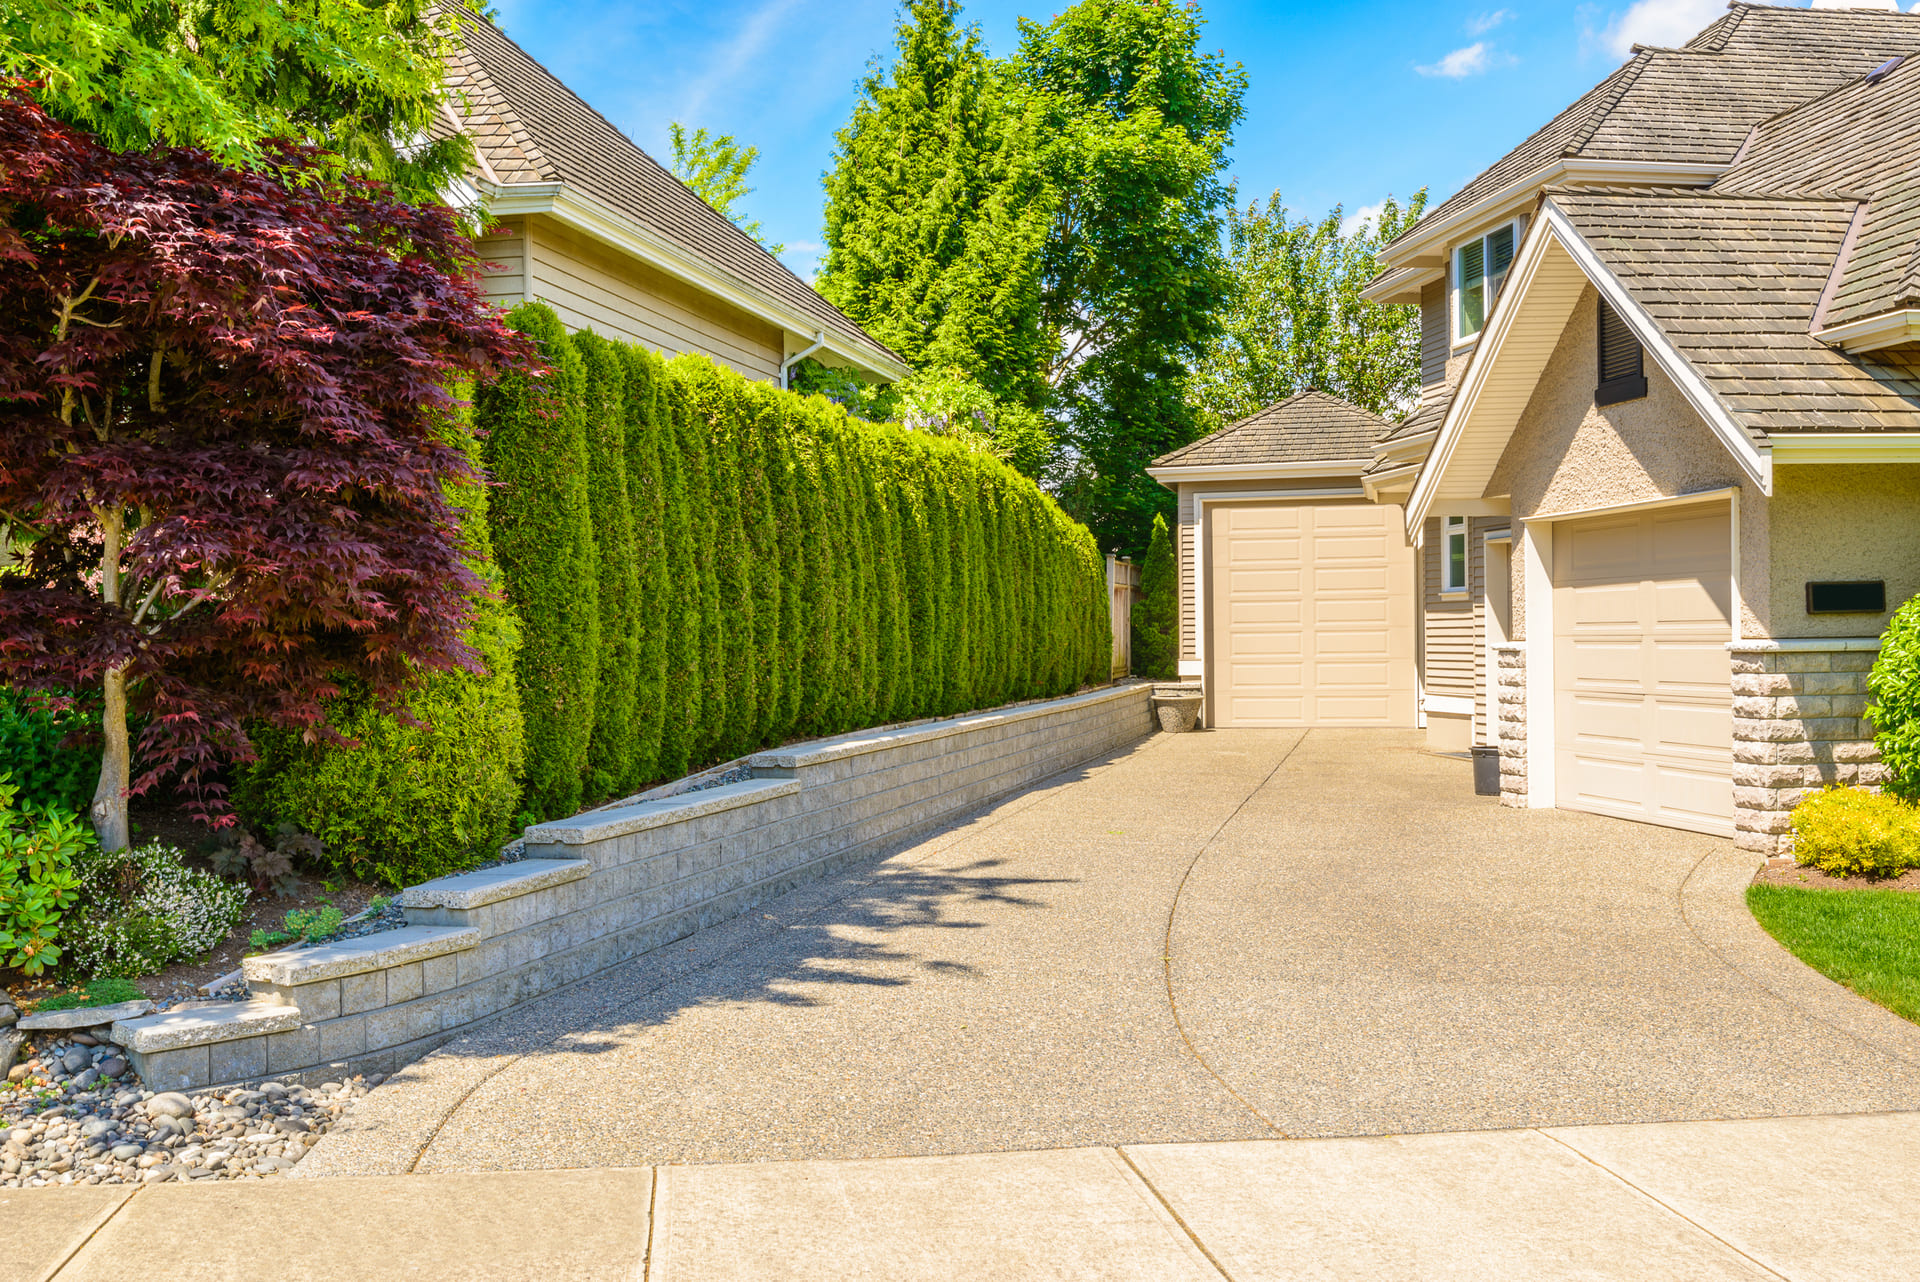
- Walkways and patios can last 30+ years
- Driveways maintain performance under heavy loads
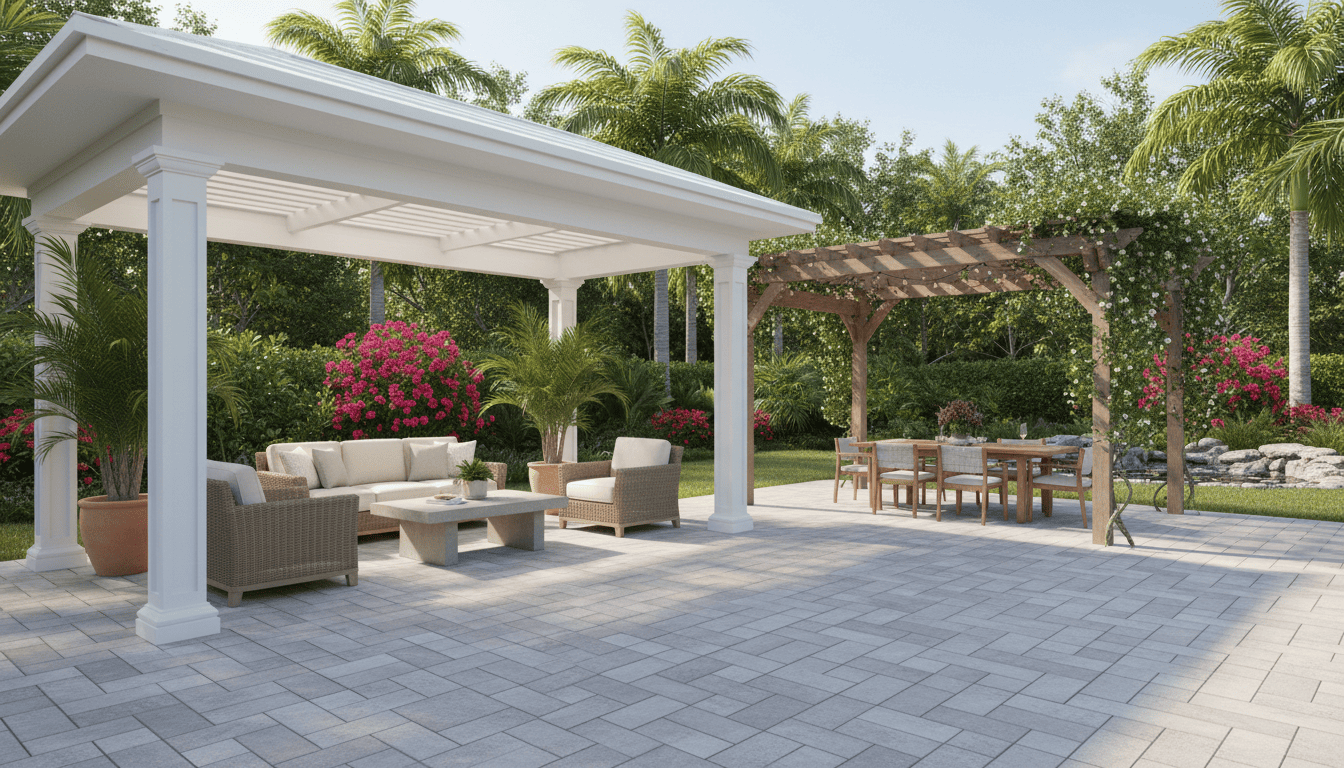
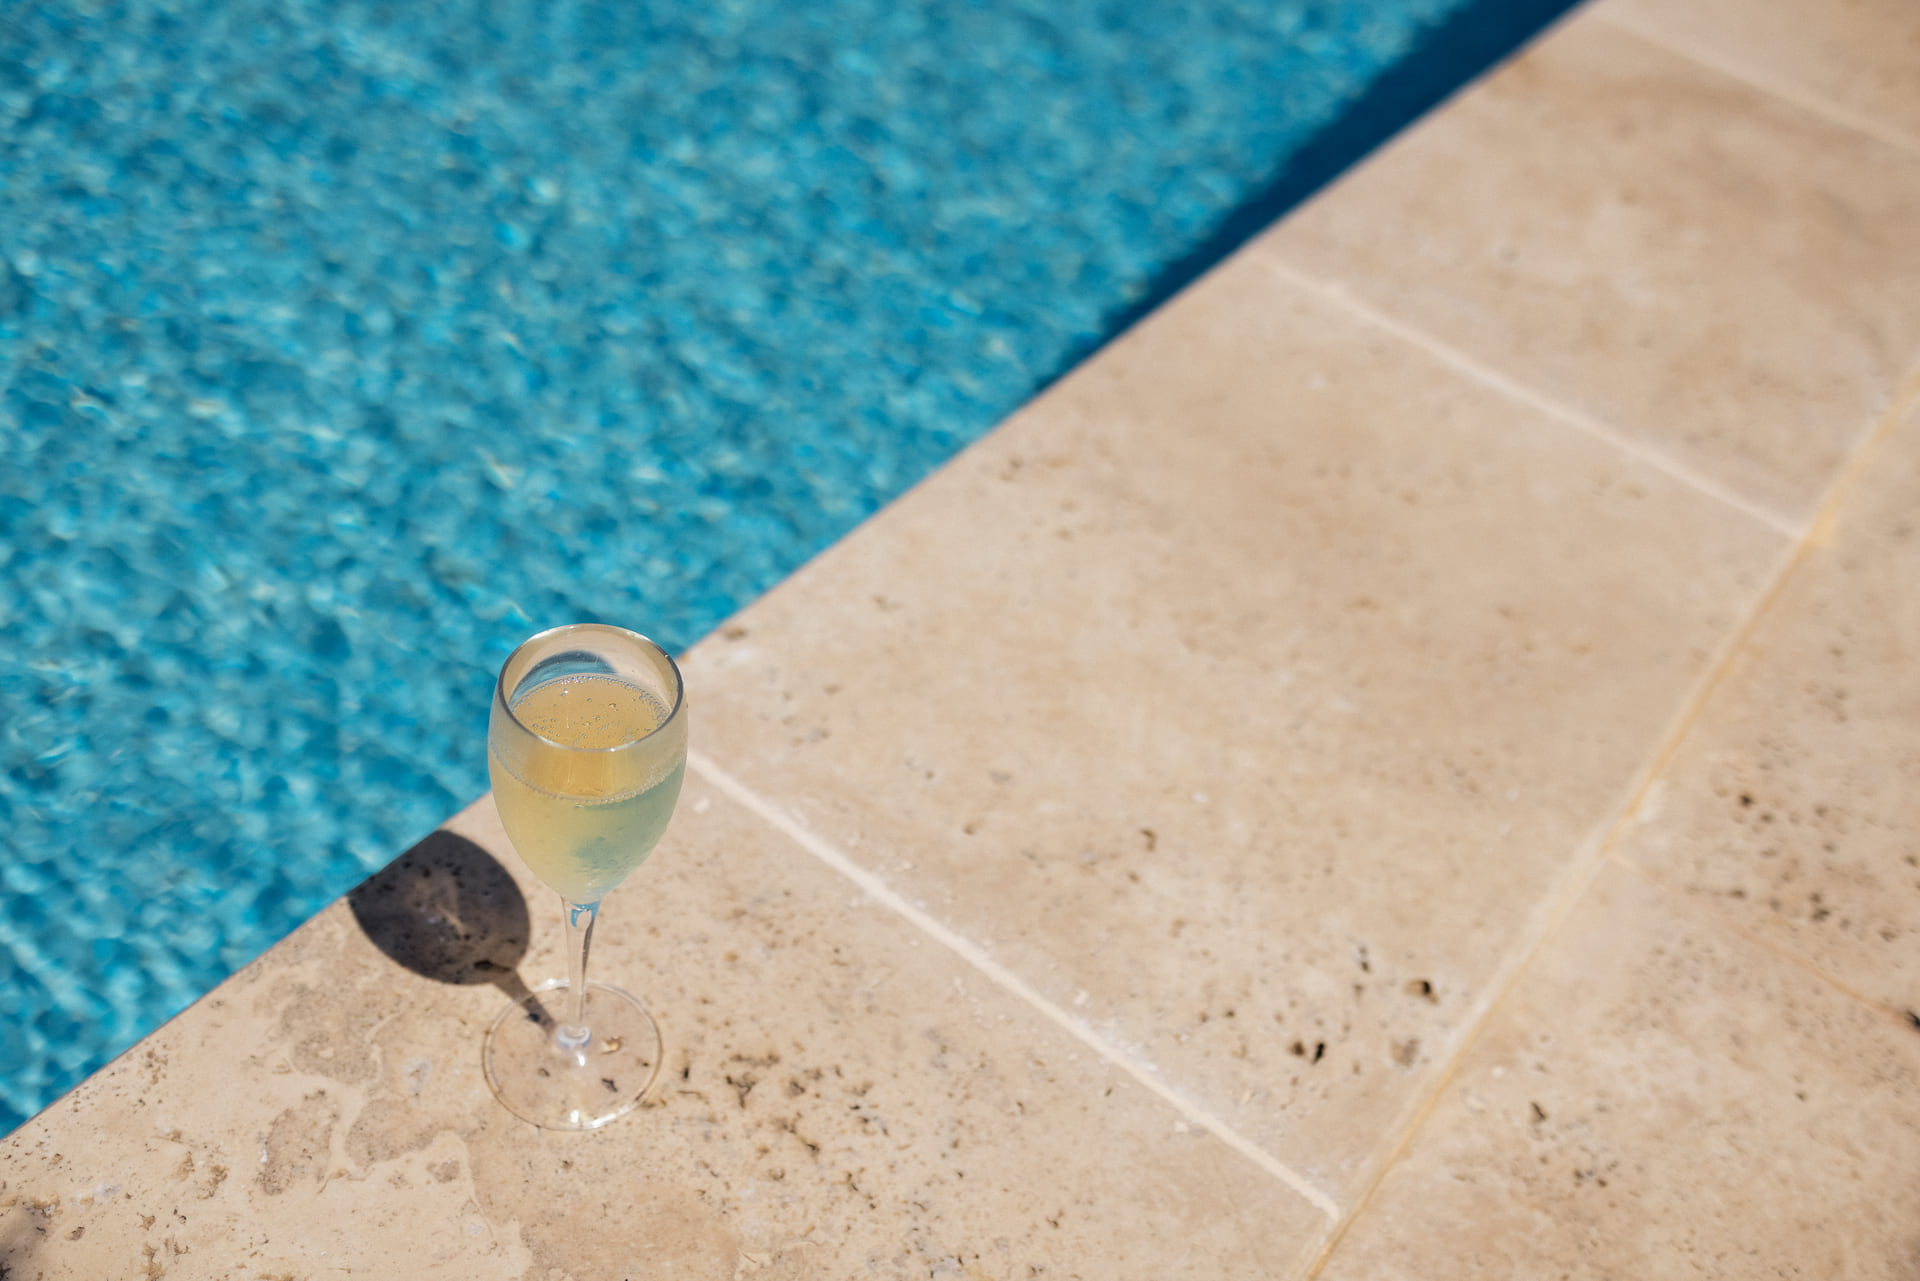
- Pool decks remain safe and visually appealing
Pavers are one of the longest-lasting exterior surfaces available.
When to Call a Professional
While basic maintenance is homeowner-friendly, some situations require expert attention.
Call a professional if you notice:
- Significant settling
- Drainage problems
- Loose borders
- Widespread joint failure
Early professional repairs save time and money.
Explore More Paver Projects and Standards
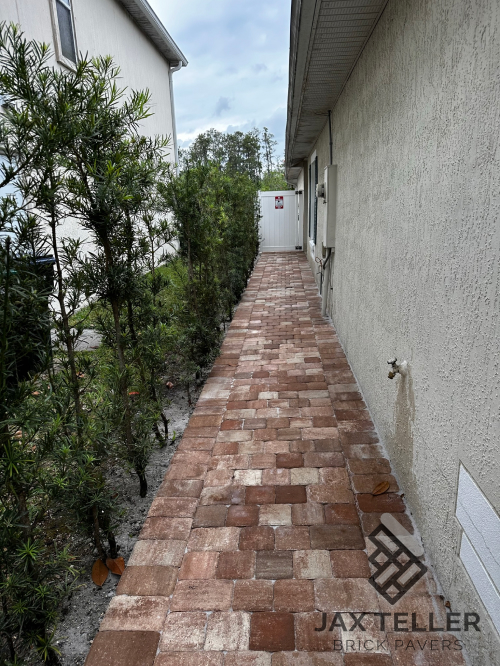
For examples of professionally installed paver projects in Florida, explore our project gallery:
https://jaxtellerbrickpavers.com/projects
To review official installation and maintenance standards, visit the Interlocking Concrete Pavement Institute:
https://www.icpi.org/
Conclusion
Professional Paver Installation and Maintenance in Florida is the key to long-lasting, beautiful outdoor spaces. From base preparation to routine care, every step plays a role in performance and durability. When installed and maintained correctly, pavers outperform most outdoor surfaces and add lasting value to your home.
For expert paver installation or maintenance services, contact JaxTeller Brick Pavers at +1 407-907-8308 or jaxtellerbrickpavers@gmail.com for a free estimate. 🌞