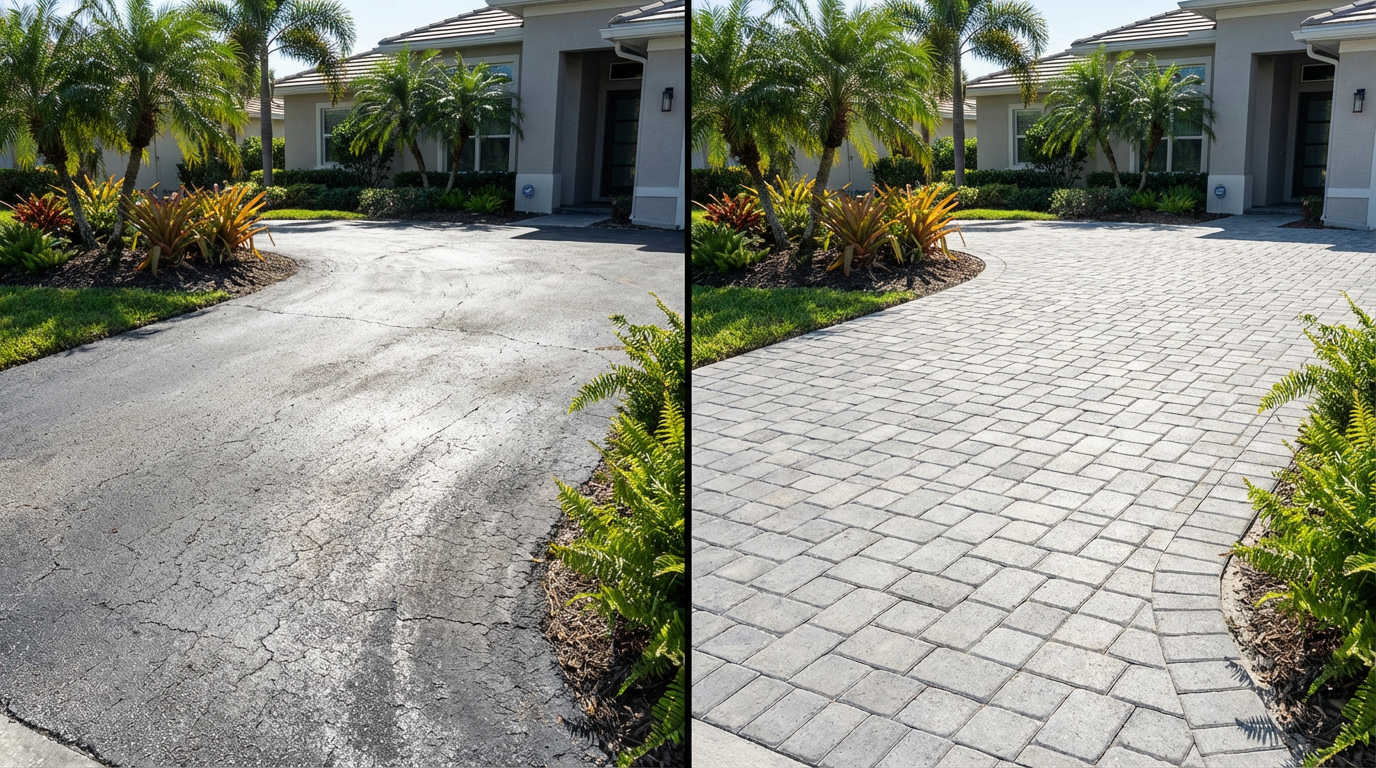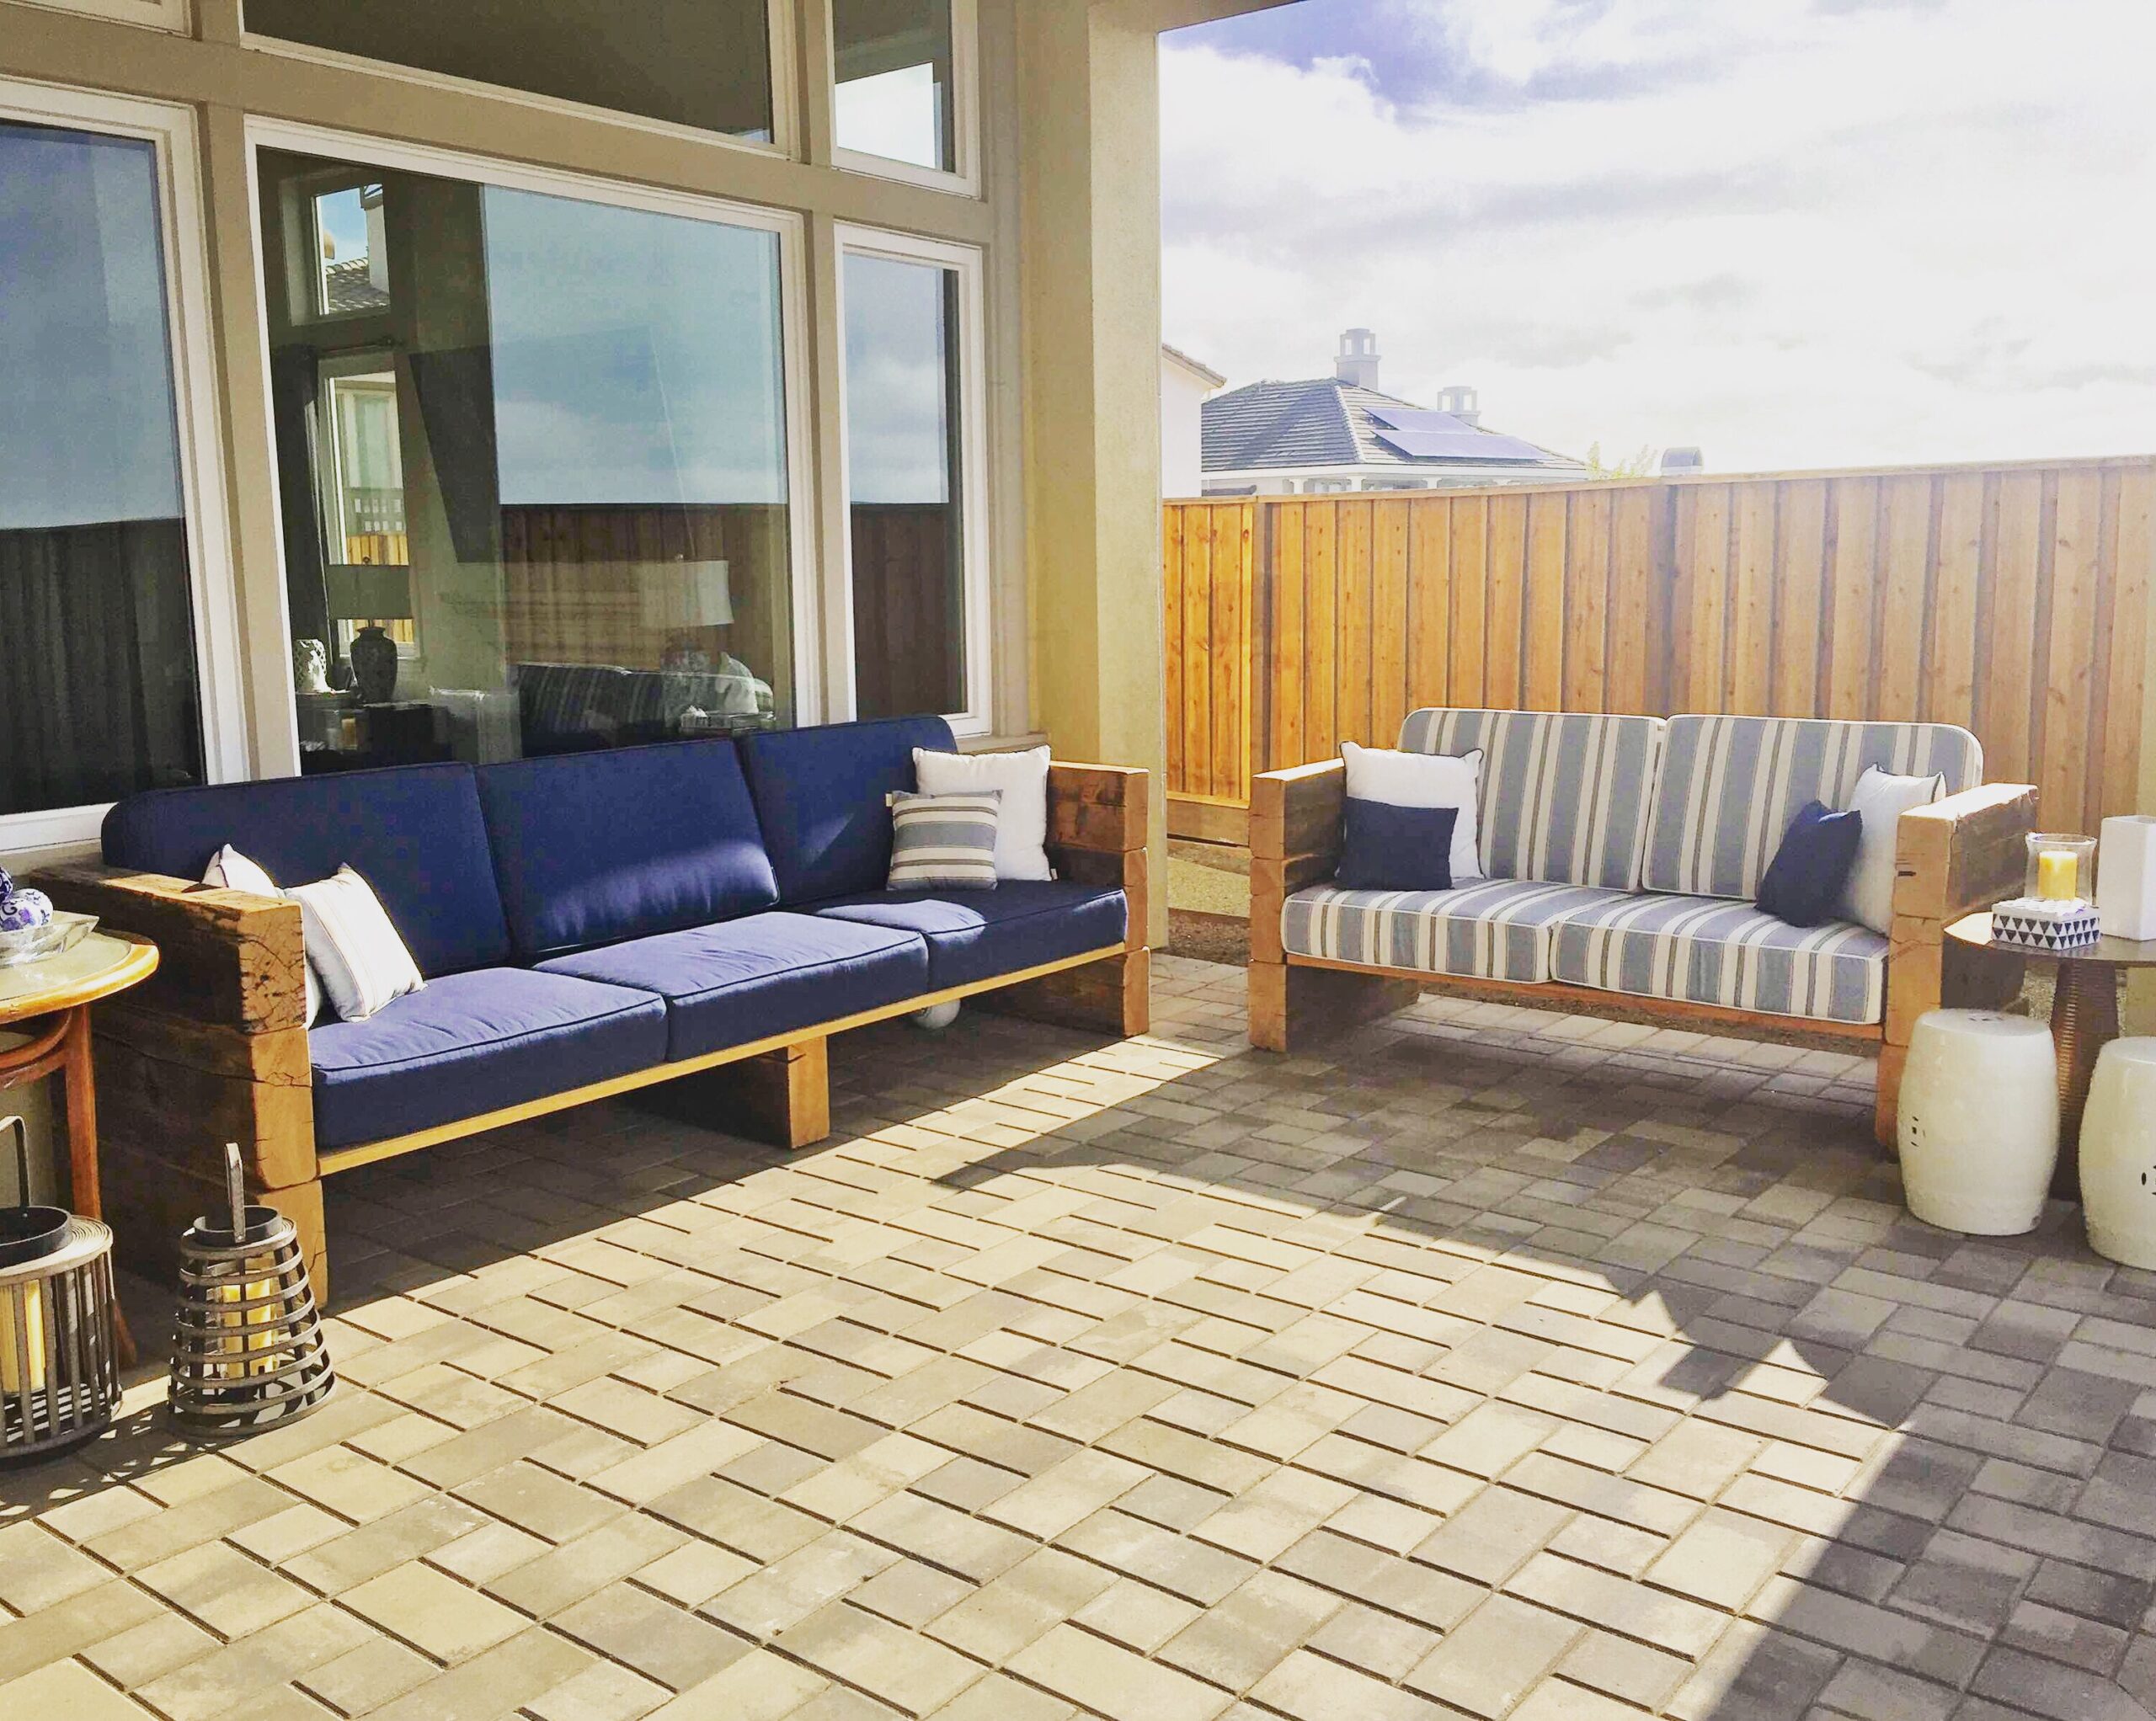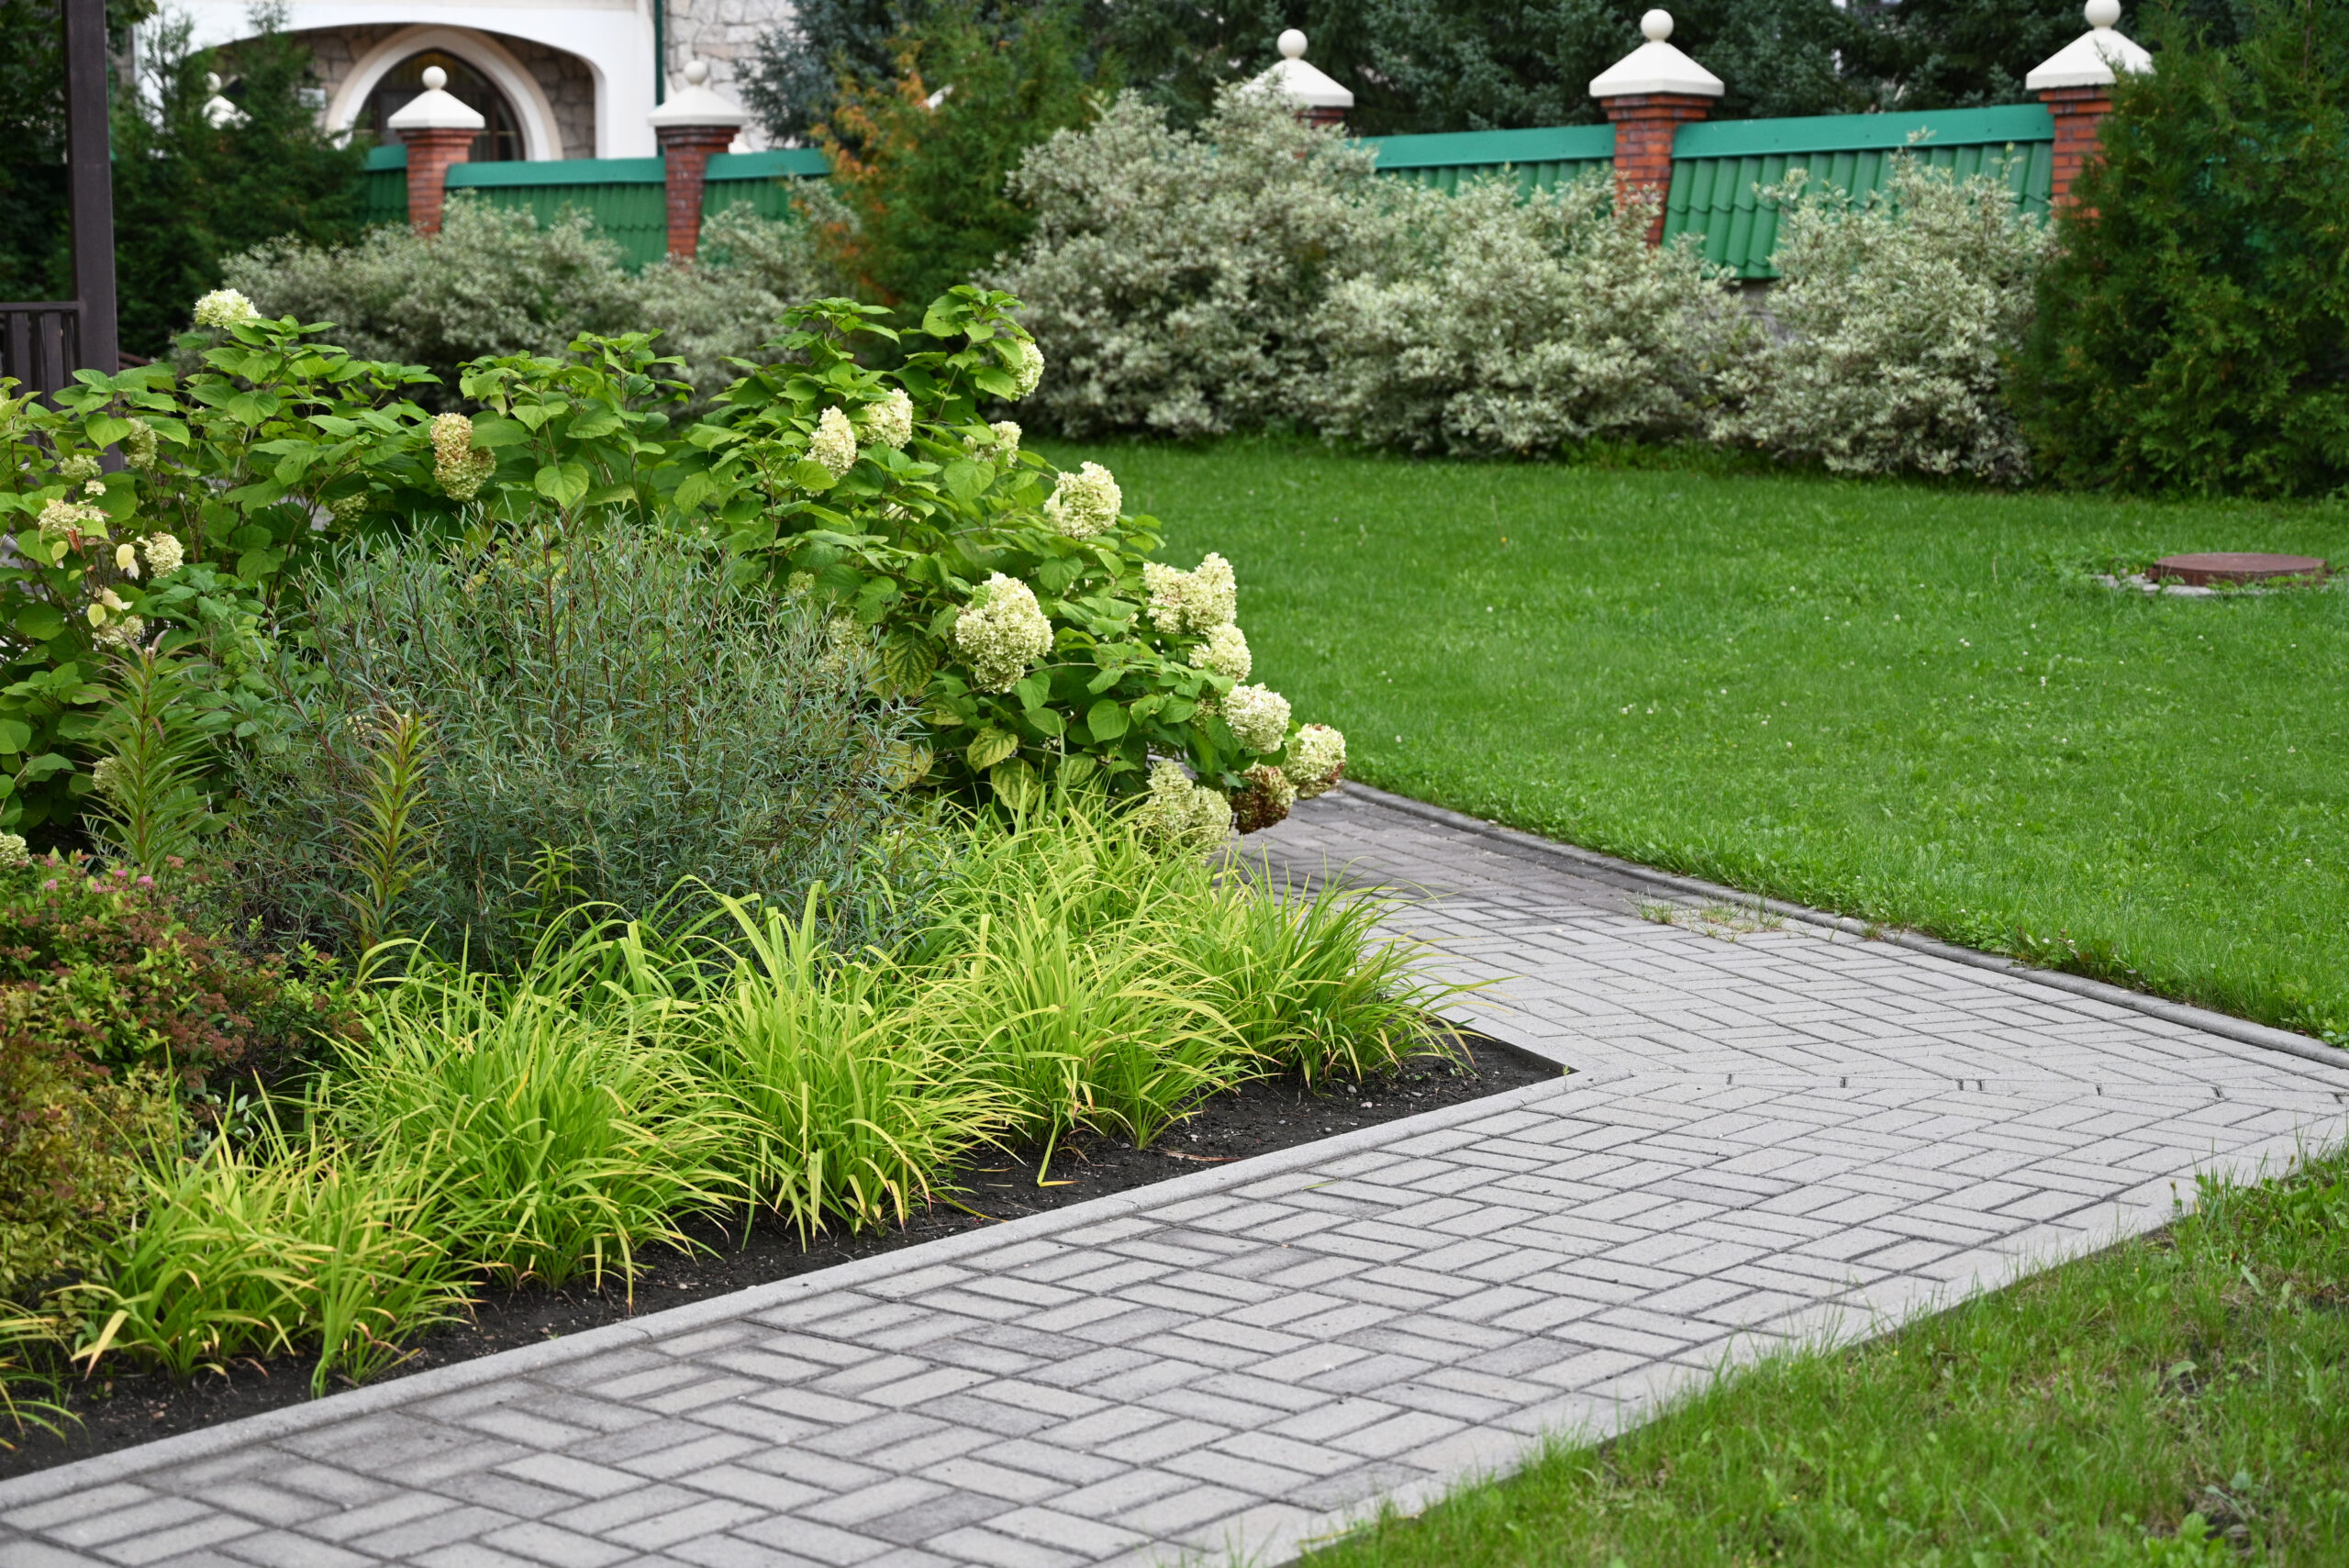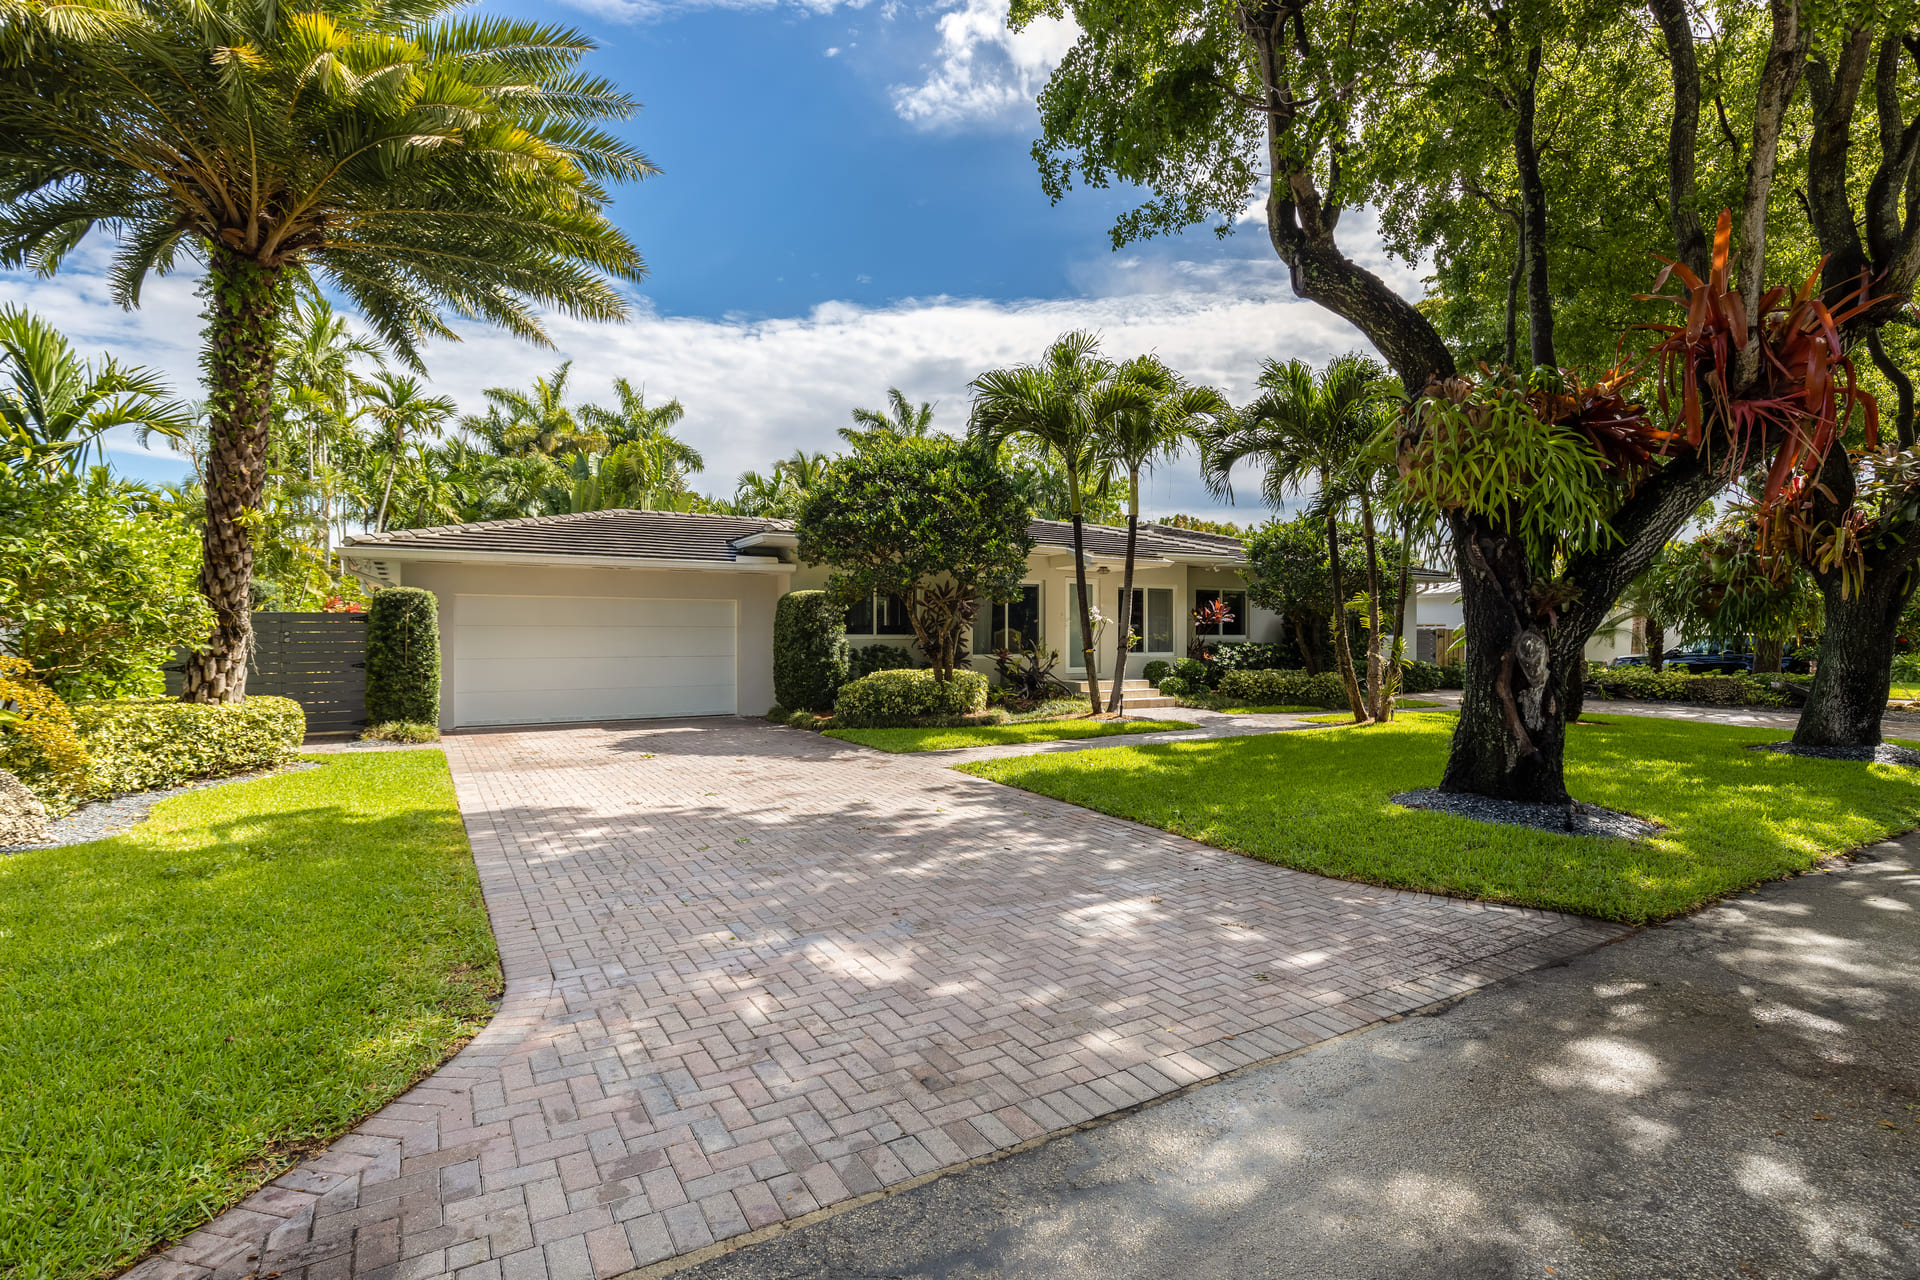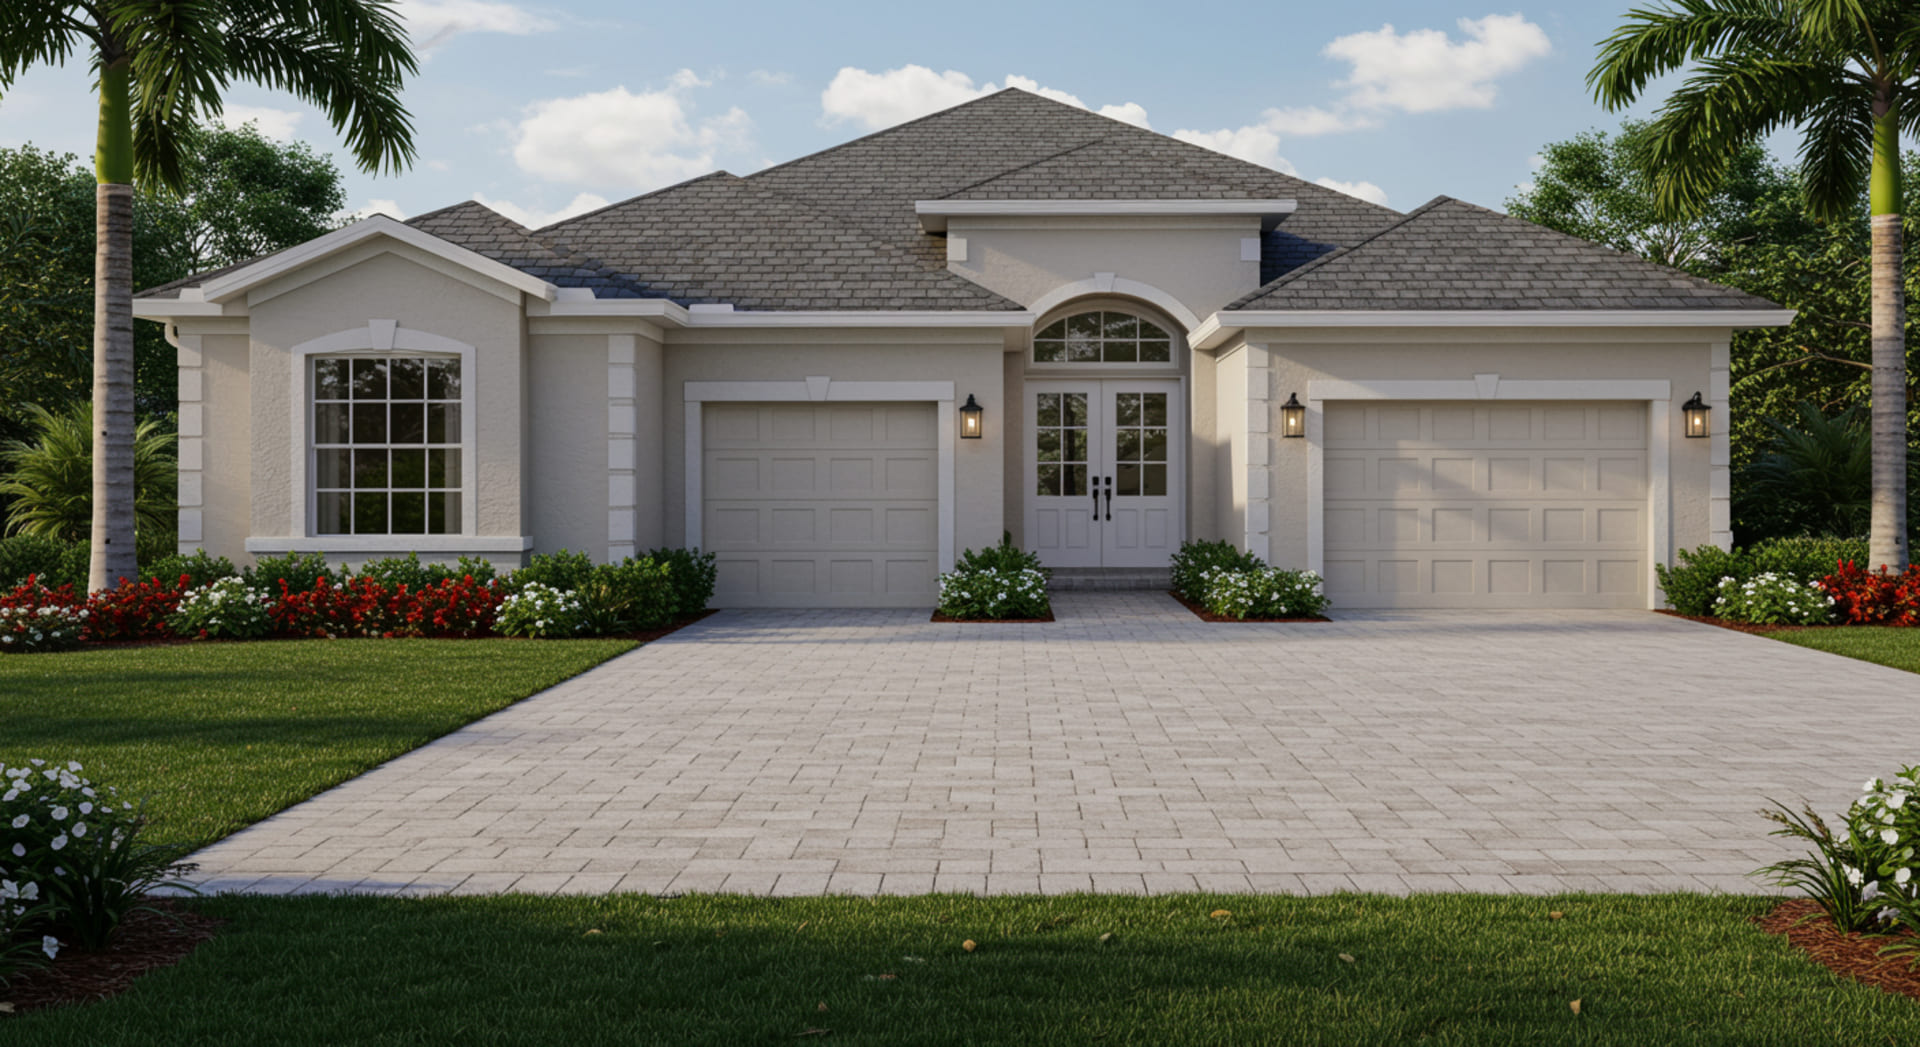
Pavers are one of the most durable and attractive hardscape options for Florida homes — but their performance depends entirely on proper installation and ongoing maintenance.
Many issues homeowners experience with pavers don’t come from the material itself, but from shortcuts taken during installation or neglect over time. Florida’s climate makes professional installation and correct maintenance even more critical due to heavy rain, heat, and soil movement.
This guide covers everything homeowners need to know about paver installation and maintenance in Florida, from the base preparation to long-term care.
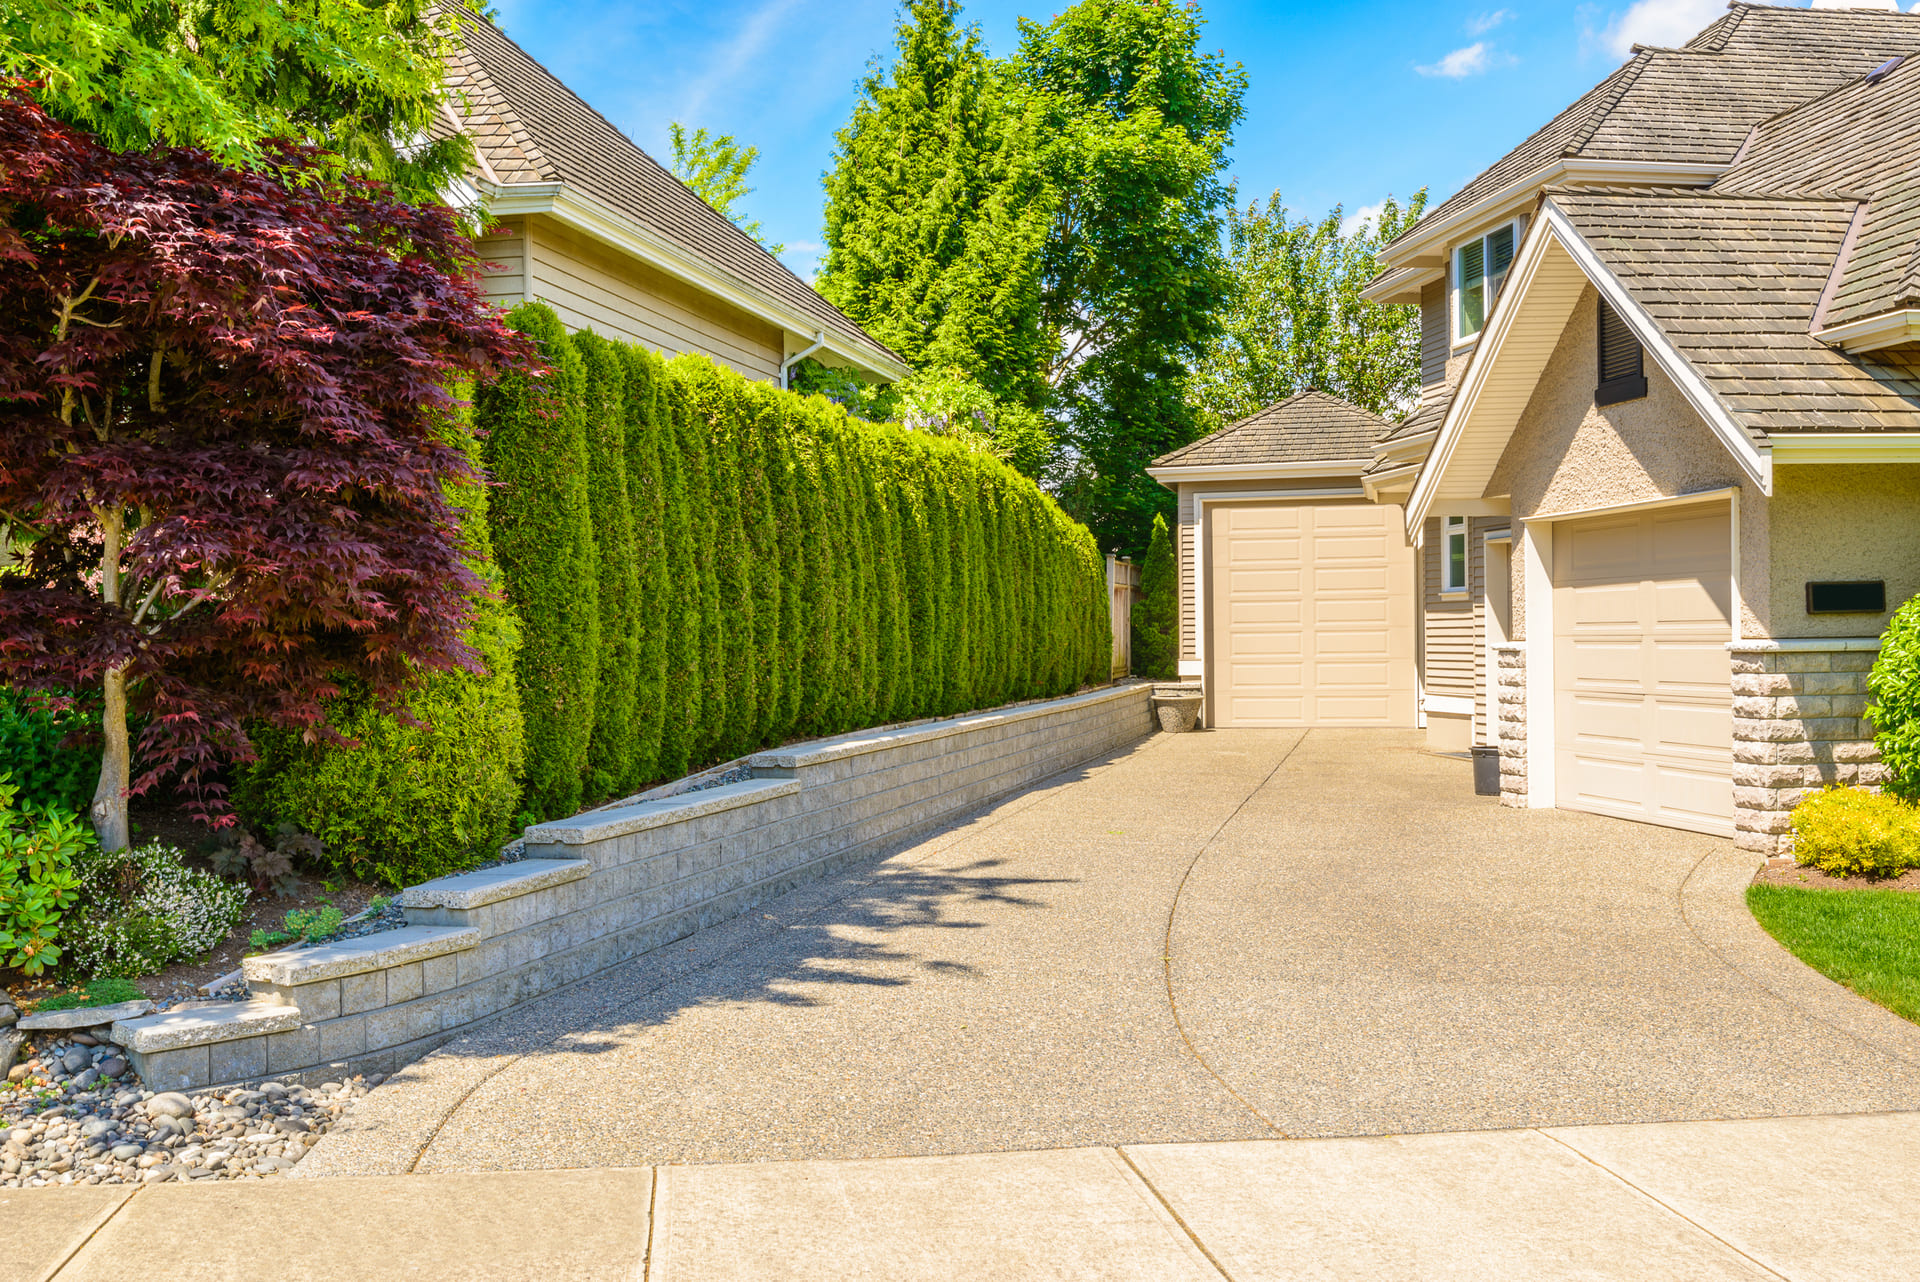
Why Proper Paver Installation Matters in Florida
Florida presents unique challenges:
- Sandy and shifting soil
- Heavy rainfall
- High temperatures
- Frequent foot and vehicle traffic
Without proper installation, even high-quality pavers can shift, sink, or separate over time.
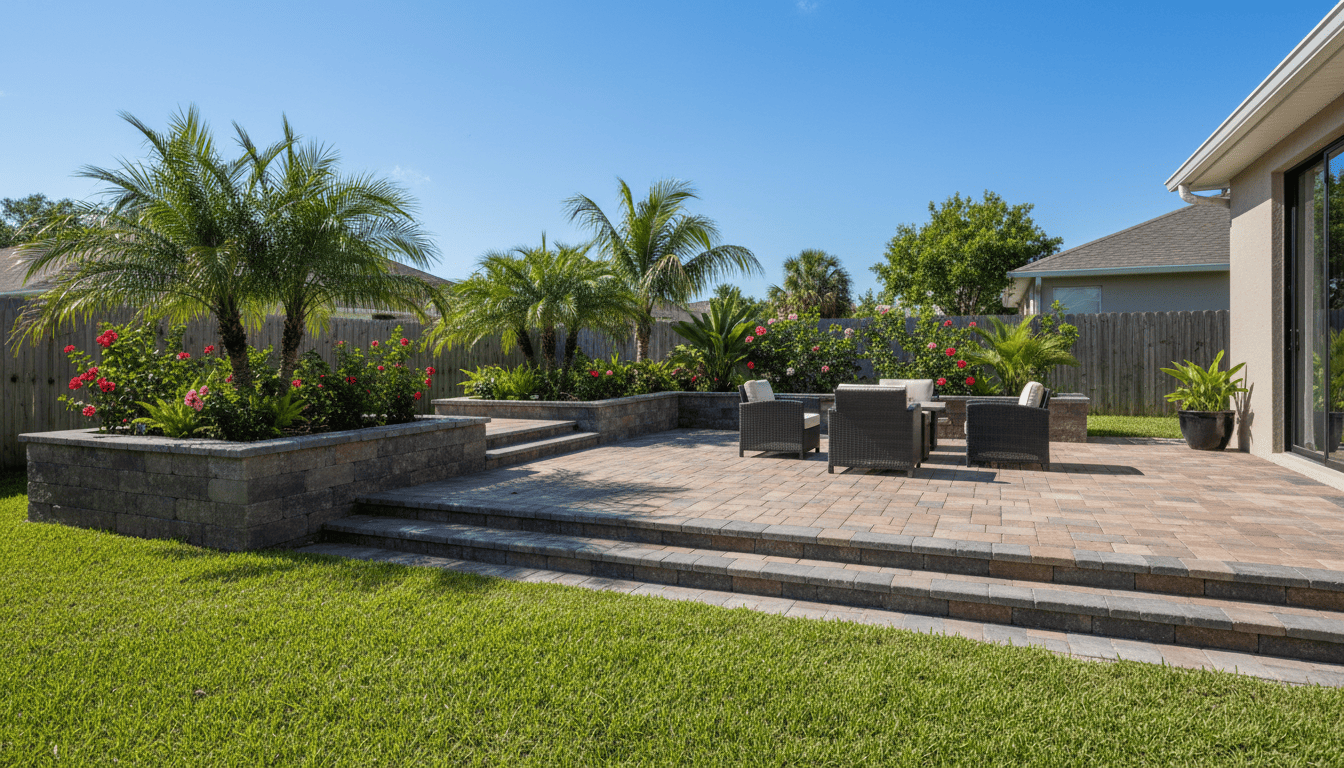
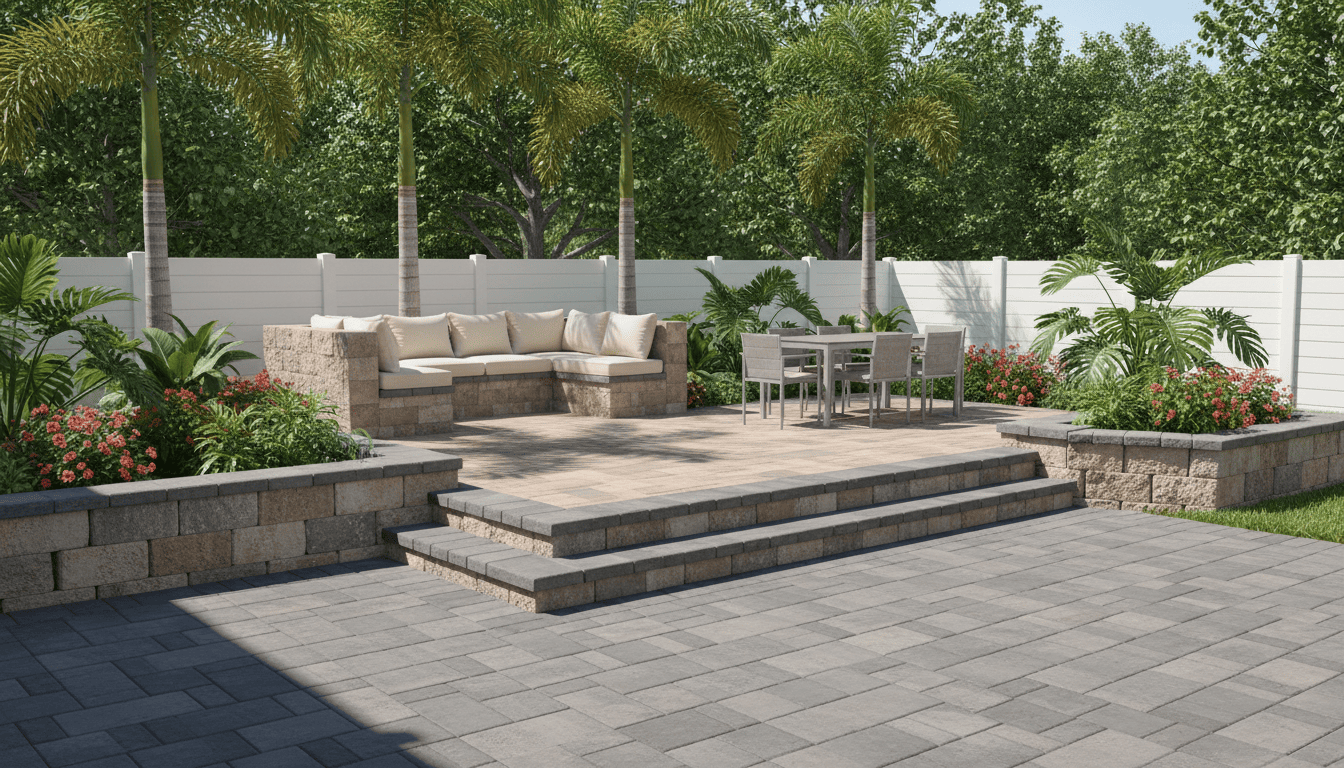
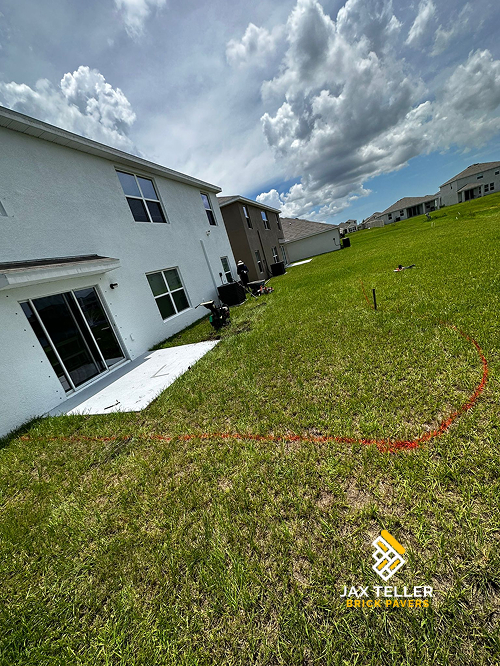
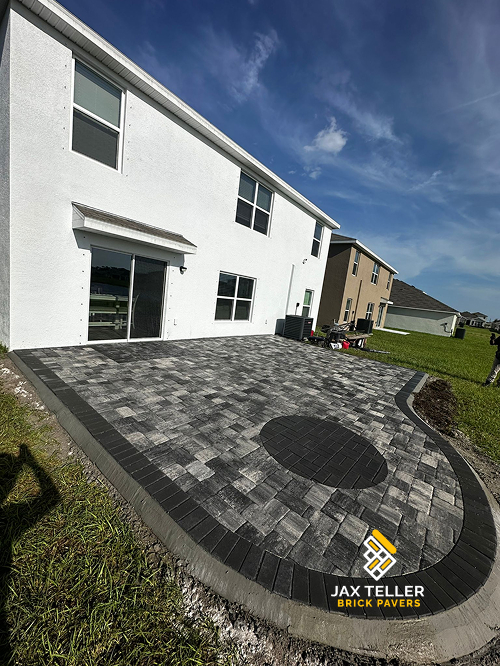
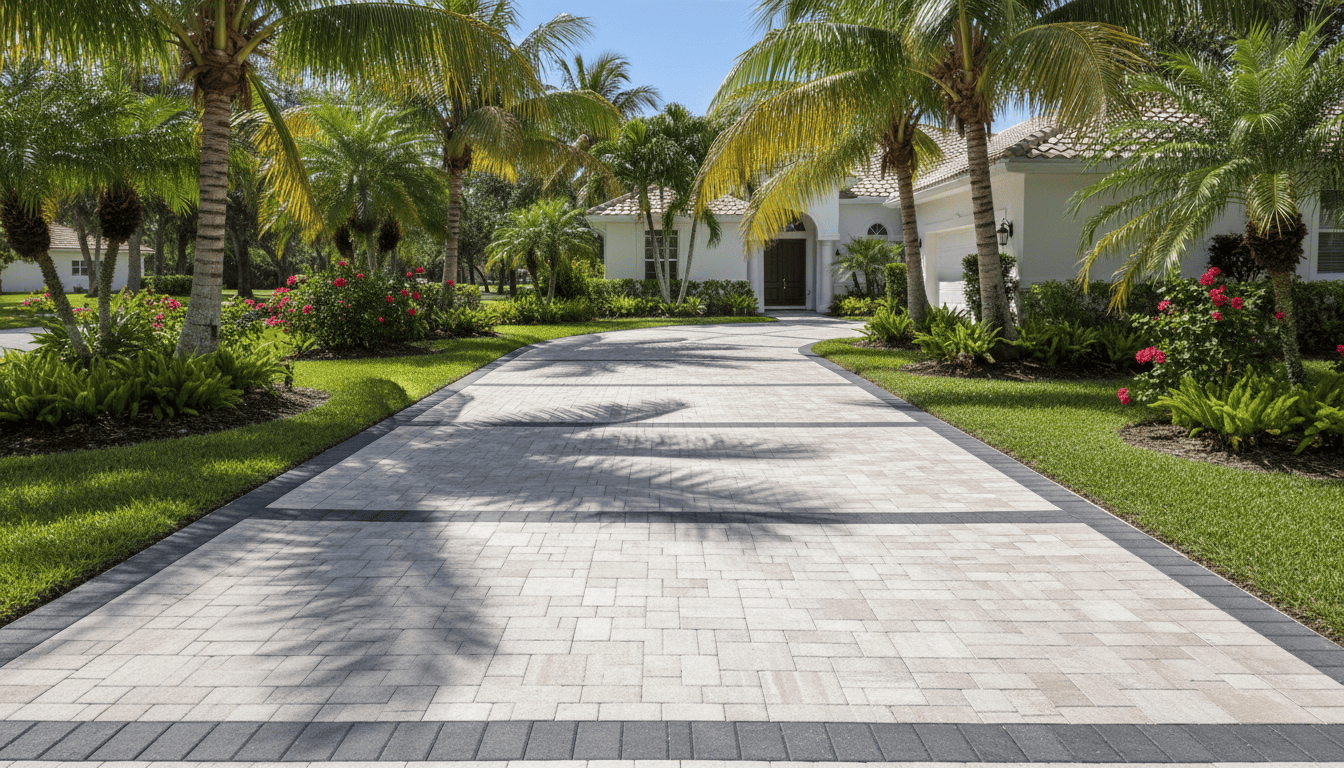
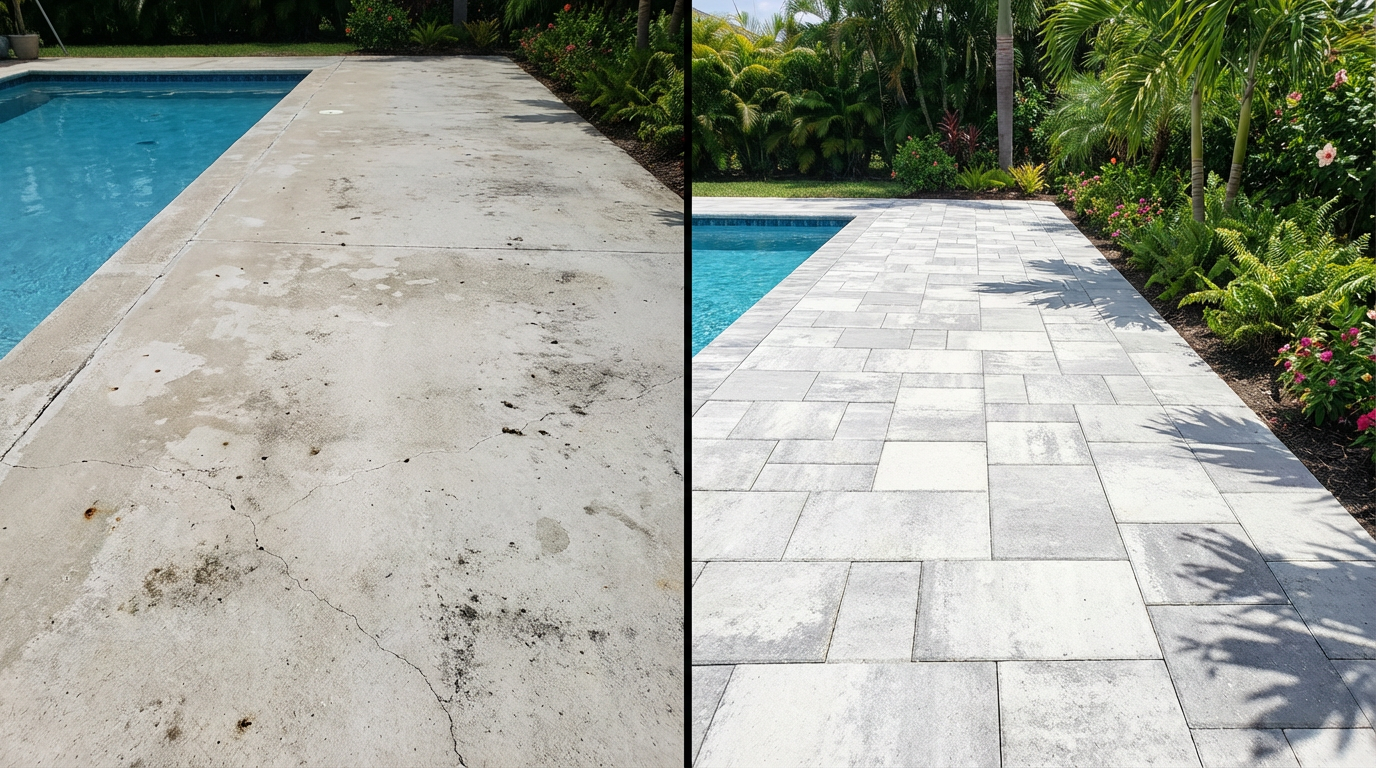
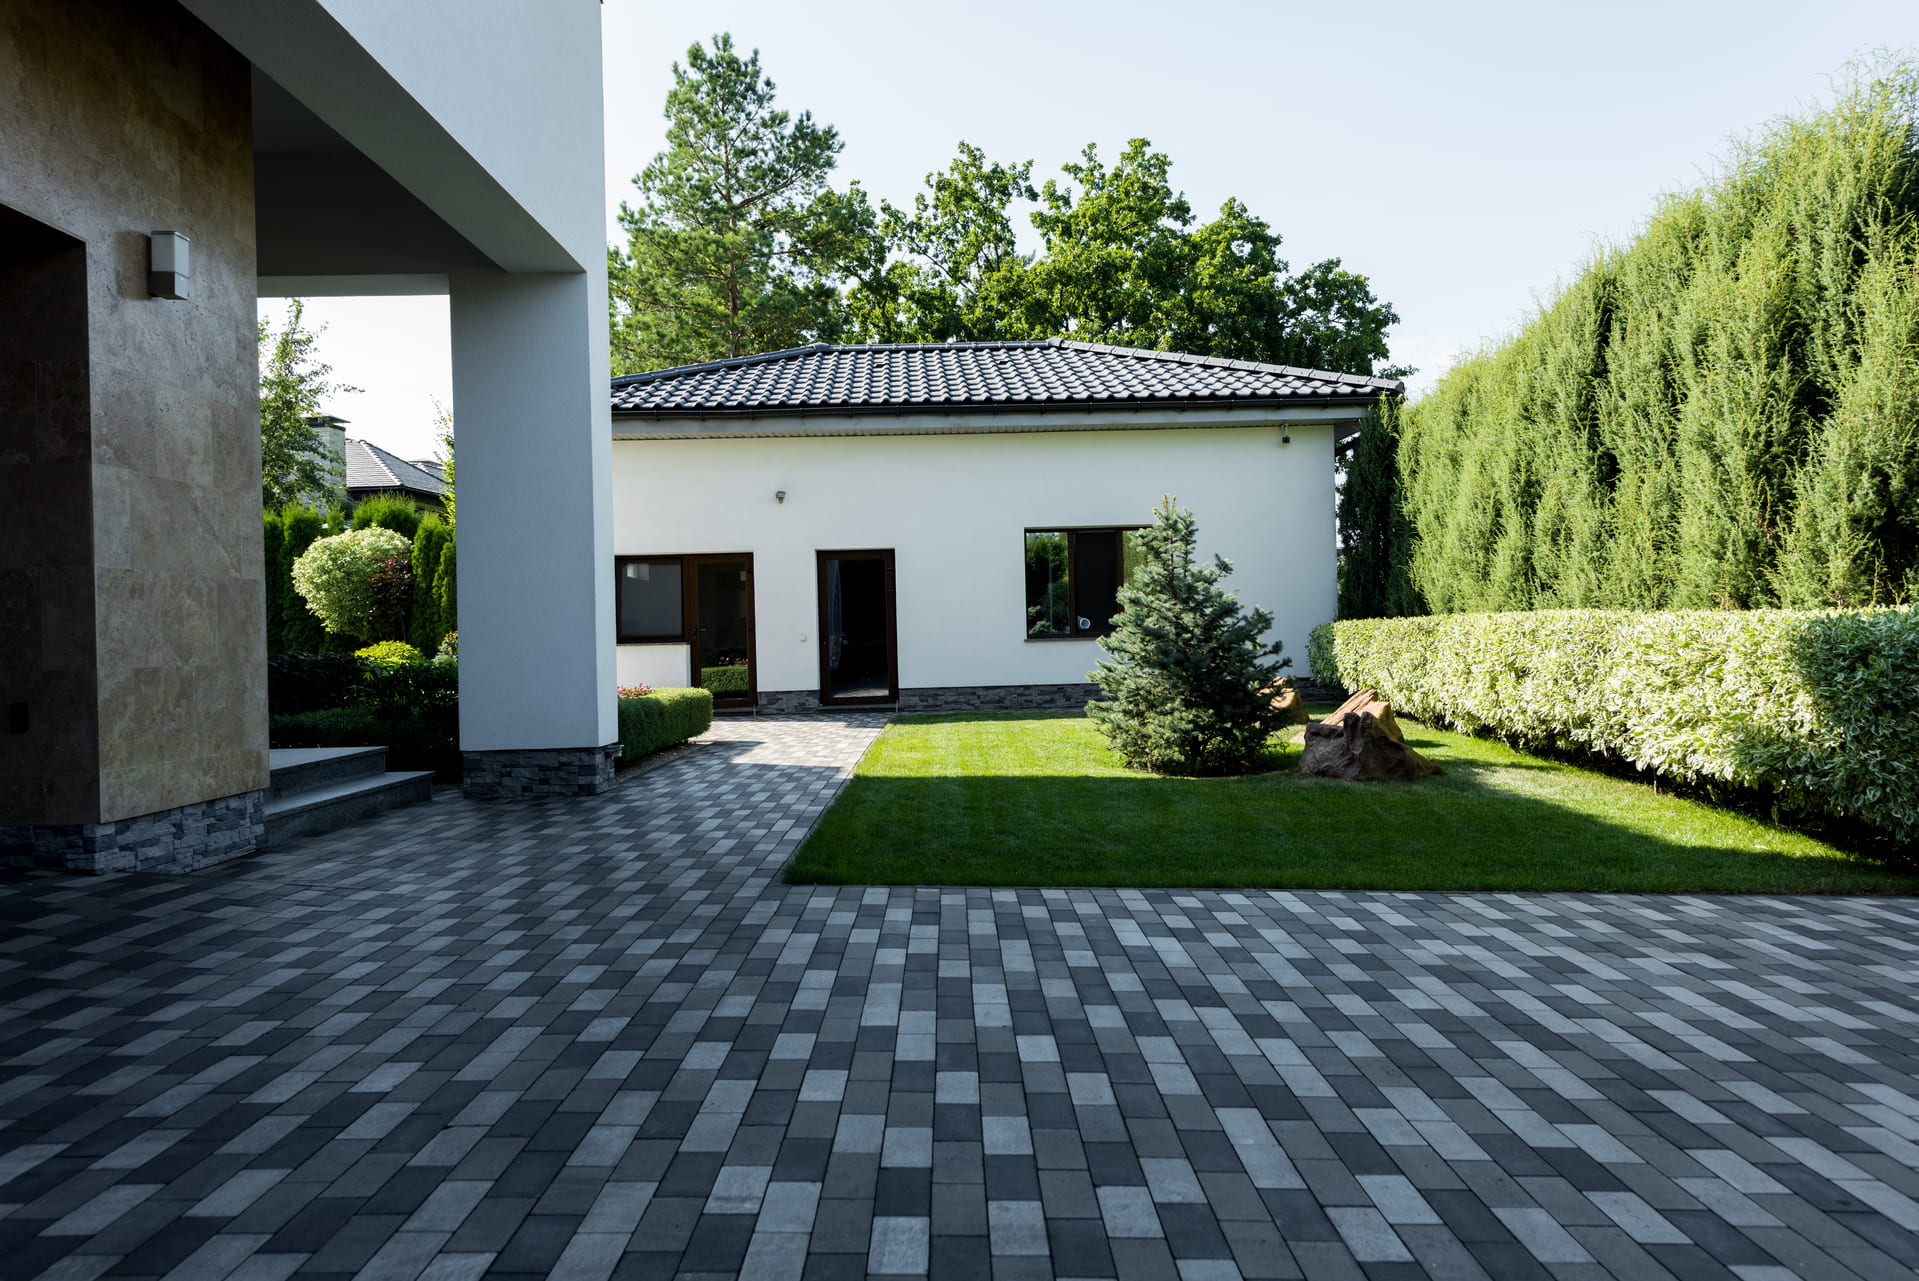
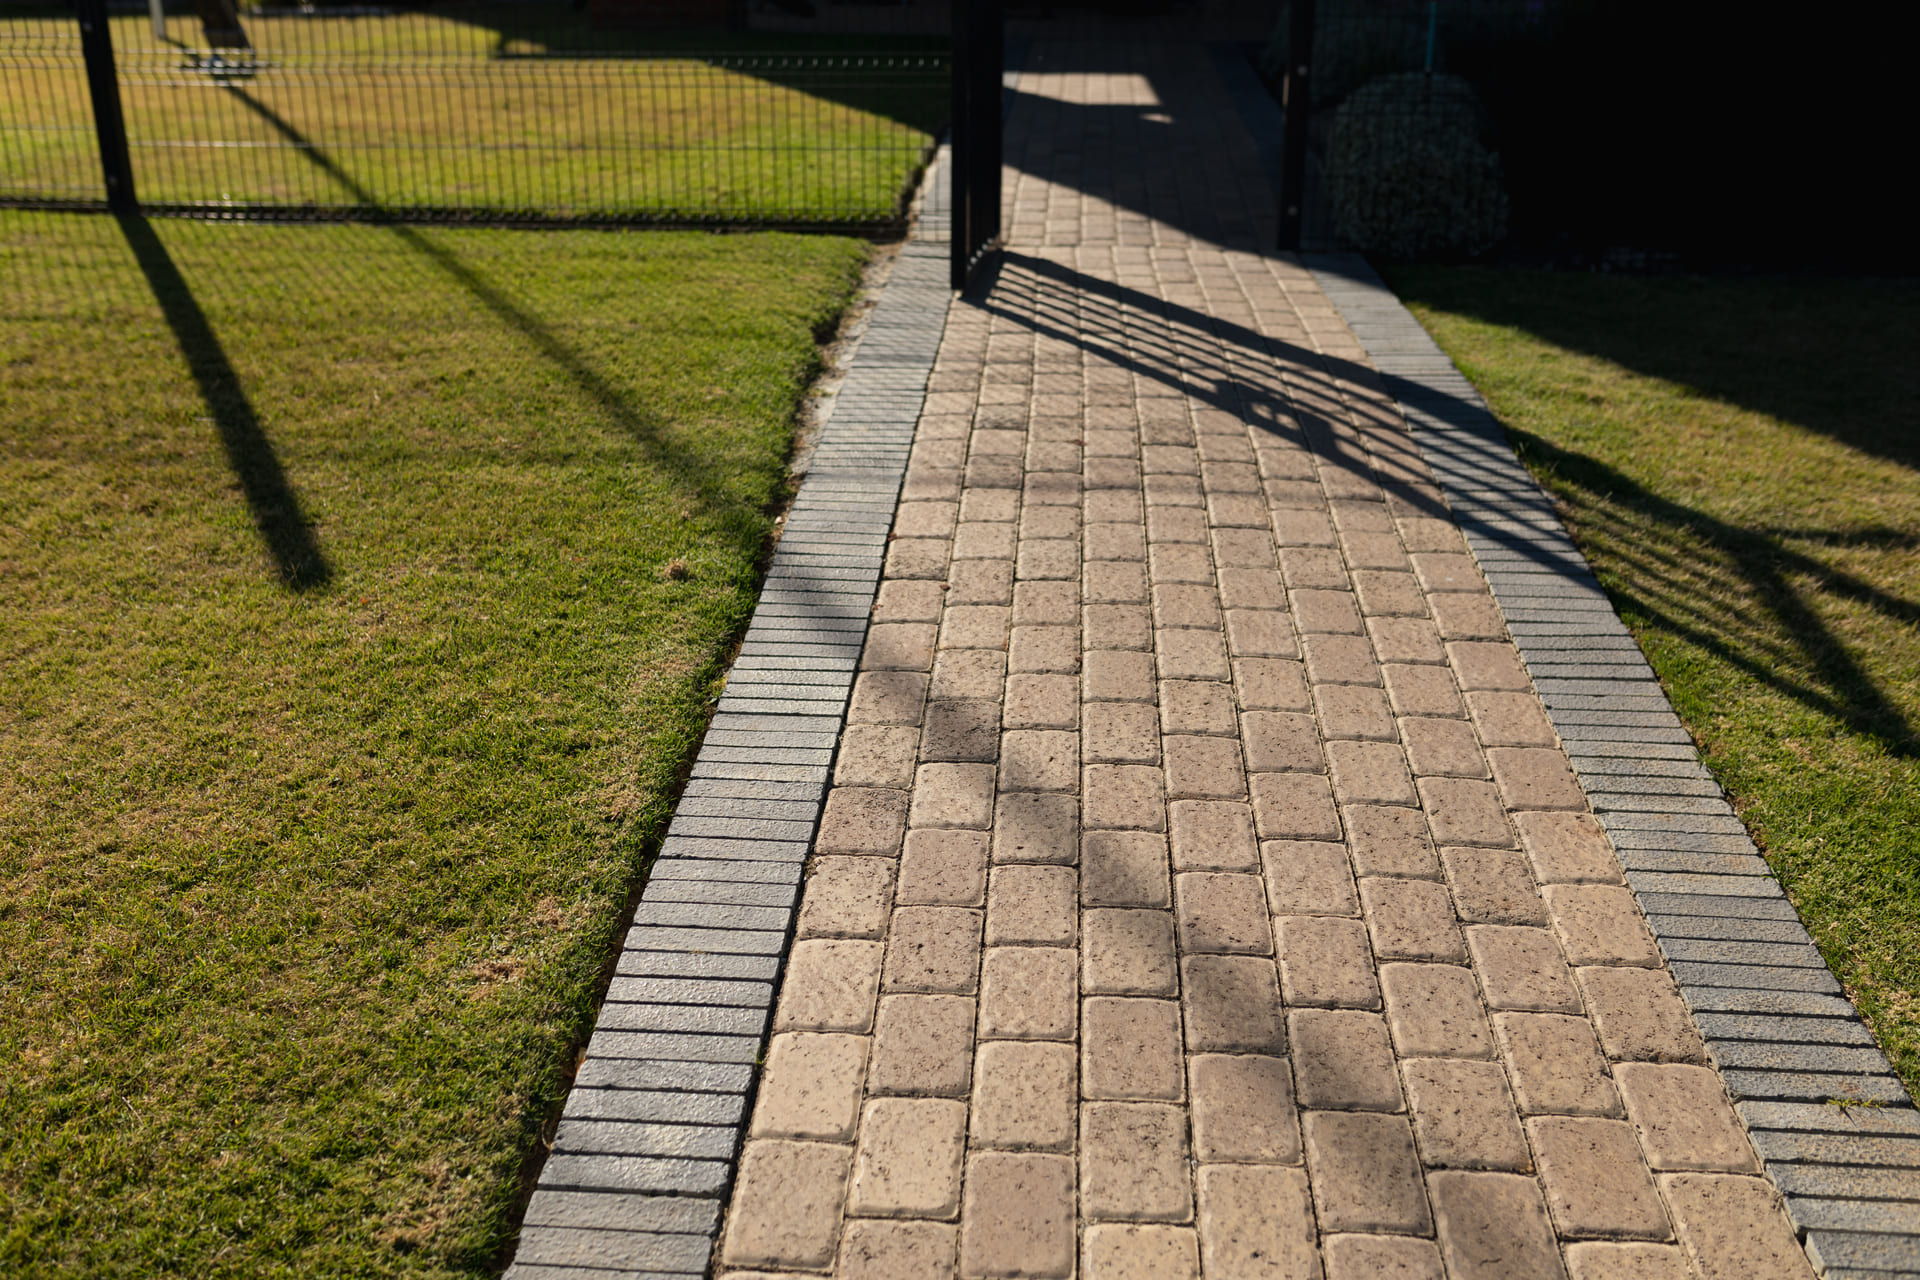
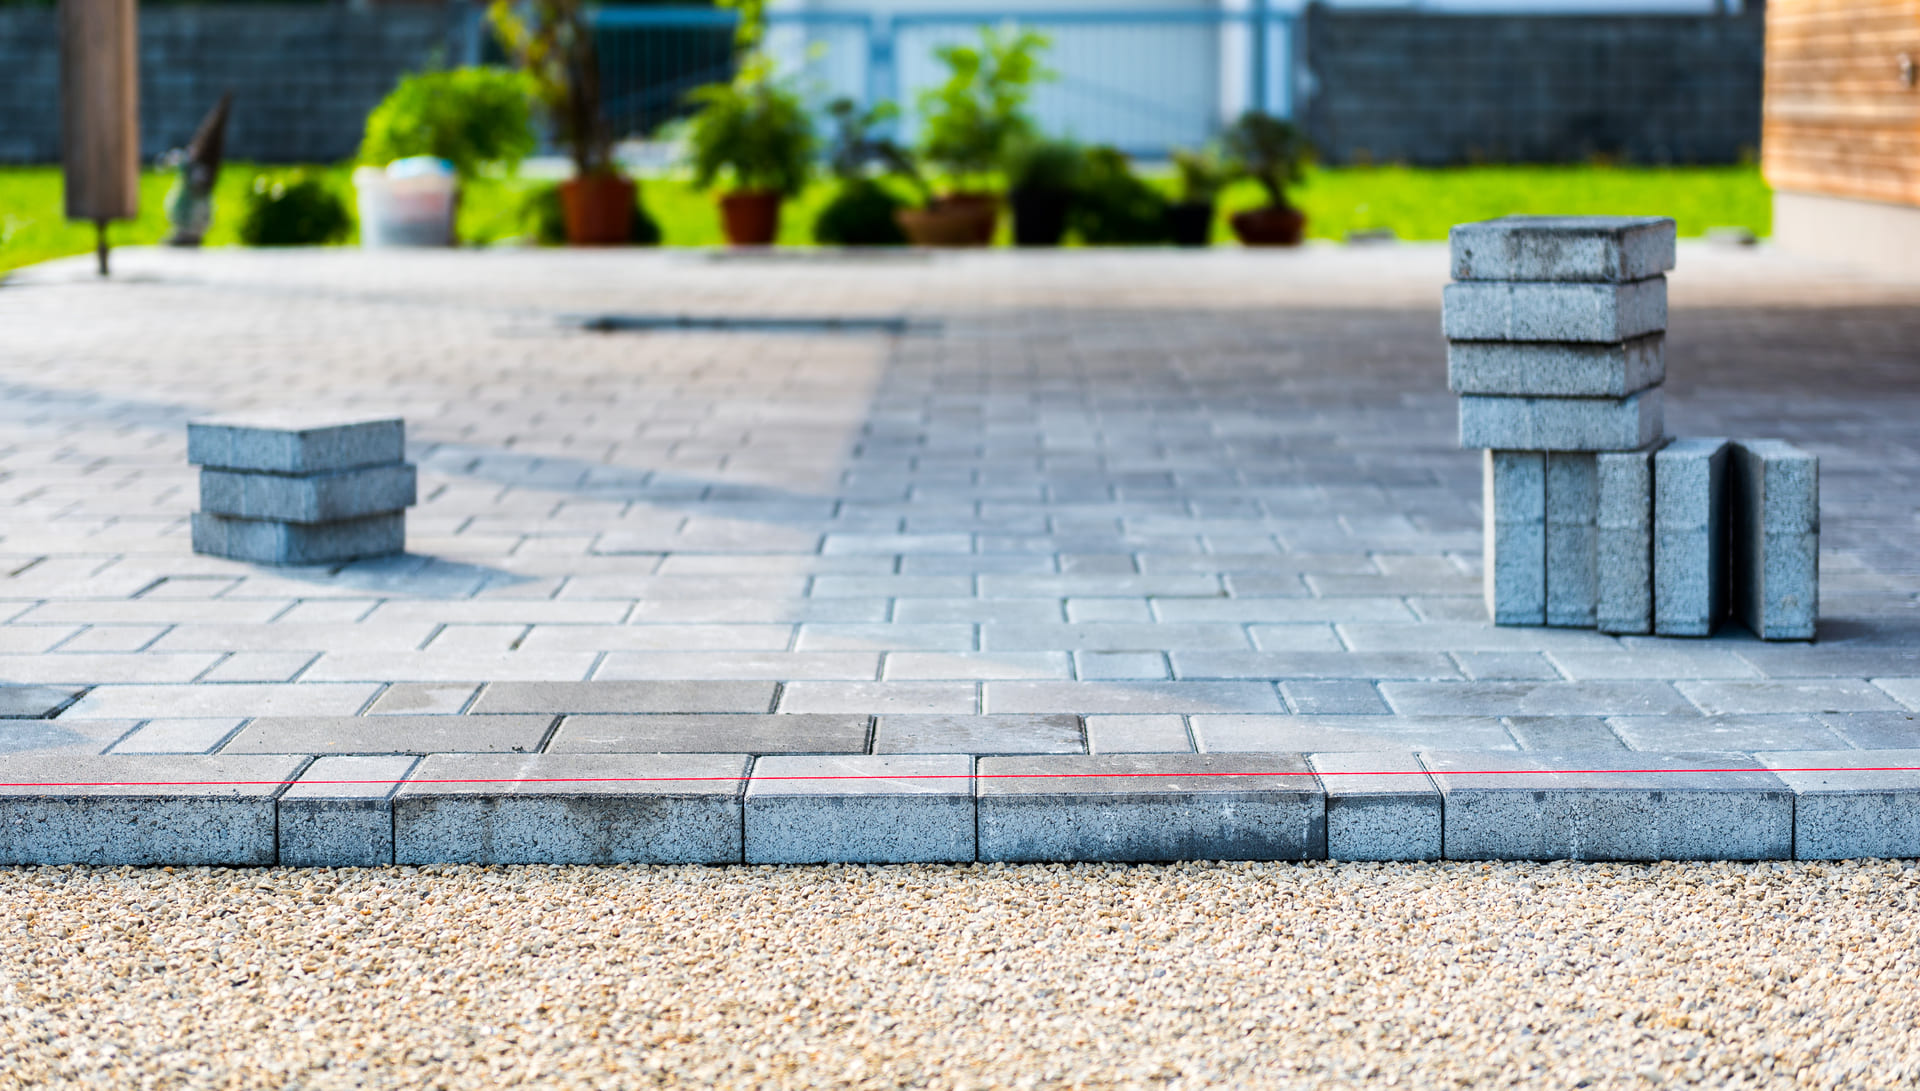
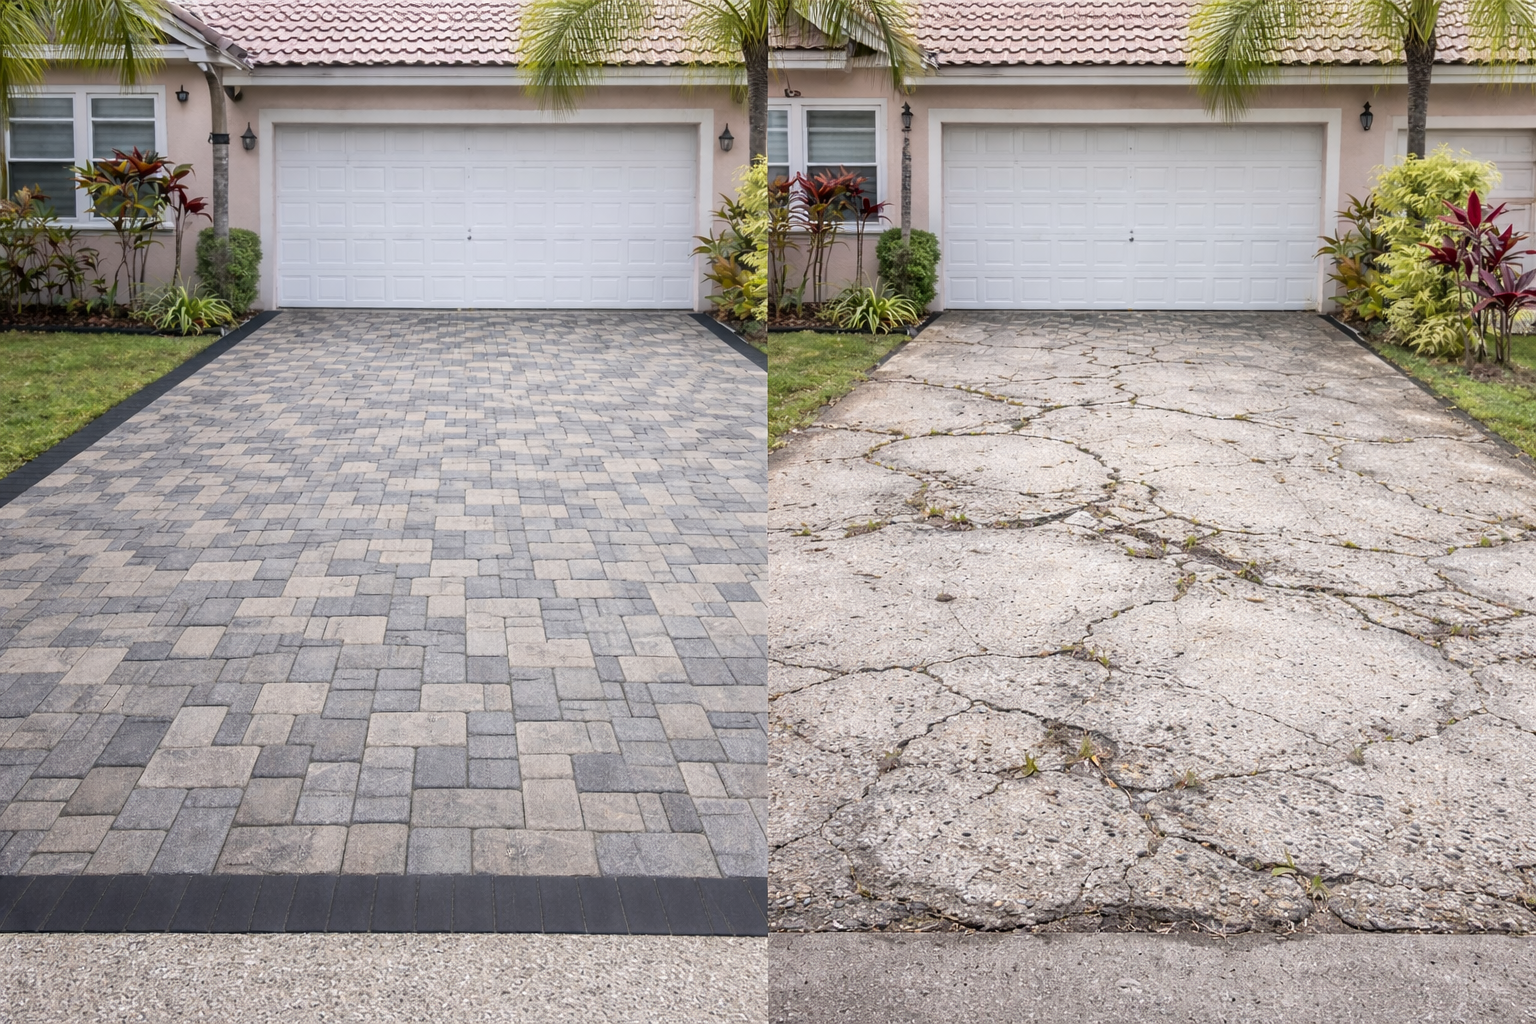
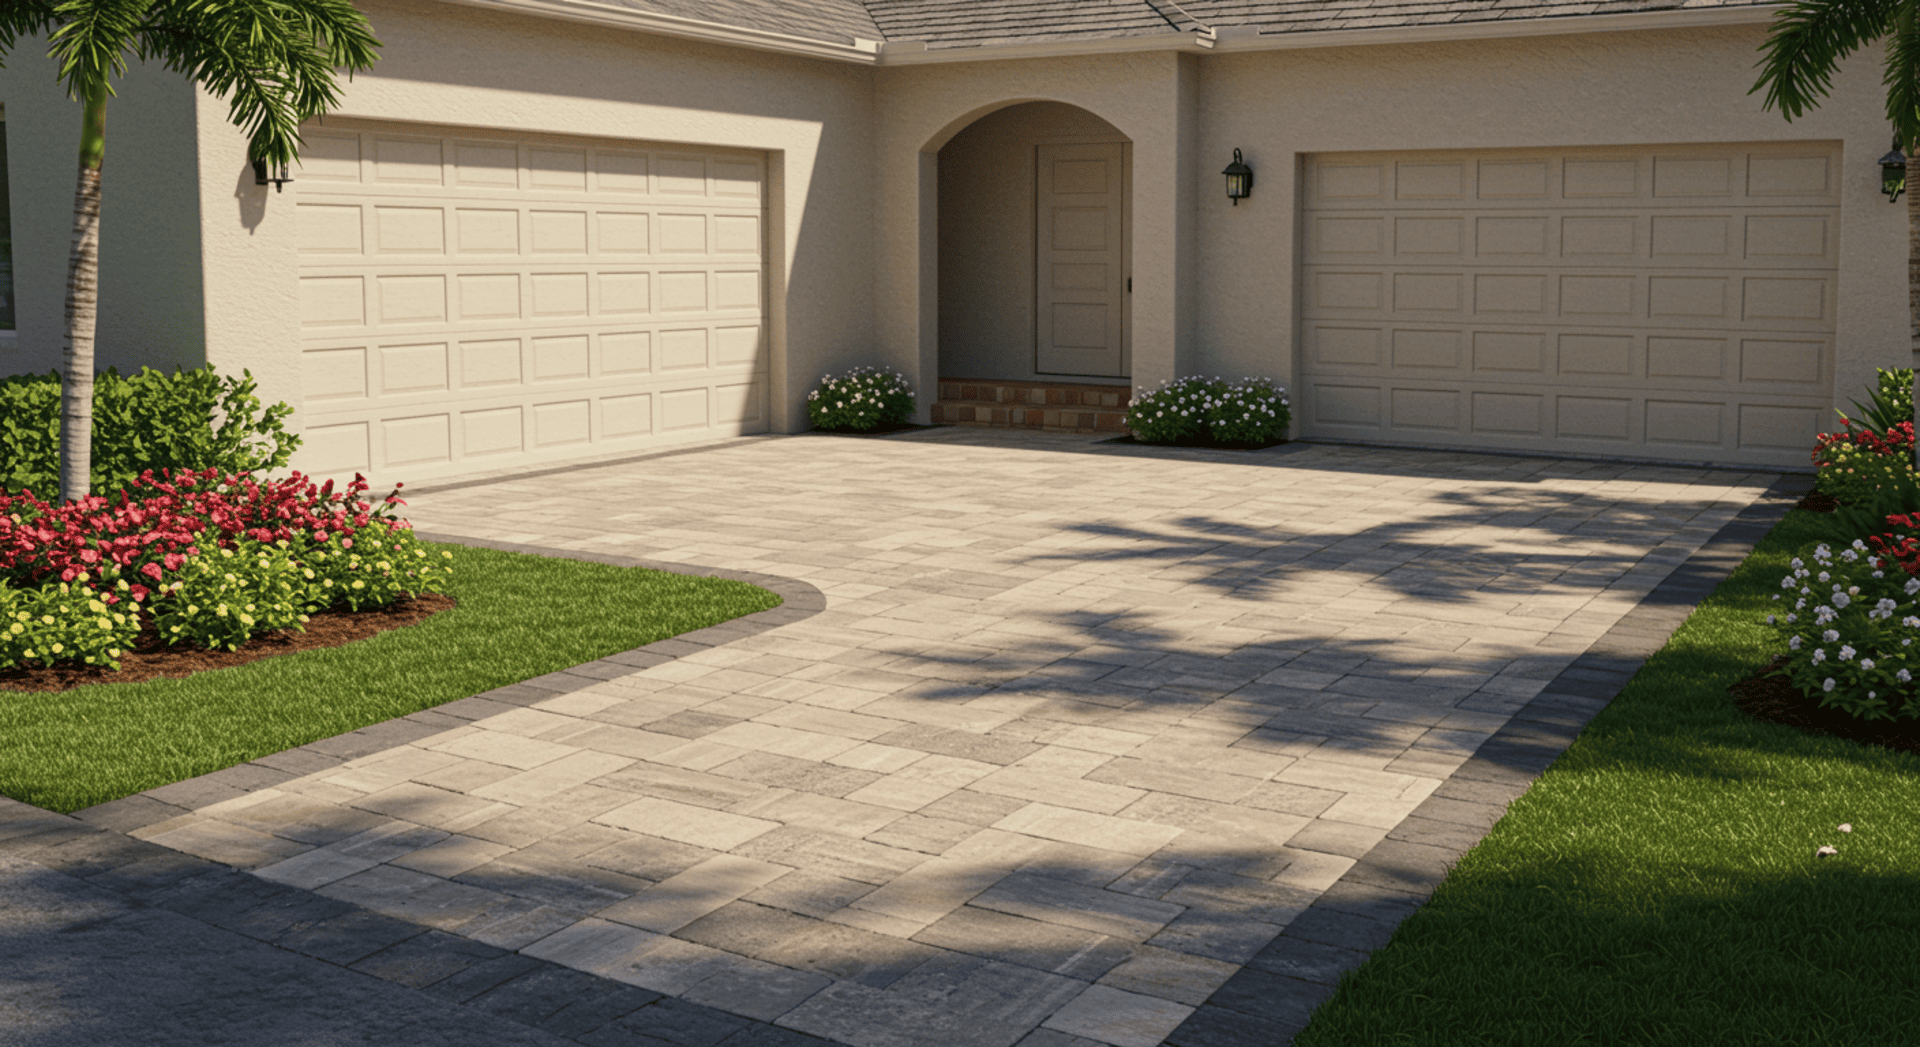
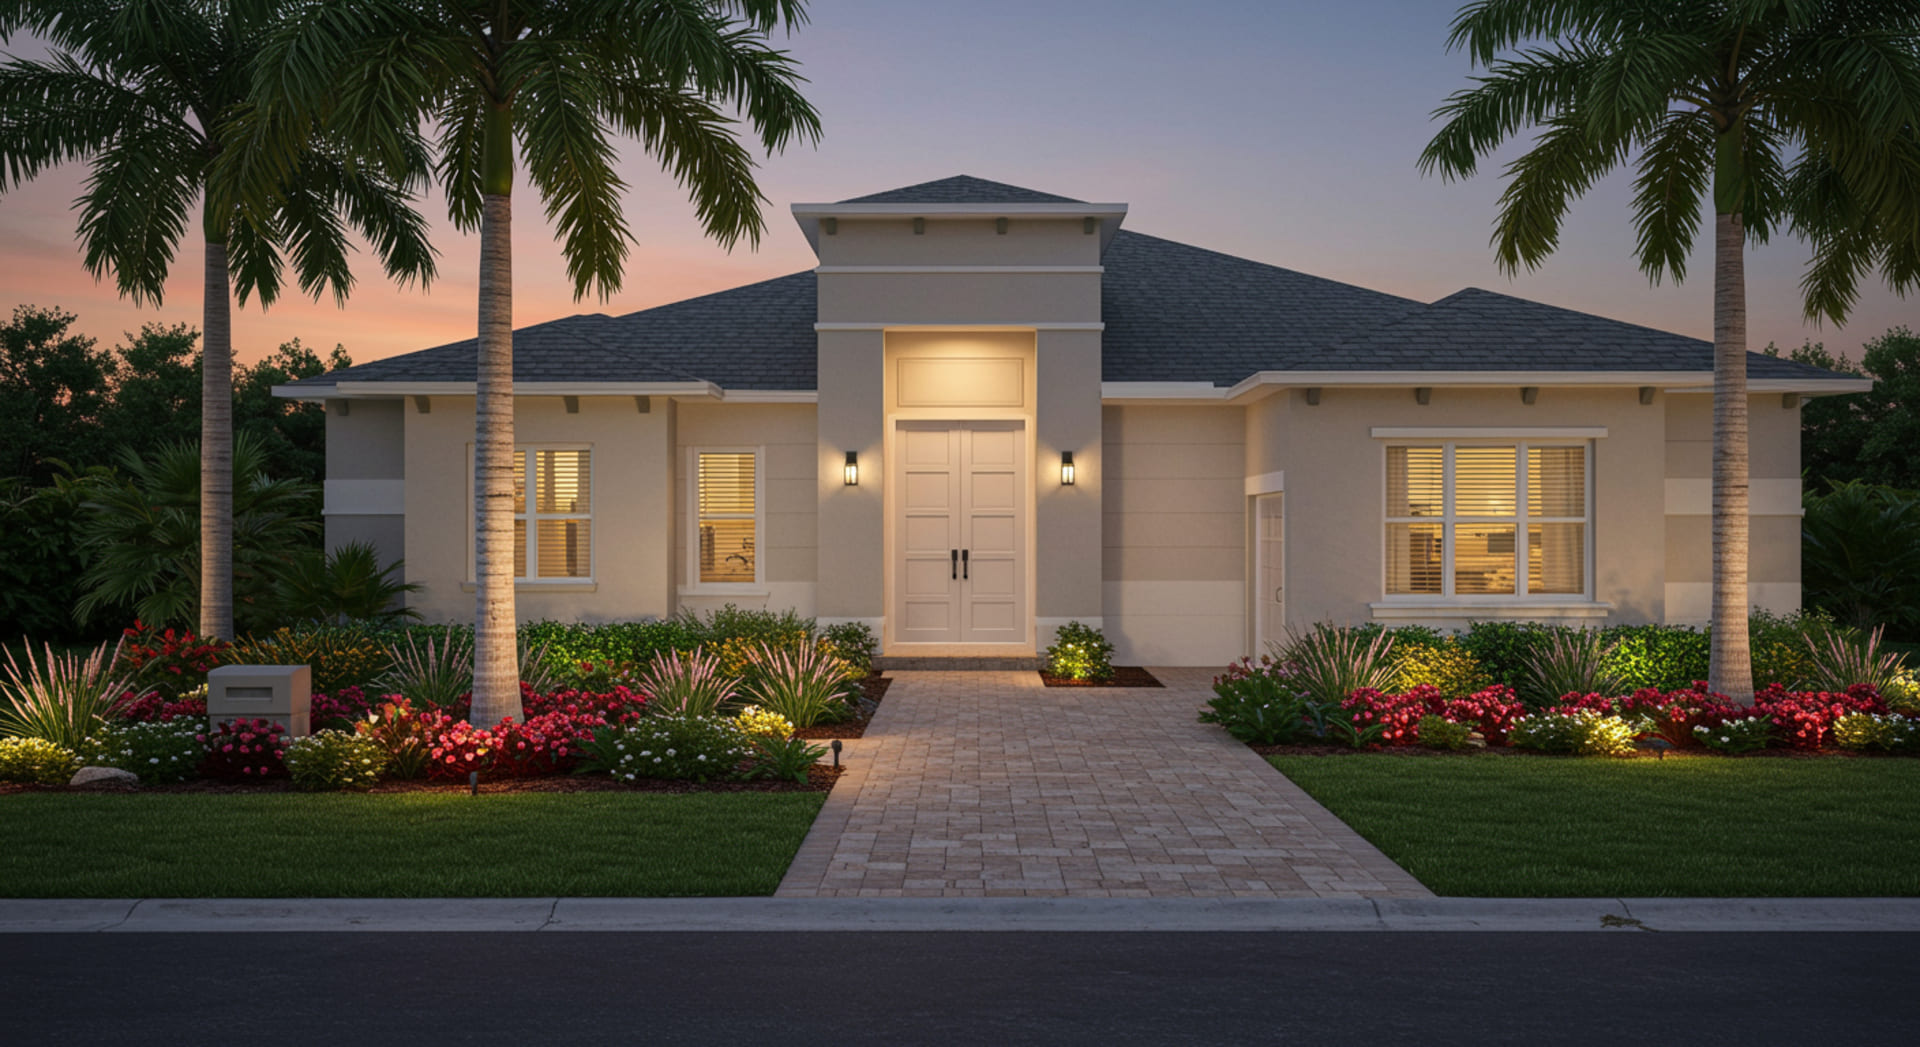
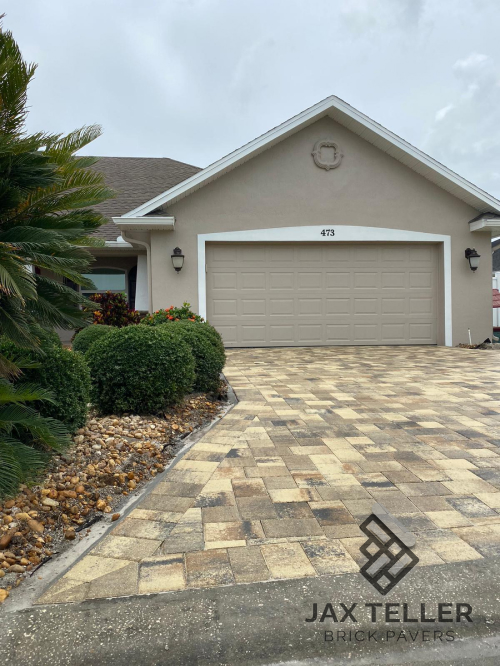
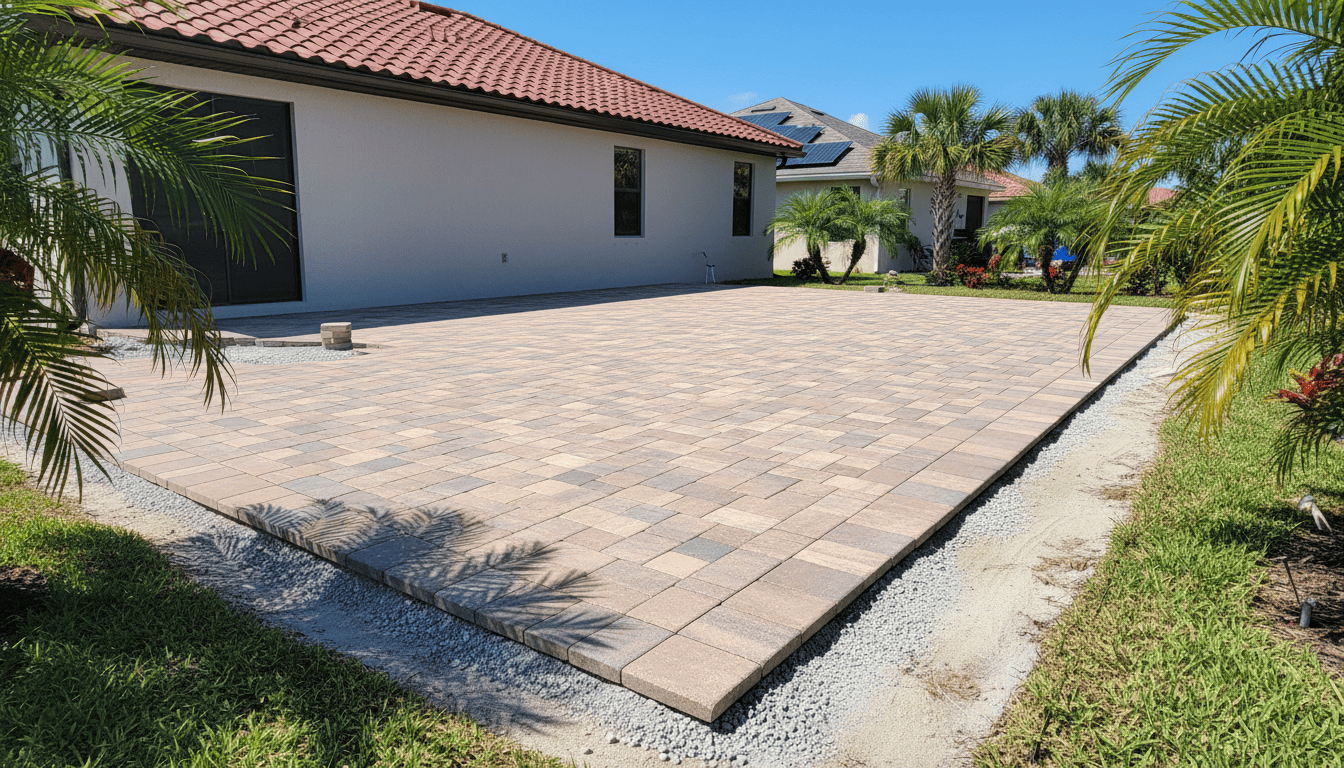
Recent driveway installation completed by JaxTeller Brick Pavers in Florida.
In a recent Florida driveway project completed by JaxTeller Brick Pavers, proper excavation, layered base compaction, and reinforced edge restraints prevented settling issues common in sandy soil — resulting in a stable, long-lasting surface built for daily traffic.
This is why professional planning and base preparation make all the difference in long-term performance.
Step-by-Step Paver Installation Process
1. Site Evaluation and Design Planning
Every project starts with:
- Measuring the area
- Evaluating slope and drainage
- Selecting paver type, color, and pattern
Design mistakes early on lead to long-term problems.
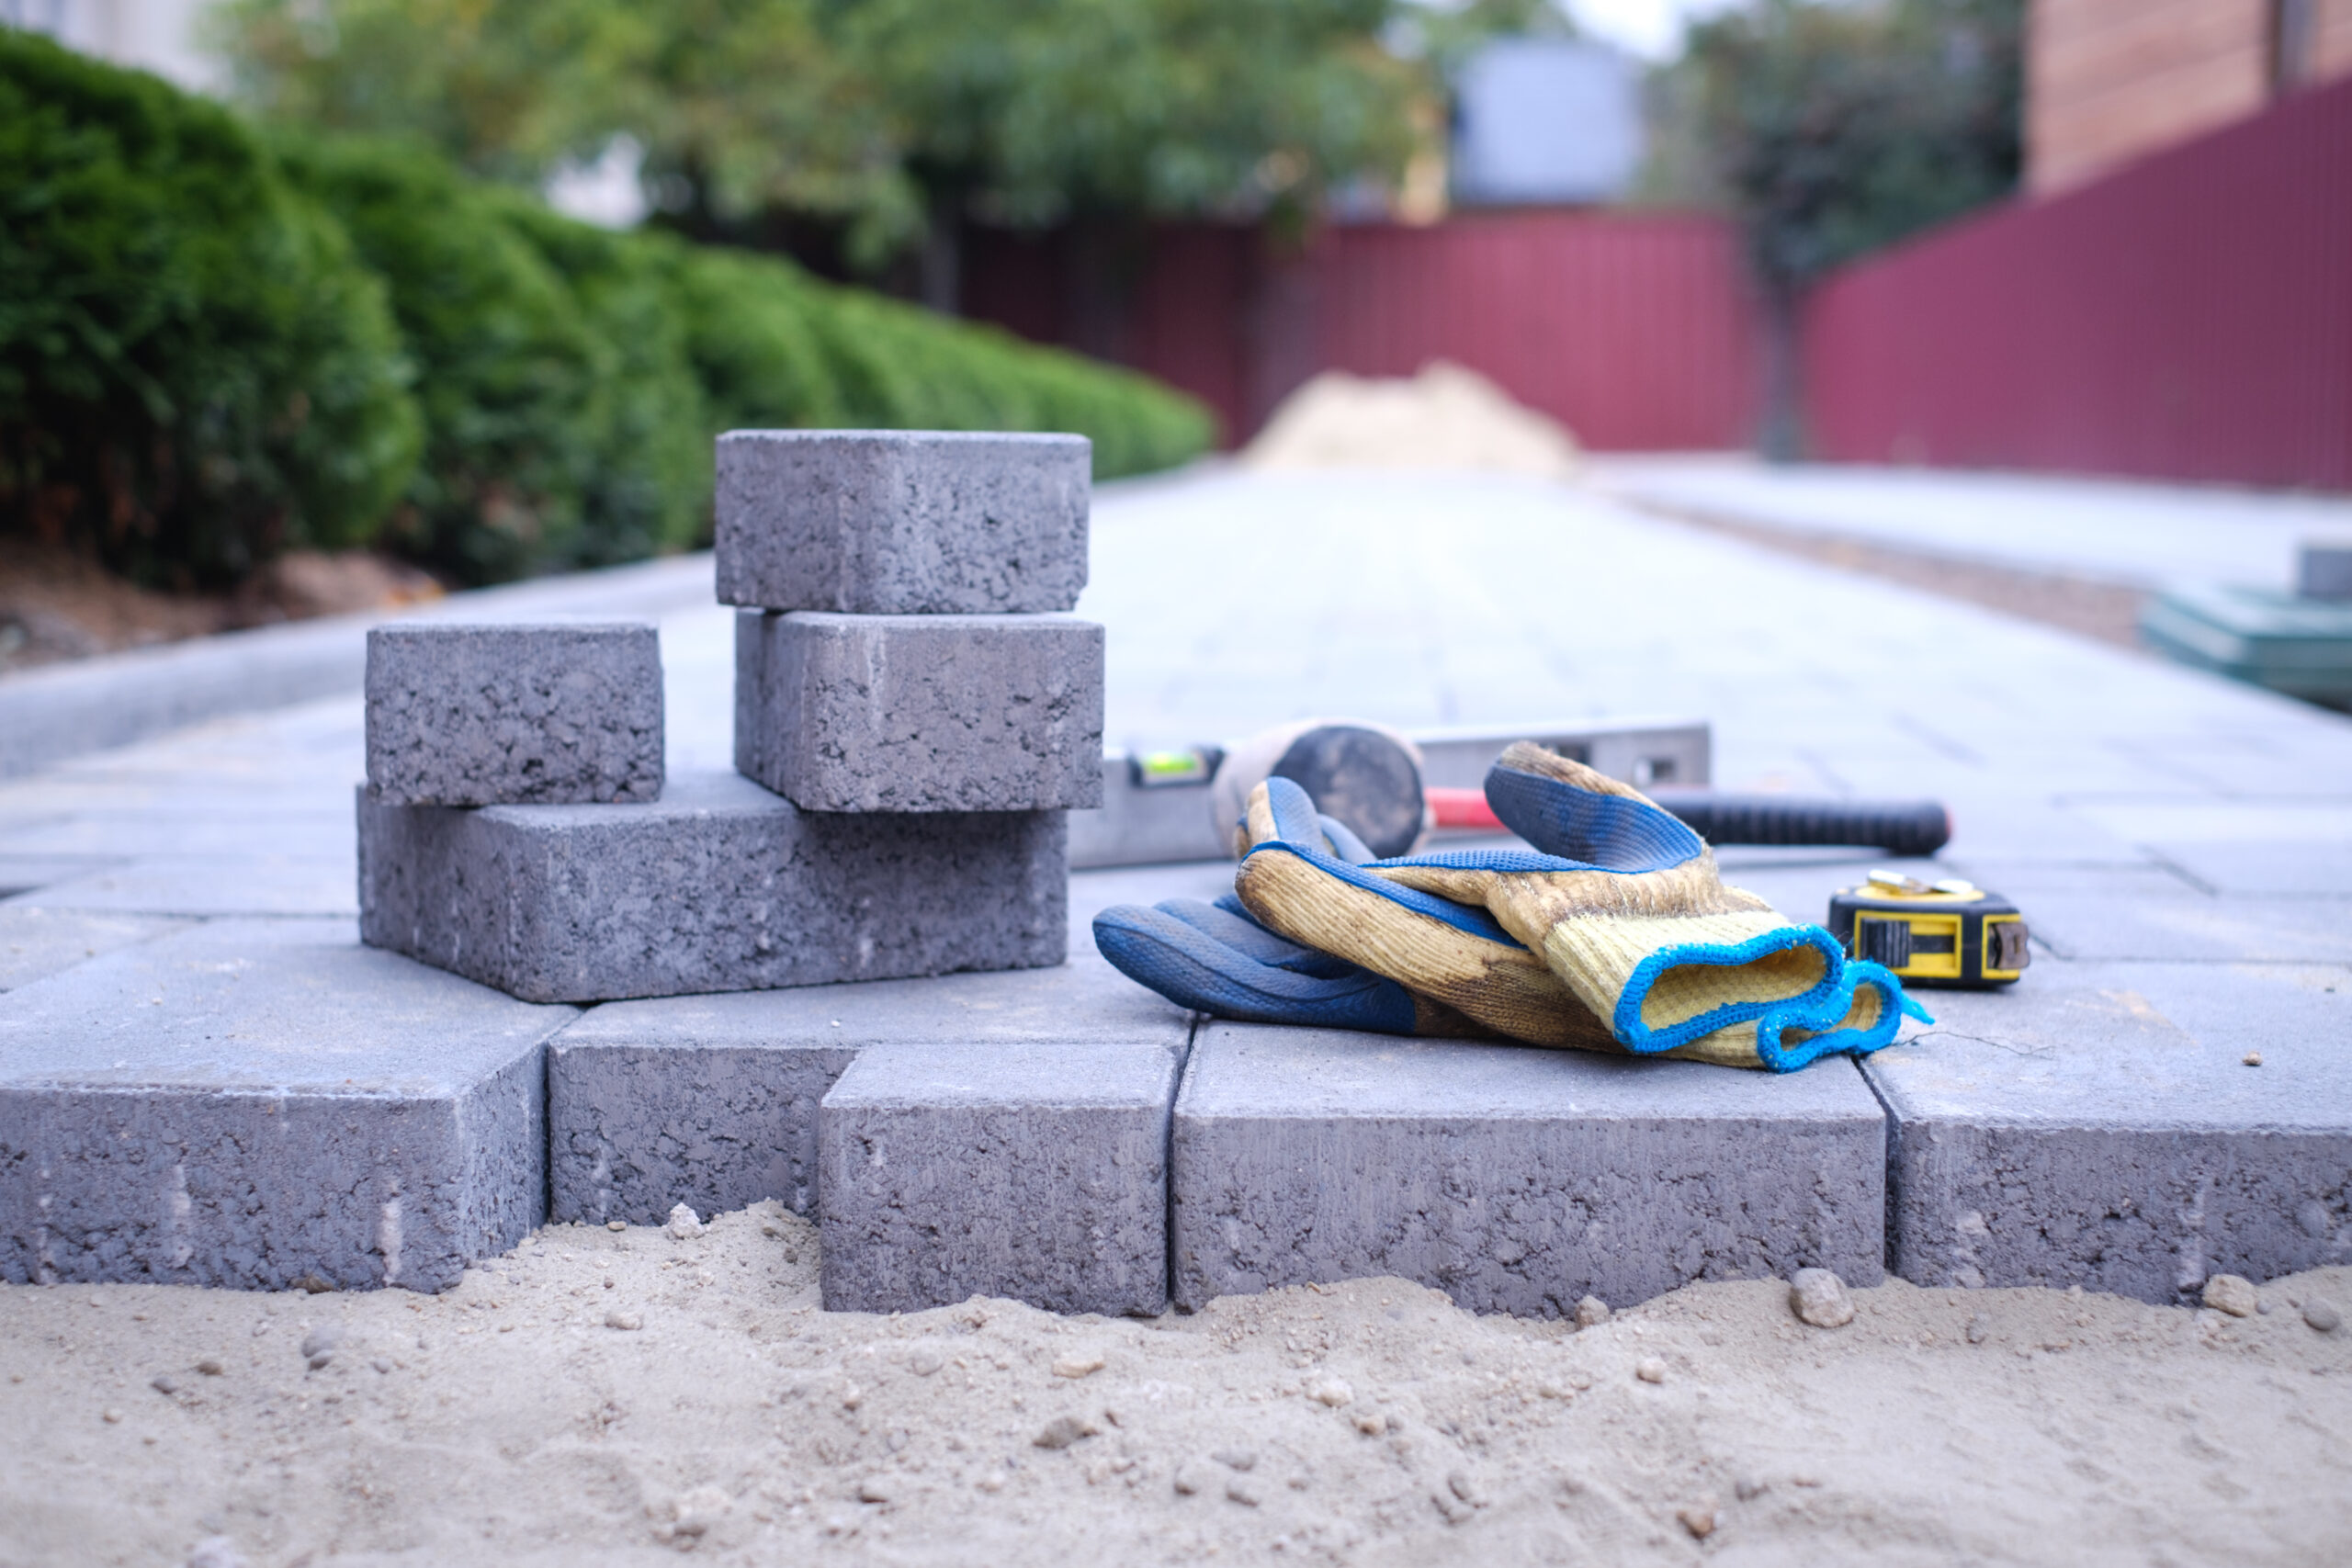
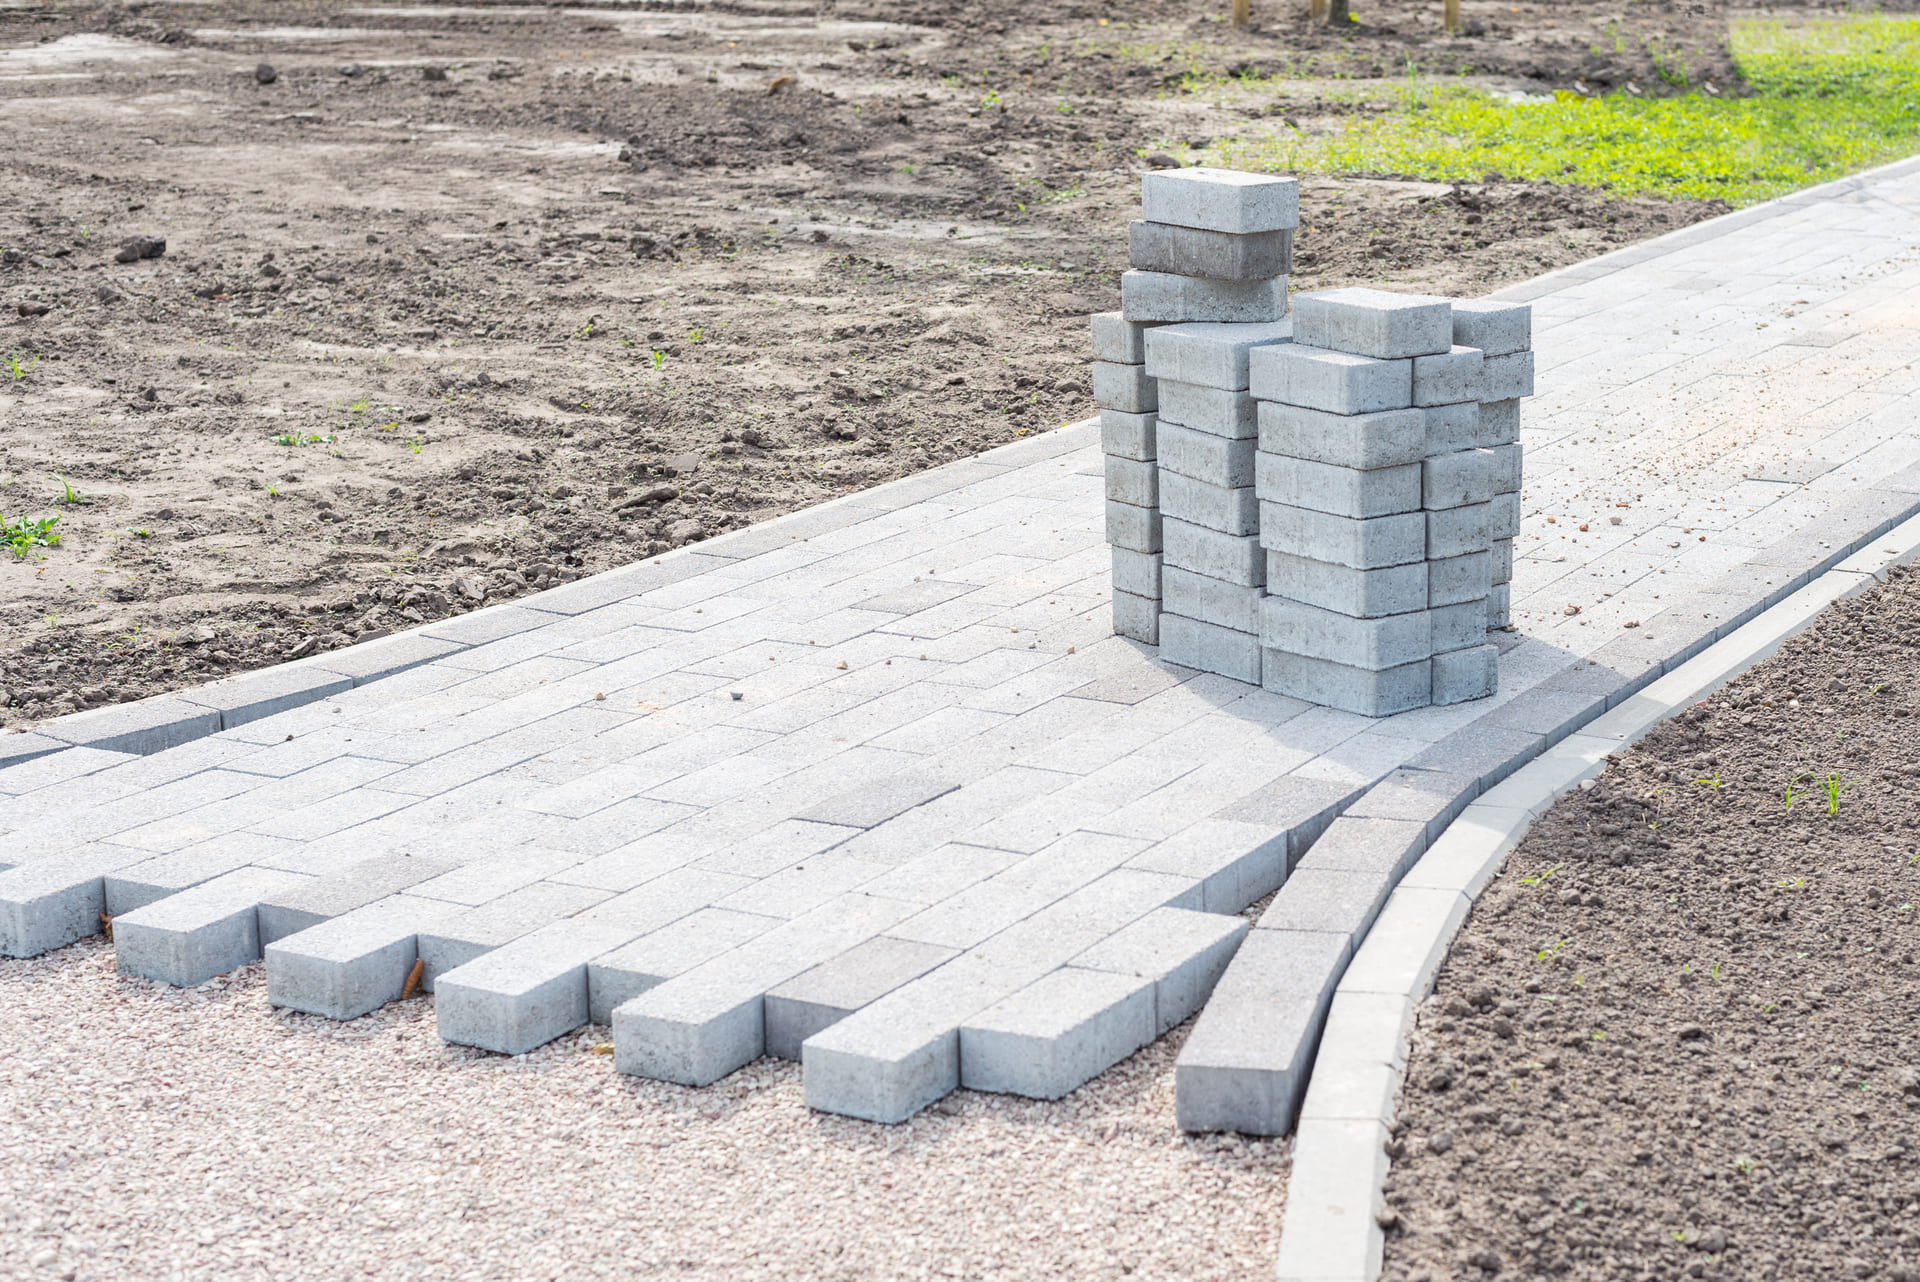
2. Excavation and Base Preparation
This is the most critical step.
Proper excavation includes:
- Removing existing soil or concrete
- Excavating to the correct depth
- Compacting the subgrade
A weak base guarantees failure.
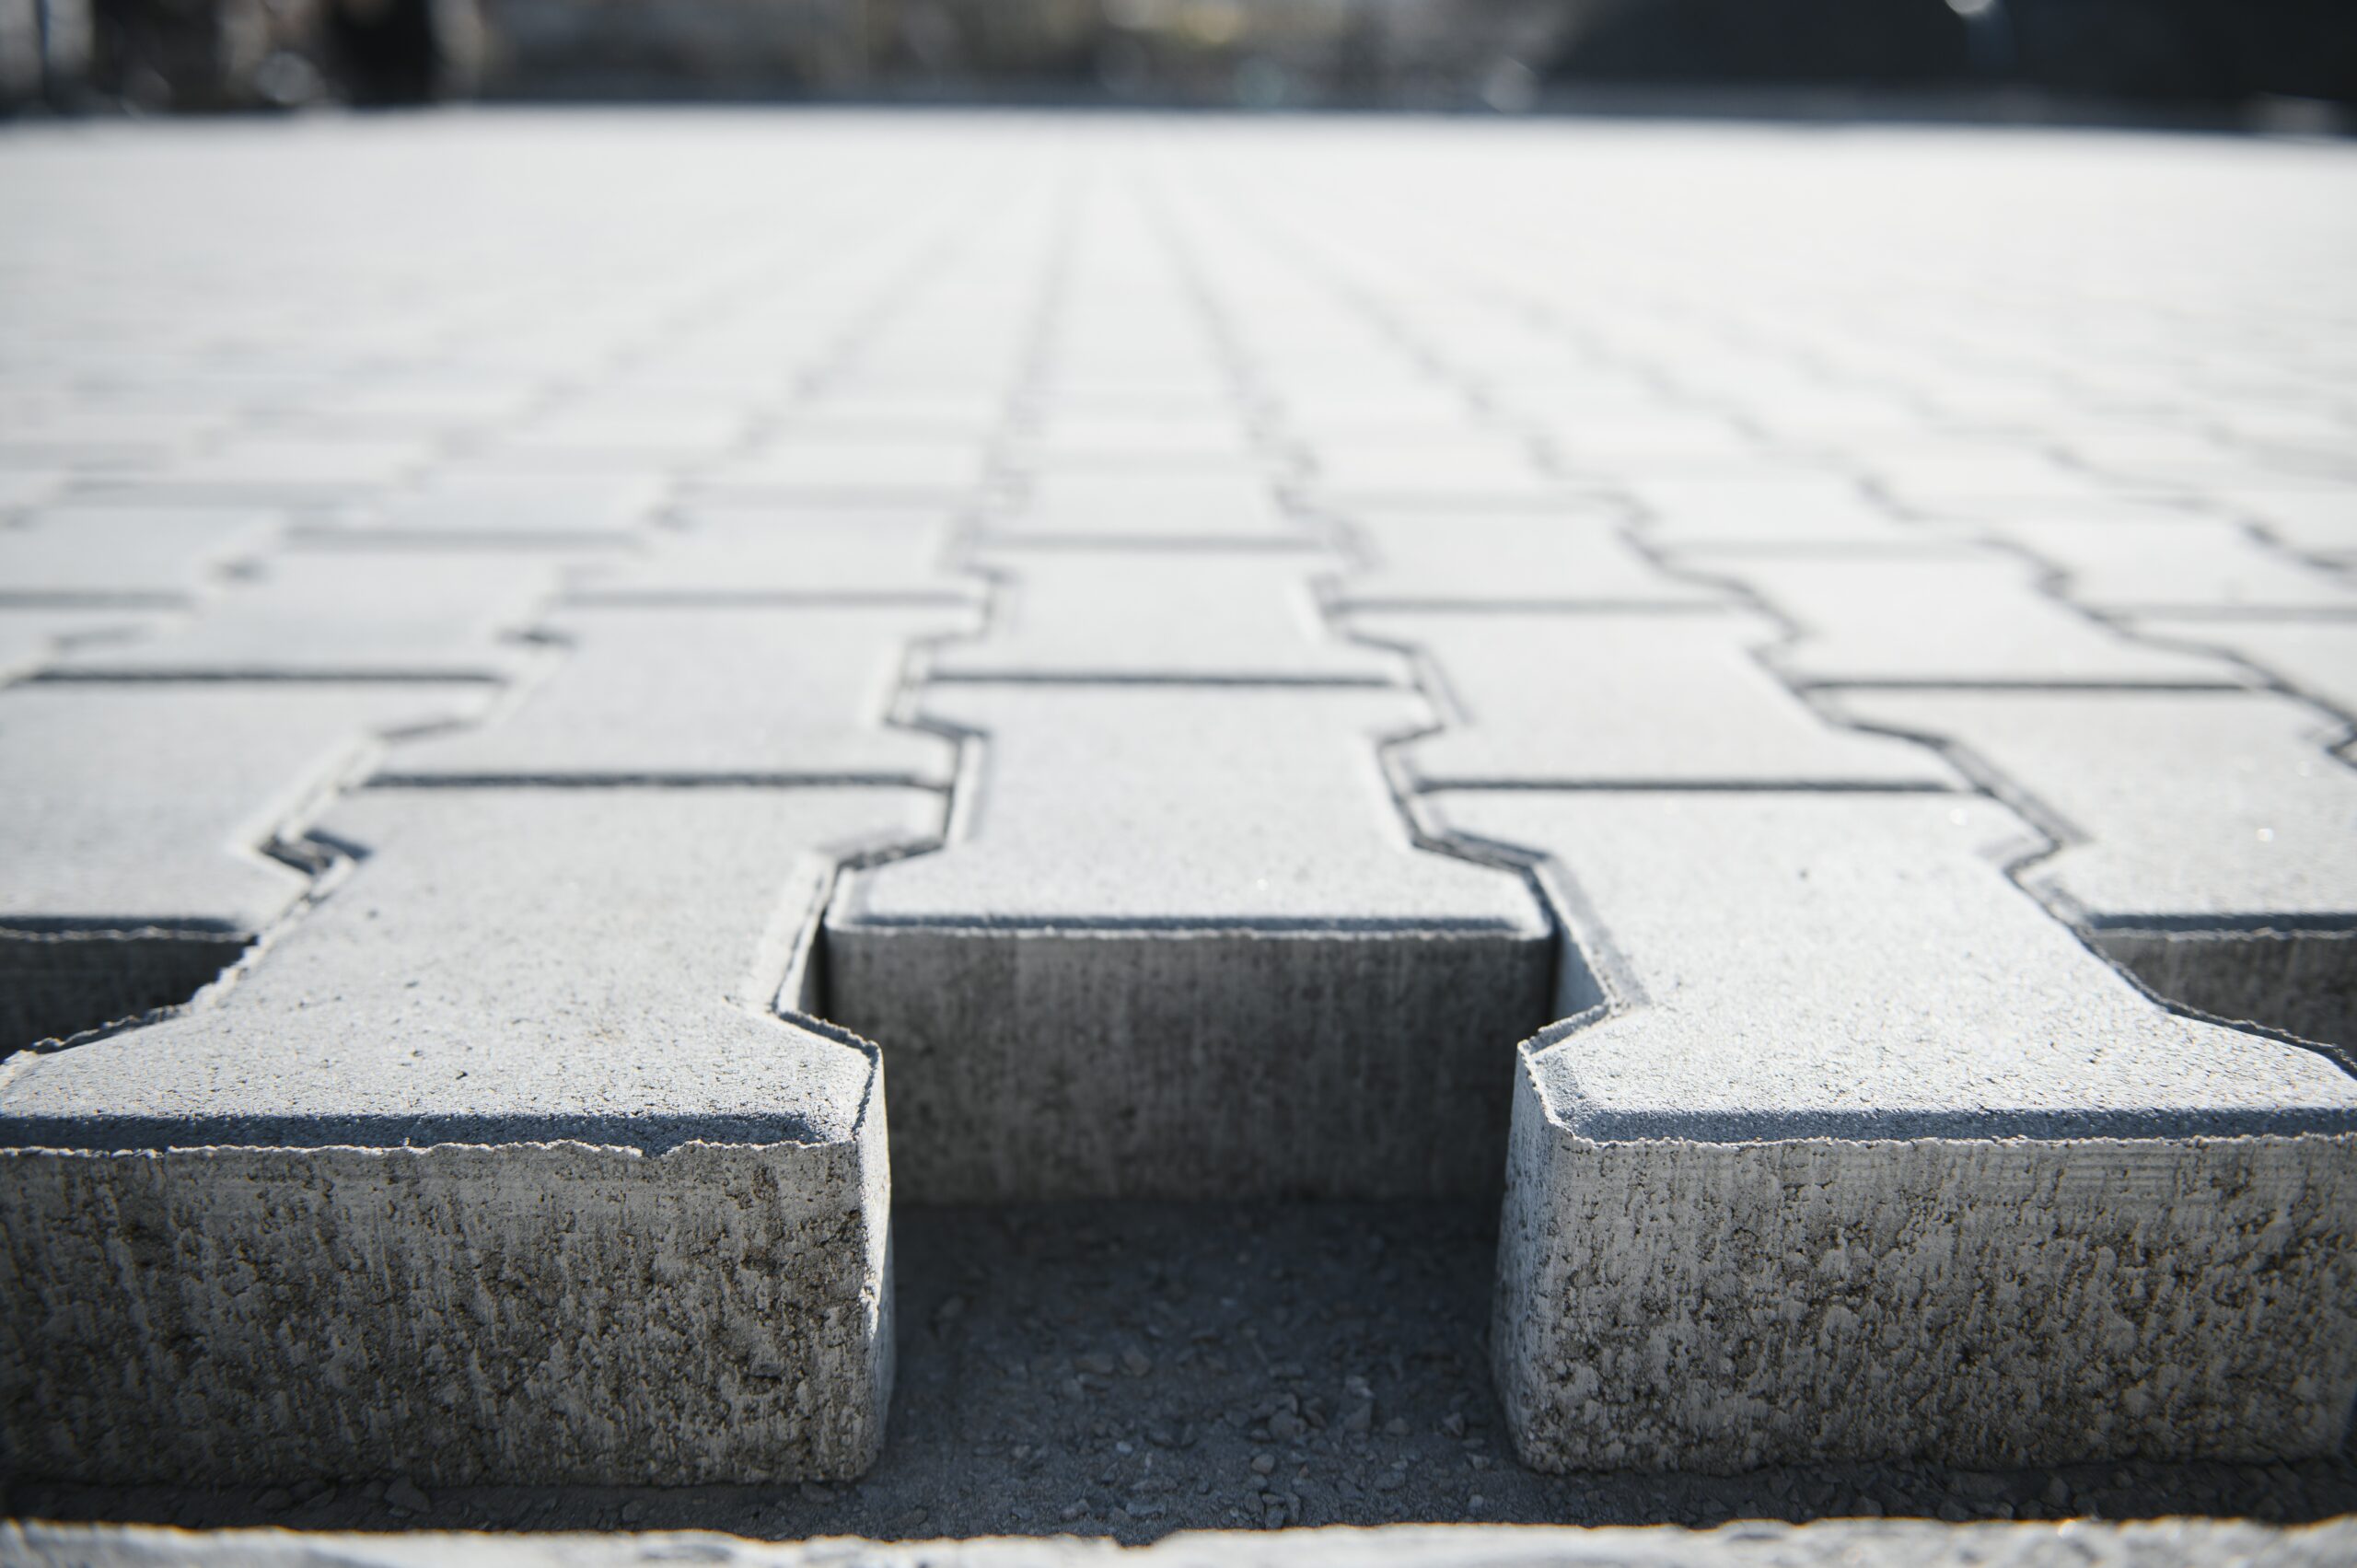
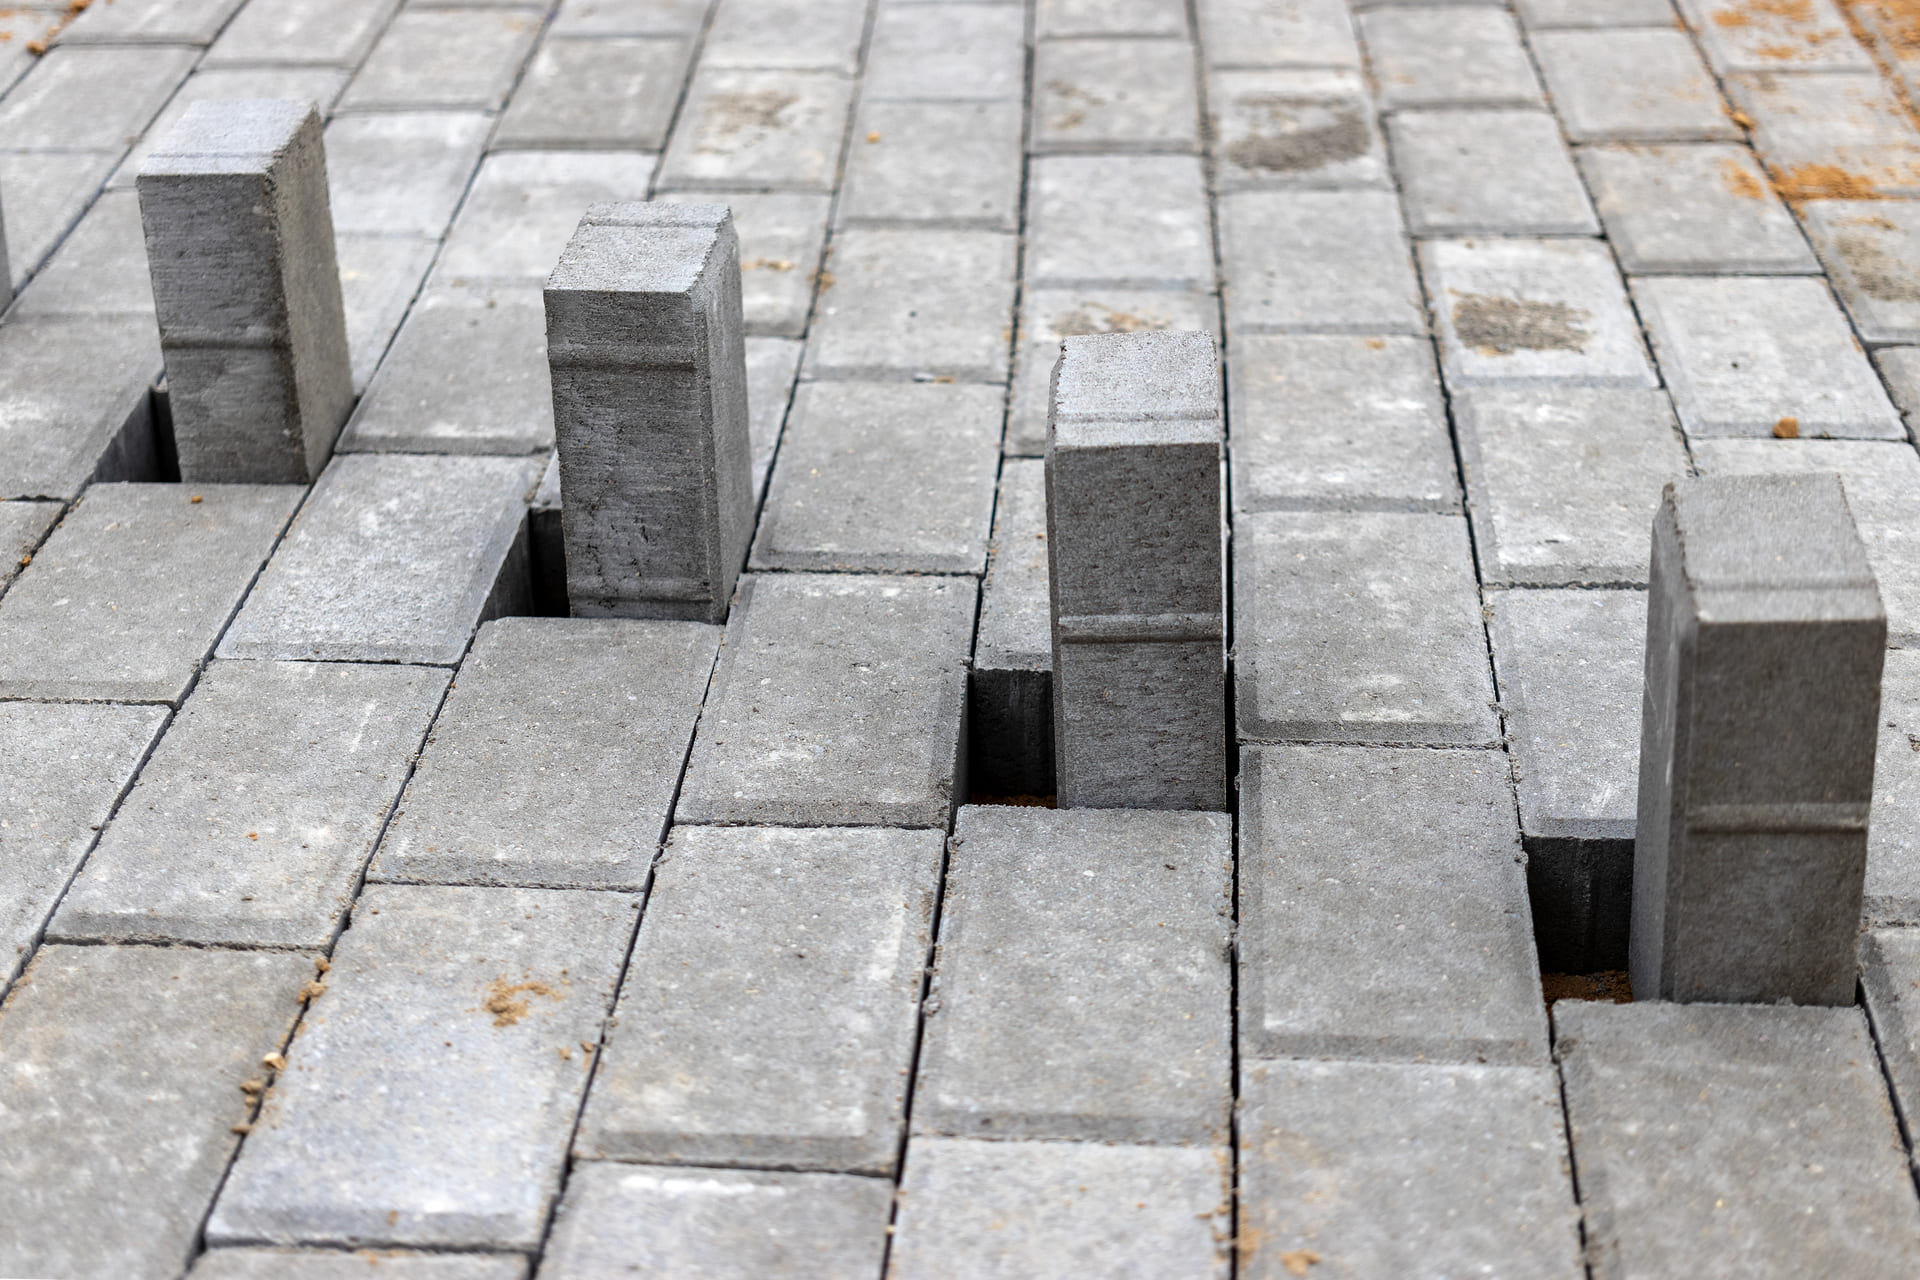
3. Installing the Base Material
A compacted crushed stone base provides stability.
Key requirements:
- Multiple compacted layers
- Proper thickness for traffic load
- Level surface with slope for drainage
This step determines longevity.
4. Bedding Sand Layer
A thin layer of leveling sand ensures:
- Even paver placement
- Proper height control
- Smooth final surface
Sand should never be used as a substitute for base material.
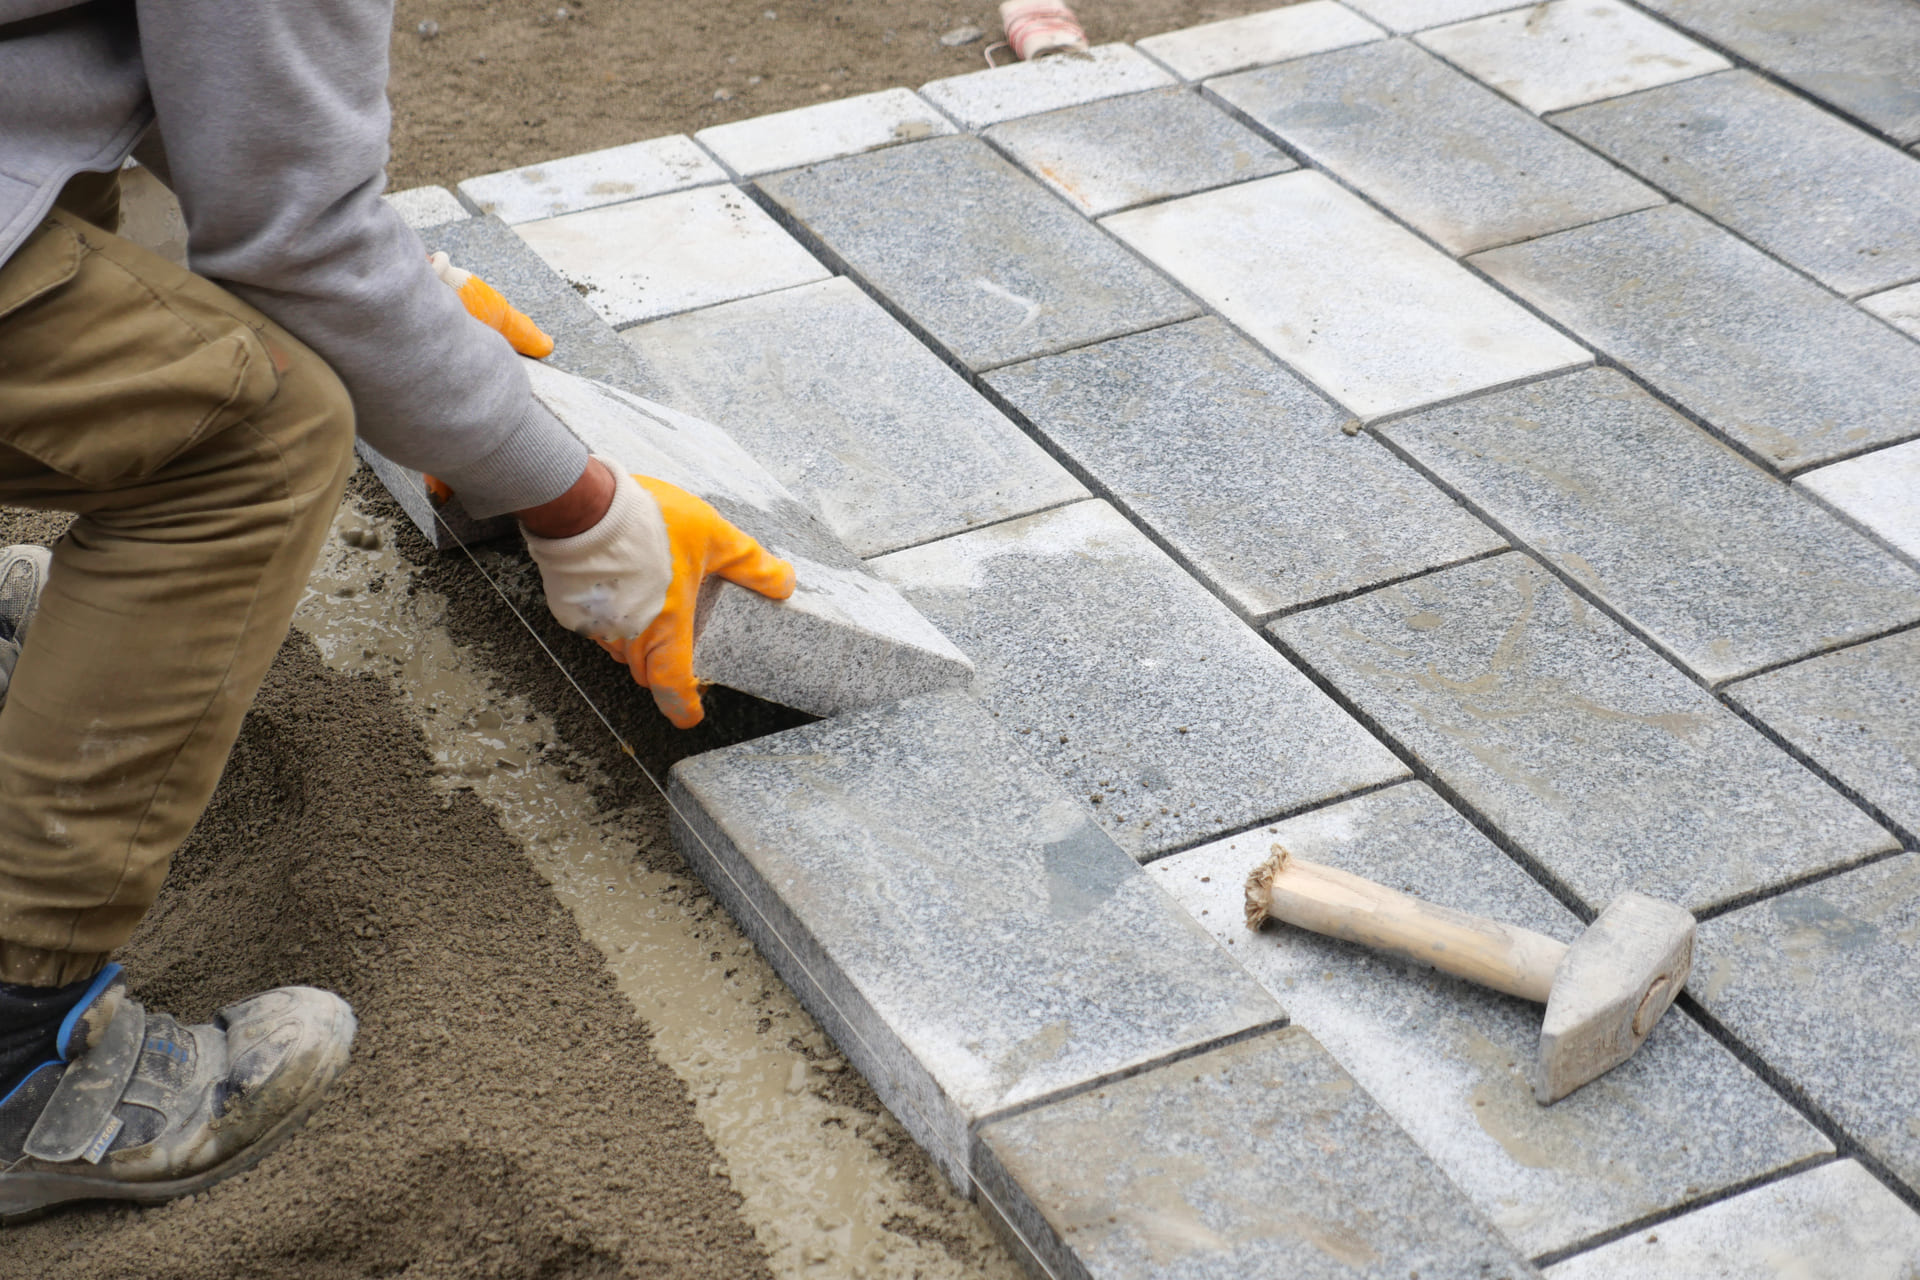
5. Paver Placement and Pattern Alignment
Pavers are laid carefully:
- Following the selected pattern
- Maintaining joint spacing
- Checking alignment frequently
Precision here affects both appearance and performance.
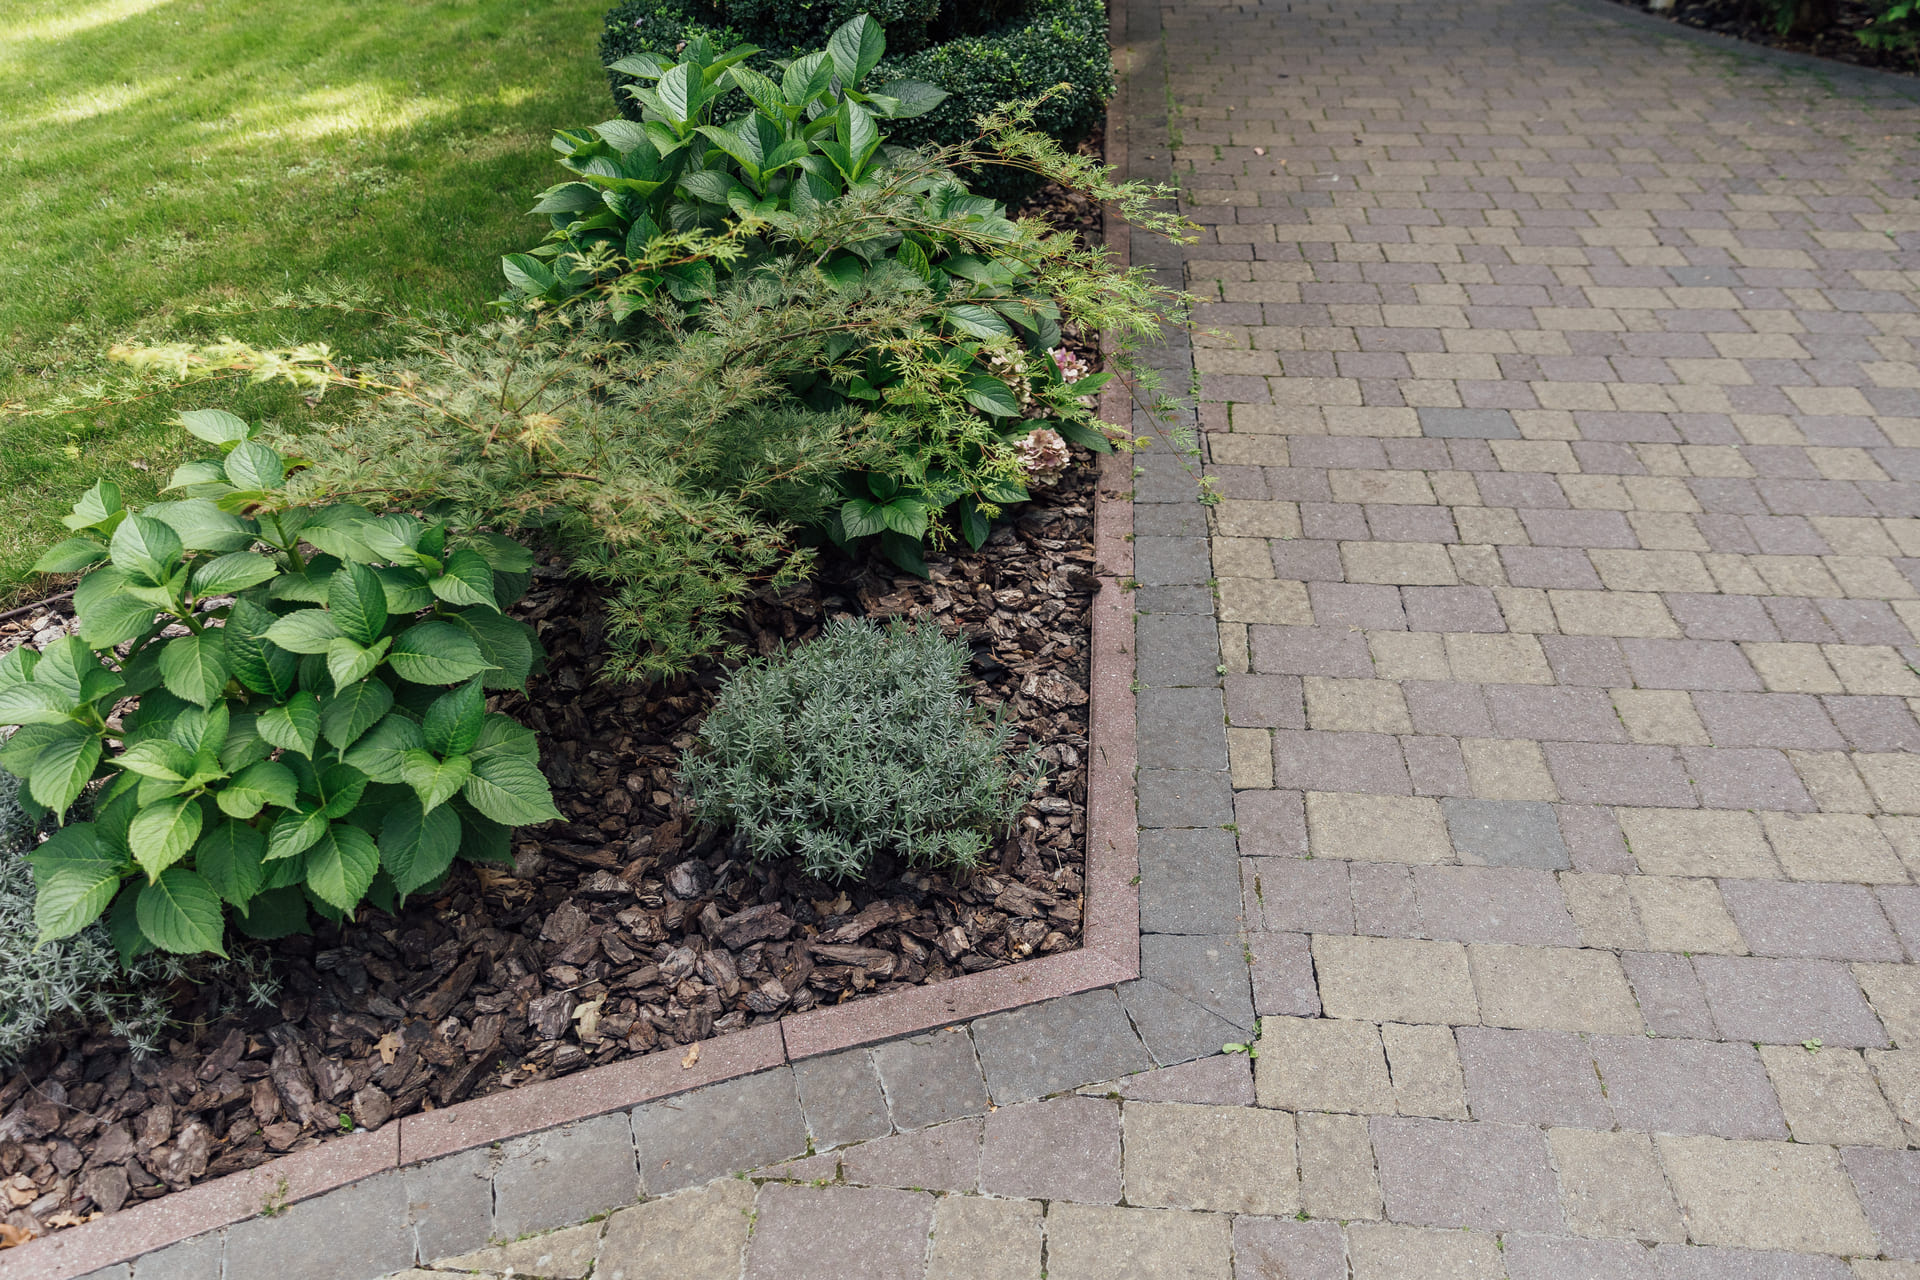
6. Edge Restraints Installation
Edge restraints lock the system together.
They:
- Prevent lateral movement
- Maintain pattern integrity
- Extend lifespan
Edge restraints are essential, especially for driveways.
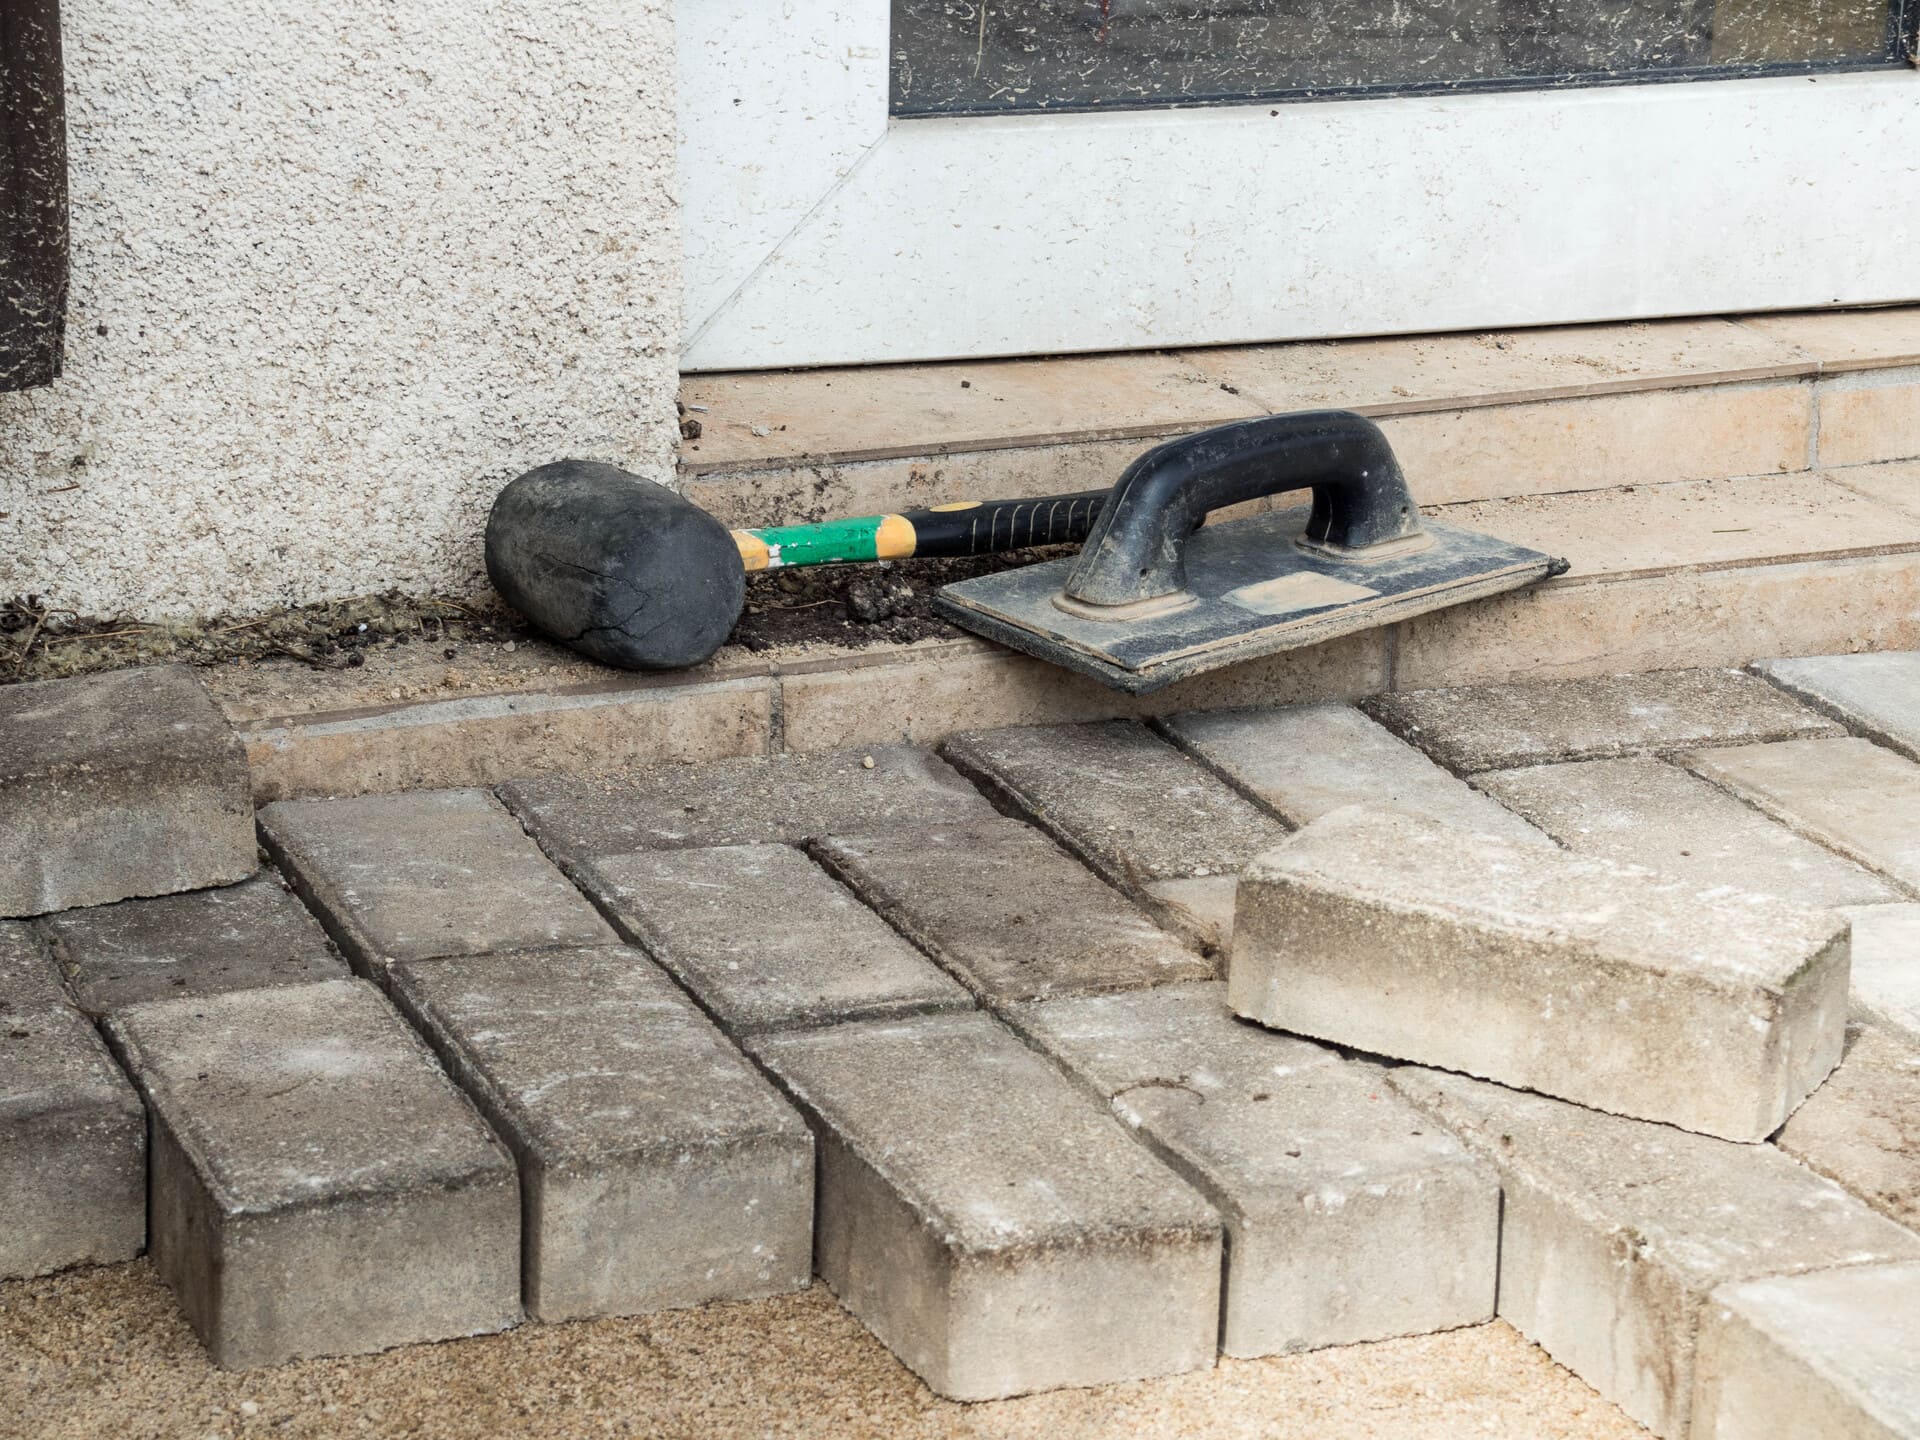
7. Joint Sanding and Compaction
Joint sand locks pavers in place.
Process includes:
- Filling joints completely
- Compacting the surface
- Reapplying sand as needed
Polymeric sand is often used for added stability.
Common Installation Mistakes to Avoid
- Skipping proper excavation
- Using sand instead of crushed stone base
- Poor drainage planning
- Missing edge restraints
- DIY installs without experience
These mistakes often lead to costly repairs.
Why Professional Installation Makes a Difference
Experienced installers understand:
- Florida soil behavior
- Drainage requirements
- Load-bearing needs
- Long-term performance
Professional installation protects your investment.
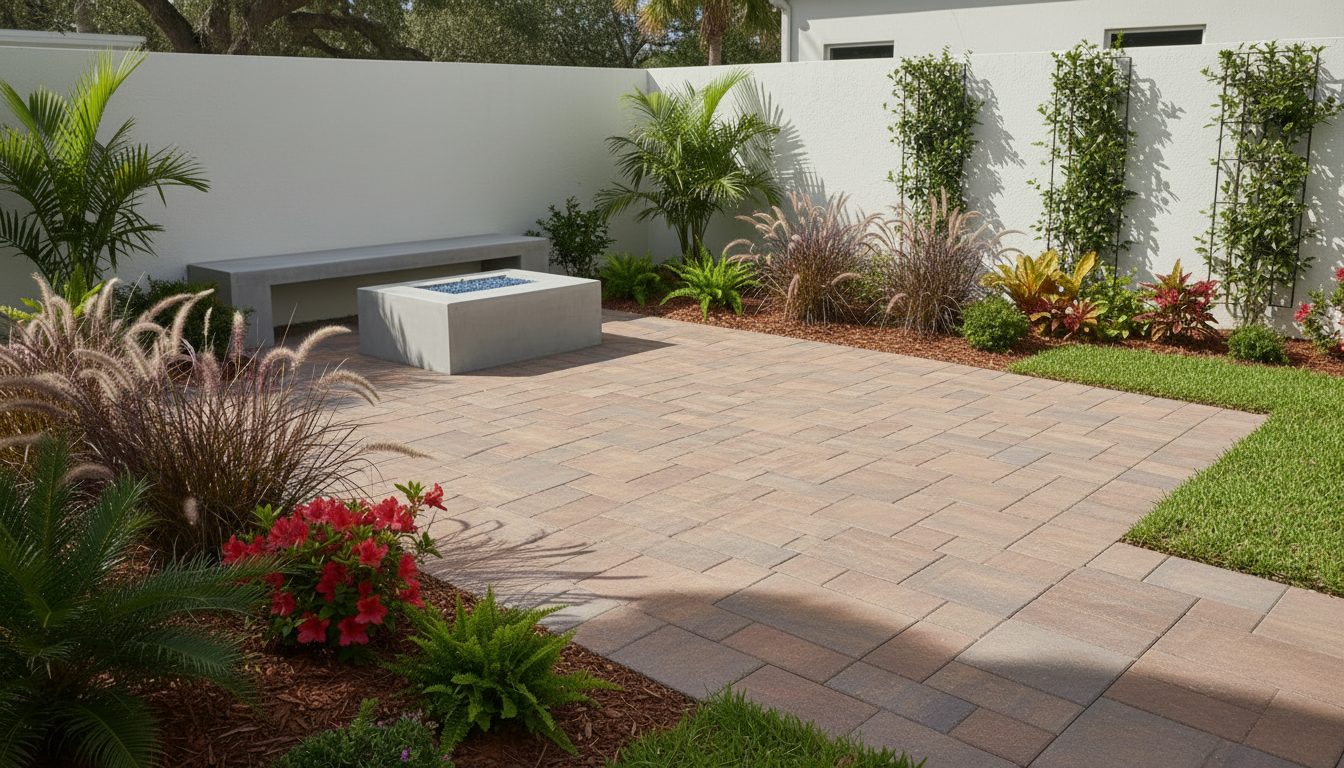
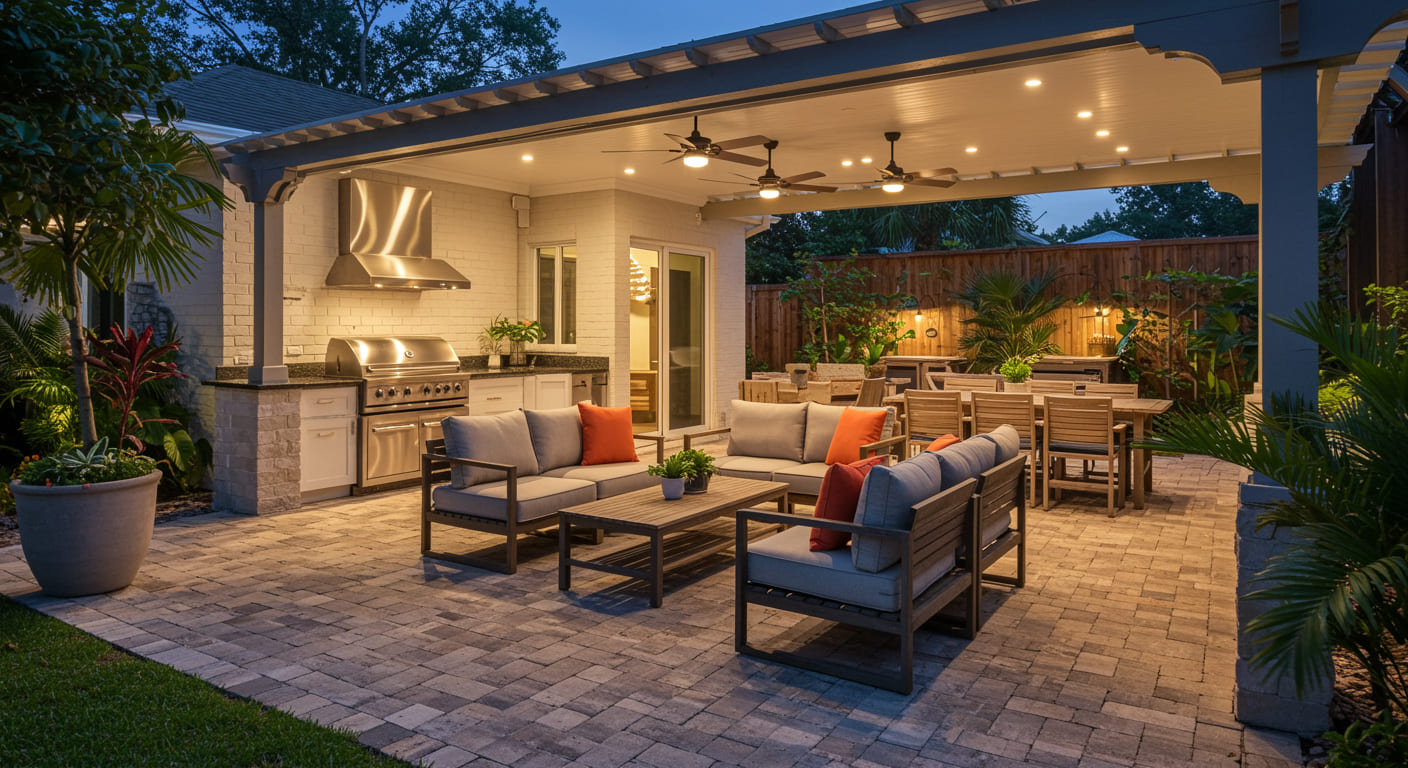
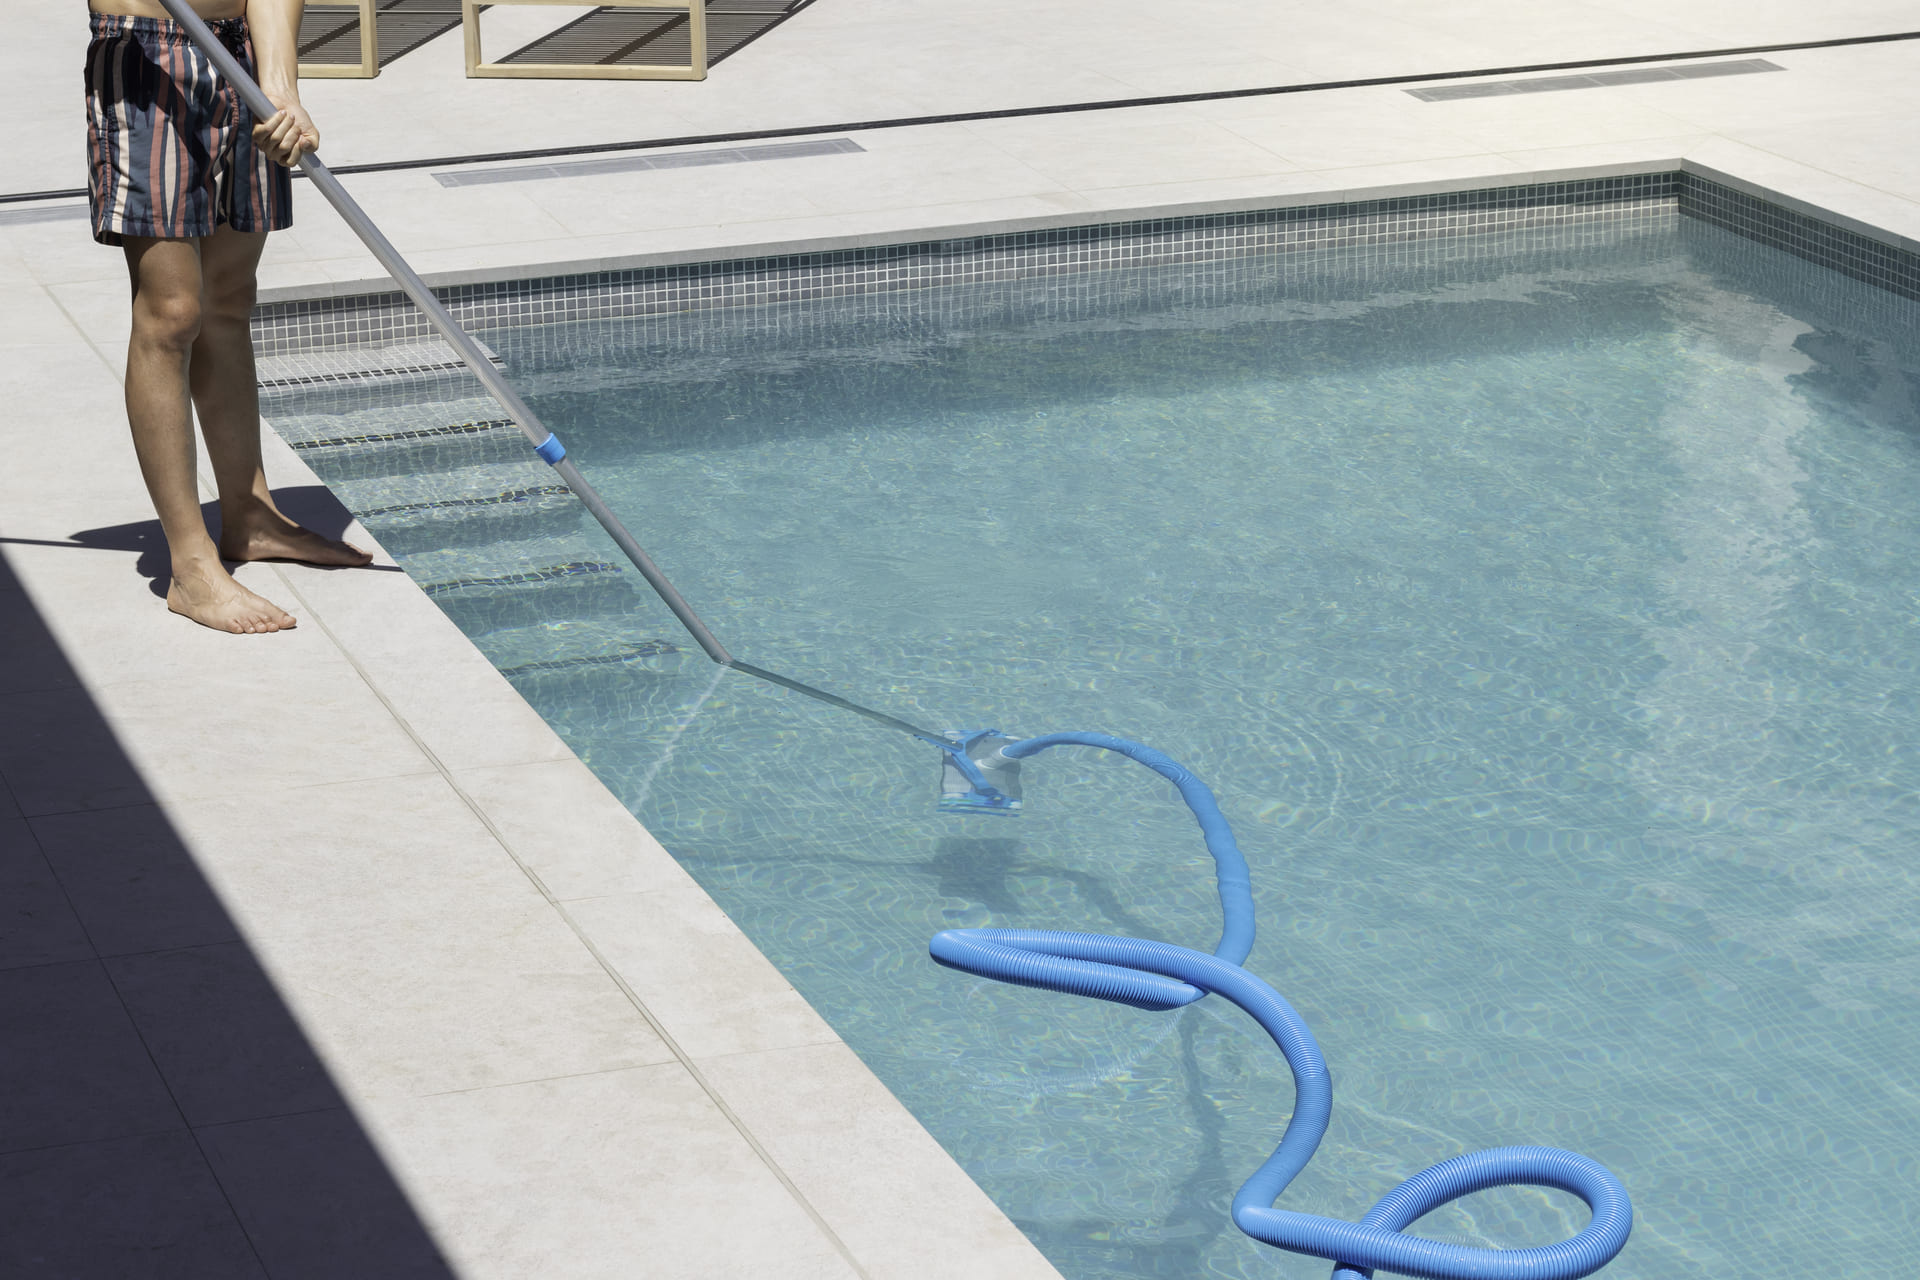
Paver Maintenance Basics for Florida Homes
Pavers are low maintenance — not no maintenance.
Routine care includes:
- Sweeping debris regularly
- Rinsing dirt and stains
- Checking joint sand annually
Simple care keeps pavers looking new.
Joint Sand Maintenance and Weed Prevention
Over time, joint sand may wear down.
Best practices:
- Reapply joint sand as needed
- Use polymeric sand when appropriate
- Remove weeds promptly
Proper joint care maintains stability.
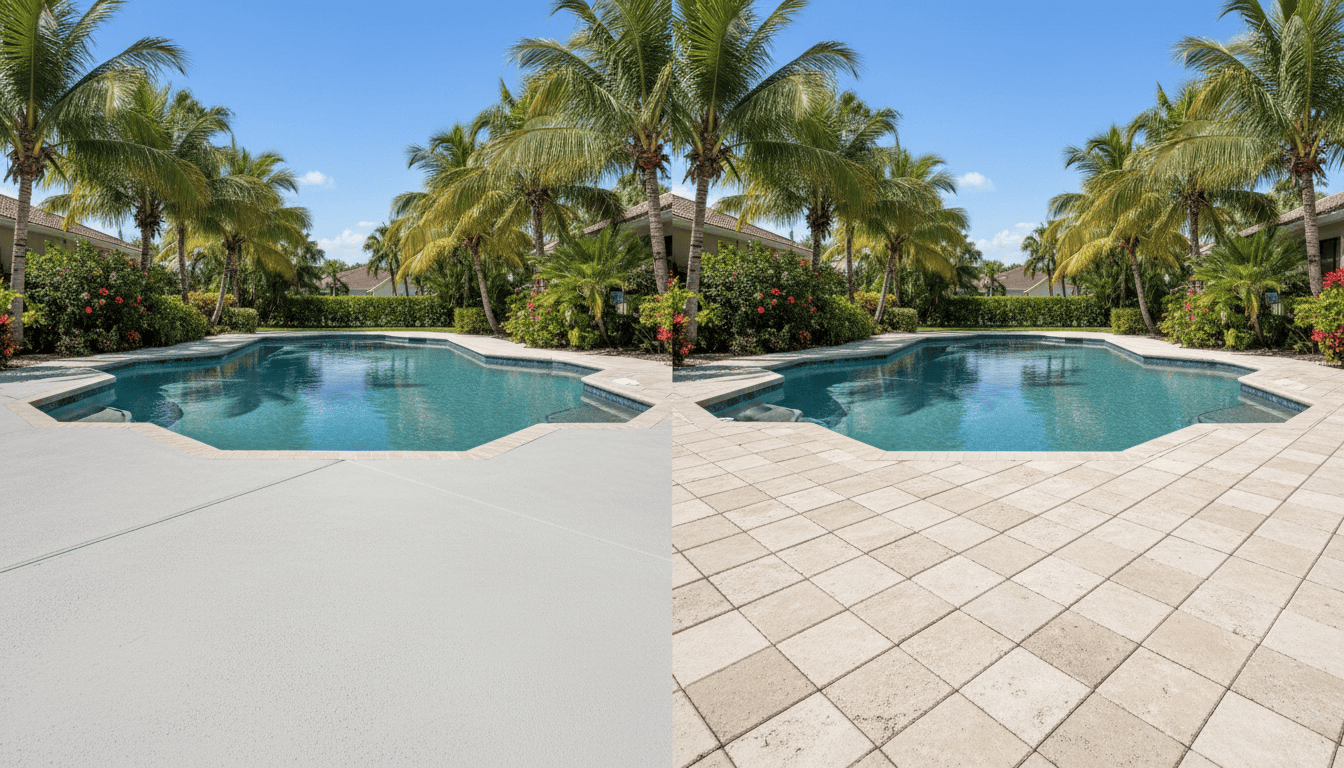
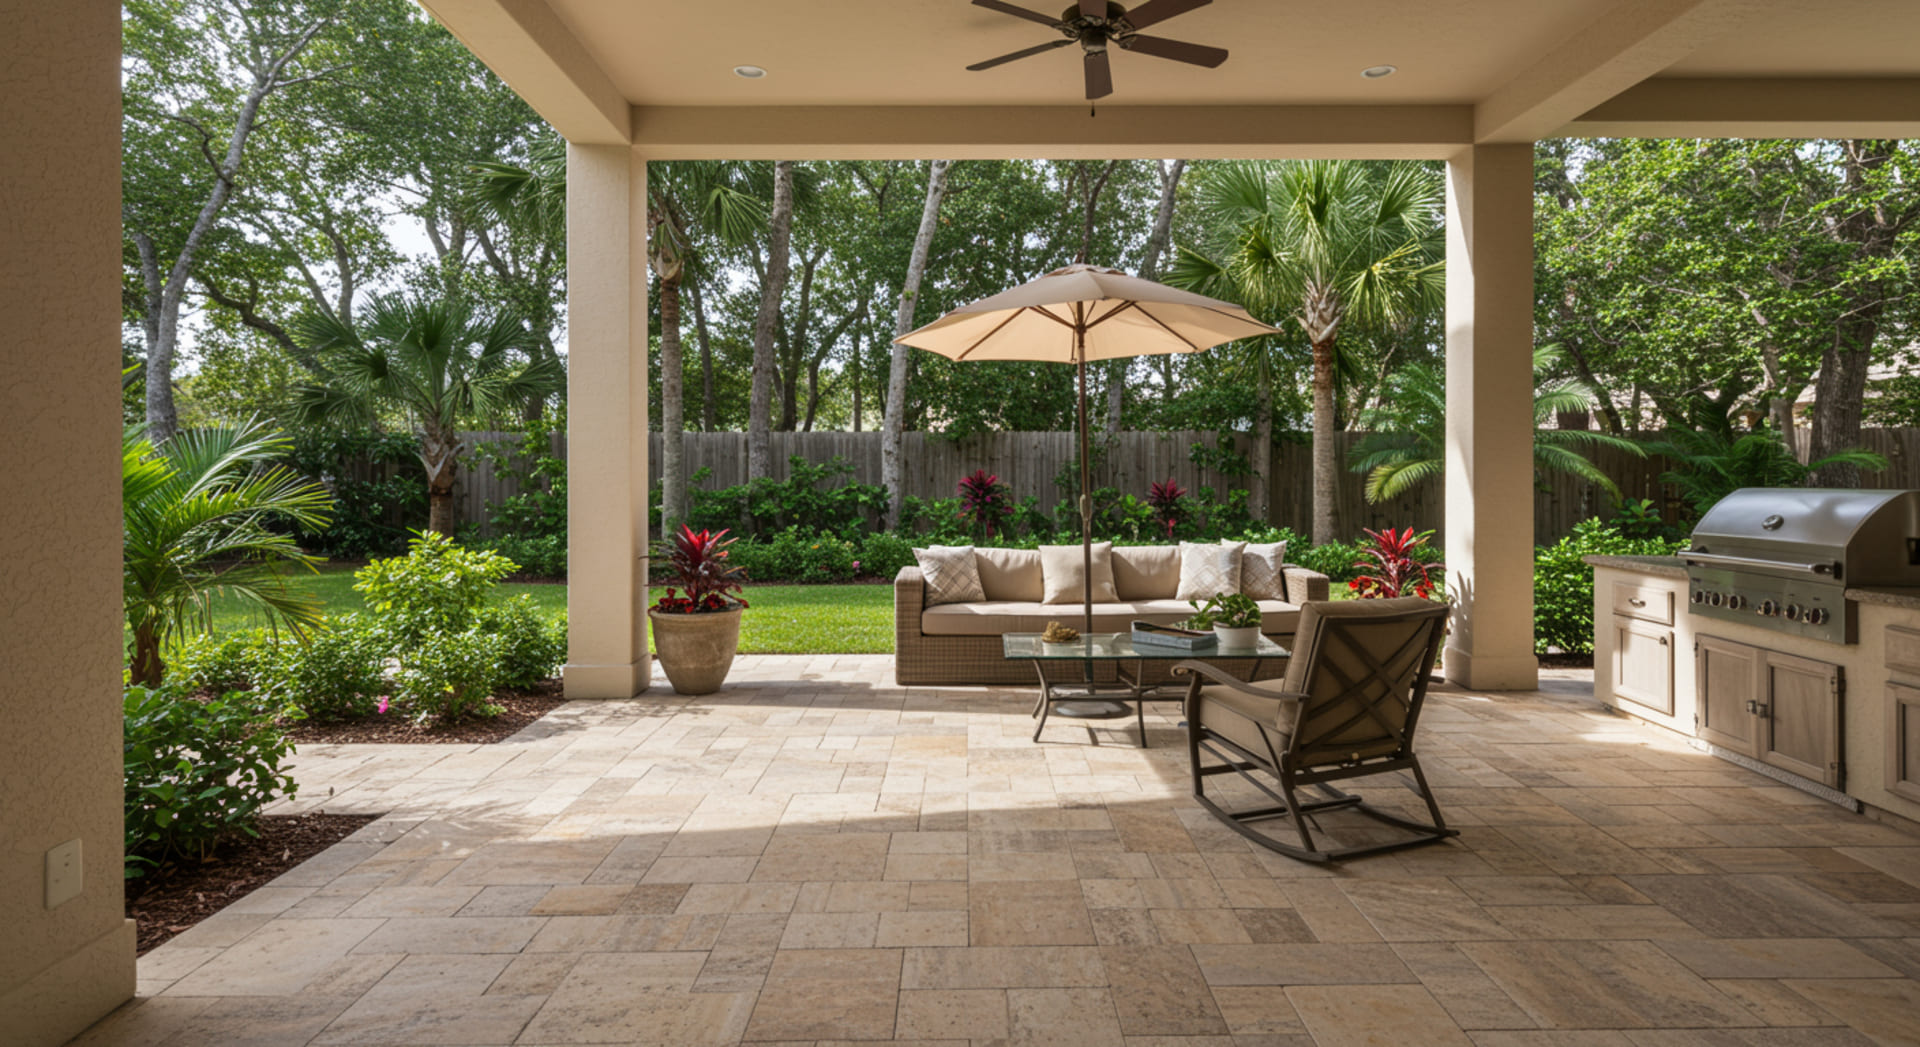
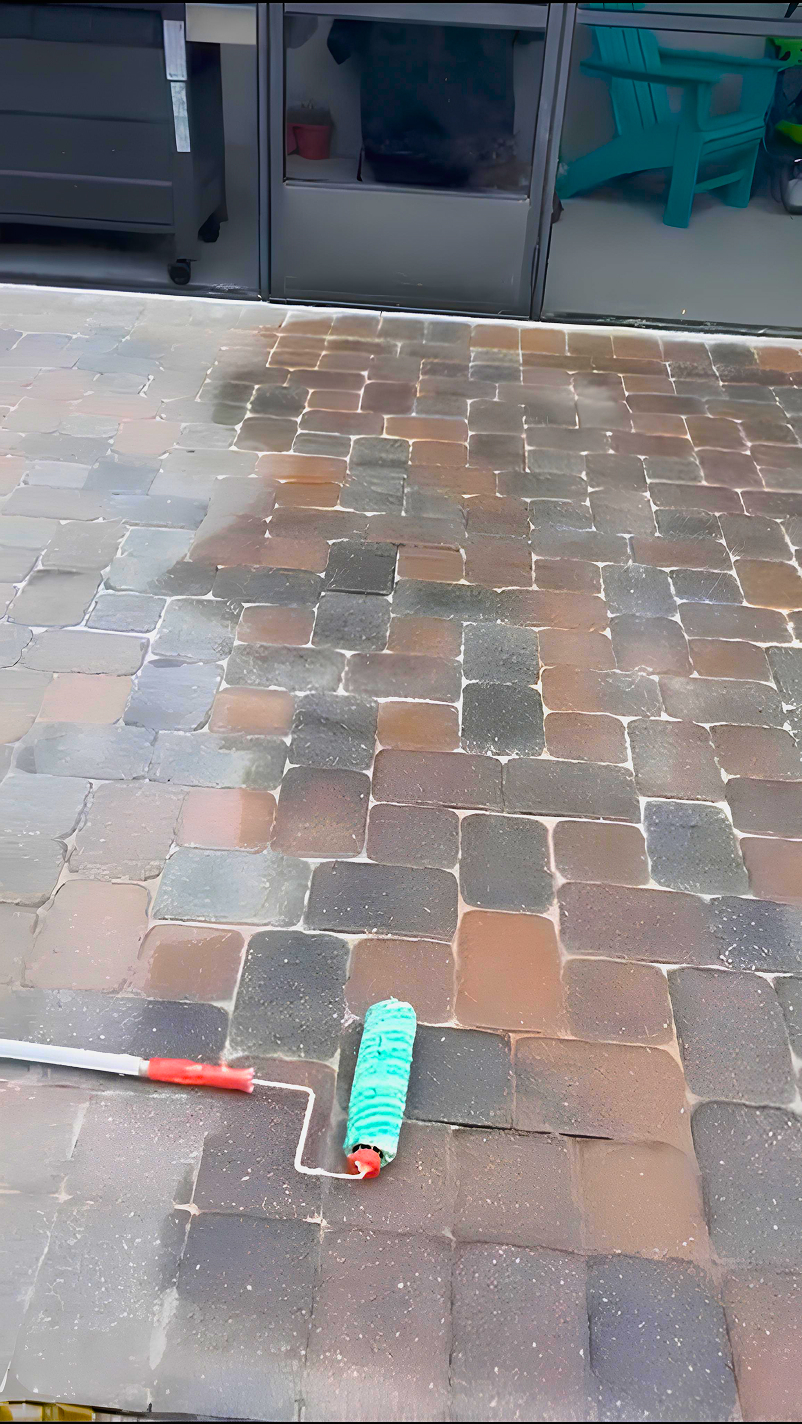
Sealing Pavers: Is It Necessary?
Sealing is optional but beneficial.
Benefits of sealing:
- Color enhancement
- Stain resistance
- Easier cleaning
- UV protection
Sealing should be done after pavers settle.
How Often Should Pavers Be Maintained?
Maintenance frequency depends on use.
General guidelines:
- Light cleaning: monthly
- Joint inspection: annually
- Sealing: every 2–4 years
Regular maintenance prevents larger issues.
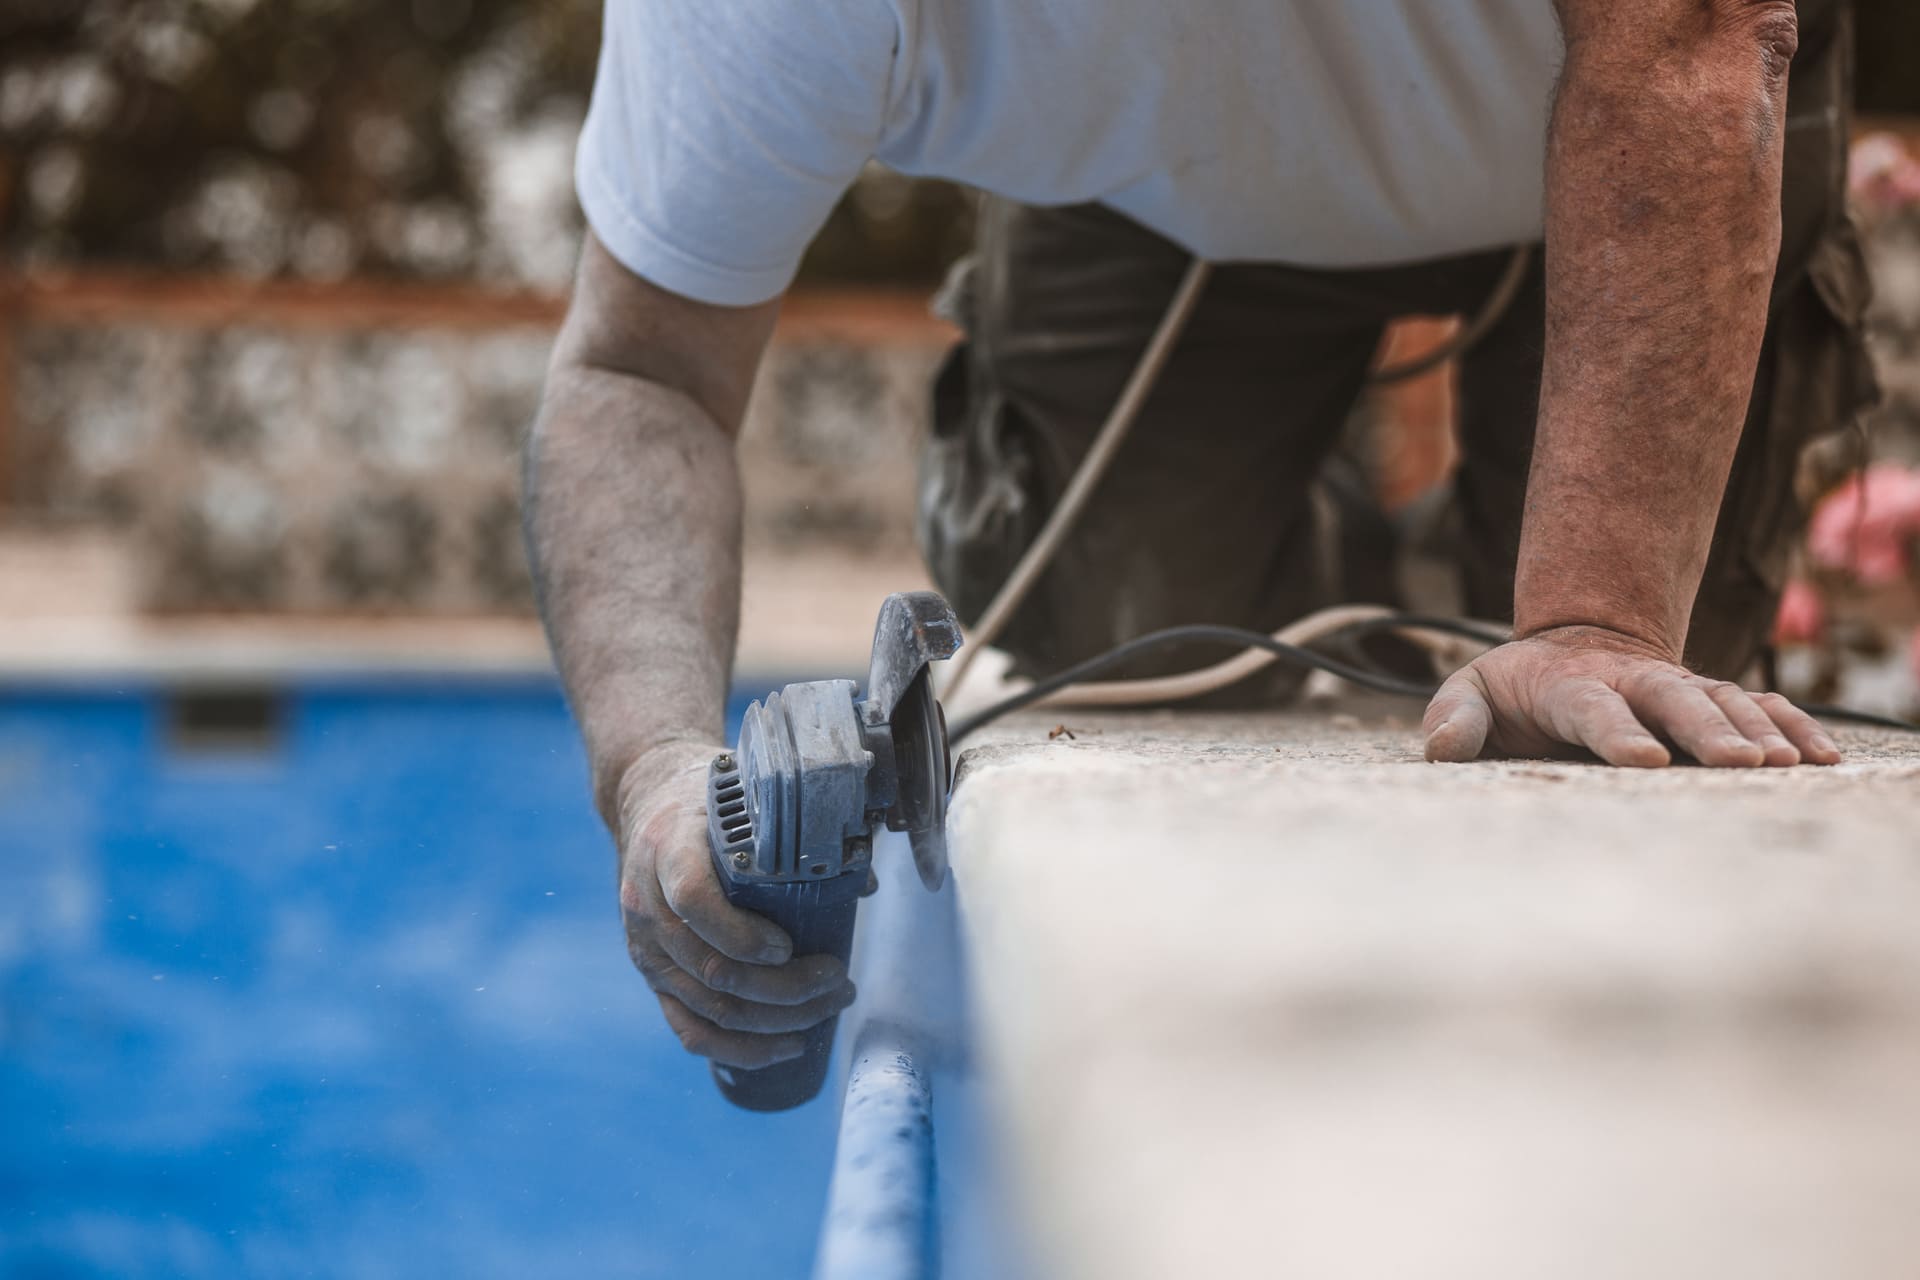
Repairing Pavers vs Full Replacement
One advantage of pavers is easy repair.
Repairs may include:
- Re-leveling sunken areas
- Replacing damaged pavers
- Re-sanding joints
Unlike concrete, repairs are localized and clean.
How Proper Maintenance Extends Paver Lifespan
Well-maintained pavers can last decades.
Long-term benefits:
- Maintained appearance
- Structural stability
- Higher property value
Maintenance is minimal compared to replacement.
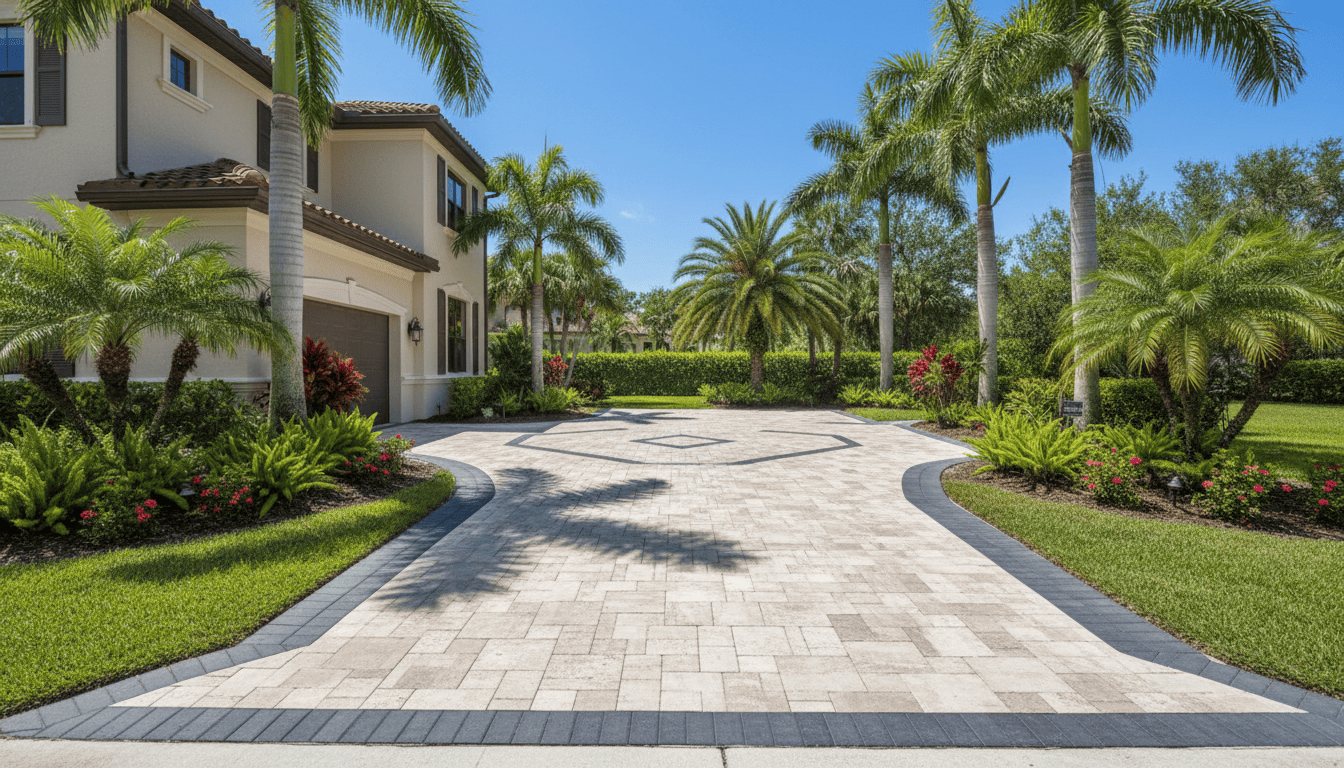
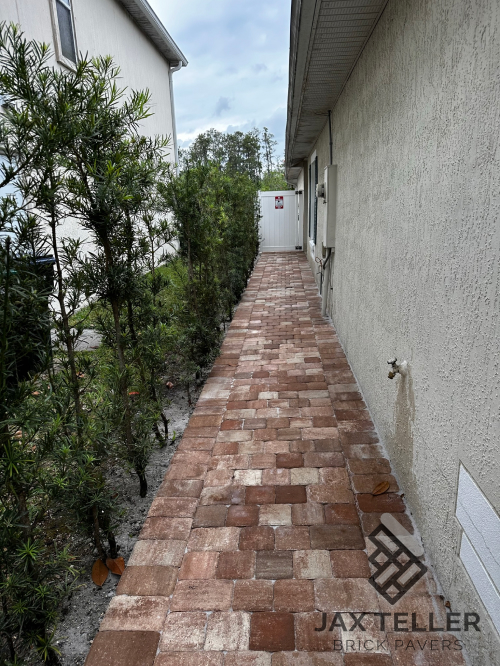
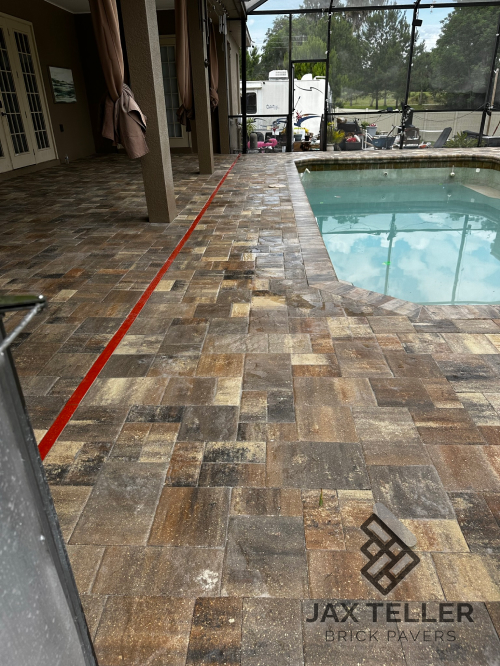
Explore More Installation Projects and Standards
For examples of professionally installed paver projects in Florida, explore our gallery:
https://jaxtellerbrickpavers.com/projects
To review official installation standards, visit the Interlocking Concrete Pavement Institute:
https://www.icpi.org/
Conclusion
Paver Installation and Maintenance in Florida is all about doing things right from the start and maintaining them properly over time. With professional installation and simple ongoing care, pavers deliver unmatched durability, safety, and visual appeal in Florida’s demanding climate.
If you’re planning a new paver project or need maintenance support, contact JaxTeller Brick Pavers at +1 407-907-8308 or jaxtellerbrickpavers@gmail.com for a free estimate. 🧱🌴