Most importantly, outdoor living paver zones can change how a Florida home handles rain, heat, traffic, and daily outdoor living. However, homeowners in Largo should look beyond surface style because the best paver projects solve practical problems first. Therefore, a plan for outdoor living paver zones for small largo backyards should connect drainage, base preparation, pattern selection, edge restraint, and maintenance into one clear plan. In other words, the surface should look premium and perform under real Florida conditions.
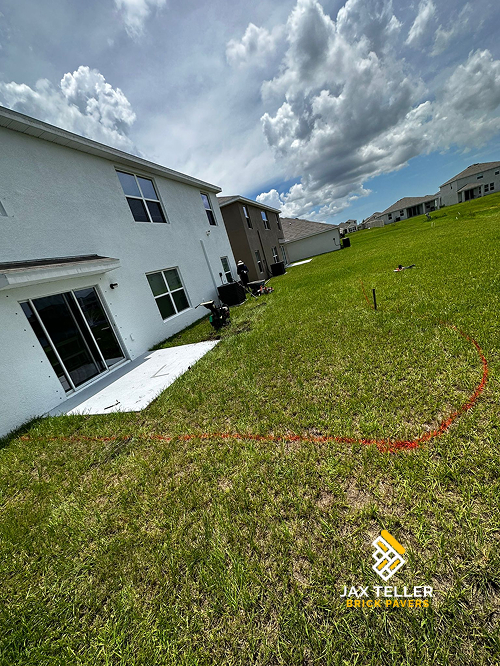
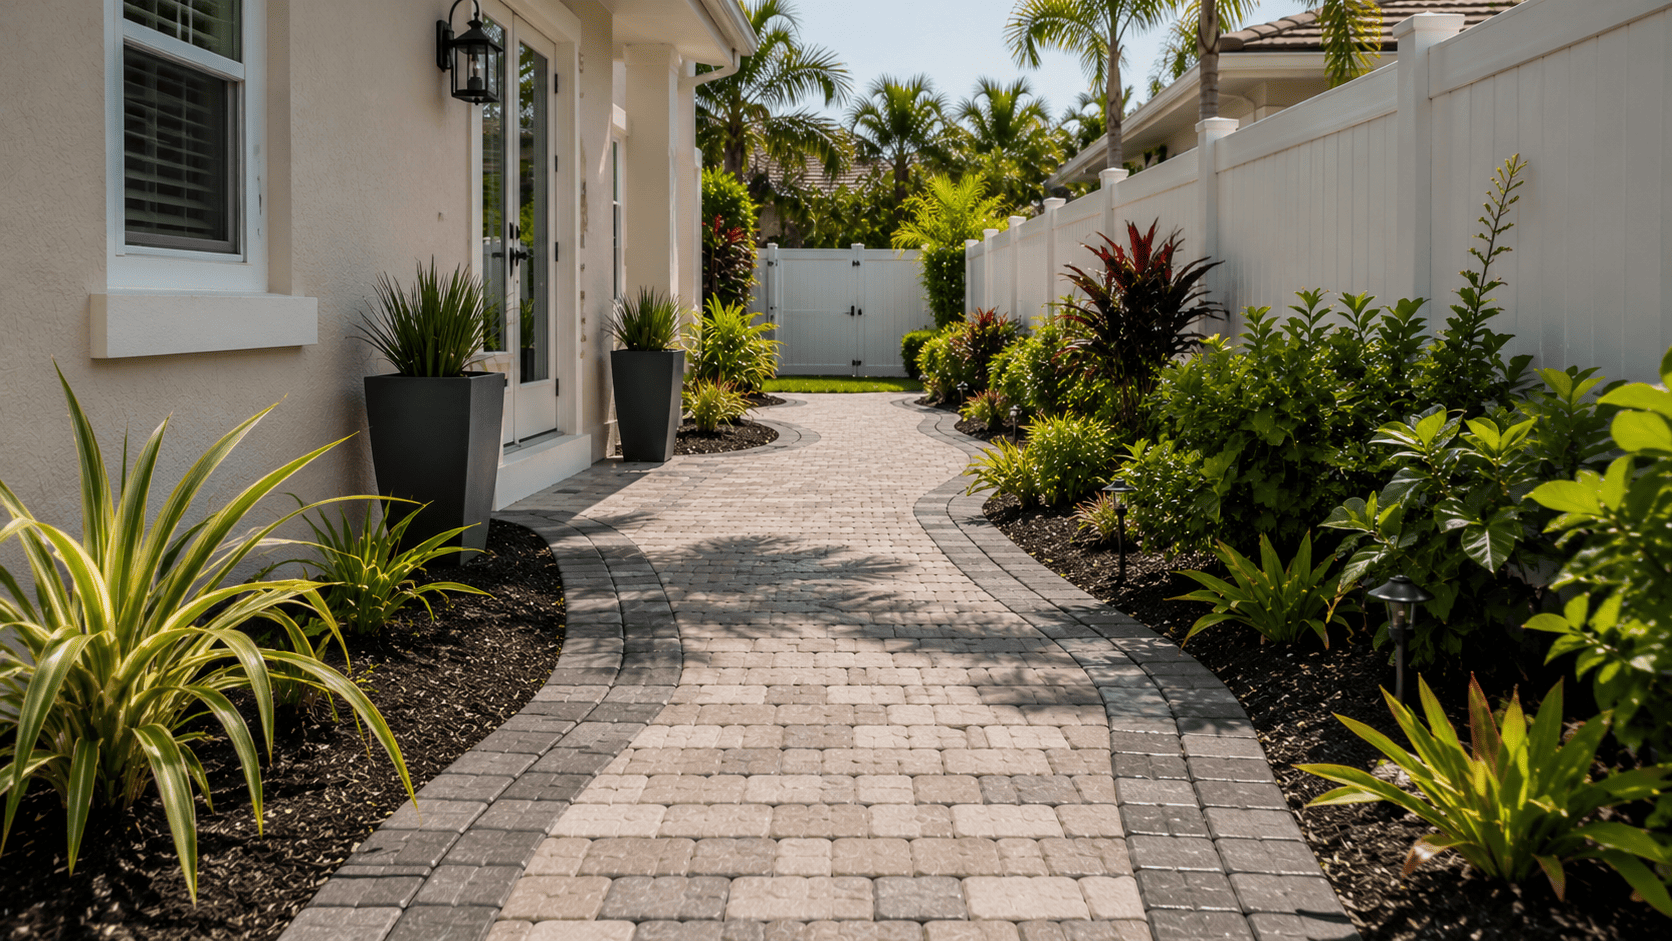
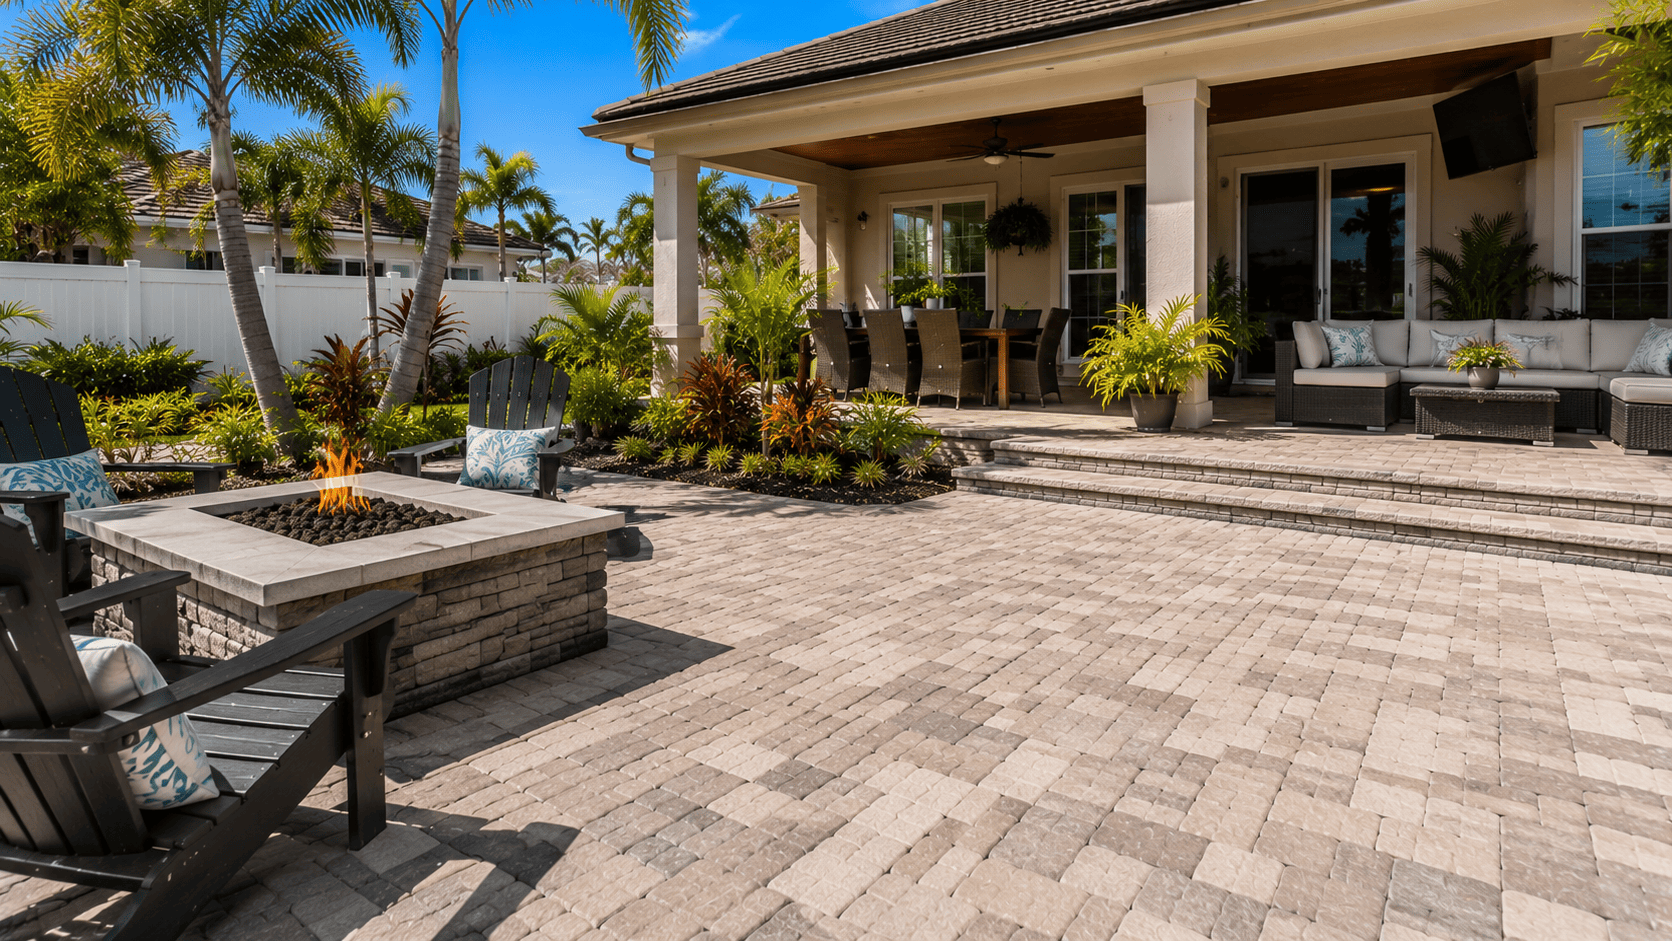
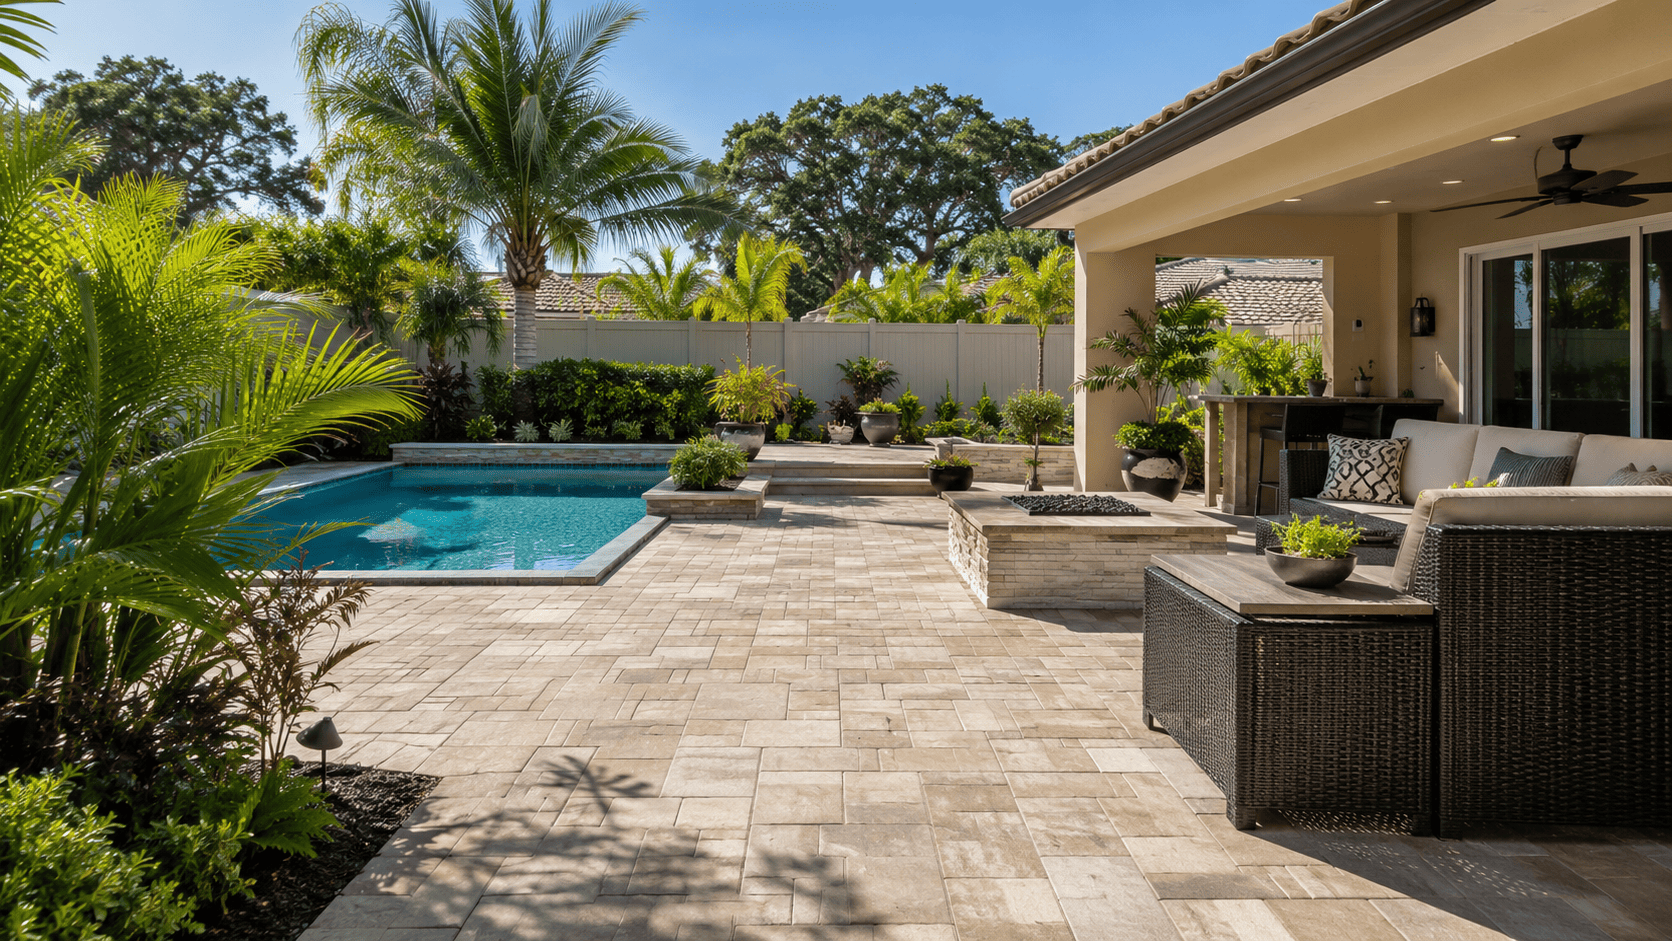
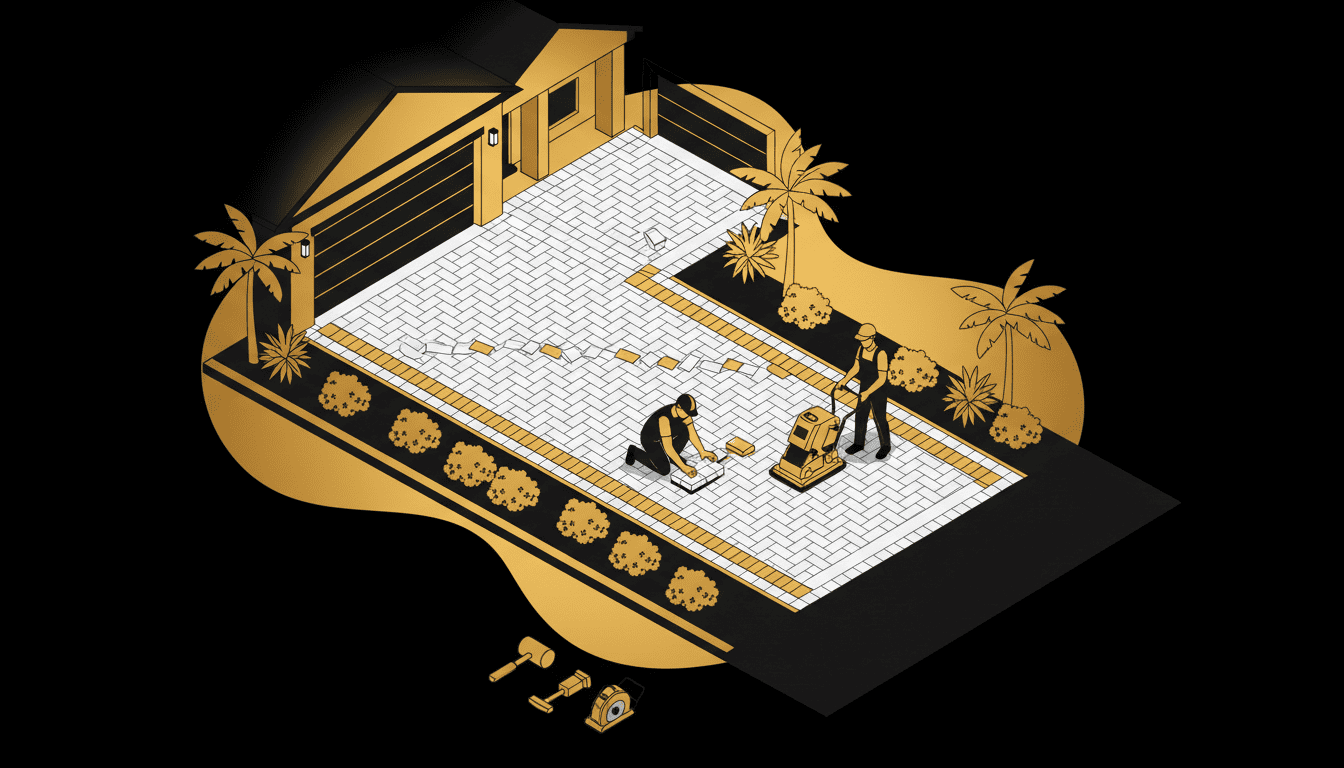
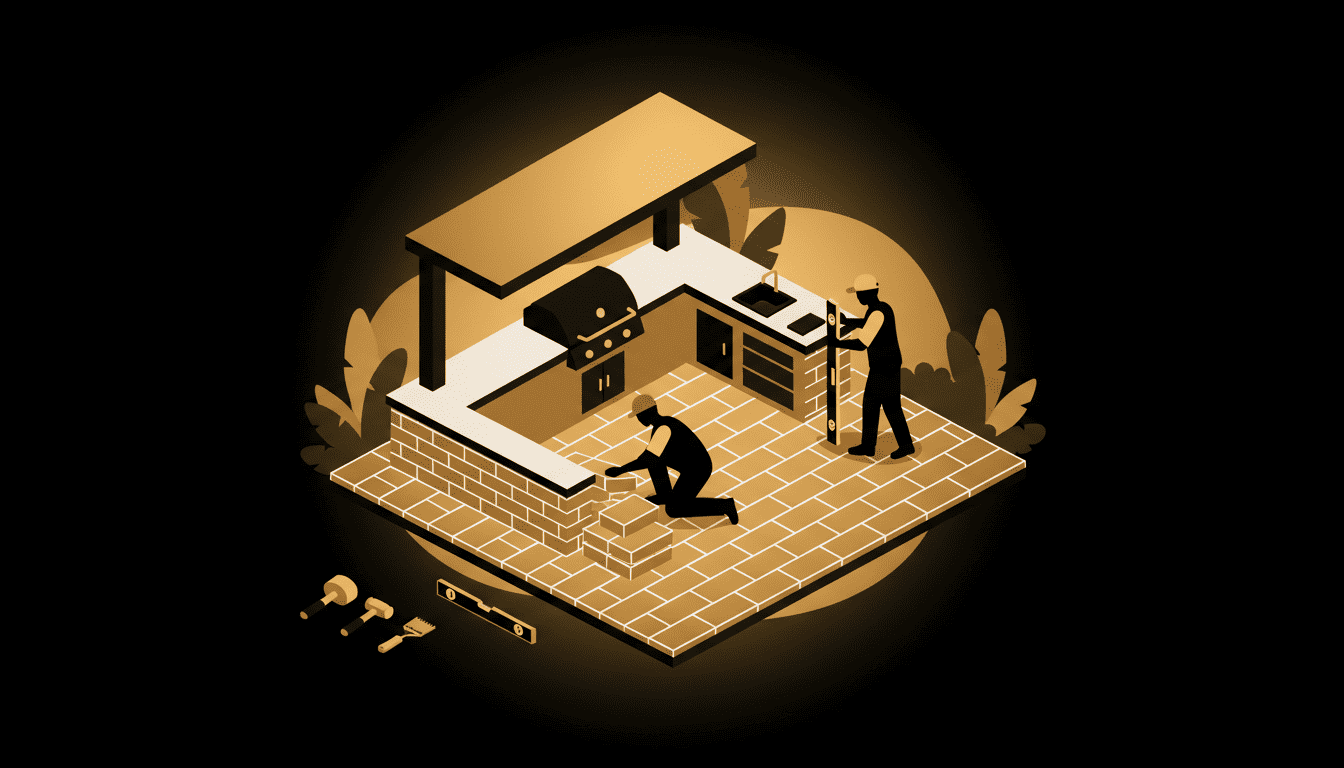
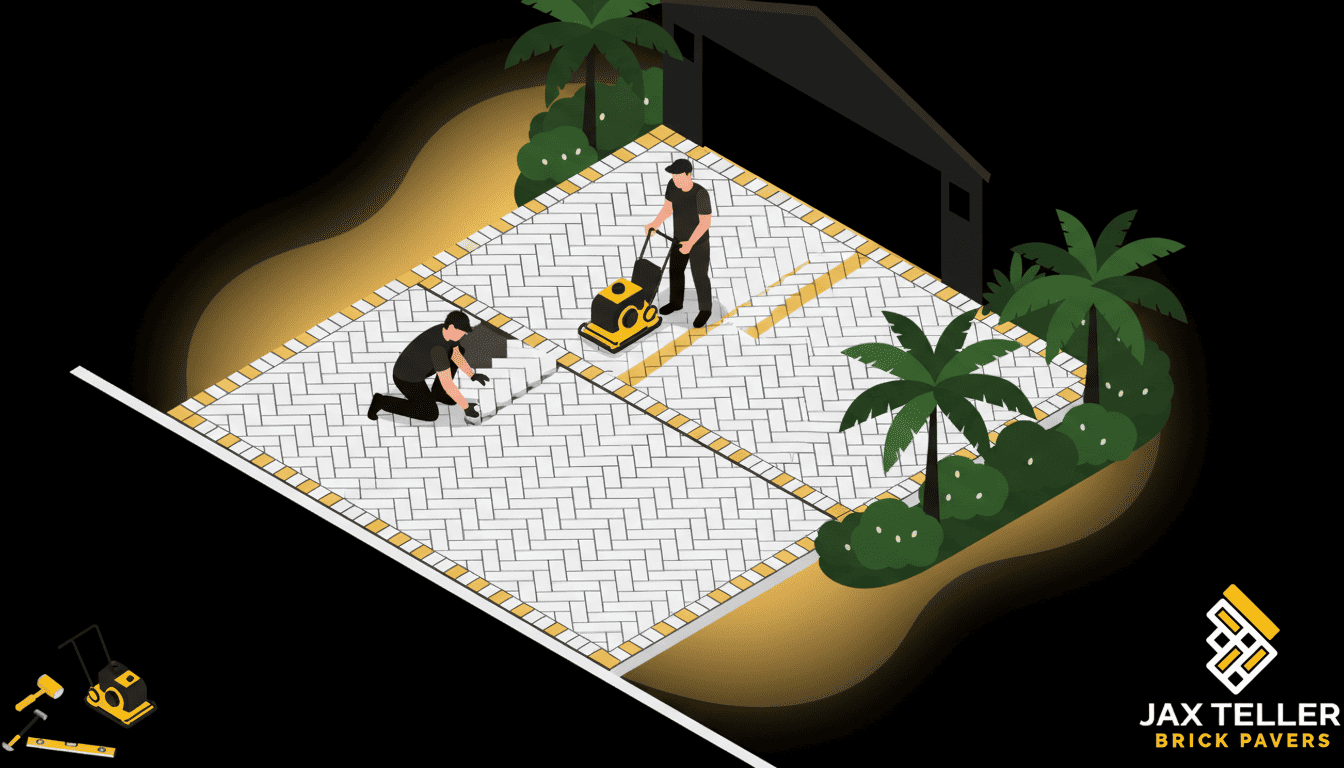
First, a strong project starts with the way people actually use small backyards, compact patios, outdoor kitchens, and lounge corners. Additionally, a good layout should support walking paths, furniture, pool access, parking needs, landscape service routes, and storm cleanup without feeling crowded. Because of this, outdoor living paver zones planning works best when the design responds to the home, the soil, and the amount of water that crosses the area after a hard afternoon storm.
Why outdoor living paver zones planning matters for Florida homeowners
However, many outdoor surfaces fail because homeowners treat the paver field as decoration only. In Florida, limited square footage, awkward furniture placement, and muddy transition areas can turn a nice-looking space into a maintenance problem very quickly. As a result, outdoor living paver zones should begin with the question of performance. The goal is not only a cleaner surface. The goal is a surface that stays usable after rain and still looks intentional from the street or backyard.
Furthermore, pavers give homeowners more flexibility than a single poured slab. If a section settles, a professional can usually lift and reset the affected units instead of demolishing the entire surface. Consequently, outdoor living paver zones planning can protect long-term value when crews build the base correctly and keep the edges locked. This matters in Largo because sandy soils, tree roots, irrigation overspray, and stormwater all test outdoor surfaces over time.
How outdoor living paver zones planning improves daily use
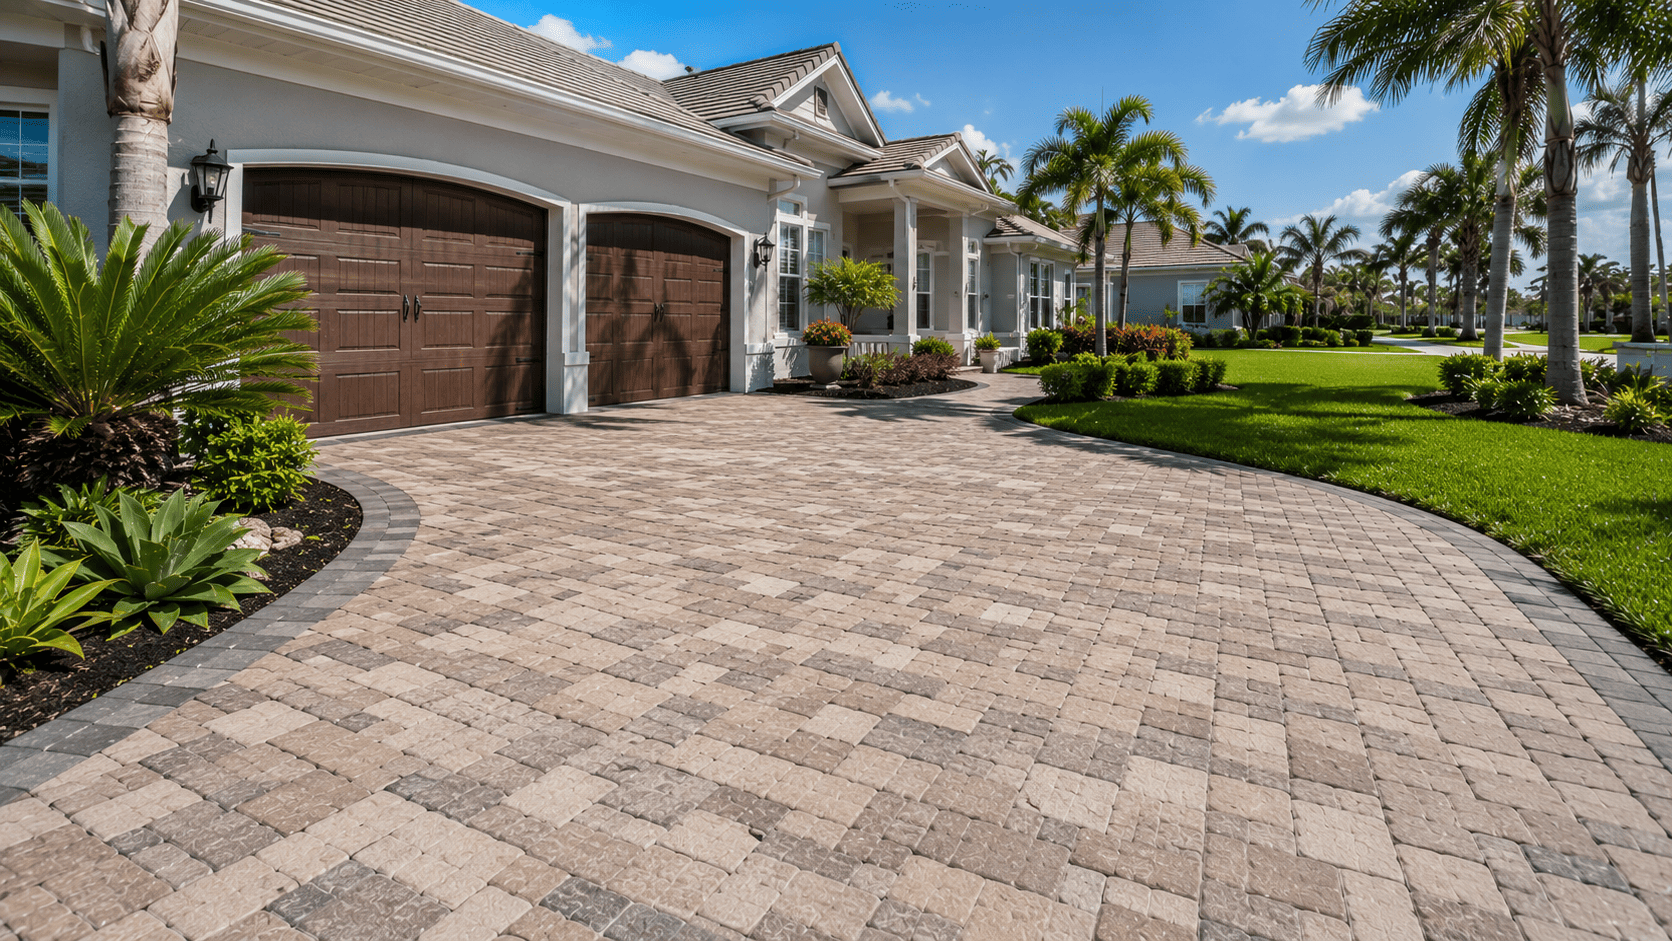
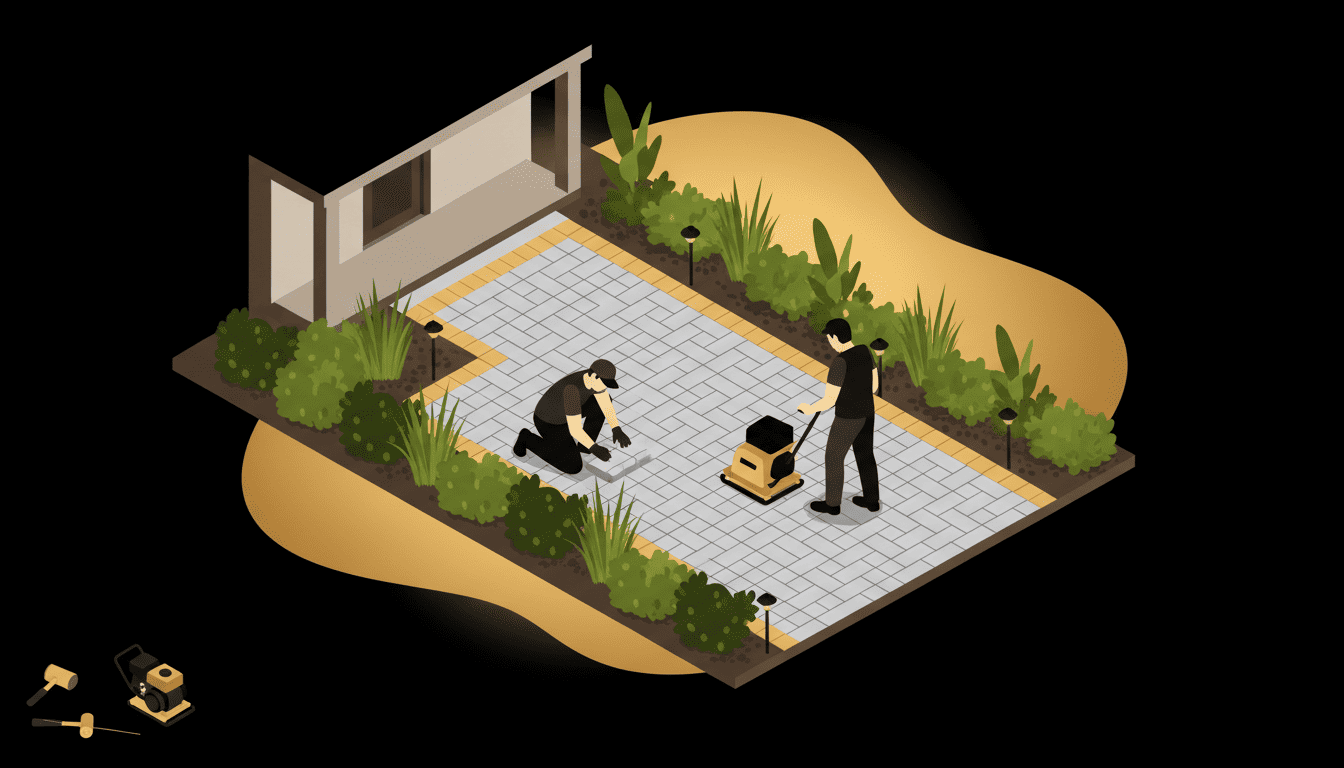
In particular, the right paver plan helps people move through the space without stepping around wet patches or loose edges. For example, a driveway should guide vehicle loads, while a patio should support furniture without wobble. Similarly, walkways should feel clear and stable during everyday use. Therefore, outdoor living paver zones planning should connect beauty with a practical circulation plan.
Additionally, a better surface makes maintenance easier. Instead of fighting muddy corners, algae-prone low spots, or mismatched repairs, homeowners can manage the area with routine cleaning and periodic joint care. Most importantly, a backyard that feels more organized, usable, and custom without wasting space. That practical benefit often matters more than a dramatic redesign, especially for busy homes that use outdoor spaces every week.
Drainage, base preparation, and Florida soil conditions
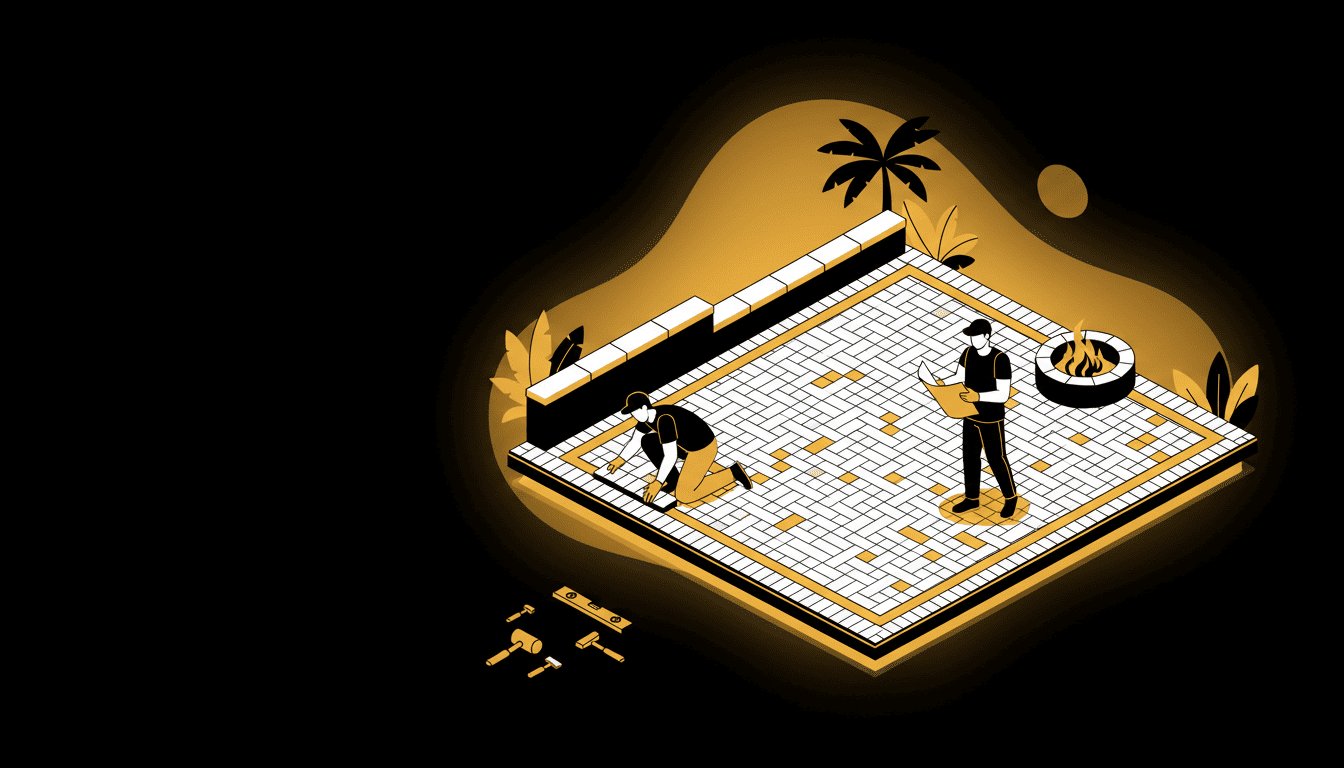
First, drainage deserves early attention because water controls the lifespan of many paver projects. In contrast, a surface that only looks flat can still trap runoff near the foundation, pool edge, garage apron, or planting beds. Therefore, crews should evaluate slope, discharge points, soil behavior, and nearby irrigation before they finalize the pattern. This means outdoor living paver zones depends on what happens below the visible pavers.
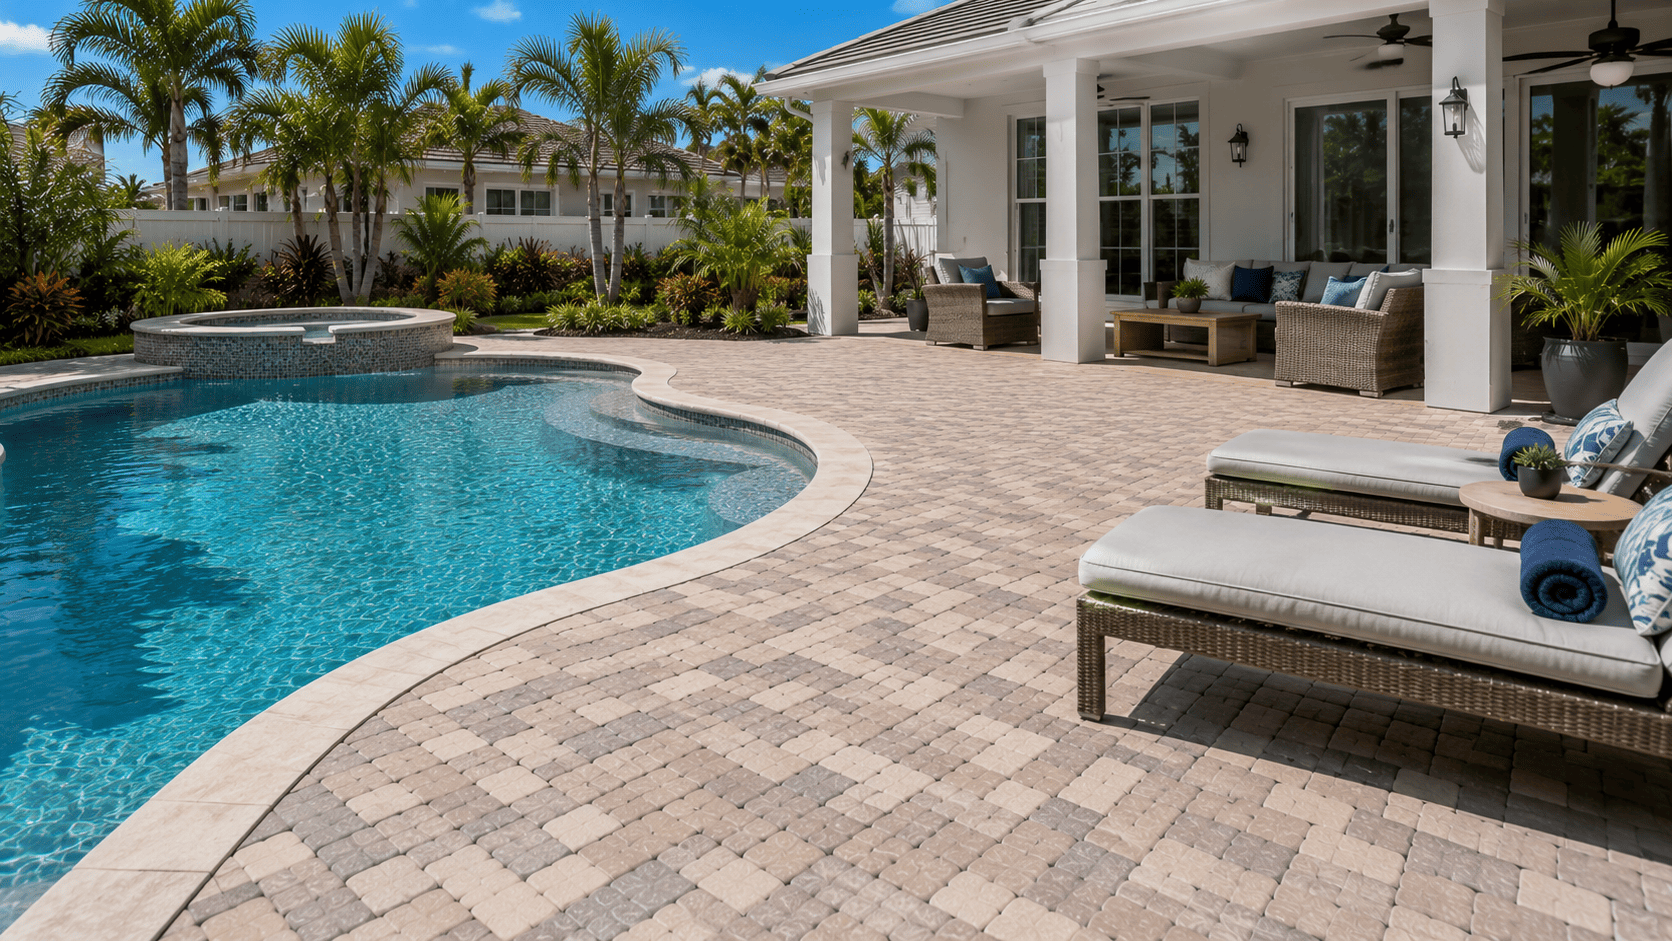
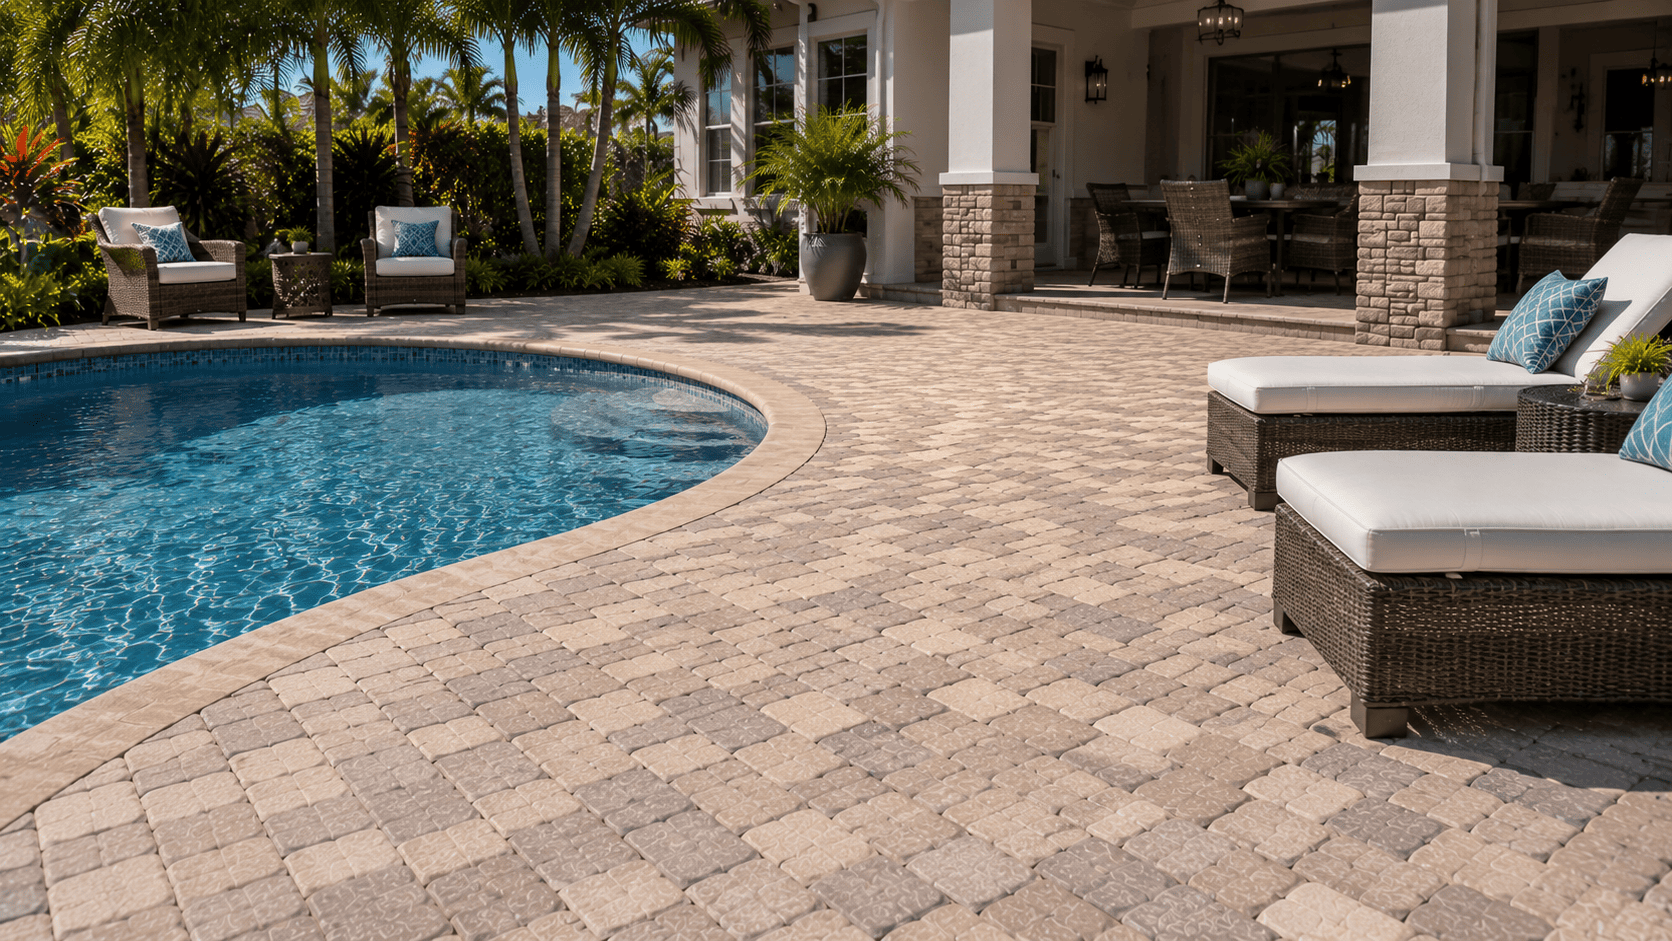
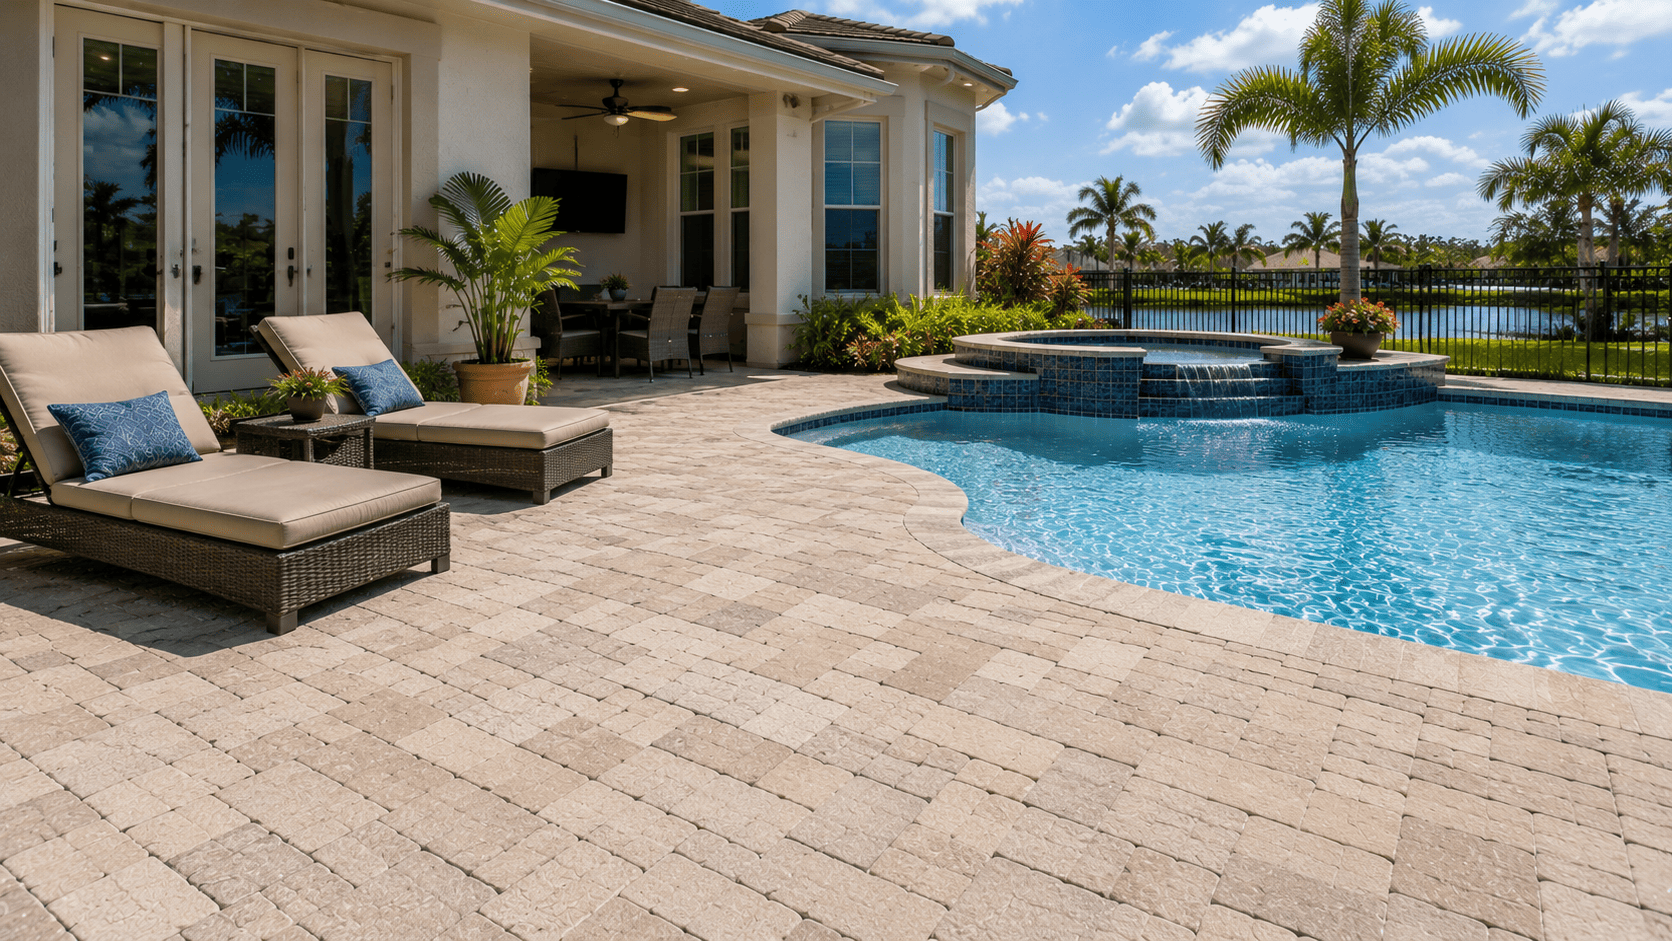
Moreover, the base should match the expected use. A driveway needs more load support than a garden path, and a pool deck needs careful elevation around coping and drains. Because of this, modular pavers, border courses, contrasting bands, and compact outdoor room layouts should work together as one system. When one layer fails, the finished surface usually shows the problem through settlement, loose joints, or edges that creep outward.
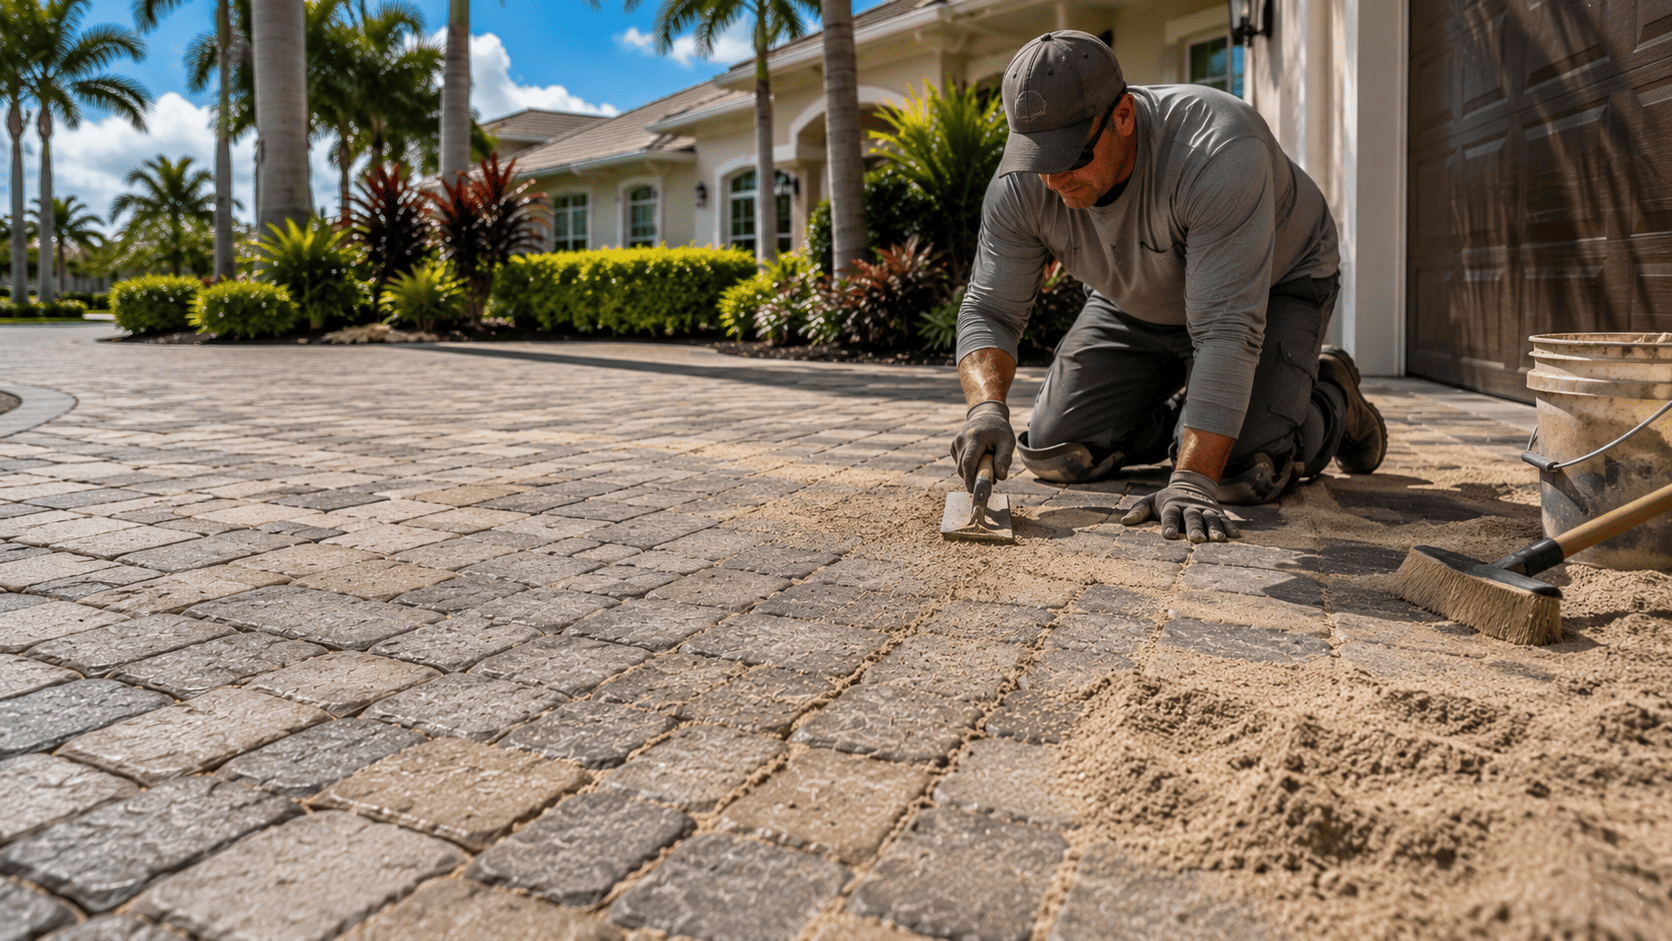
Base details that support outdoor living paver zones
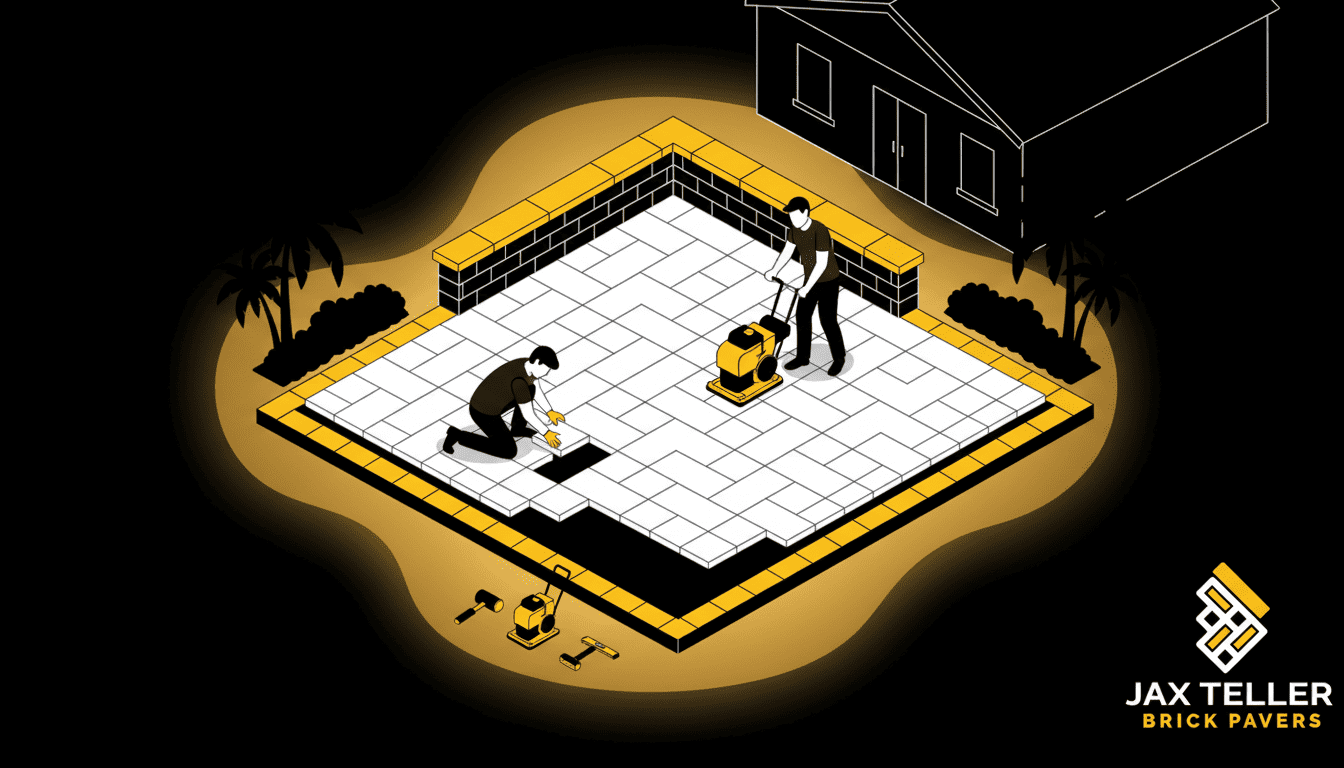
However, base preparation should never feel like a hidden afterthought. The crew should remove unsuitable material, compact the subgrade, install the right aggregate depth, and screed bedding sand with consistent control. As a result, the pavers sit on a stronger platform. In turn, outdoor living paver zones performs better when rain, foot traffic, furniture, or vehicles place stress on the surface.
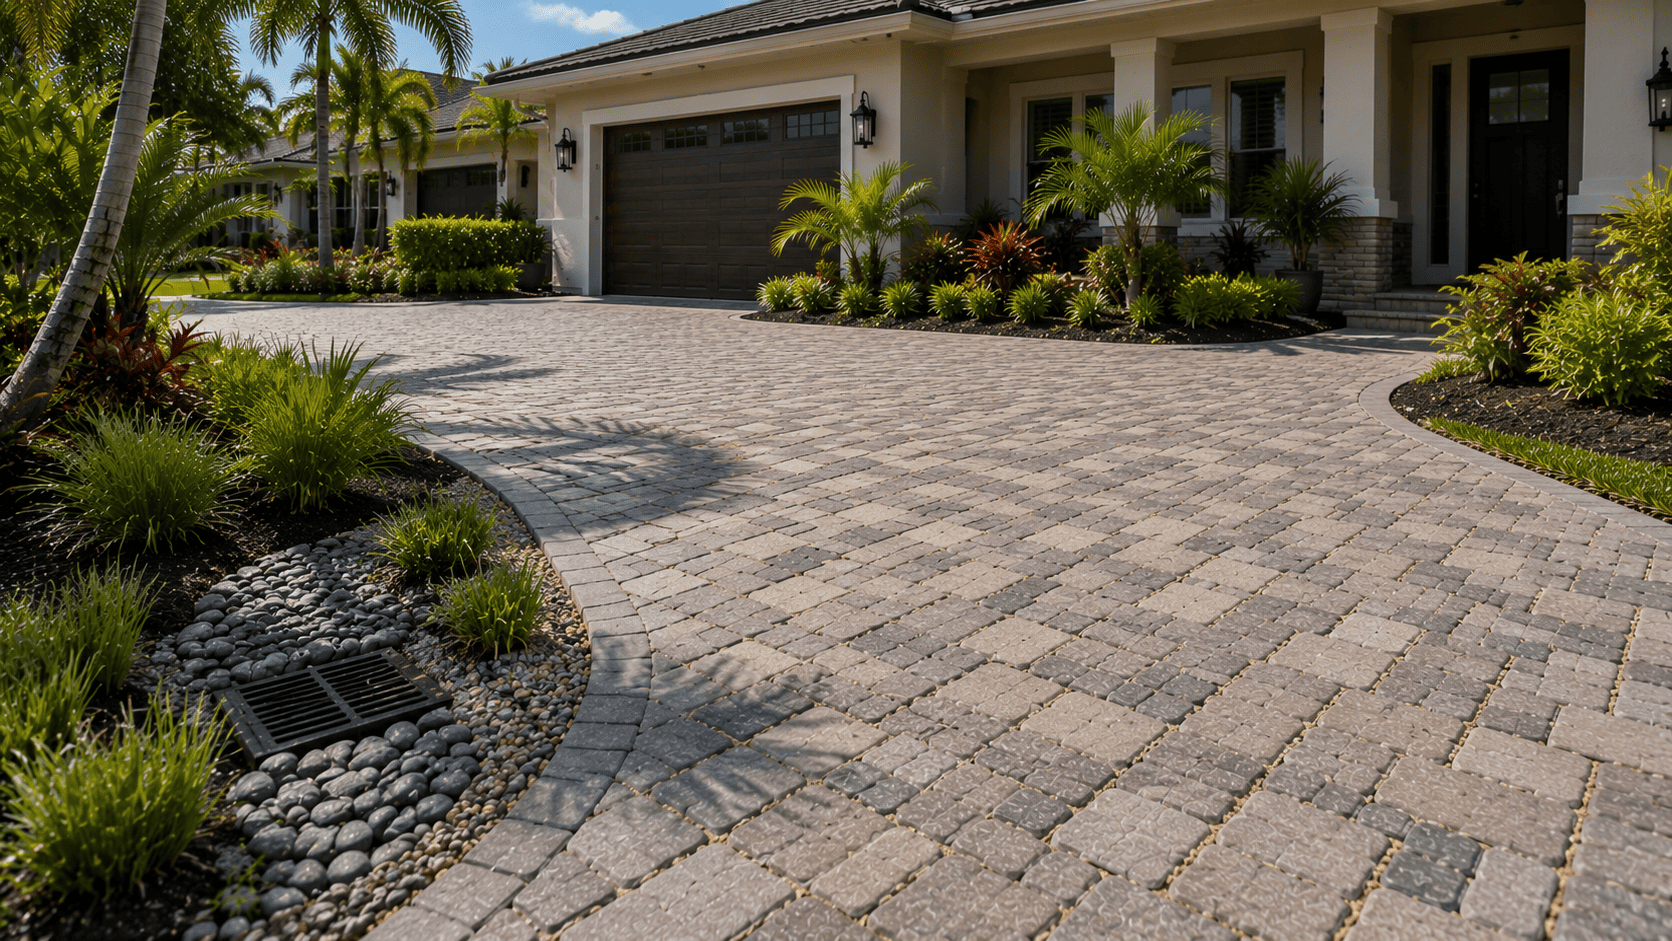
Additionally, edge restraint plays a larger role than many homeowners expect. Without a stable edge, pavers can spread and open the joints, especially near driveways, corners, pool decks, and curved walkways. Therefore, a clean border is both a design detail and a structural detail. The finished project should make that edge look intentional rather than patched in later.
- First, confirm where stormwater should move after heavy rain.
- Then, match the base depth to foot traffic, furniture loads, or vehicle loads.
- Additionally, plan edge restraints before choosing final border patterns.
- Finally, leave room for future cleaning, sealing, or section repair.
Material choices, patterns, and exterior design
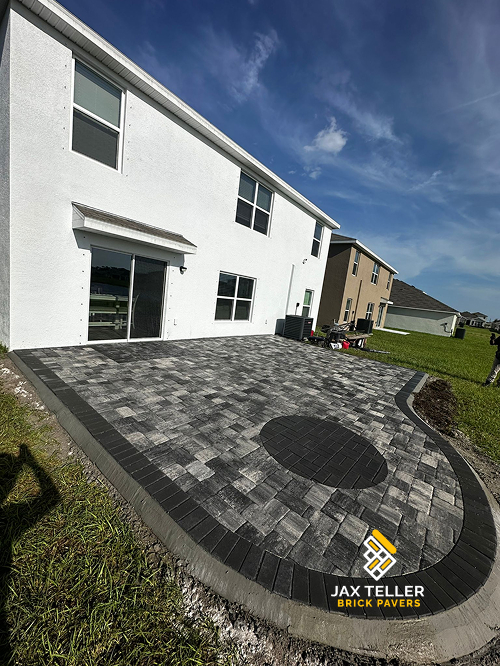
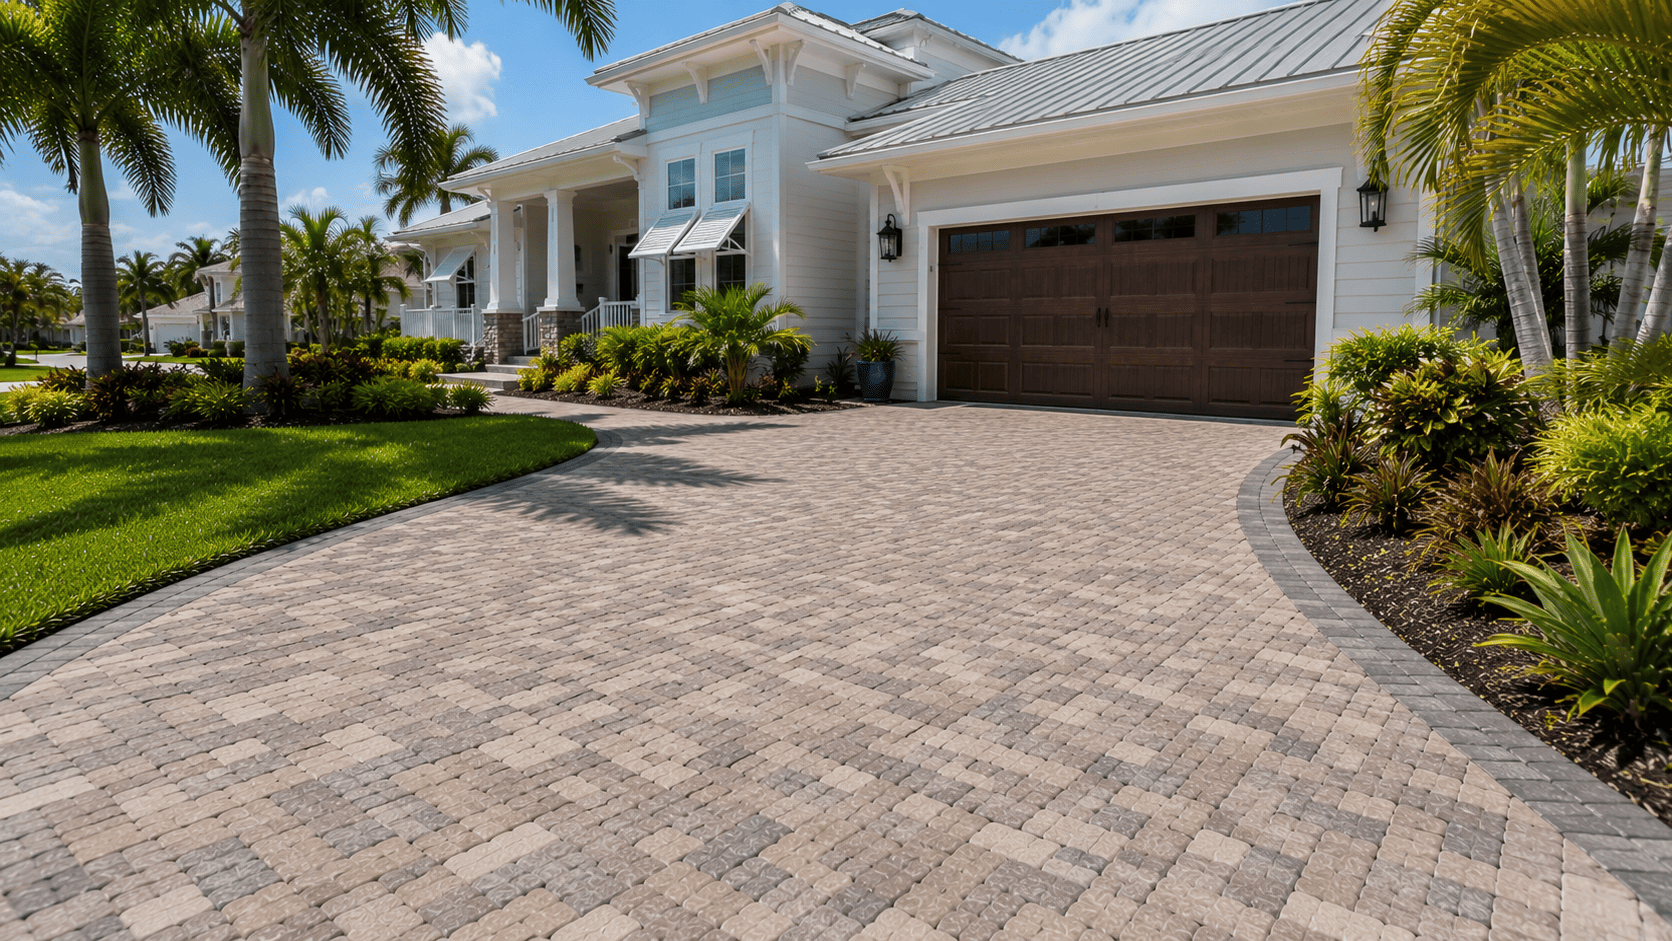
However, material choice should fit the home instead of chasing a generic trend. A modern black-and-white exterior may need a sharper border, while a warm stucco home may look better with blended earth tones. In addition, Florida sunlight can make some colors feel much brighter outdoors. Because of this, outdoor living paver zones should include samples viewed in real daylight.
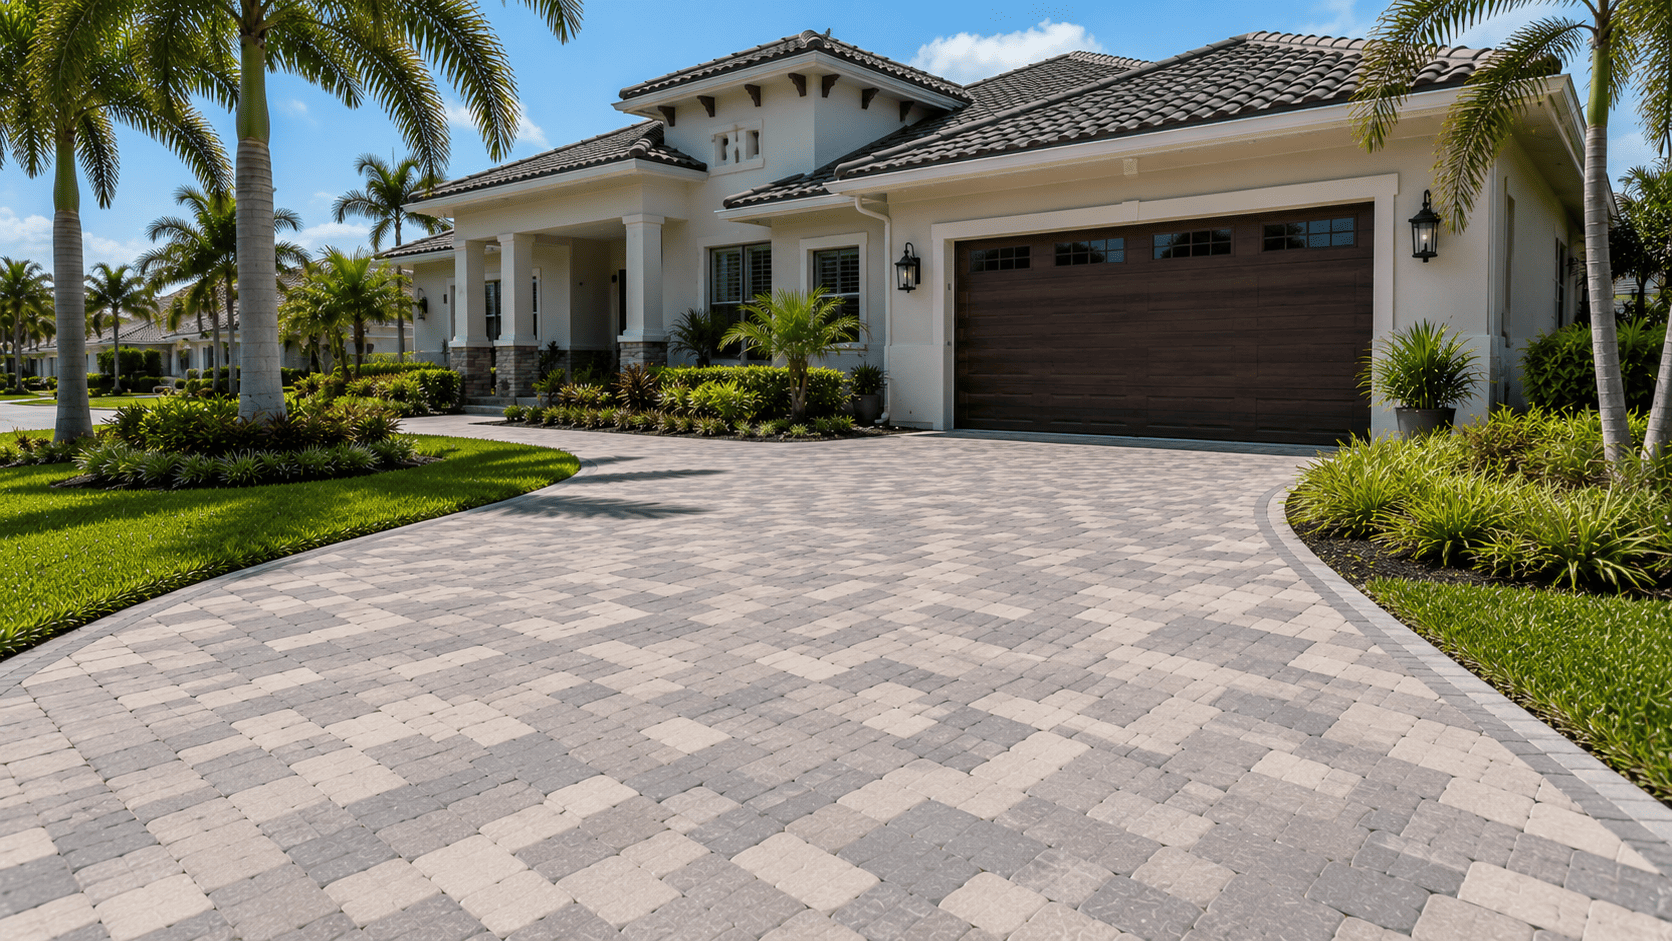
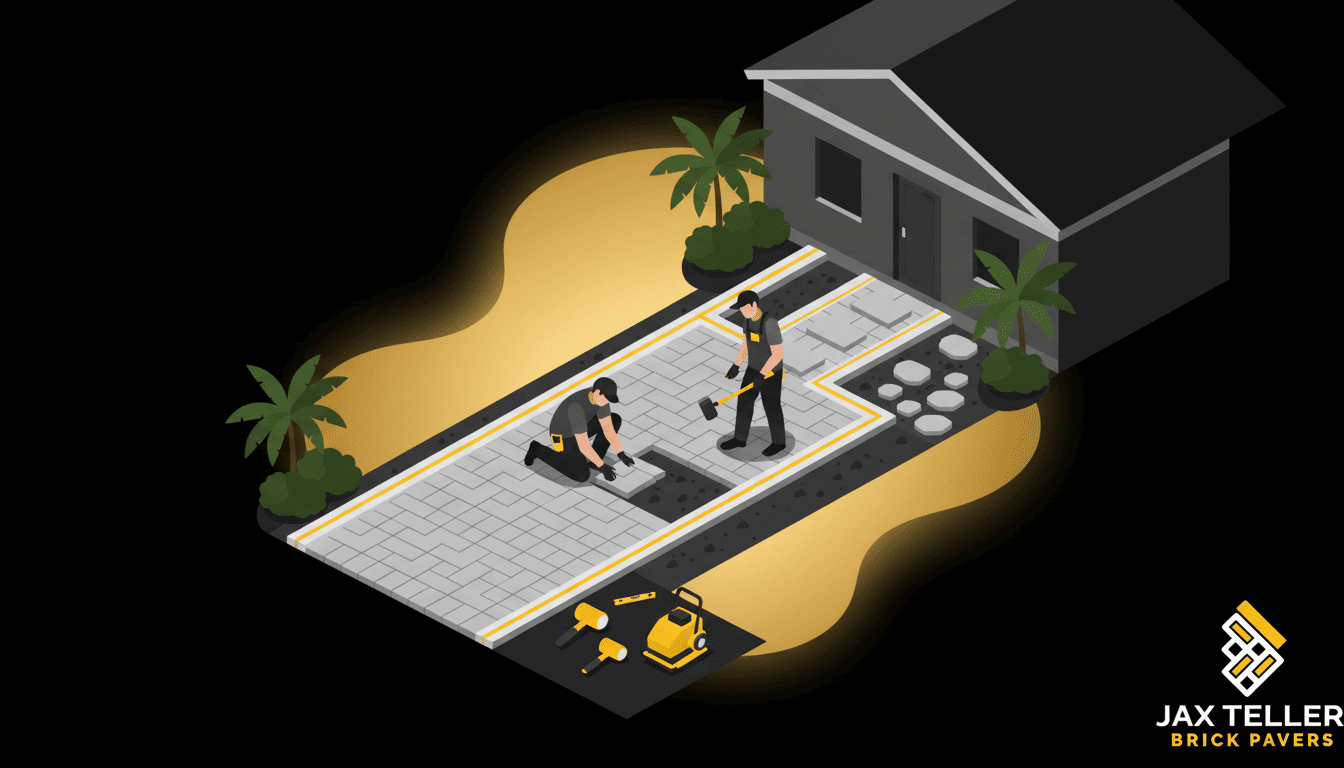
Furthermore, patterns influence both appearance and performance. Herringbone can work well for driveways because it supports interlock under vehicle movement. Running bond can make narrow walkways feel longer. Modular patterns can soften large patios. Therefore, the best pattern depends on the surface, the load, and the visual rhythm of the home.
Color, border, and transition planning
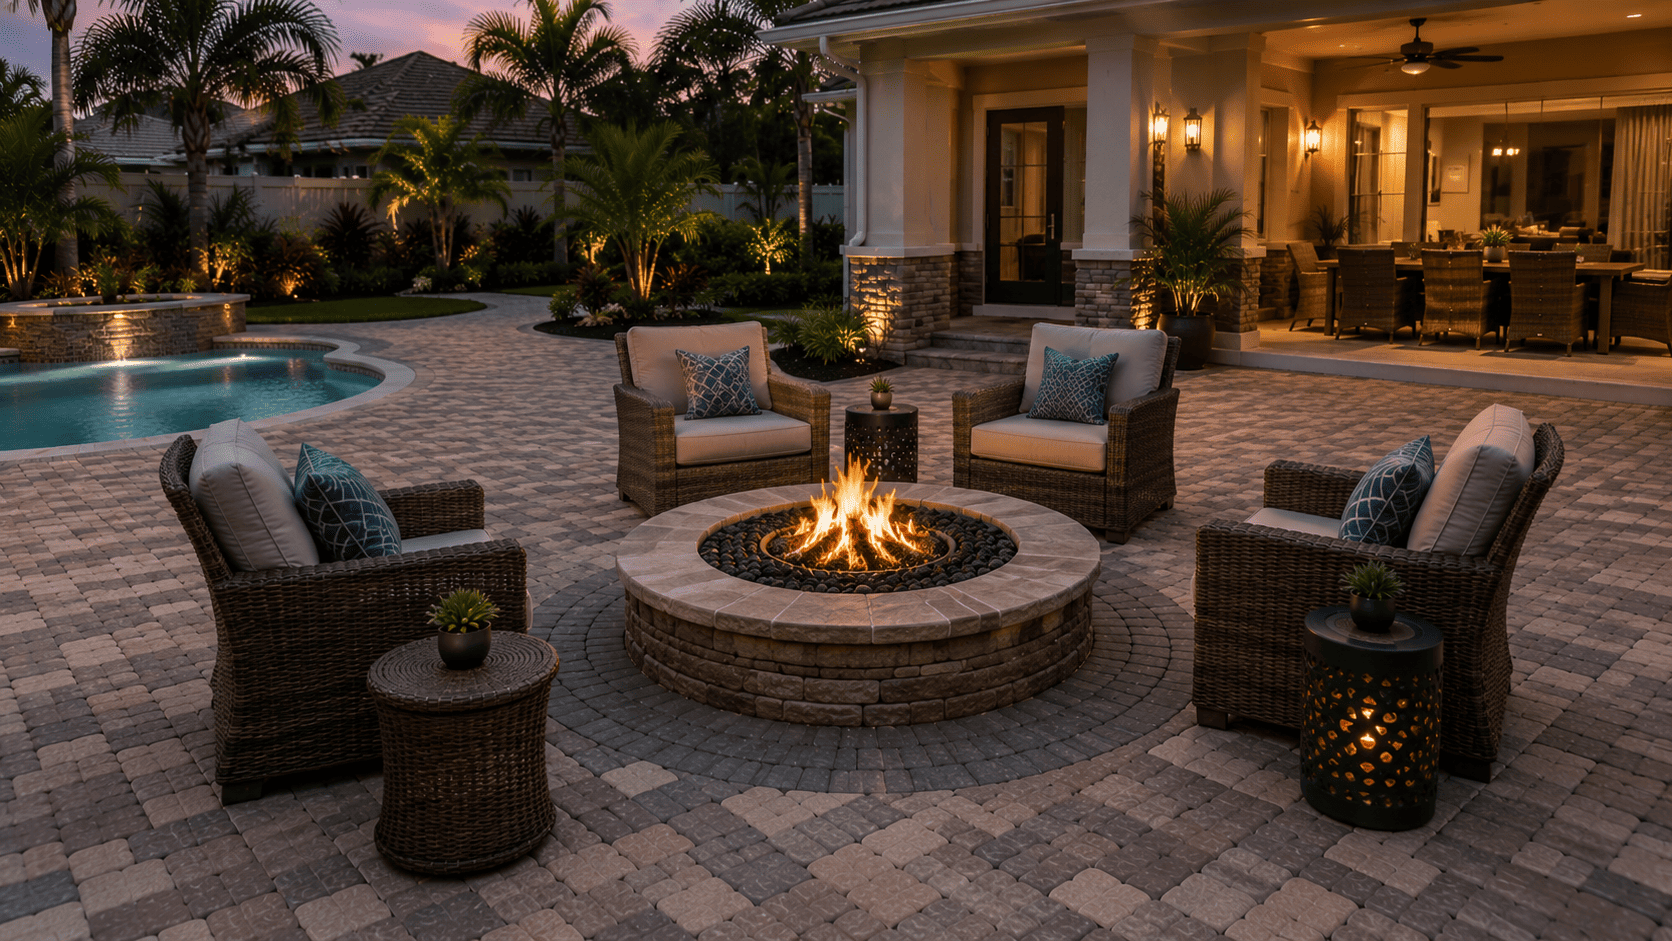
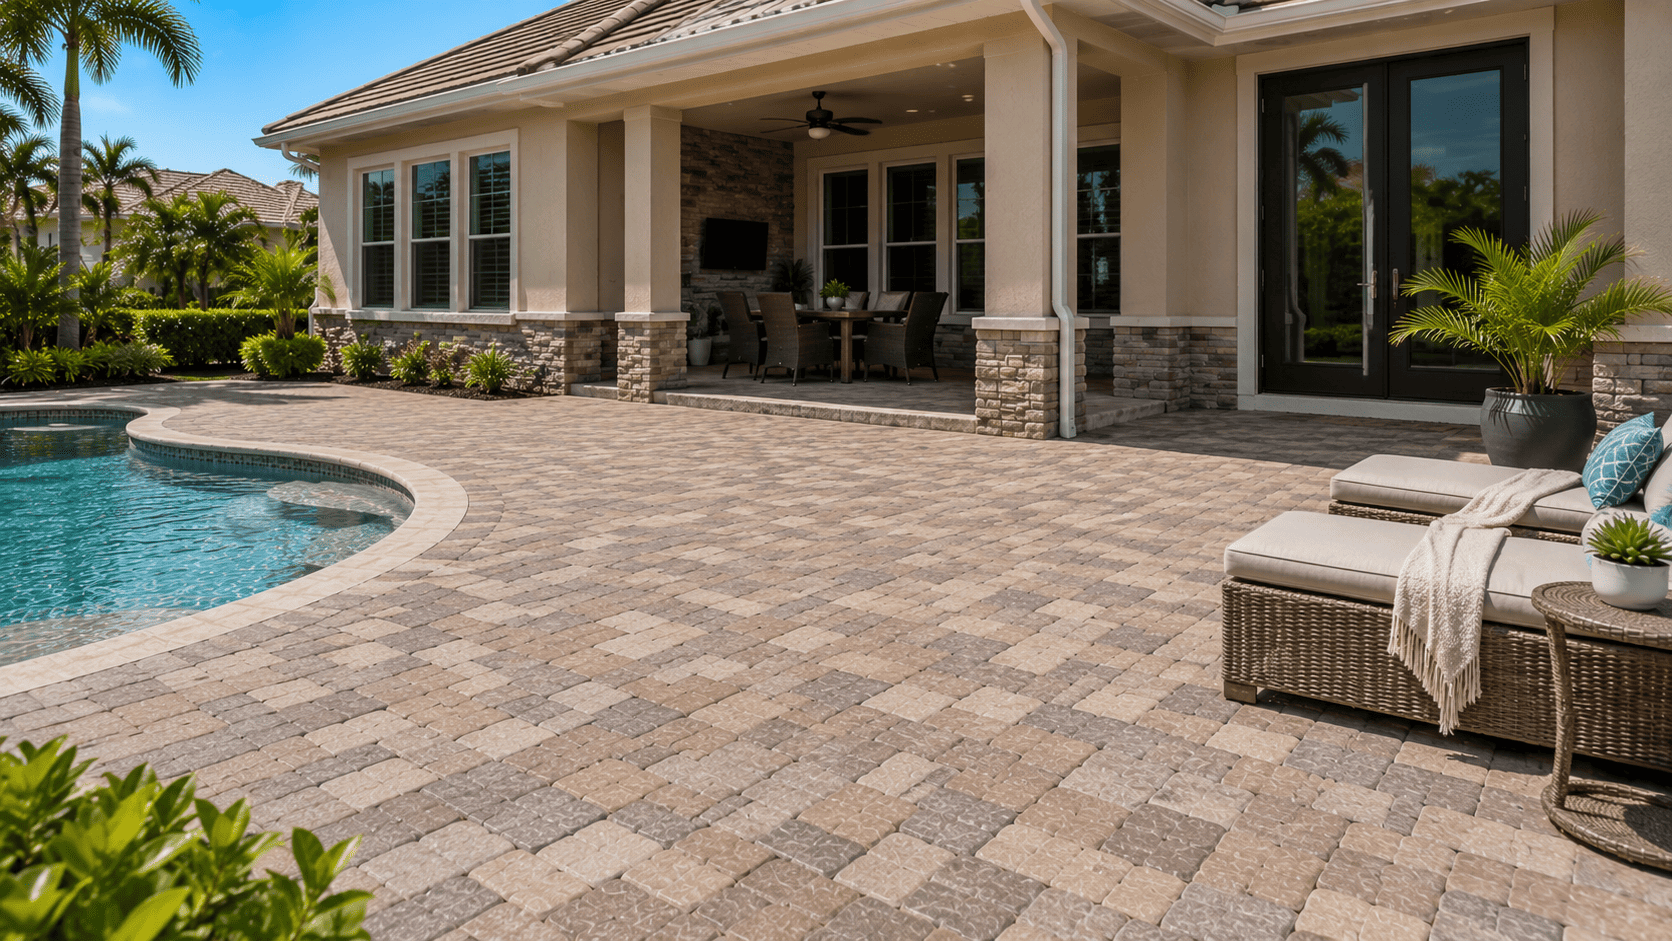
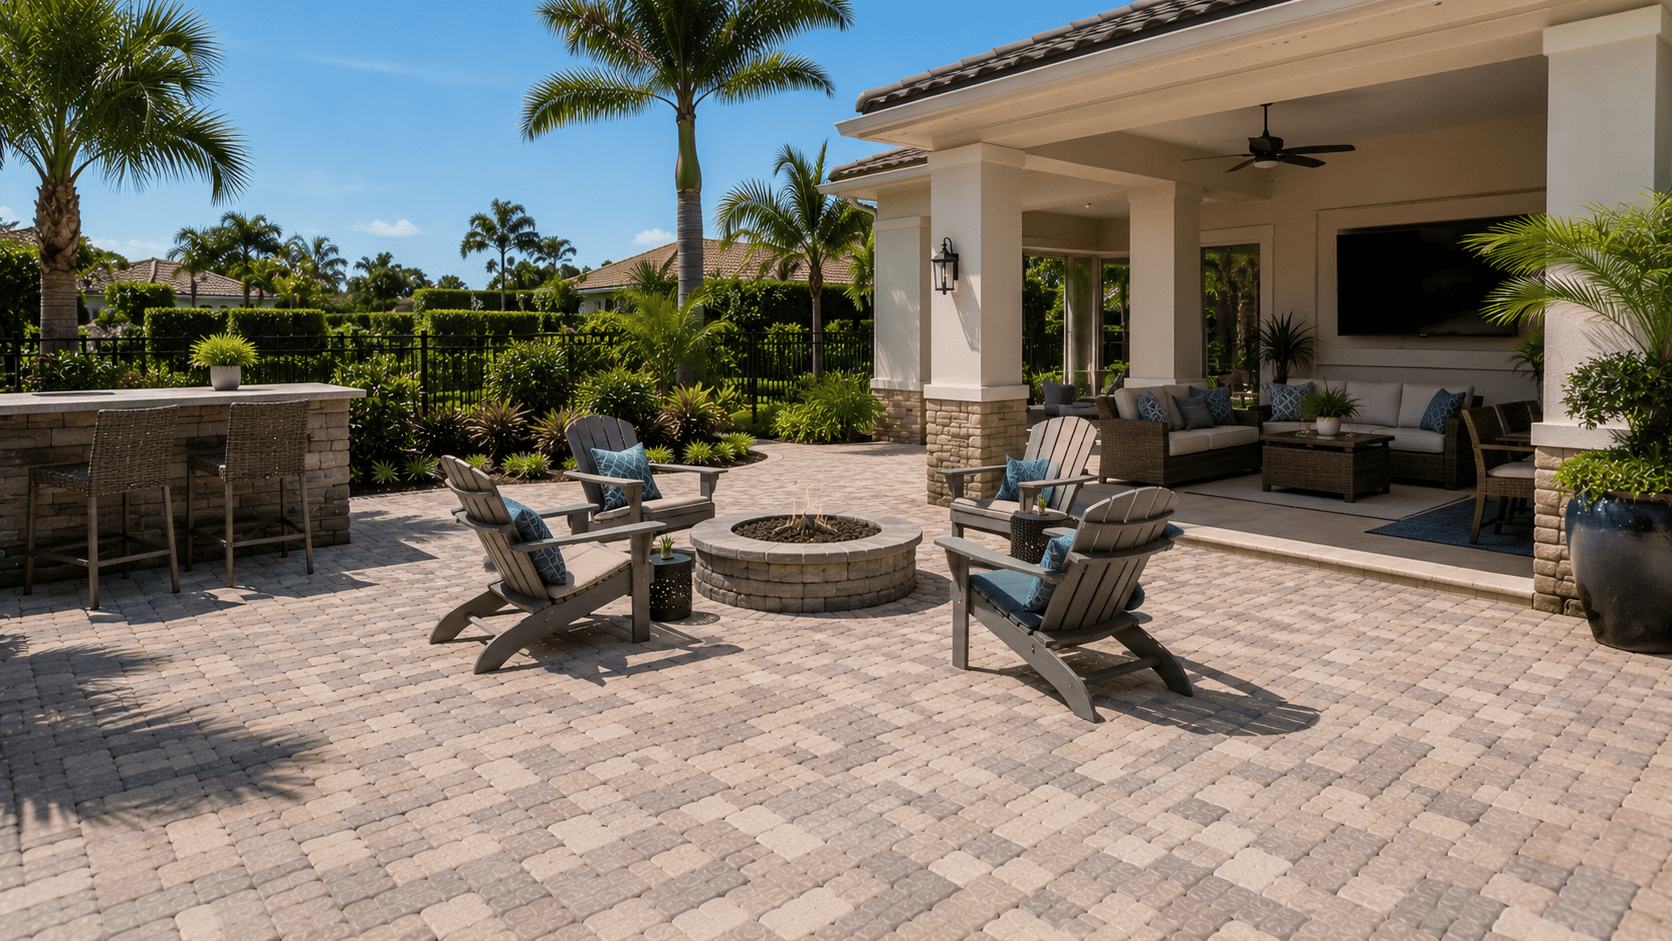
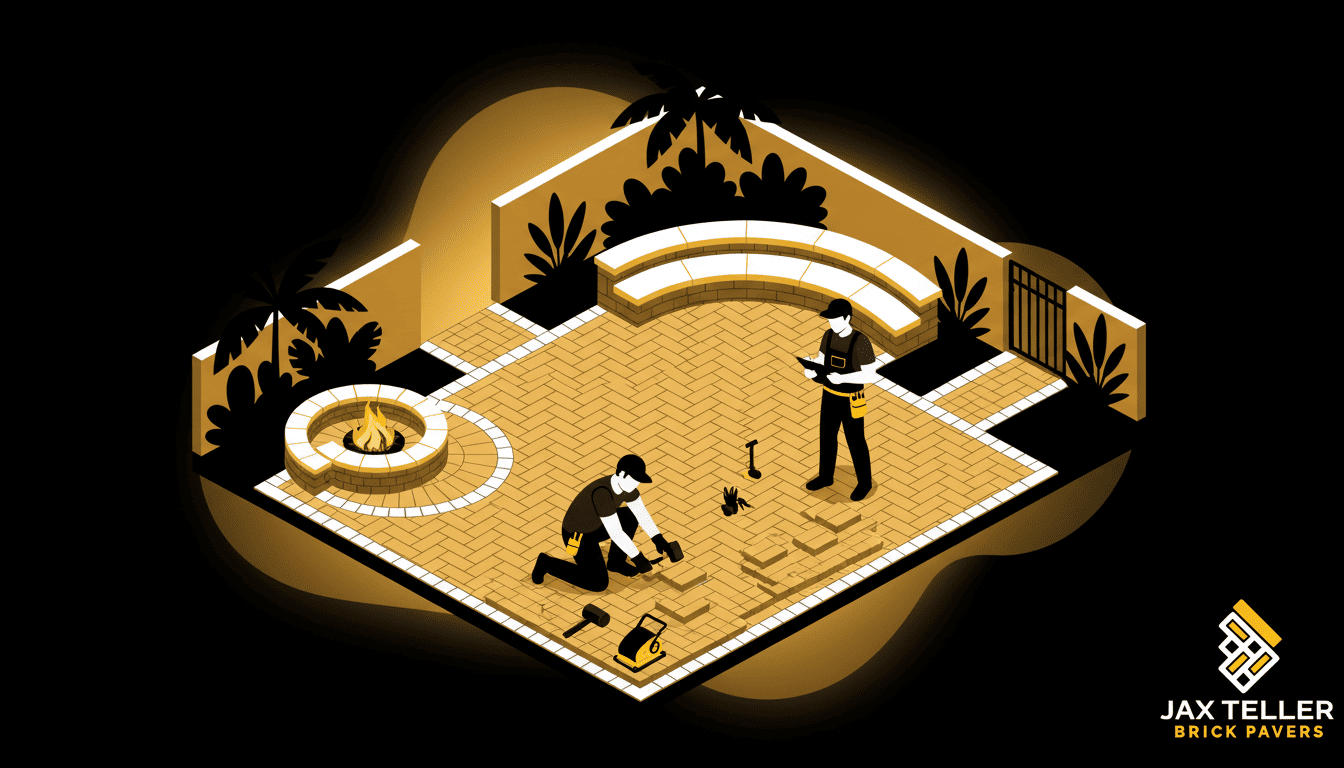
In particular, borders help organize small backyards, compact patios, outdoor kitchens, and lounge corners. They can frame a field of pavers, separate a walkway from a patio, or create a cleaner transition near a pool deck. Additionally, contrast should stay controlled. Too much contrast can make a small space feel busy, while no contrast can make an expensive project look flat.
Consequently, homeowners should think about how the paver surface meets doors, steps, garage slabs, pool coping, garden beds, and existing concrete. A good transition reduces trip points and protects the visual flow. In other words, outdoor living paver zones should feel like part of the home, not a surface dropped into the yard without context.
Cost, phasing, and repair decisions
First, cost depends on more than square footage. Demolition, access, drainage correction, base depth, paver style, border details, sealing, and repair complexity can all change the final number. Therefore, homeowners should compare scopes instead of comparing only broad price ranges. A lower quote may leave out the work that makes the surface last.
Additionally, phasing can help when the whole property needs attention. A homeowner may start with the highest-use area, such as a driveway apron, front entry, pool deck, or primary patio. Then, a later phase can extend the same pattern into secondary paths or seating zones. As a result, outdoor living paver zones can grow in a controlled way without creating mismatched pieces.
When repair is enough
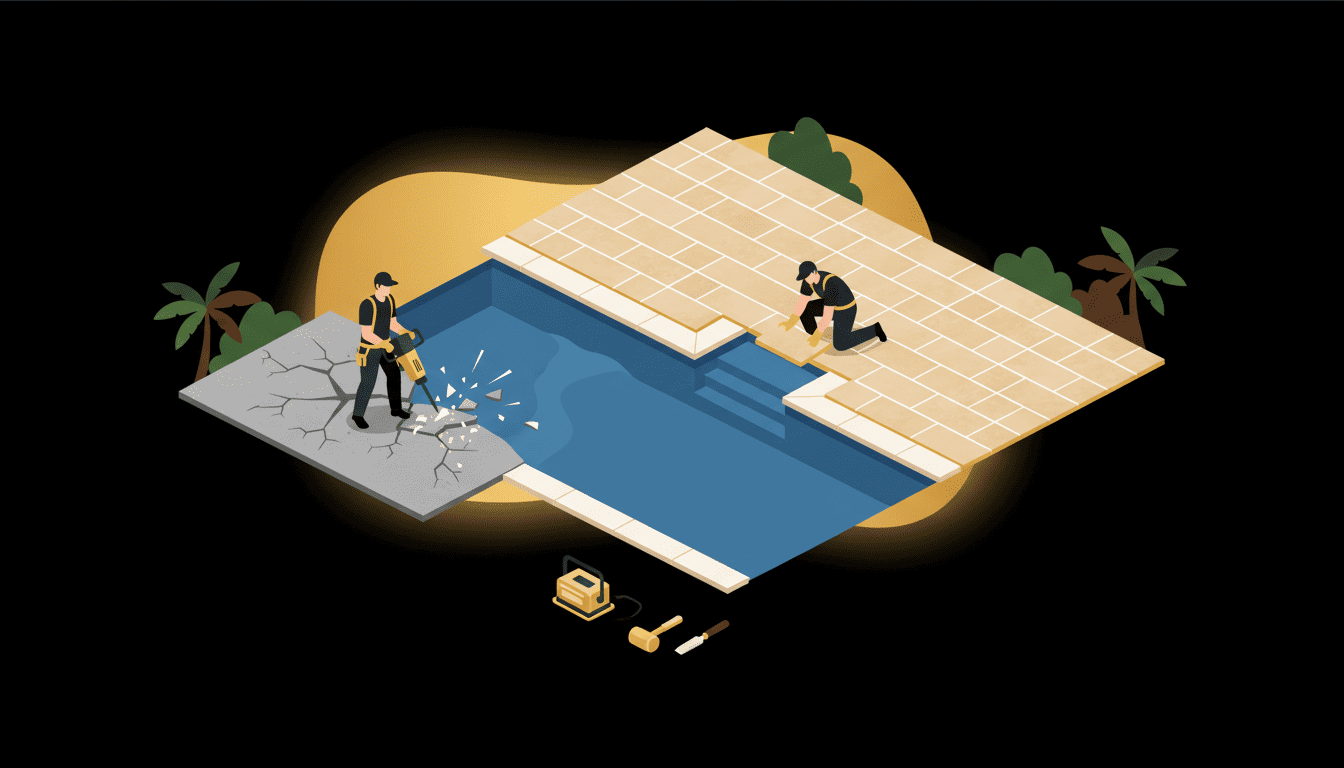
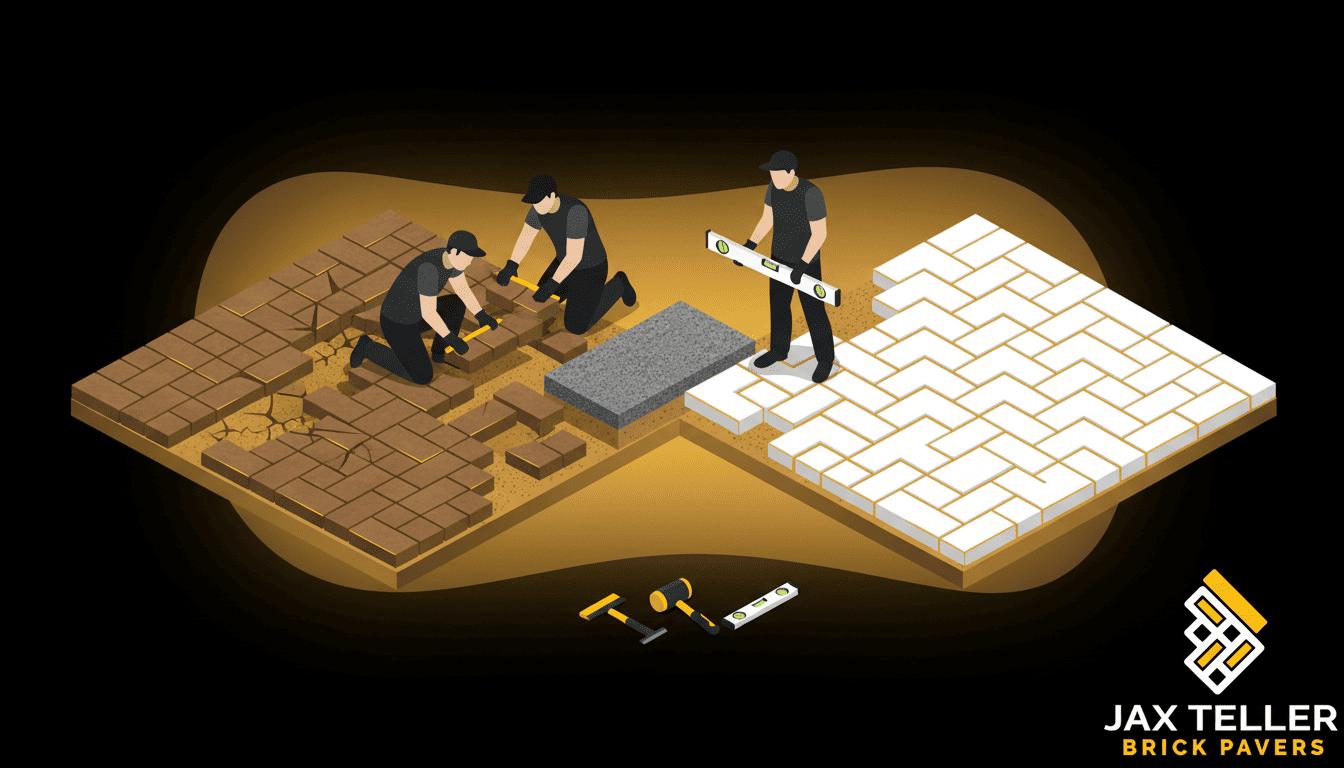
However, full replacement is not always the smartest answer. If the pavers still match, the base problem stays localized, and the design still works, repair may restore the surface effectively. For example, a crew can lift settled units, correct the bedding layer, compact the area, and reset the same pavers. Therefore, outdoor living paver zones should include an honest look at what can remain.
On the other hand, replacement makes more sense when the surface has widespread base failure, severe edge movement, poor drainage across the entire field, or a layout that no longer fits the home. Most importantly, the decision should protect safety and long-term appearance. A professional assessment can separate cosmetic wear from structural problems.
- First, repair isolated settlement before it spreads into larger sections.
- However, rebuild areas where drainage keeps undermining the base.
- Additionally, replace pavers that no longer match the home or project goals.
- Finally, plan future phases before choosing colors and border styles.
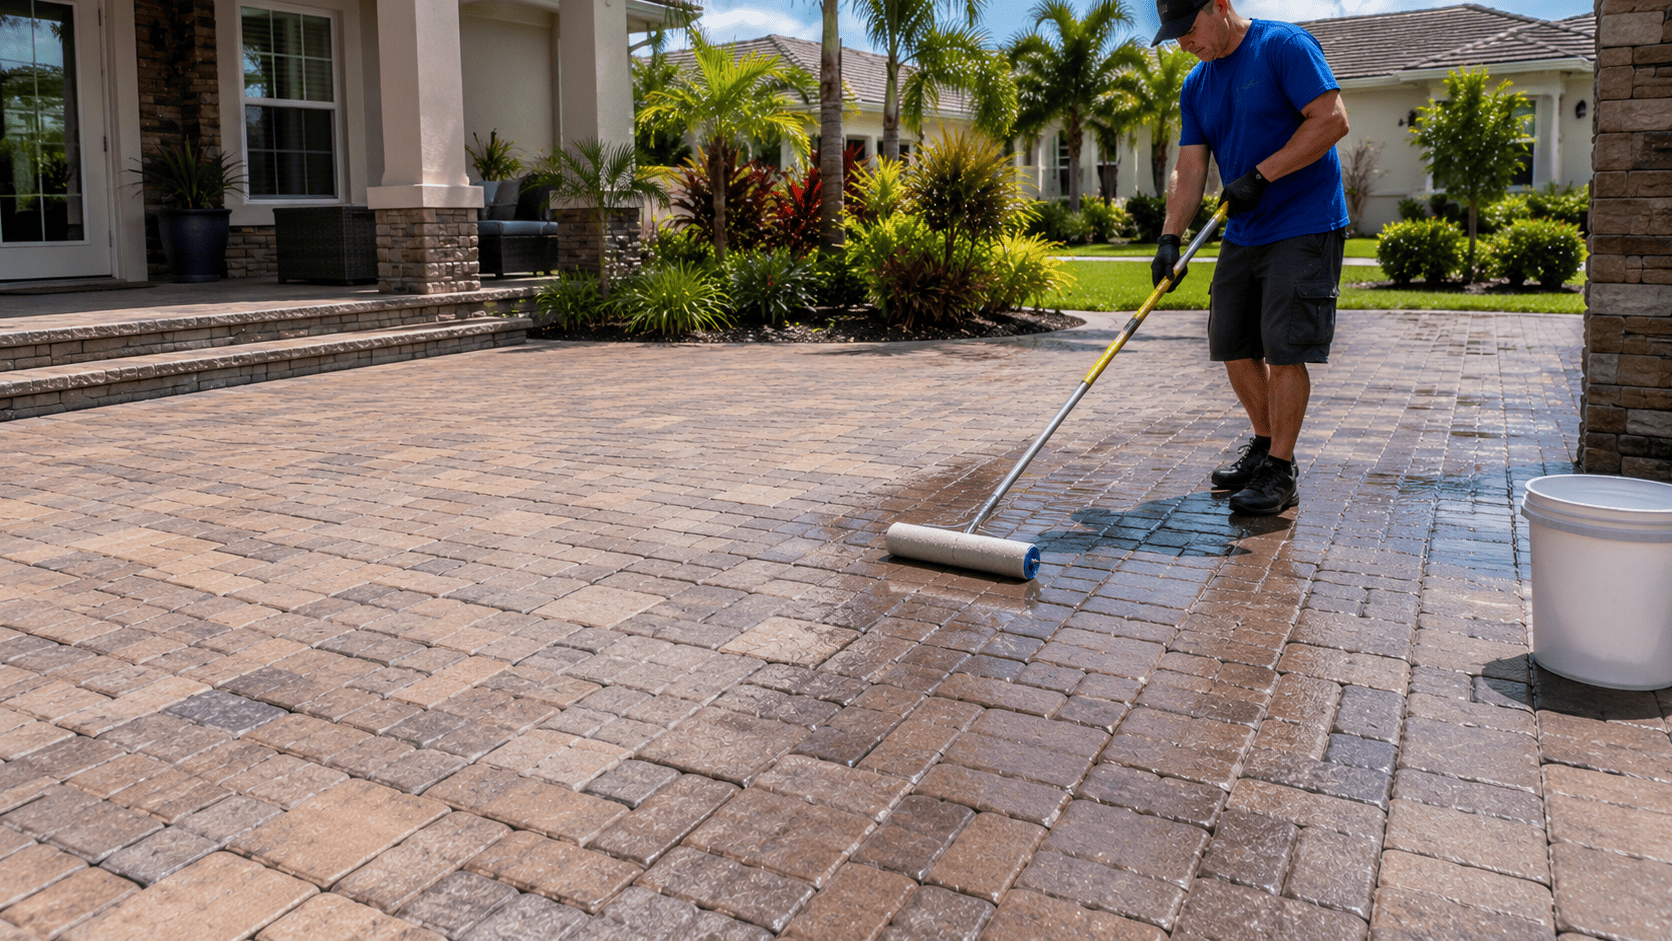
Maintenance after the project is complete
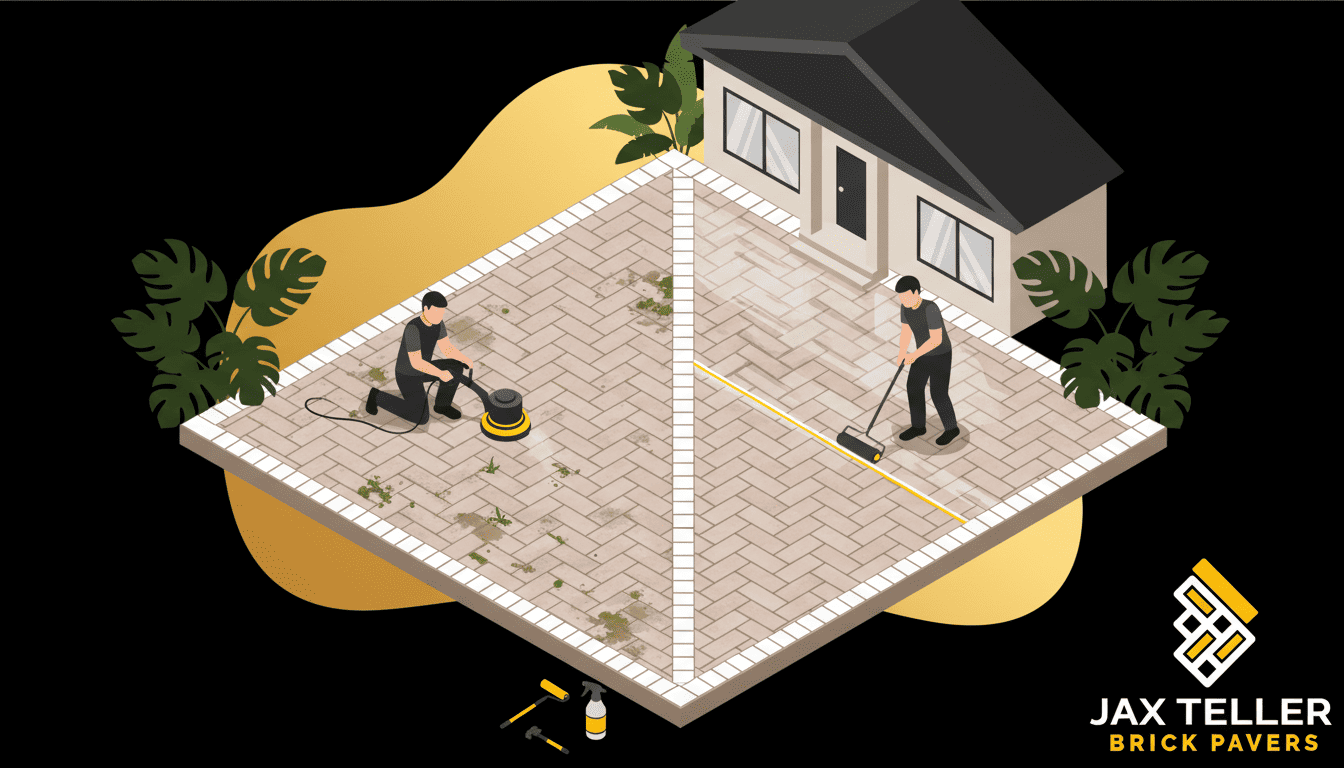
Moreover, a paver surface needs a simple maintenance routine after installation. Homeowners should rinse debris, manage leaves, watch irrigation overspray, and clean algae before it becomes slippery. In addition, joint sand may need attention after heavy weather or aggressive washing. Because of this, outdoor living paver zones performs best when maintenance begins early rather than after visible failure.
Furthermore, sealing can help protect color and reduce staining, but timing matters. The surface should be clean and dry, and the joint sand should be stable before a sealer goes down. Therefore, homeowners should avoid sealing over trapped moisture or loose sand. A better preparation process usually creates a cleaner finish and fewer callbacks.
Seasonal checks for Largo homes
First, spring and early summer are good times to inspect drainage before the heaviest rain pattern arrives. Then, homeowners can check for low spots, loose borders, stains, and weeds in the joints. Additionally, fall is a useful time to clean and reset maintenance priorities after storm season. This steady rhythm keeps small issues visible.
In particular, homeowners should pay attention to areas where water exits downspouts, pool equipment drains, roof valleys, or sloped planting beds. These areas often show the first signs of movement. Consequently, outdoor living paver zones should include water management even after the installation looks complete. A beautiful surface still needs the right habits around it.
Project planning checklist before installation
First, homeowners should define the real problem before choosing colors or patterns. If the concern involves limited square footage, awkward furniture placement, and muddy transition areas, the design needs a technical answer as well as a visual answer. Additionally, photos after rain can help a contractor understand where water collects, where people walk, and where the surface feels unsafe. As a result, outdoor living paver zones becomes easier to scope accurately.
Then, the project should connect the new surface to the rest of the property. For example, the crew should review door thresholds, garage slabs, pool coping, irrigation heads, landscape beds, and existing paver areas before final layout decisions. Furthermore, small elevation conflicts can create expensive fixes later. Therefore, planning these transitions early usually protects both the budget and the finished appearance.
Questions to ask about outdoor living paver zones
Additionally, homeowners should ask how the base depth, drainage path, border detail, and maintenance plan support outdoor living paver zones. A clear answer shows that the project is more than a decorative upgrade. Moreover, it helps compare proposals in a practical way. If one estimate skips edge restraint, joint sand, or surface preparation details, that missing scope can explain a lower price.
- First, ask where water should go after a heavy storm.
- Then, ask which base layers match the expected traffic load.
- Additionally, ask how the border will stay locked over time.
- Finally, ask what cleaning or sealing schedule fits the surface.
When to call a local paver professional
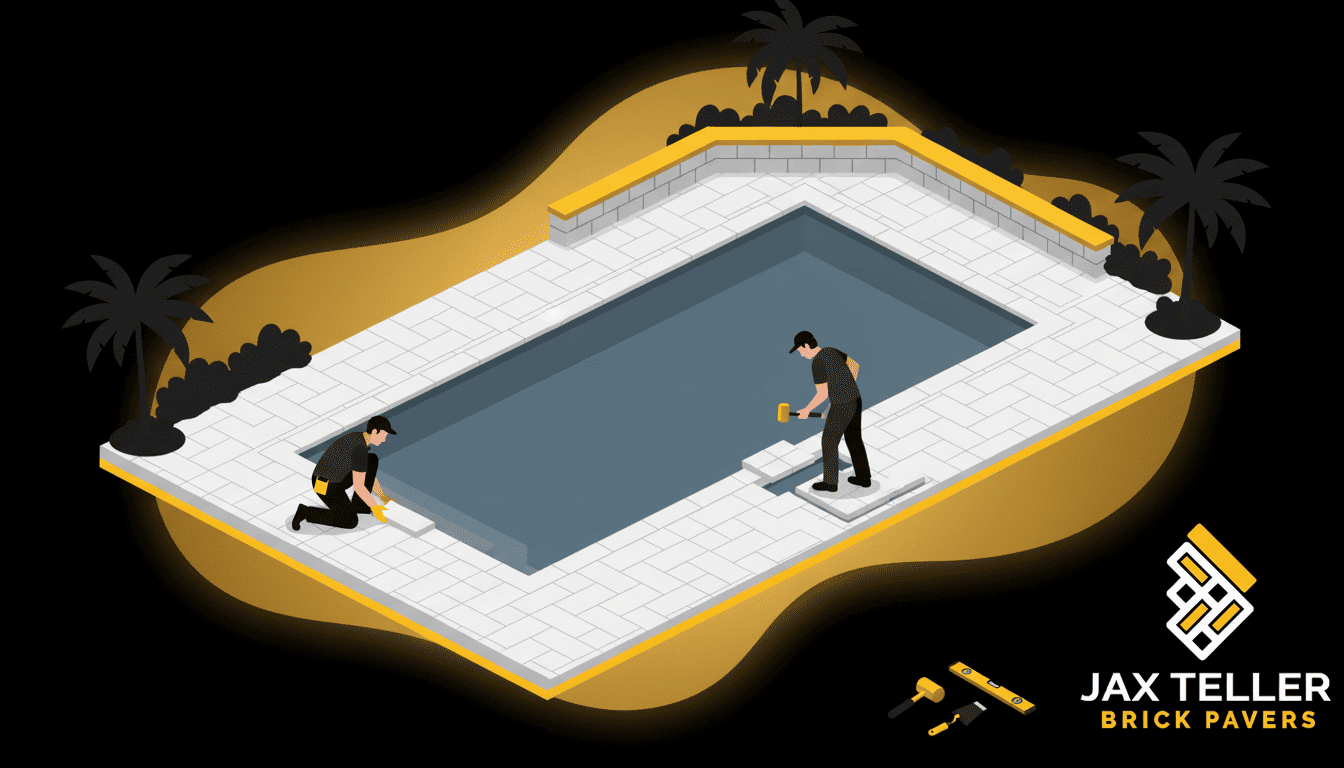
Additionally, homeowners should call a professional when the project touches drainage, pool edges, driveway loads, major settlement, or a larger outdoor renovation. The JaxTeller Brick Pavers service page can help homeowners connect the right service to the condition of the property. Because of this, outdoor living paver zones becomes easier to plan with a crew that understands Largo homes, Florida weather, and paver installation details.
For broader planning context, homeowners can also review Concrete Masonry and Hardscapes Association resources. However, national and state resources should support local judgment rather than replace it. Every property has different soil, slope, shade, irrigation, and use patterns. Therefore, the best paver plan combines authoritative guidance with an on-site look at the actual surface.
Final thoughts on outdoor living paver zones
Ultimately, outdoor living paver zones should make the home easier to use, easier to maintain, and more attractive from the areas people see every day. In addition, the project should solve the practical issue that made the homeowner consider pavers in the first place. When drainage, base prep, materials, borders, and maintenance all support the same goal, the finished surface feels intentional.
Finally, homeowners in Largo should treat paver planning as a long-term exterior improvement. A strong design can improve curb appeal, outdoor comfort, and repair flexibility. However, the best results come from careful inspection and skilled installation. Therefore, outdoor living paver zones deserves a plan that respects both the look of the home and the conditions underneath the surface.
Ready to elevate your outdoor living space? Additionally, connect with JaxTeller Brick Pavers, review recent projects, follow us on Instagram and Facebook, or send a message through WhatsApp. You can also call +1 407-907-8308 or email jaxtellerbrickpavers@gmail.com, and you can find our Largo service area on Google Maps. Contact JaxTeller Brick Pavers at +1 407-907-8308 or jaxtellerbrickpavers@gmail.com for your free estimate!