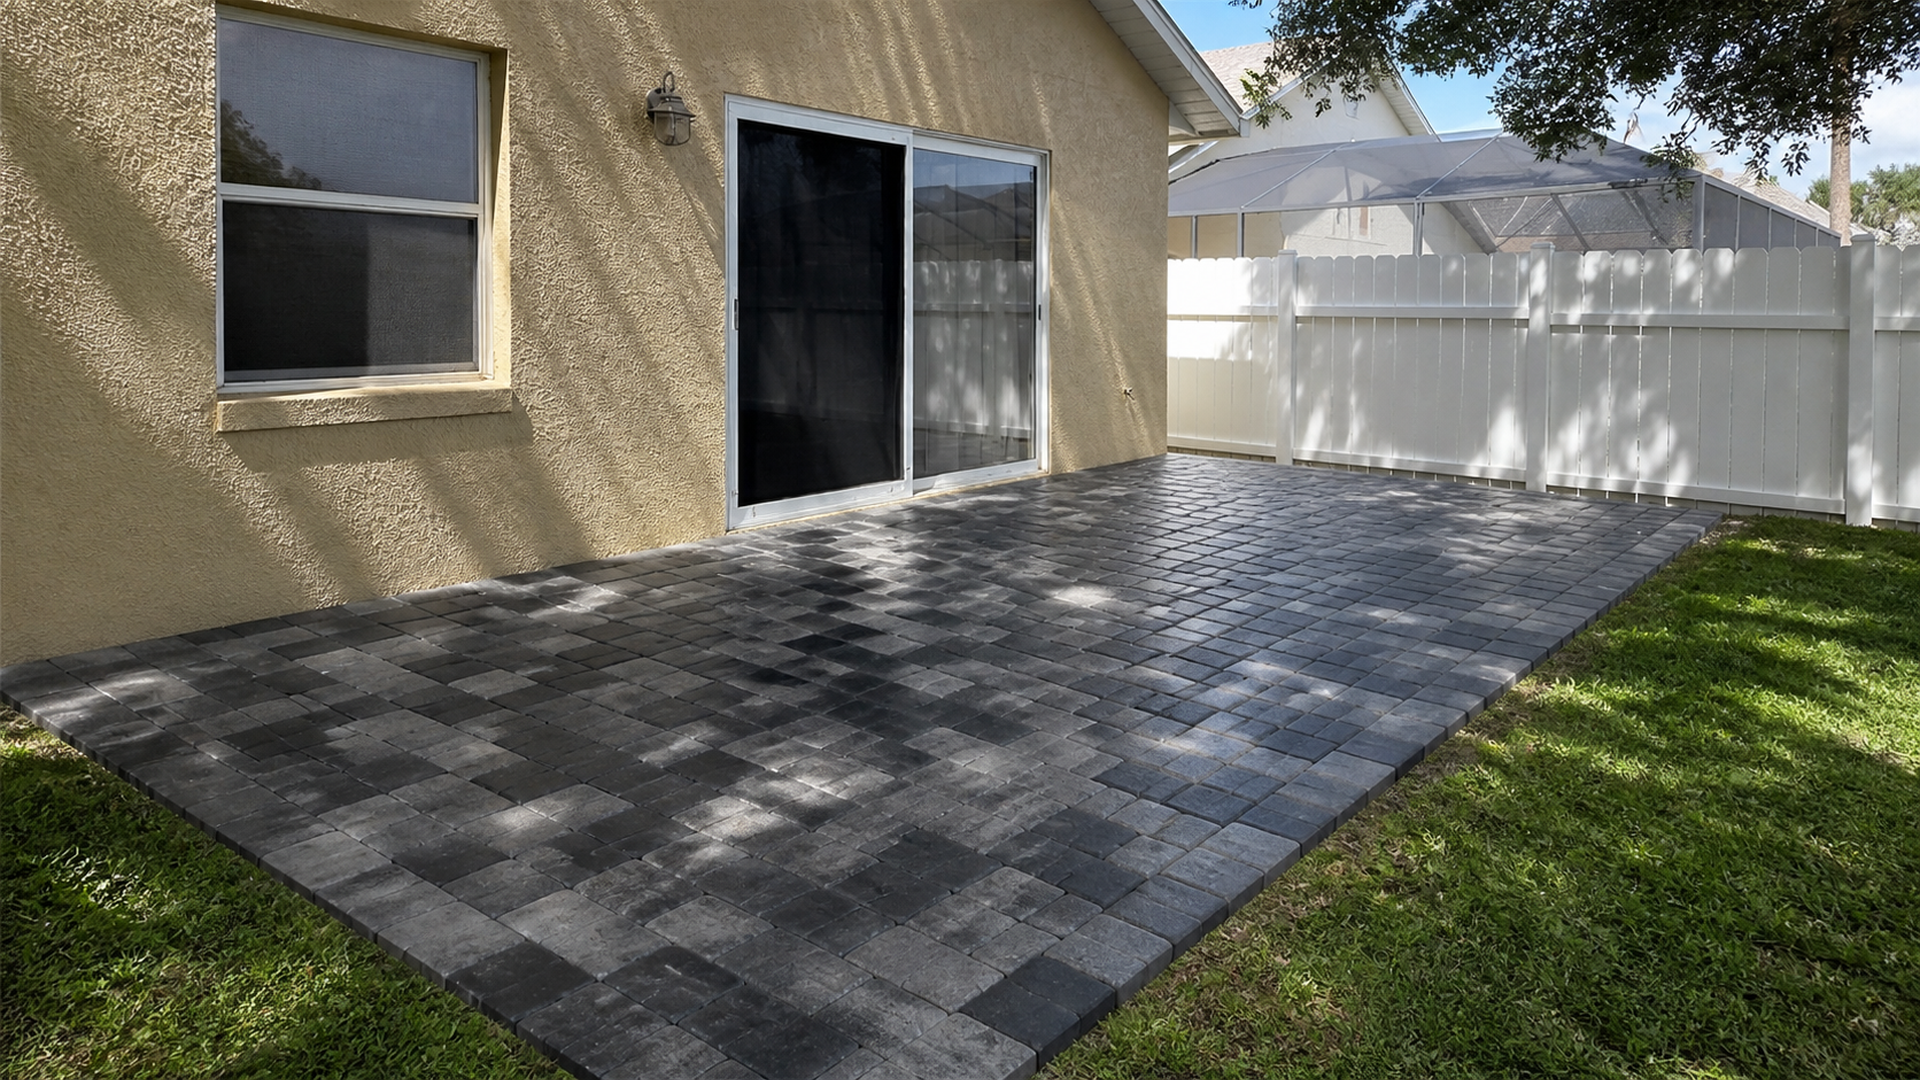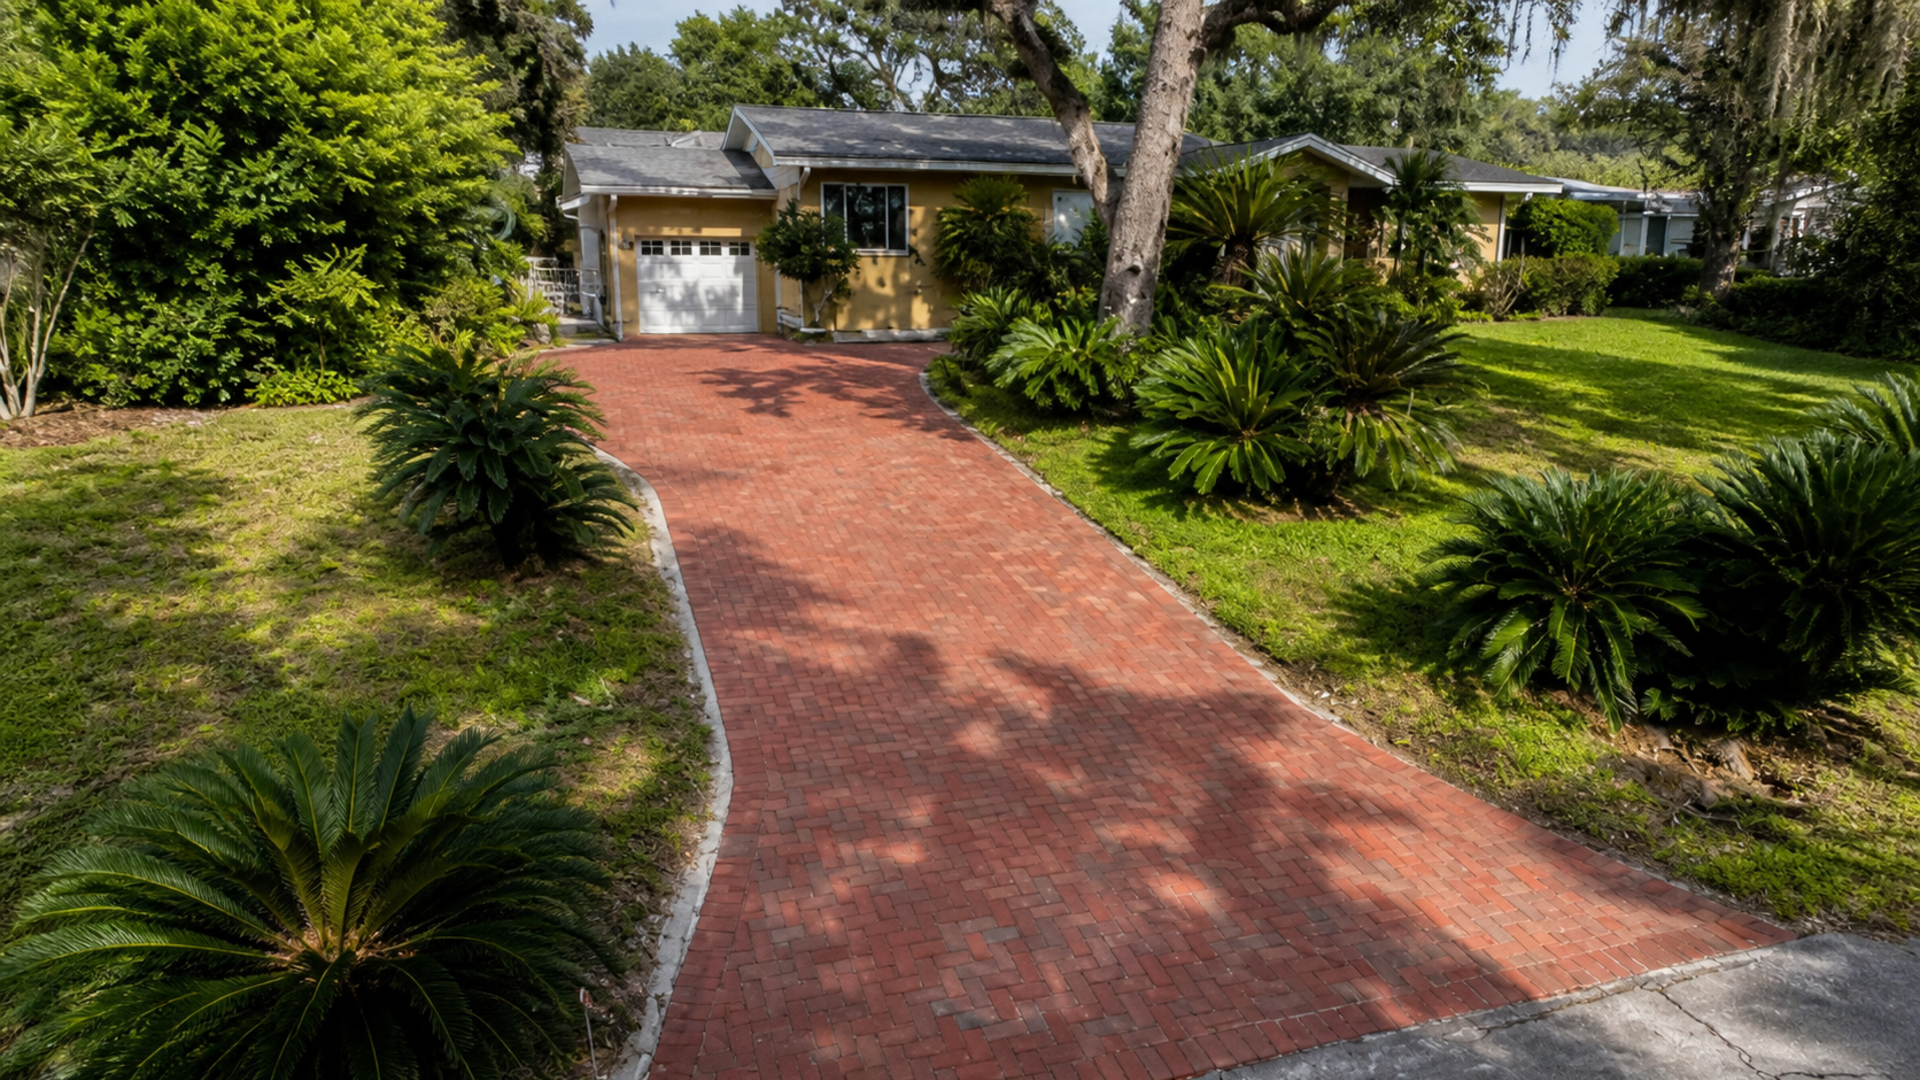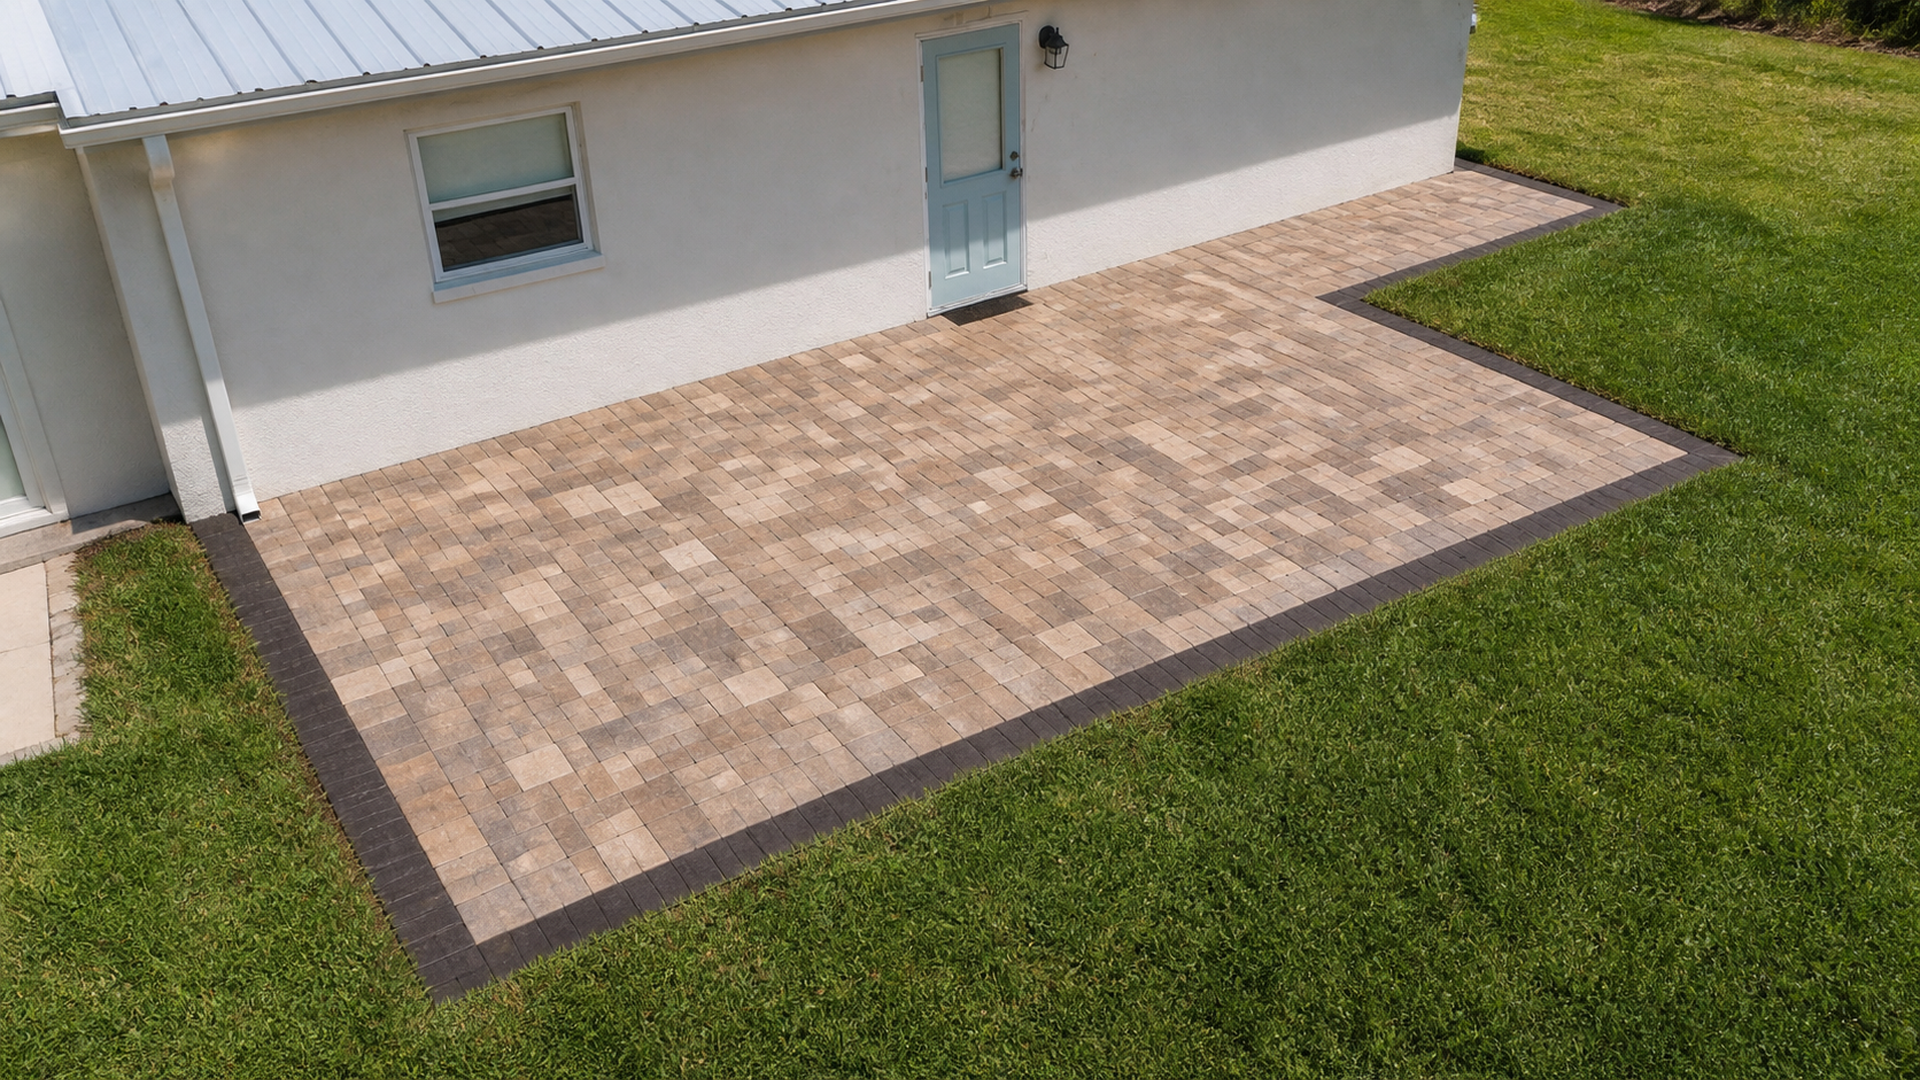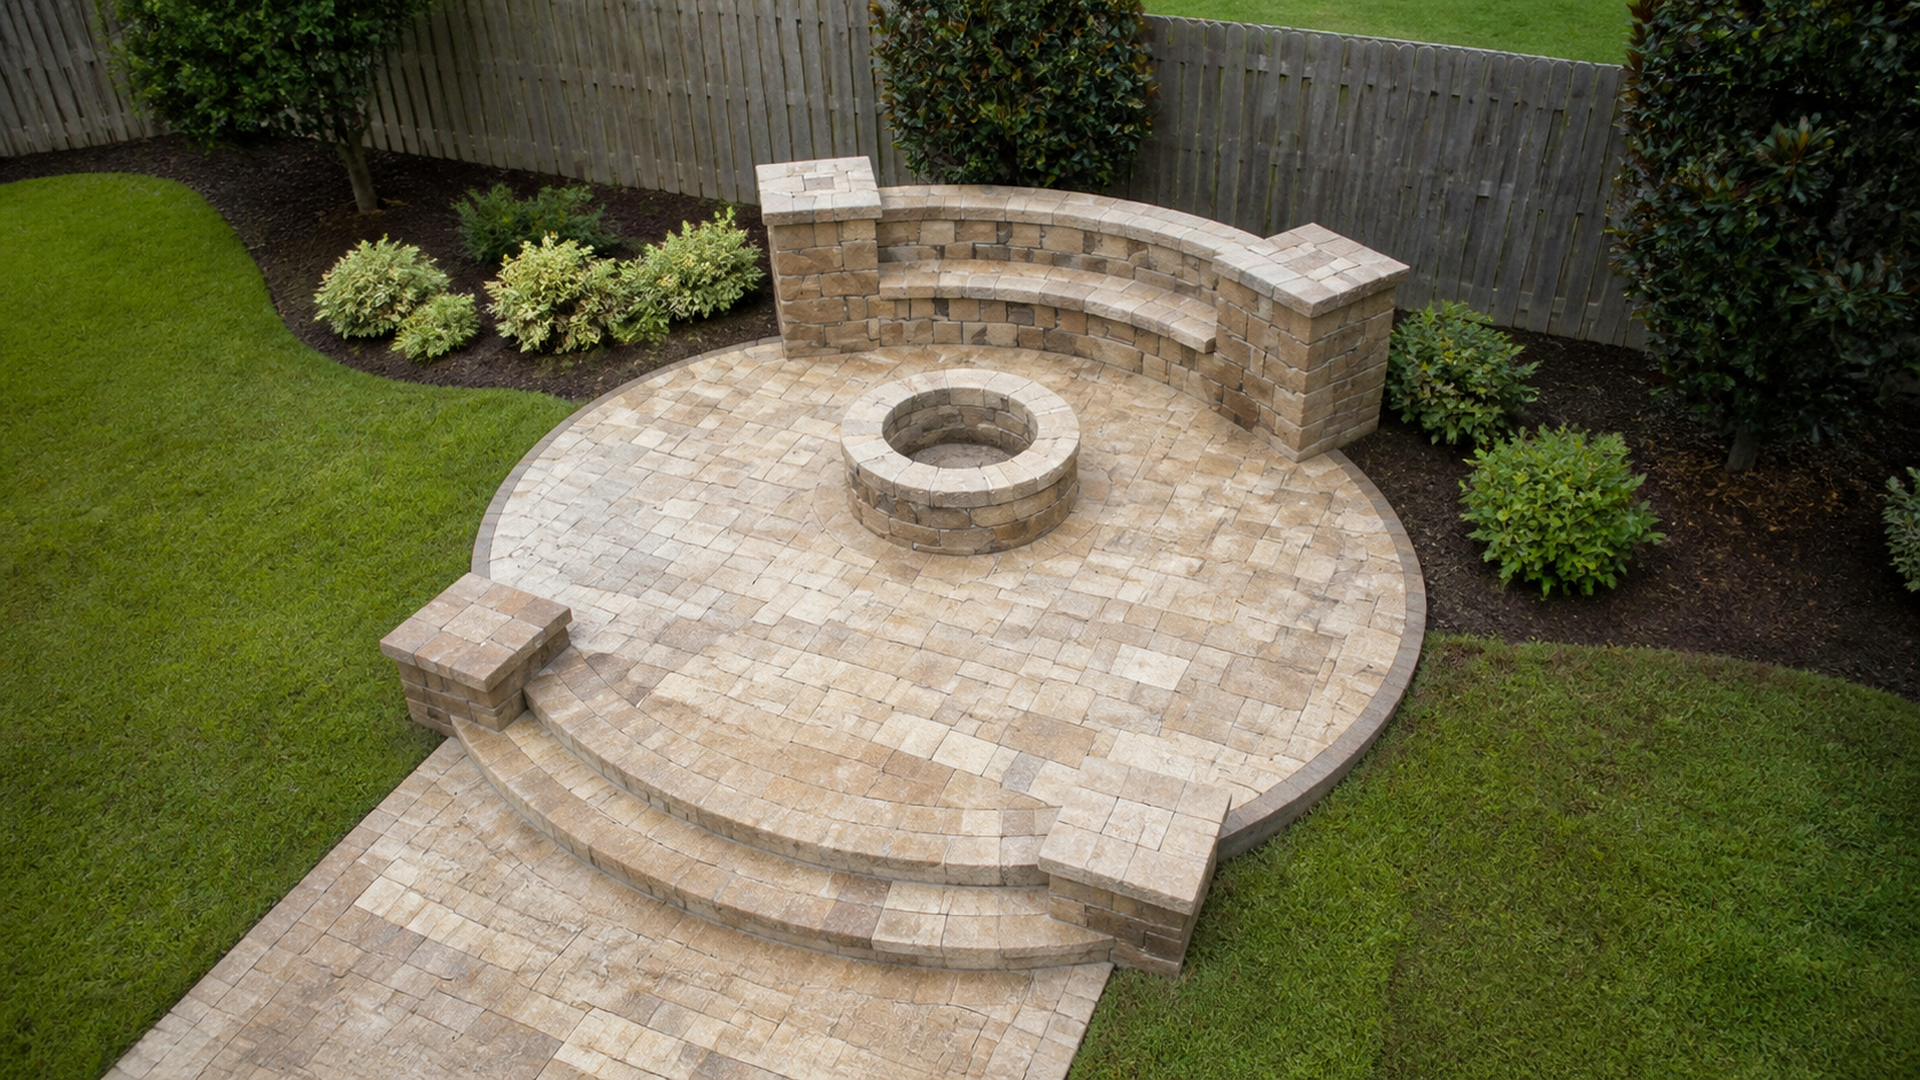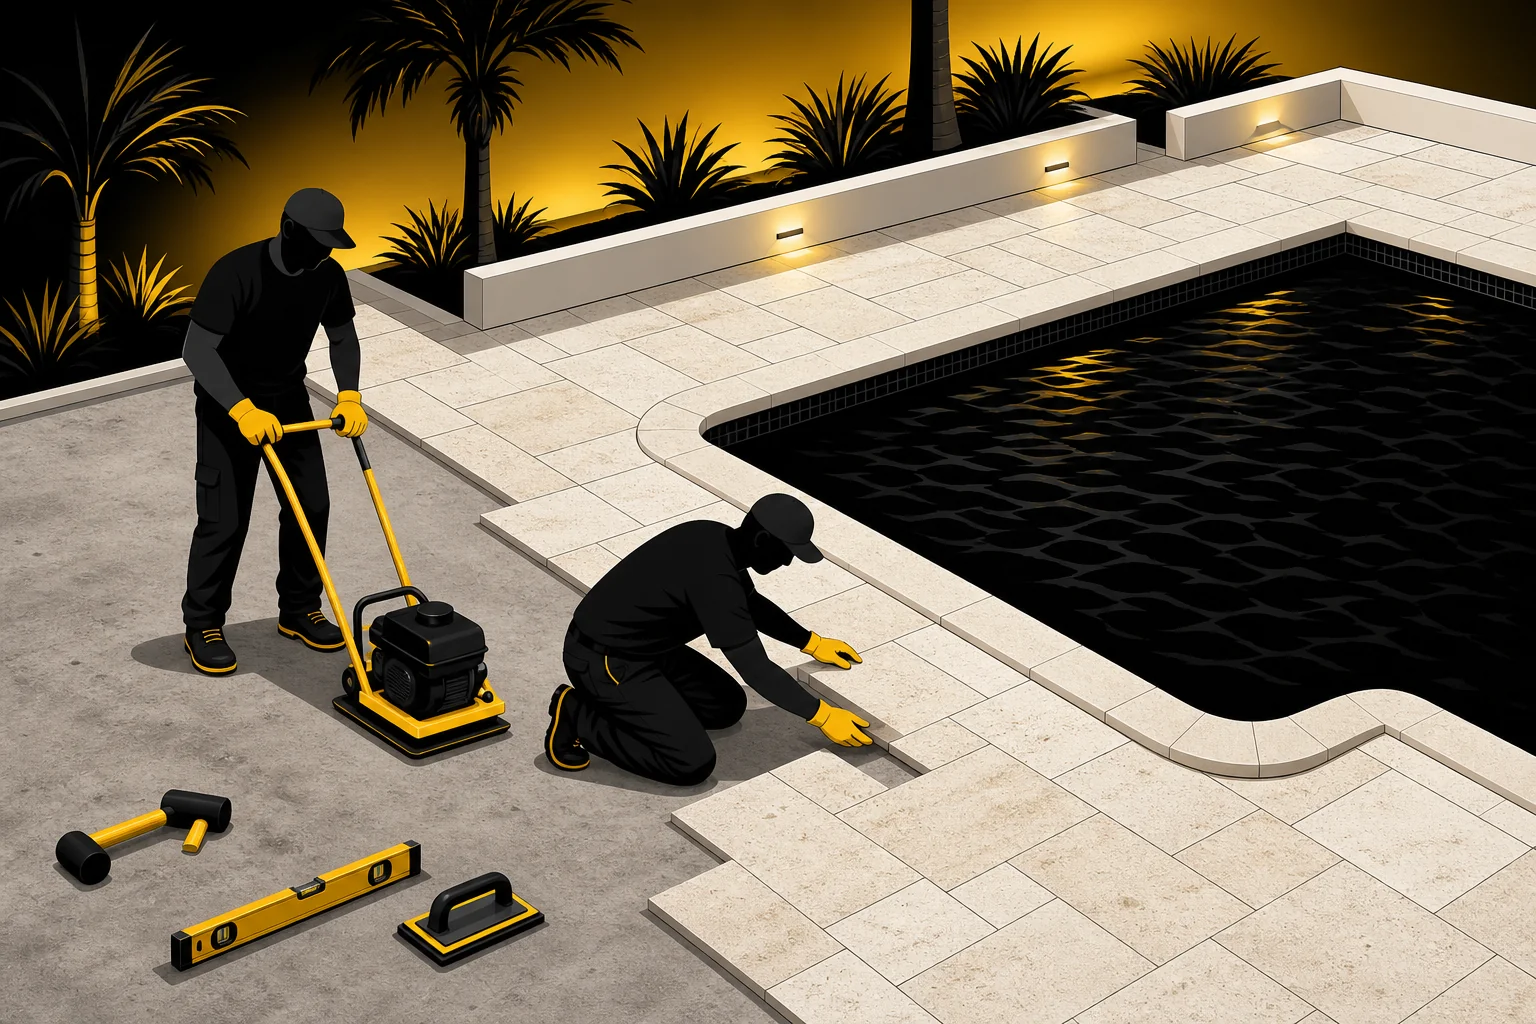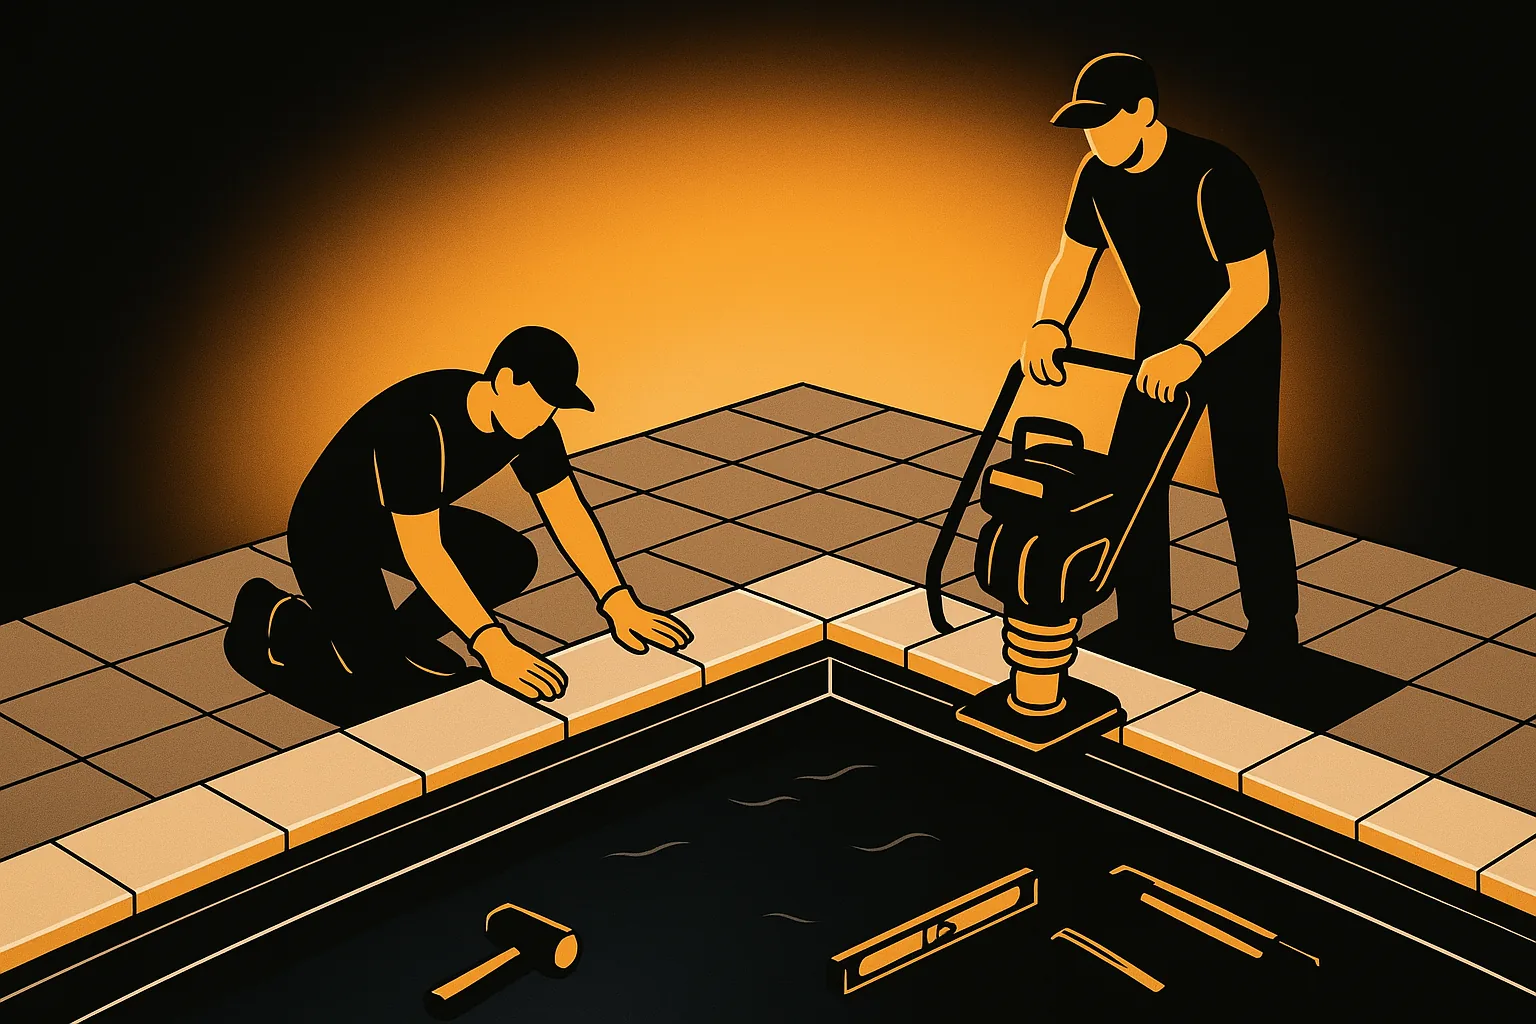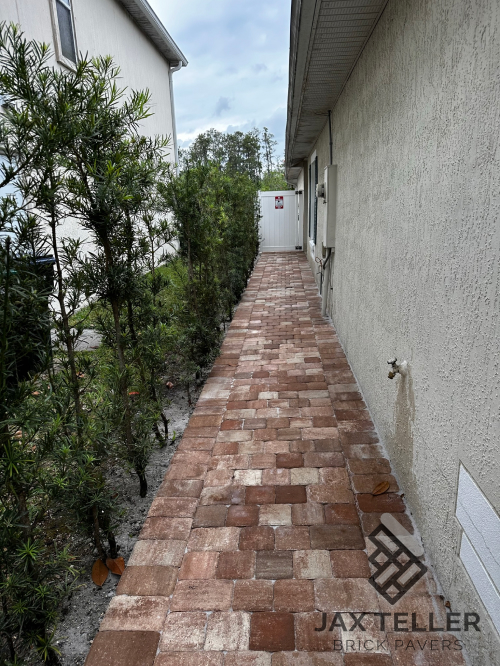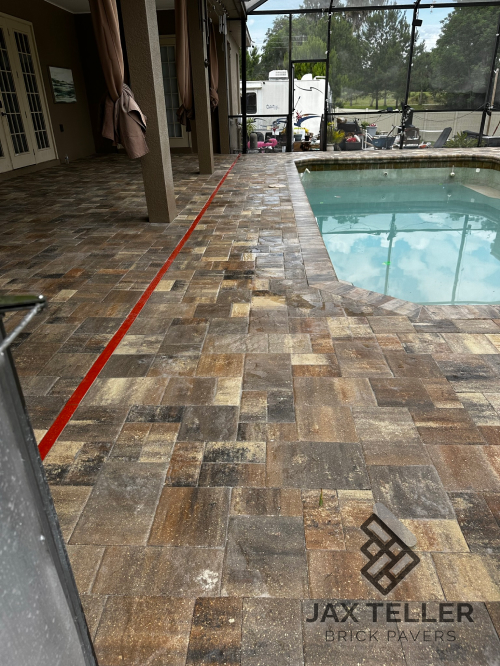

Polymeric sand for paver joints can help stabilize the narrow spaces between suitable interlocking units, yet it is not a liquid repair for every loose or uneven pavement. The complete assembly still matters. When crews prepare the joints correctly and activate the product under suitable conditions, the jointing material can resist ordinary erosion and make the surface less inviting to shallow weeds and ants. However, the pavement underneath must already function.
That distinction protects homeowners from paying for a cosmetic reset over a structural defect. Therefore, a responsible inspection looks at joint depth, paver movement, drainage, edge restraint, contamination, and weather before anyone selects a bag of sand. The flow path remains central.
Understand what polymeric sand for paver joints actually does
Polymeric jointing products combine graded sand with binders that respond to a prescribed activation process. As a result, the installed joint becomes more coherent than loose dry sand while retaining the jointed appearance of the pavement. Support below remains essential. Product formulations vary, so the manufacturer’s current instructions control preparation, allowable joint dimensions, activation, curing, and use limitations.
The material occupies the joint space and helps pavers work as a coordinated surface. In addition, a properly filled joint reduces open voids where windblown soil can collect. It does not glue an unstable base into place, rebuild a broken edge, or reverse settlement. Consequently, sand selection comes after condition assessment.
Polymeric sand for paver joints has clear limits
- It can fill compatible, properly prepared joints to the required depth.
- It can improve resistance to ordinary surface erosion after correct curing.
- It can reduce spaces where shallow weed growth begins.
- It can make loose joint material less convenient for some ant activity.
- It cannot correct a failing base, rocking pavers, or broad settlement.
- It cannot create positive drainage on a surface with wrong elevations.
- It cannot replace missing or failed edge restraint.
- It cannot guarantee that organic growth or insects never return.
These limits do not make the product ineffective. Instead, they define the conditions in which it can perform its intended role. A homeowner should expect an installer to distinguish joint maintenance from pavement reconstruction.
Joint depth matters more than a thin surface layer
Sprinkling new sand over partially filled joints may improve appearance for a short time, but it does not necessarily create a dependable joint profile. That condition needs direct correction. Therefore, crews need to inspect how much old material remains, whether it is sound, and whether contamination prevents consistent filling. The target depth depends on the chosen product and paver configuration.
A shallow cap can separate because the new material lacks sufficient body or compatible support. For example, a thin layer over damp, compacted debris may cure unevenly and release in fragments. Consequently, proper re-sanding often requires controlled removal of unsuitable joint contents before the surface receives fresh material.
Joint width also affects material choice and installation. In particular, narrow interlocking paver joints behave differently from broad, irregular gaps around some natural-stone units. The installer should confirm that the product accepts the actual range rather than assuming one formula fits every surface.
Inspect the joint profile in several zones
Conditions often differ between the center, edges, downspout area, vehicle path, and shaded side of a pavement. Therefore, the inspector should sample representative locations instead of judging one easy corner. Consistent joint loss across the field may suggest a different cause than isolated washout beside a concentrated water source.
Paver chamfers should not become the assumed fill depth. Instead, the active joint extends below the visible top edges, subject to product directions. A full evaluation also checks whether the pavers themselves remain at compatible heights and whether excessive gaps signal movement.
Weed control starts by removing the growing conditions
Most visible weeds begin in organic material that accumulates near the top of a joint. As a result, simply cutting the leaves and covering the remaining soil can leave roots and debris beneath the new sand. The foundation controls the outcome. Preparation should remove vegetation and unsuitable joint contents to the depth required for the selected system.
Polymeric material can reduce open spaces and make future establishment harder, yet airborne seeds and organic dust still reach outdoor surfaces. That distinction guides the next step. Therefore, the realistic goal is improved joint integrity and easier upkeep, not a permanent weed-proof guarantee. Shaded, damp, or debris-prone areas may need more attention than open sun-exposed paving.
Drainage influences the growing environment as well. For example, joints that remain damp because a surface holds water can collect fine material and support recurring growth. Consequently, correcting a low spot or redirecting a downspout may matter more than changing sand brands.
Ant activity requires a realistic response
Ants may move loose sand and create small piles at the surface, particularly where joints provide easy excavation. Therefore, a stabilized joint can make that specific activity less convenient. It does not act as a universal pest-control treatment, and it should not be represented as one.
Persistent activity may involve colonies outside the paved area, food sources, moisture, or landscape conditions. In addition, insect treatment can involve product, safety, and environmental considerations beyond a paver contractor’s scope. Homeowners should use an appropriately qualified pest professional when the problem extends beyond joint stabilization.
Preparation still matters when ants have displaced material. Consequently, the crew should inspect for voids, loose units, and undermined edges before re-sanding. Filling the top while hidden gaps remain may leave the pavement unsupported and allow the symptom to return.
Washout points to water movement
Joint loss often appears where runoff concentrates. For instance, a roof valley, downspout, hose discharge, deck drain overflow, or steep pavement plane can send water through one narrow path. The outlet still matters. Because of this, replacing sand without redirecting the flow may repeat the same maintenance cycle.
Edges can lose sand when surrounding soil erodes or restraint fails. Similarly, a settled area can hold water and expose joints to repeated saturation. The inspection should connect each damaged zone to its likely water source, surface geometry, and outlet before setting the repair scope. That route needs deliberate control.
Trace the washout before replacing material
- First, mark the joints with the greatest material loss.
- Next, inspect nearby slopes, roof discharge, drains, irrigation, and hose locations.
- Then, check paver movement, edge support, and base loss in the affected zone.
- Afterward, define the drainage or structural correction that should happen first.
- Finally, prepare and re-sand the repaired pavement under suitable weather conditions.
This sequence turns re-sanding into the last step of a diagnosis. Moreover, it helps homeowners understand why two areas on the same patio may need different treatment even though both look empty at the joint surface. Field stability remains the priority.
Pavement movement must be repaired first
Rocking or sunken pavers grind and flex their joints as people or vehicles pass over them. As a result, no jointing product can remain dependable while the units keep moving. The installer needs to identify the reason, which may involve bedding disturbance, base settlement, edge failure, erosion, roots, or concentrated loads. The underlying cause still matters.
Localized lifting can provide access to rebuild bedding and restore alignment. However, broader deformation may require a larger correction. The scope should match the affected area and cause rather than promise that compaction and fresh sand will flatten a failed foundation. Clear documentation helps here.
Joint condition offers diagnostic evidence during that review. For example, repeated cracking of stabilized sand along the same line may indicate movement below or a structural separation that the surface treatment should respect. The edge condition cannot be ignored. Therefore, the crew should preserve necessary joints and transitions instead of bridging them indiscriminately.
Cleaning must prepare the surface without damaging it
Existing joint material, moss, soil, stains, and failed residue may require cleaning before re-sanding. Nevertheless, aggressive washing can displace sound bedding, widen joints, damage a delicate surface, or saturate the assembly immediately before installation. Therefore, pressure, nozzle choice, distance, angle, and runoff control should suit the paver and condition.
The pavement then needs adequate drying according to the product requirements. In particular, hidden moisture within joints can interfere even when the paver faces appear dry. A crew should not rush from washing to placement merely because the sky has cleared.
Nearby pools, plants, walls, and drains also need protection from debris and runoff. Consequently, the work plan should define containment and cleanup before loose material starts moving. Careful preparation is both a quality step and a property-protection step.
Dry placement prevents many appearance problems
Most polymeric products require dry paver faces and joints during placement. Therefore, installers watch recent rain, dew, irrigation, shade, humidity, and the forecast rather than relying on air temperature alone. Moisture introduced too early can activate binders while sand still sits on the surface.
The crew usually sweeps material through the field in controlled passes and consolidates it as required. In addition, joint levels need final adjustment so sand supports the units without remaining high on decorative edges. Exact procedures vary, which is why the current product instructions should remain available on site.
Remove surface dust before activation
Residual binder dust can create a film when water touches it. As a result, crews use appropriate sweeping and air control to clean the paver faces without emptying the joints they just filled. The system must work as a whole. Corners, textured surfaces, chamfers, steps, and borders deserve close inspection because fine material can hide there.
A quick rinse cannot substitute for that dry cleanup. Instead, water may carry remaining binder across the face and into low areas. The best defense against haze is disciplined preparation before activation, followed by the product’s specified watering method.
Activation is controlled watering, not ordinary rinsing
Activation must introduce enough water through the joint profile without washing material out or flooding the assembly. Consequently, installers divide the work into manageable areas and follow the product’s nozzle, duration, sequence, and runoff directions. A casual hose pass may leave dry material below, while excessive flow can carry binders onto the surface.
Low areas require special care because water and residue can collect there. For example, an installer may need to adjust the work sequence so runoff does not cross freshly activated joints. The site’s slope and drainage path should inform the activation plan.
After activation, the pavement needs the specified curing window and protection from unsuitable weather or use. Therefore, vehicle traffic, furniture, irrigation, pool splash, and forecast rain should be discussed before work begins. Product directions determine the actual timing; a generic promise does not.
Use a condition-based re-sanding threshold
Not every uneven-looking joint needs complete replacement. Instead, an inspection should determine whether material remains stable at useful depth, whether the surface has isolated loss, and whether compatible top-up work is allowed. Mixing unknown or incompatible materials can create inconsistent results.
Broad empty joints, exposed bedding, ongoing movement, and repeated washout call for more investigation. In contrast, a small isolated loss after a known spill may need a limited correction. The right threshold comes from condition, cause, product compatibility, and the intended appearance.
Joint-sand inspection checklist
- Surface type: Identify paver material, texture, coating, and stain sensitivity.
- Joint geometry: Measure representative widths, depths, and irregular areas.
- Movement: Mark rocking, sunken, raised, or spreading units.
- Edges: Check restraint, erosion, and transitions to landscaping.
- Water: Trace downspouts, irrigation, low spots, drains, and concentrated runoff.
- Contamination: Note weeds, soil, moss, insects, old binders, and cleaning residue.
- Weather: Confirm a suitable dry placement, activation, and curing window.
- Product fit: Match current directions to the actual joint and pavement.
- Protection: Plan containment around pools, walls, plants, and drainage inlets.
A polymeric sand for paver joints checklist helps define whether the job is maintenance, localized repair, or reconstruction. Furthermore, it gives the homeowner a better question than simply asking which sand is strongest. The compatible product can only perform when the whole surface is ready.
Get a surface-specific recommendation
JaxTeller Brick Pavers can evaluate cleaning, joint condition, and compatible follow-up work through its pressure washing and sealing service. Therefore, homeowners can request a joint-sand and paver-condition inspection before choosing a treatment based only on an empty joint or a store shelf. Movement will expose weak support.
For industry-level education about segmental pavement, the Concrete Masonry & Hardscapes Association provides authoritative hardscape resources. In addition, the selected jointing product’s current technical instructions should govern installation, while qualified local professionals should address site-specific drainage, structural, environmental, and code questions. Drainage must stay connected.
Frequently asked questions
Will polymeric sand permanently stop weeds?
No product can guarantee that outdoor joints remain permanently weed-free. However, correctly prepared and filled joints can reduce open spaces where organic material and shallow growth establish. Drainage, debris, shade, and ongoing surface care still influence recurrence.
Does polymeric sand eliminate ants?
It can make joint excavation more difficult than loose sand, but it is not a comprehensive pest treatment. Therefore, persistent colonies or broader activity may require a qualified pest professional plus correction of voids or moisture conditions around the pavement. Water still follows elevation.
Can new sand repair sunken pavers?
No. Instead, sunken or rocking units need diagnosis and suitable base or bedding correction before jointing. Fresh sand may hide the gap briefly, yet movement will continue to disturb the joint until the underlying cause is repaired. The base remains part of the repair.
Why did a white or cloudy haze appear?
Haze can result when binder dust remains on the paver face or water carries residue across the surface. Consequently, dry cleanup, controlled activation, compatible conditions, and strict product directions are essential. The correct response depends on the surface and product, so avoid an untested cleaner.
How soon can the area be used after re-sanding?
The answer depends on the product, weather, pavement use, and activation quality. Therefore, follow the manufacturer’s current curing directions and the installer’s site-specific protection plan. Do not assume that a dry-looking surface has cured throughout the joint.
Ready to elevate your outdoor space with custom brick pavers? First, book a joint-sand and paver-condition inspection and review JaxTeller’s completed projects. Then, follow recent work on Instagram and Facebook, or ask a question through WhatsApp.
Finally, call +1 407-907-8308, email jaxtellerbrickpavers@gmail.com, or locate the team with Google Maps. Contact JaxTeller Brick Pavers at +1 407-907-8308 or jaxtellerbrickpavers@gmail.com for your free estimate!