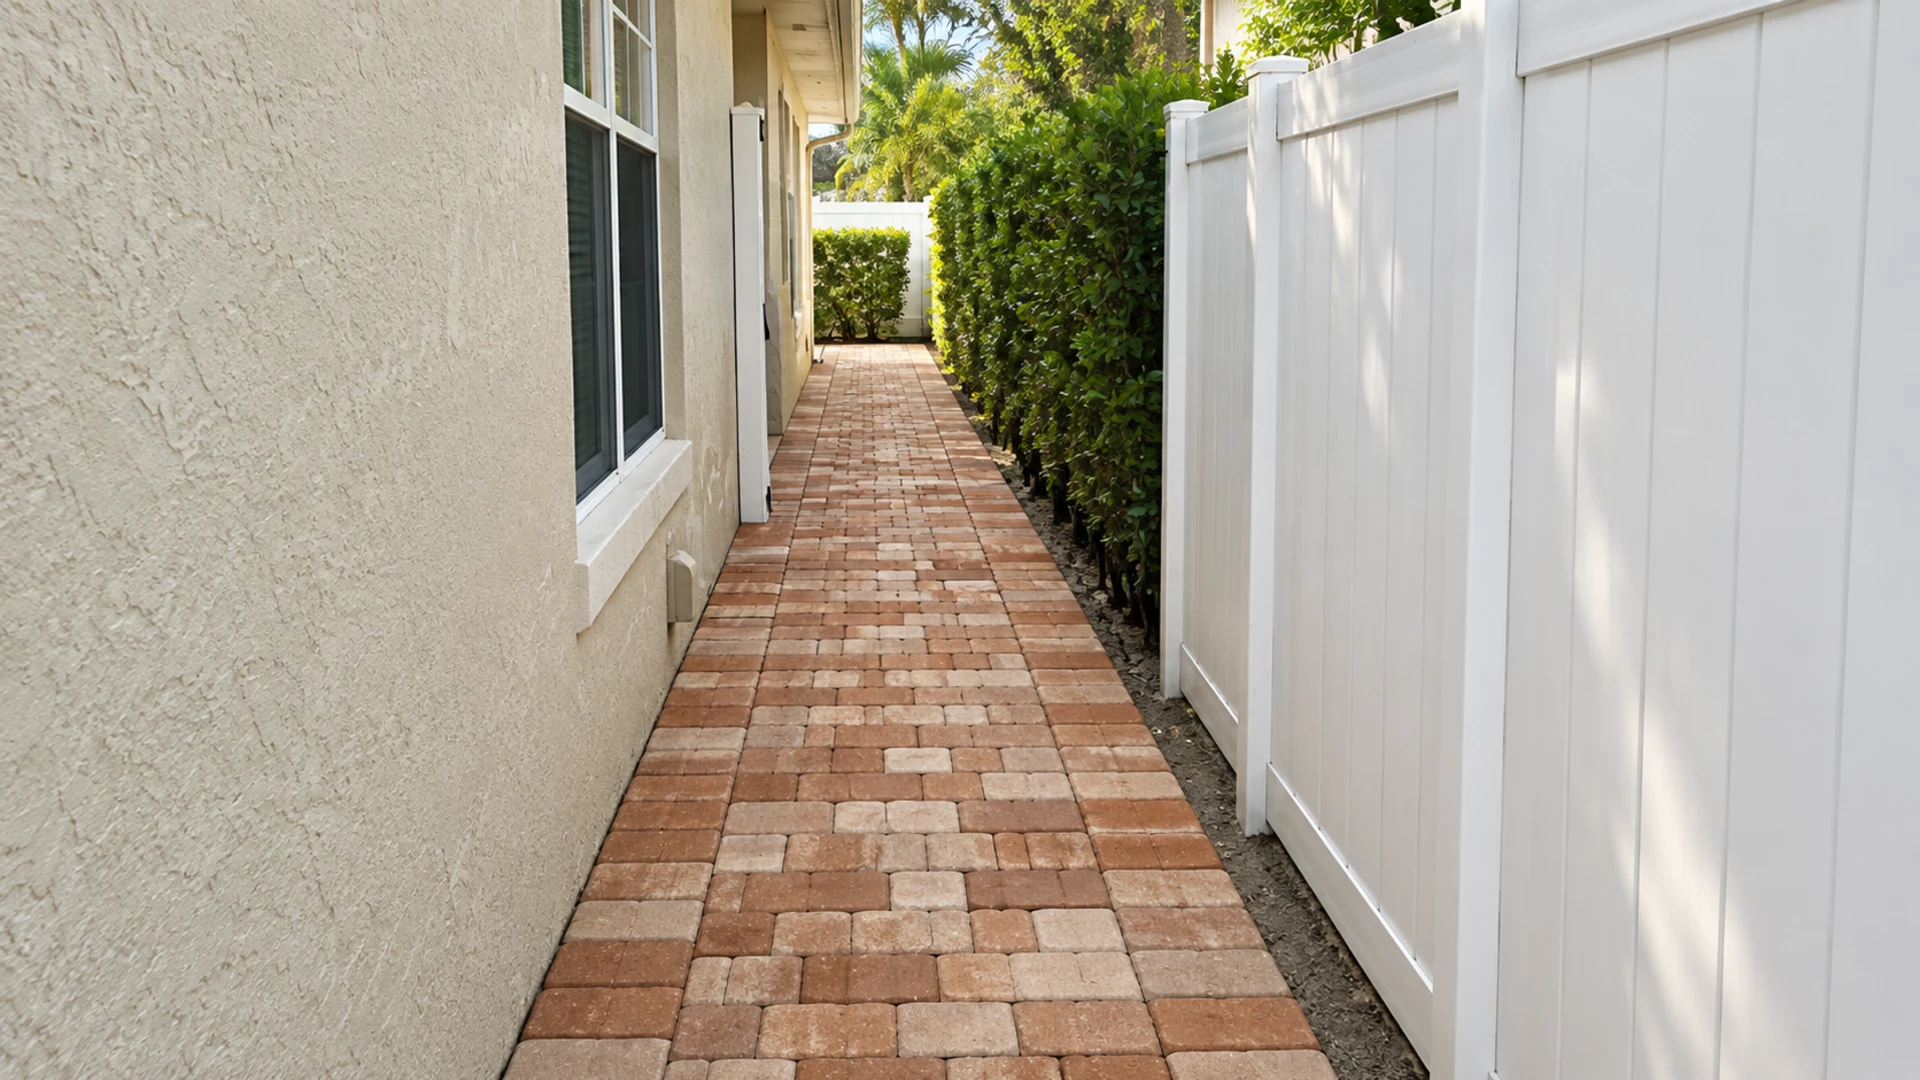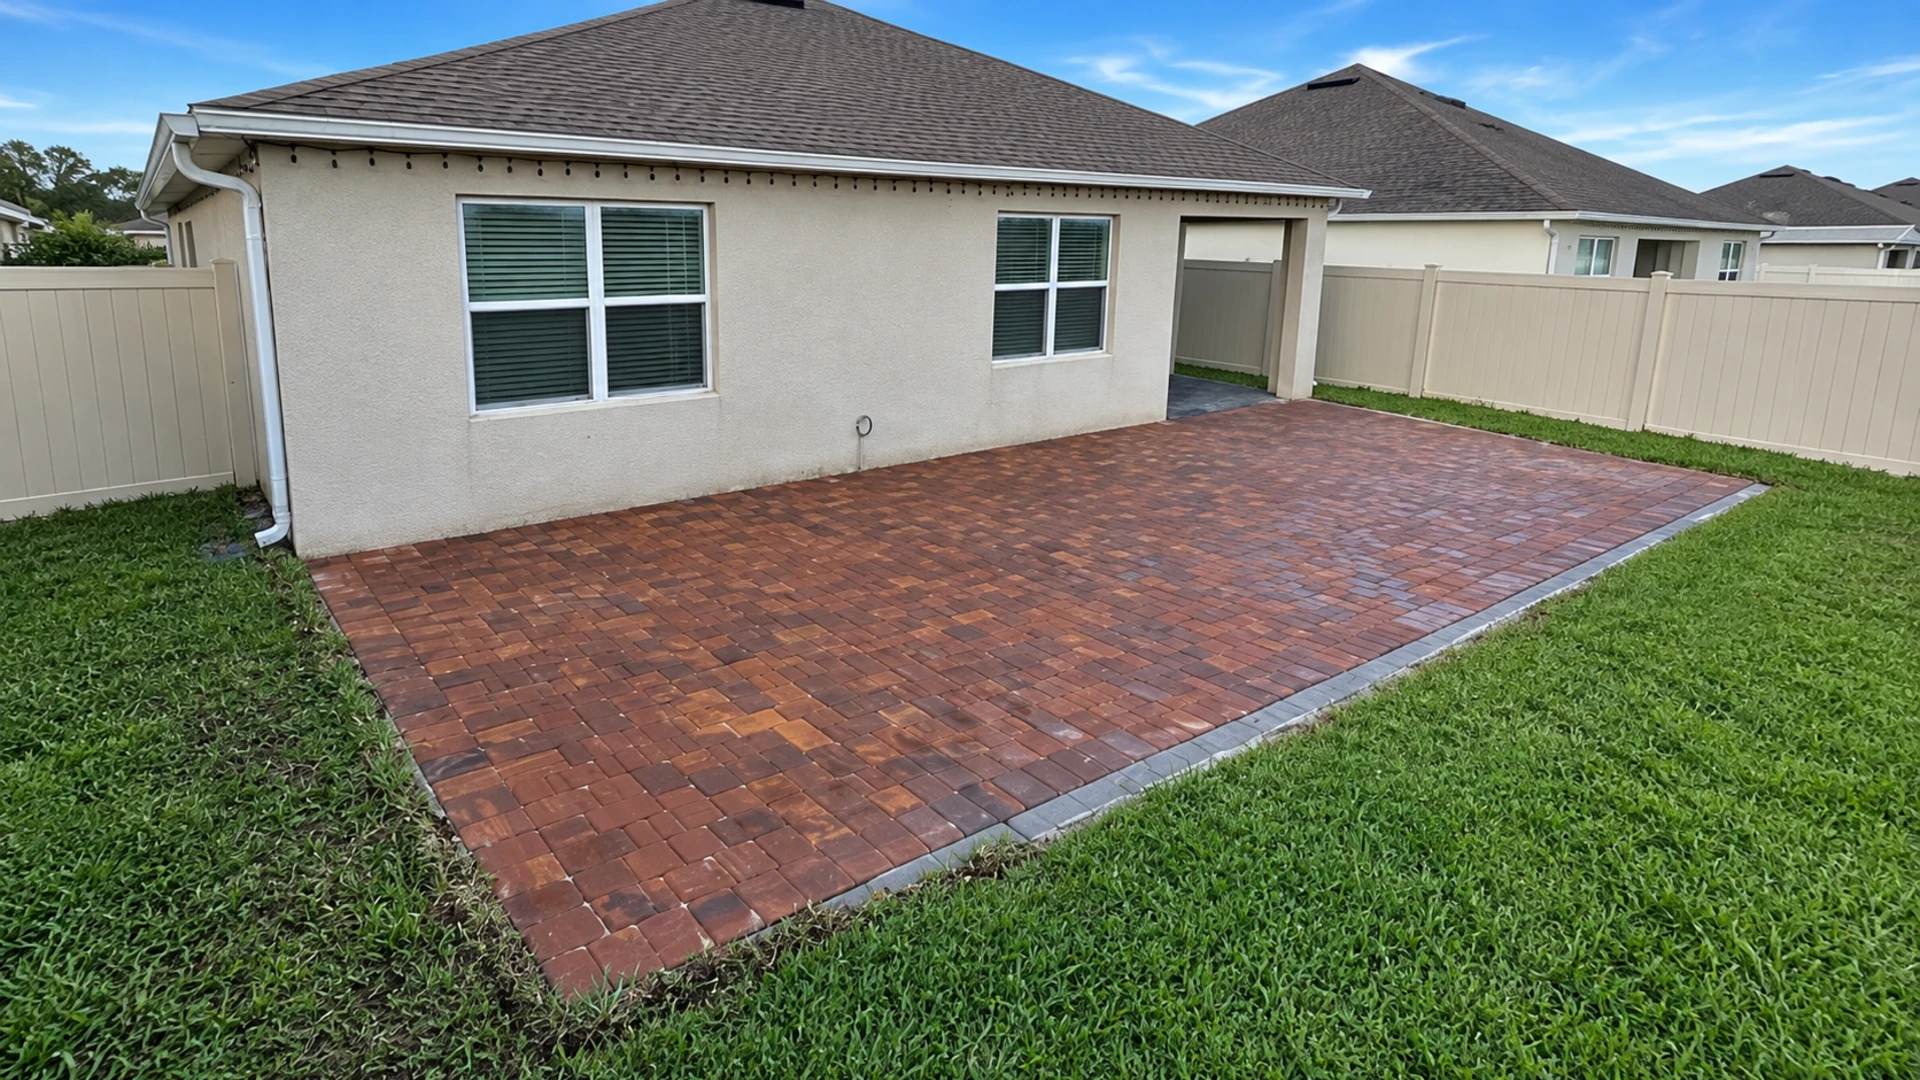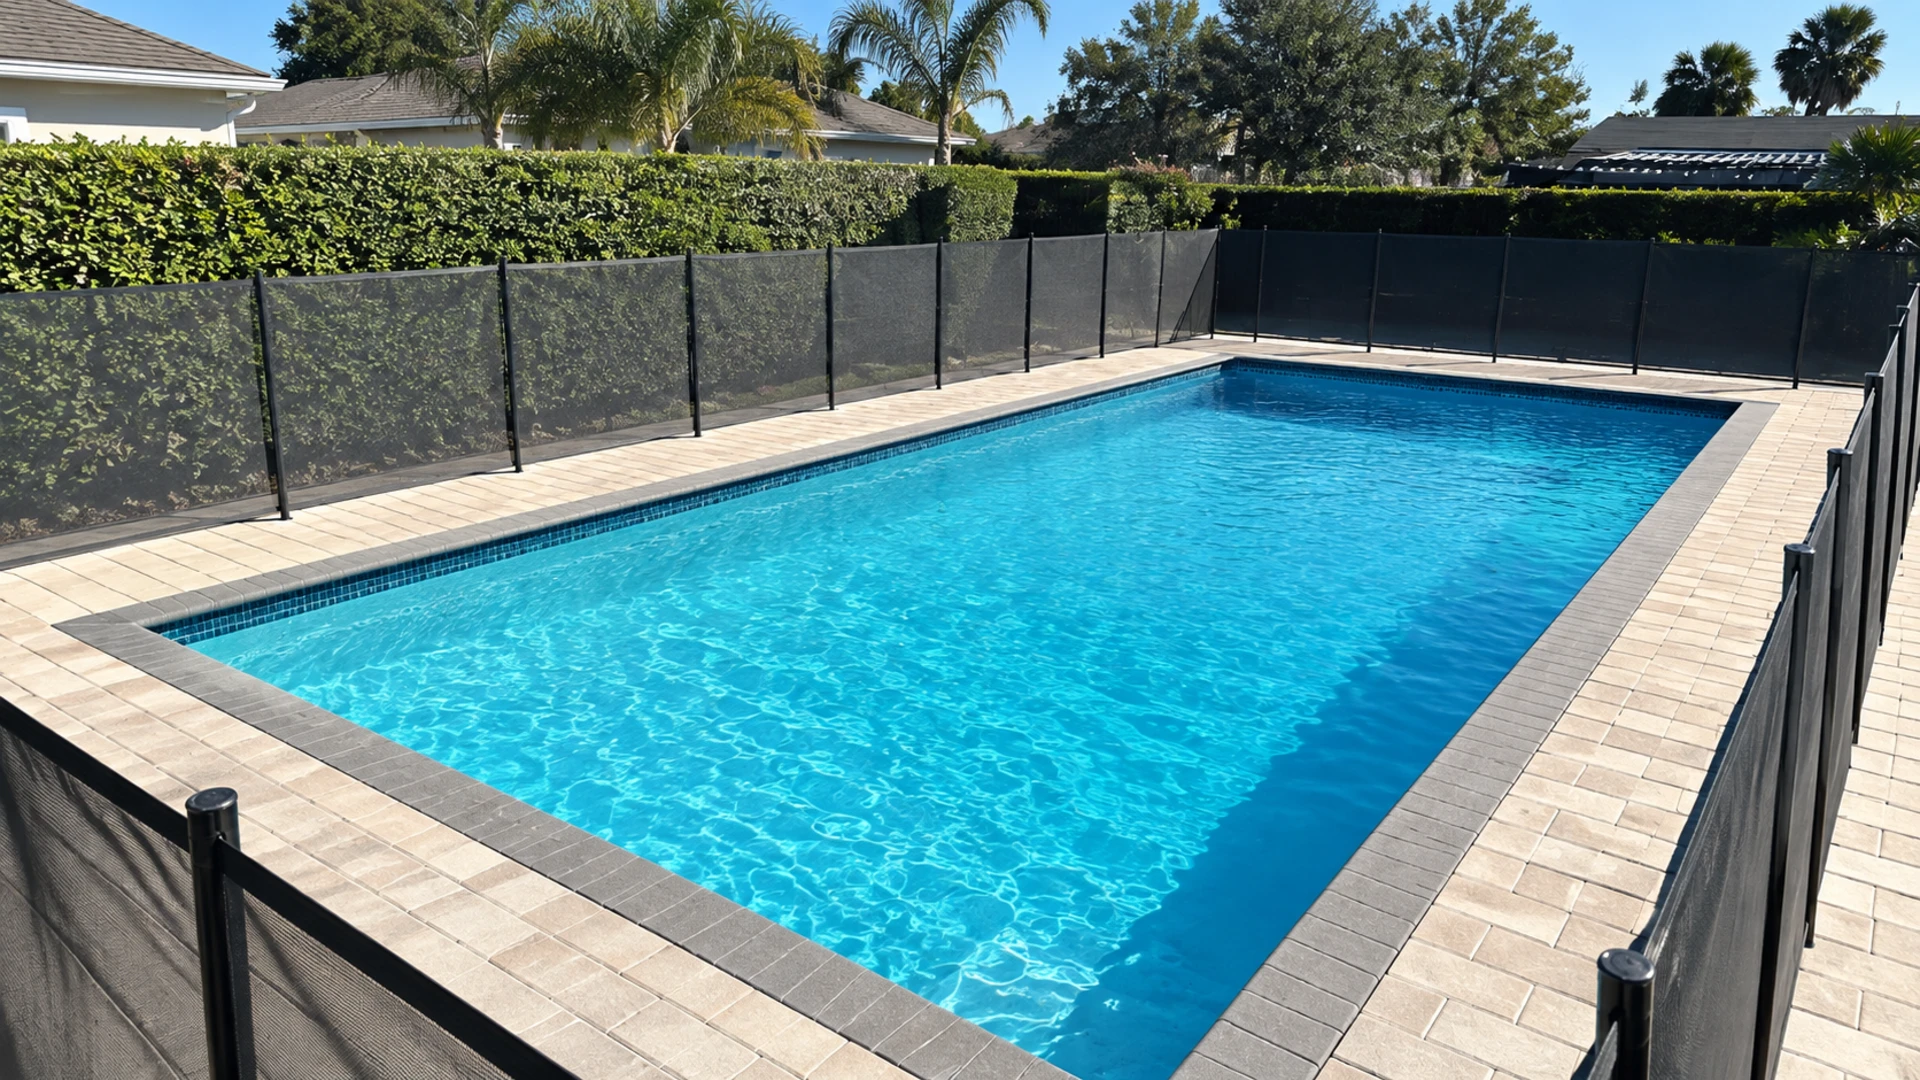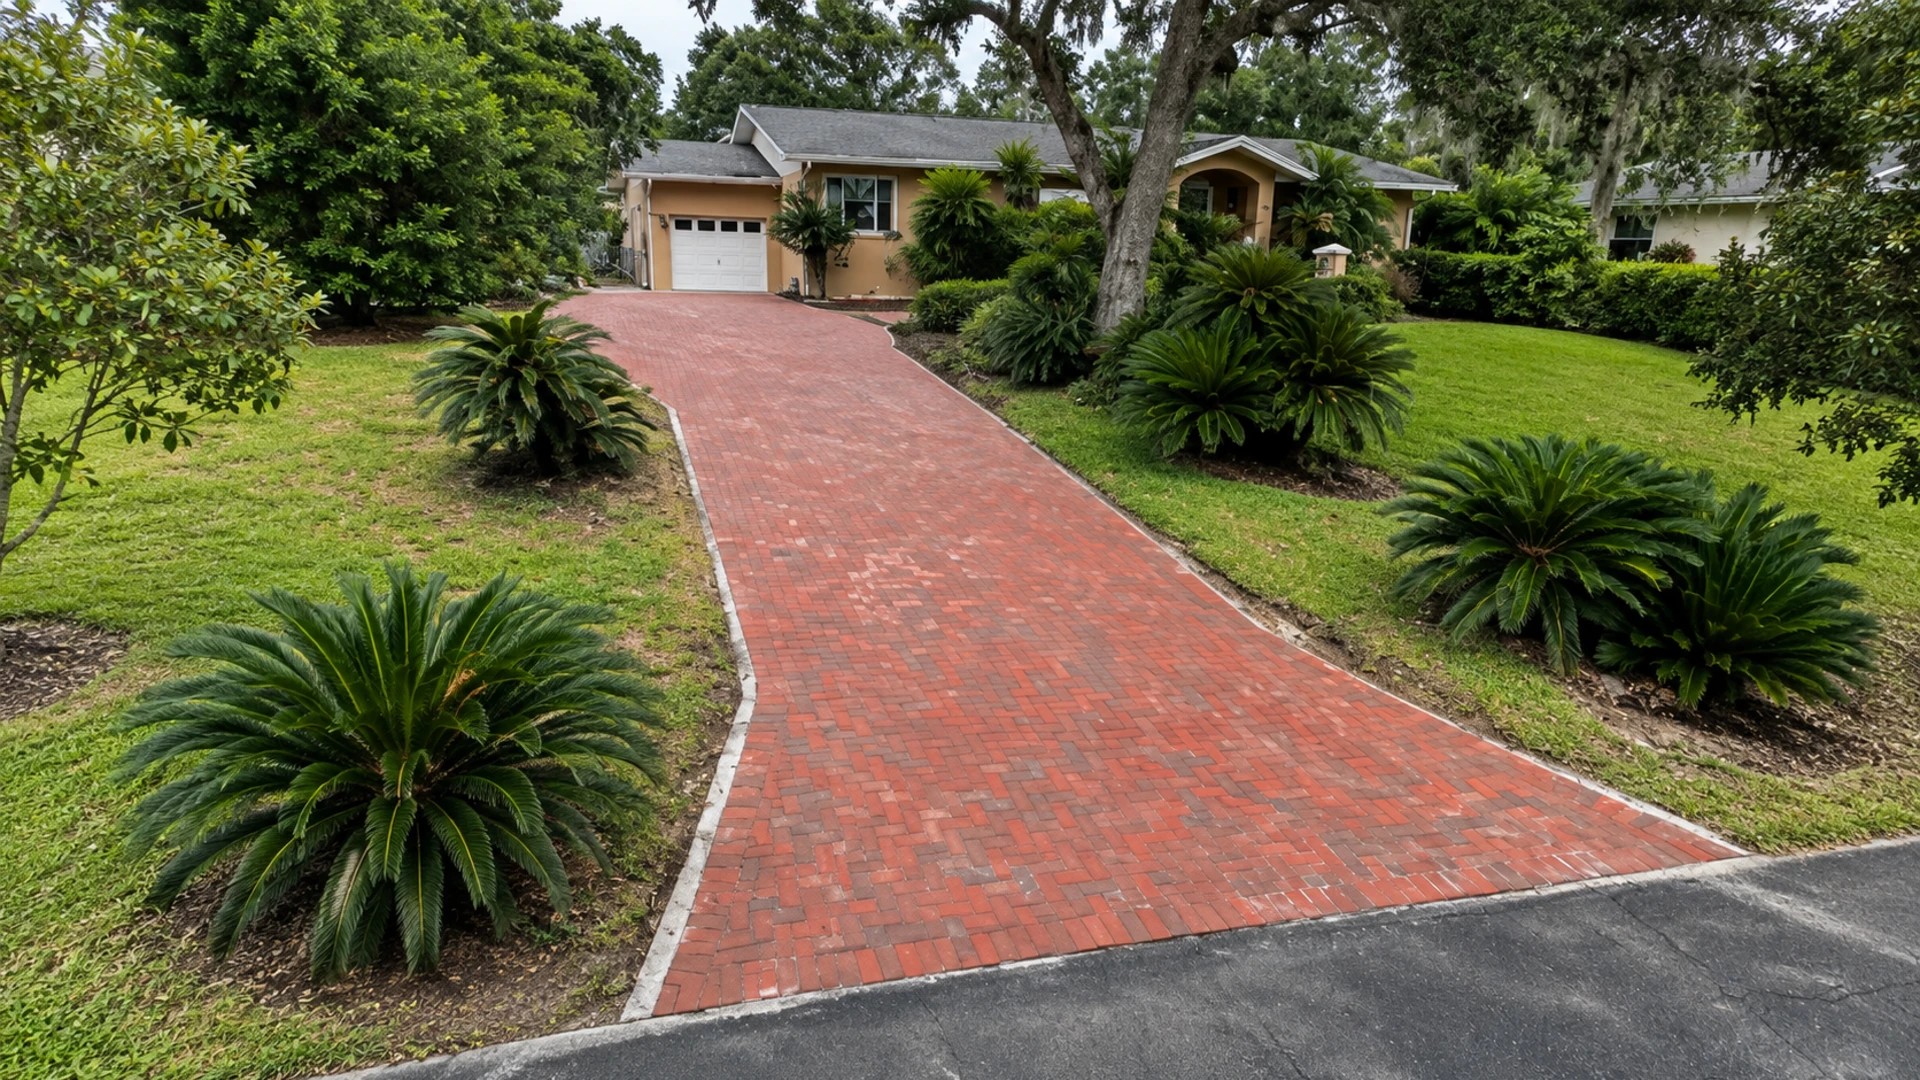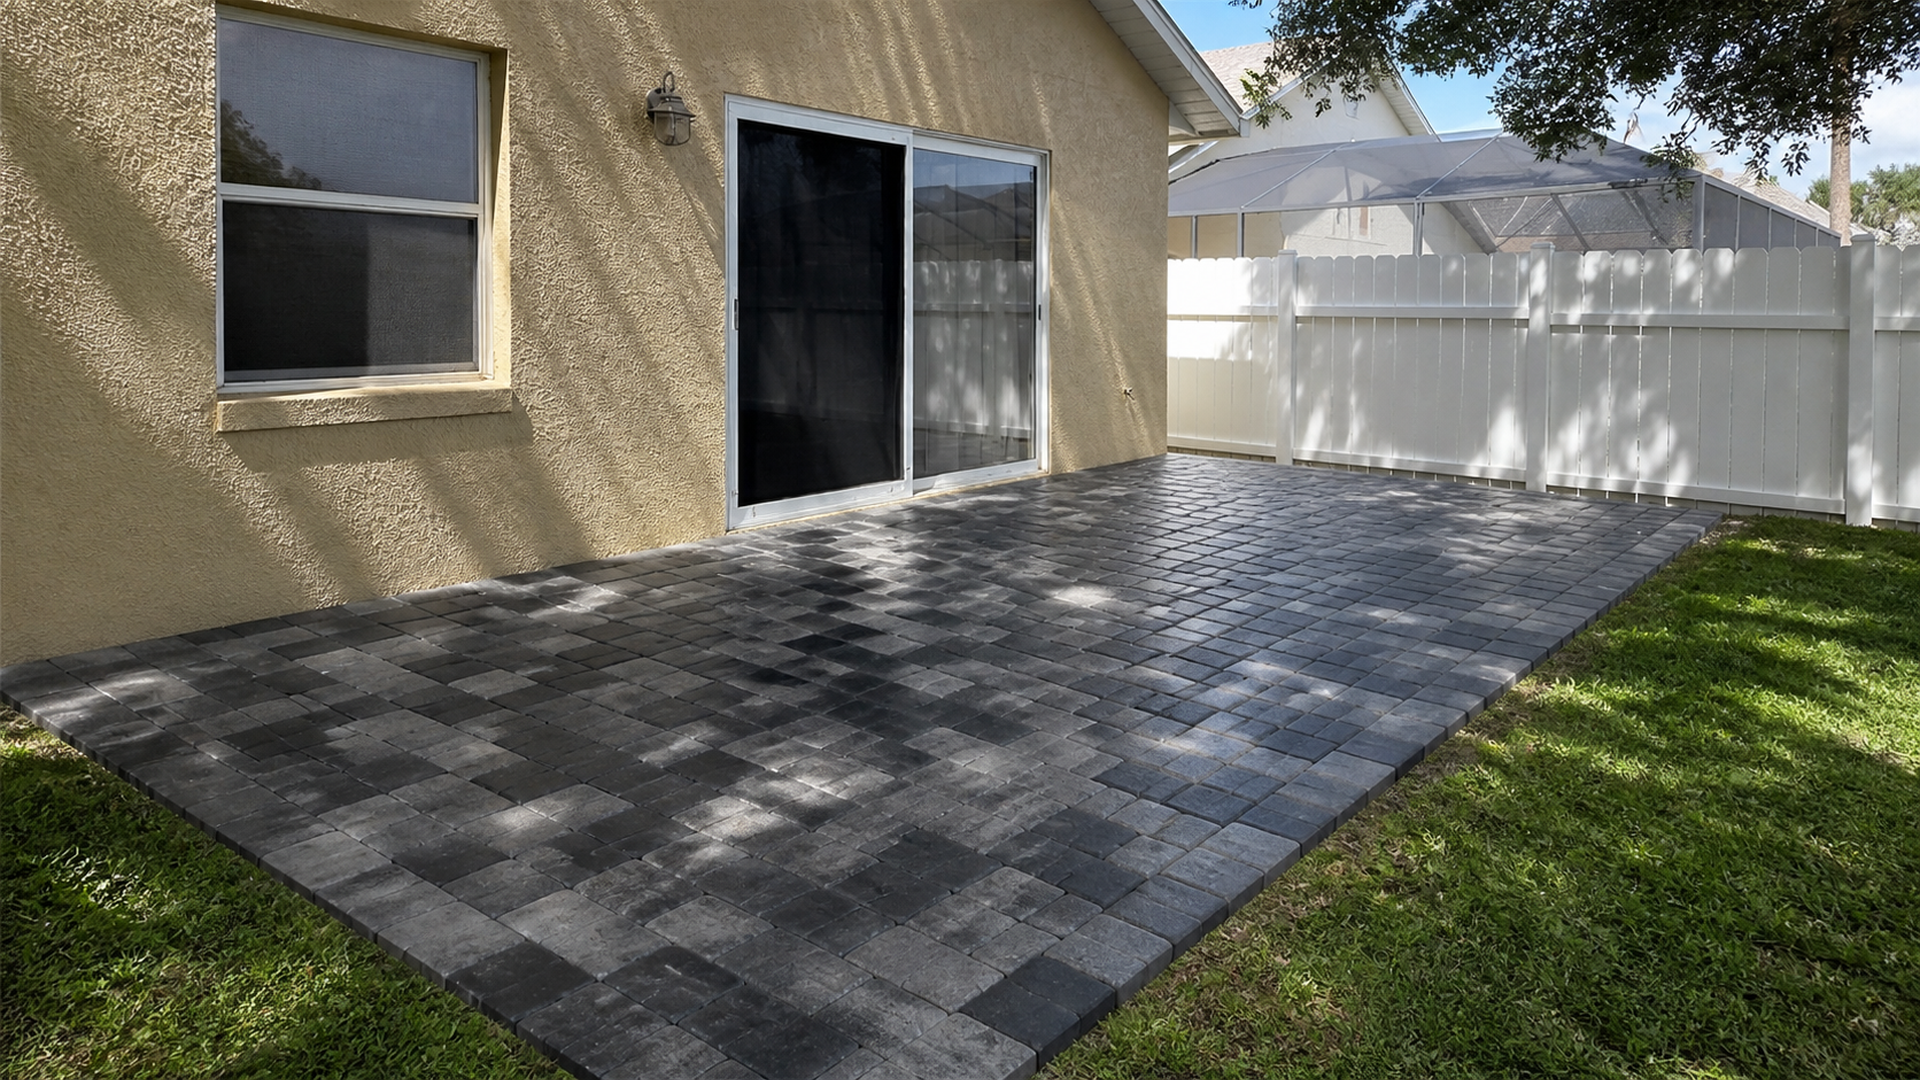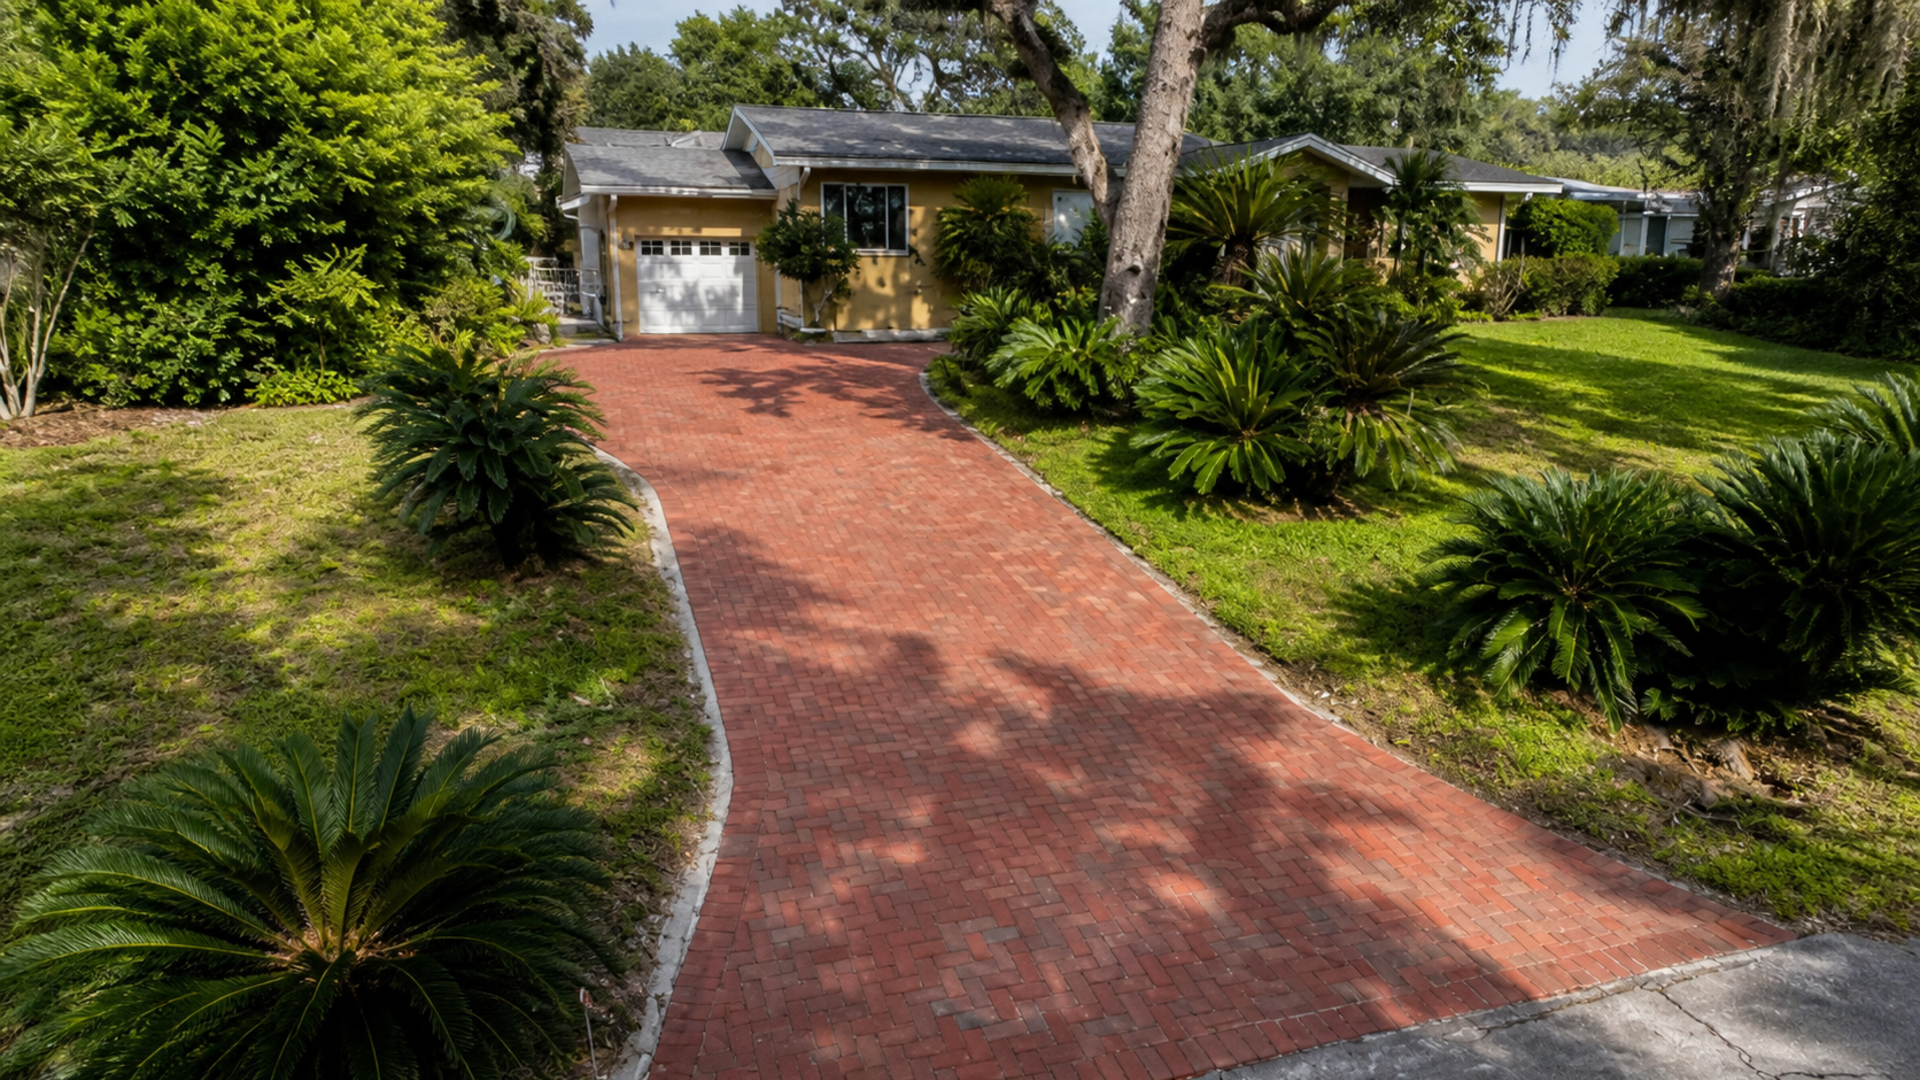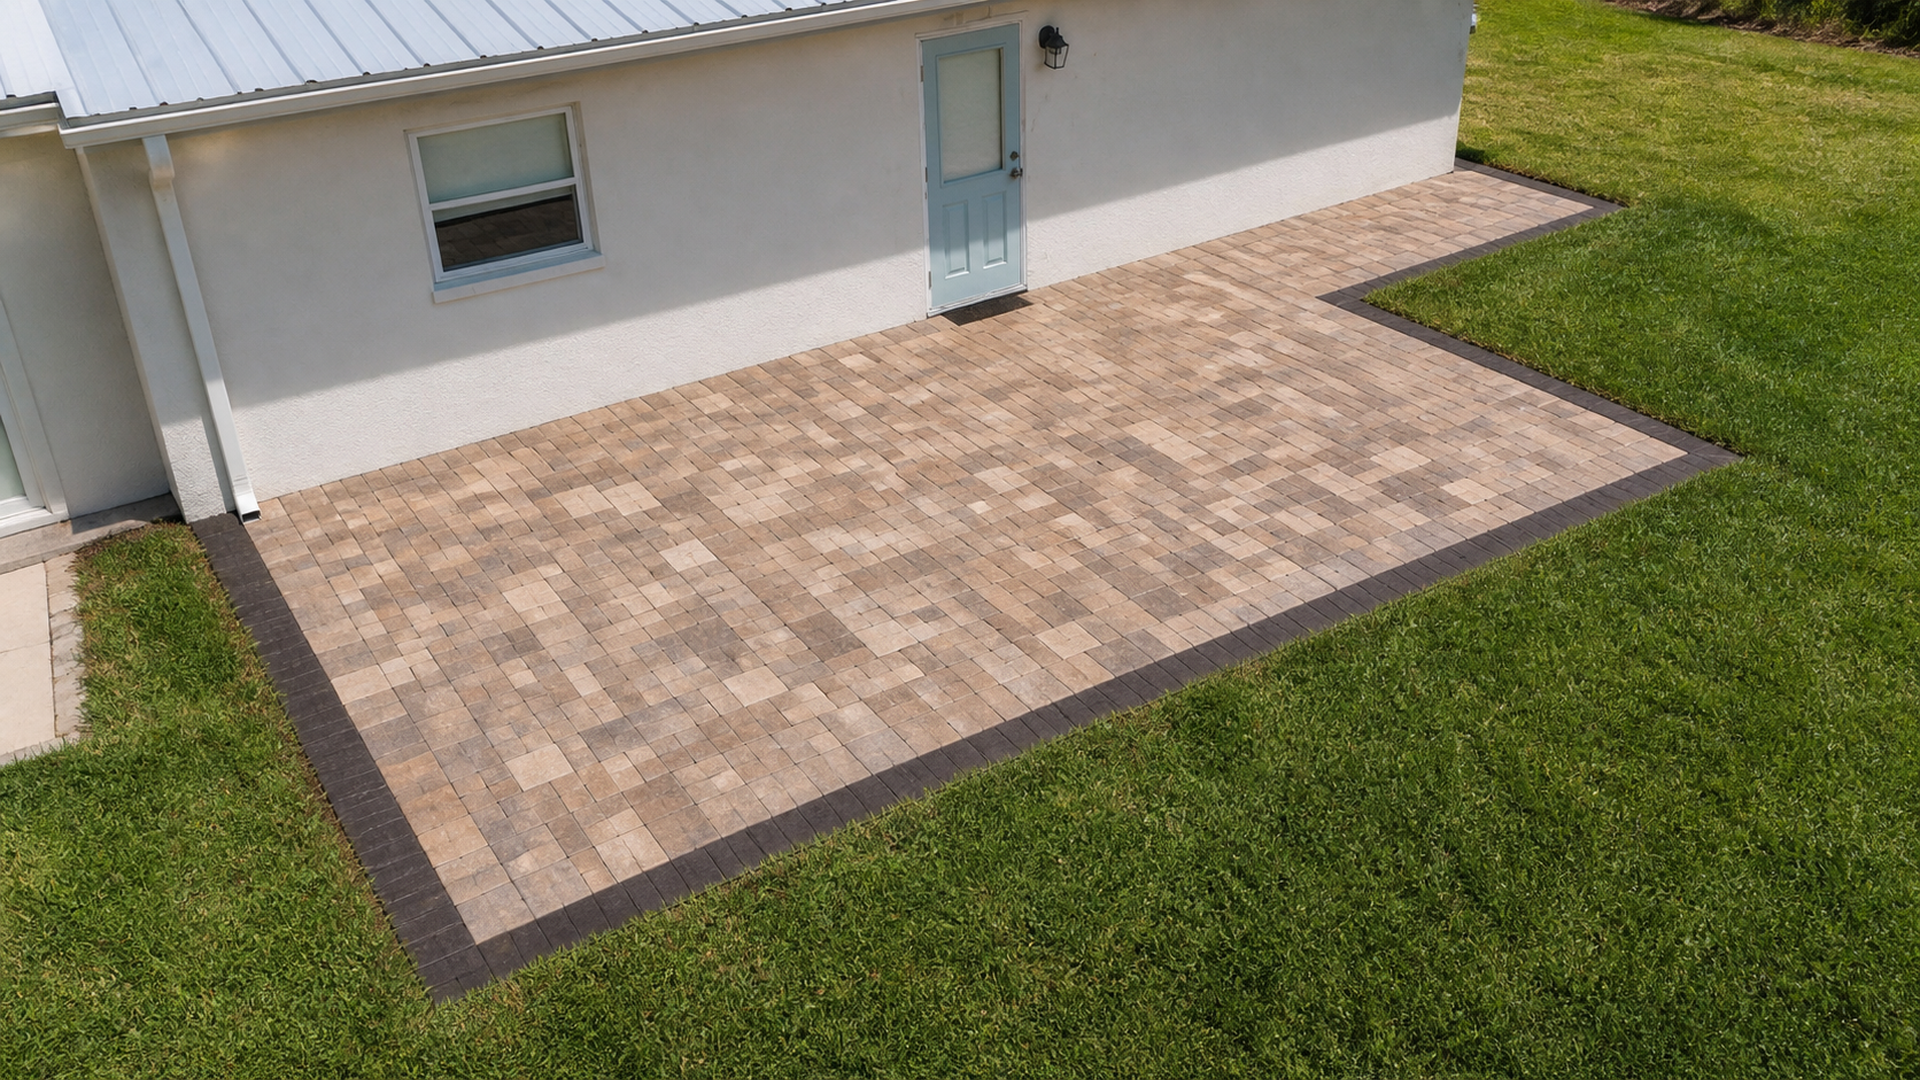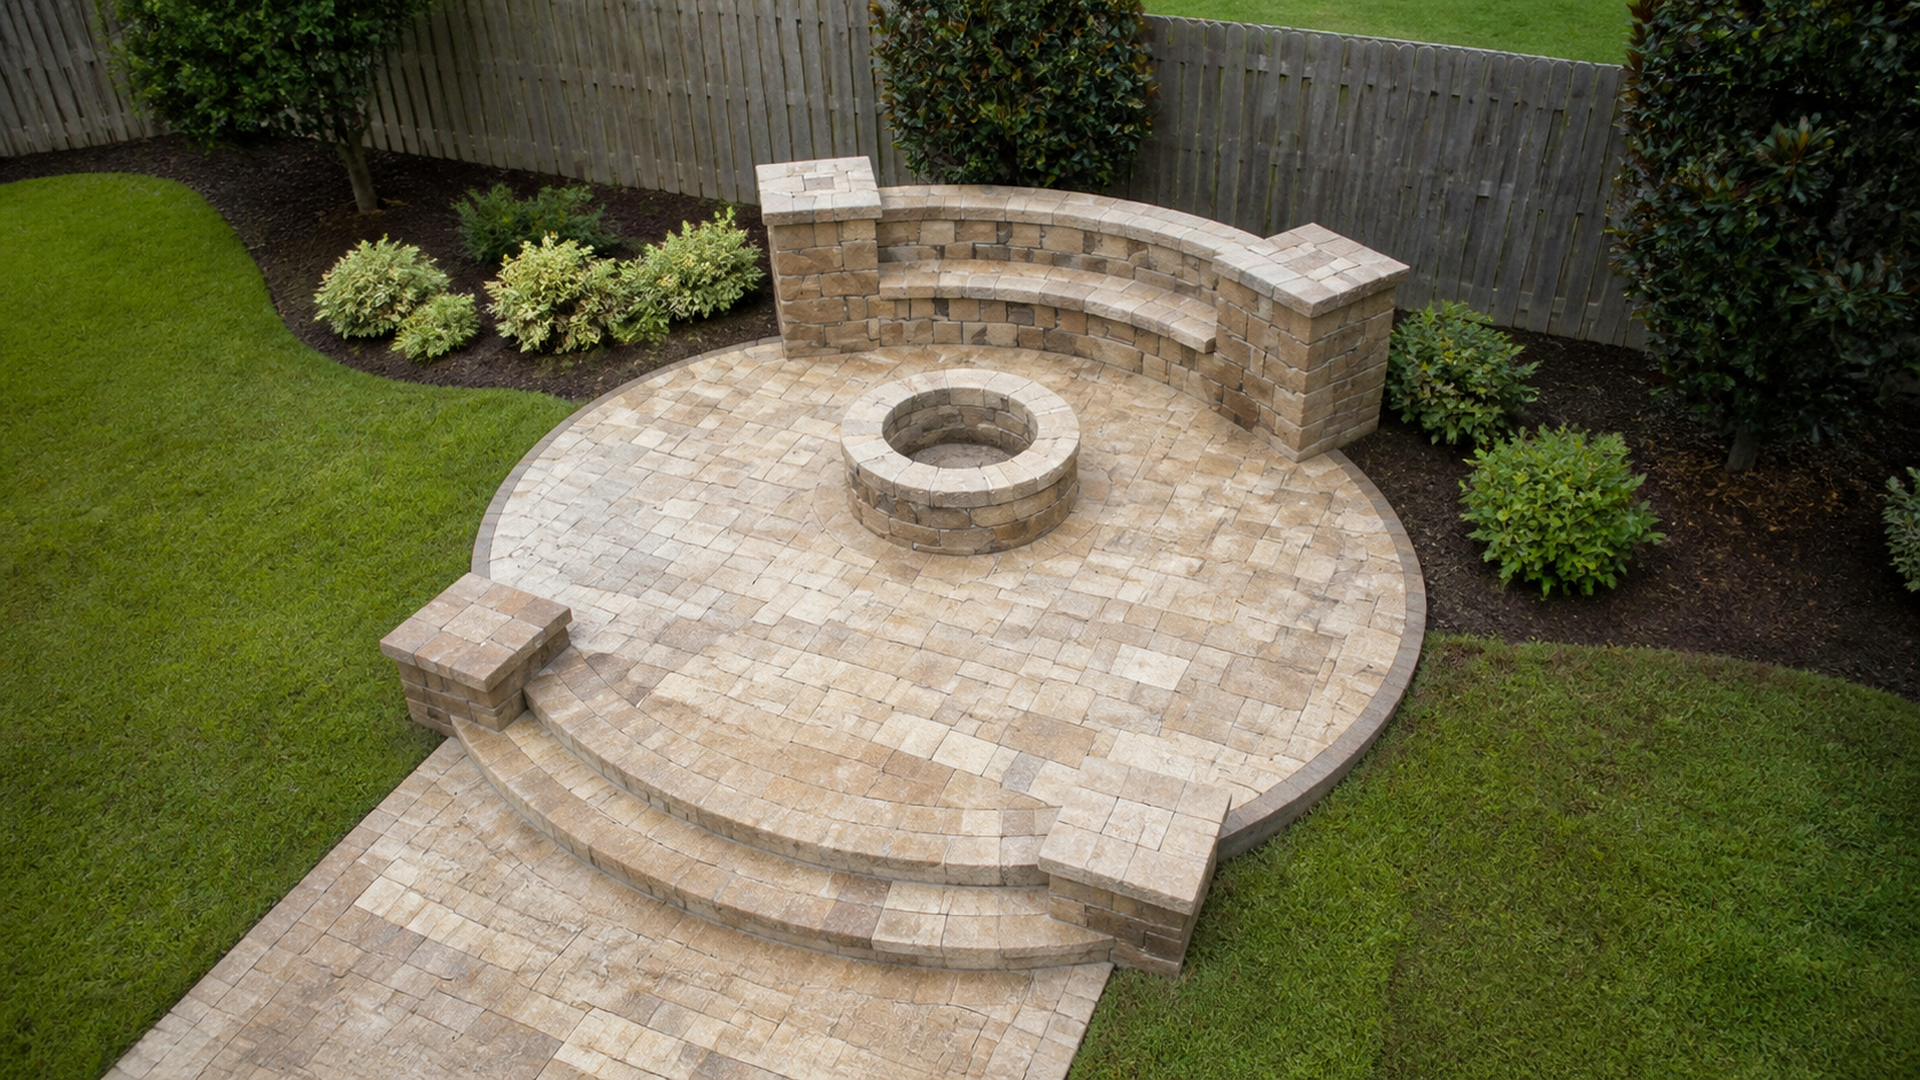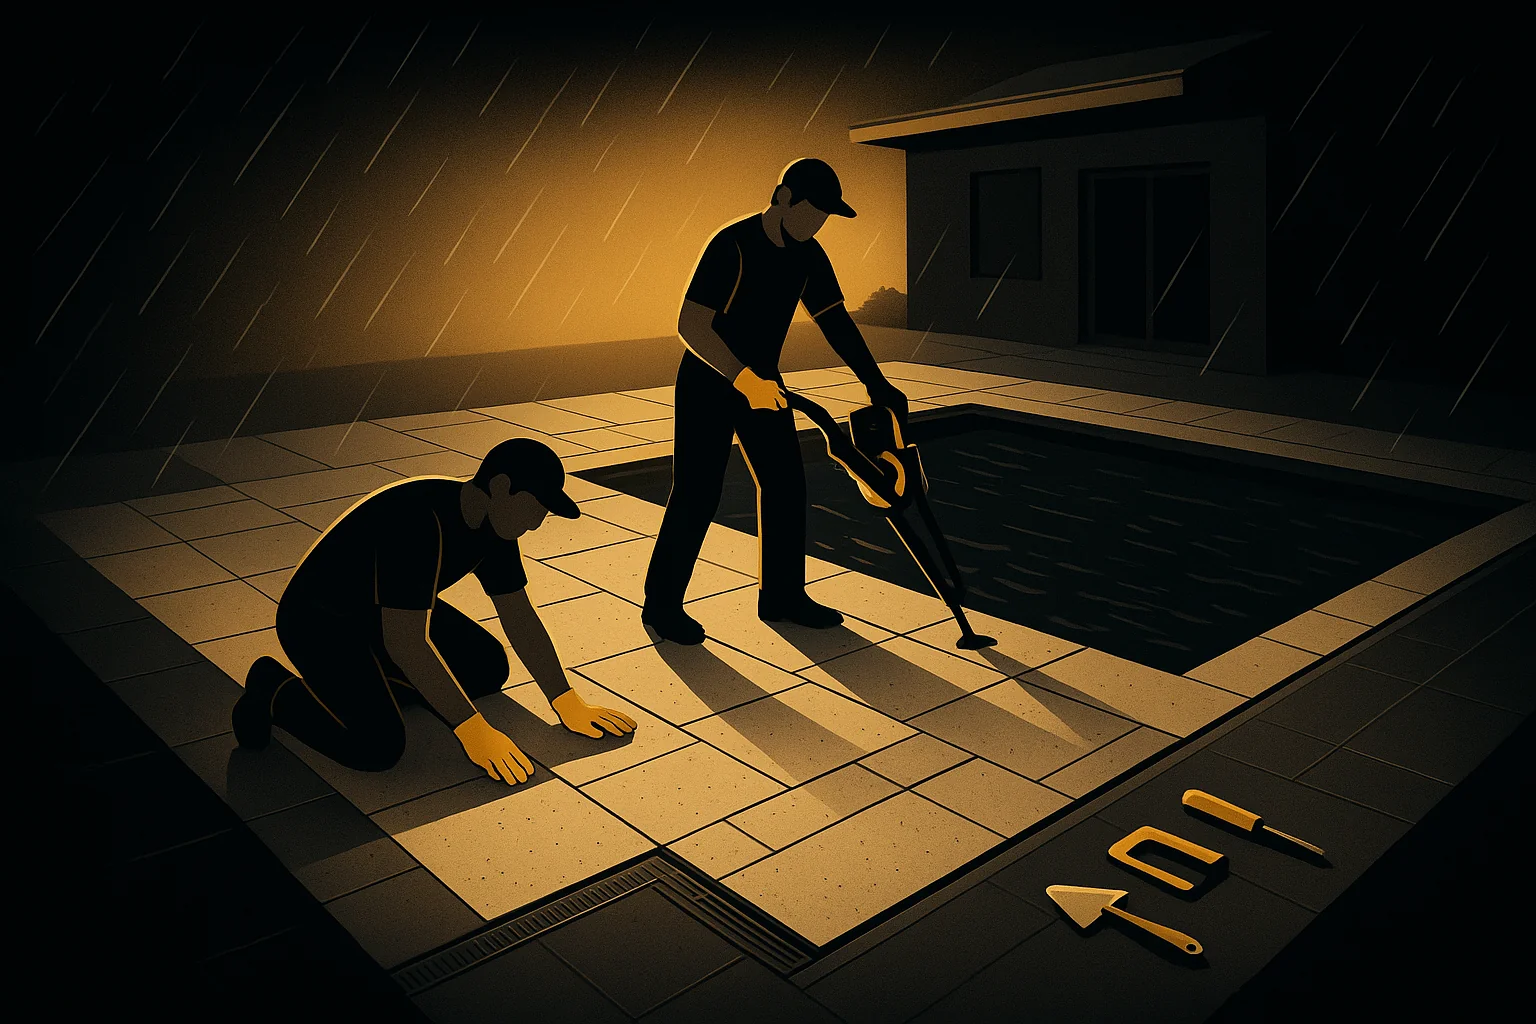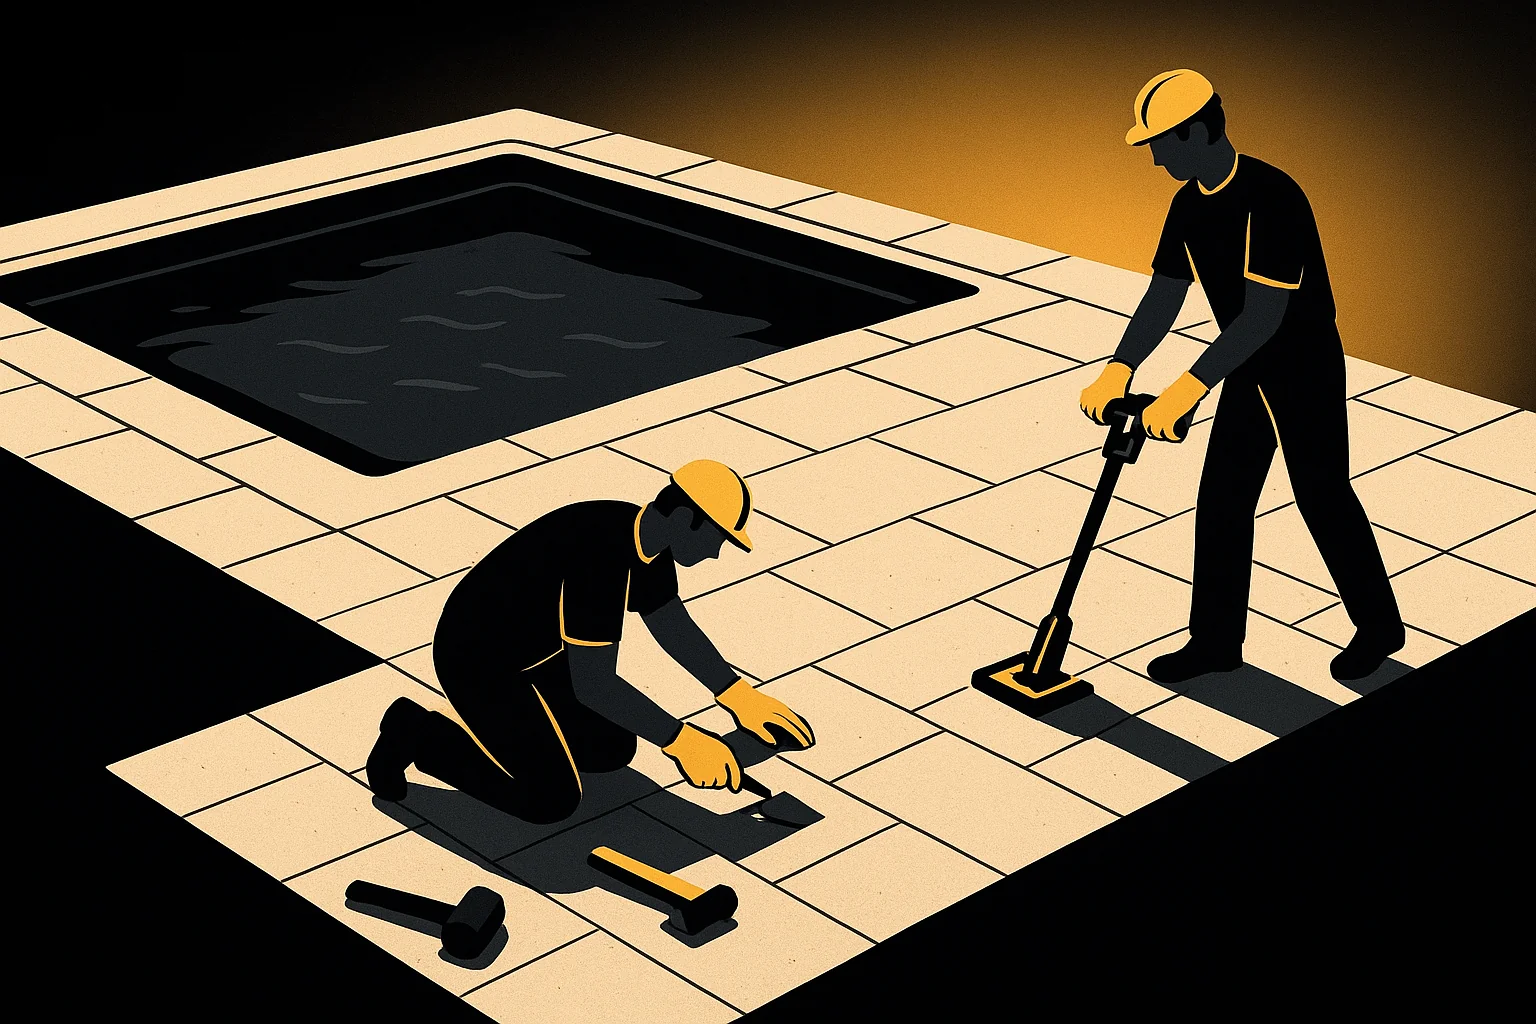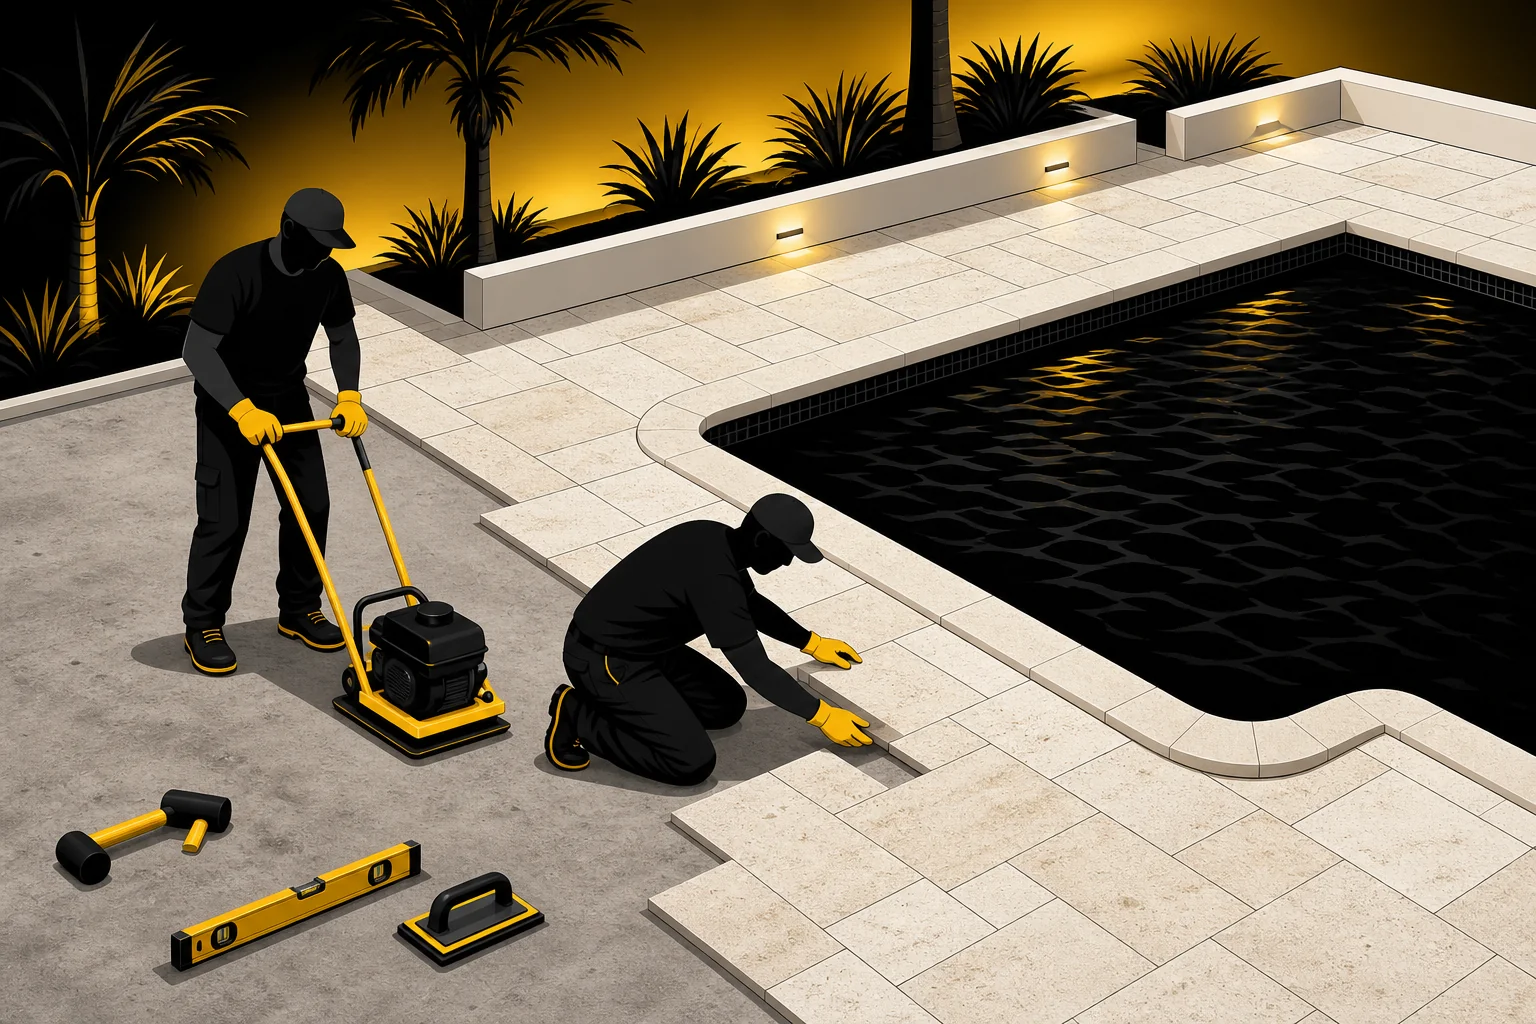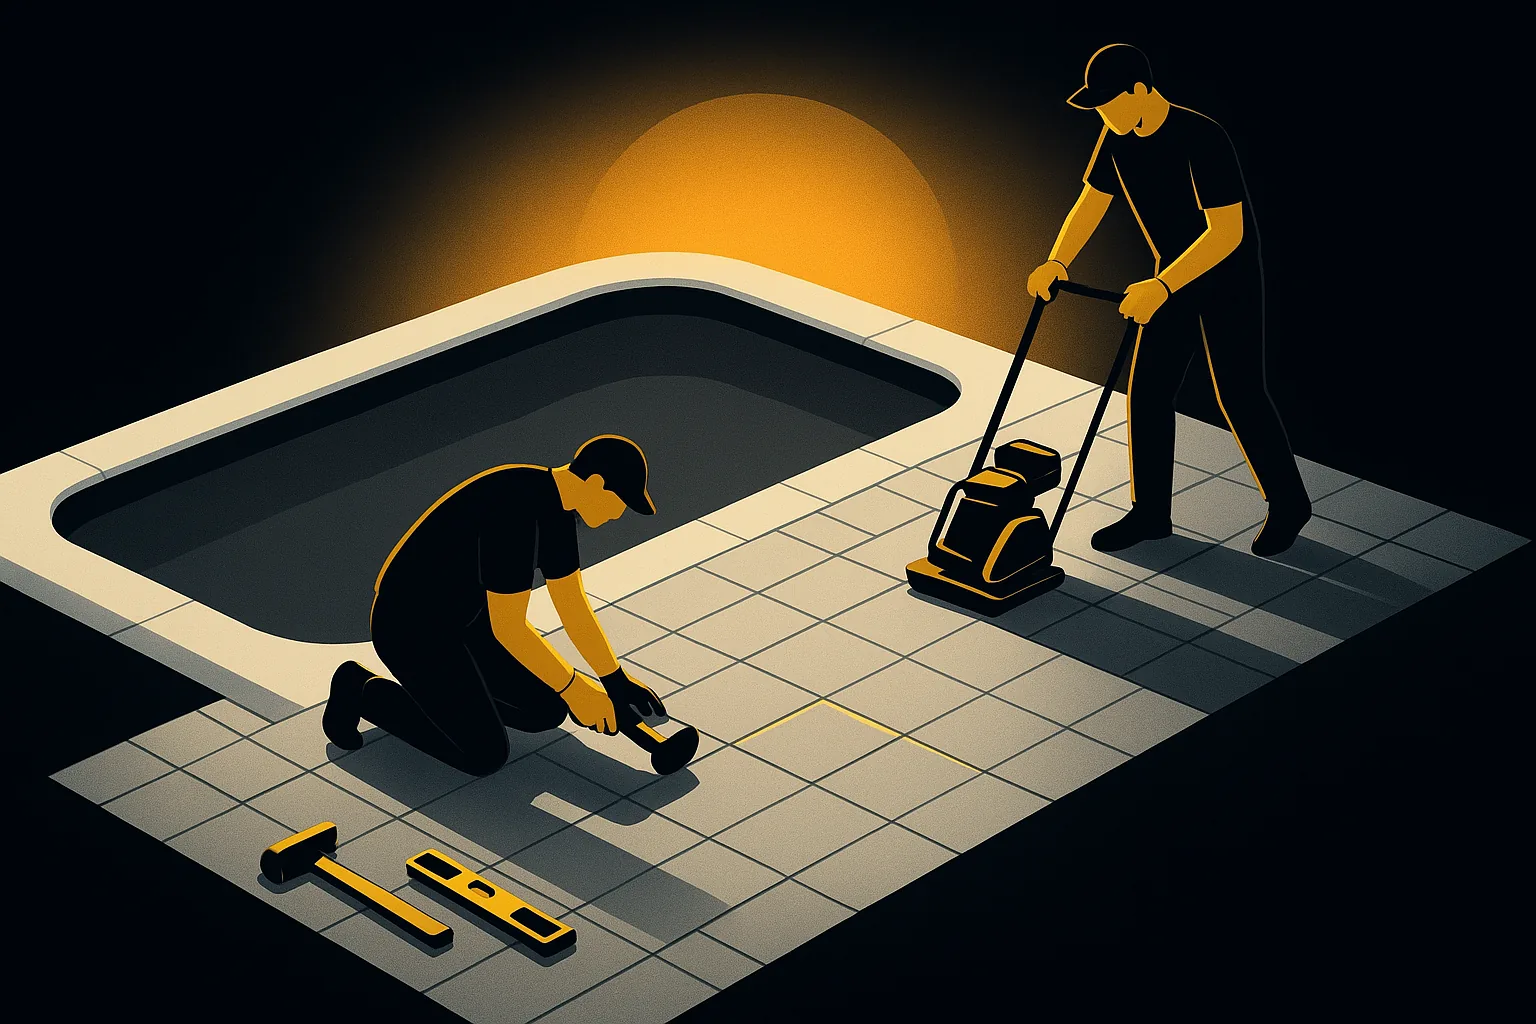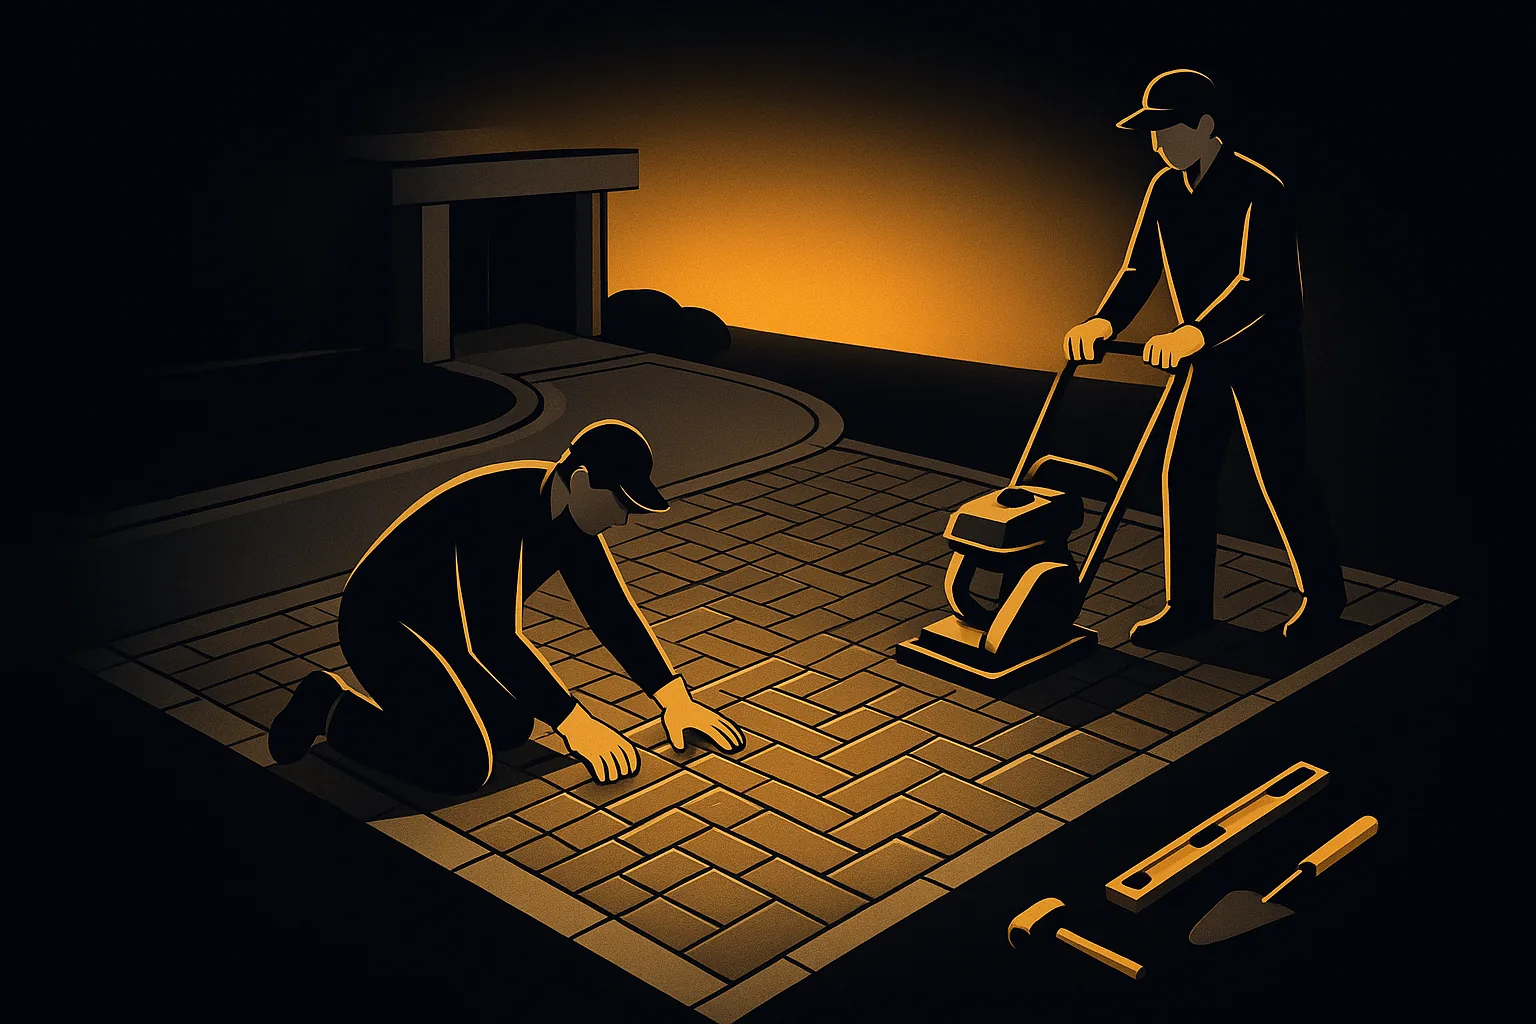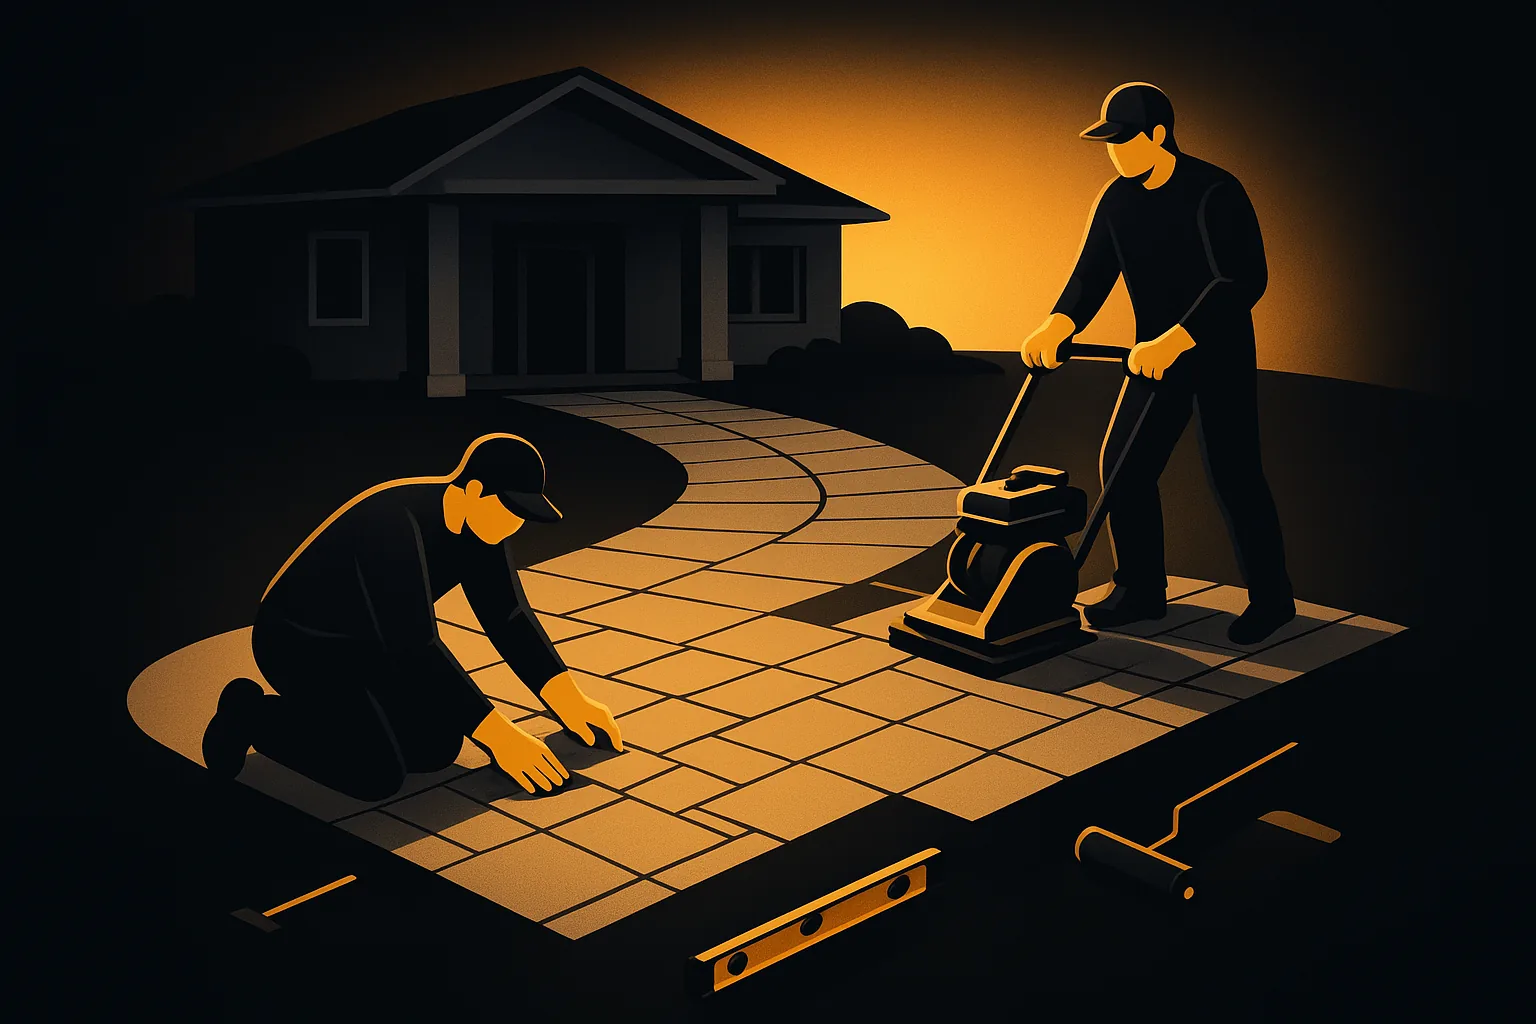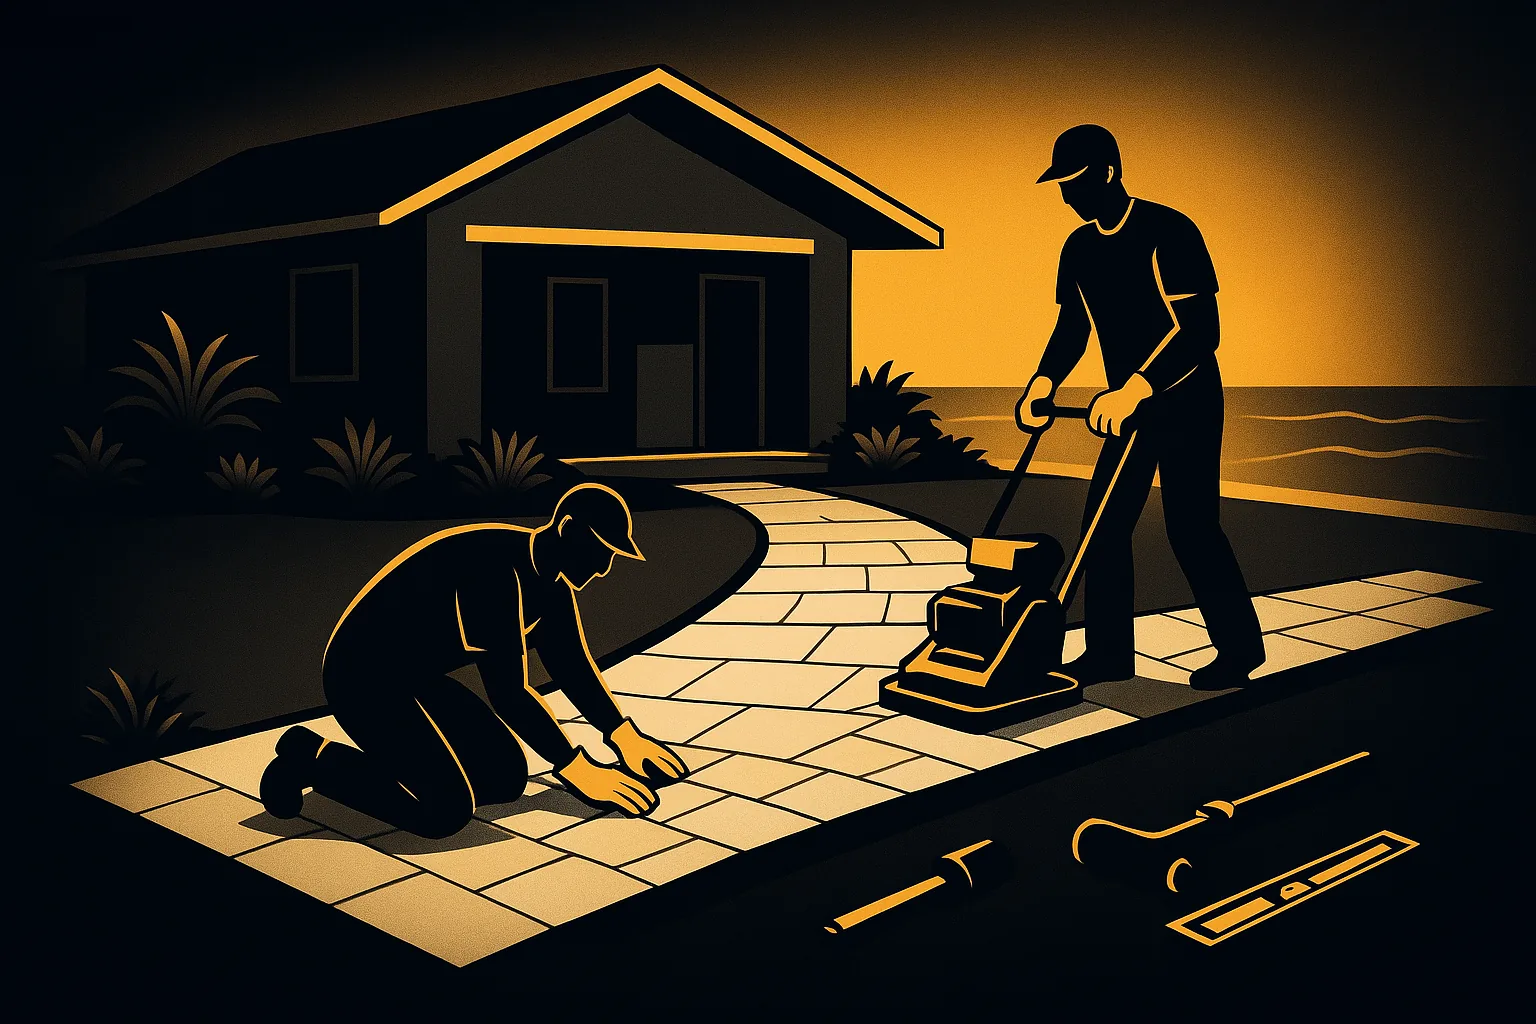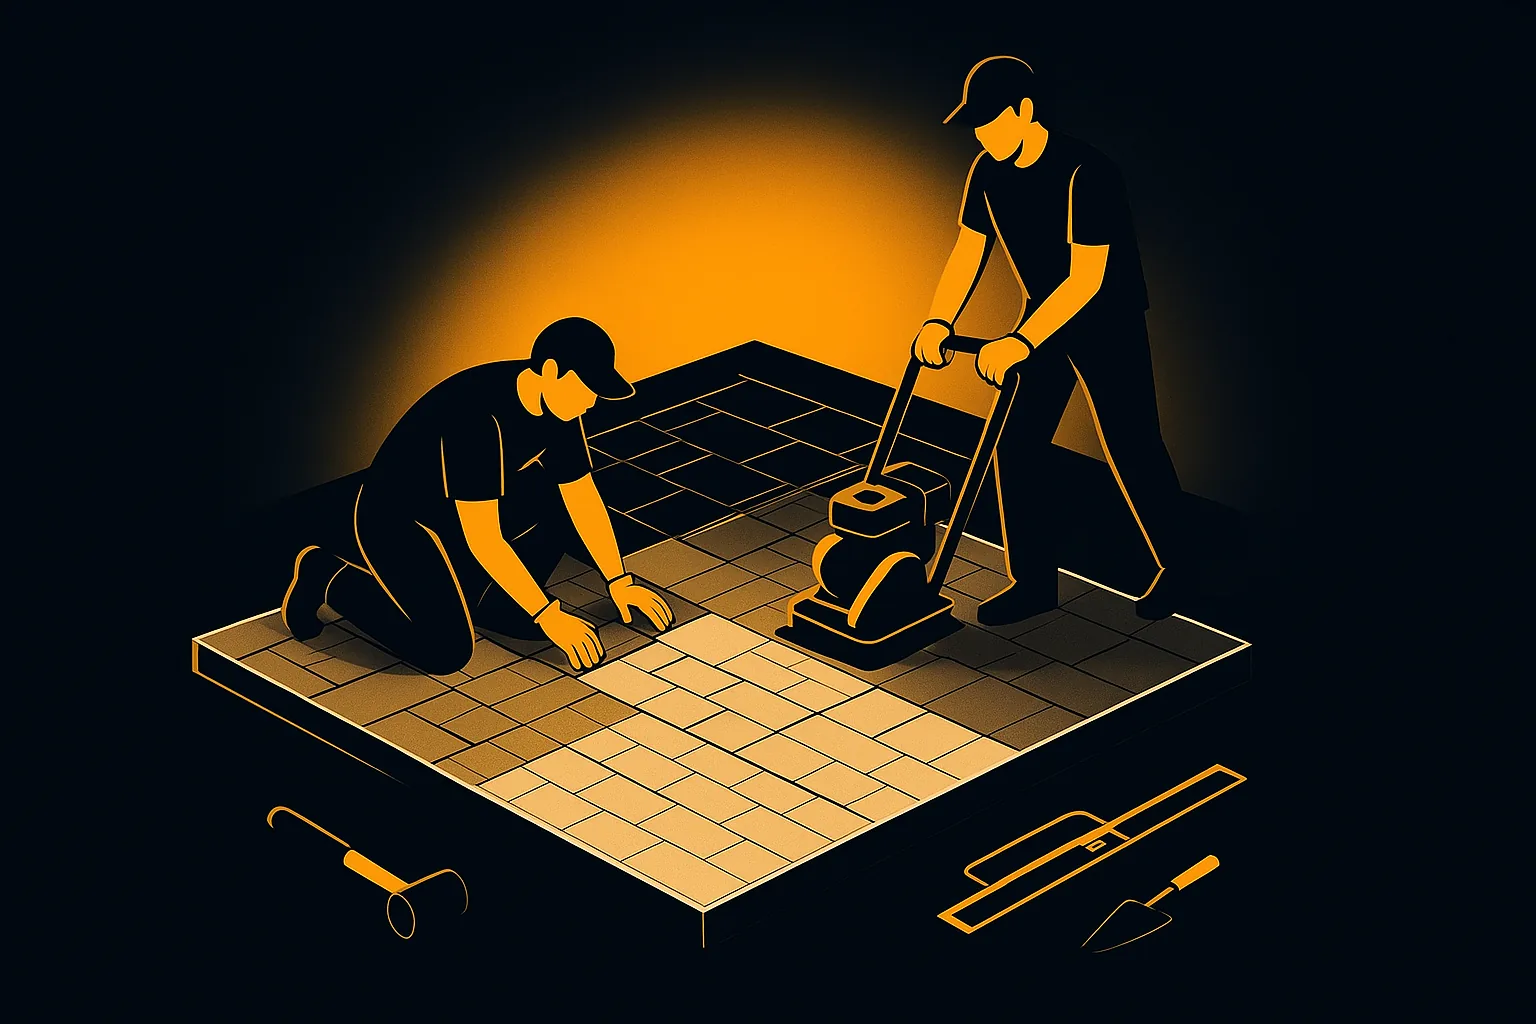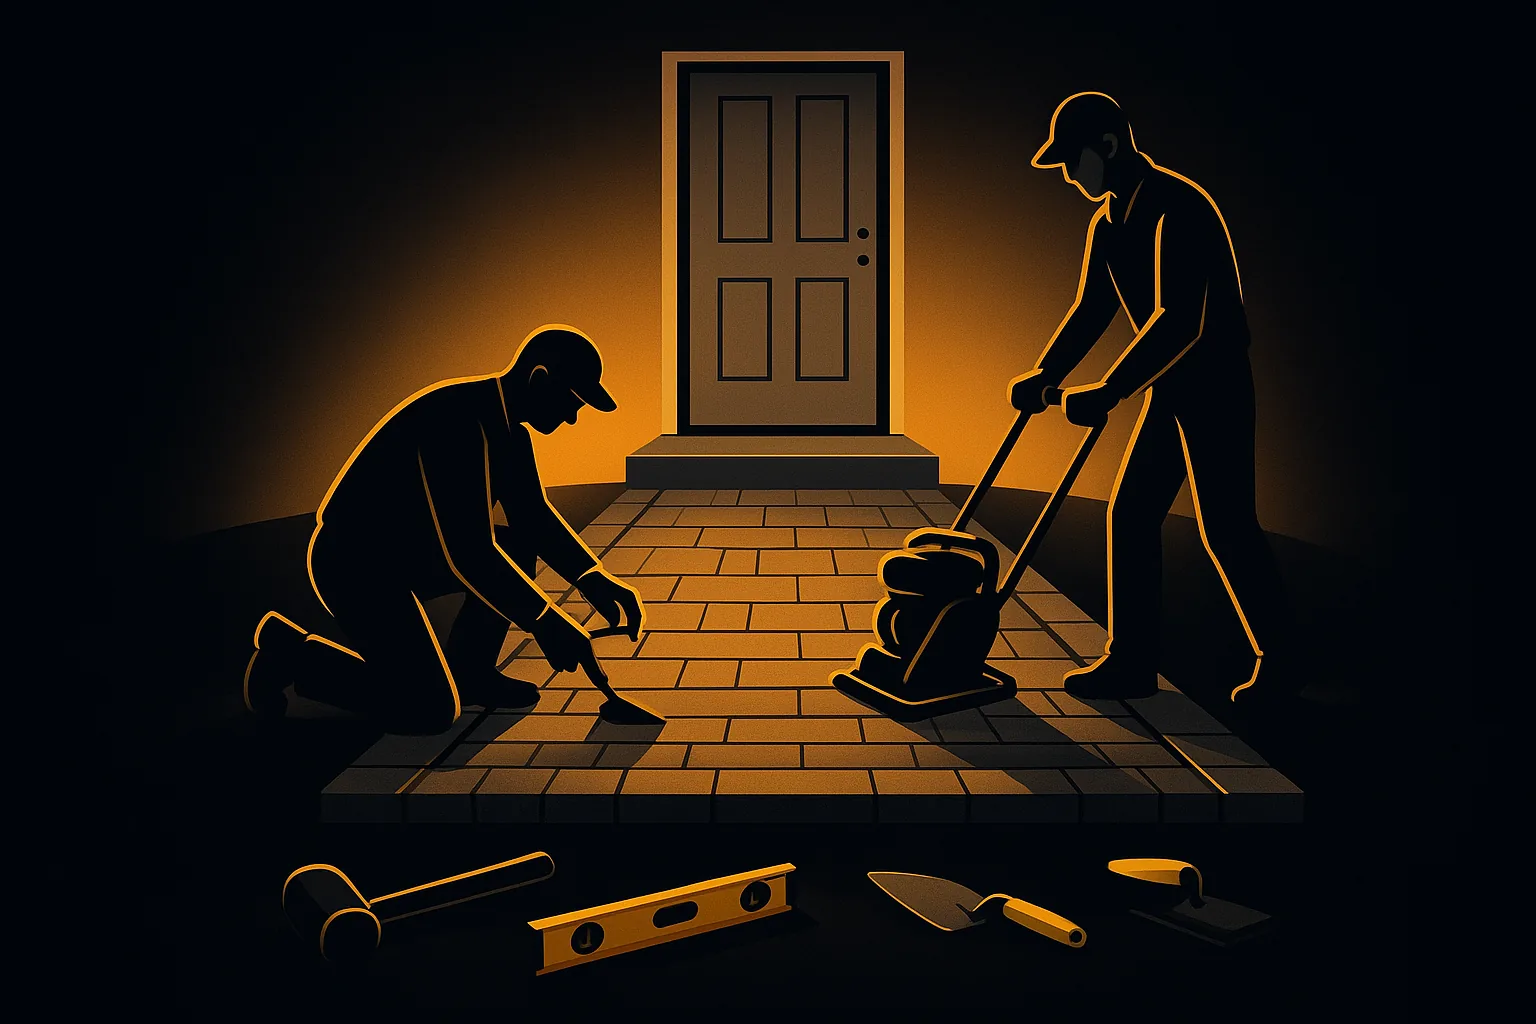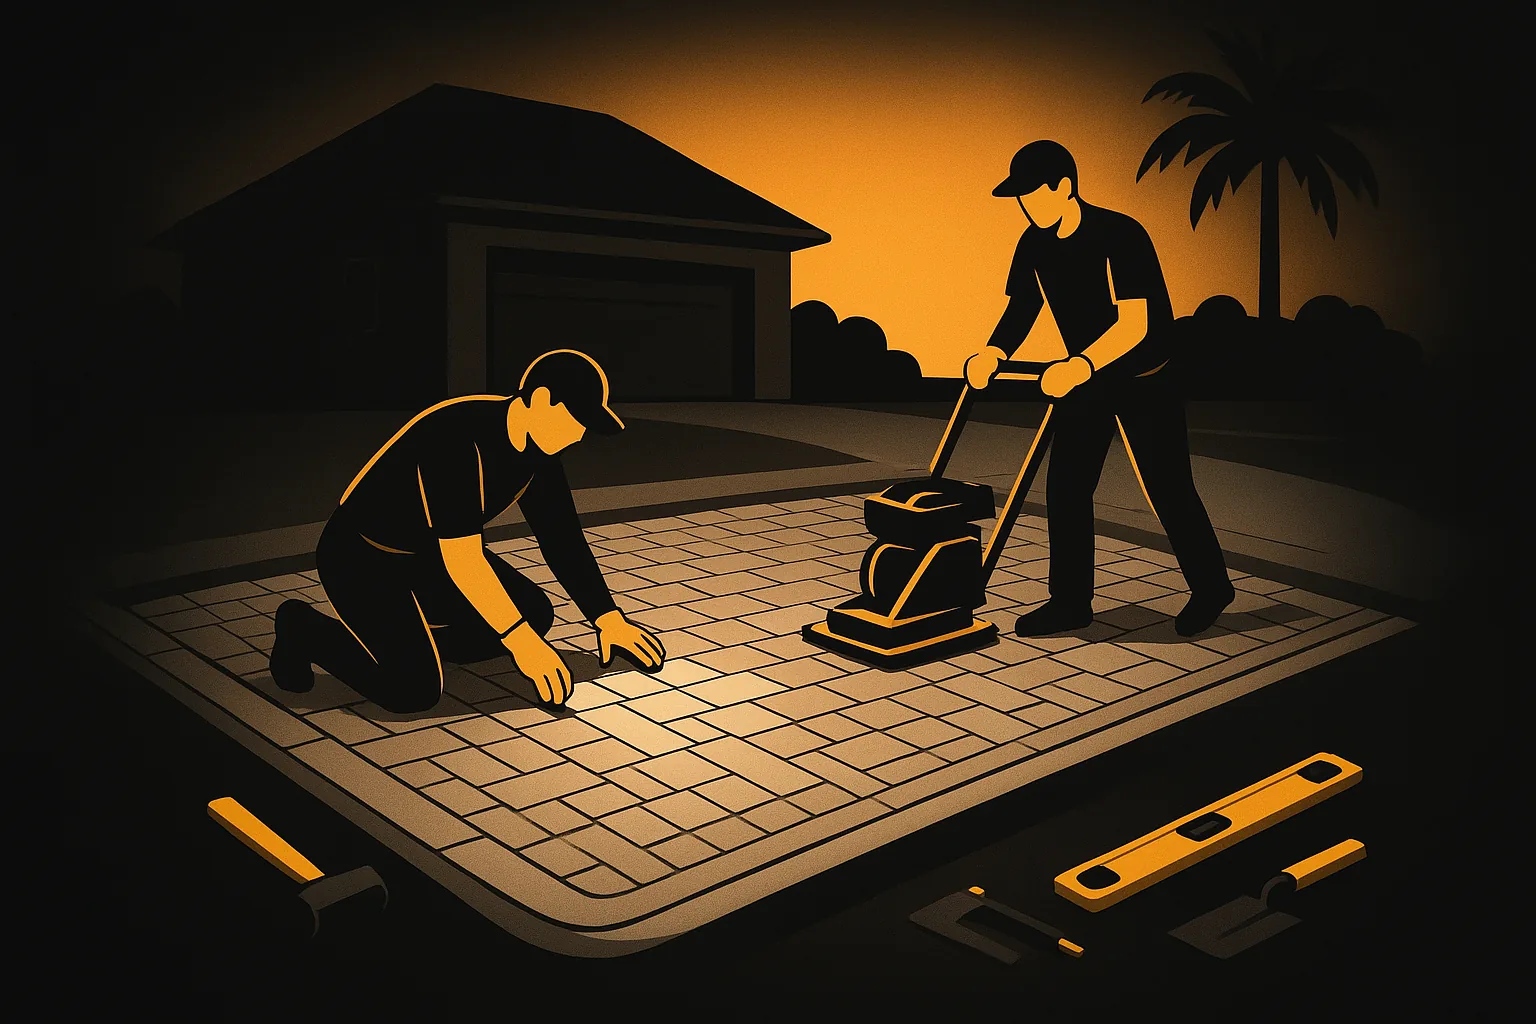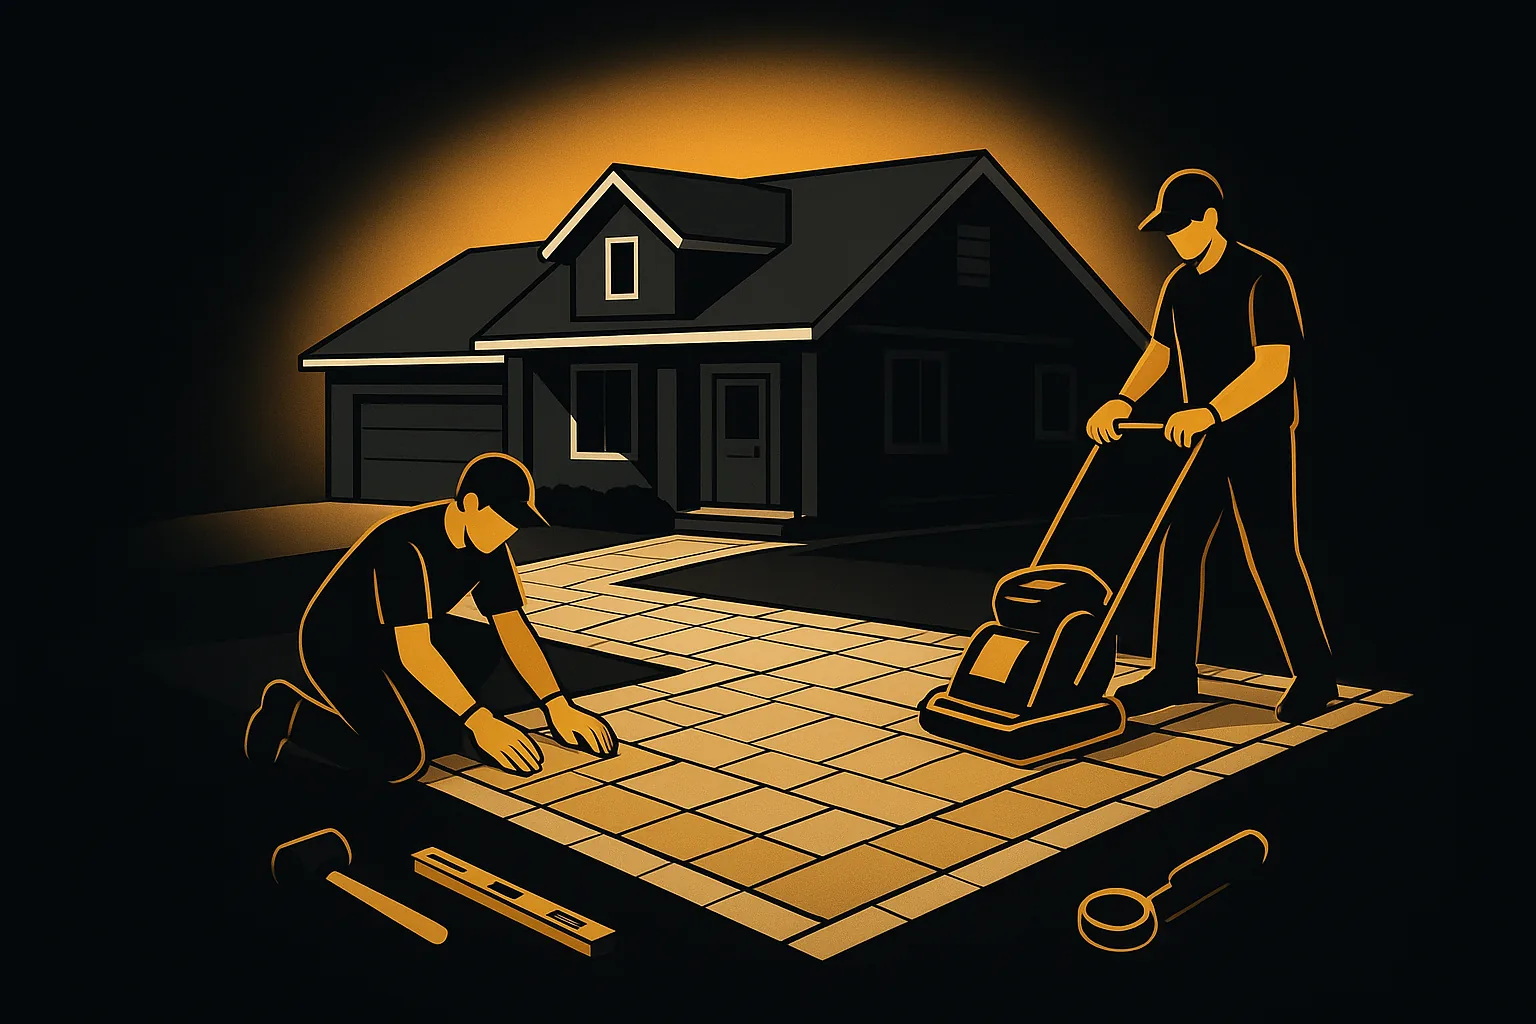

Sunken paver repair works only when the repair corrects what caused the surface to drop. In Florida, a low area may follow washed bedding sand, weak base material, a leaking line, poor edge support, or soil disturbance. Therefore, simply adding sand beneath a few units can create a temporary improvement while the underlying movement continues. A careful repair begins with evidence, exposes enough of the system, and restores support at the correct elevation.
A depression can collect rainwater, rock underfoot, or create a raised edge beside a stable unit. As a result, a small visual flaw may become a daily nuisance or a trip hazard. The right scope depends on the shape of the settlement, nearby drainage paths, and the condition of surrounding pavers. This guide explains how homeowners can evaluate those clues before choosing a repair.
Why sunken paver repair starts with the cause
Pavers form the visible surface, but the layers below carry the load. Consequently, one dropped unit does not automatically mean that the paver itself failed. The bedding layer may have migrated, the compacted base may have softened, or the soil below may have changed. A contractor should read the surface pattern before lifting anything because the outline of the low area often narrows the list of likely causes.
For example, a long depression beside an unrestrained edge suggests a different problem than a round pocket near a downspout. Similarly, movement around a utility trench may follow earlier excavation that never regained uniform support. A low band beside a pool deck drain may point toward water escaping where it should not. Each pattern calls for a different investigation and, therefore, a different repair boundary.
Map the sunken paver repair area before removal
First, inspect the area when it is dry and again after normal irrigation or rainfall. Water movement becomes easier to see when you note where puddles begin, how long they remain, and where runoff exits. In addition, place a straightedge across the surface to compare the depression with stable reference points. This simple mapping helps distinguish one loose unit from a wider change in plane.
- Look for rocking pavers, open joints, chipped high edges, and spreading joint lines.
- Check nearby roof discharge, irrigation heads, drains, hose bibs, and pool equipment lines.
- Notice whether the outside edge has moved outward or lost its restraint.
- Mark the full puddle outline rather than only its deepest point.
- Compare the area with doors, steps, coping, and other fixed elevations.
However, surface observations cannot confirm every hidden condition. If settlement sits near a suspected leak, buried utility, pool structure, or building foundation, the appropriate specialist should evaluate that system. A paver repair crew can restore a hardscape assembly, but it should not guess about structural or plumbing failures. Clear limits protect both the repair and the property.
The correct sequence for lifting and resetting pavers
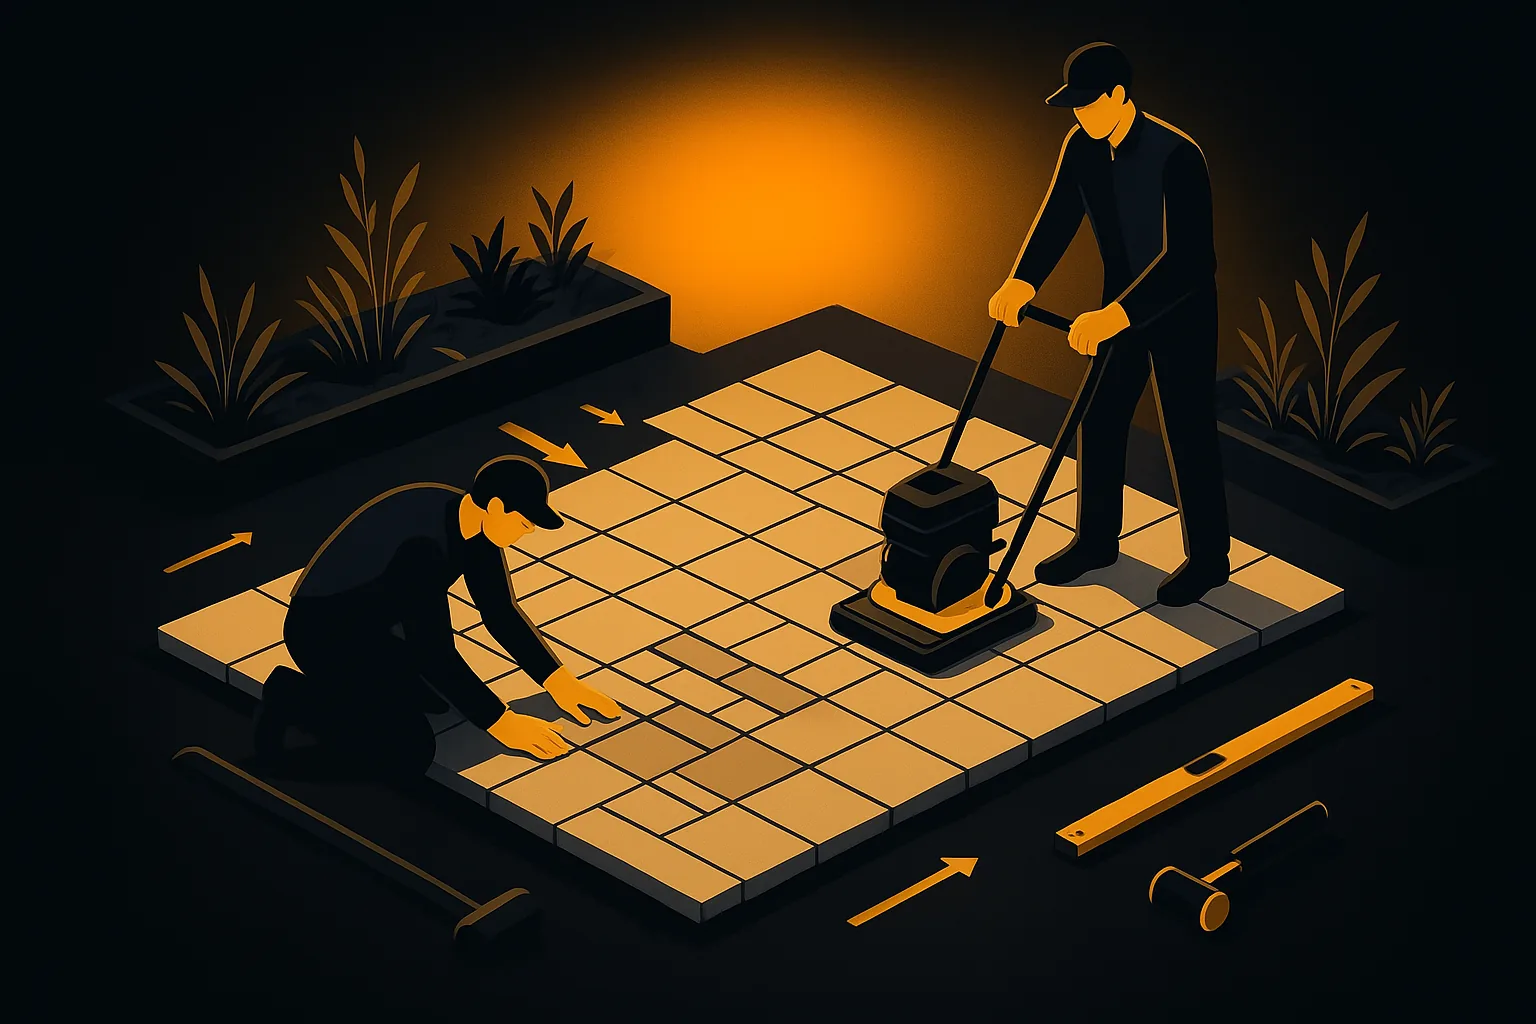
A professional sequence preserves reusable units and creates room to rebuild the support layers. First, the crew documents the pattern, border alignment, cuts, and color distribution. Then it removes pavers beyond the visibly sunken center because the transition area also needs a smooth correction. Finally, the crew stores the units in an organized way so the restored field matches the original layout.
Excavate enough to find stable material
Once the units are out, the exposed layers reveal valuable evidence. For instance, wet pockets, voids, mixed debris, or loose aggregate can show why support disappeared. The crew should remove compromised material until the remaining base feels uniform and stable. However, the necessary depth varies by site, so a fixed shallow scoop is not a reliable specification.
Next, compatible aggregate returns in manageable lifts, and each lift receives appropriate compaction. This matters because a thick pile can look level on top while remaining loose below. In addition, compaction must respect nearby pipes, walls, coping, and other sensitive features. Equipment choice and lift thickness should match the access, material, and project conditions.
Restore the bedding plane without building a soft mound
Bedding material creates a consistent setting plane; it should not replace missing structural base. Therefore, the crew screeds a controlled layer over the corrected support rather than piling loose sand beneath the lowest paver. The intended finished elevation also needs enough allowance for seating during compaction. Otherwise, a unit that looks perfect by hand may finish below its neighbors.
Then the stored pavers return in their documented pattern. The installer checks joint width, bond lines, and edge transitions as work progresses. Moreover, cuts should seat fully instead of bridging a void or leaning against a fixed object. When damaged units need replacement, a thoughtful blend usually looks better than grouping every new unit in one obvious patch.
Finish joints and verify movement
After resetting, compatible joint material helps stabilize the interlock and fill open spaces. However, the product and application must suit the existing pavement, weather, and joint dimensions. The crew then compacts as appropriate, tops up joints, and cleans the surface. Finally, it checks for rocking units, abrupt lips, and displaced cuts before declaring the repair complete.
Drainage correction belongs inside the repair scope
Water often reveals settlement even when it did not cause the original movement. Nevertheless, a restored surface should guide ordinary runoff away from vulnerable edges and occupied areas. The crew must coordinate the corrected plane with drains, swales, downspout outlets, and adjacent landscaping. A flat-looking patch that creates a new water pocket has not solved the whole problem.
In particular, redirecting water requires a lawful and practical discharge location. Sending runoff toward a neighbor, building opening, or unstable slope can create a larger issue. Therefore, site-specific drainage or code questions may require a qualified designer, drainage professional, pool specialist, or local authority. Paver grading should support that plan rather than improvise around it.
Edges also deserve close attention because lateral movement opens routes for bedding loss. As a result, a failed or missing restraint may need correction before the field returns. The repair should also keep drainage outlets clear and avoid trapping water against a rigid border. These details turn a surface reset into a more durable system repair.
Matching an existing paver field honestly
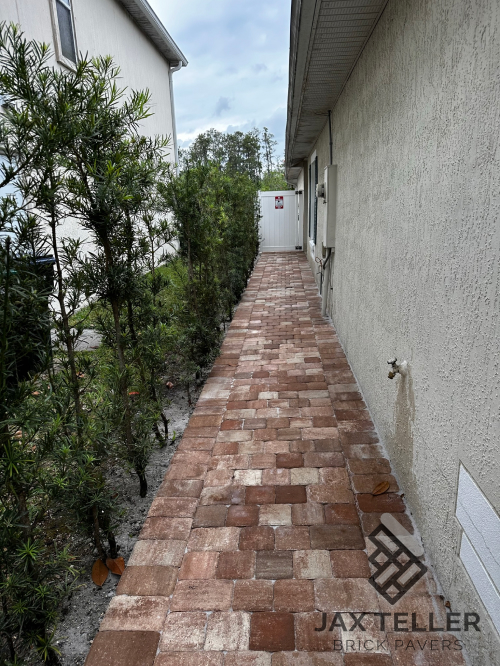
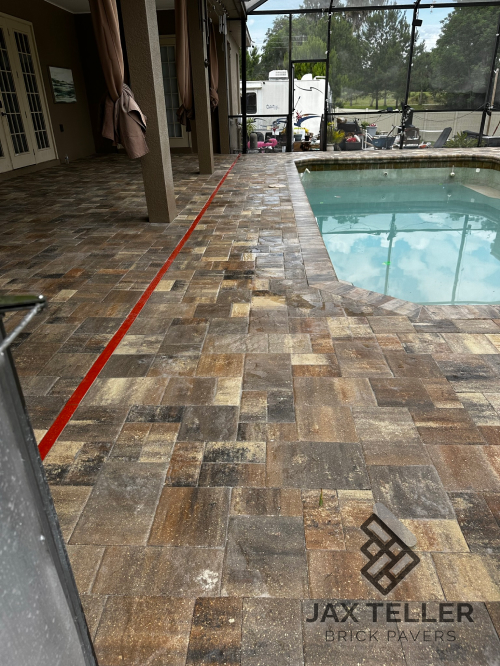
Many settled pavers remain reusable, which helps preserve the established color blend. However, units can chip during earlier movement, and some cuts may no longer fit after the plane changes. Homeowners should keep spare material whenever possible. If the original product is unavailable, the contractor can discuss salvaging units from a less visible location or blending compatible replacements.
New pavers may initially look cleaner or more saturated than weathered neighbors. Therefore, an exact invisible match should not become the promise. Careful distribution, matching dimensions, and consistent joint treatment can reduce the contrast. Over time, normal exposure may soften some differences, but material batches and surface history will still matter.
A practical repair checklist for homeowners
- Define the symptom: note low spots, rocking units, sharp lips, standing water, or open joints.
- Record changing conditions: photograph the area dry and wet, and note whether it grows.
- Identify nearby influences: locate drains, downspouts, irrigation, tree roots, trenches, and edges.
- Confirm the repair boundary: include the transition to stable pavement, not only the deepest point.
- Ask about base work: verify that compromised material will be removed and compacted in lifts.
- Plan material matching: count spare units and agree on how replacements will be blended.
- Protect fixed elevations: review thresholds, steps, coping, drain tops, and door clearance.
- Set a validation plan: check plane, movement, joints, edge support, and runoff after completion.
This checklist creates a useful conversation without pretending that every site needs the same detail. Moreover, written photos and measurements help a contractor quote a clearer scope. If hidden damage appears after removal, the repair plan may still change. A responsible estimate explains that possibility before work begins.
When a localized repair is enough
A targeted repair makes sense when the affected area has a clear boundary and surrounding pavement remains stable. In addition, the source of settlement must be corrected or no longer active. Modular pavers make this approach practical because crews can lift and reuse individual units. Still, the repaired area must transition smoothly into the untouched field.
In contrast, repeating depressions across a large patio or driveway can indicate broader base inconsistency. Extensive edge movement, widespread rutting, or several failed utility trenches may also justify a larger reconstruction discussion. Therefore, dividing a system-wide problem into many small patches may cost more and deliver less consistency. The inspection should determine scope before the estimate does.
Urgency depends on use and location. For example, a sharp lip on a primary walkway deserves prompt attention, while a shallow cosmetic dip outside circulation may allow more planning time. Barricade or avoid any area that feels unsafe. Then arrange an evaluation instead of relying on loose fill or an improvised surface ramp.
Verify the restored area before closeout
Final quality control should compare the repaired area with stable pavement from several directions. First, place a straightedge across the transition and check that the plane changes smoothly. Then walk each course to find rocking units, sharp lips, or cuts that lack full support. In addition, inspect joints and edge restraint throughout the disturbed boundary, not only at its center.
Water behavior also needs a sensible review. However, an improvised flood test can overwhelm drains or send water where it does not belong. The contractor should use an appropriate controlled method when site conditions allow, and the homeowner can later observe normal rainfall safely. Consequently, any new puddle, eroding edge, or slow drain becomes a specific follow-up item rather than a vague concern.
Finally, save before-and-after photographs, the repair outline, material notes, and any hidden-condition images. This record provides a baseline if the surface changes later. Moreover, note the location of retained spare pavers and the drainage correction that accompanied the work. A documented closeout makes future diagnosis faster and helps confirm whether the original settlement cause stayed resolved.
Additionally, review the route people use across the corrected area. A level repair should not leave a new pinch point beside furniture, a gate, or a step. Check the surface in ordinary daylight and at night when landscape lighting changes shadow lines. Consequently, the closeout considers real use as well as construction measurements.
Frequently asked questions
Can I fix one low paver by adding sand underneath?
Sometimes one unit only needs careful resetting. However, loose sand cannot repair a washed-out base, moving edge, leak, or soft subgrade. Adding a thick mound may also leave the paver unstable. Therefore, inspect the supporting layers and the surrounding plane before choosing a shallow fix.
How wide should a sunken paver repair be?
The correct width follows stable support rather than a standard number. In practice, crews often lift beyond the visible depression so they can rebuild the transition smoothly. Moreover, nearby cuts, borders, and pattern lines can affect the boundary. An on-site inspection provides the reliable answer.
Will reset pavers match the untouched surface?
Reusing the original units usually preserves much of the existing blend. Nevertheless, cleaned or newly exposed faces can look different at first, and replacement units may vary by batch. A careful layout distributes unavoidable differences. Consequently, the goal should be a coherent repair, not a guaranteed invisible patch.
Does standing water always mean the base failed?
No, because the original surface may have lacked a useful drainage plane. However, new puddling can also follow settlement, blocked drains, or edge changes. Compare current conditions with older photos and inspect during rain. Then let a qualified professional assess hidden causes when needed.
How can I reduce the chance of another low spot?
First, correct active water, edge, utility, or root issues. Next, require appropriate base replacement and compaction rather than a cosmetic lift. In addition, keep runoff paths and joints in serviceable condition. No repair can prevent every future change, but good diagnosis removes avoidable risks.
Plan a repair around evidence
JaxTeller Brick Pavers provides paver repair and installation services for homeowners who want a defined scope instead of a surface-only patch. Therefore, an evaluation can connect the visible low spot with base condition, drainage, edge support, and material matching. That information supports a repair estimate built around the actual failure pattern.
For broader technical education, the Masonry & Hardscapes Association publishes industry resources about segmental paving and hardscape construction. In addition, homeowners should confirm project-specific permitting, drainage, and structural questions with the appropriate local authority or qualified professional. General guidance cannot replace a site inspection.
Ready to elevate your outdoor space with custom brick pavers? Contact JaxTeller Brick Pavers to request a targeted settlement and trip-hazard repair estimate, and review our completed projects for design context. In addition, follow our work on Instagram and Facebook, or start a conversation through WhatsApp.
Finally, call +1 407-907-8308, email jaxtellerbrickpavers@gmail.com, or use Google Maps to locate our Largo office. Contact JaxTeller Brick Pavers at +1 407-907-8308 or jaxtellerbrickpavers@gmail.com for your free estimate!