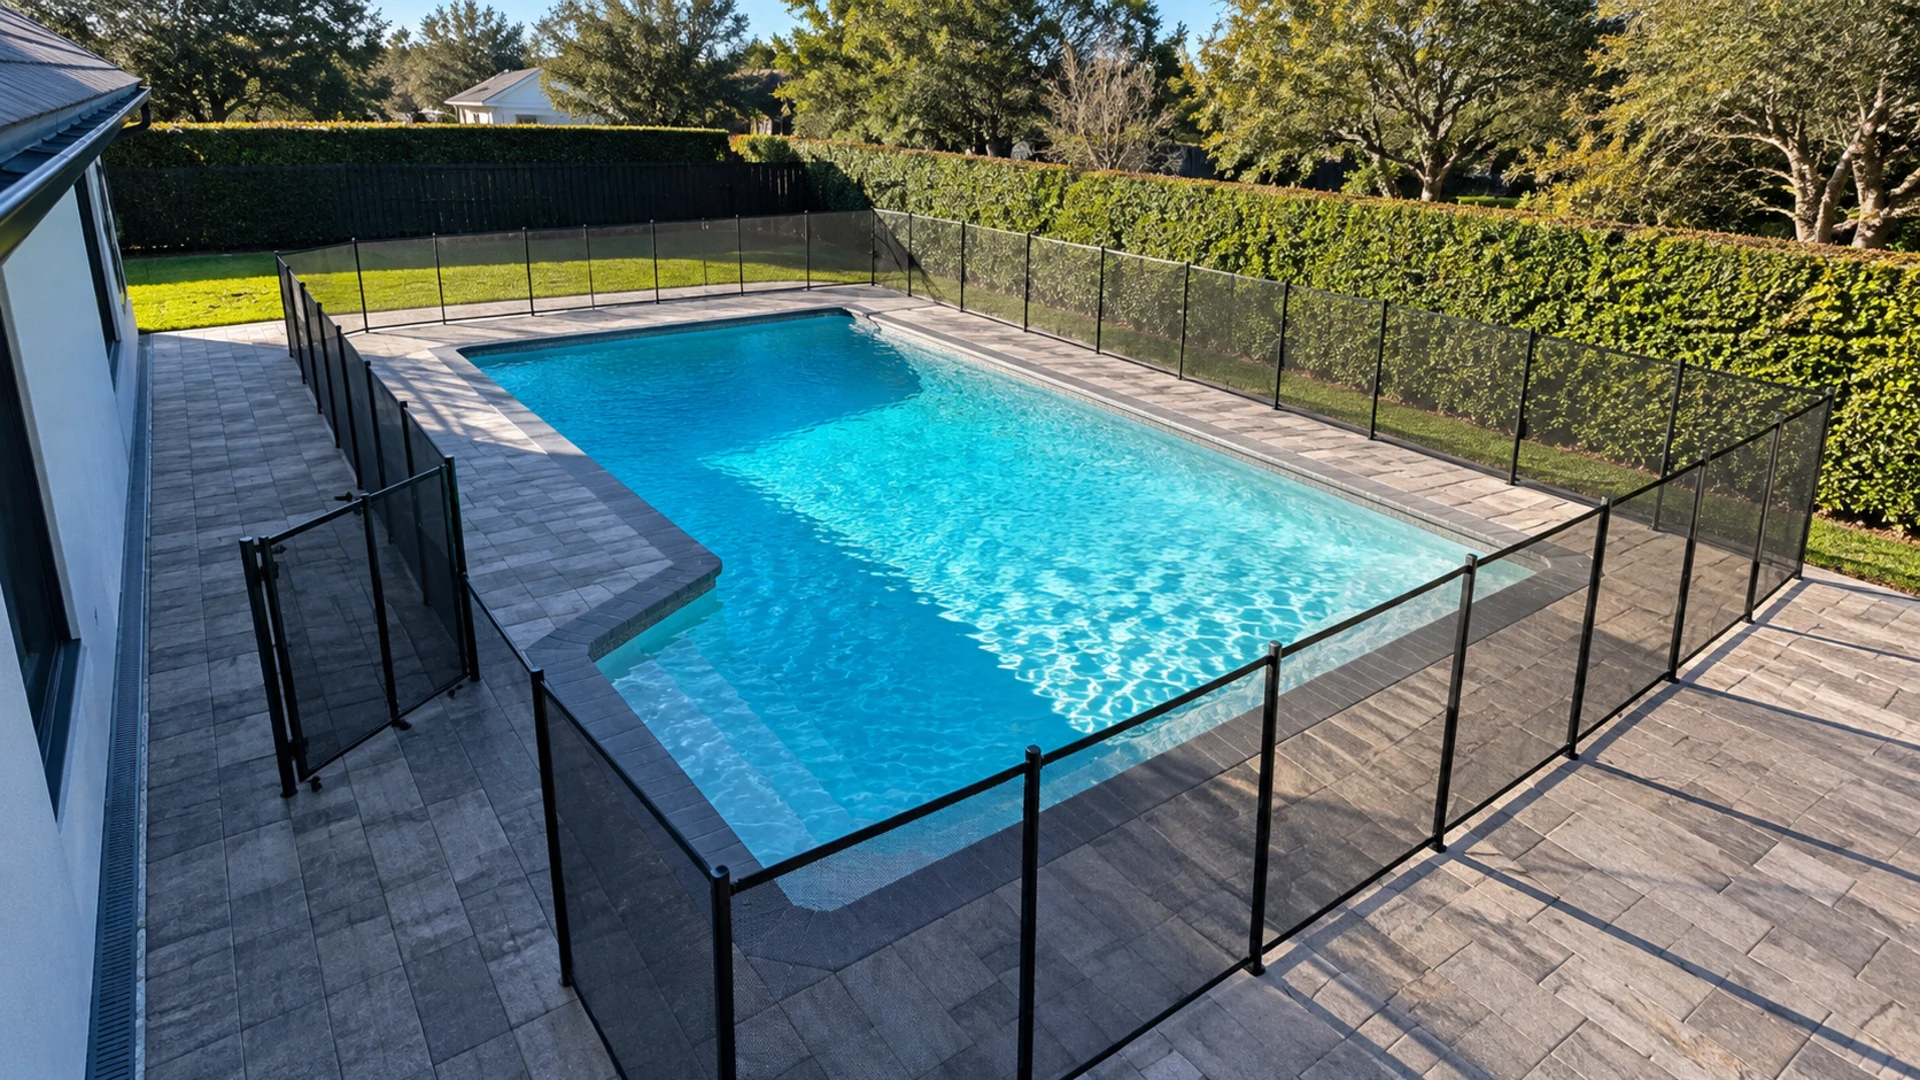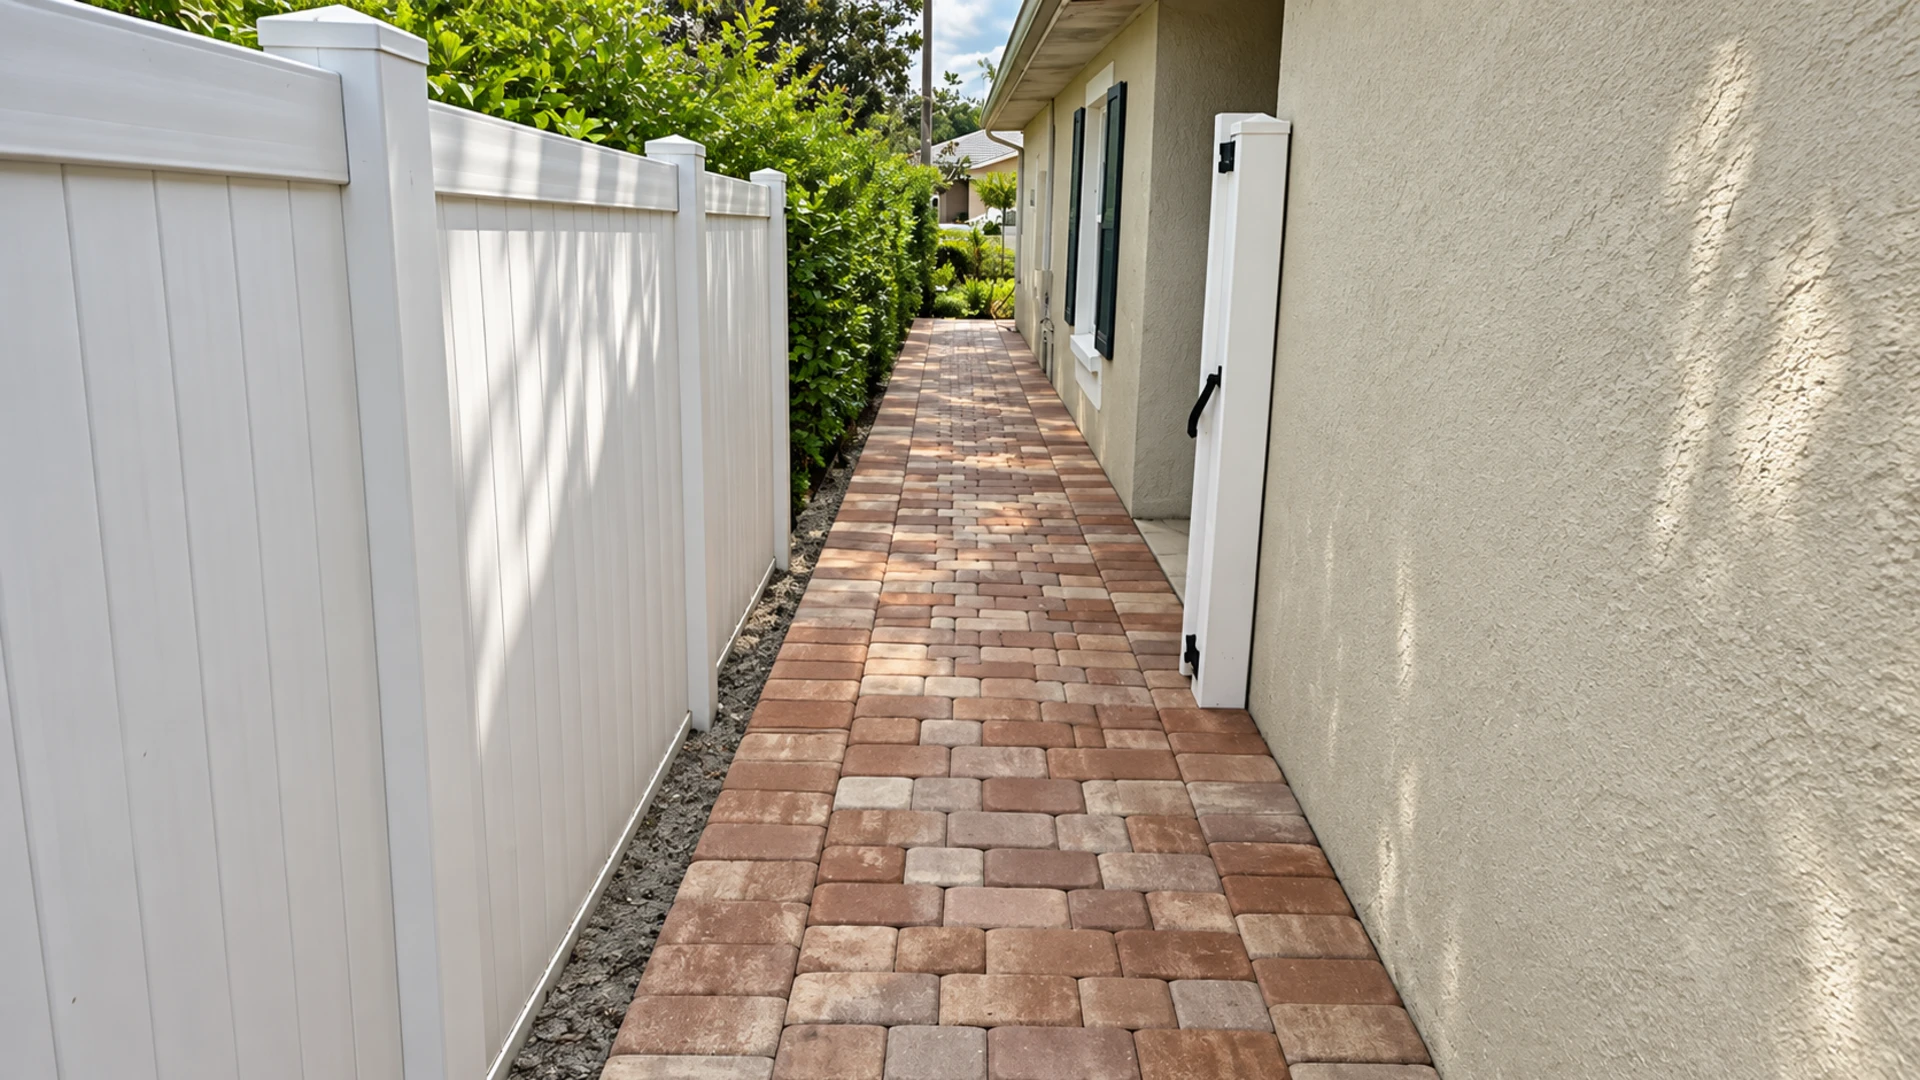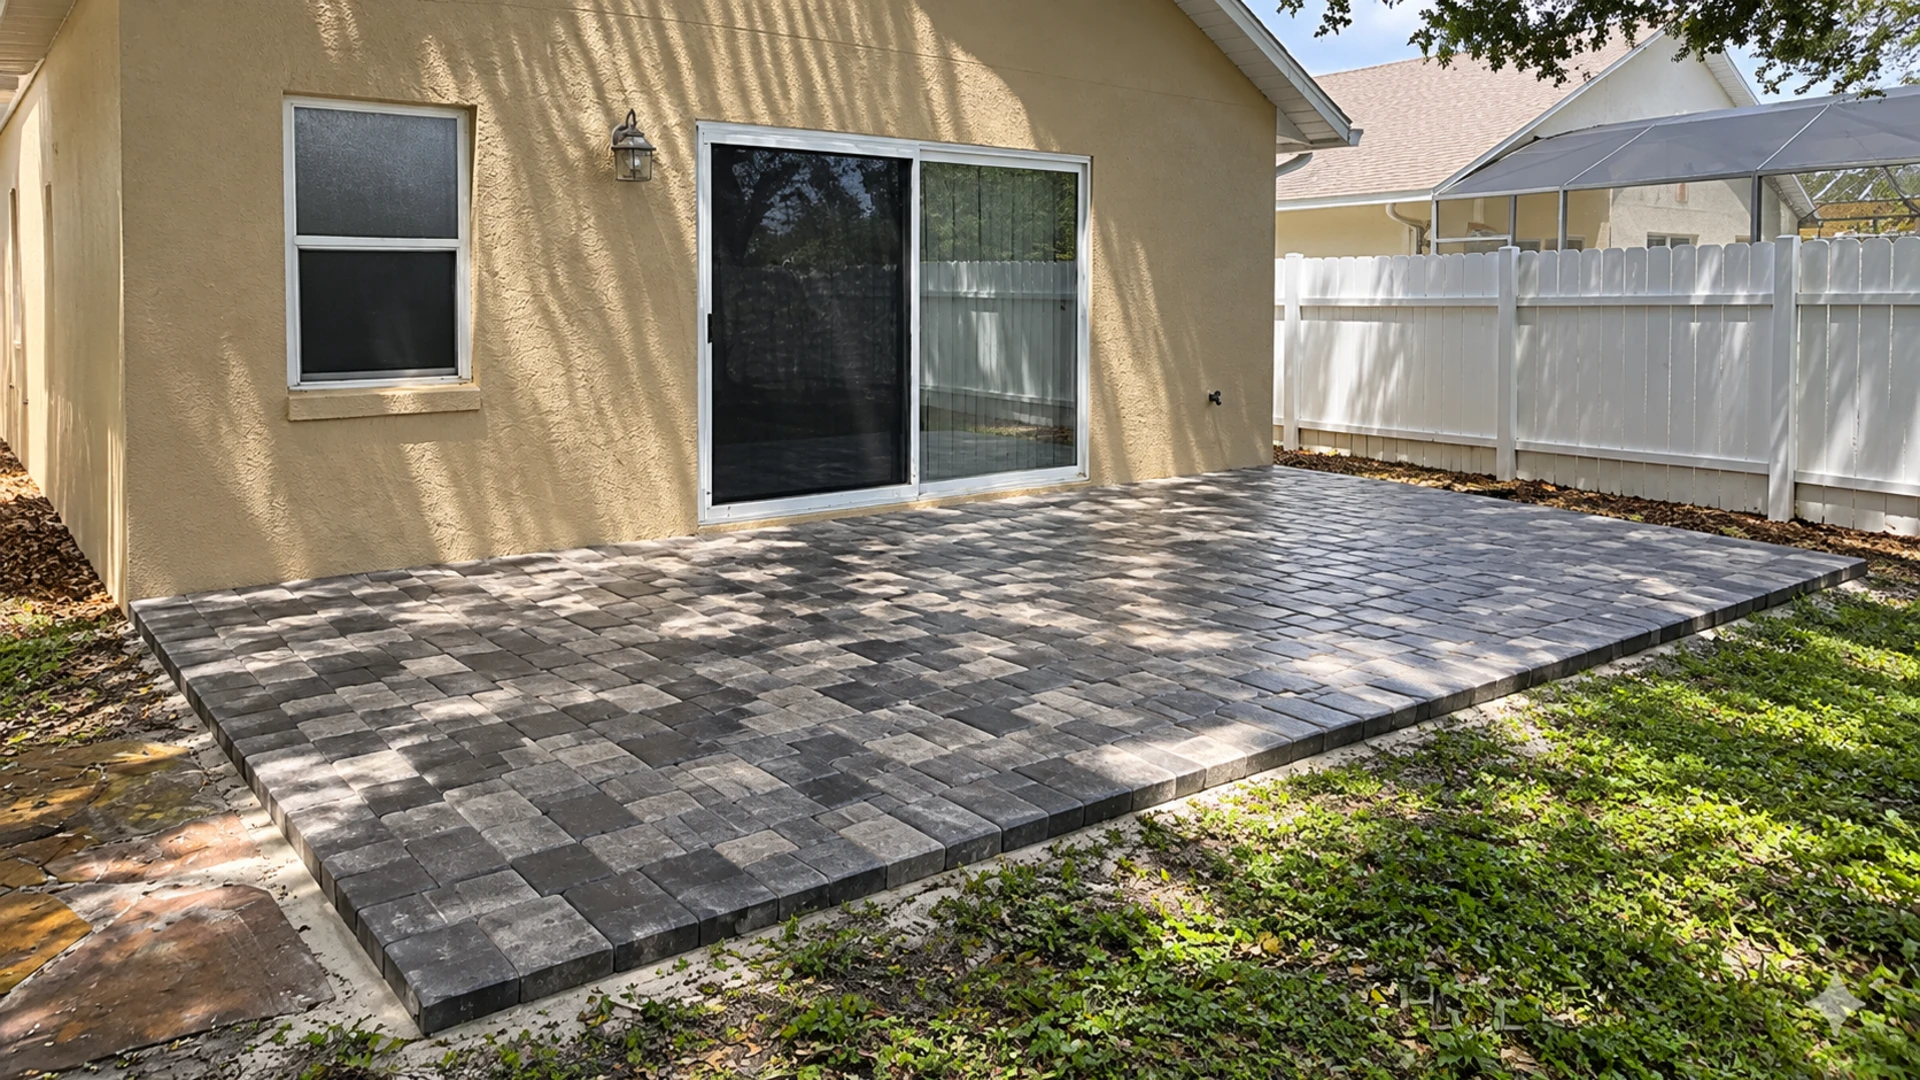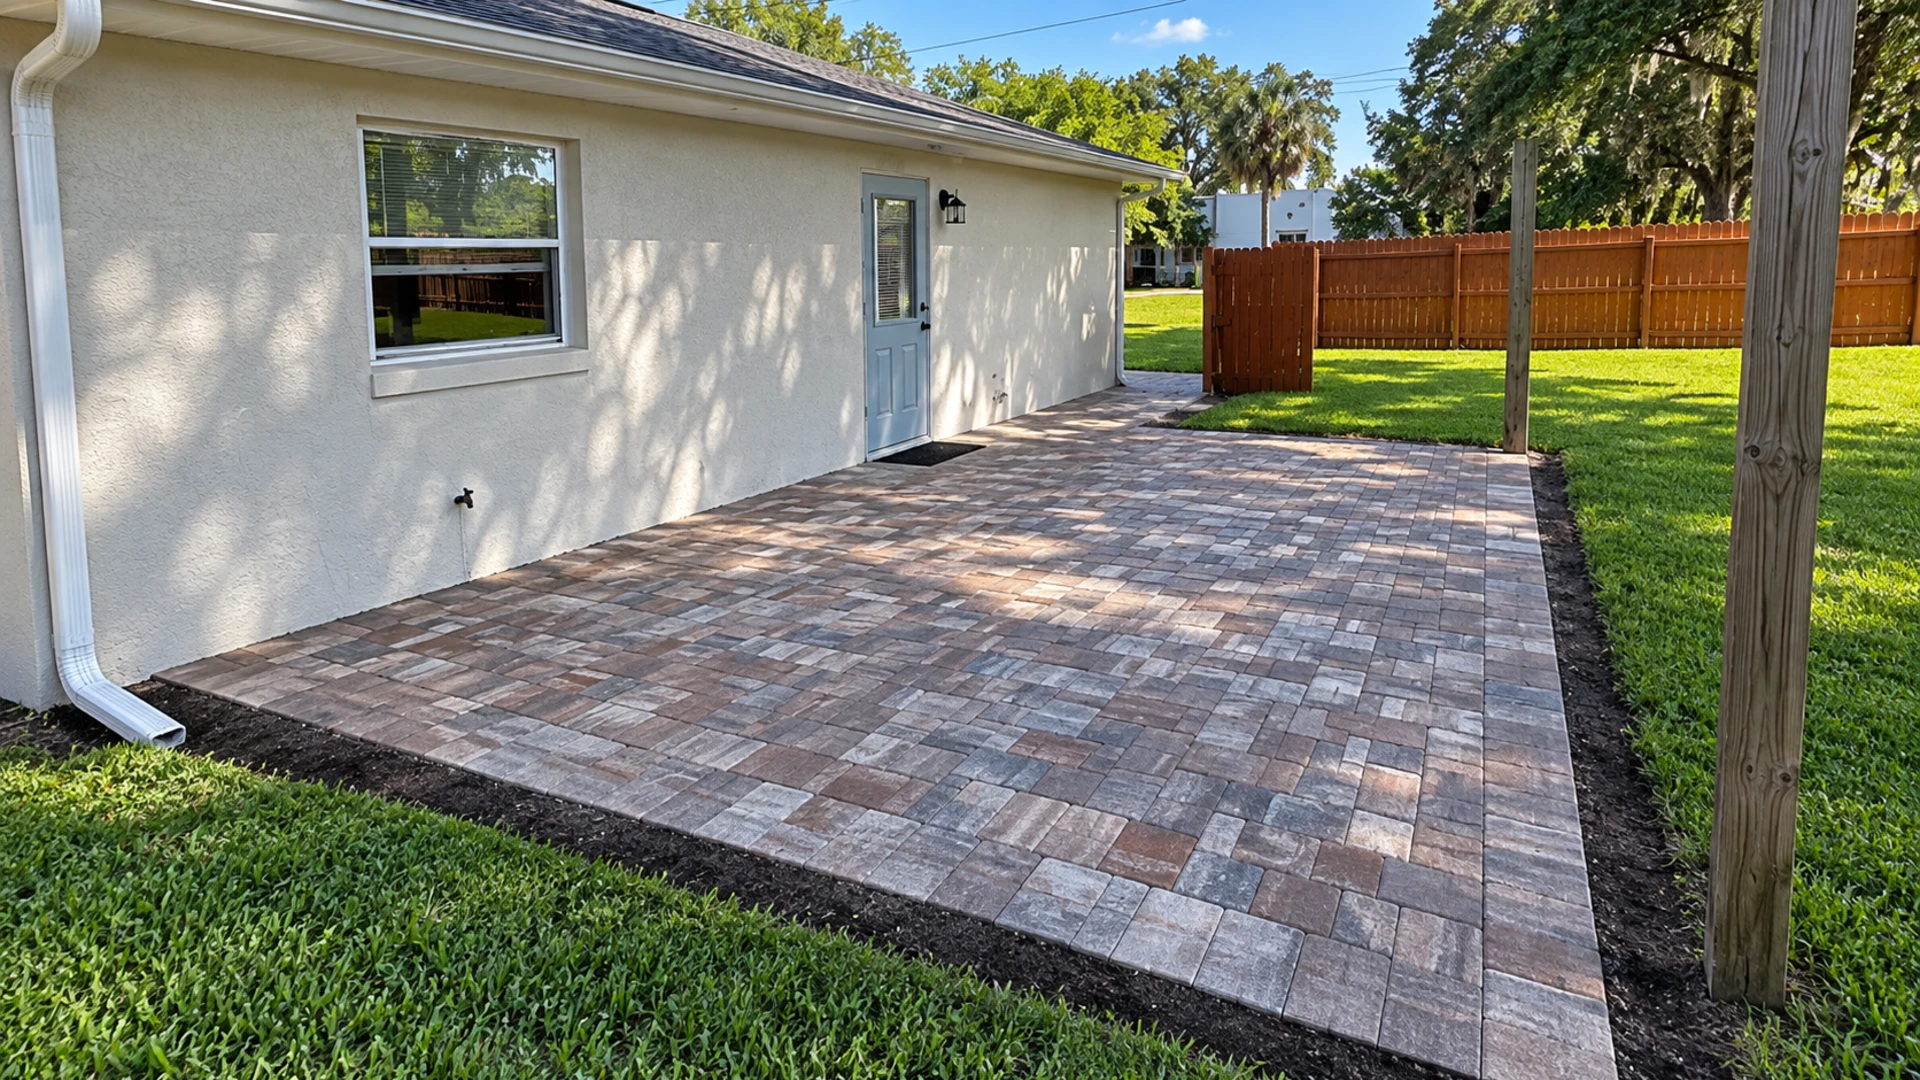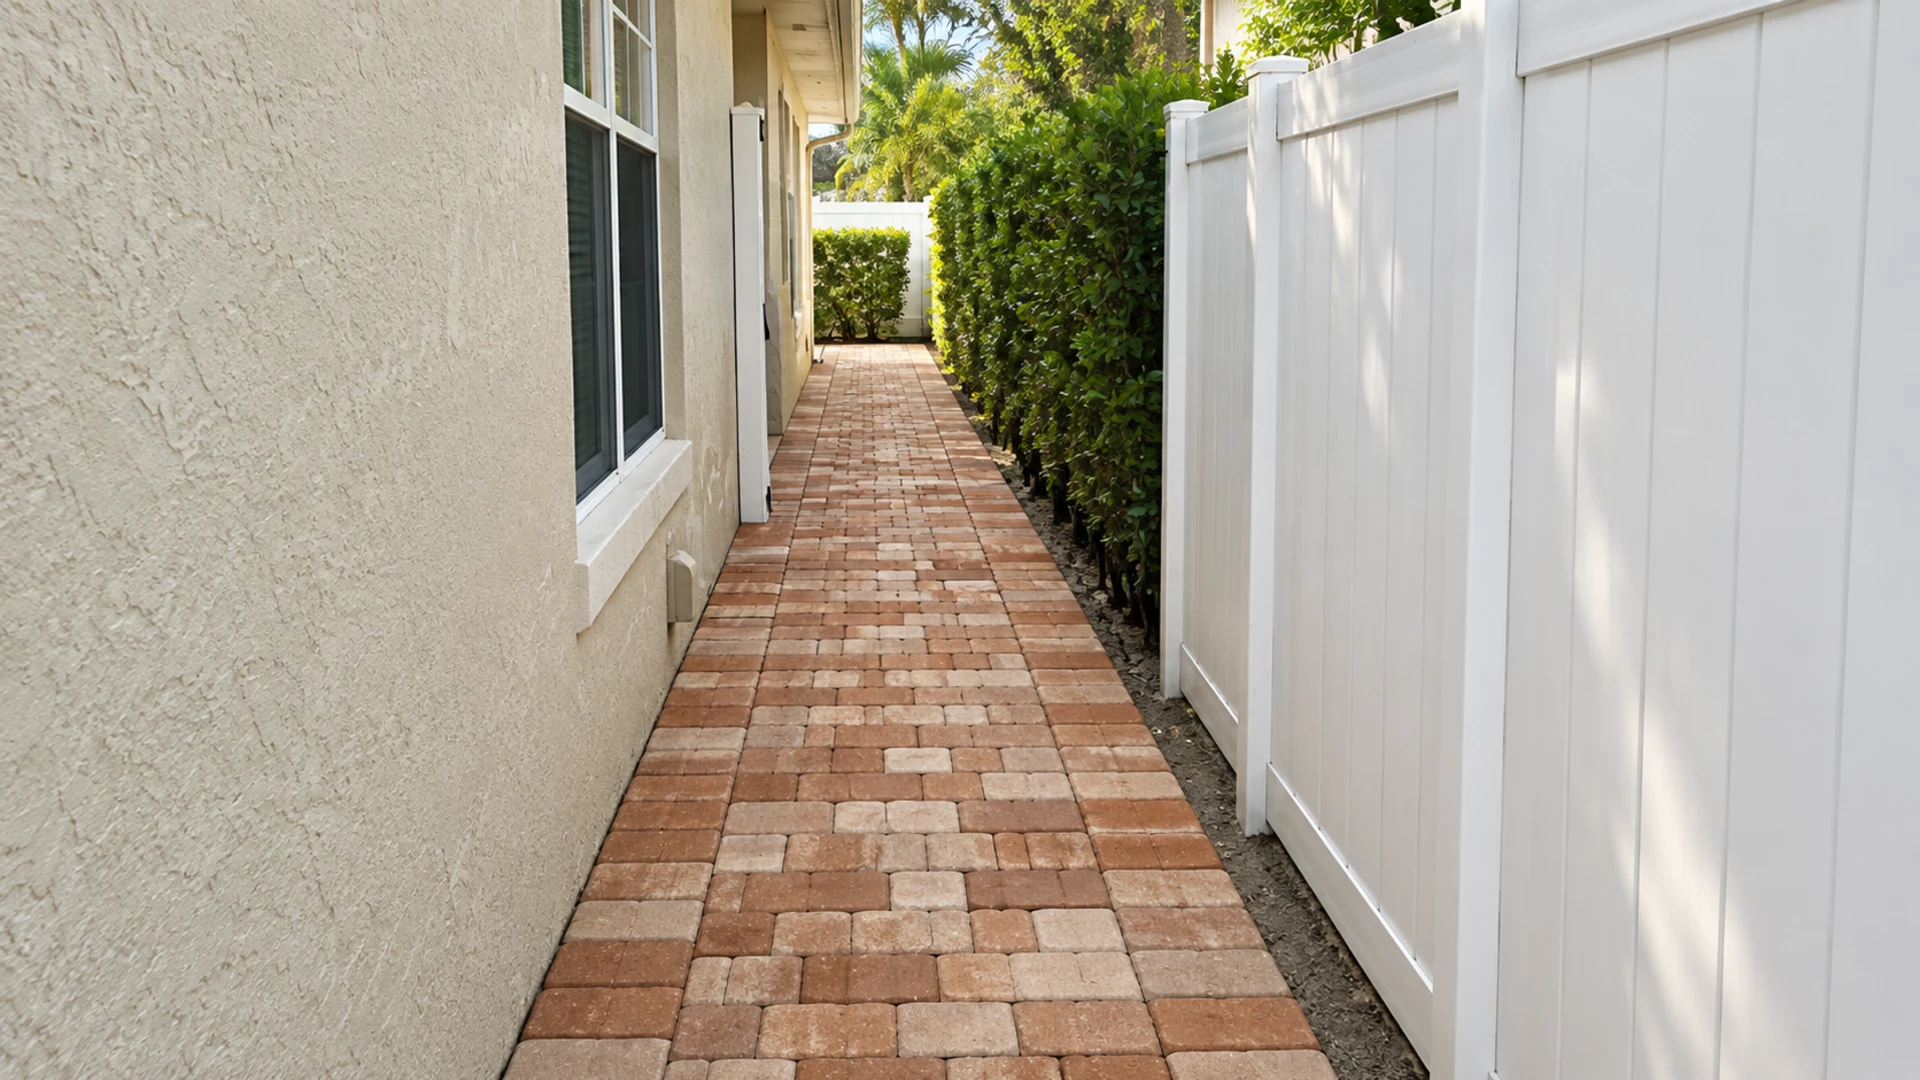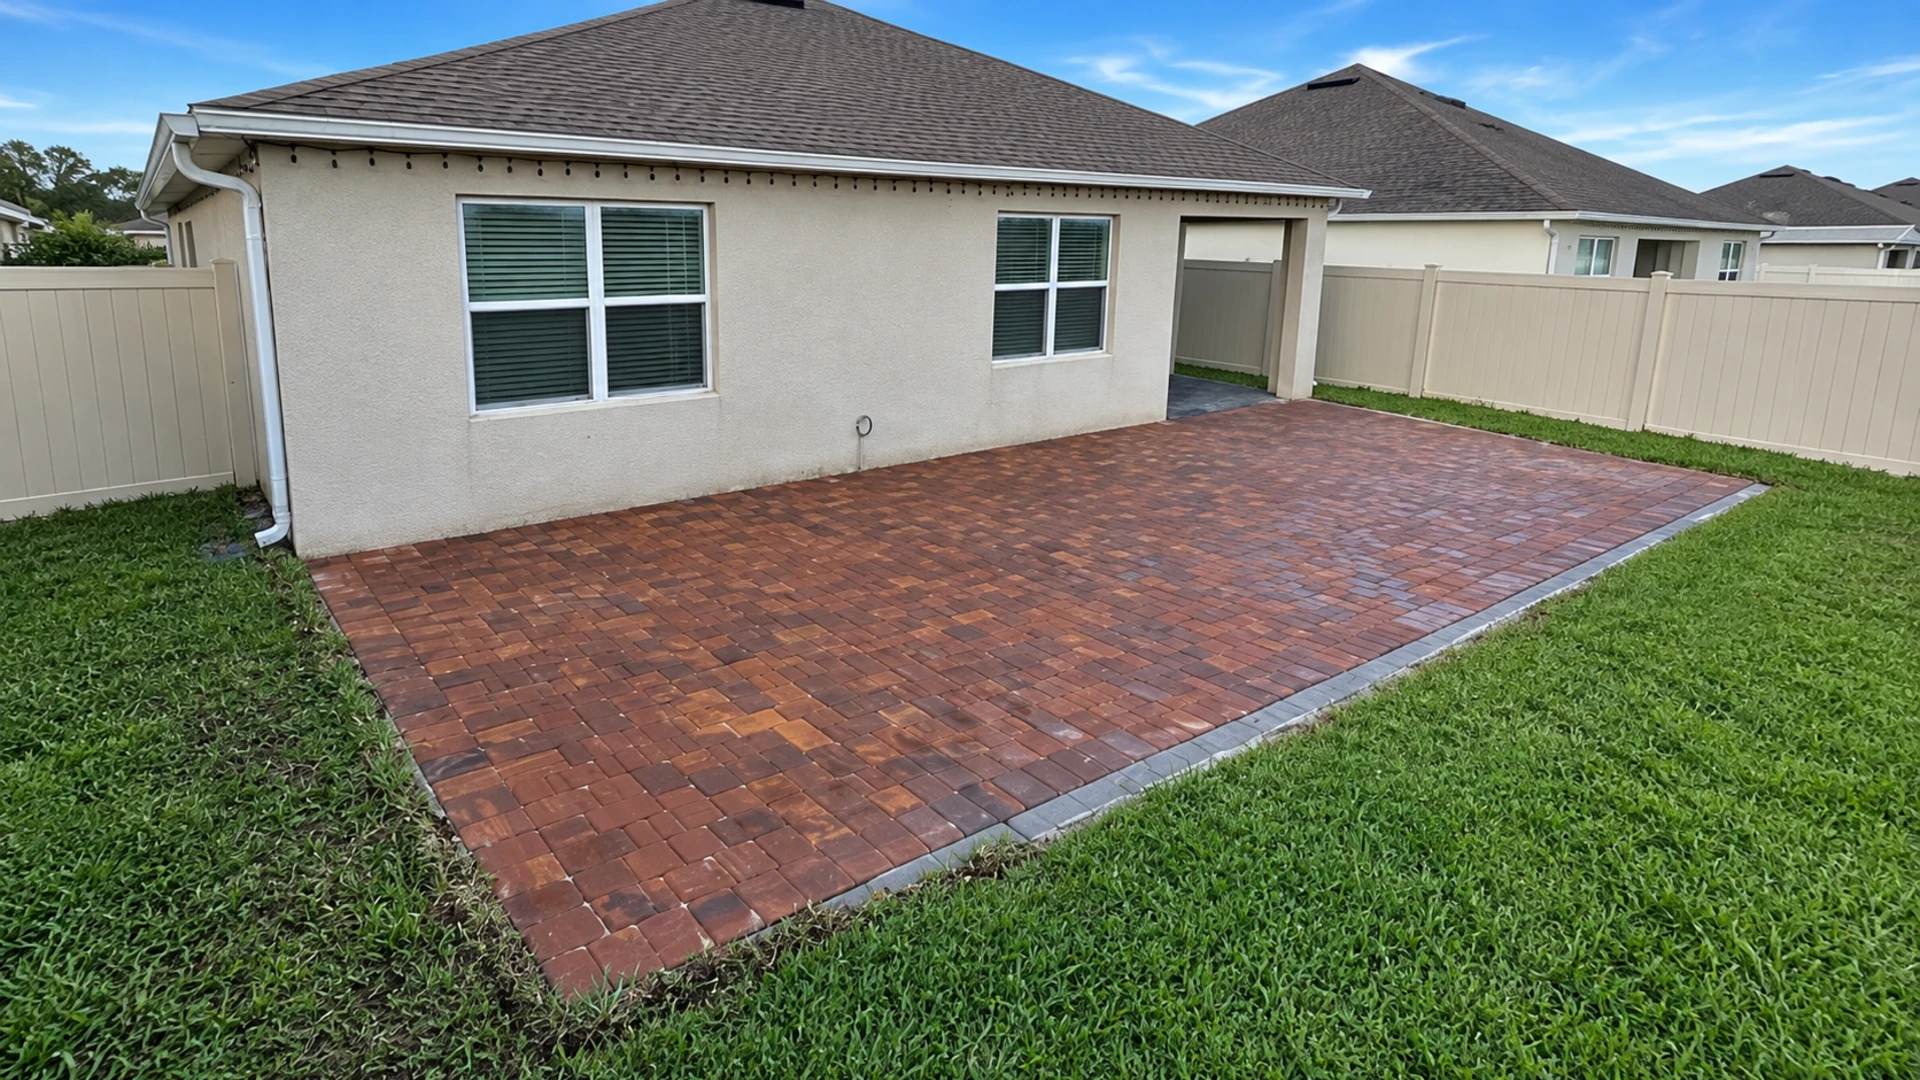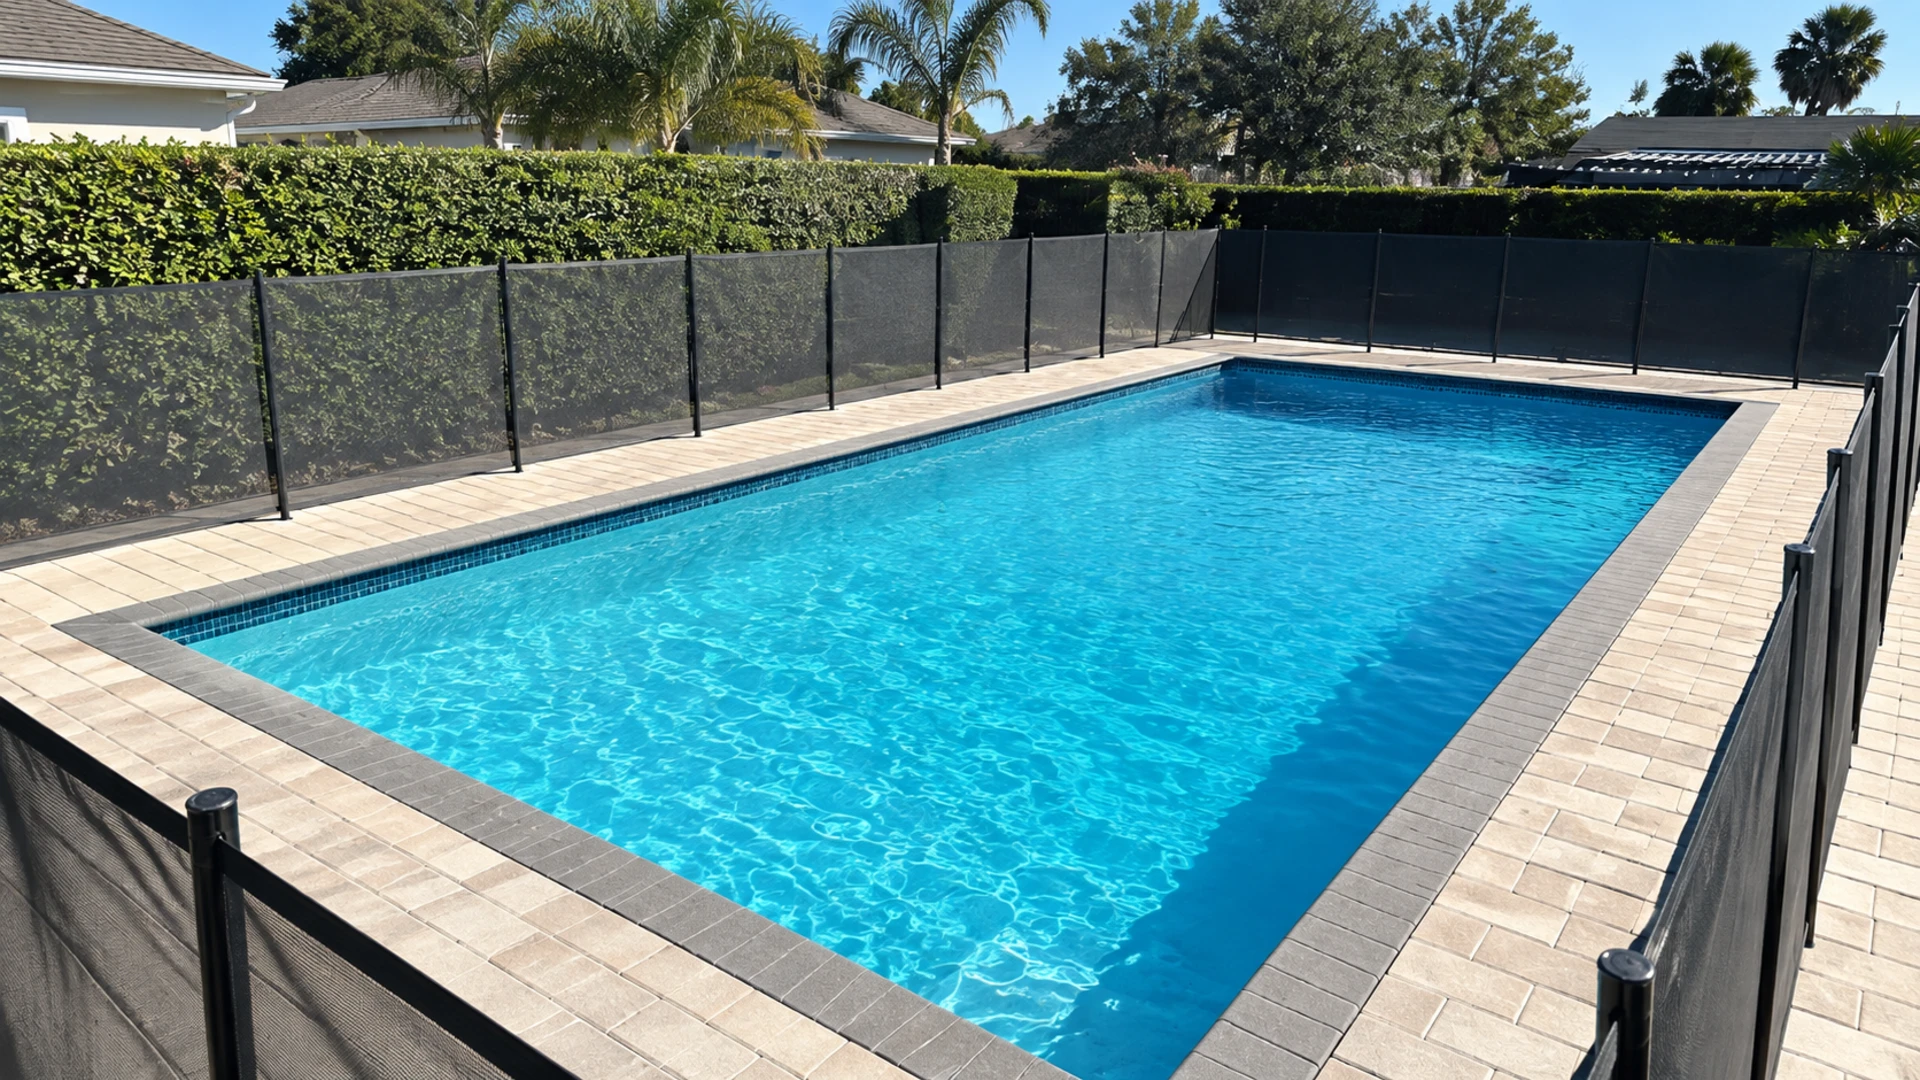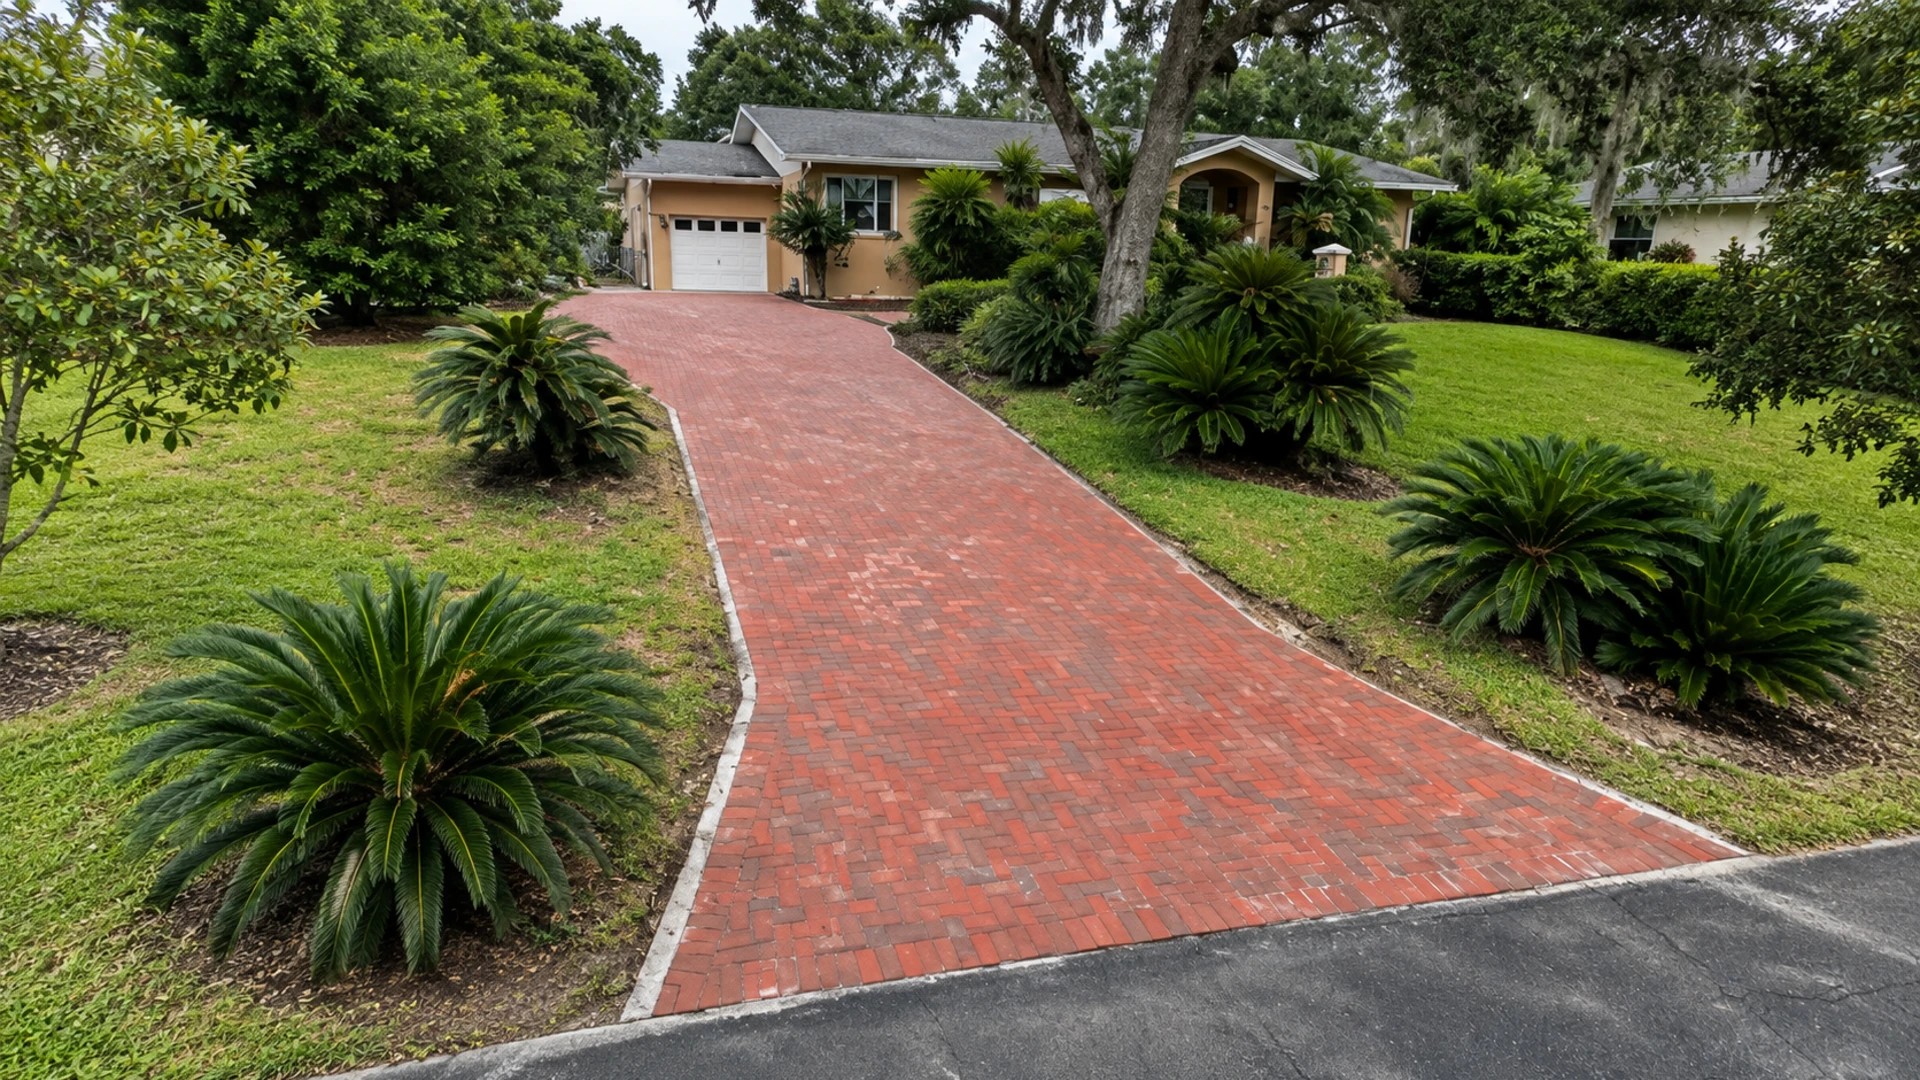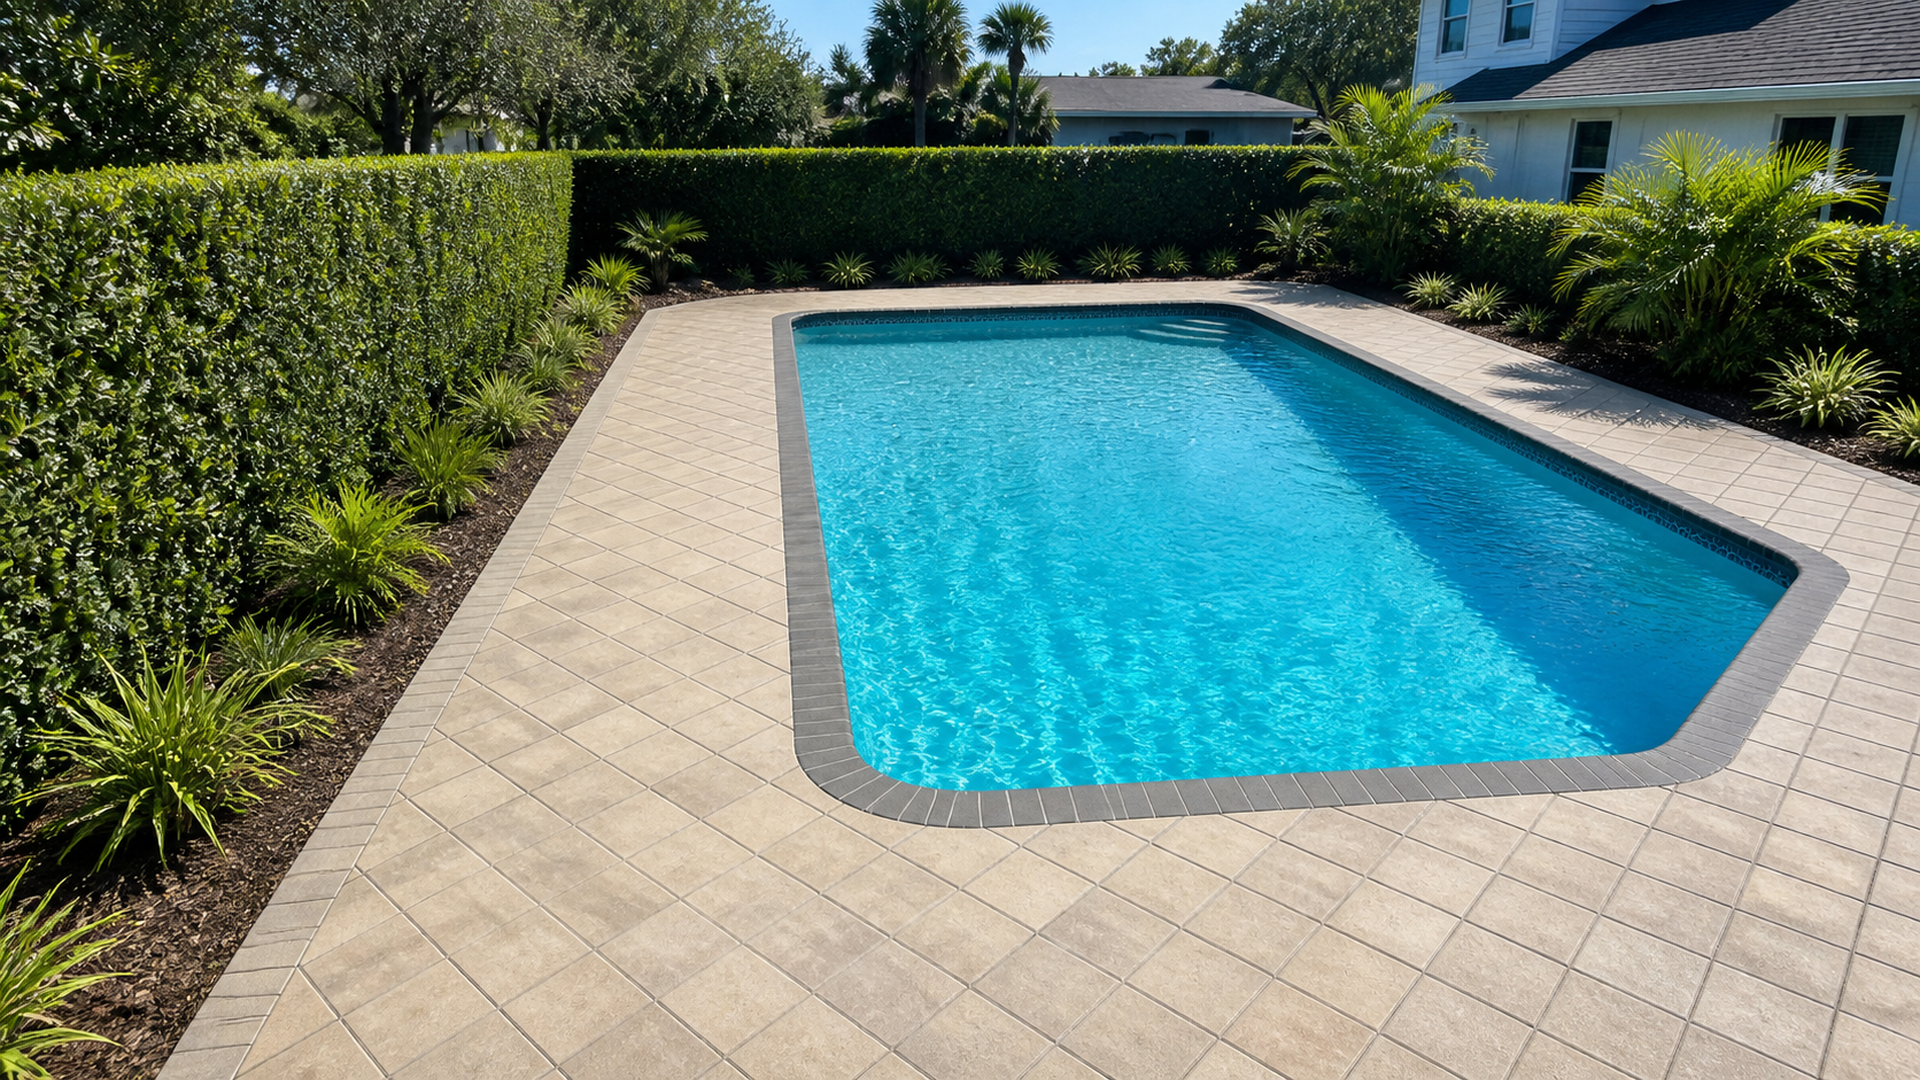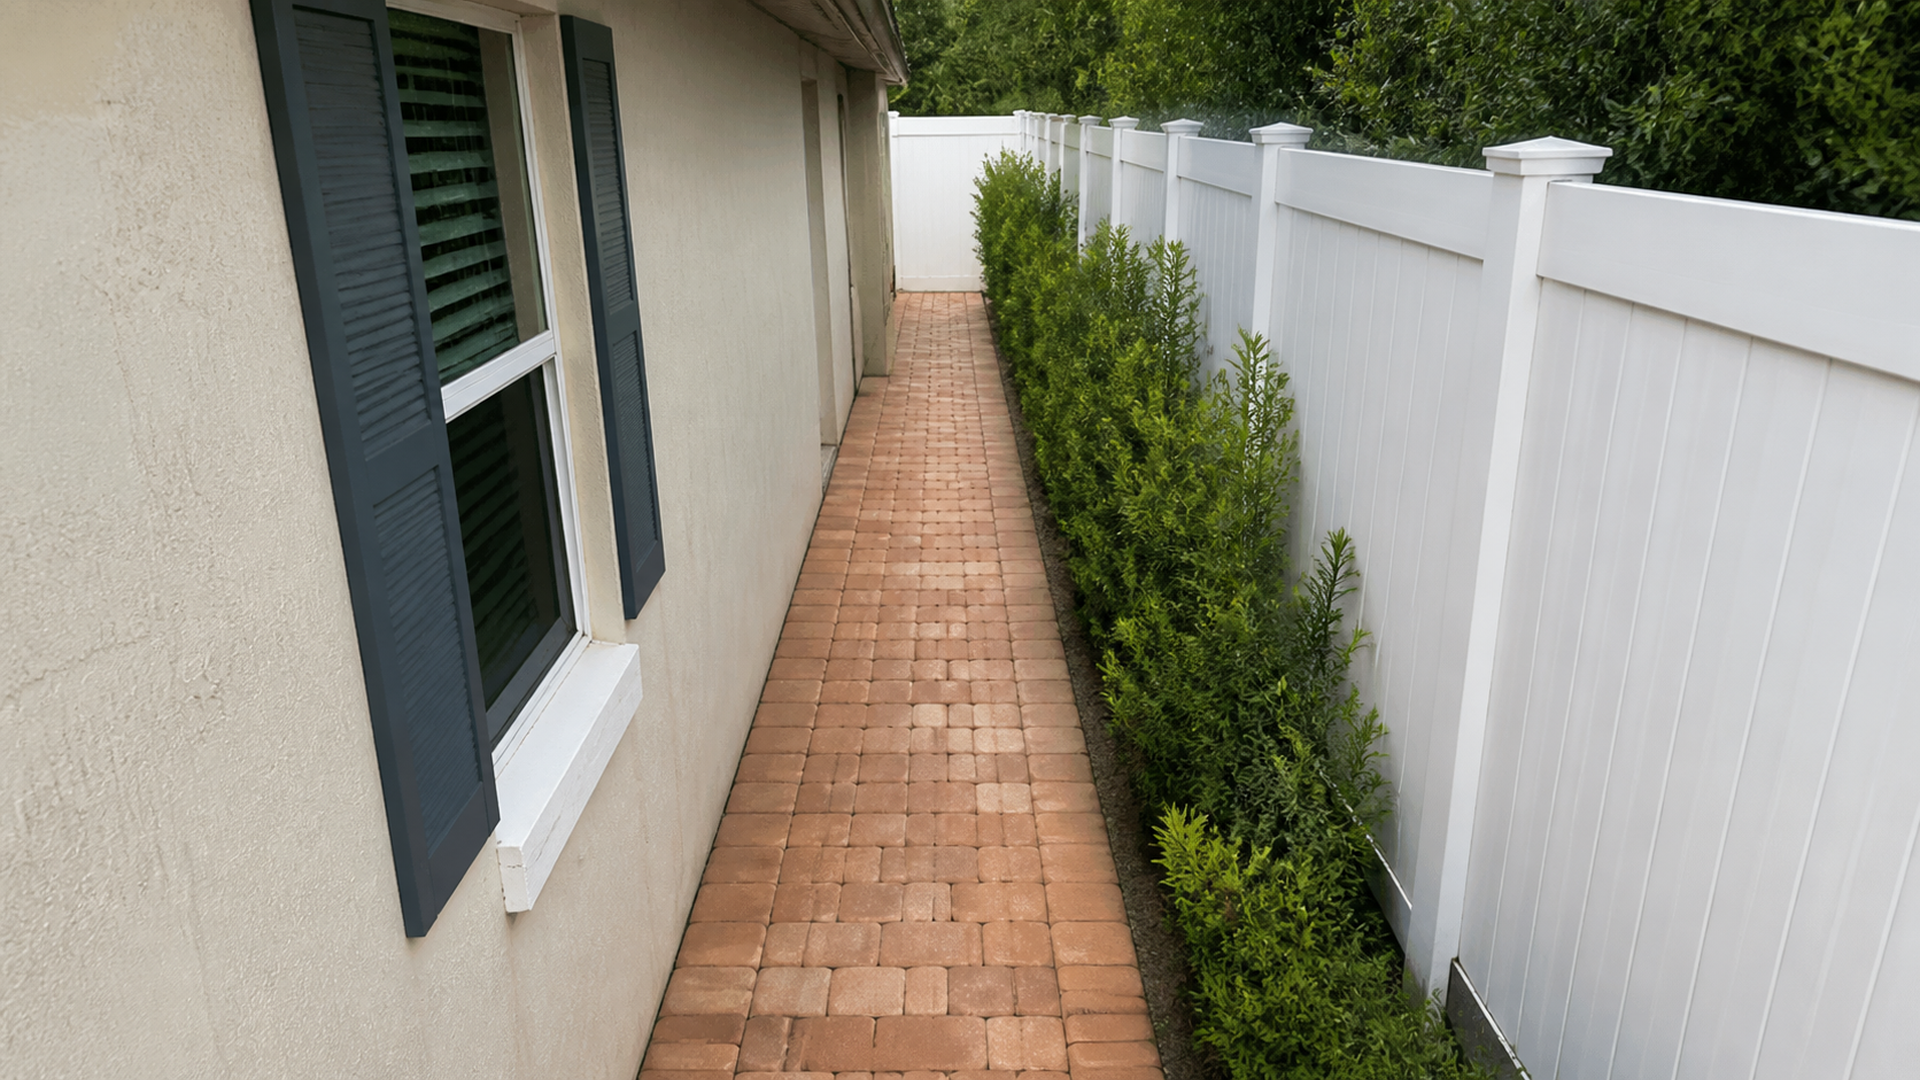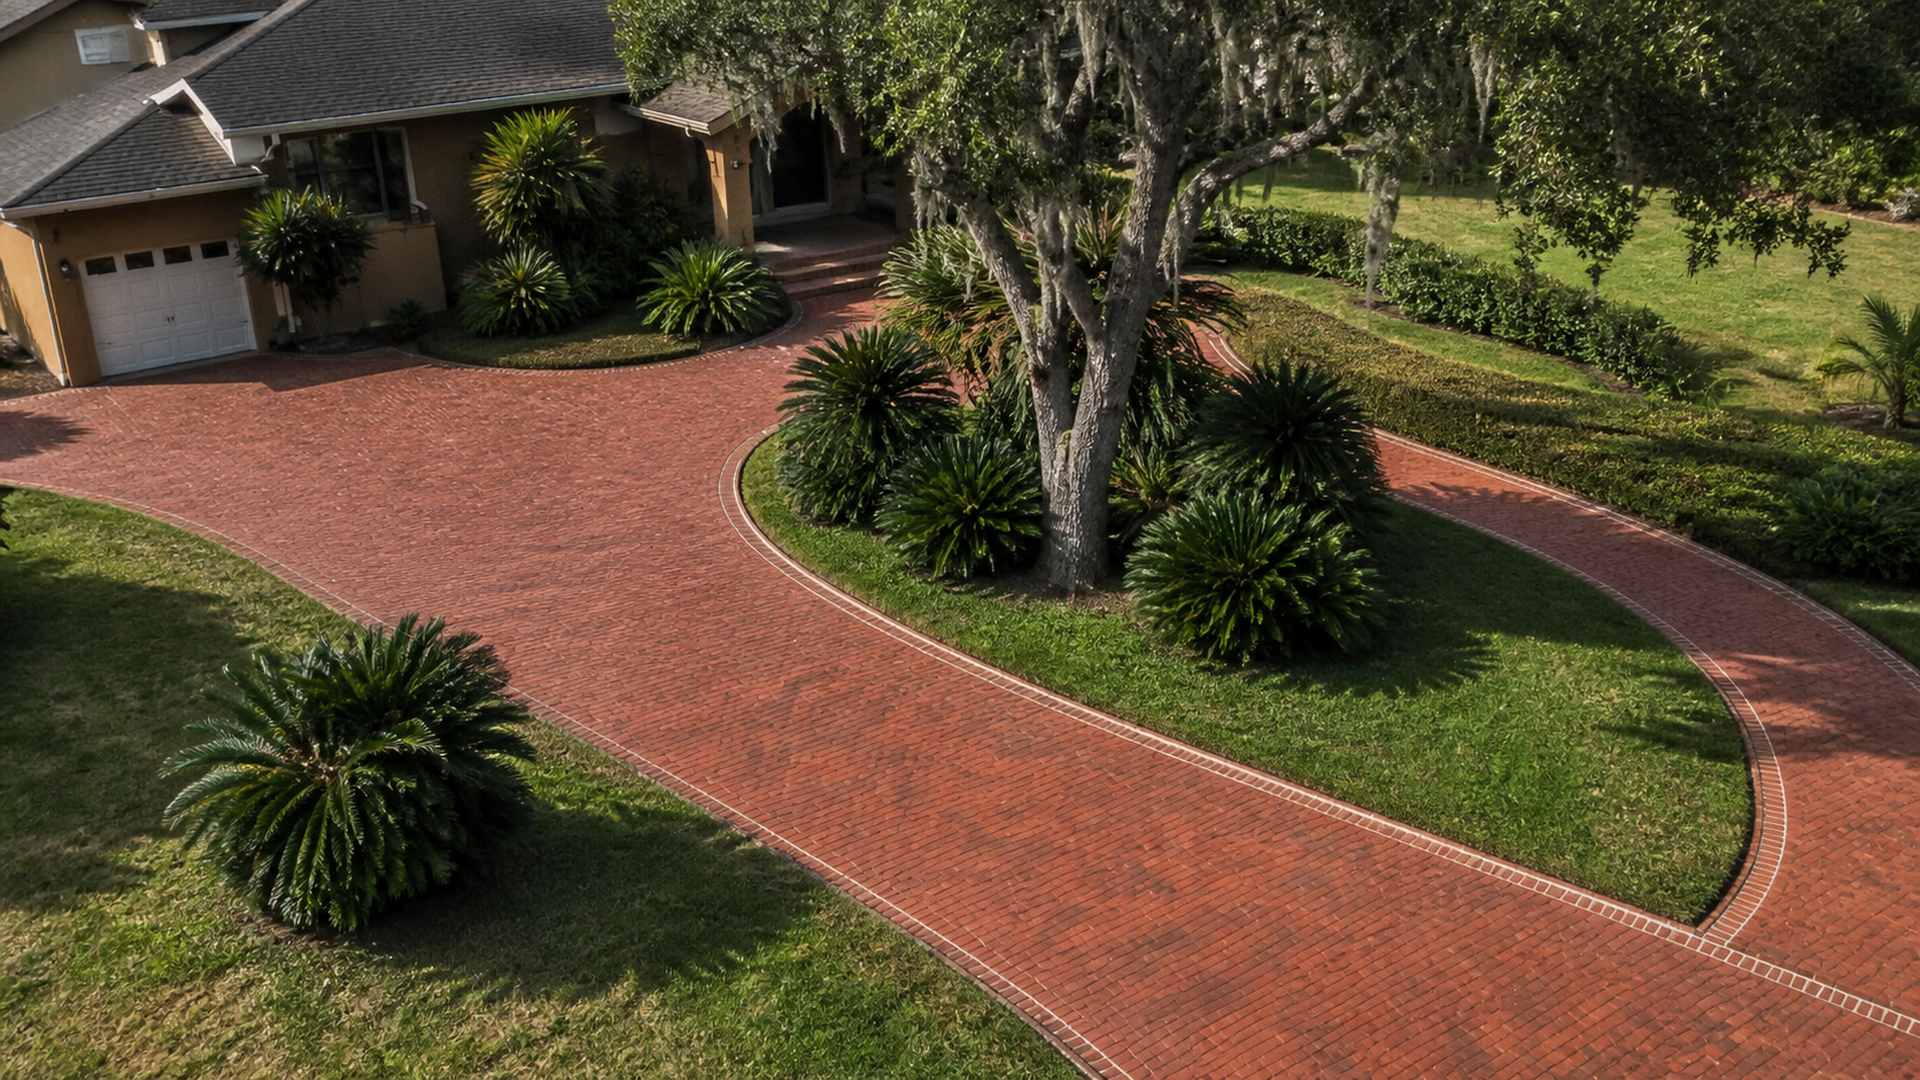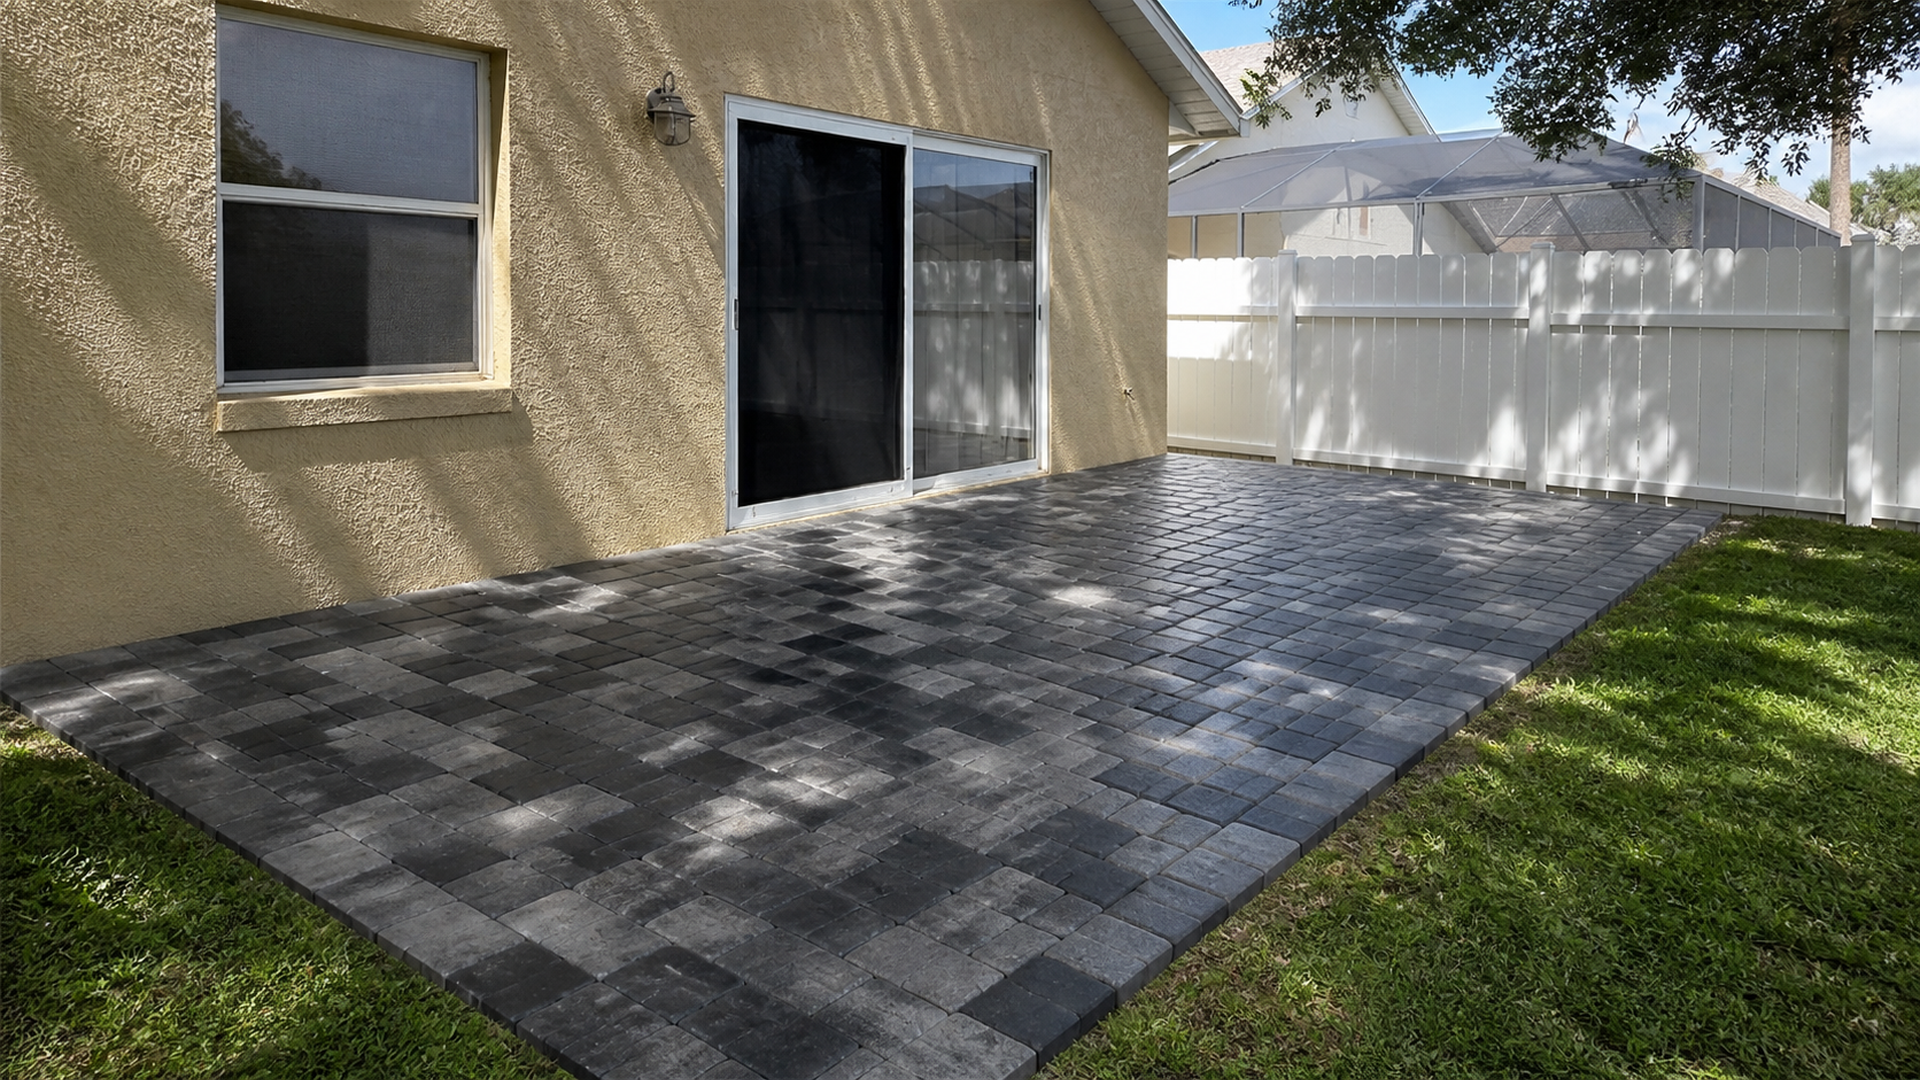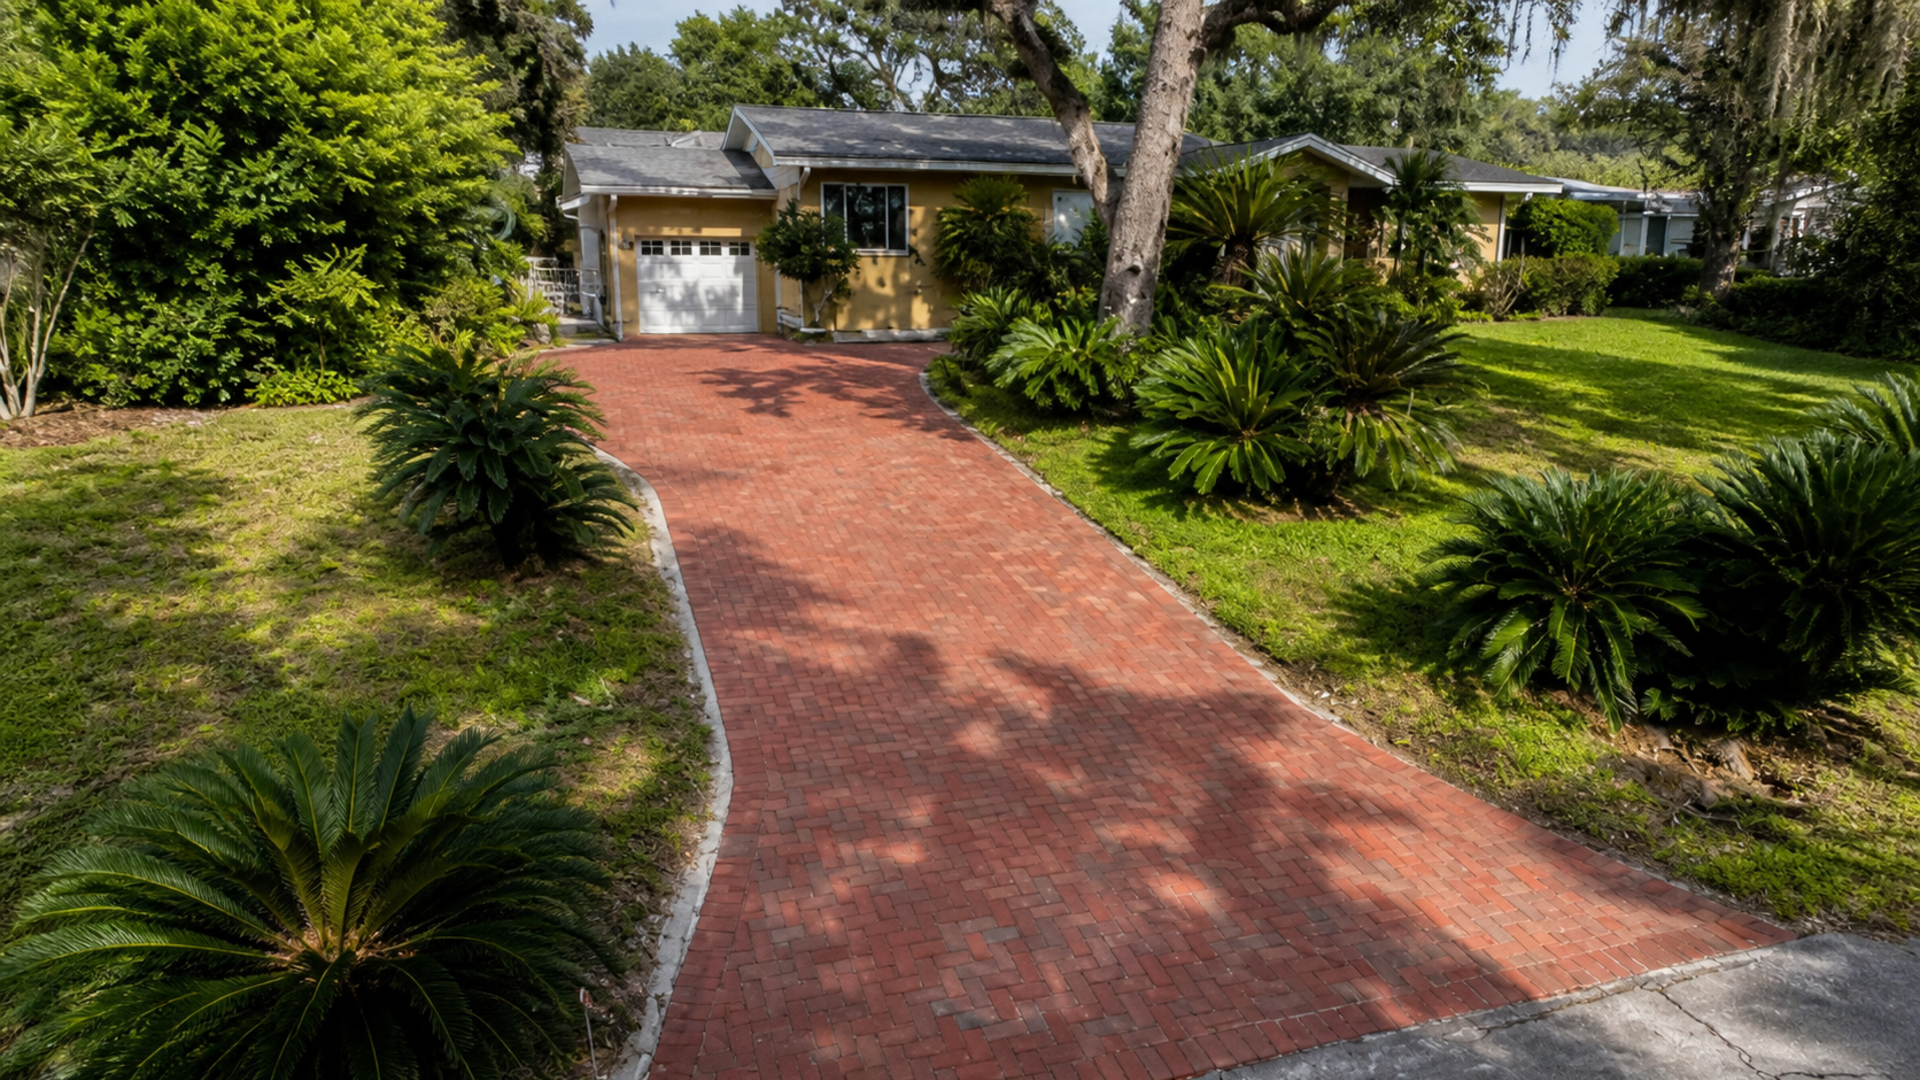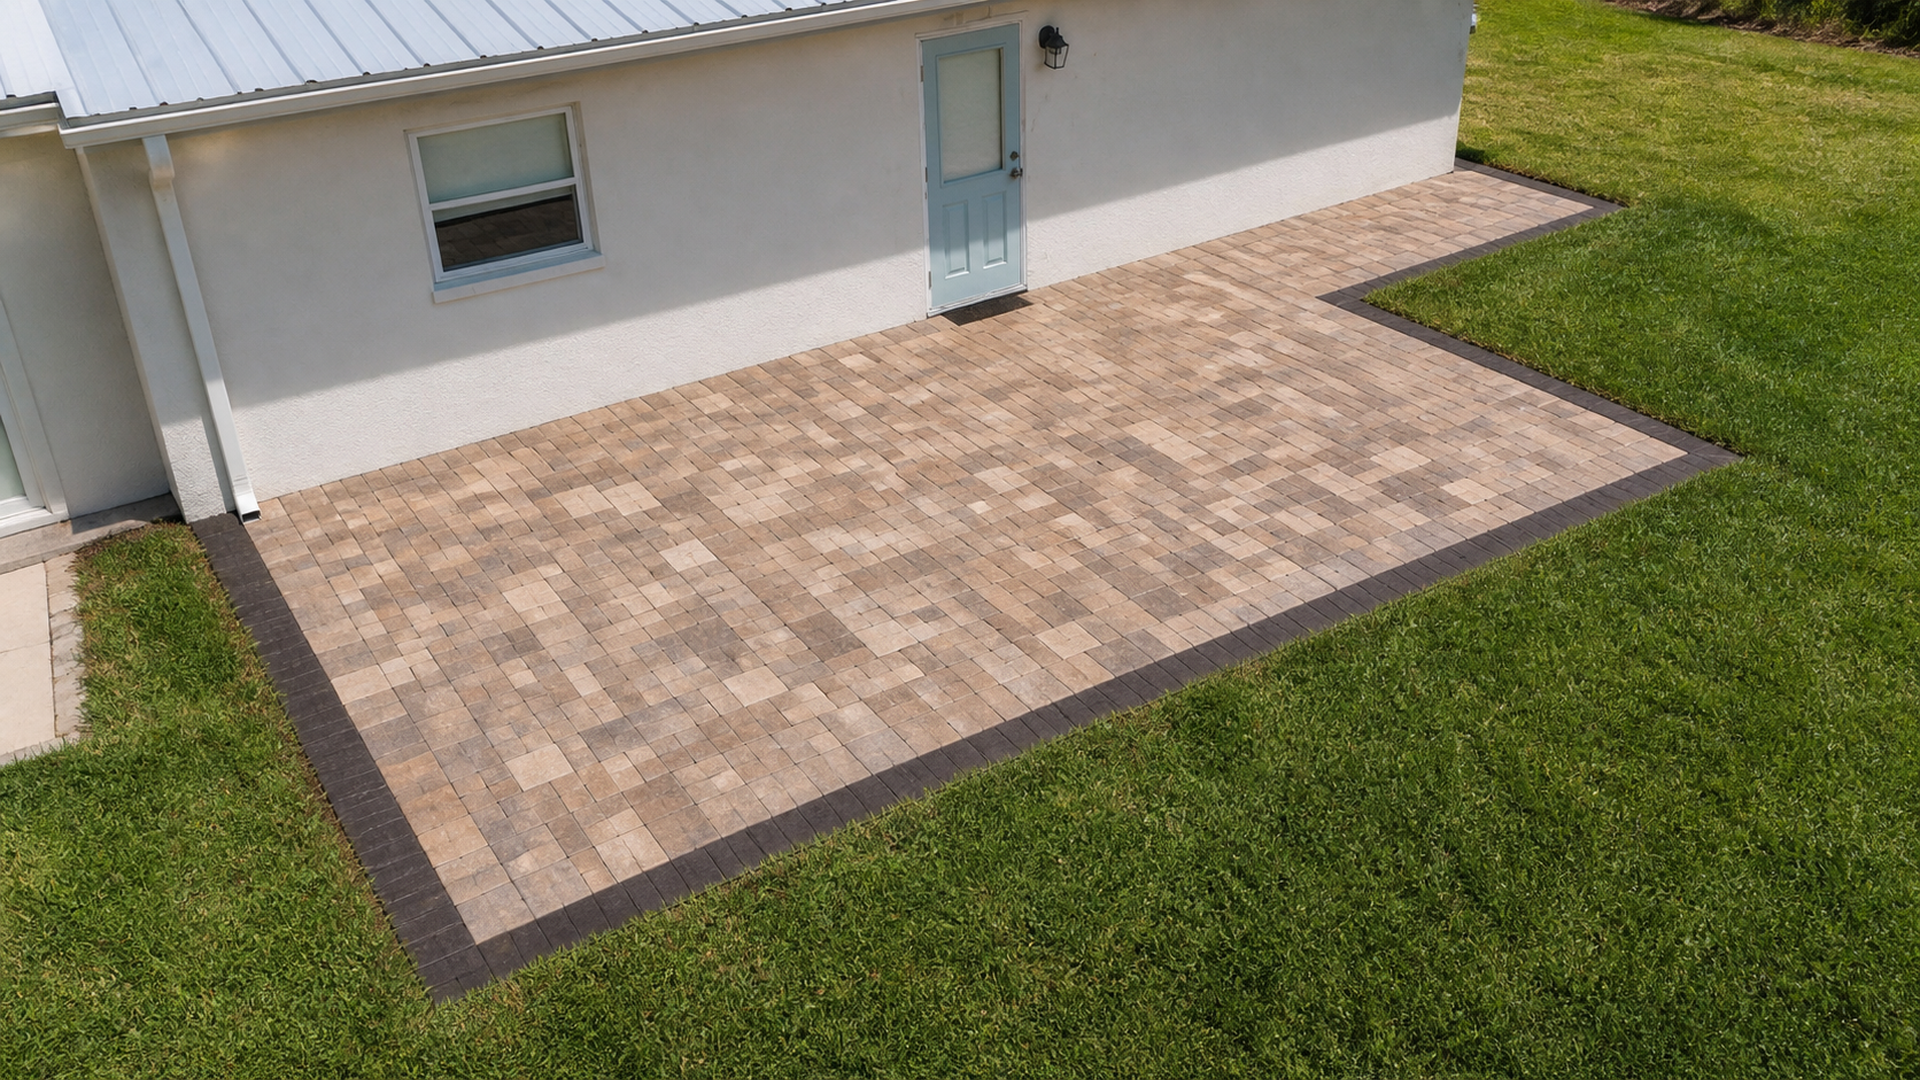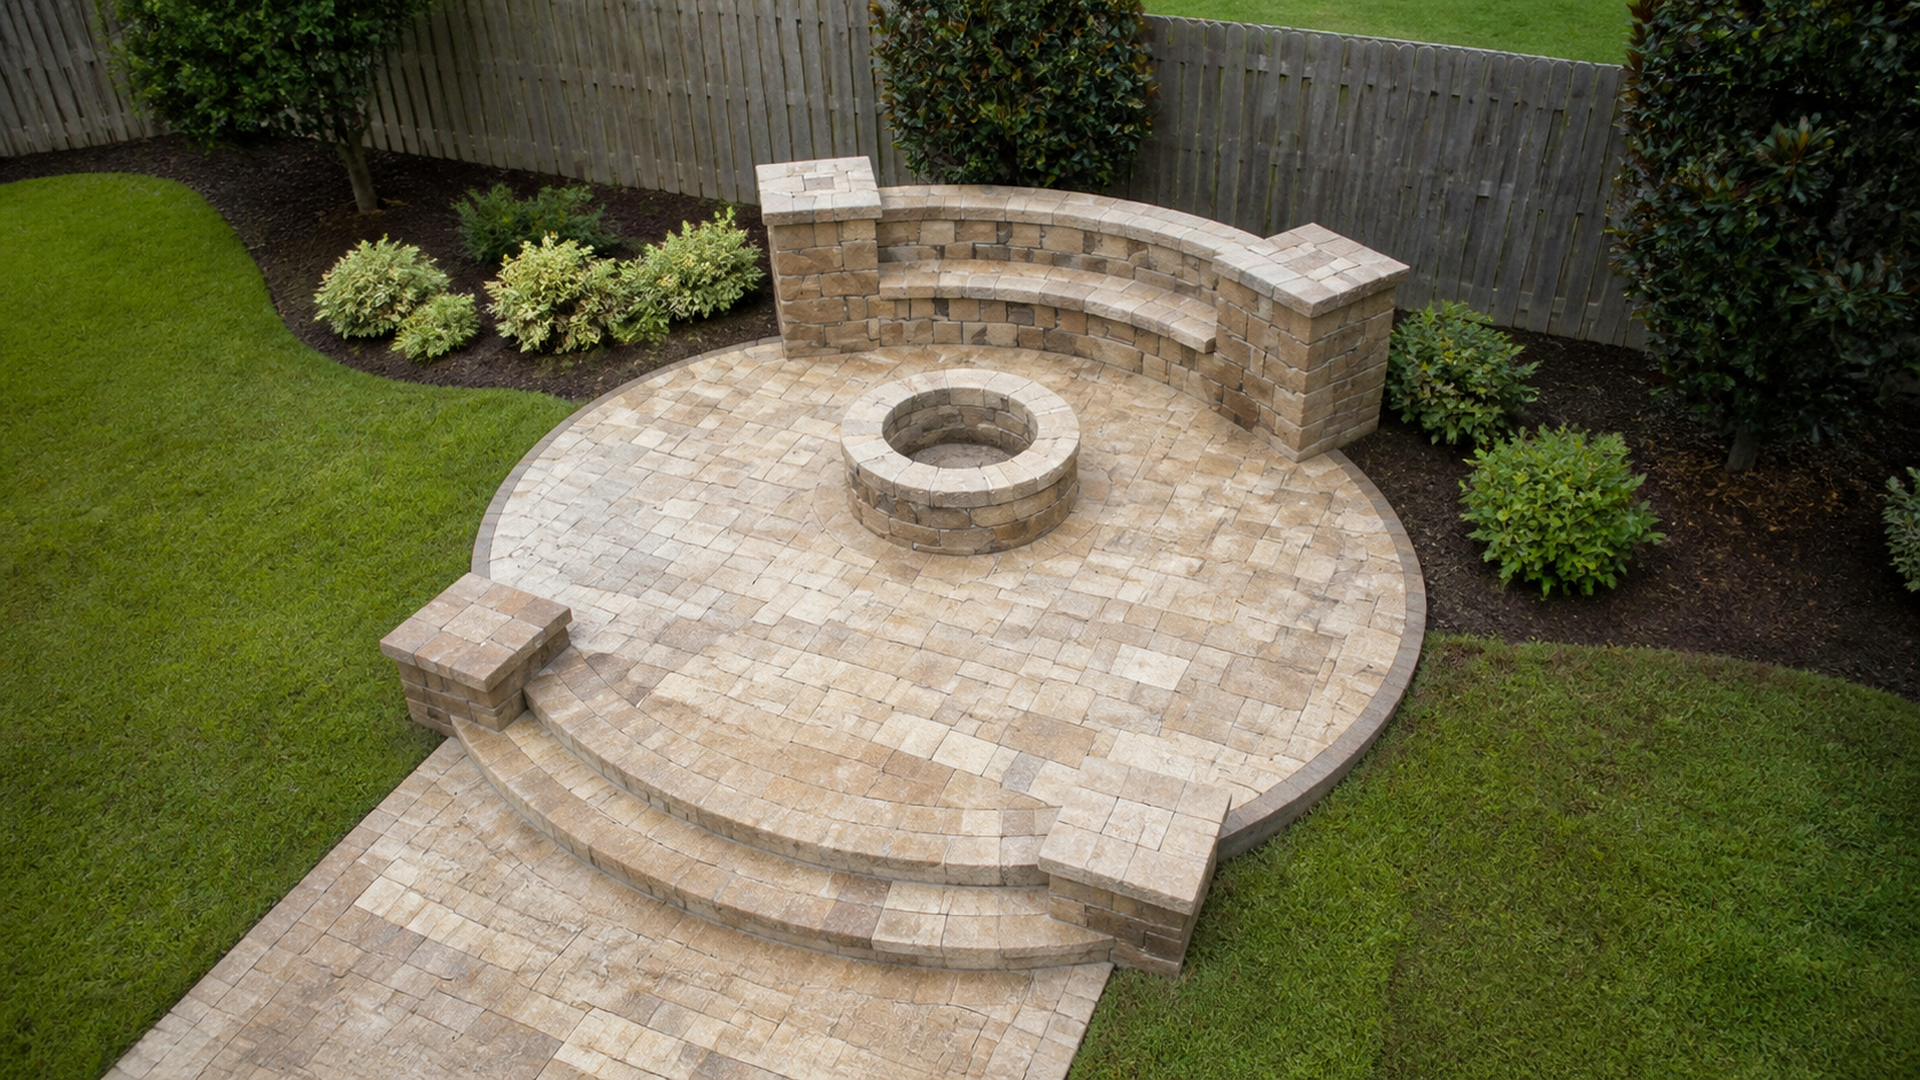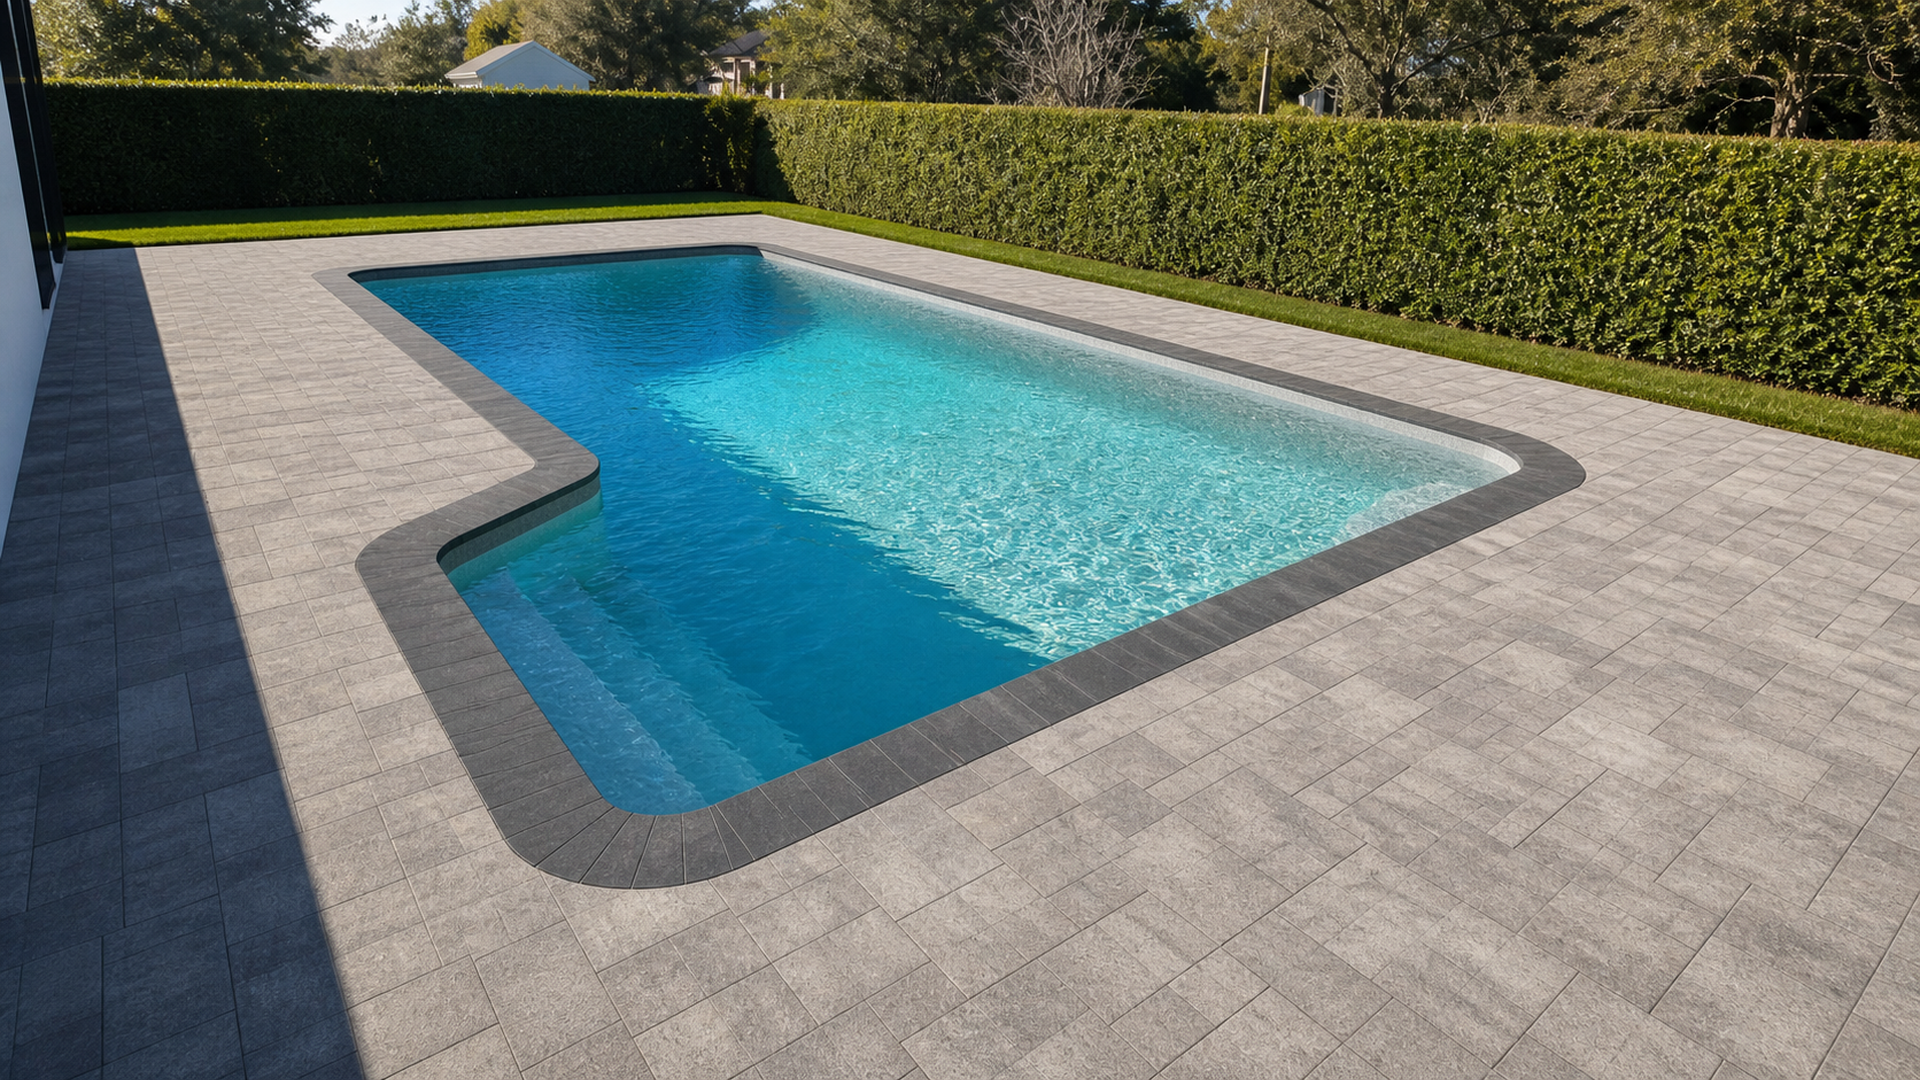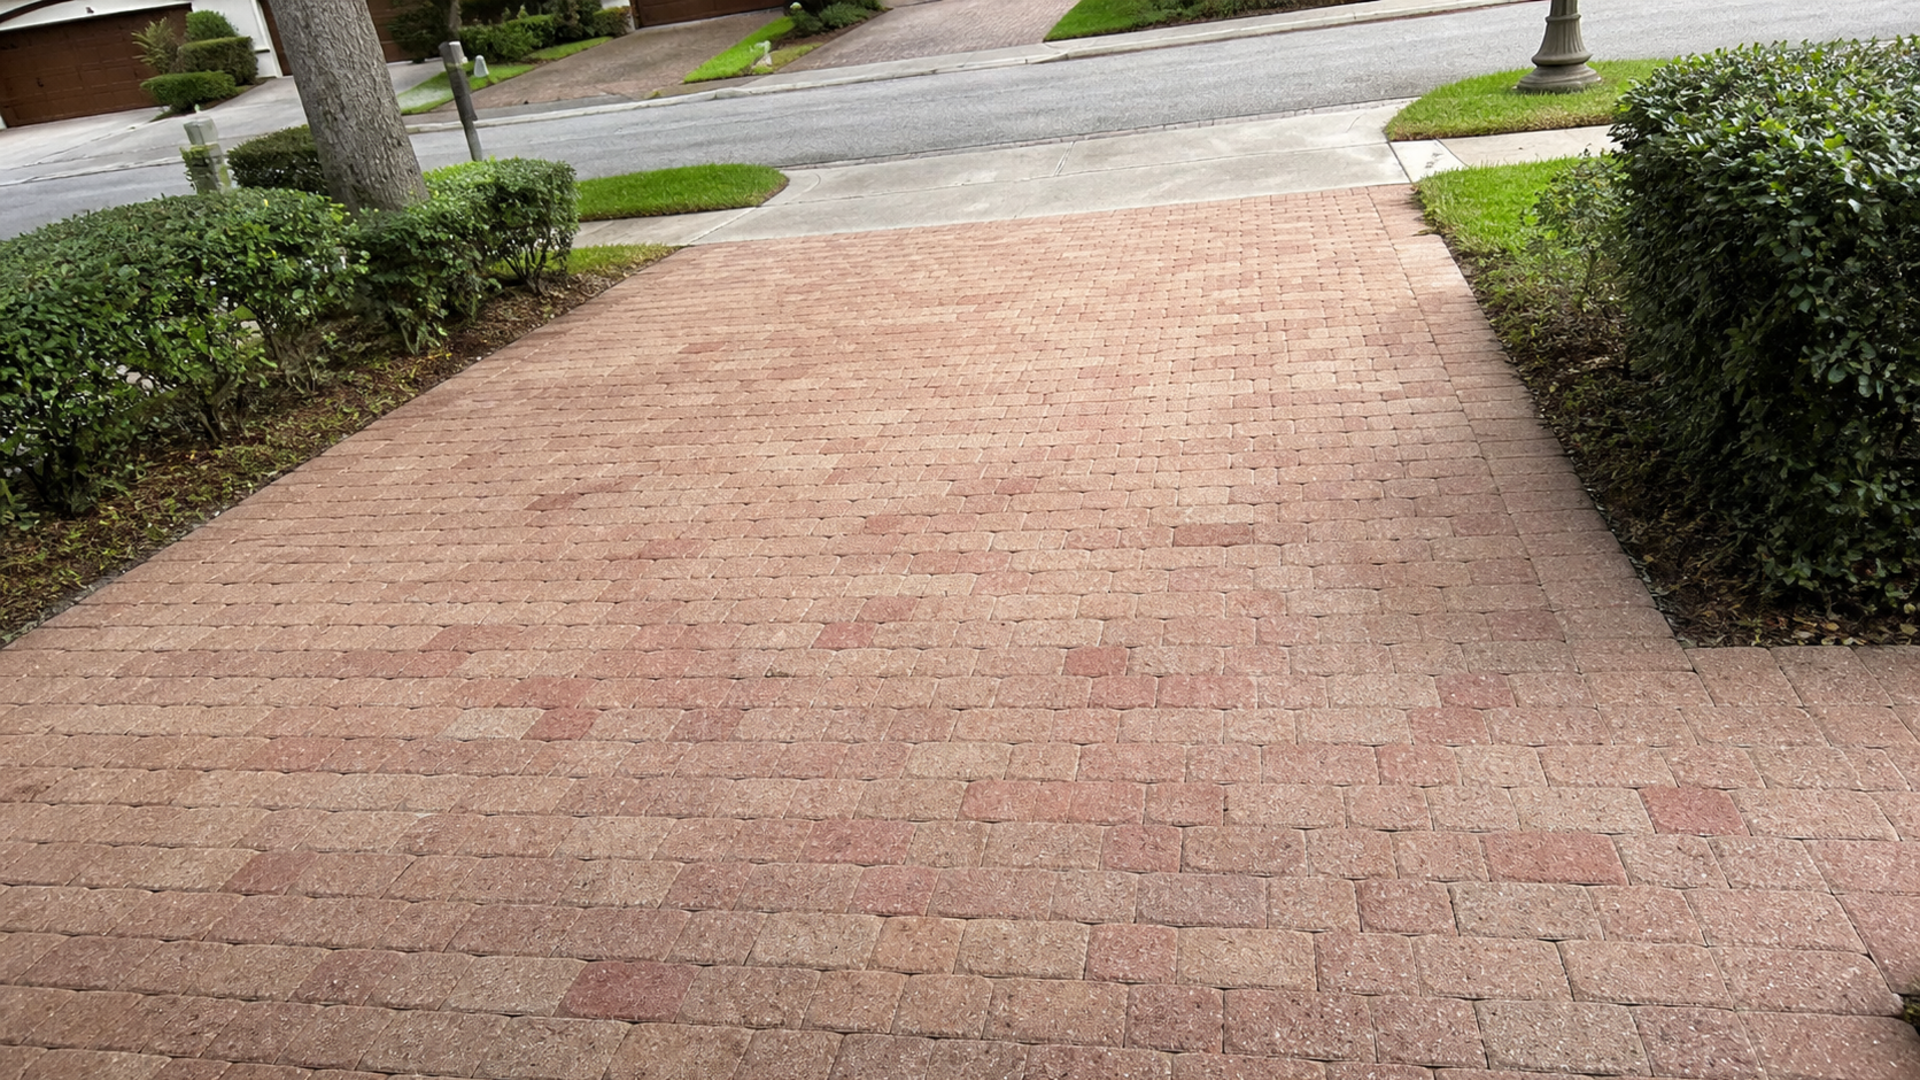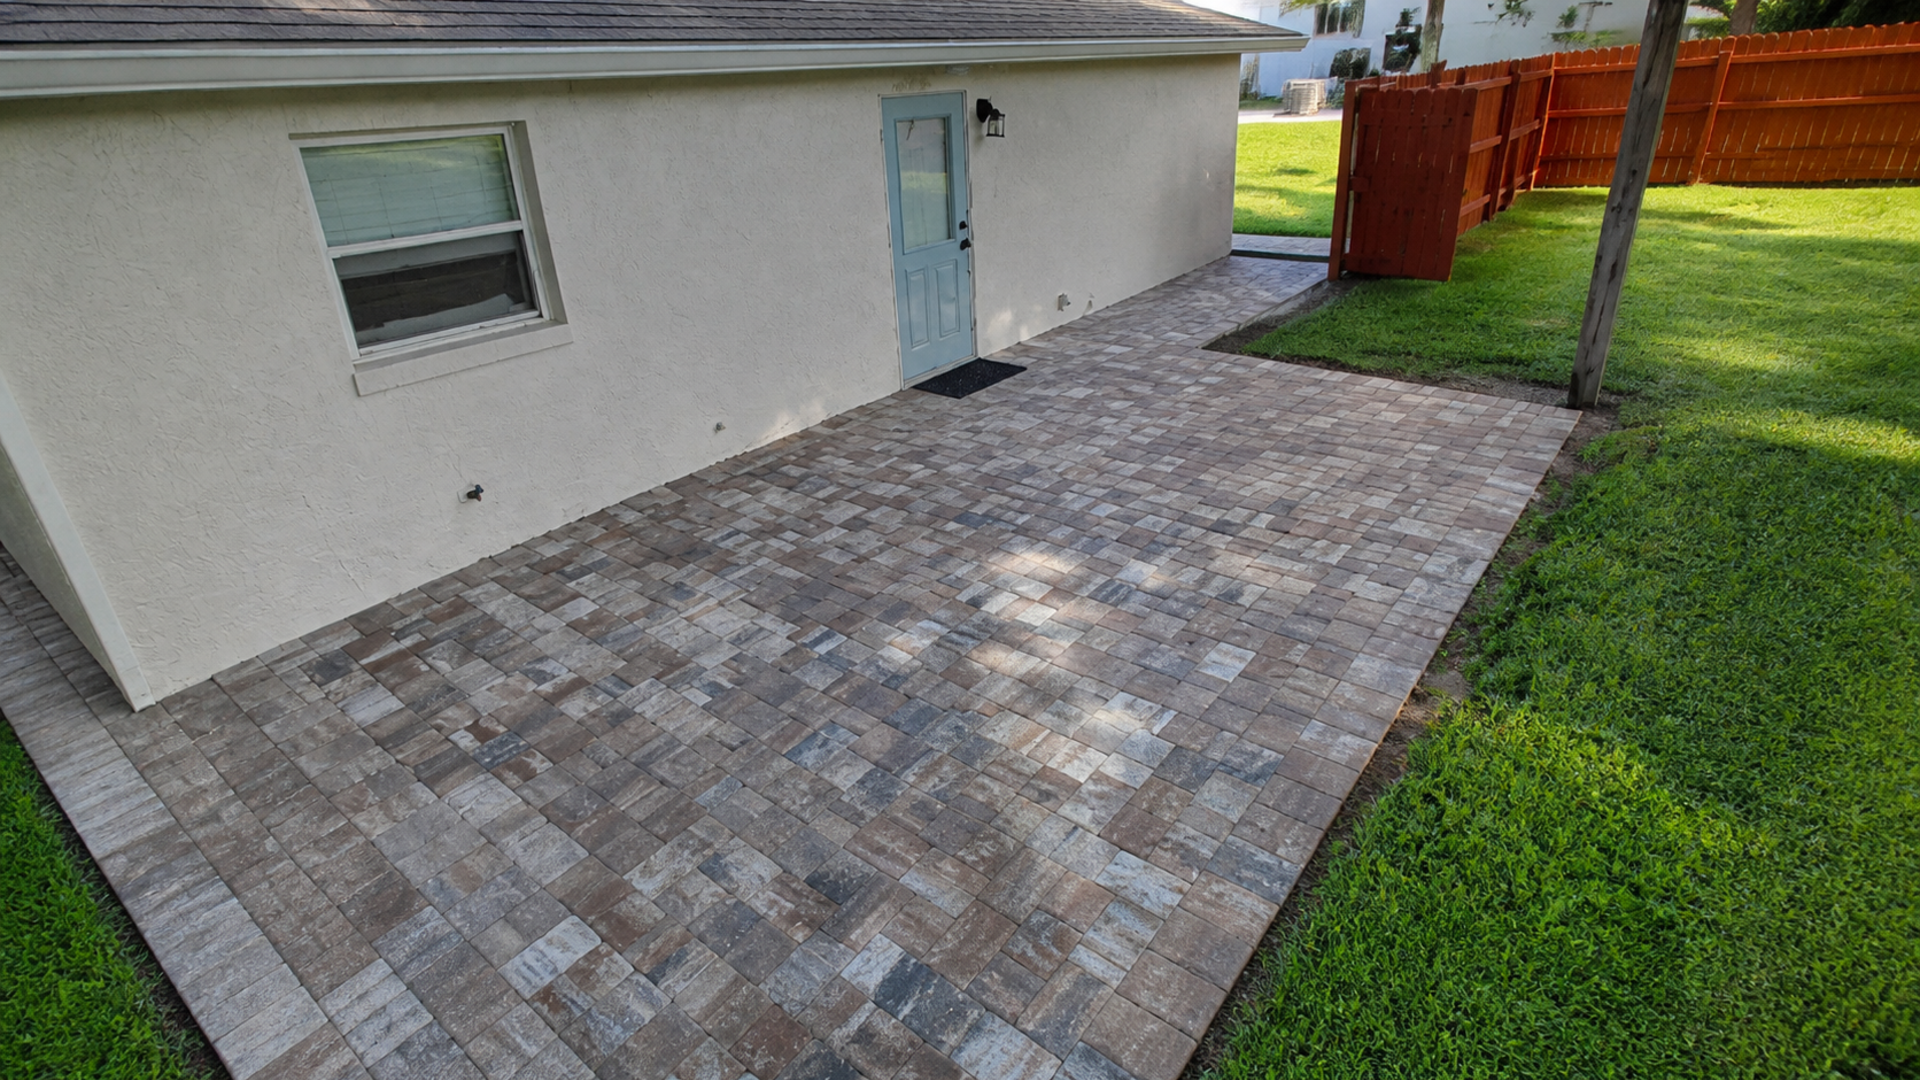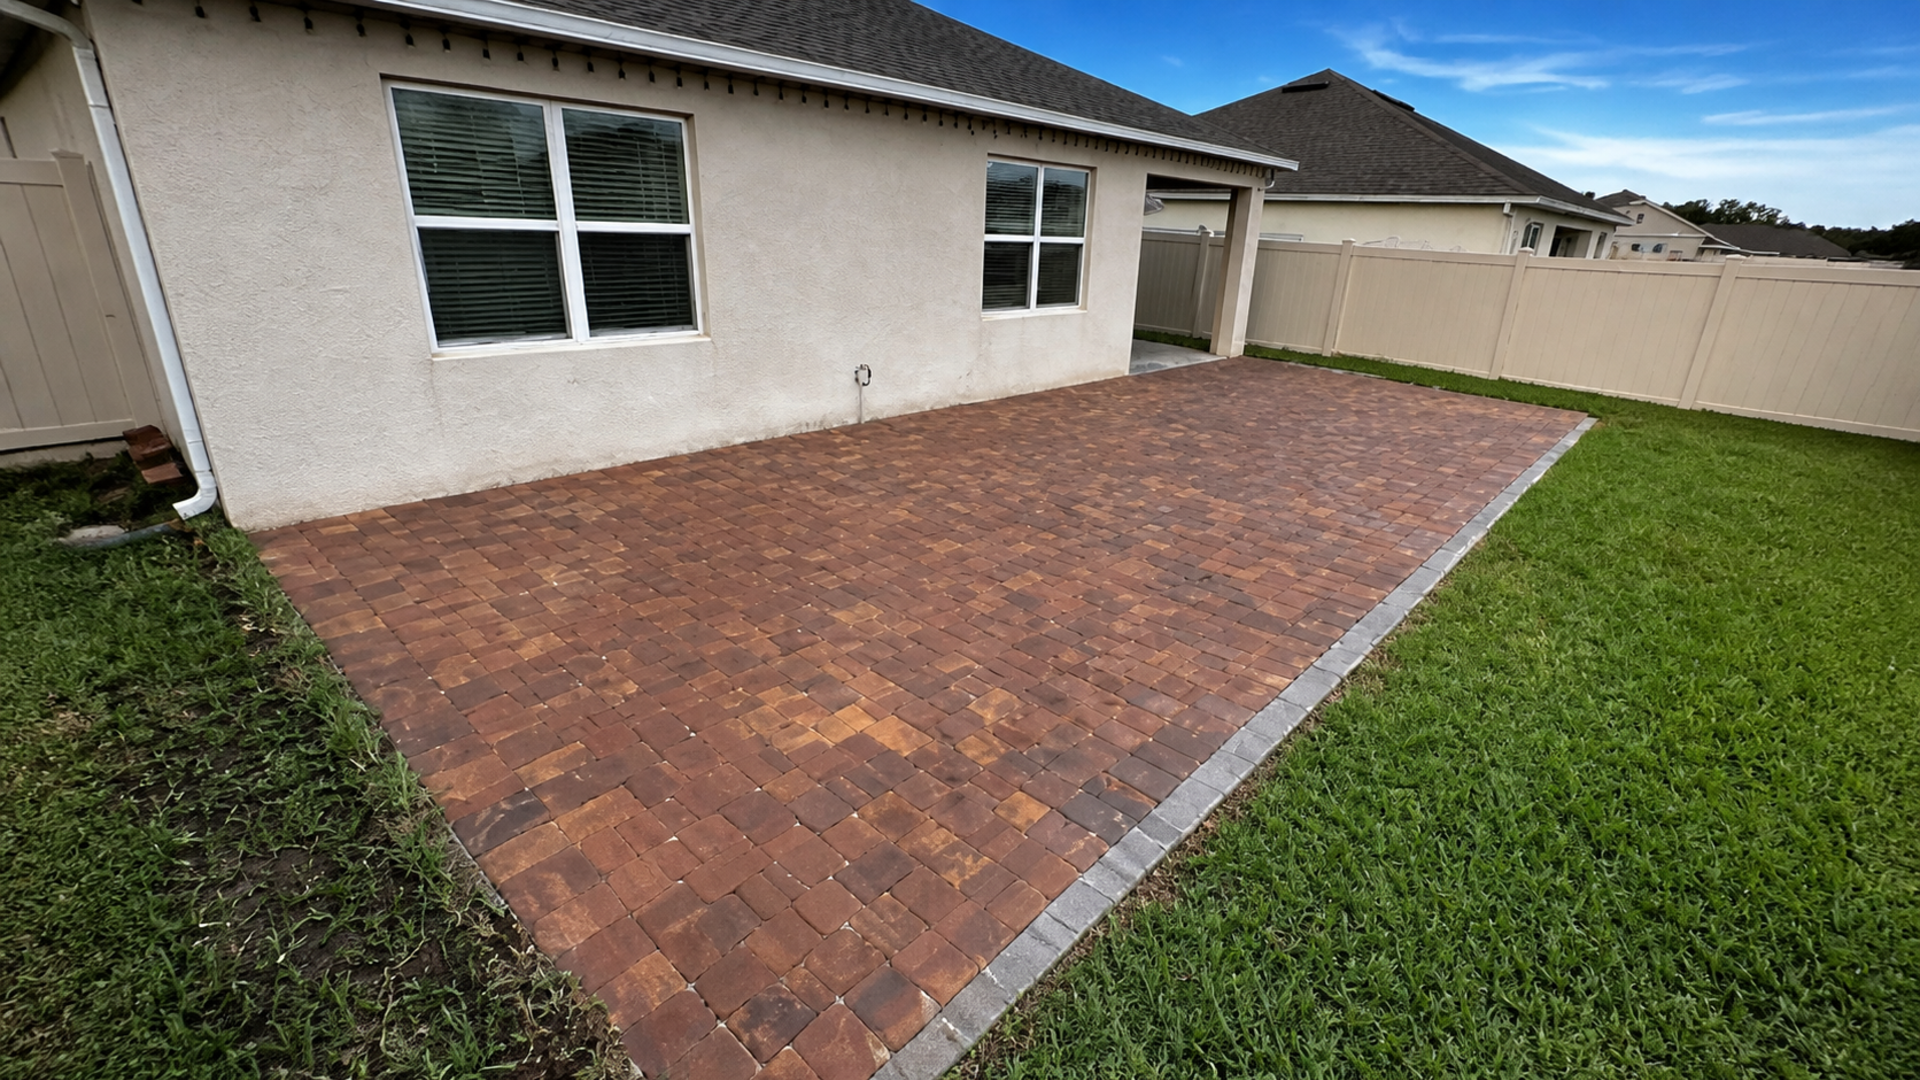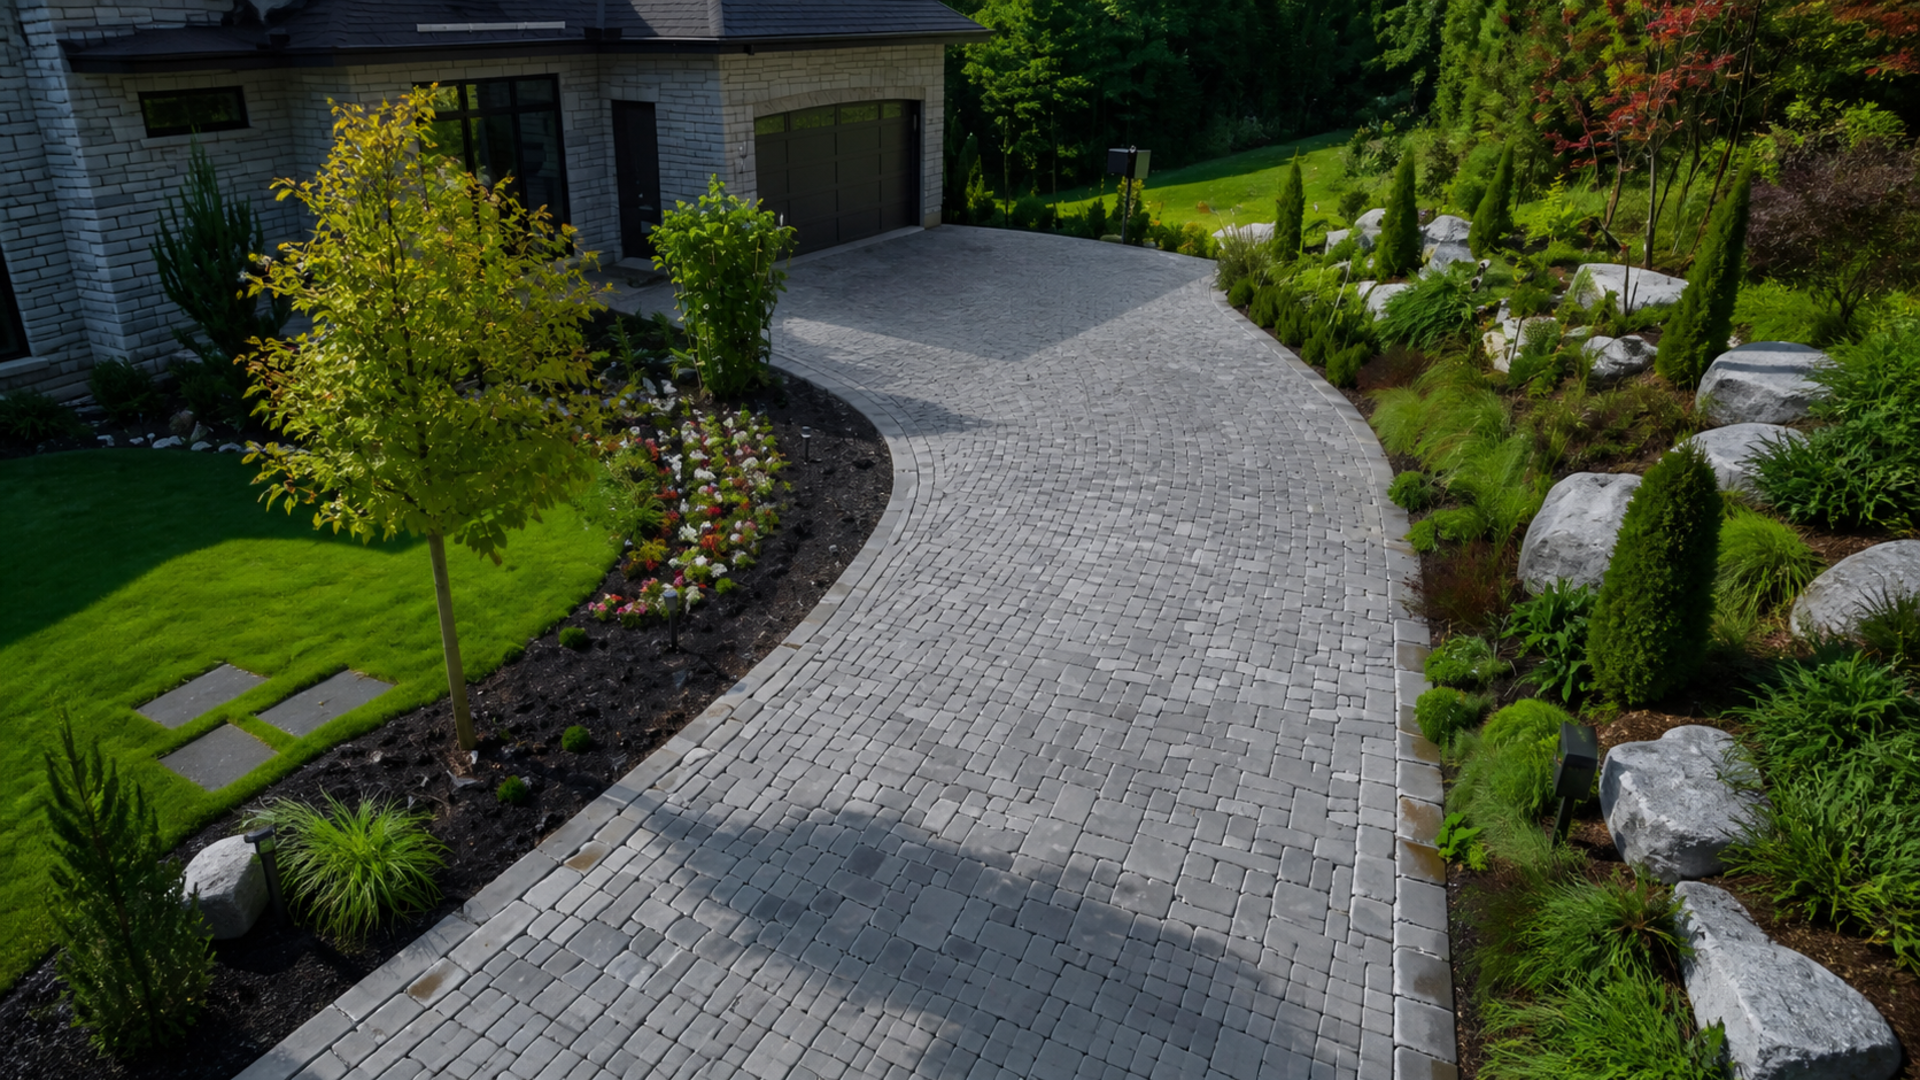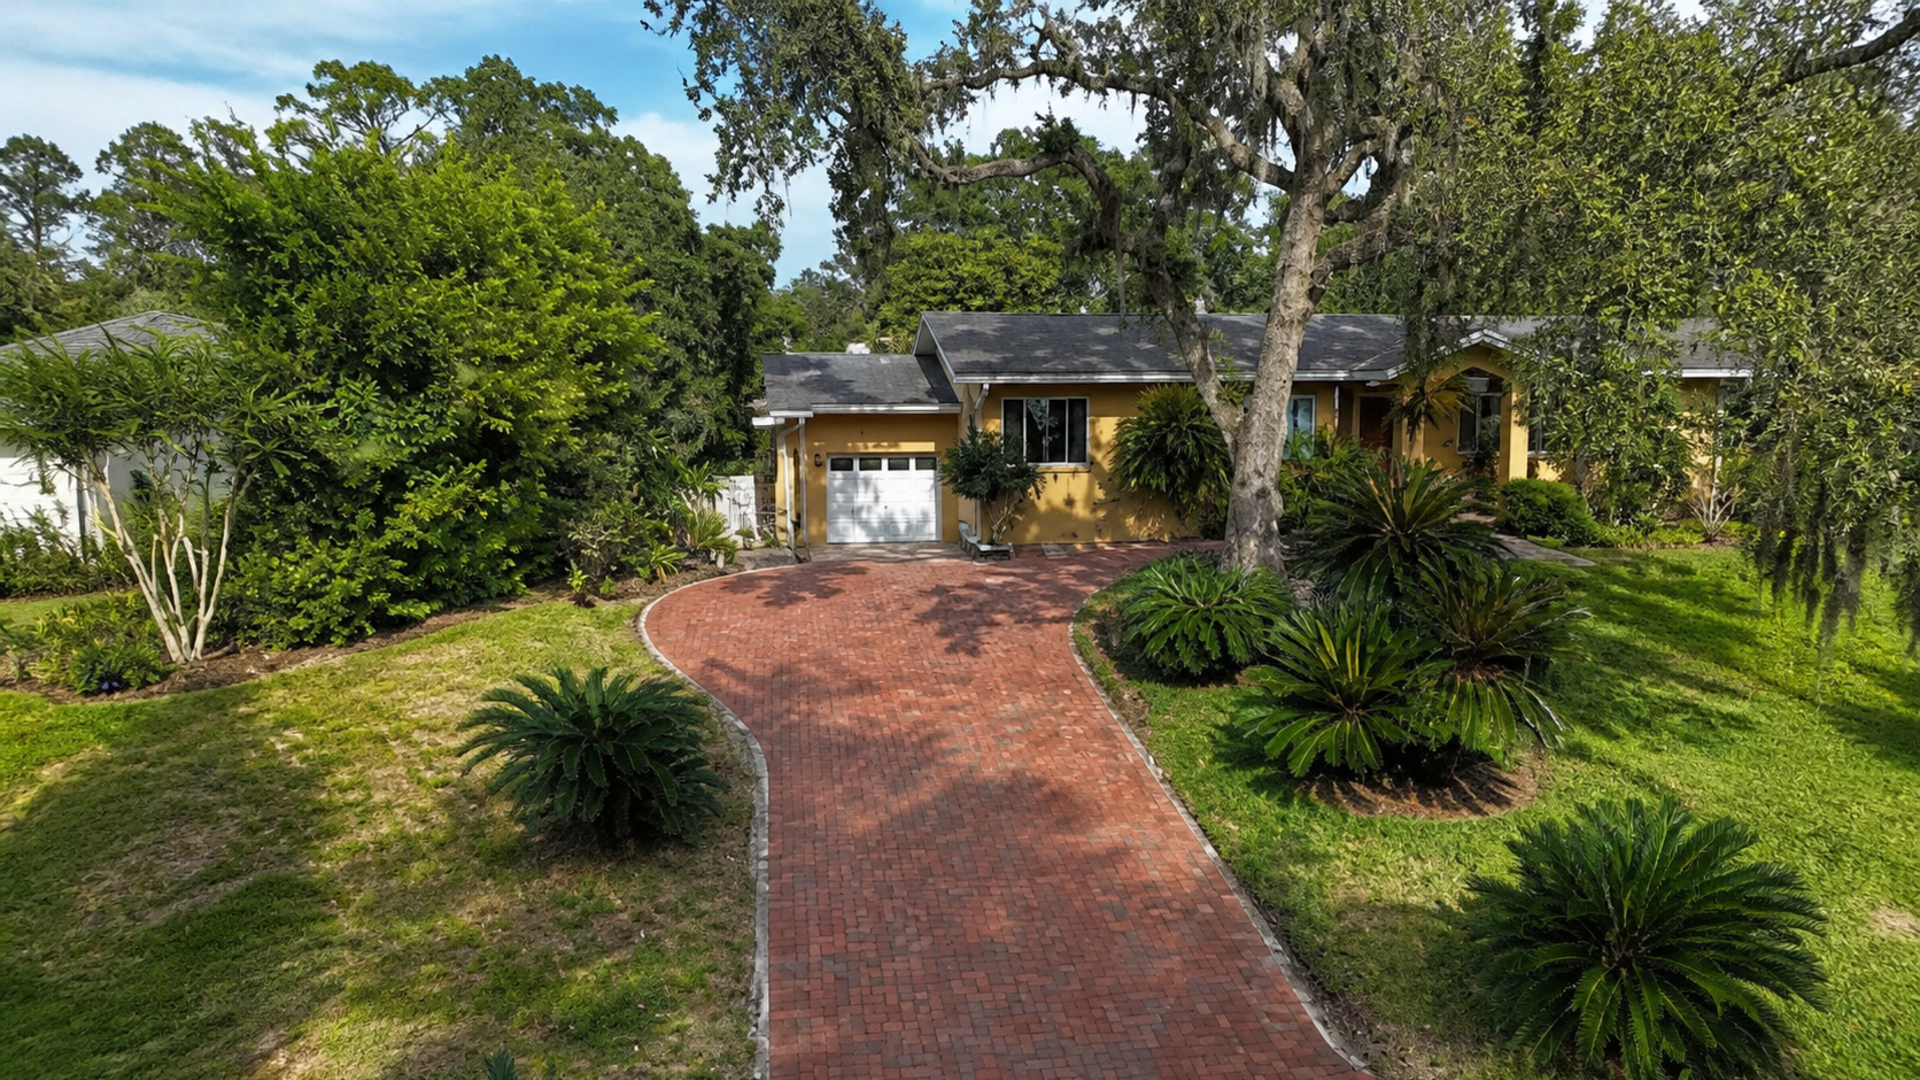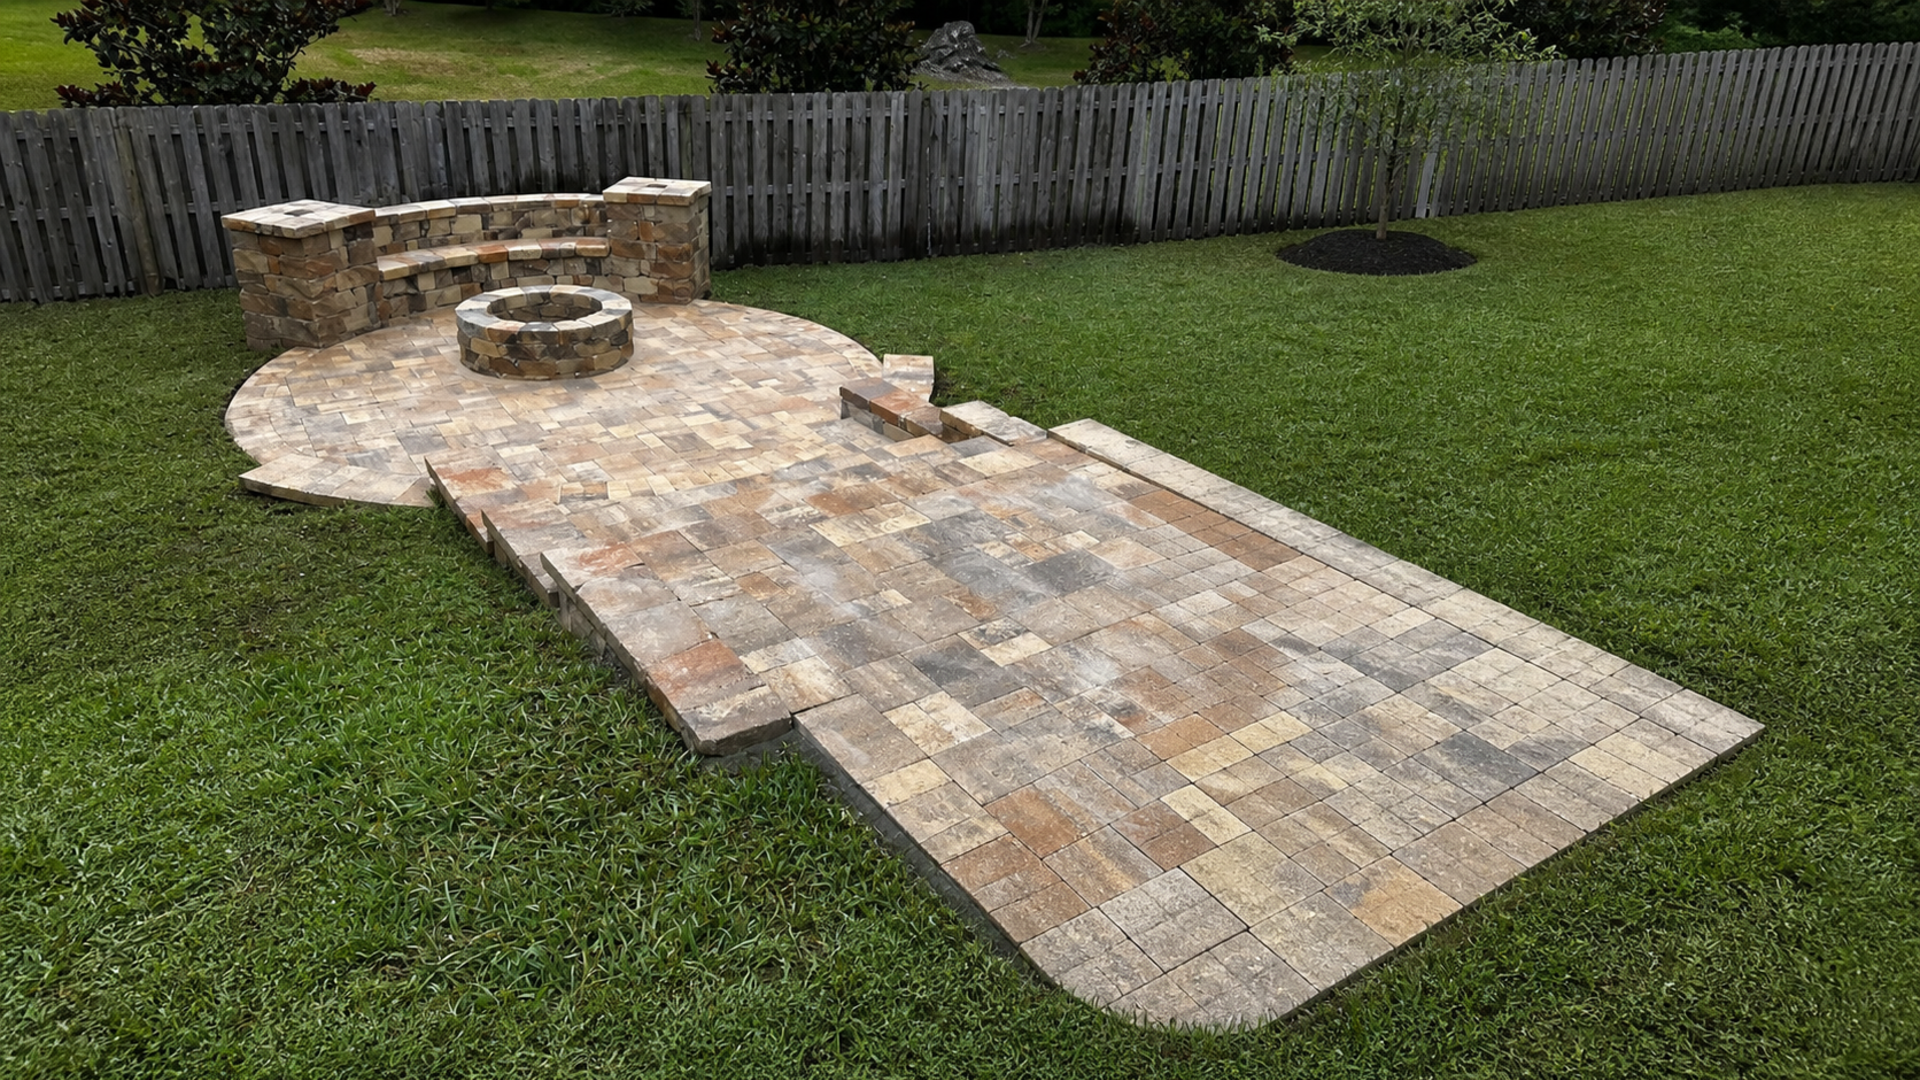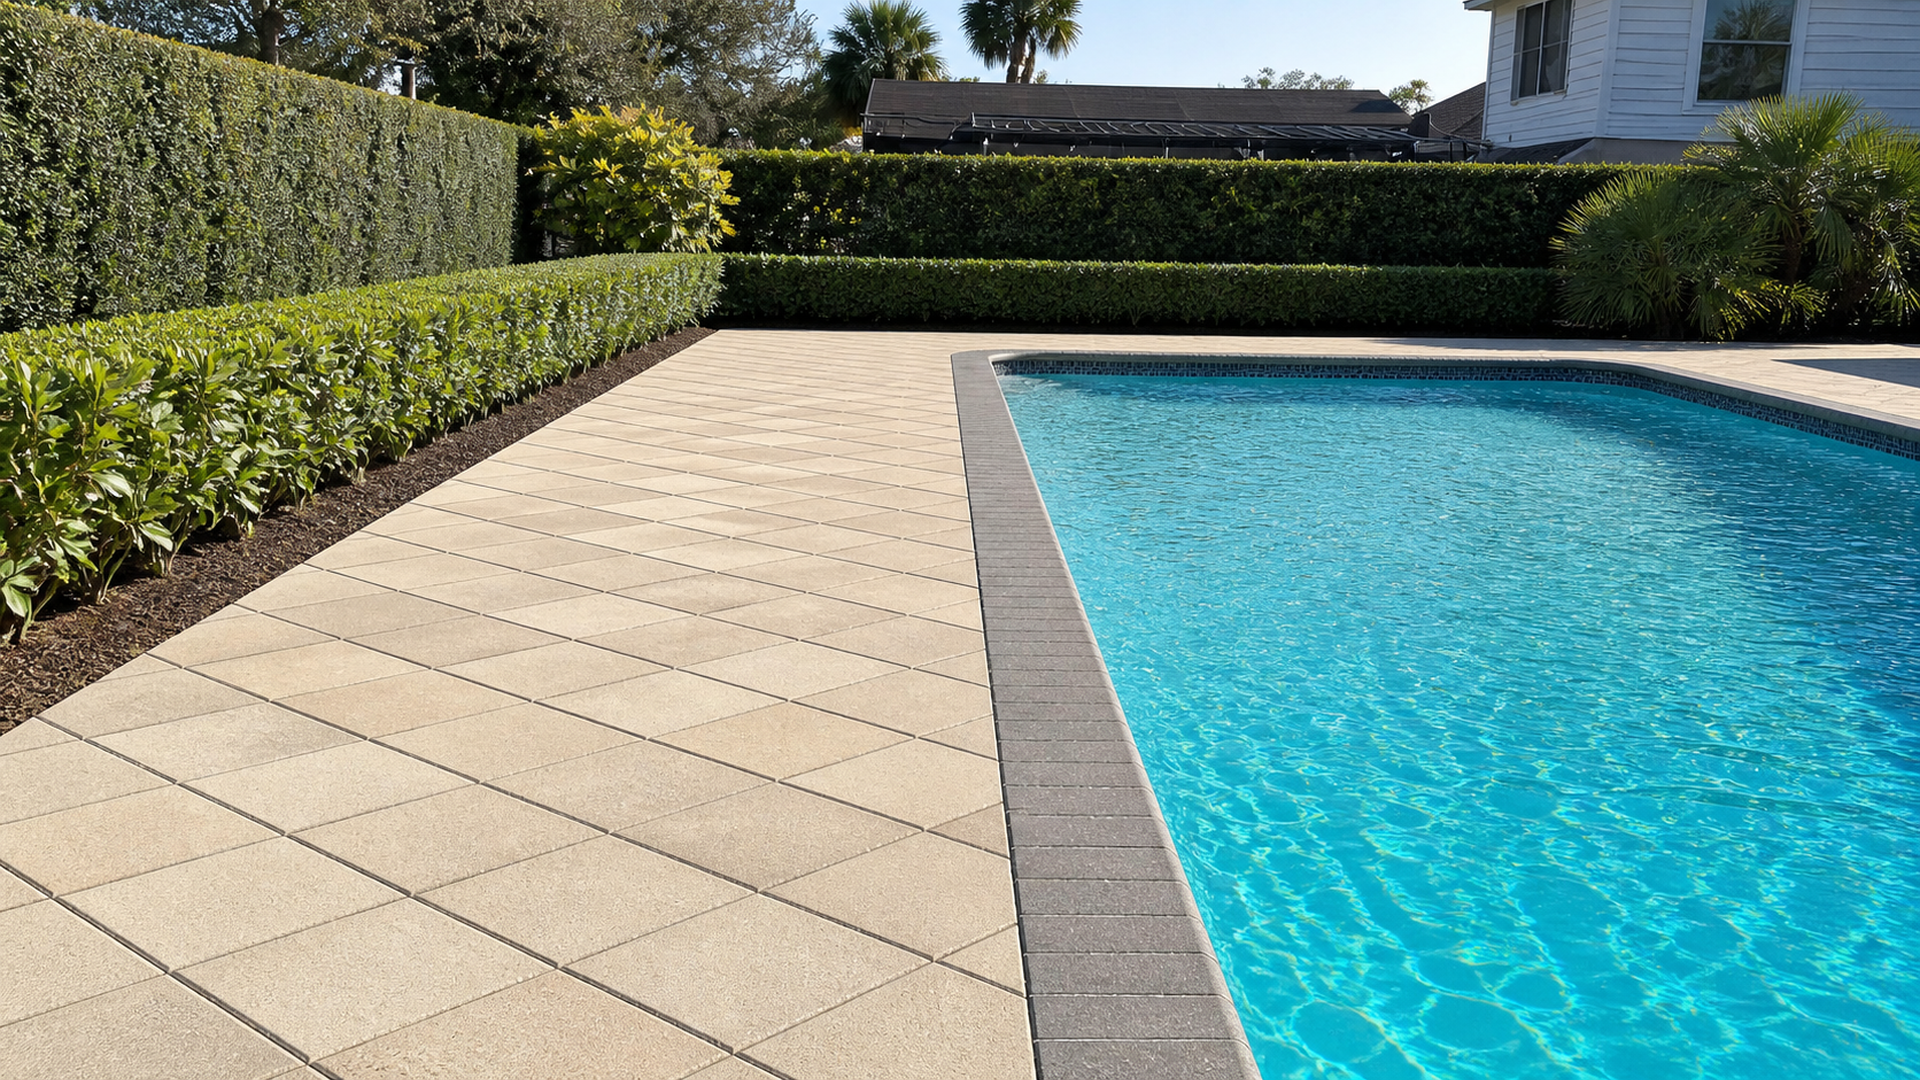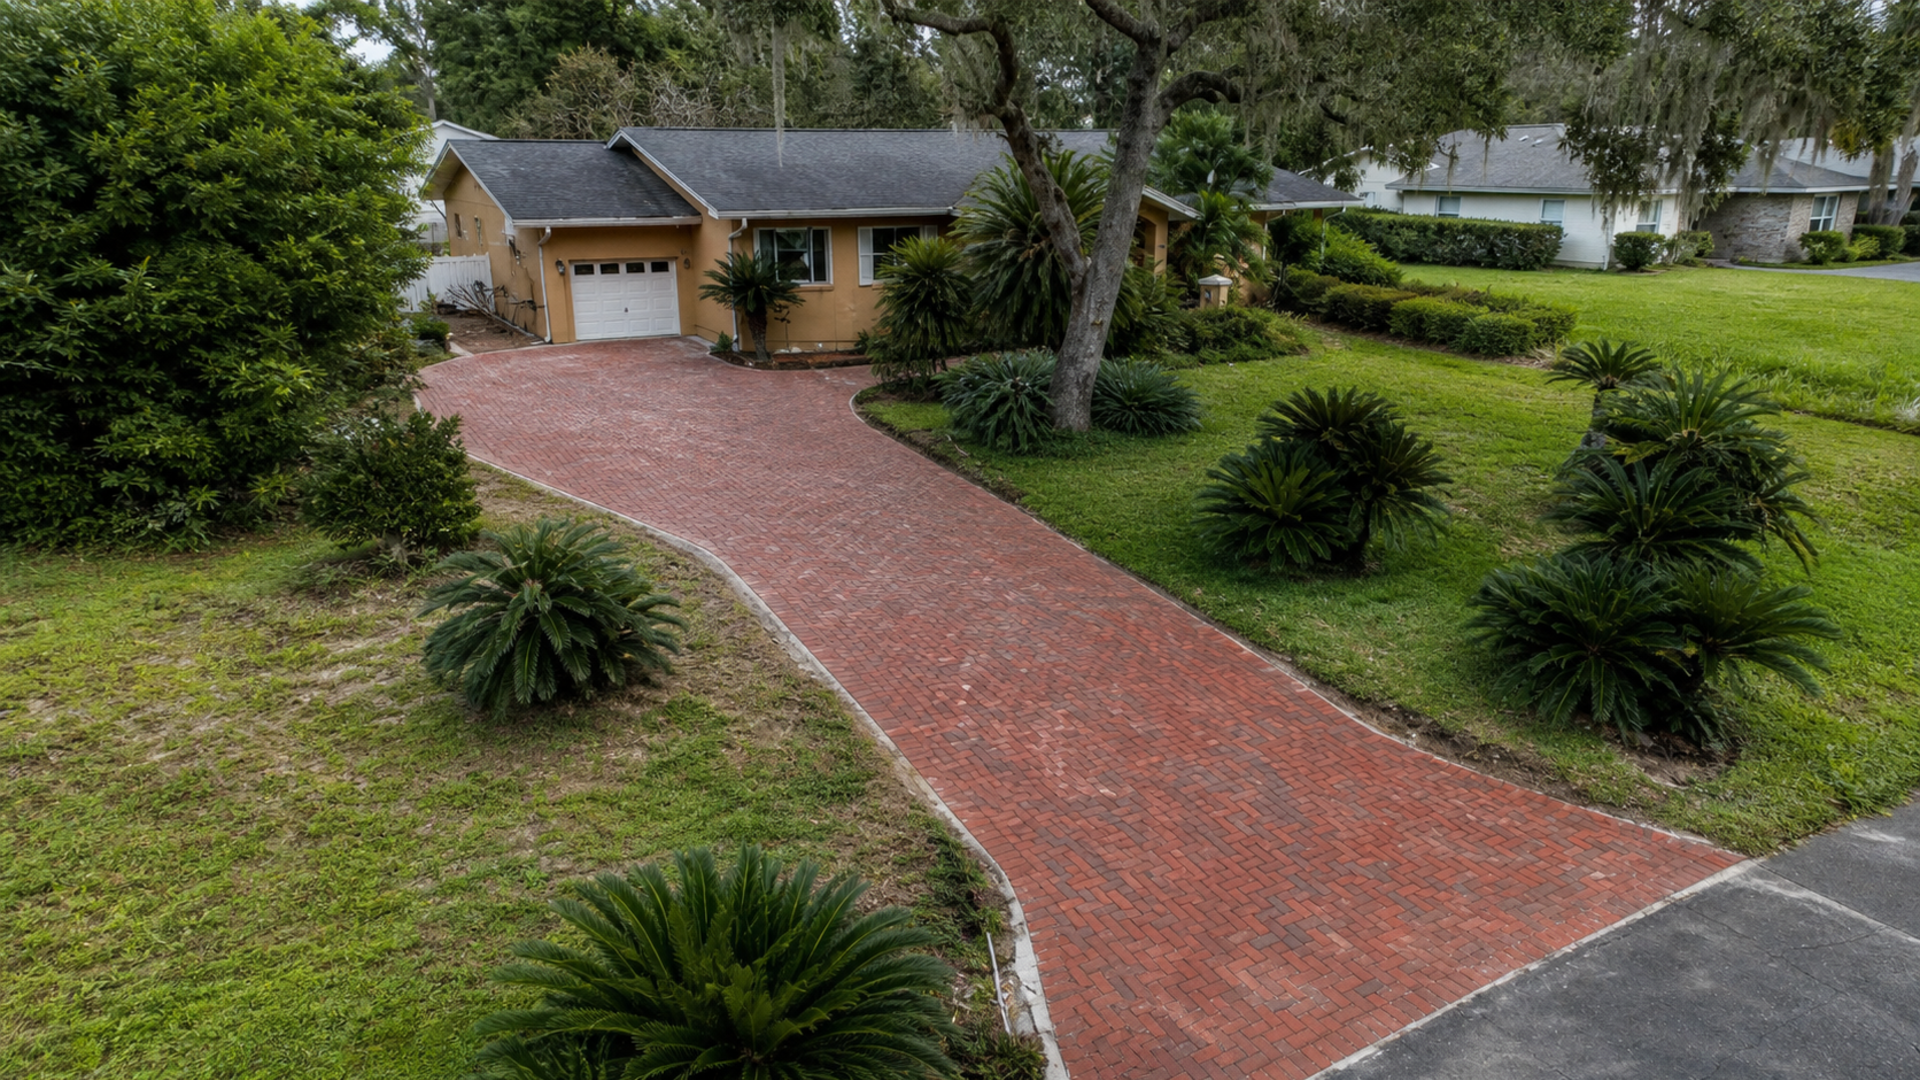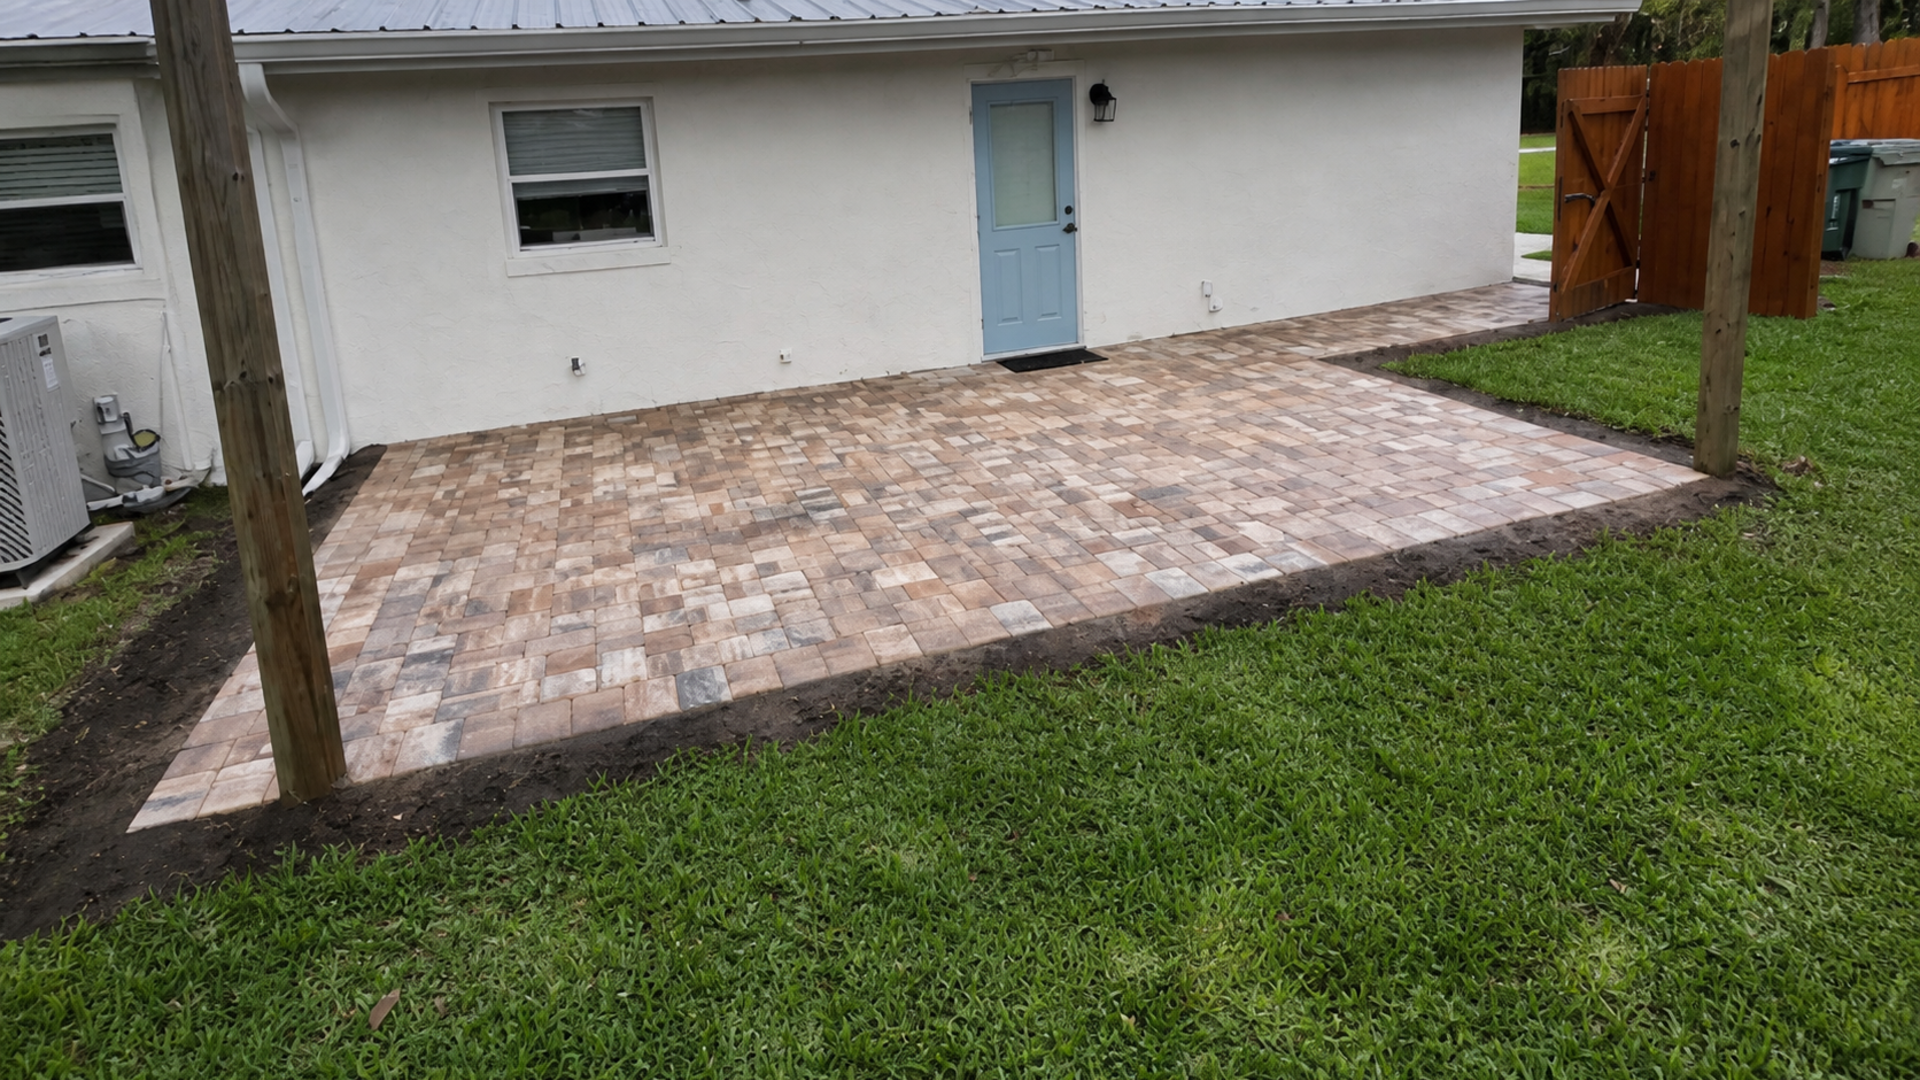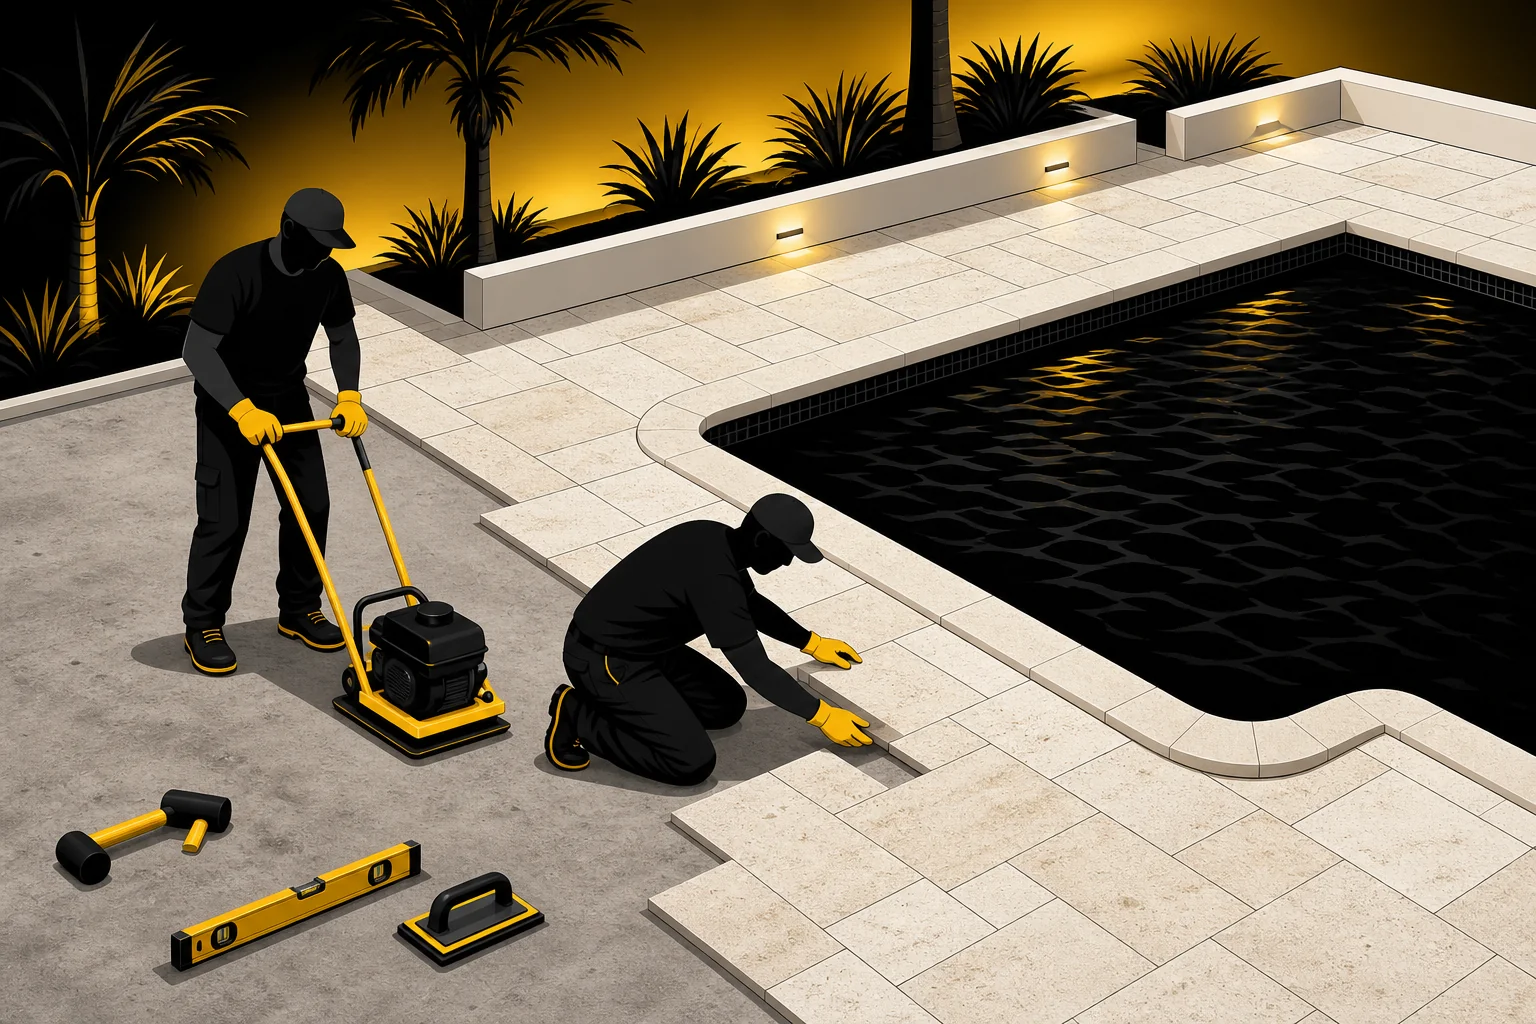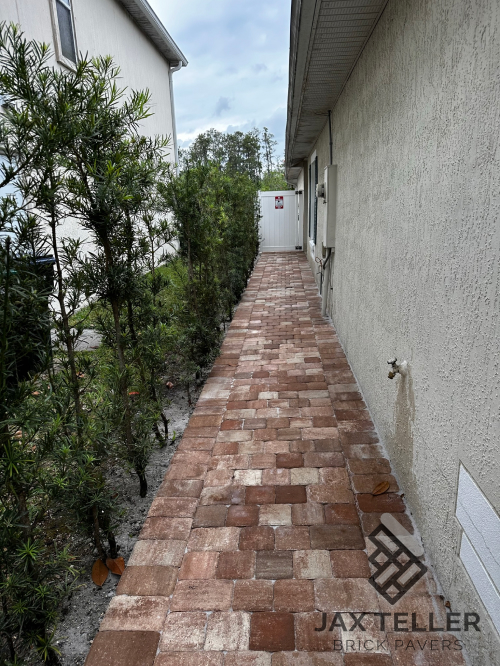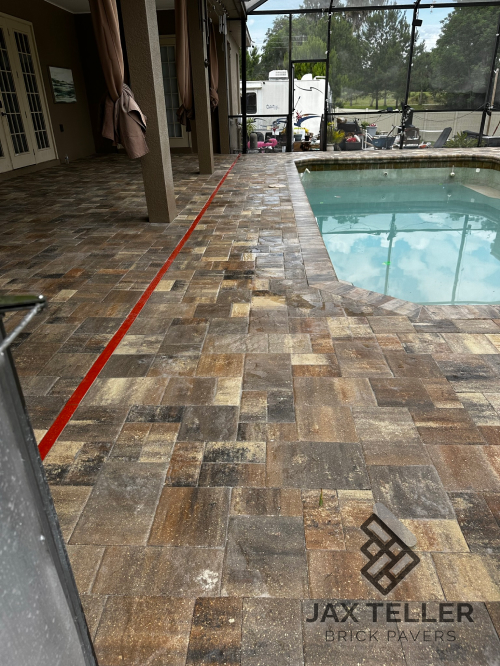

Travertine pool coping and deck pavers create the strongest visual result when the pool rim and walking field follow one coordinated specification. Therefore, the design should resolve edge geometry, stone blend, joints, elevations, and drainage before installation starts. Matching a deck to coping after one element has already been ordered can limit choices. A unified plan treats the transition as the central detail rather than a seam to hide.
The benefit reaches beyond color coordination. For example, coping dimensions influence deck cuts, pattern alignment, movement details, and access for future service. In turn, deck elevations affect how the edge meets drains, doors, screen enclosures, and landscaping. When those decisions develop together, the pool surround feels intentional from the waterline to the outer border.
Plan travertine pool coping and deck pavers from the edge outward
Coping caps the pool perimeter and creates the immediate visual frame around the water. Consequently, its dimensions establish a reference line for the entire deck. A narrow modular piece, a larger-format edge, and a custom-shaped coping unit will each divide curves and corners differently. The deck plan should respond to that module rather than force unrelated joints into the rim.
First, document the pool shape and every fixed interruption. Skimmers, steps, ladders, handrails, raised walls, spillways, and equipment access all affect the coping sequence. In addition, existing pools may have irregular radii or construction tolerances that a simple sales drawing does not show. Field measurements and templates may become necessary before final fabrication or cuts.
Set the travertine pool coping and deck pavers geometry
A clean transition starts with a deliberate coping projection, joint rhythm, and edge profile. However, those details must suit the actual pool assembly and the selected product. A profile that looks refined on a straight sample may behave differently at a tight radius. Therefore, review straight runs, inside corners, outside corners, and curved segments as separate conditions.
- Confirm coping width, thickness, length, edge profile, and expected variation.
- Map skimmers, returns, rails, steps, columns, walls, and water features.
- Decide where joints begin, end, or intentionally change at curves.
- Coordinate the first deck course with the coping module and pool axis.
- Review transitions to drains, door thresholds, enclosure tracks, and landscape borders.
- Identify movement locations with the pool and deck professionals before cutting stone.
Moreover, the drawing should identify which dimensions control. The pool shell, tile line, existing beam, and proposed deck do not always share perfect symmetry. A thoughtful layout can absorb small variation through planned joints or cuts. In contrast, chasing every irregularity with thin pieces can make the edge look restless.
Create color continuity without demanding uniform stone
Travertine naturally includes differences in tone, veining, pores, and movement. Therefore, a unified design does not mean every coping unit must look identical to every deck paver. The goal is a controlled blend that repeats across both areas. A broad sample set gives a more useful preview than one especially attractive piece.
Start by viewing coping and field material together in outdoor light. Then compare the blend with house paint, roof color, pool tile, screen enclosure, and major landscape materials. In addition, wet one portion of the sample temporarily to understand how water changes contrast at the immediate edge. This exercise supports color planning without turning the article into a sealer or maintenance decision.
For a deeper method, our guide to travertine paver color variation explains how sample boards and distribution can turn natural differences into a design asset. Likewise, the coping selection should represent the range expected on the project. Consequently, the installer can distribute light, medium, and expressive pieces rather than discovering the blend at the last pallet.
Blend coping and field as related zones
The coping may use a different format or finish from the field while still belonging to the same palette. For instance, a smoother edge profile can pair with a textured deck when their undertones and visual weight relate. However, confirm product suitability and finish expectations with the supplier and installer. Names alone do not guarantee that two selections came from the same visual range.
During layout, open and stage enough material to see the overall mix. Then distribute strong veins or unusually light pieces across the perimeter and deck. Moreover, avoid placing every distinctive unit at one focal corner unless the design calls for it. Controlled randomness requires active arrangement, not blind installation from one crate.
Coordinate movement at the coping-to-deck transition
A pool and its surrounding deck can move in different ways. Because of this, movement details should not be improvised as decorative grout lines. The pool professional, deck installer, and other relevant specialists should coordinate the separation or joint approach for the specific assembly. Product instructions and project conditions must guide the final detail.
Rigidly bridging a location that needs accommodation can transfer stress into stone, joints, or adjacent work. On the other hand, a poorly located visible joint can interrupt the design. Therefore, the layout should integrate required movement locations into the coping module and deck pattern. Technical performance comes first, but careful alignment can keep the detail visually calm.
Existing pools deserve special caution because hidden conditions may not match current assumptions. For example, removal can reveal beam repairs, previous overlays, hollow areas, or unusual interfaces. The scope should allow evaluation before new material conceals those conditions. Any concern involving the pool structure needs an appropriately qualified pool or structural professional.
Resolve the waterline and deck plane together
The coping edge visually meets the waterline tile, while its top meets the deck. Consequently, thickness and elevation choices affect both faces. A change at the rim can expose an awkward tile cut or create a difficult deck transition. Before installation, review the vertical section instead of relying only on a plan view.
This section should show the proposed coping, setting assembly, tile interface, adjacent deck, and movement detail concept. In addition, it should identify how surface water moves away from occupied edges and where drains fit. Exact construction requirements depend on the existing pool and selected systems. Therefore, qualified professionals must confirm the site-specific assembly.
Keep cut pieces purposeful near the rim
The first deck course often determines whether the transition looks composed. Therefore, test the pattern against long straight runs and prominent sight lines before making repetitive cuts. A border course can absorb a field pattern cleanly, but it should relate to coping dimensions. Thin slivers or rapidly changing joints usually signal that the layout needs another pass.
Curves require a separate strategy because rectangular units create wedge-shaped joints or cuts. For example, a skilled layout may use purpose-made coping, measured segments, or controlled radial cuts. The appropriate method depends on the radius and product. Mocking up a representative curve can reveal the visual rhythm before the most visible work begins.
Make drainage part of the unified design
A coordinated pool surround directs ordinary surface water without undermining the visual frame. However, travertine itself does not make the deck permeable. Joints, slope, drains, base, edges, and discharge location work as one drainage system. The layout should preserve that system while keeping cuts and drain placement orderly.
In addition, our article about travertine paver drainage benefits explores how modular stone can support deliberate water management when the complete assembly is designed correctly. In this coping discussion, the key point is coordination. Drains should meet the deck plane, and runoff should not concentrate at the pool rim or a vulnerable edge. The approved drain layout should also preserve clean stone modules and practical inlet access.
In addition, roof water, screen-enclosure channels, raised features, and landscape runoff may enter the same area. A pool deck plan must account for those sources and a lawful outlet. Site-specific stormwater or code questions may require a qualified drainage professional or local authority. A beautiful stone transition cannot compensate for an unresolved discharge path.
Preserve access for future localized work
Modular deck pavers can allow localized lifting when the installation and joint strategy permit it. Therefore, document the pattern, material identification, and concealed conditions after construction. Keep labeled spare coping and field pieces from the project blend. Future owners and service professionals will benefit from that record.
Coping replacement can be more sensitive because it meets the pool structure and waterline. Nevertheless, spare units improve options when a piece becomes damaged or another trade needs access. Store them dry and protected, and record their intended location. A few random leftovers without product information offer less value.
Replacement may not become visually invisible because installed stone changes with exposure. However, a project-specific reserve usually matches dimensions and original range better than a later search. In addition, photographs taken before furniture arrives can preserve joint and color distribution. Repair access begins with documentation, not after damage occurs.
Unified coping-and-deck review checklist
- Survey the edge: measure straight runs, curves, corners, steps, skimmers, rails, and raised features.
- Select a coping module: confirm size, profile, finish, variation, and curved-condition strategy.
- Build the stone blend: review coping and deck samples together against tile and house finishes.
- Lay out the first course: align deck joints, borders, and focal axes with the pool rim.
- Coordinate movement: obtain project-specific direction before setting stone across interfaces.
- Check the section: resolve waterline tile, coping thickness, deck elevation, and drainage plane.
- Map water paths: include drains, roof discharge, landscape runoff, edges, and lawful outlet.
- Protect future access: save labeled spares and photograph concealed details and final patterns.
Use this checklist before approving final material quantities. Moreover, ask each responsible trade to identify assumptions that affect another part of the pool surround. One unresolved elevation can ripple through tile, coping, deck, and drainage. Early coordination costs less than redesigning a finished transition.
Coordinate ordering, mock-ups, and approvals
Travertine pool coping and deck pavers should be reviewed together before the final order is released. Therefore, confirm quantities, expected variation, special shapes, lead-time assumptions, and replacement pieces as one package. A shortage of radius coping can interrupt the entire perimeter even when plenty of field stone remains. Likewise, an unreviewed batch difference can weaken the intended color relationship.
A small project mock-up can combine coping, the first deck course, joint treatment, and representative color range. In addition, include the most difficult curve or corner when practical. Photograph the approved arrangement in consistent light and record any limits. Consequently, installer and homeowner share a visual standard before the full pool edge is committed.
Frequently asked questions
Must coping and deck pavers come from the same product line?
Not necessarily. However, dimensions, finish, color range, and technical suitability must work together. View representative samples outdoors and confirm availability before ordering. Therefore, select by the complete transition rather than a matching product name alone.
Can the deck pattern align perfectly around every curve?
Curves naturally change joint geometry, so perfect repetition may not be realistic. Instead, a deliberate radial or segmented layout can create a controlled rhythm. Mock up the tightest curve first. Consequently, the project team can approve the visual standard before completing the perimeter.
Should the coping be lighter or darker than the deck?
Either relationship can work because architecture, tile, stone range, and design intent affect the choice. In particular, view samples in the pool area’s real sun. A subtle shift may frame the water without looking disconnected. Strong contrast requires more careful control across curves and corners.
Who should define the movement detail?
The responsible pool, deck, design, and structural professionals should coordinate it as the project requires. Therefore, homeowners should not rely on a decorative sketch or generic rule. Existing construction and selected systems matter. The final detail should follow qualified project-specific direction.
How many spare stone pieces should I keep?
The useful quantity depends on formats, cuts, blend, storage, and project size. However, include both field and special coping units where practical. Ask the installer to recommend a project-specific reserve. Then label the material and retain product records with completion photos.
Bring the pool edge and deck into one conversation
JaxTeller Brick Pavers plans paver pool decks with attention to the transition from coping to the surrounding field. Therefore, a coping-to-deck review can address pattern, blend, elevations, drainage, and future access before crews commit to visible cuts. The objective is a coherent specification that fits the existing or proposed pool.
The Natural Stone Institute provides authoritative educational resources about natural stone selection, use, and care. In addition, the pool contractor, product supplier, and relevant local authorities should confirm details for a specific project. General stone guidance does not replace evaluation of the pool assembly.
Ready to transform your pool deck? Schedule a coping-to-deck transition review, and explore our project portfolio to see how material relationships shape finished spaces. Moreover, follow JaxTeller Brick Pavers on Instagram and Facebook, or send details through WhatsApp.
Finally, call +1 407-907-8308, email jaxtellerbrickpavers@gmail.com, or find the Largo office with Google Maps. Contact JaxTeller Brick Pavers at +1 407-907-8308 or jaxtellerbrickpavers@gmail.com for your free estimate!