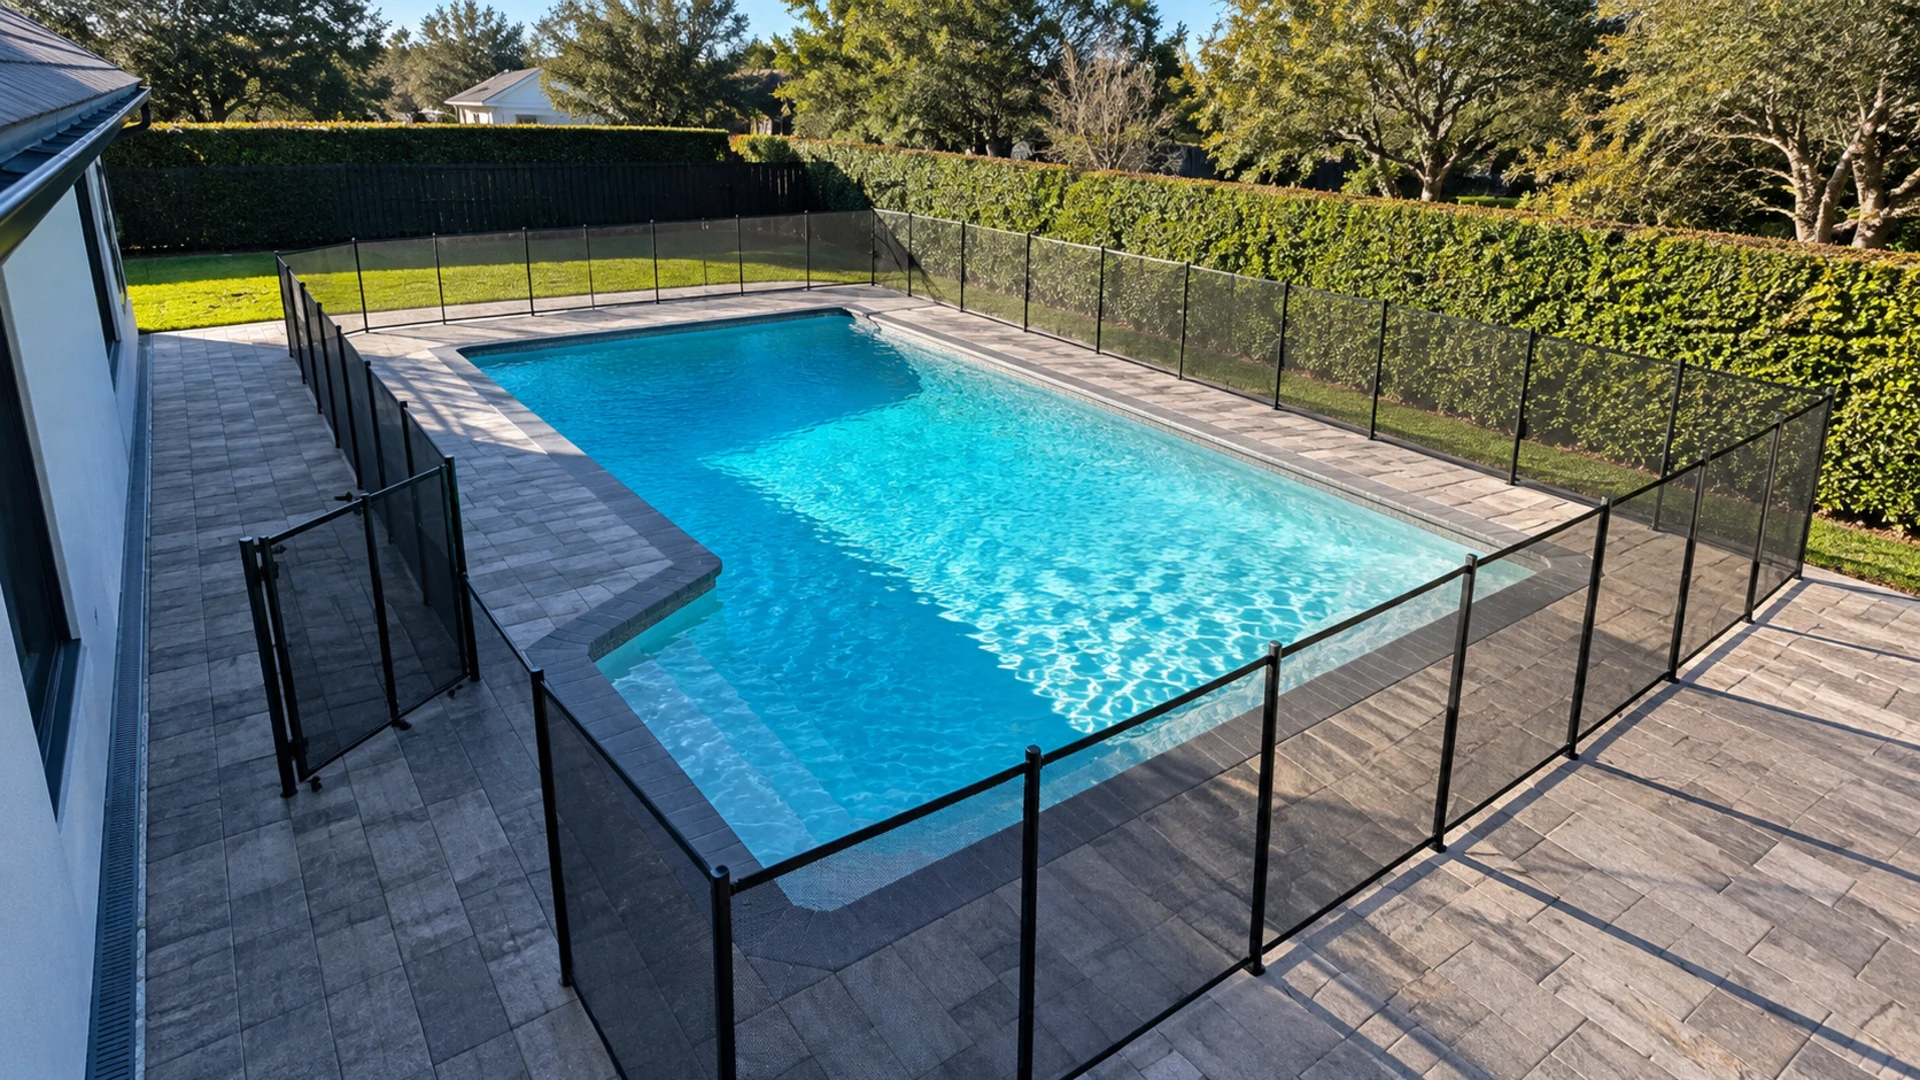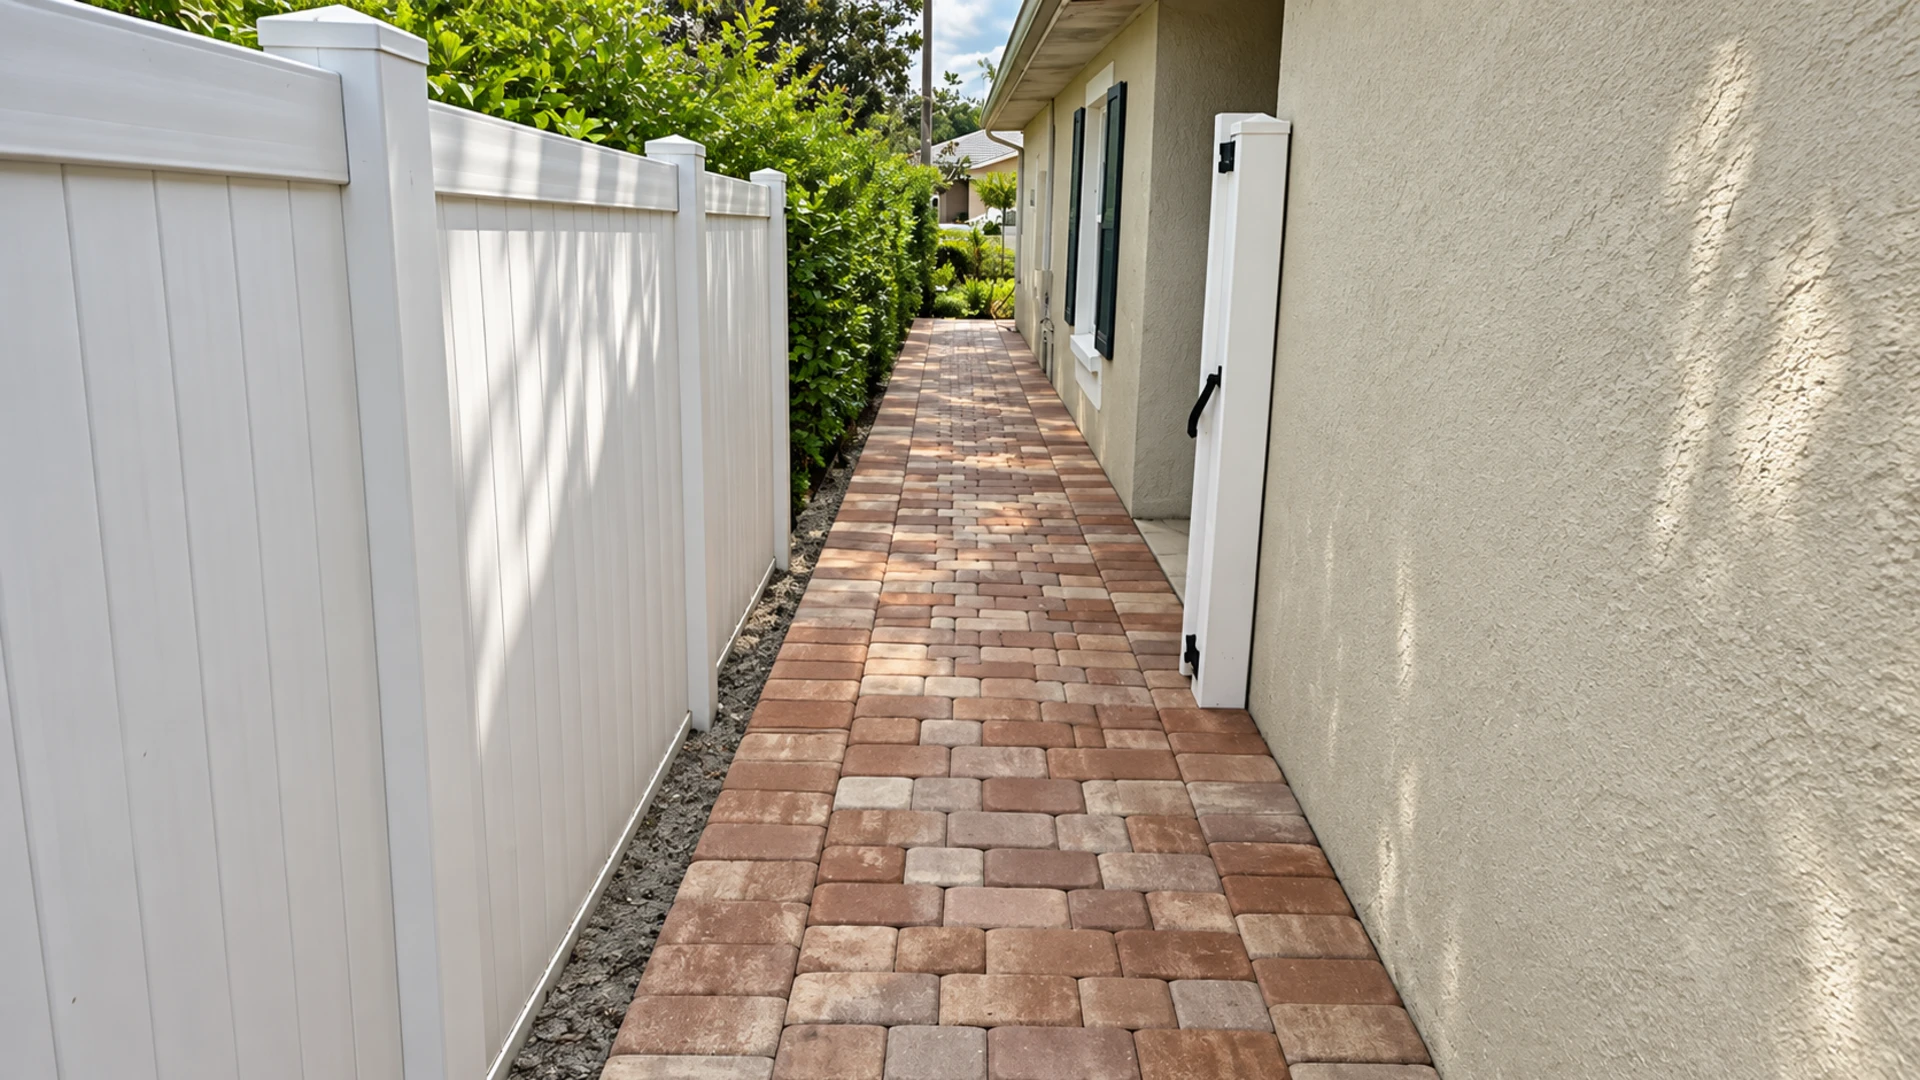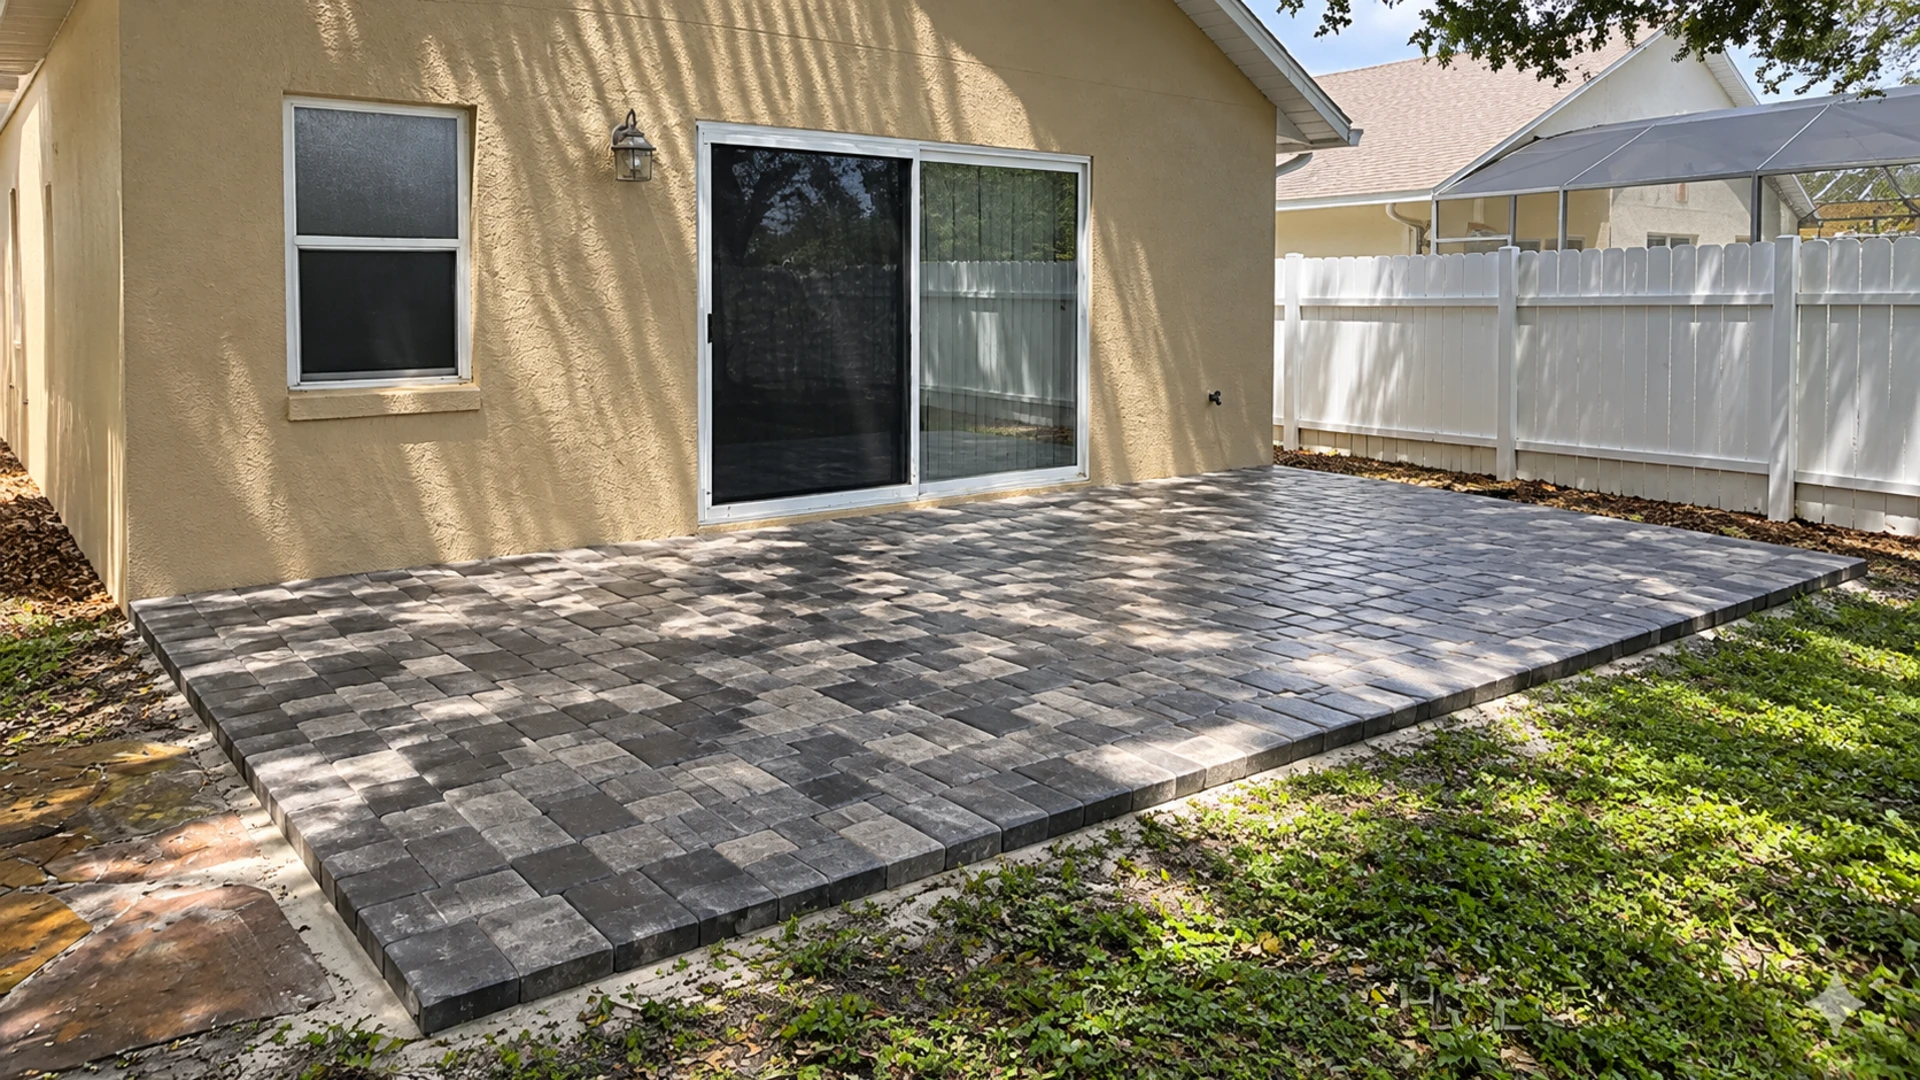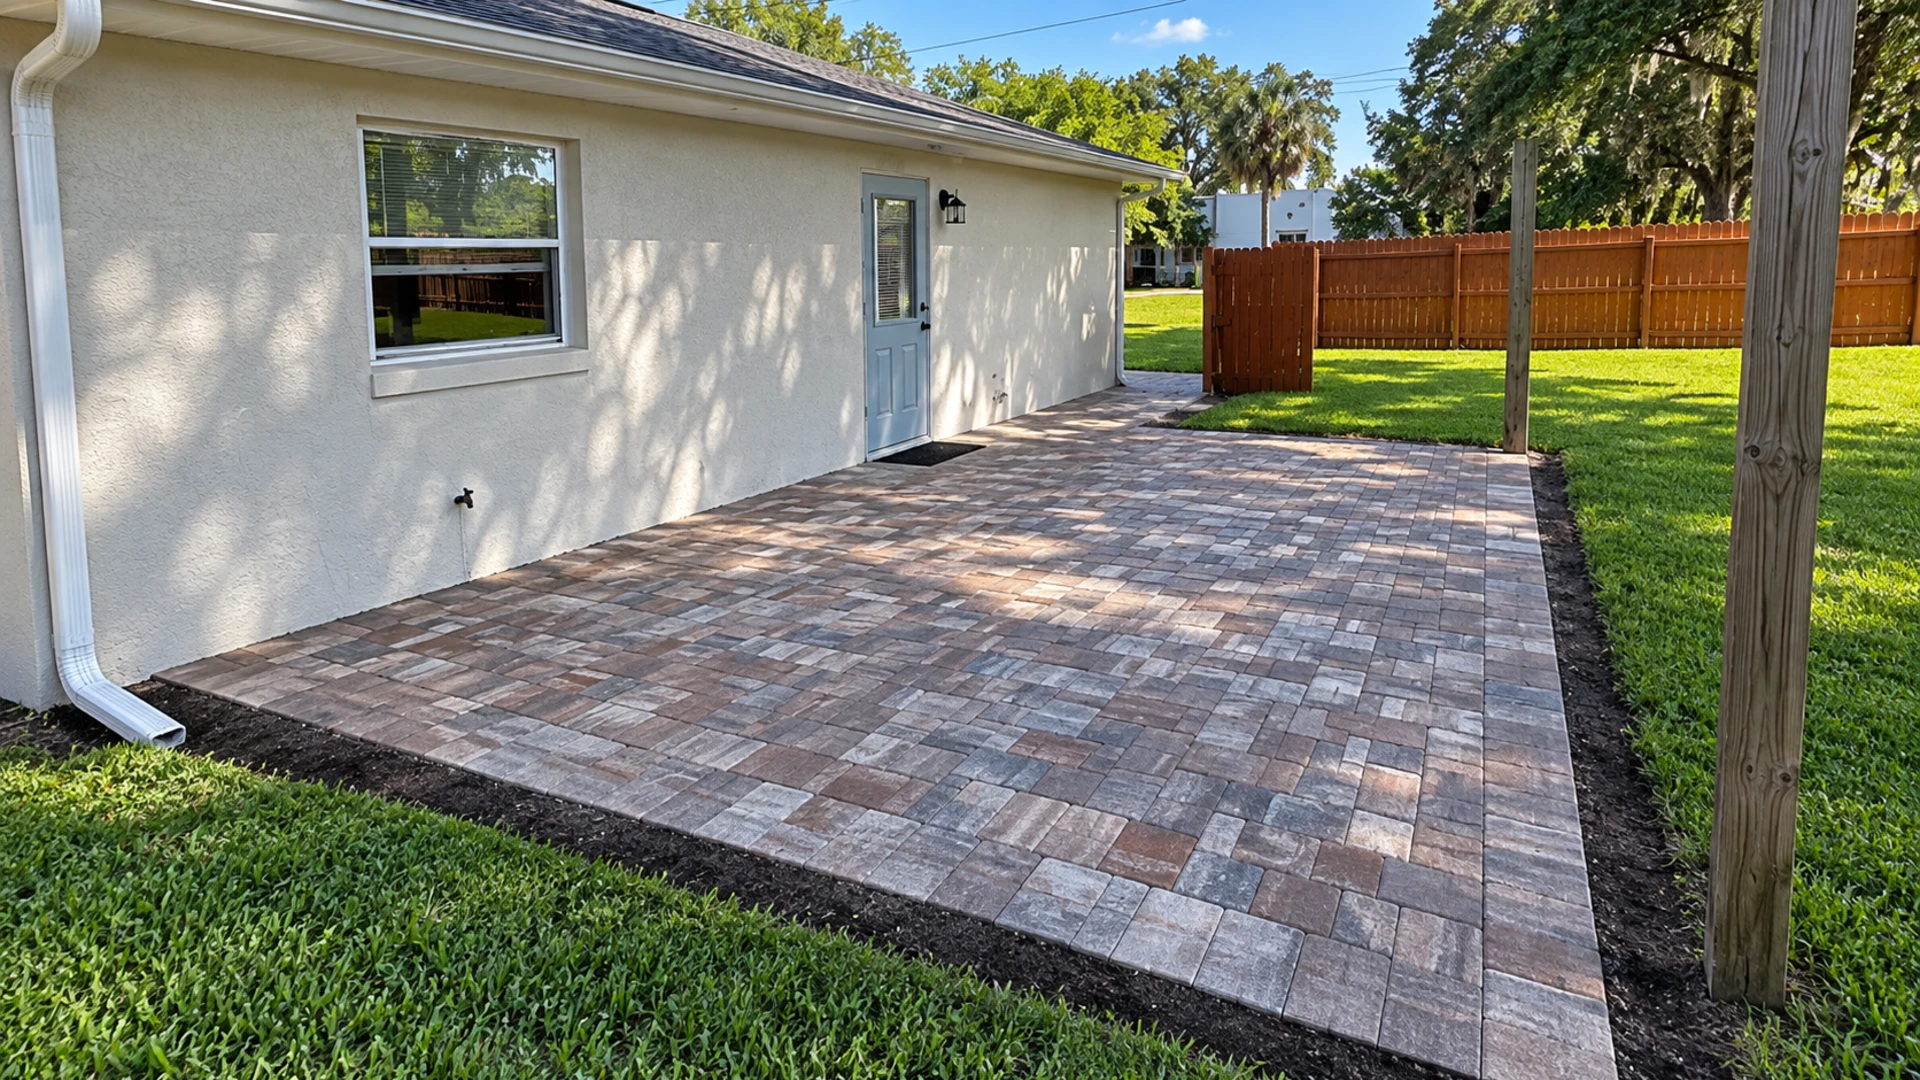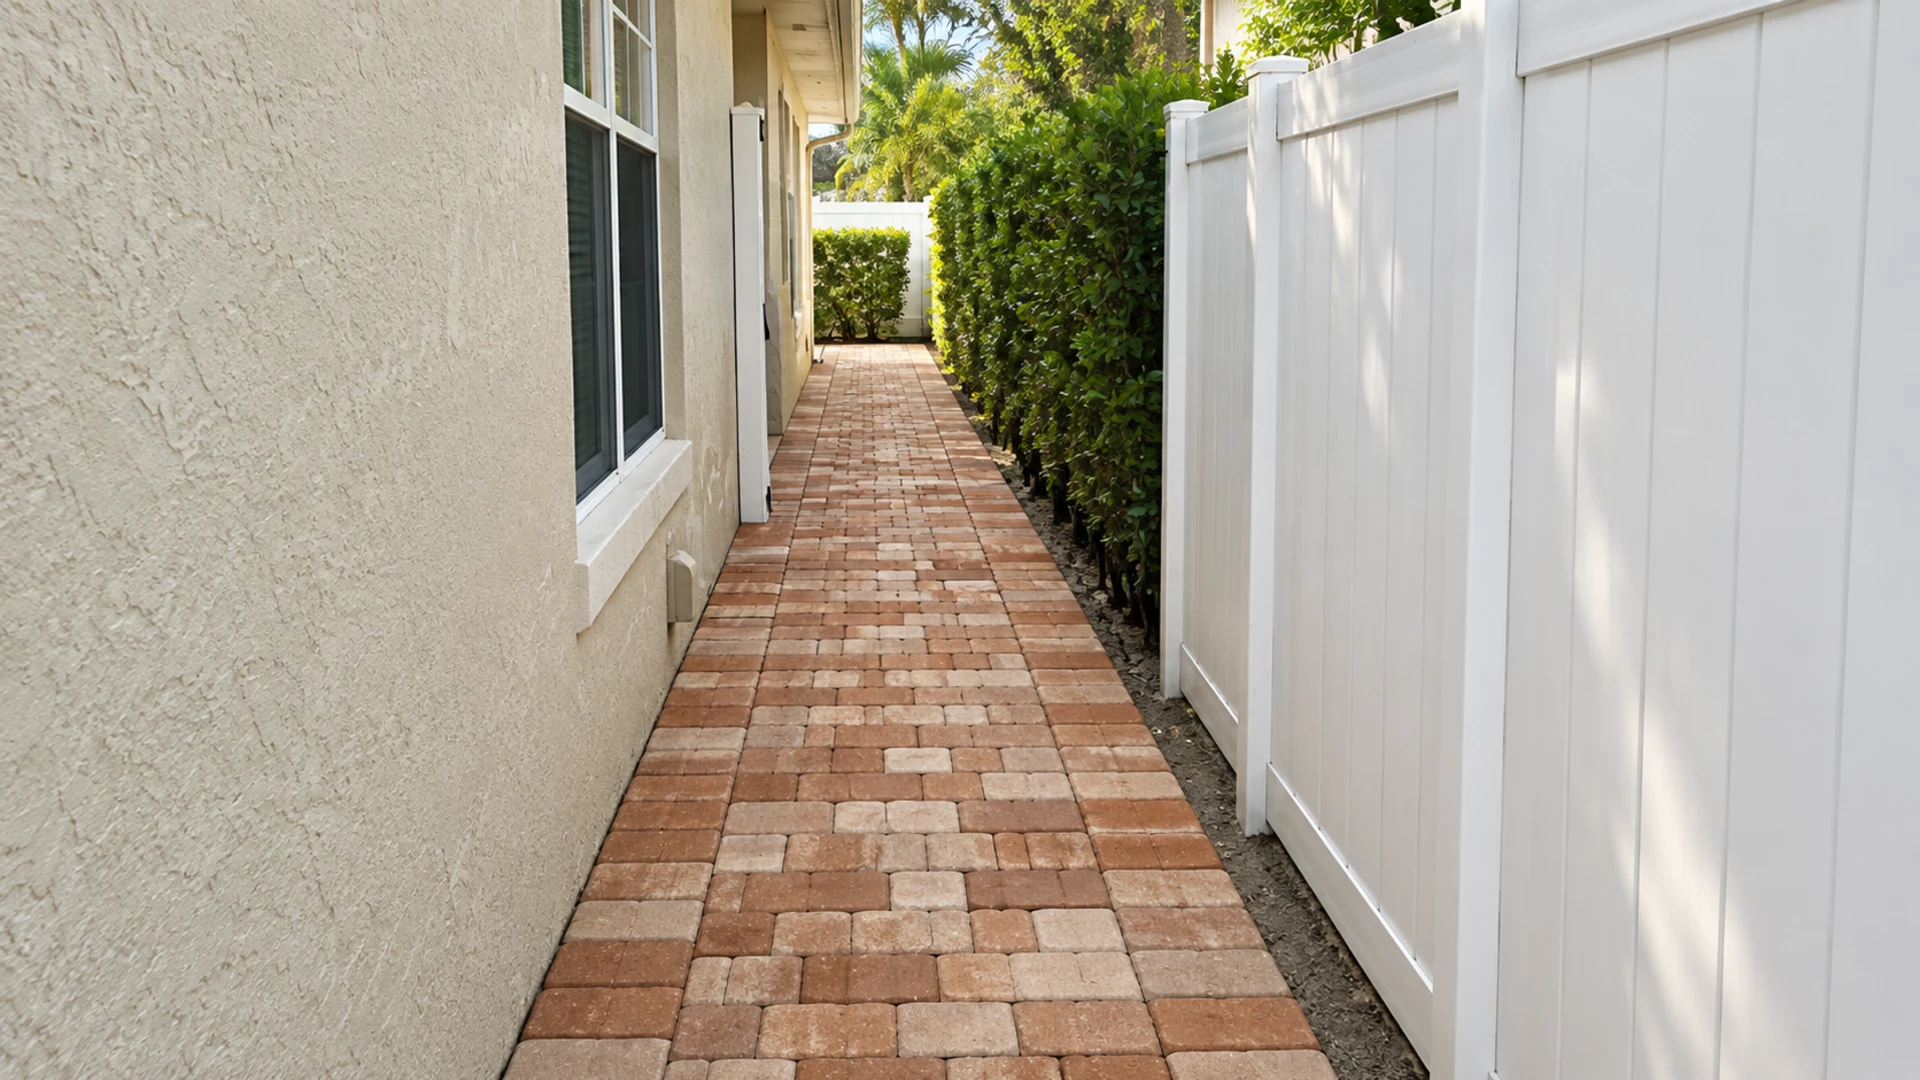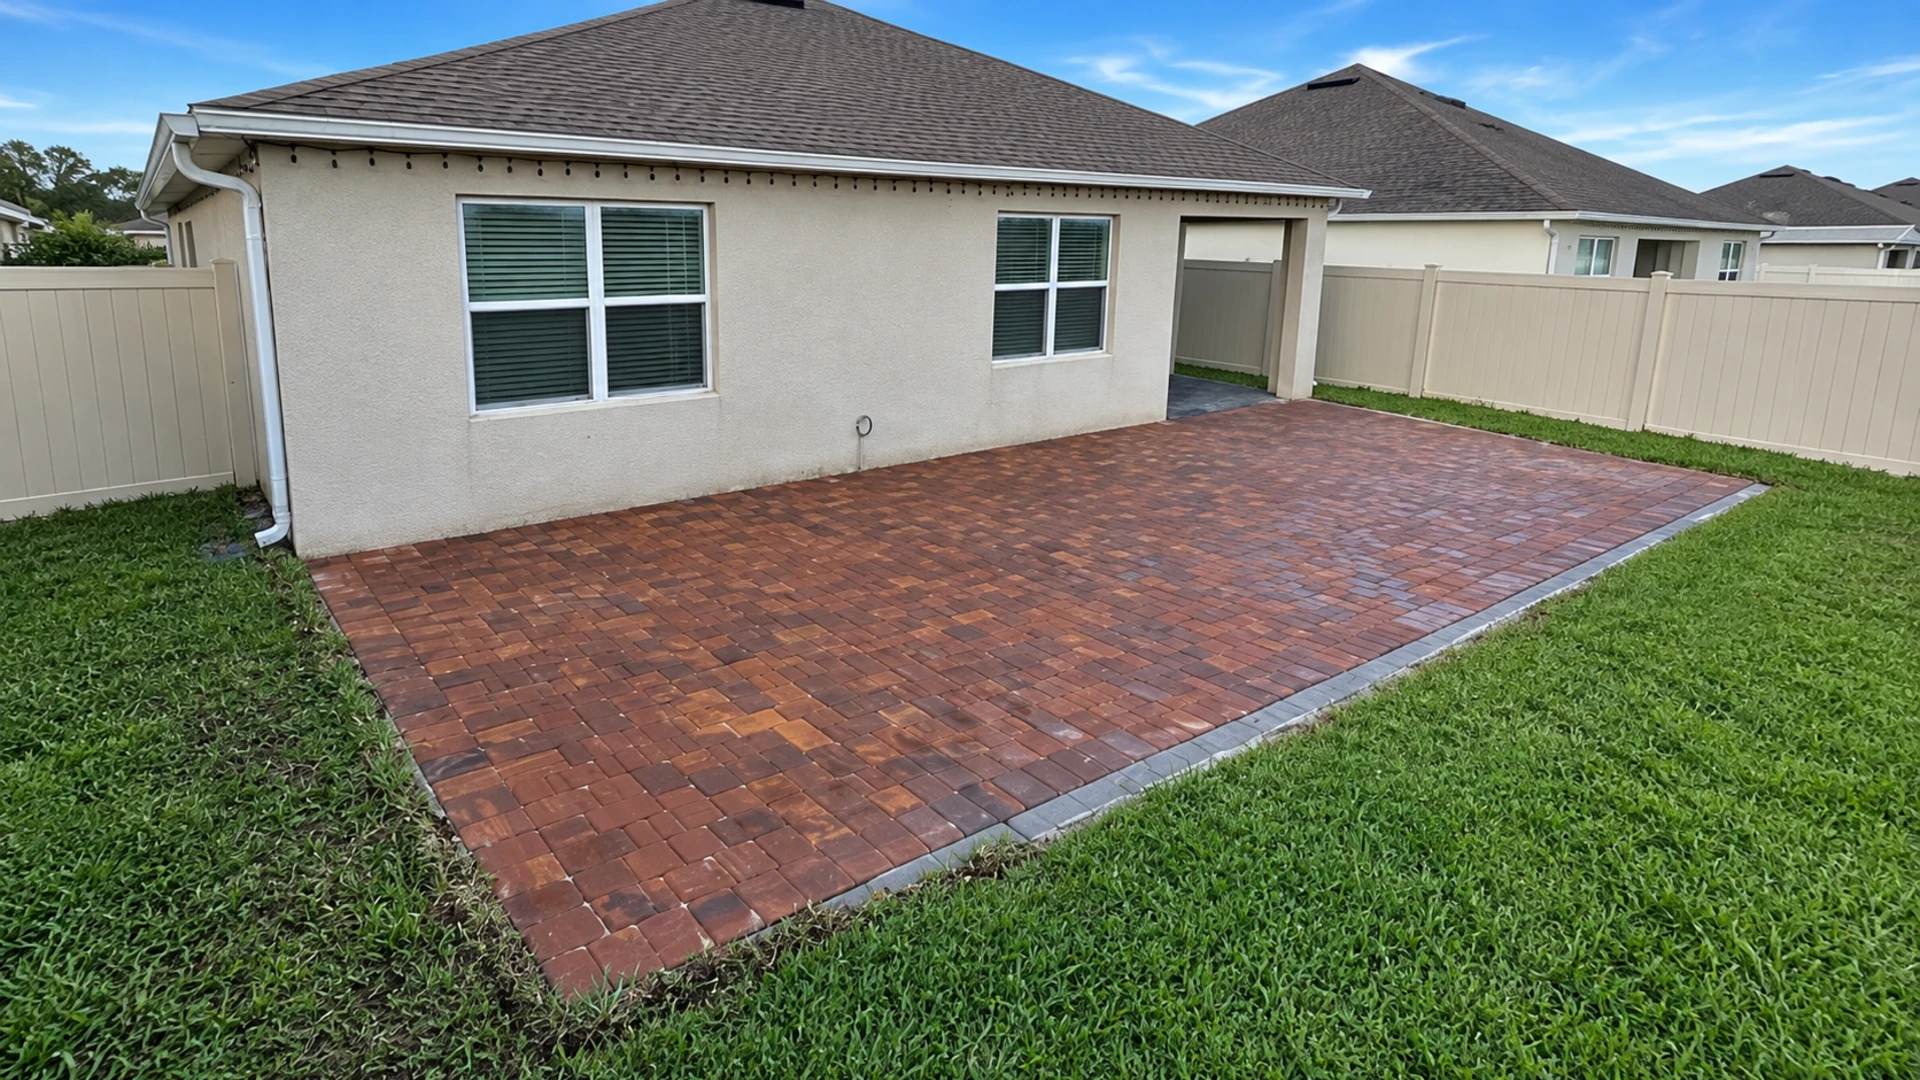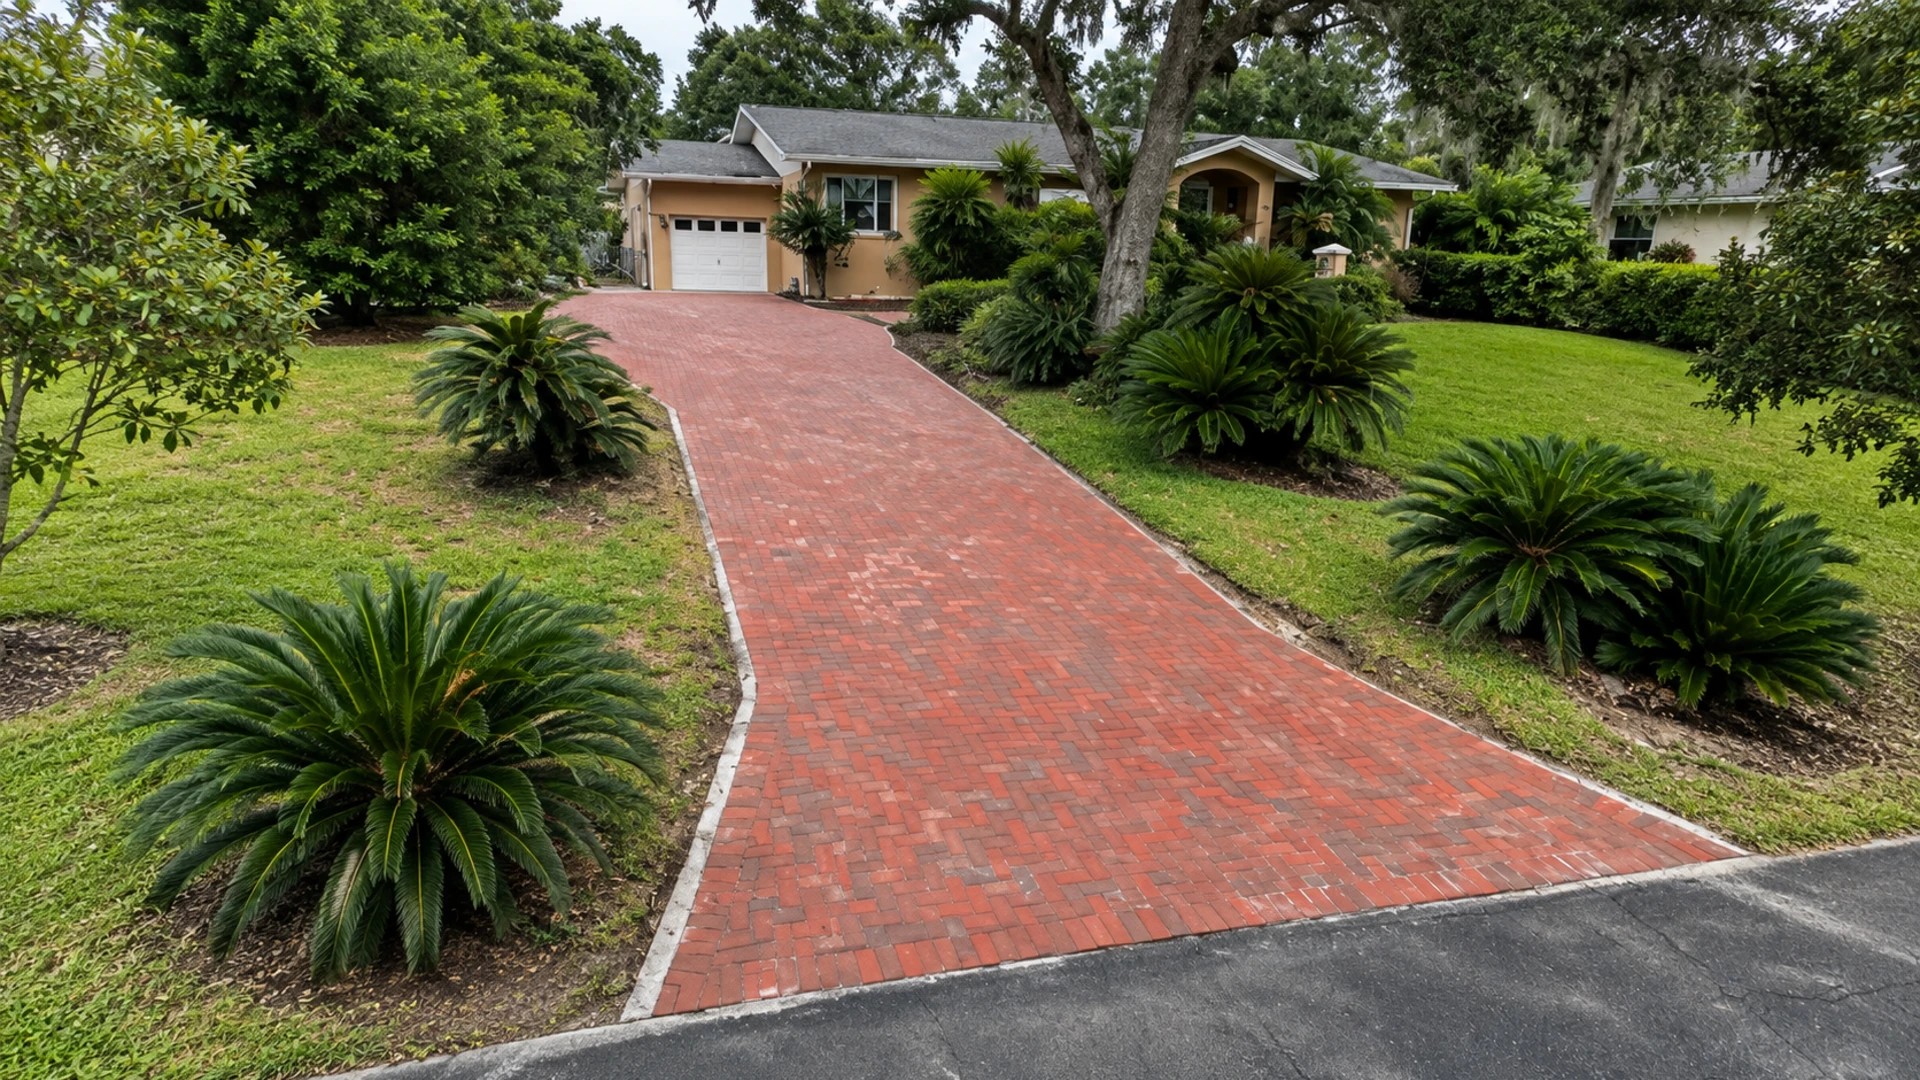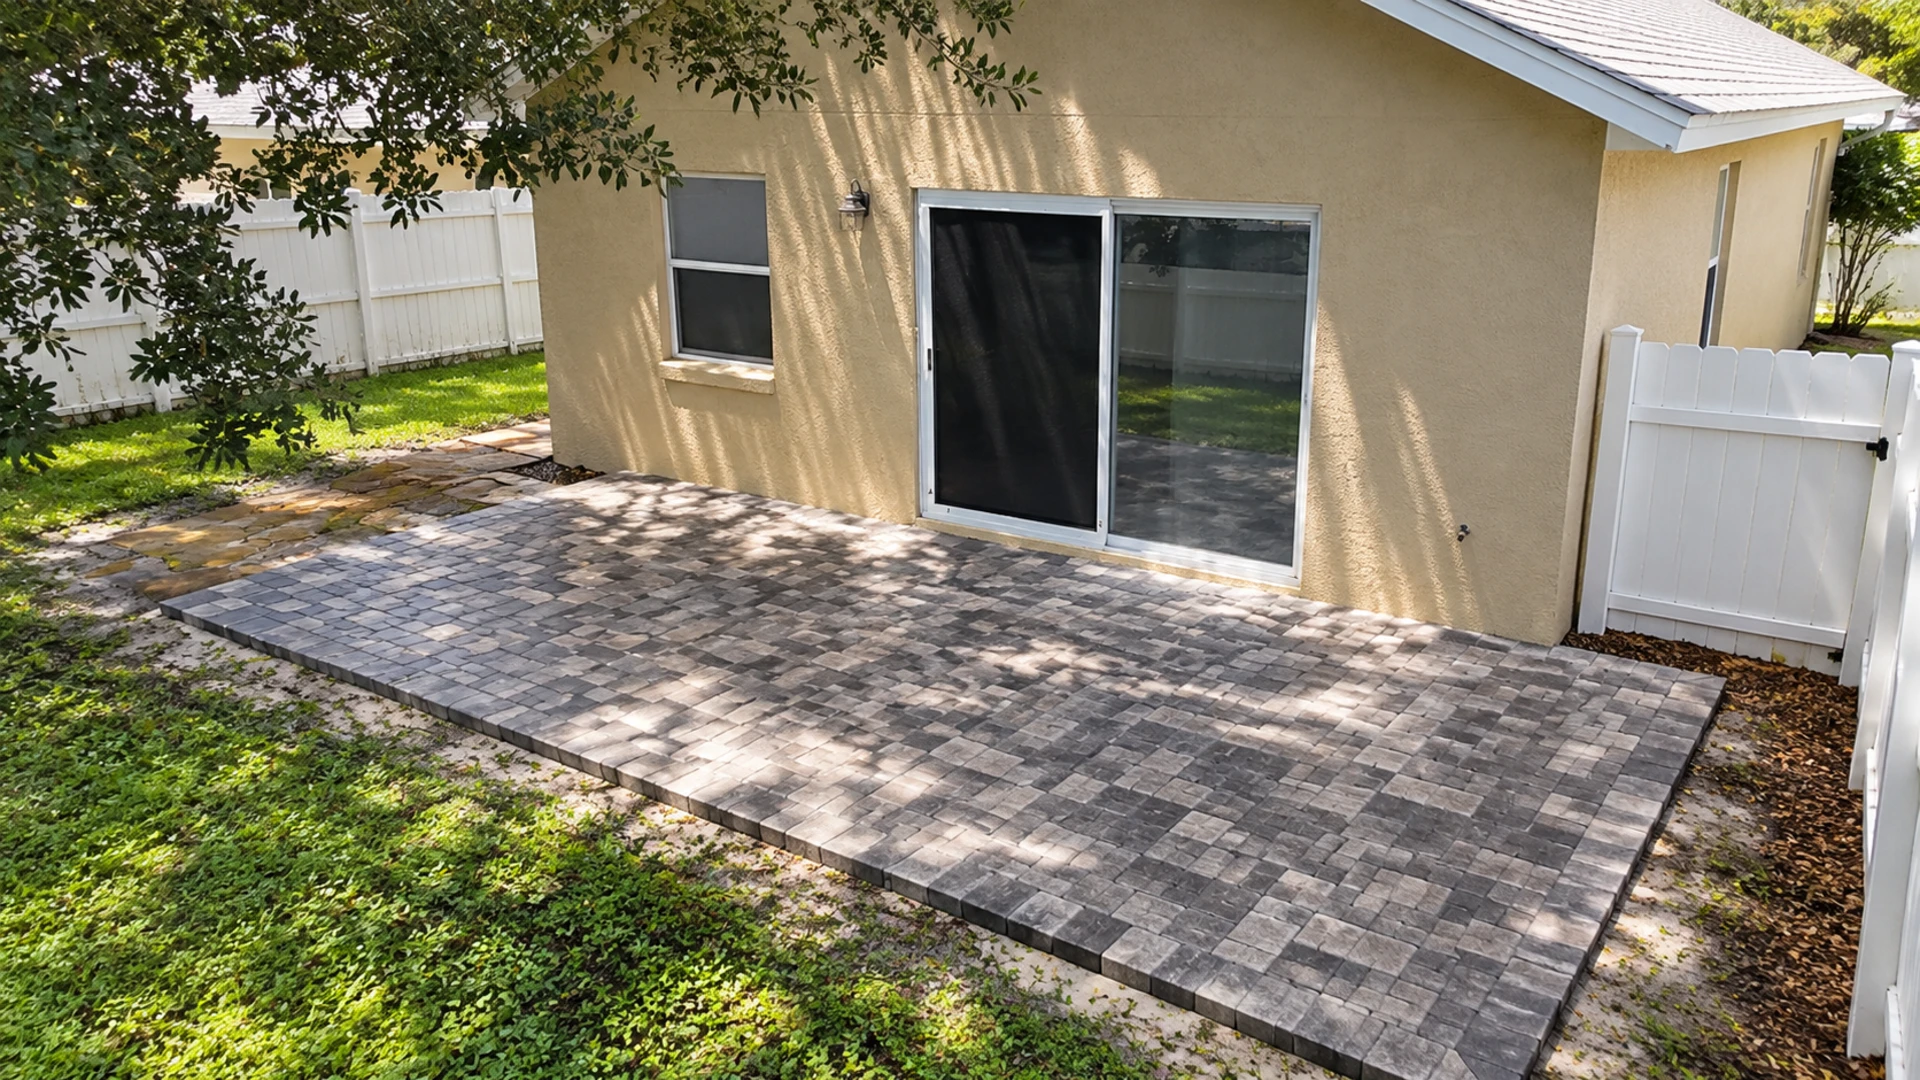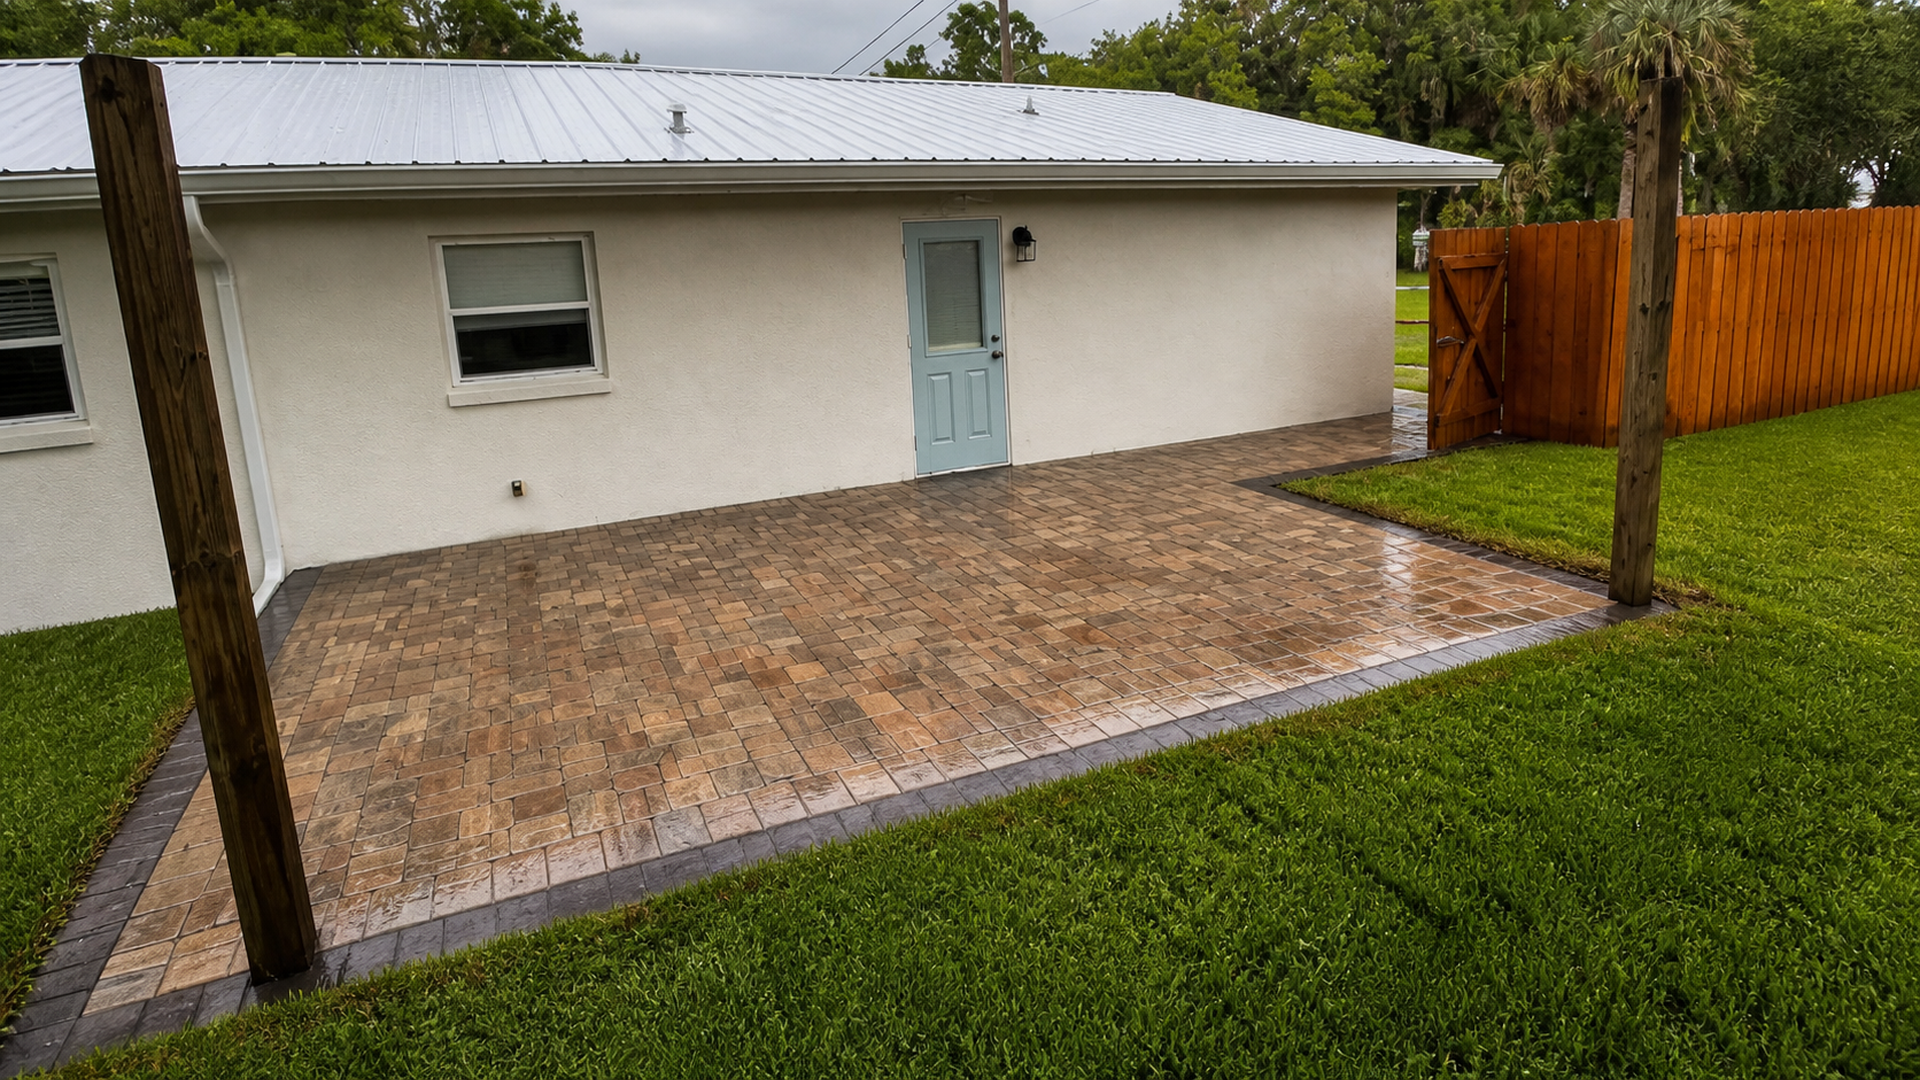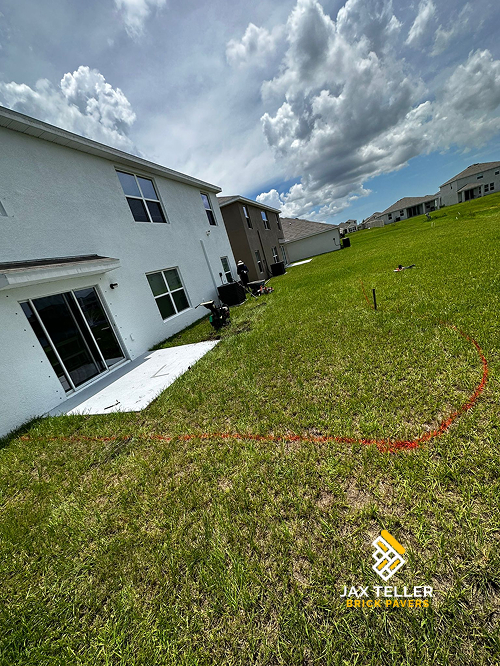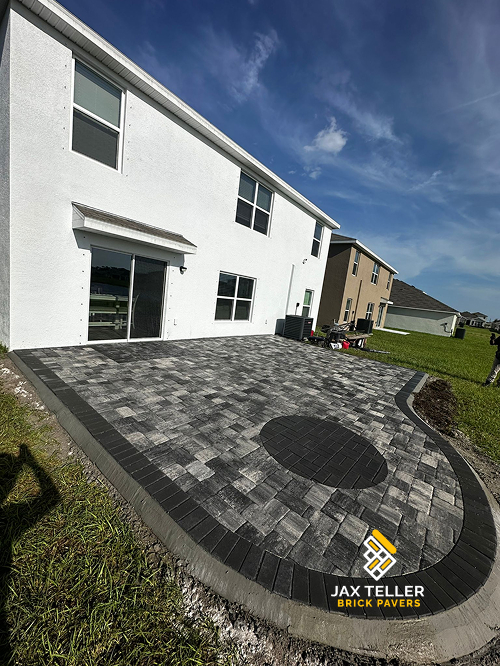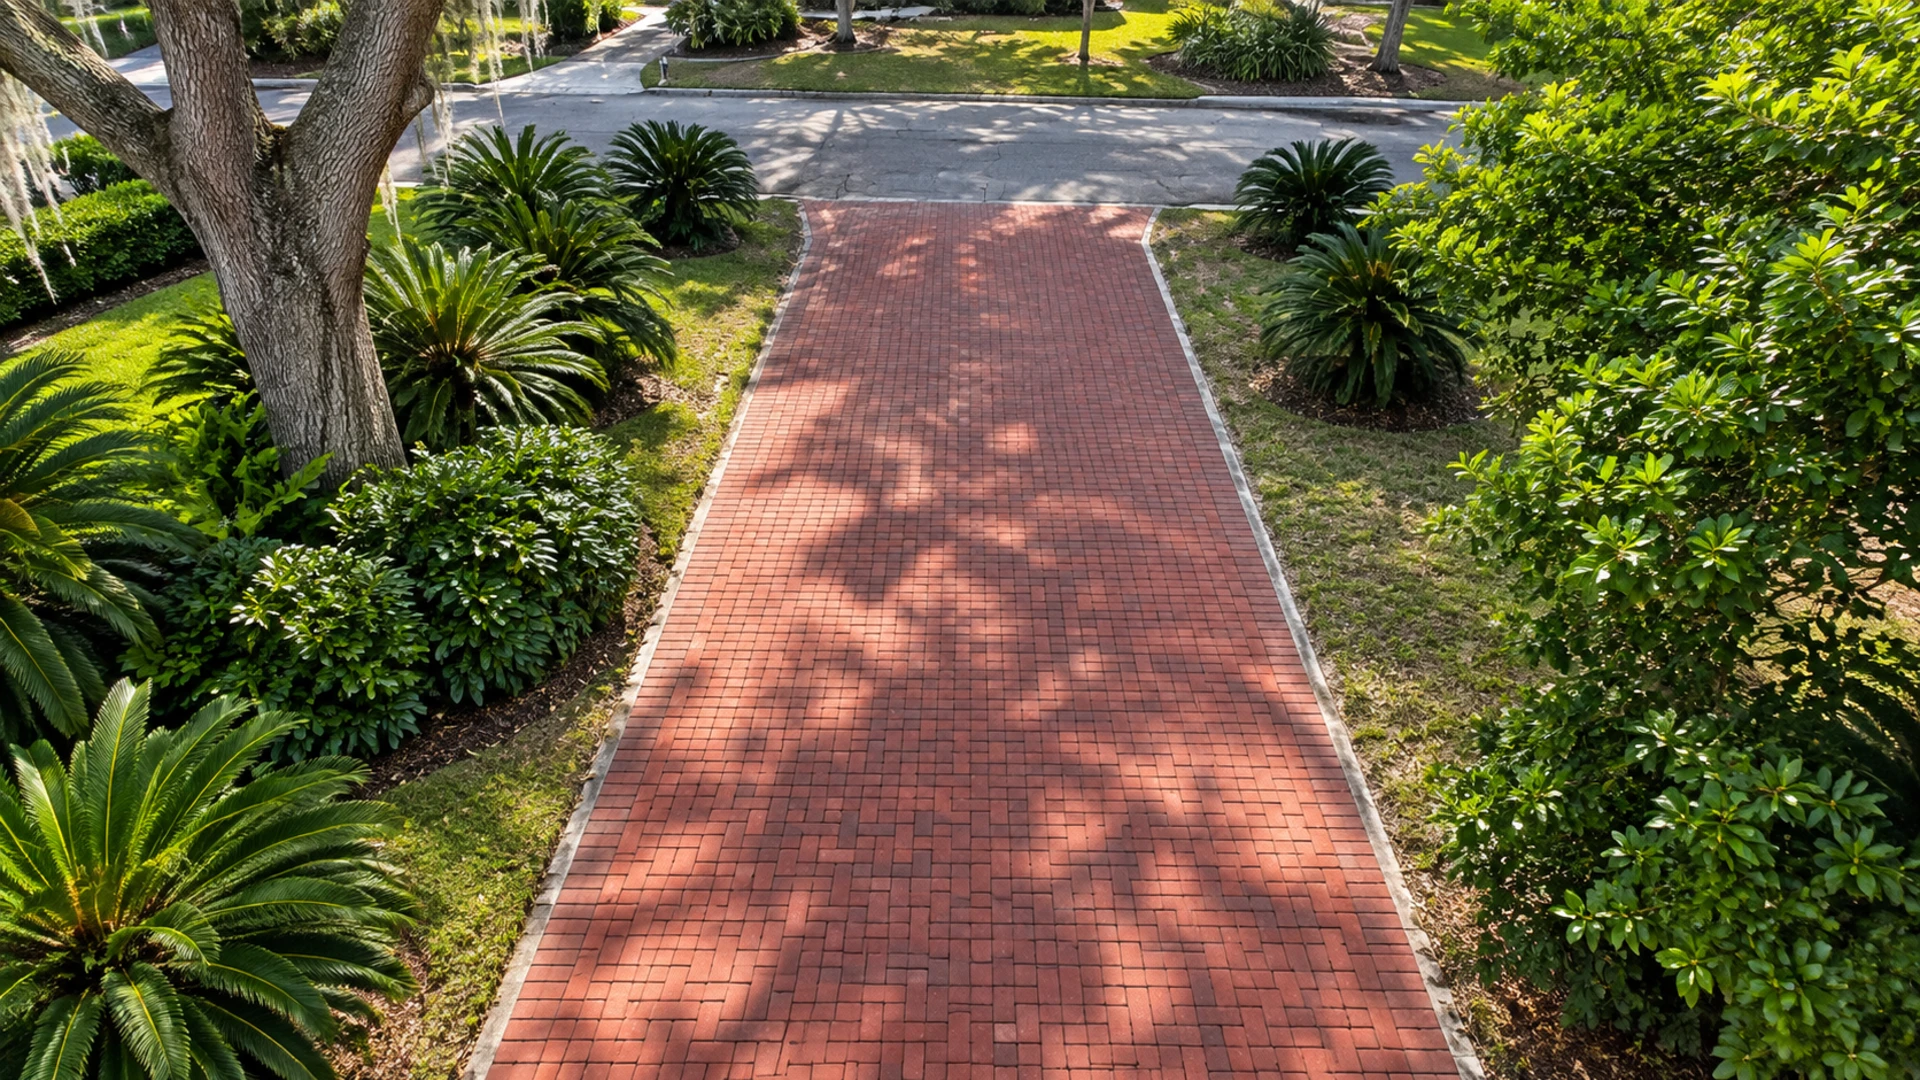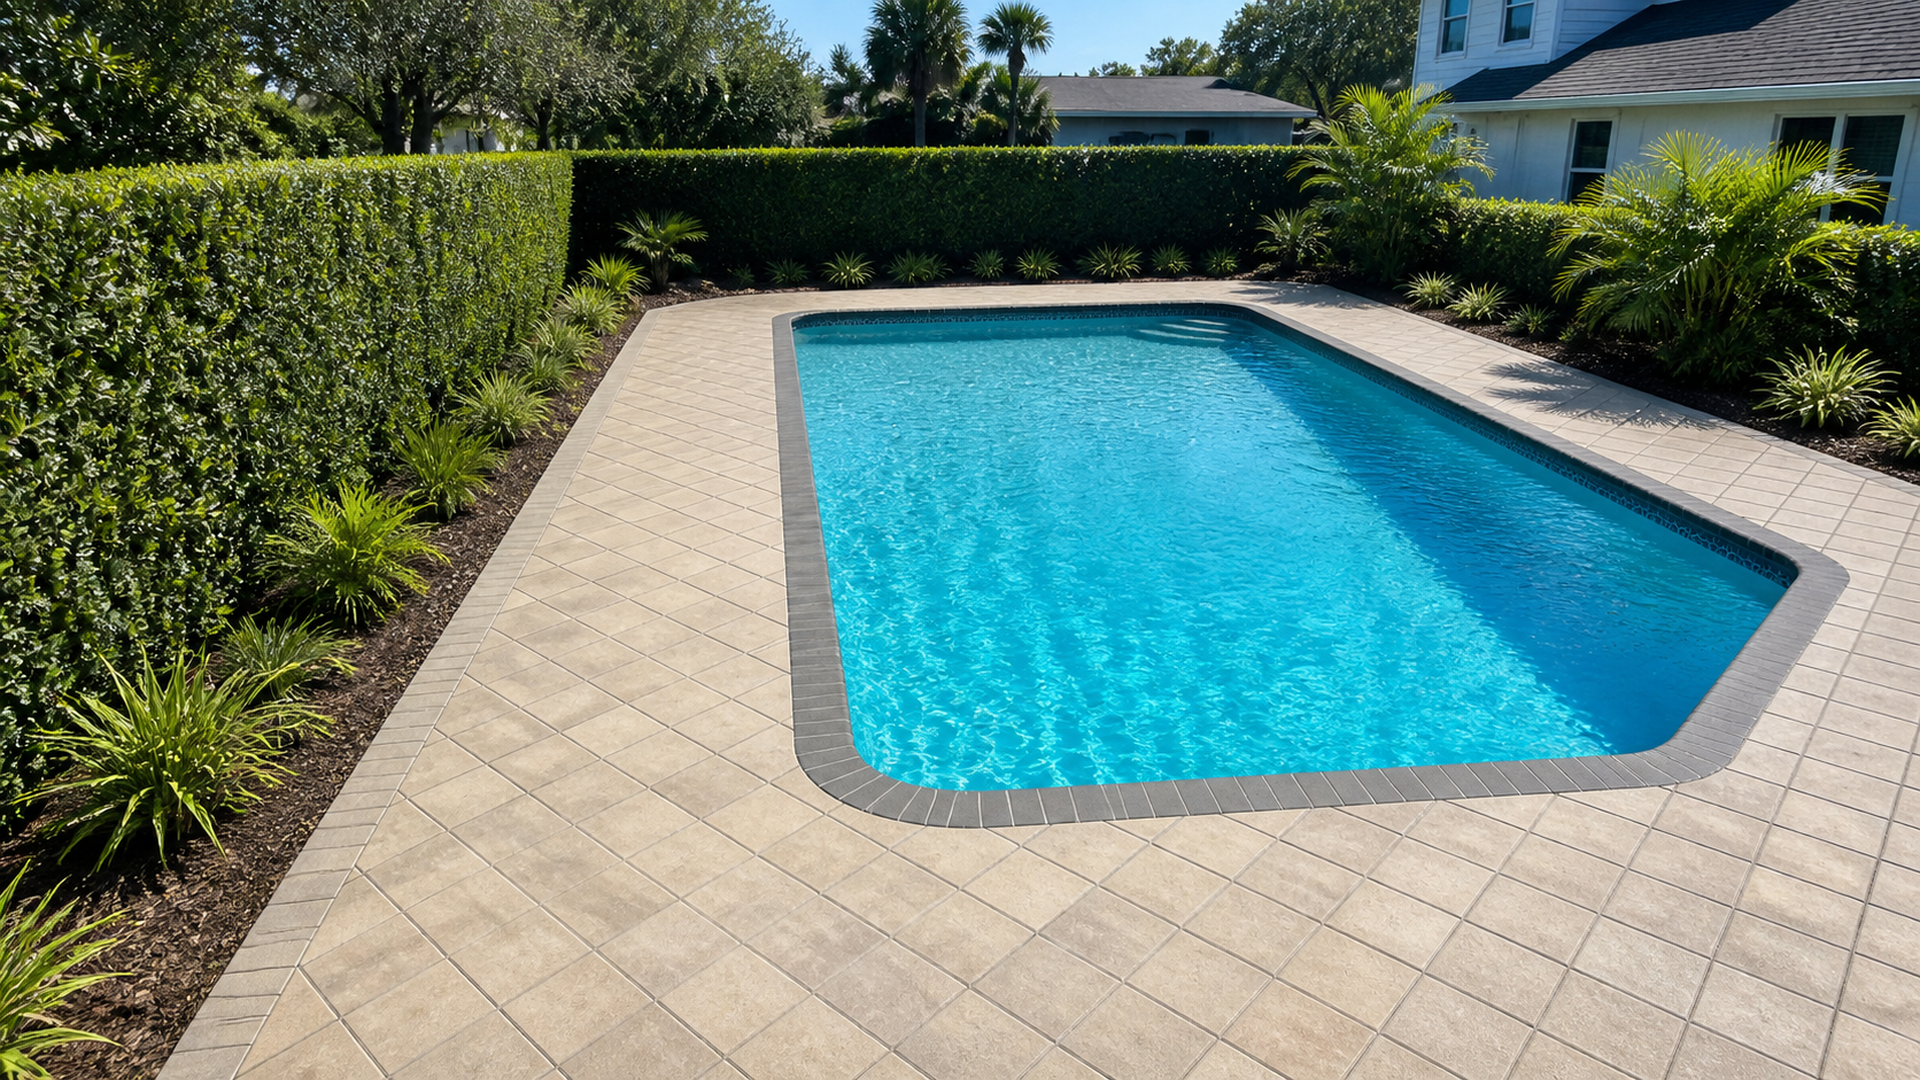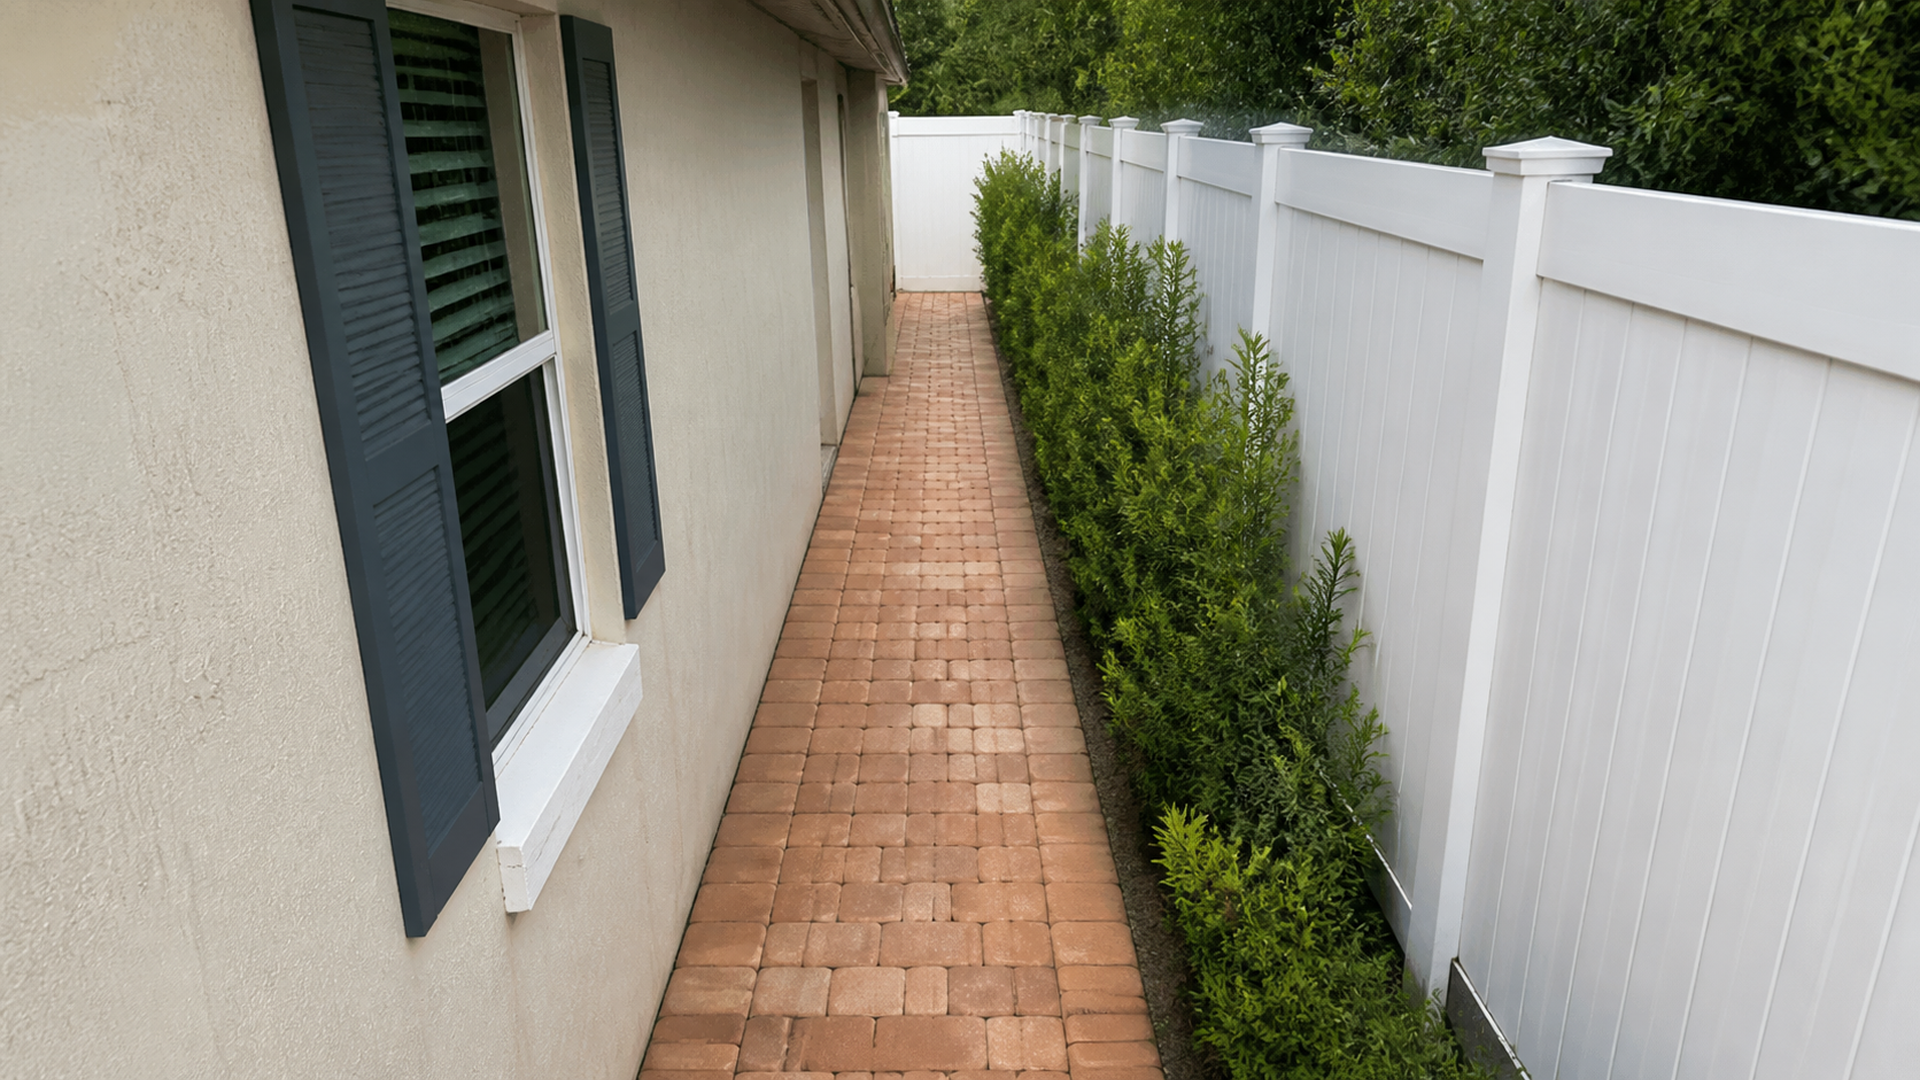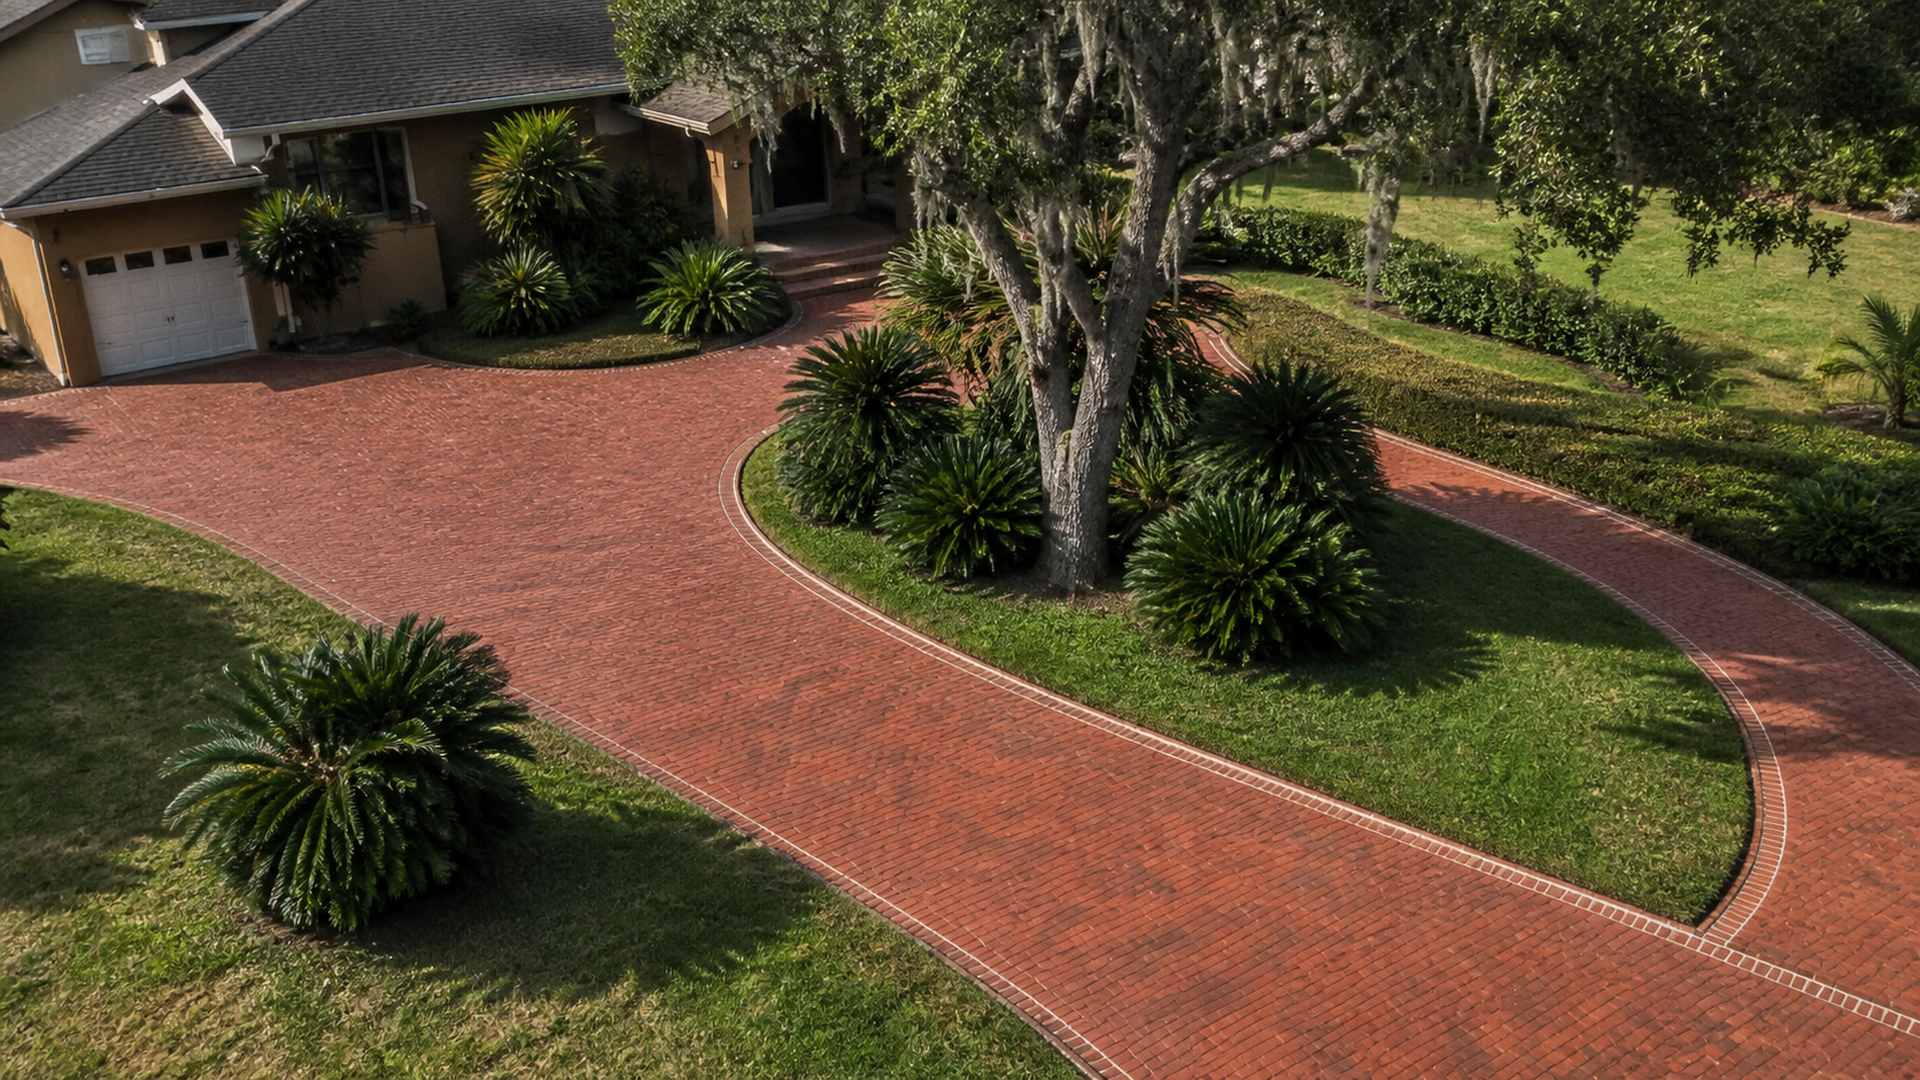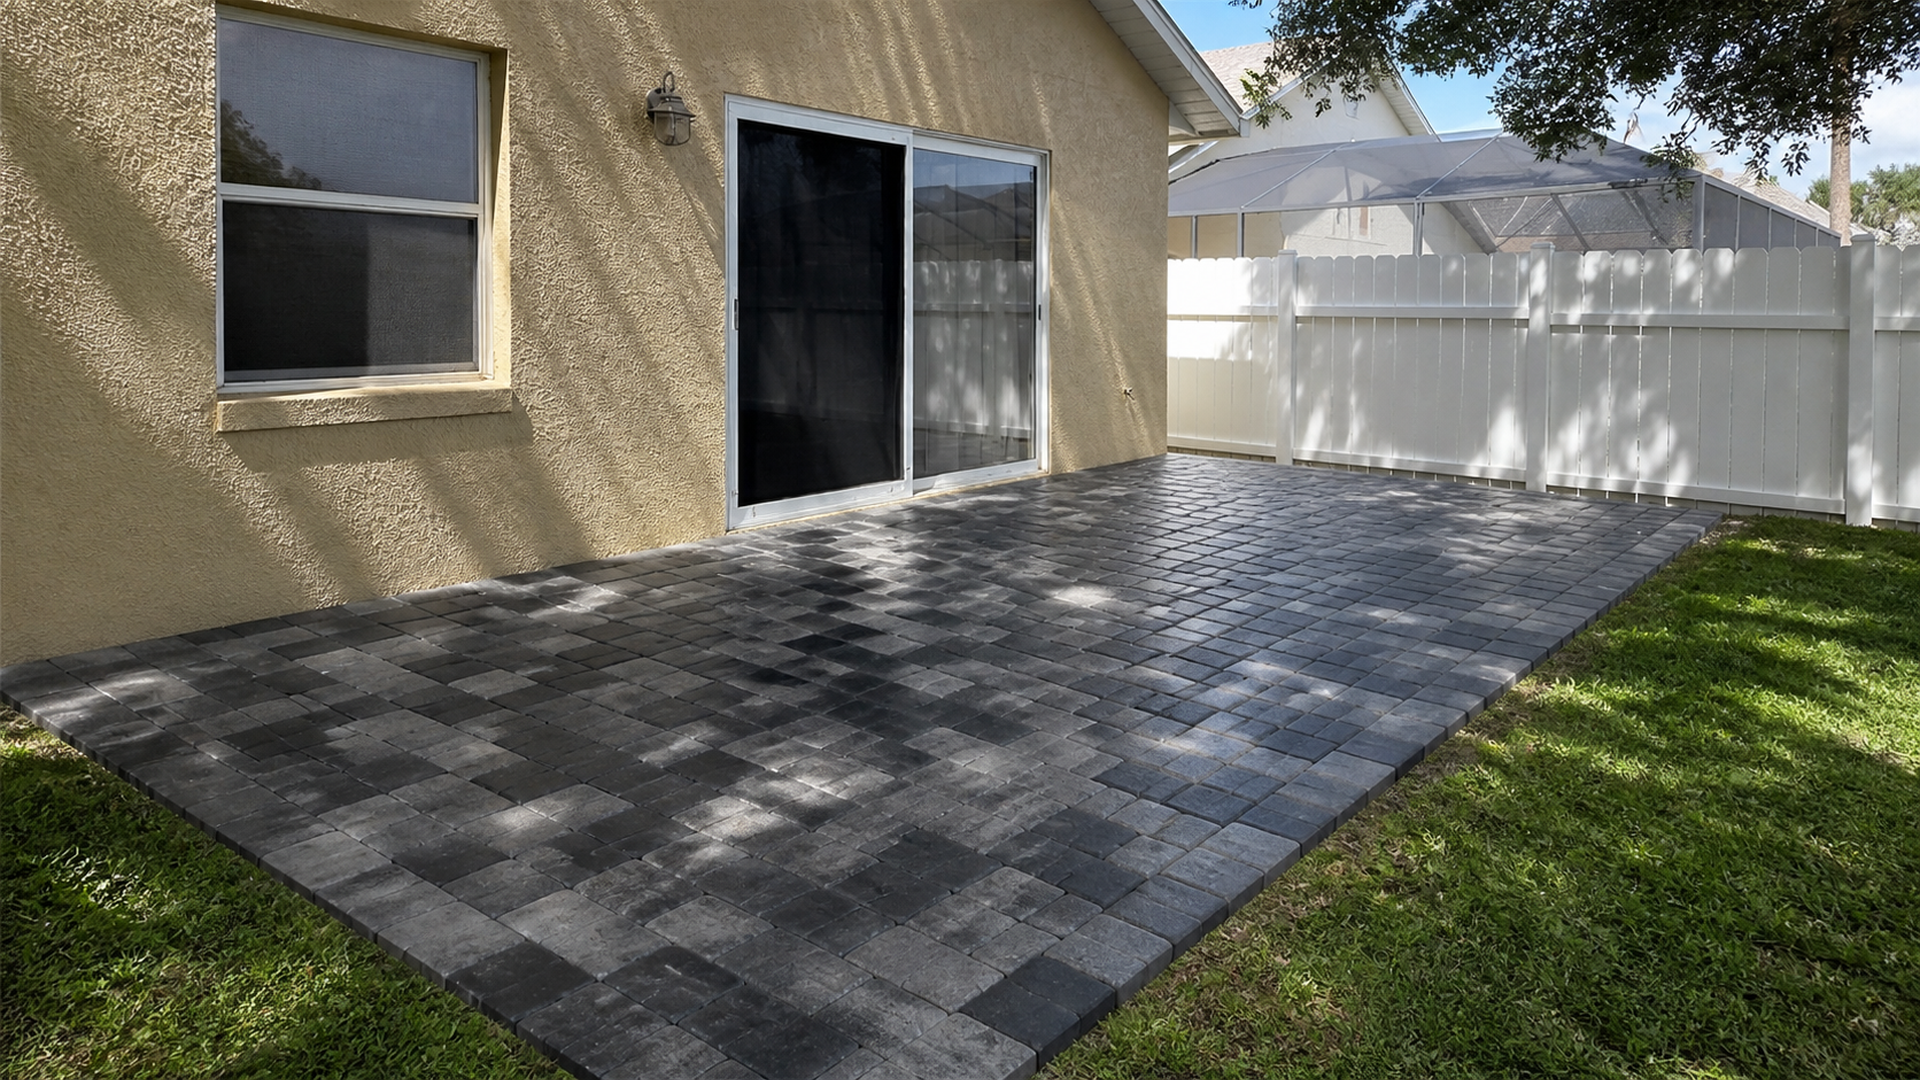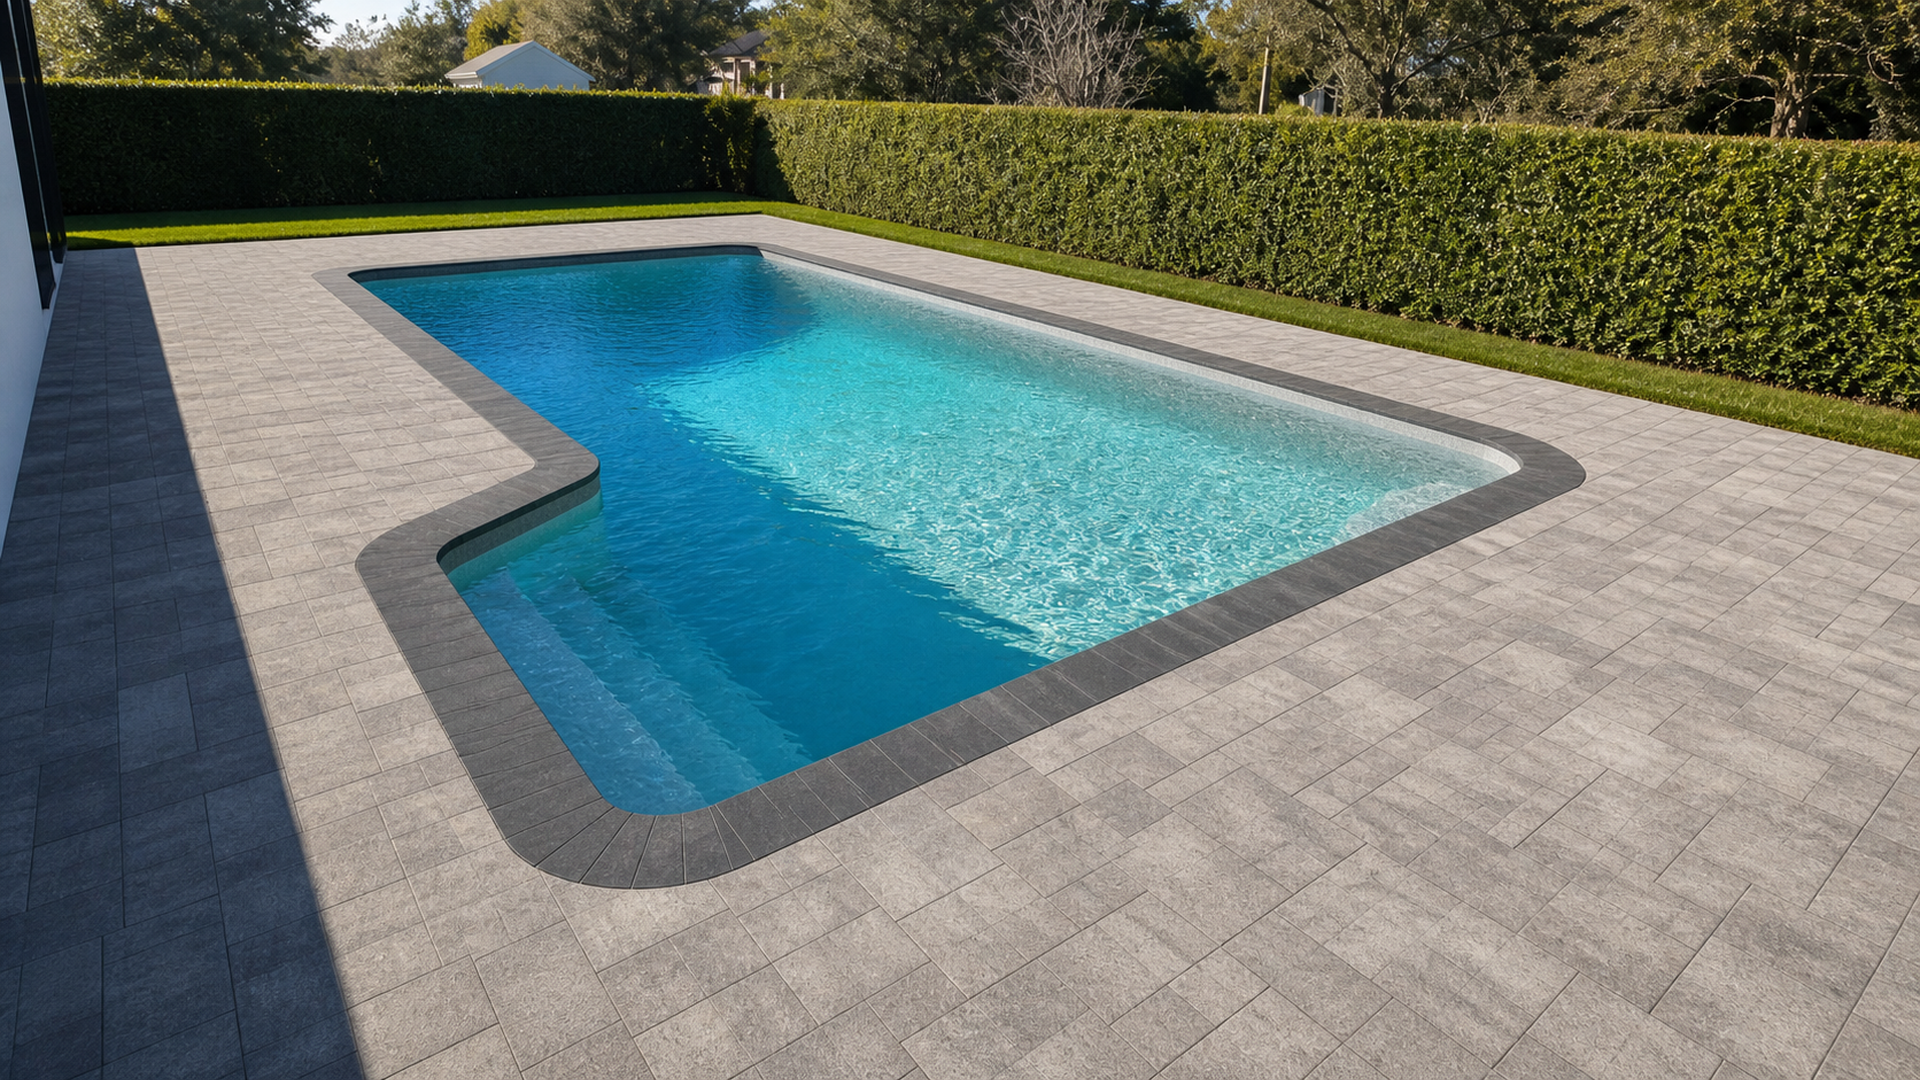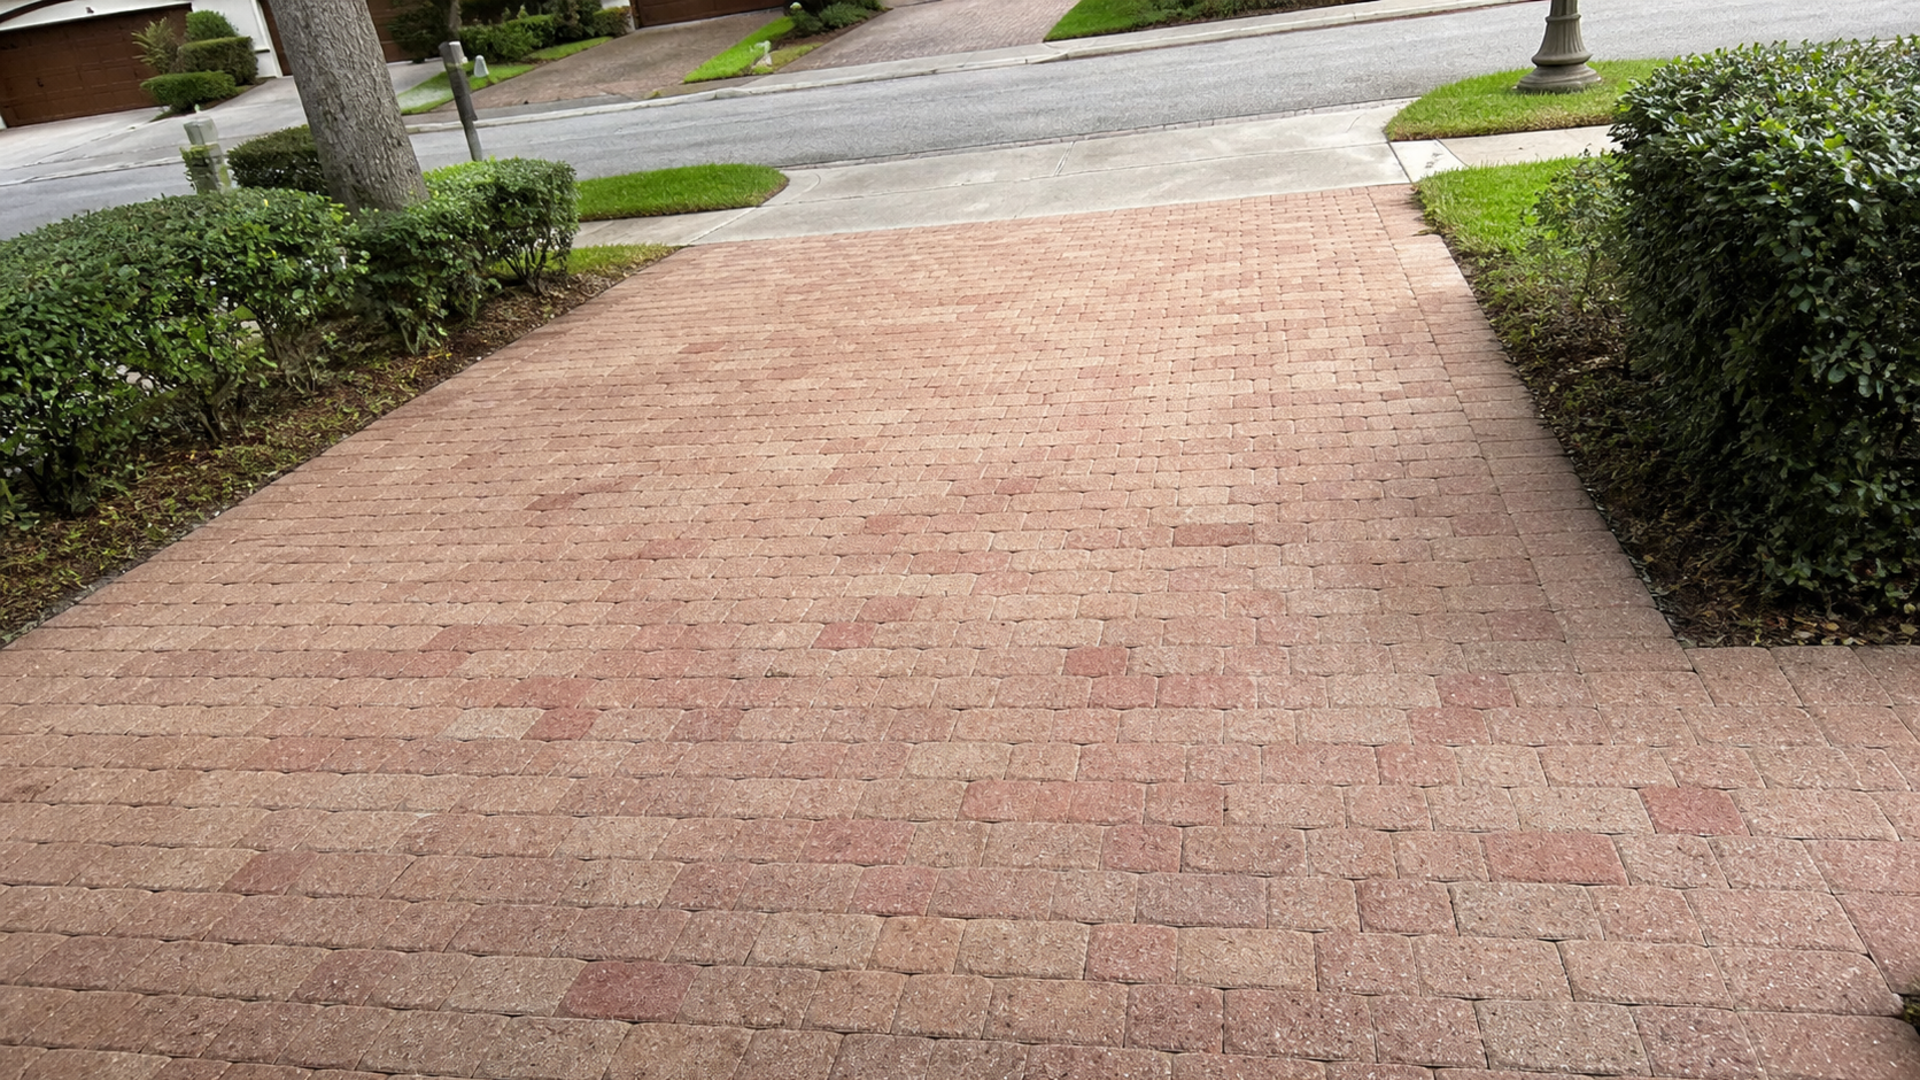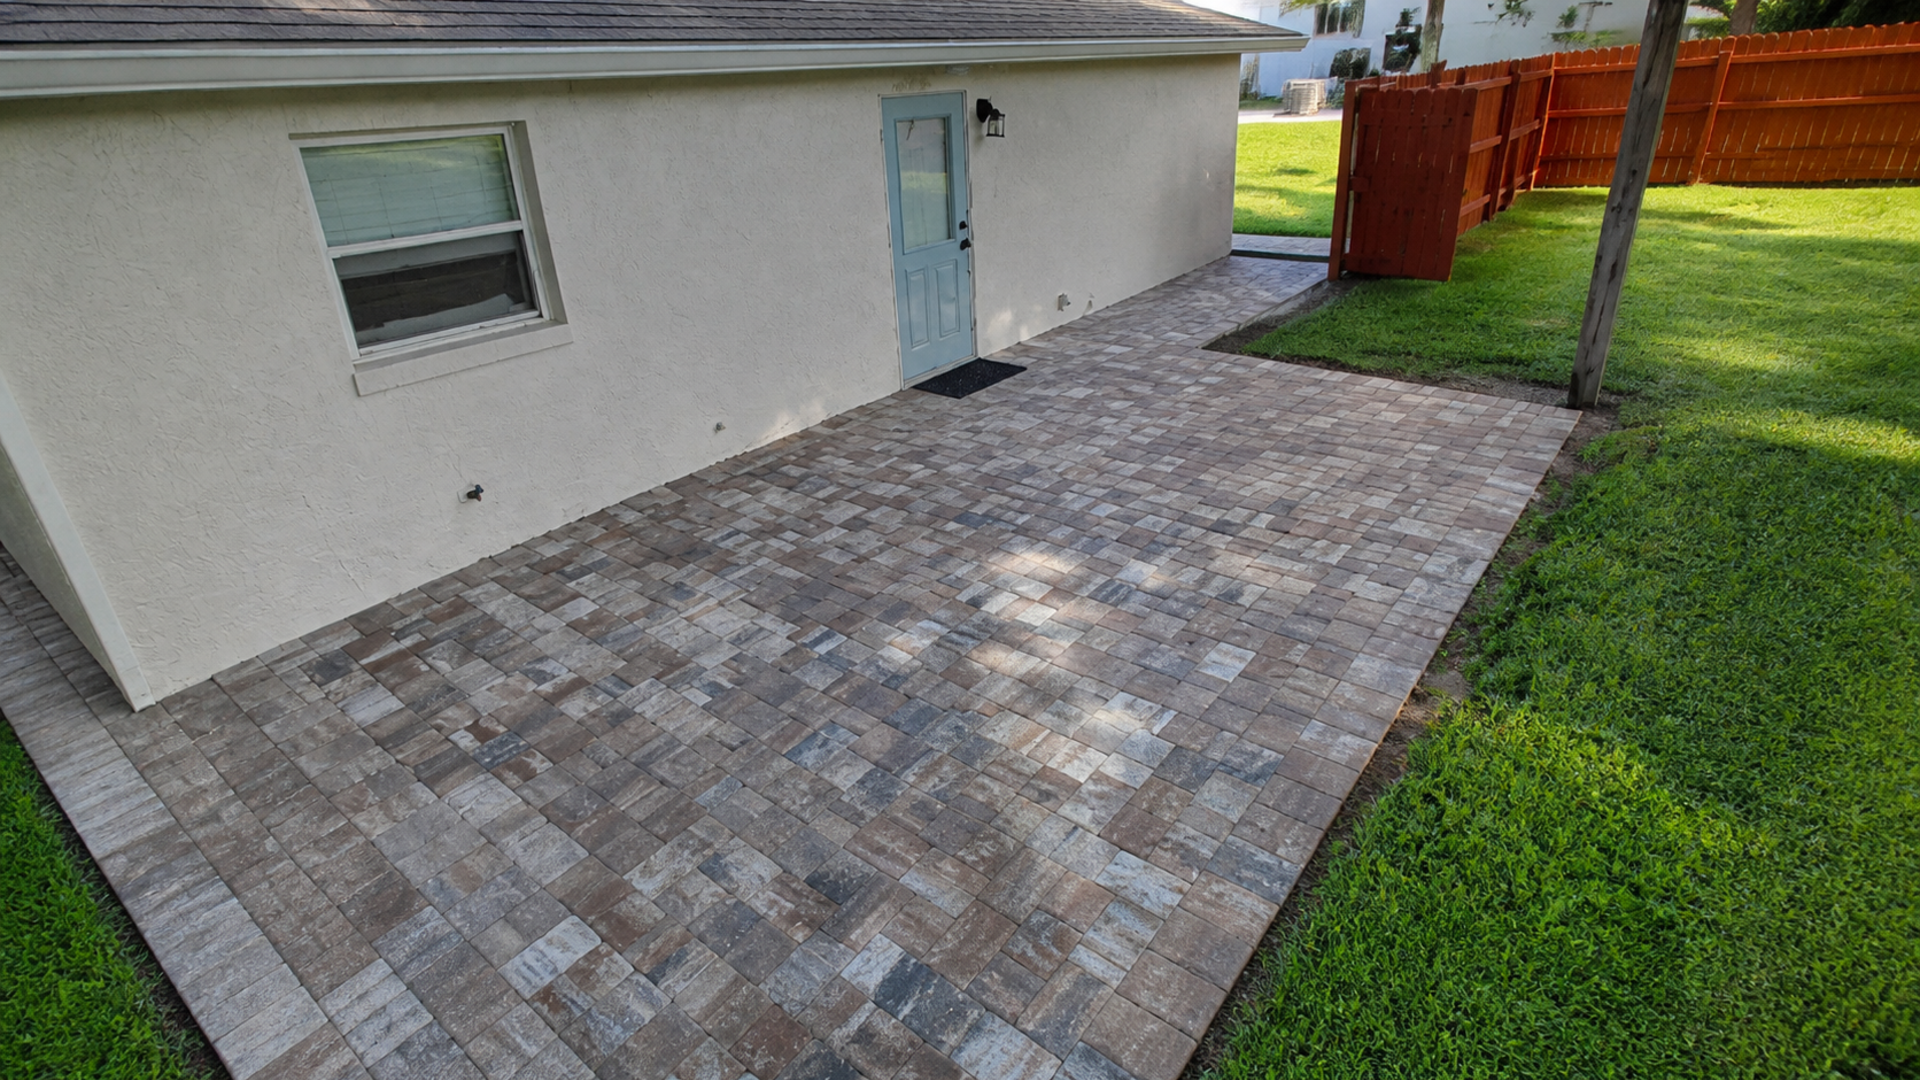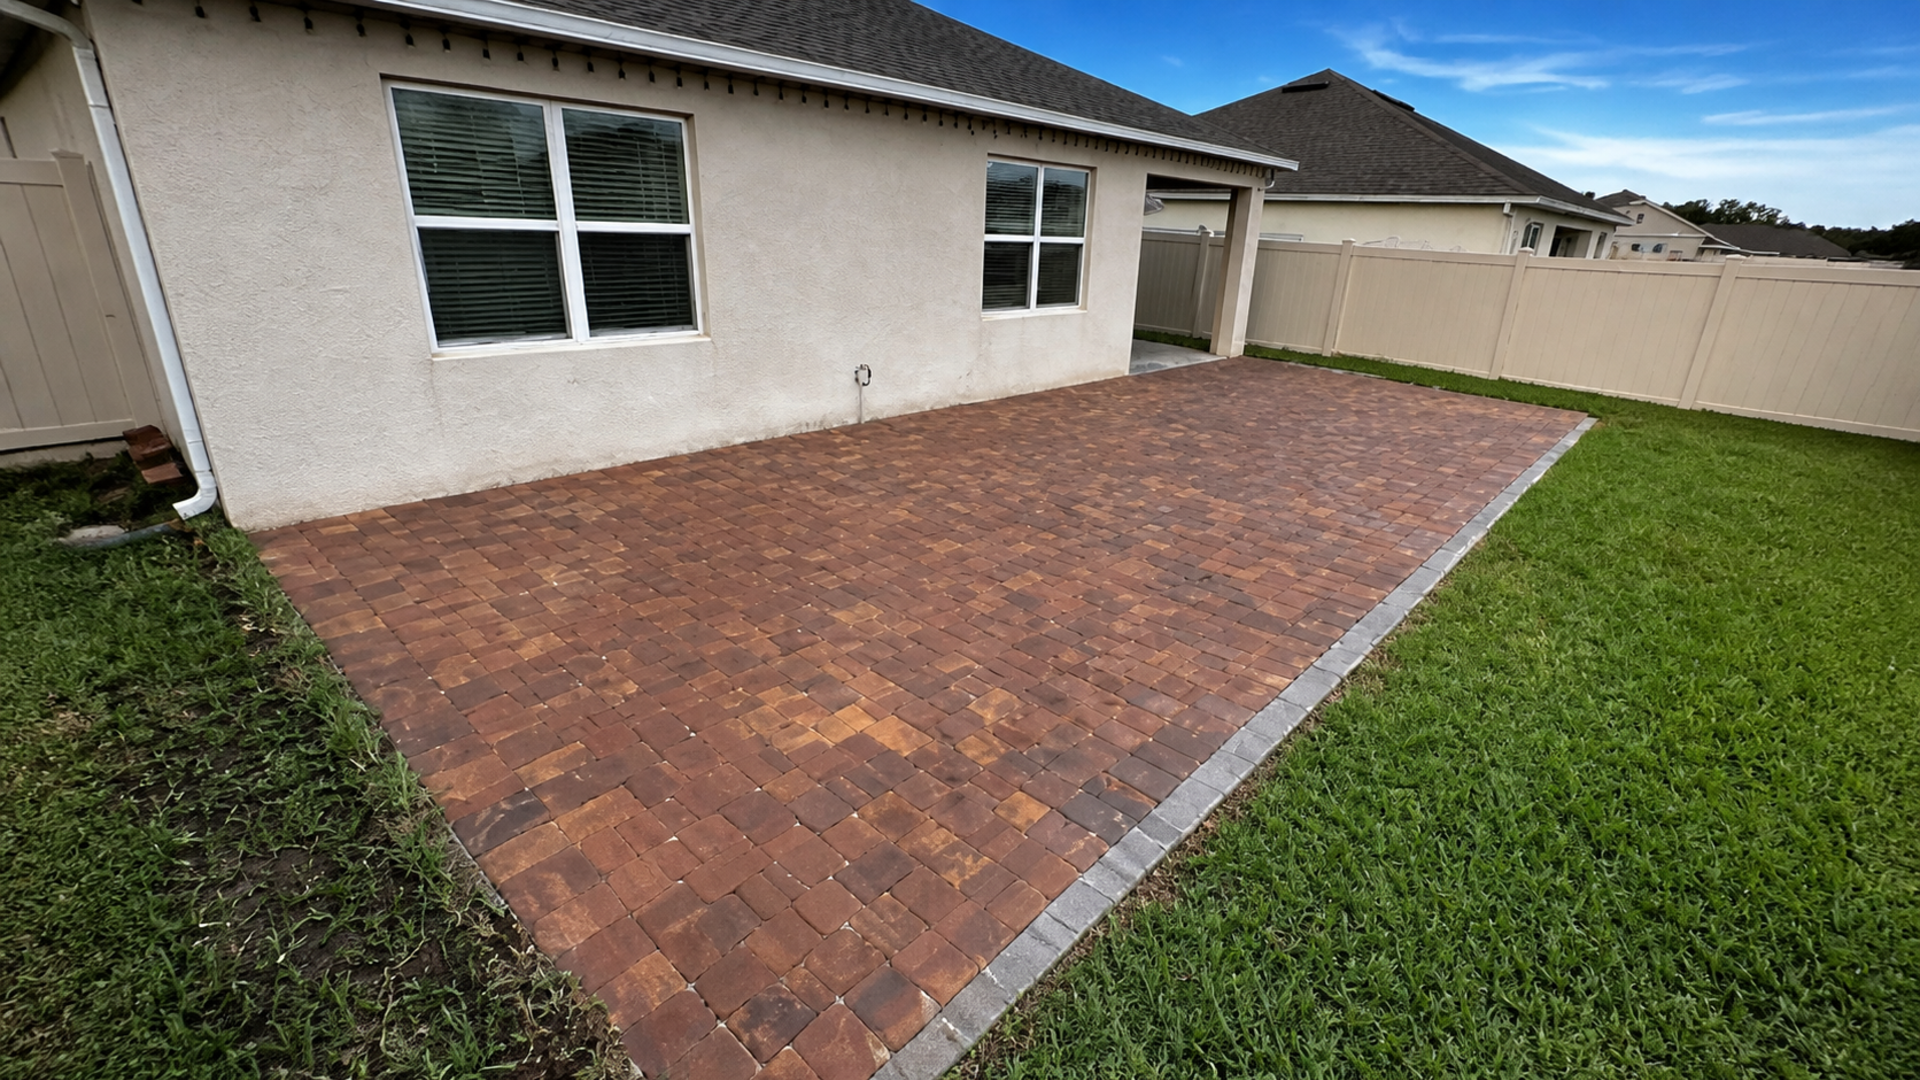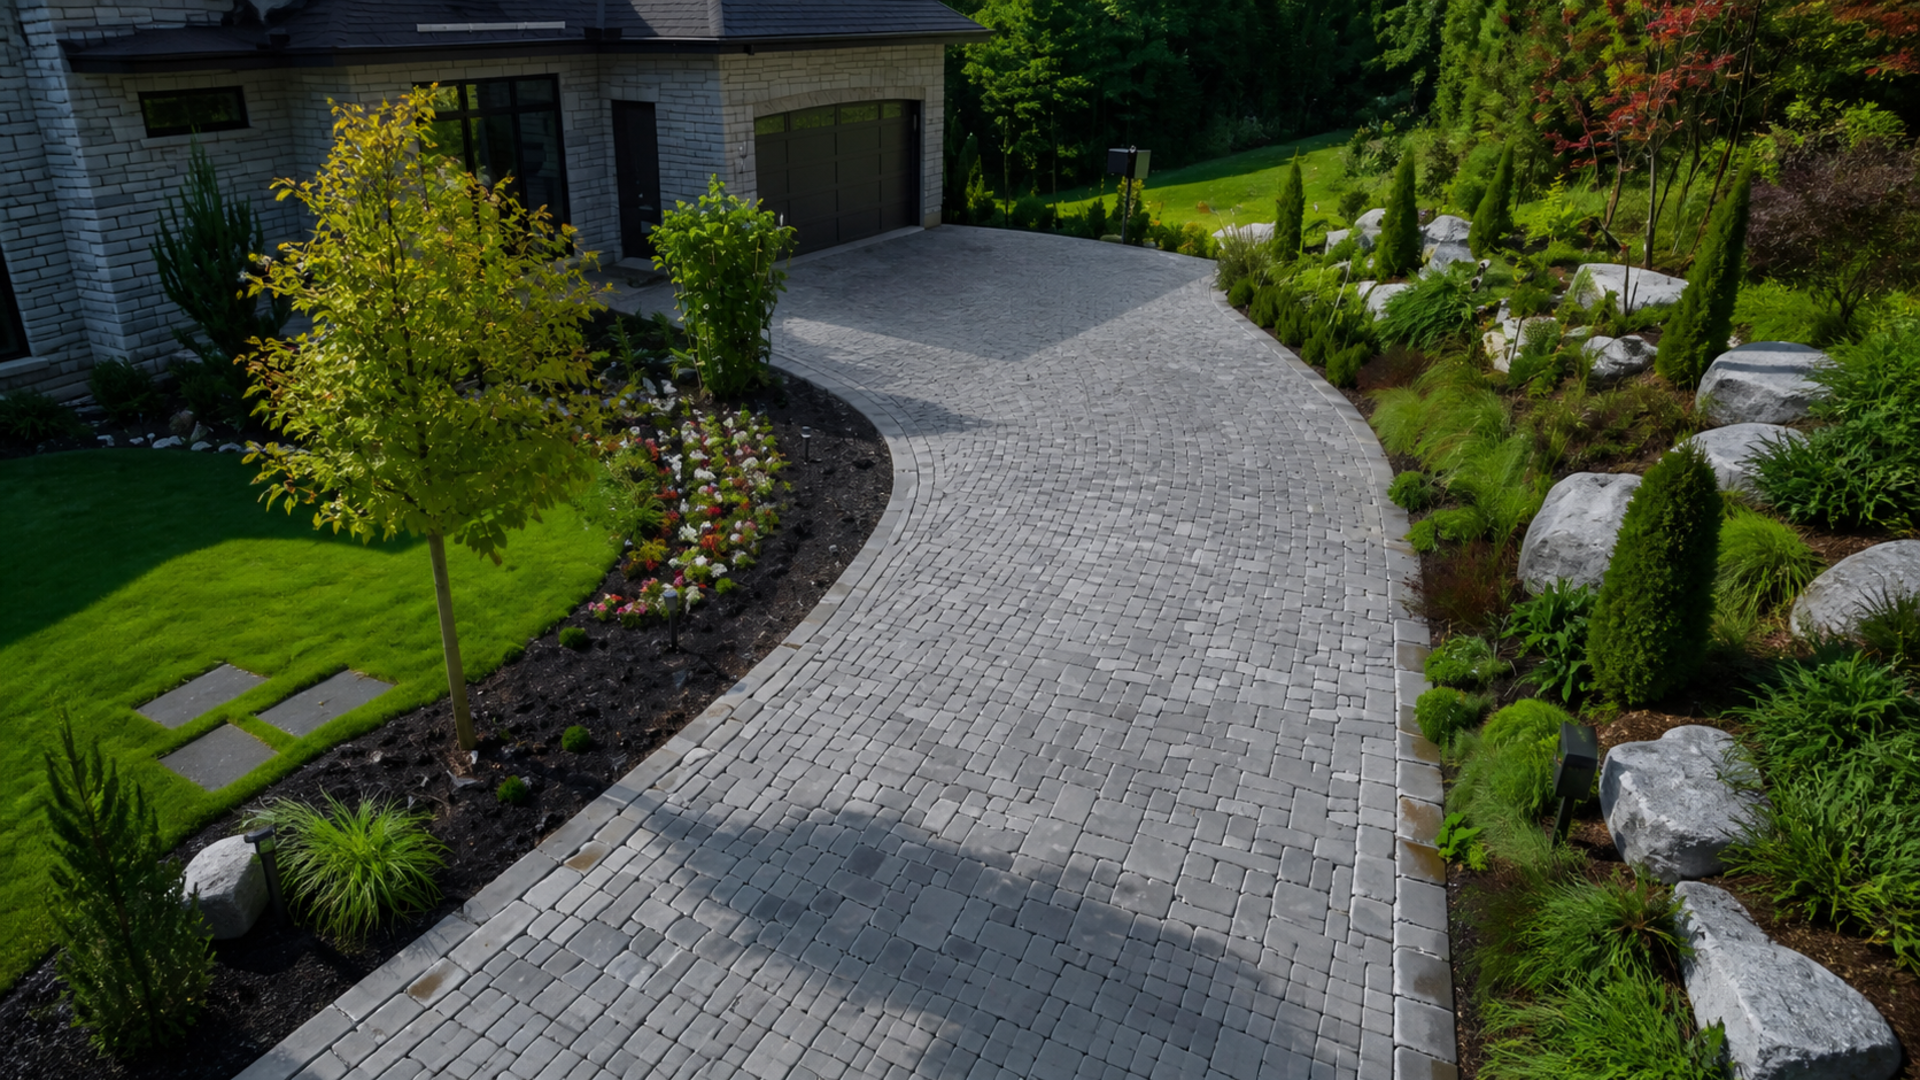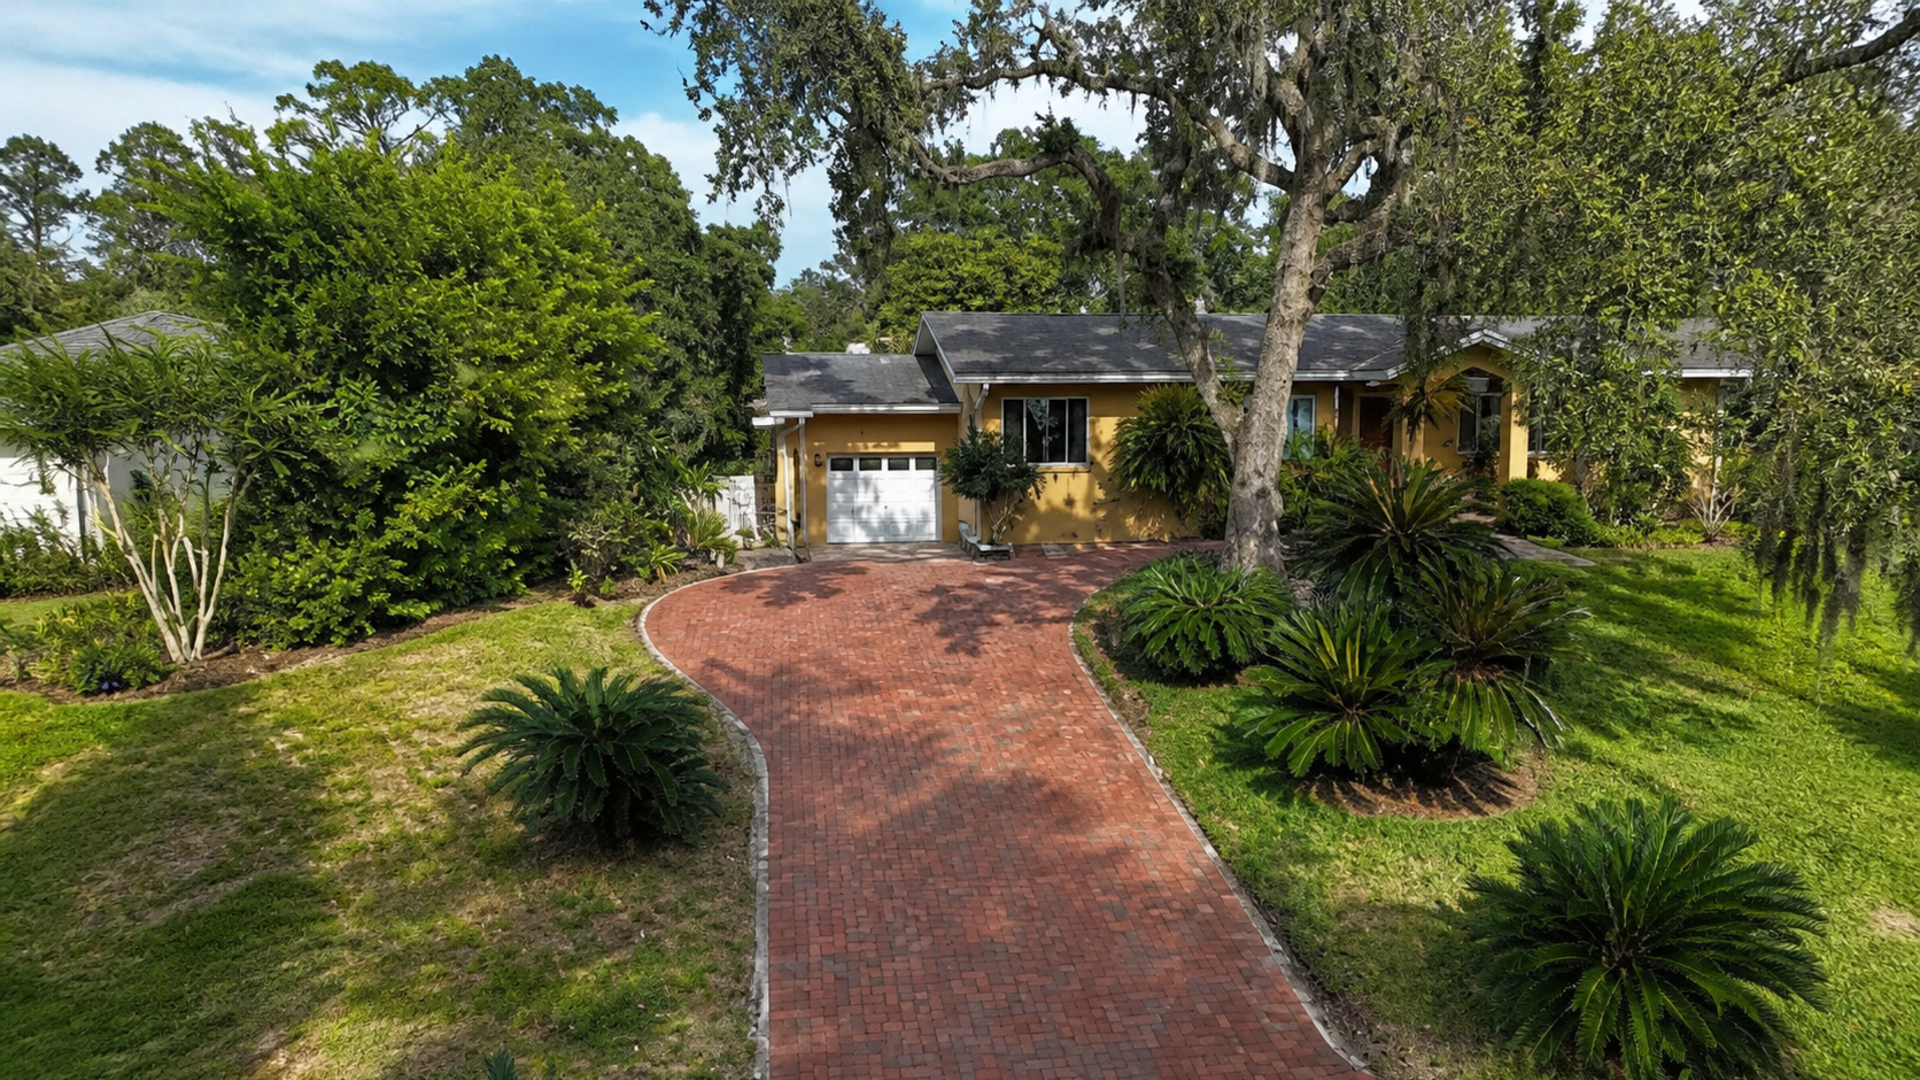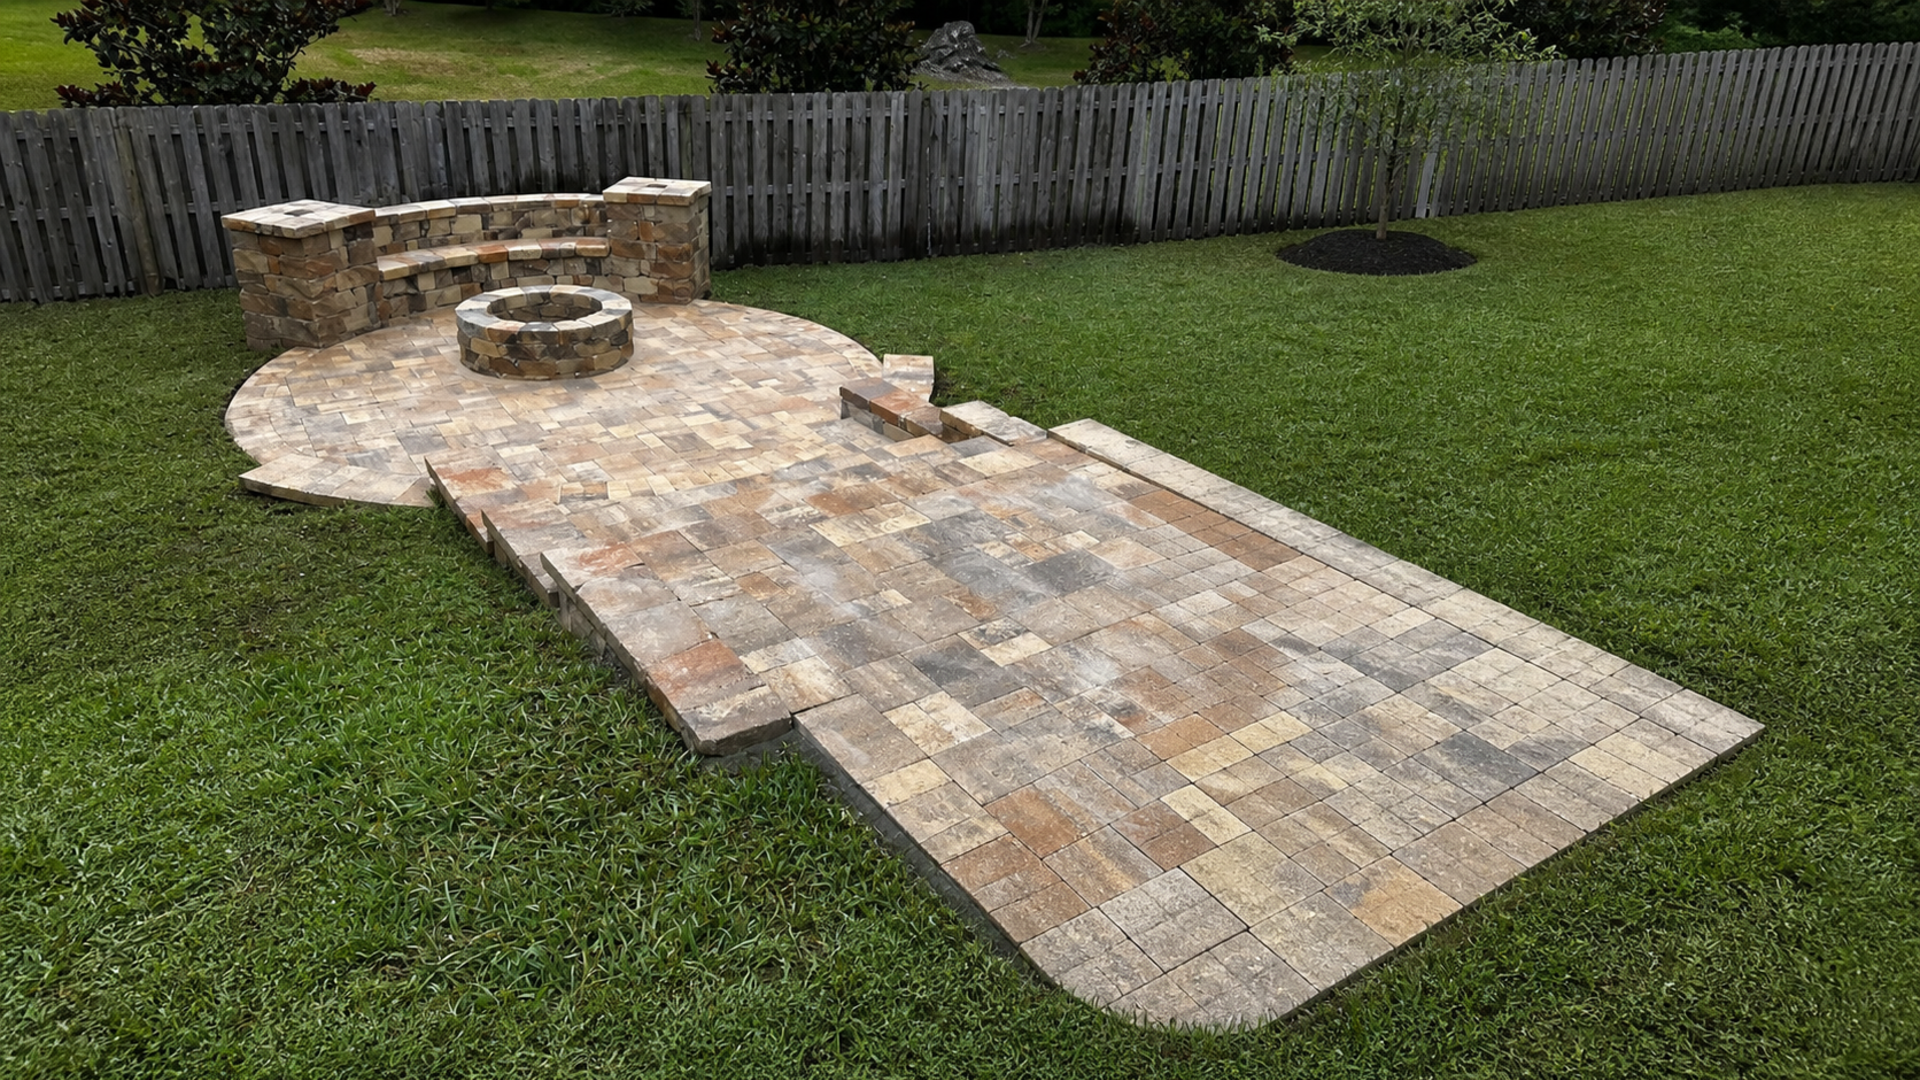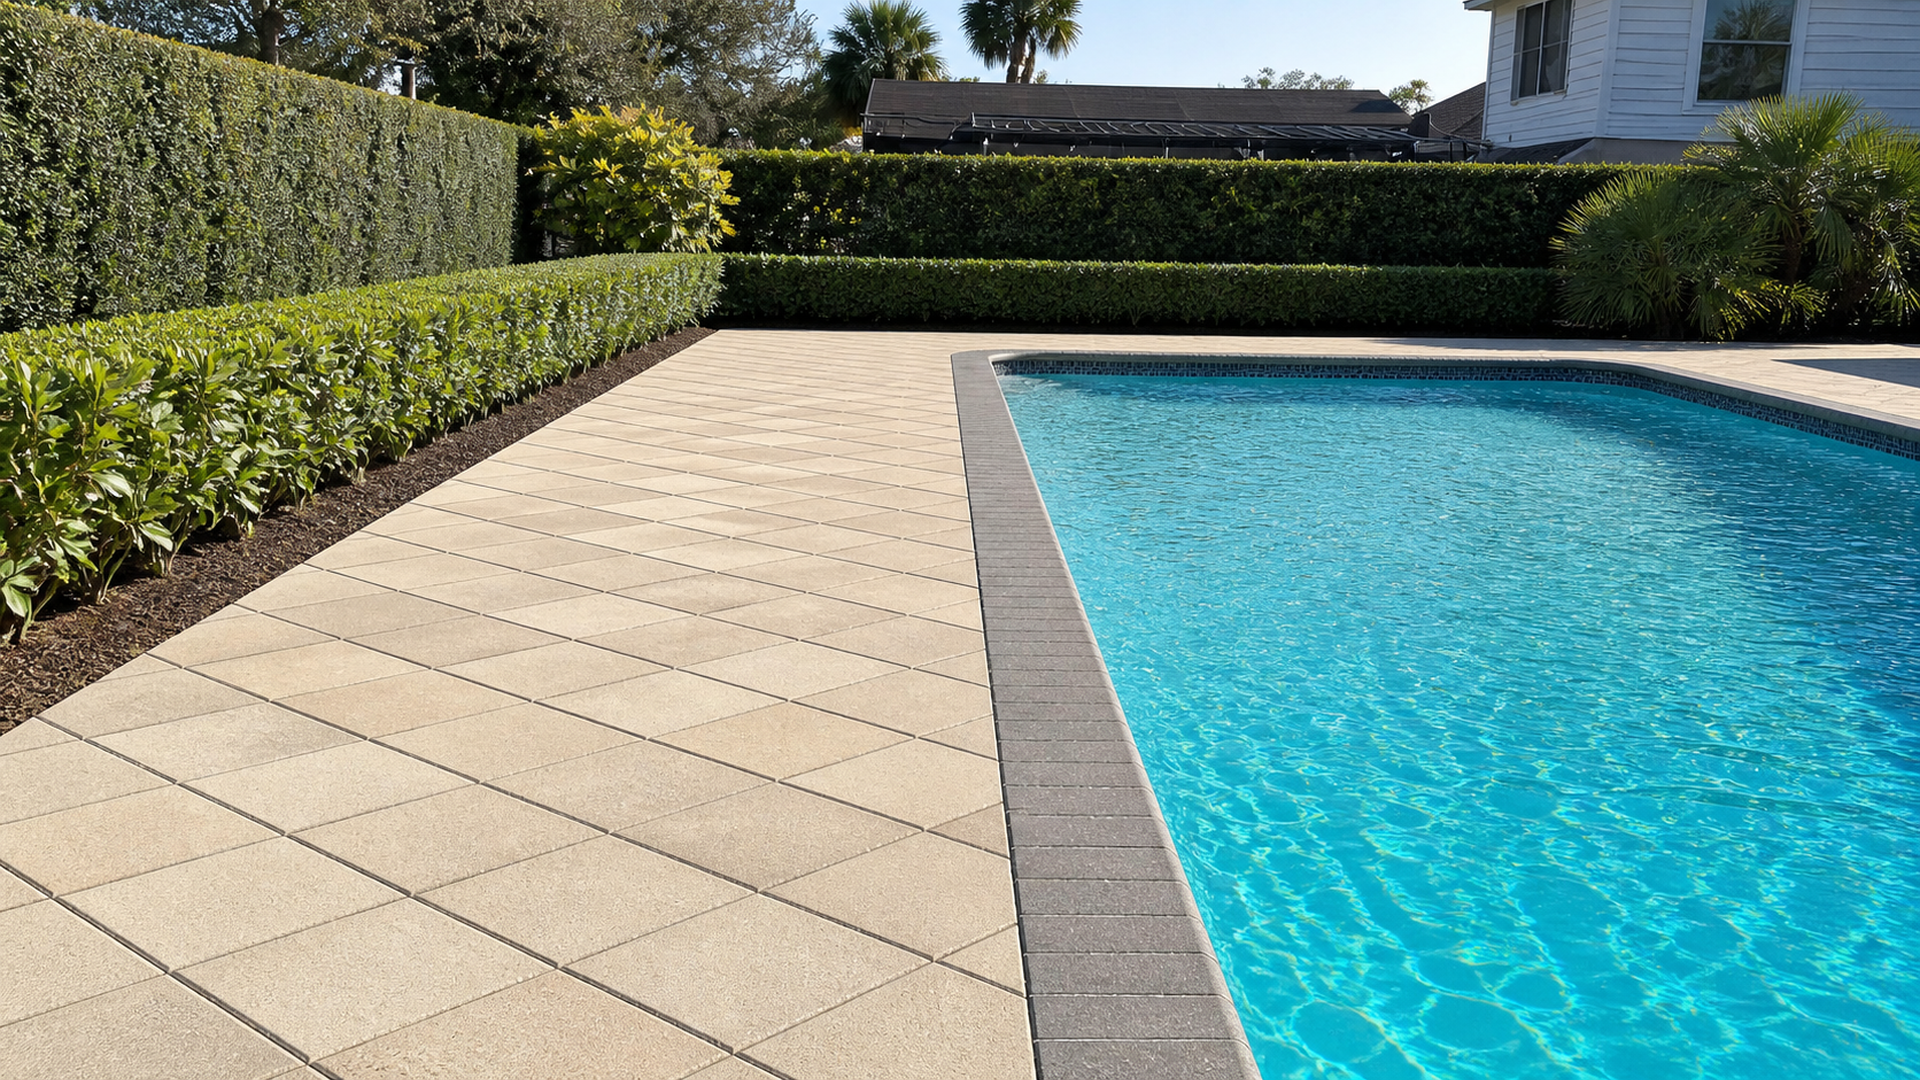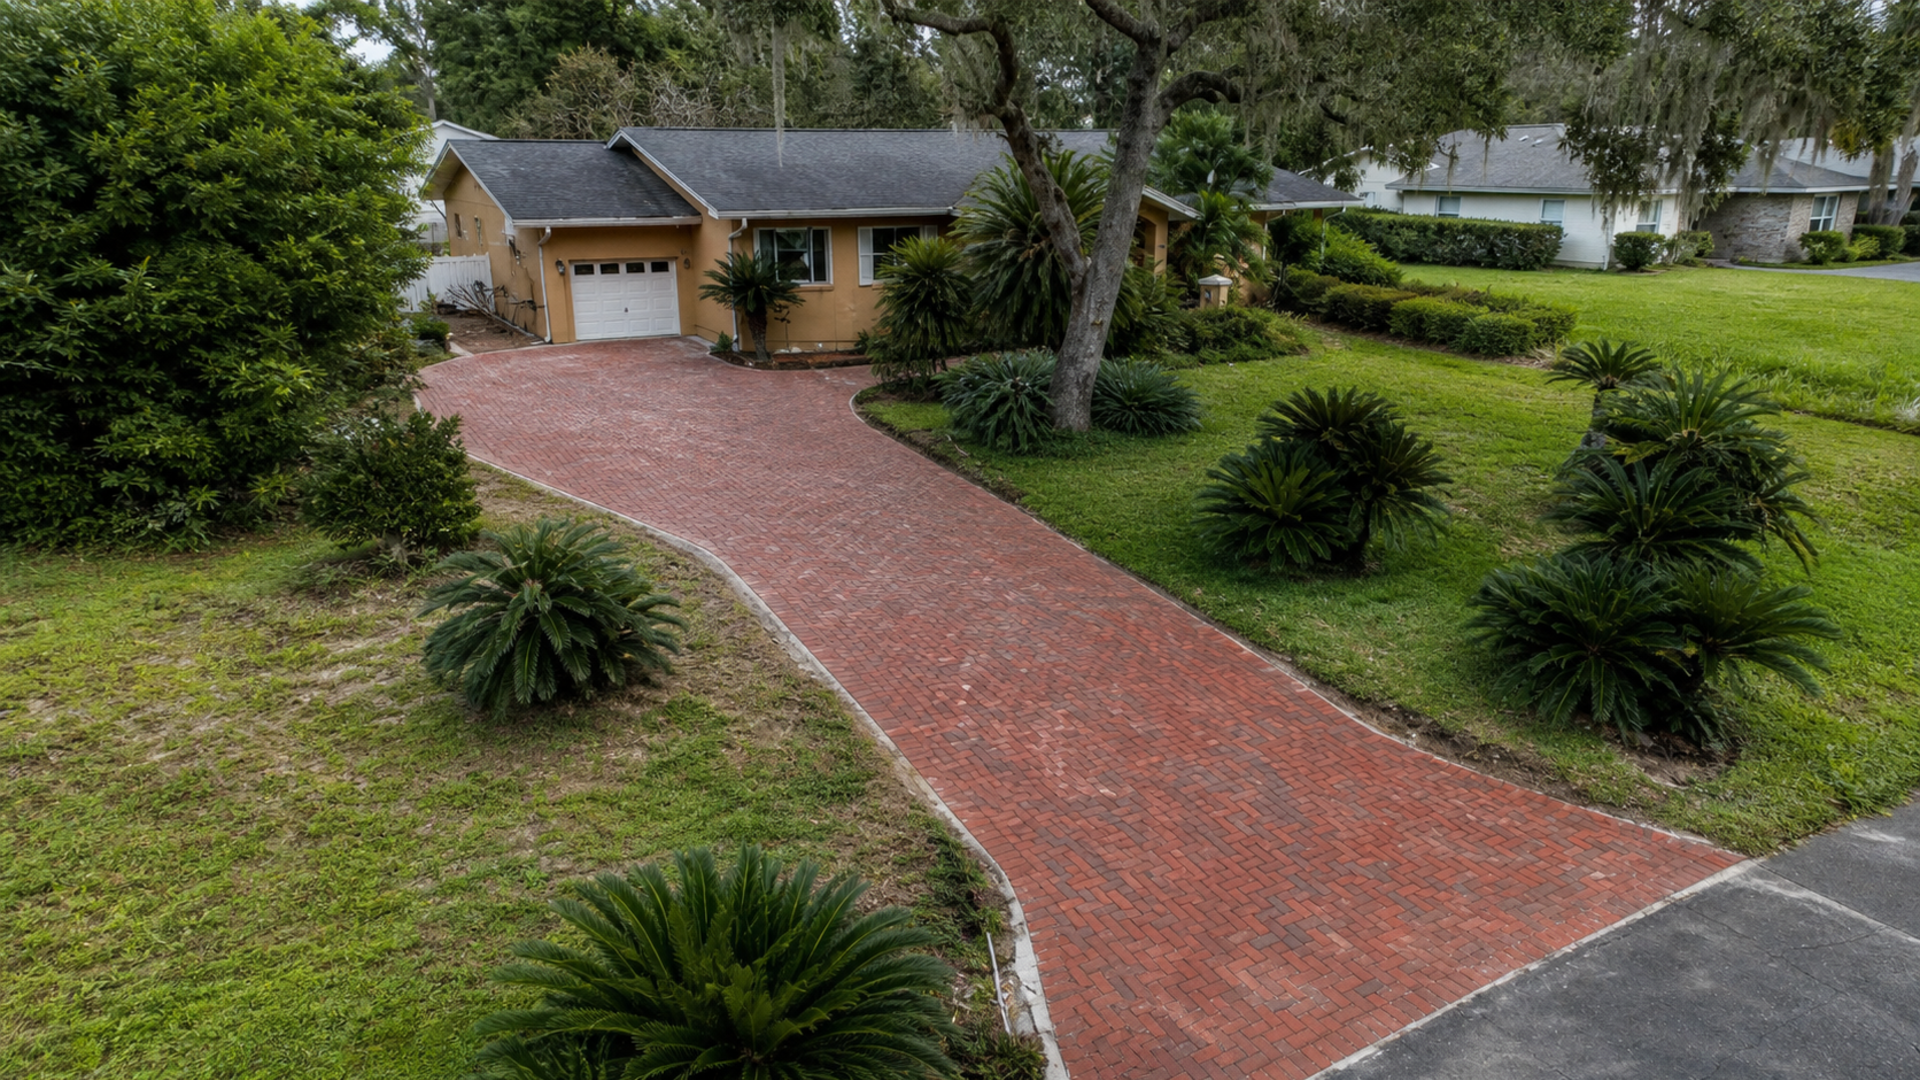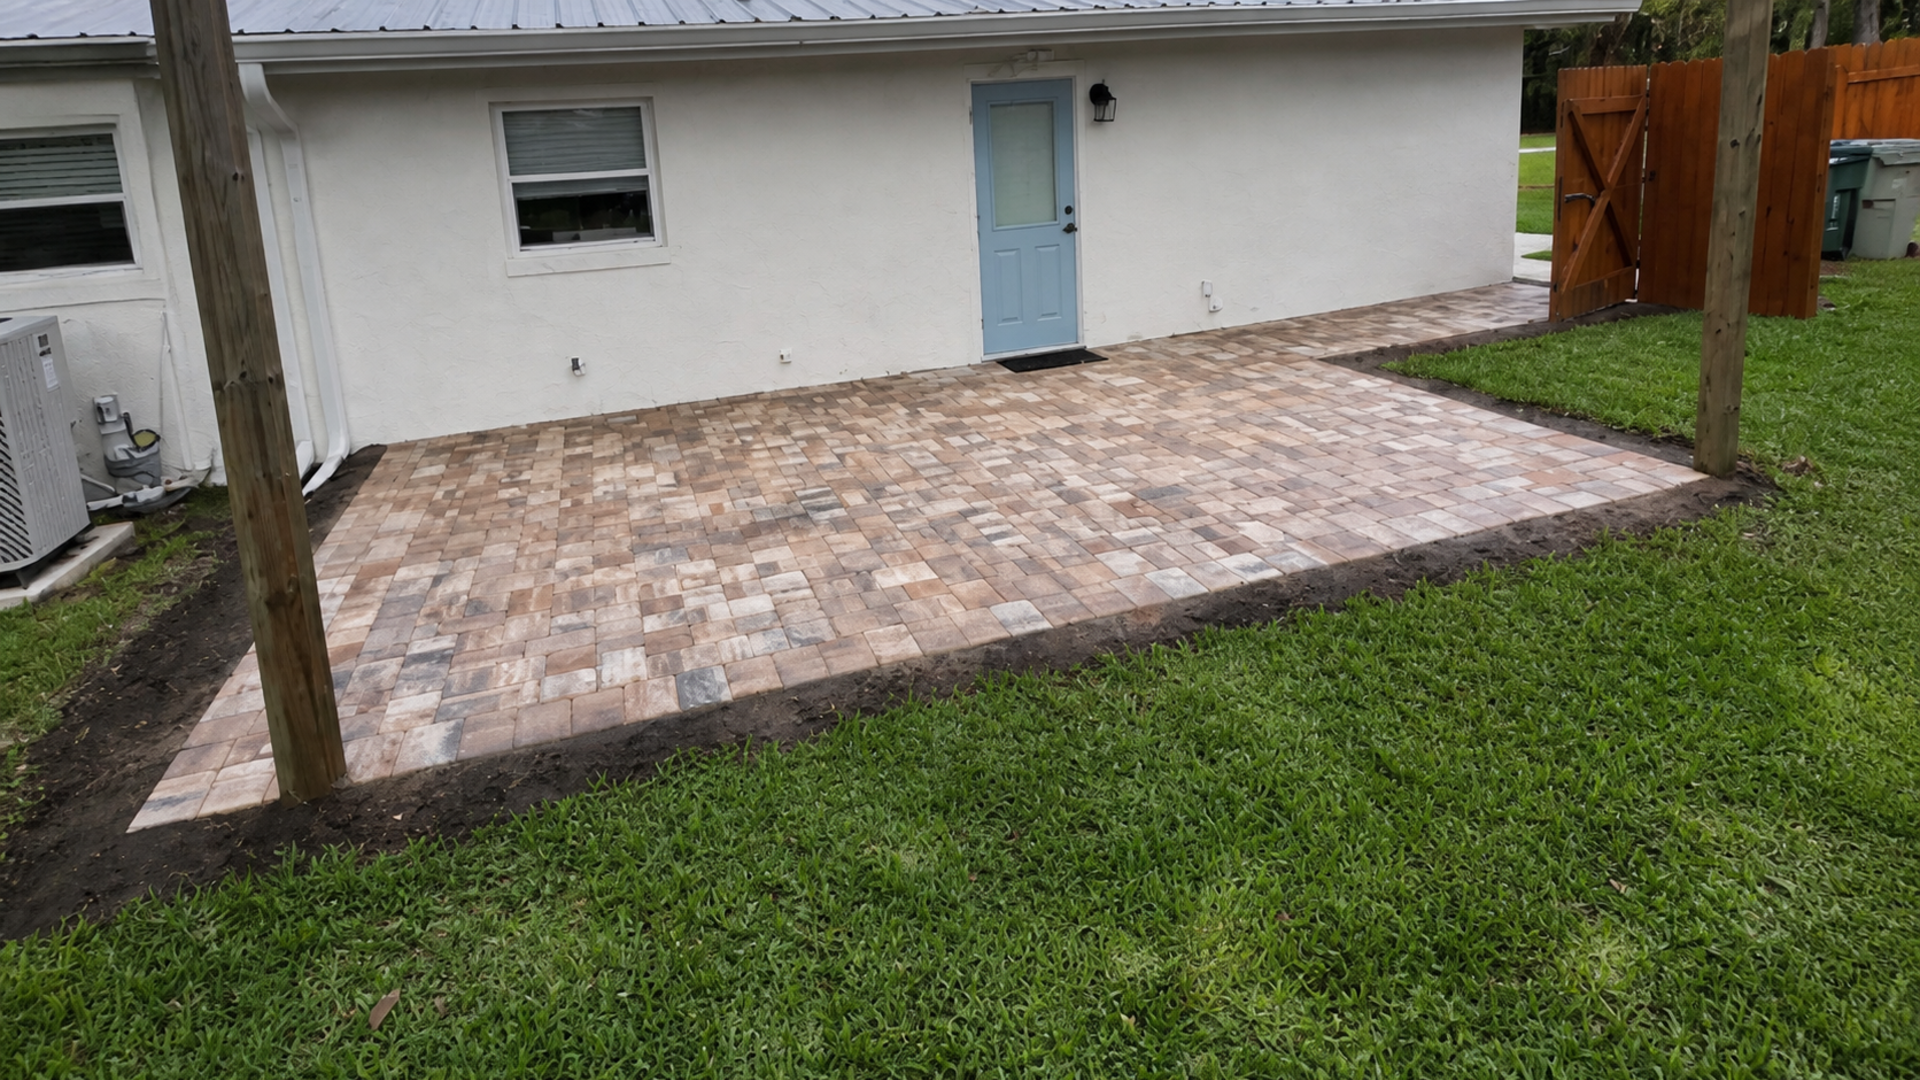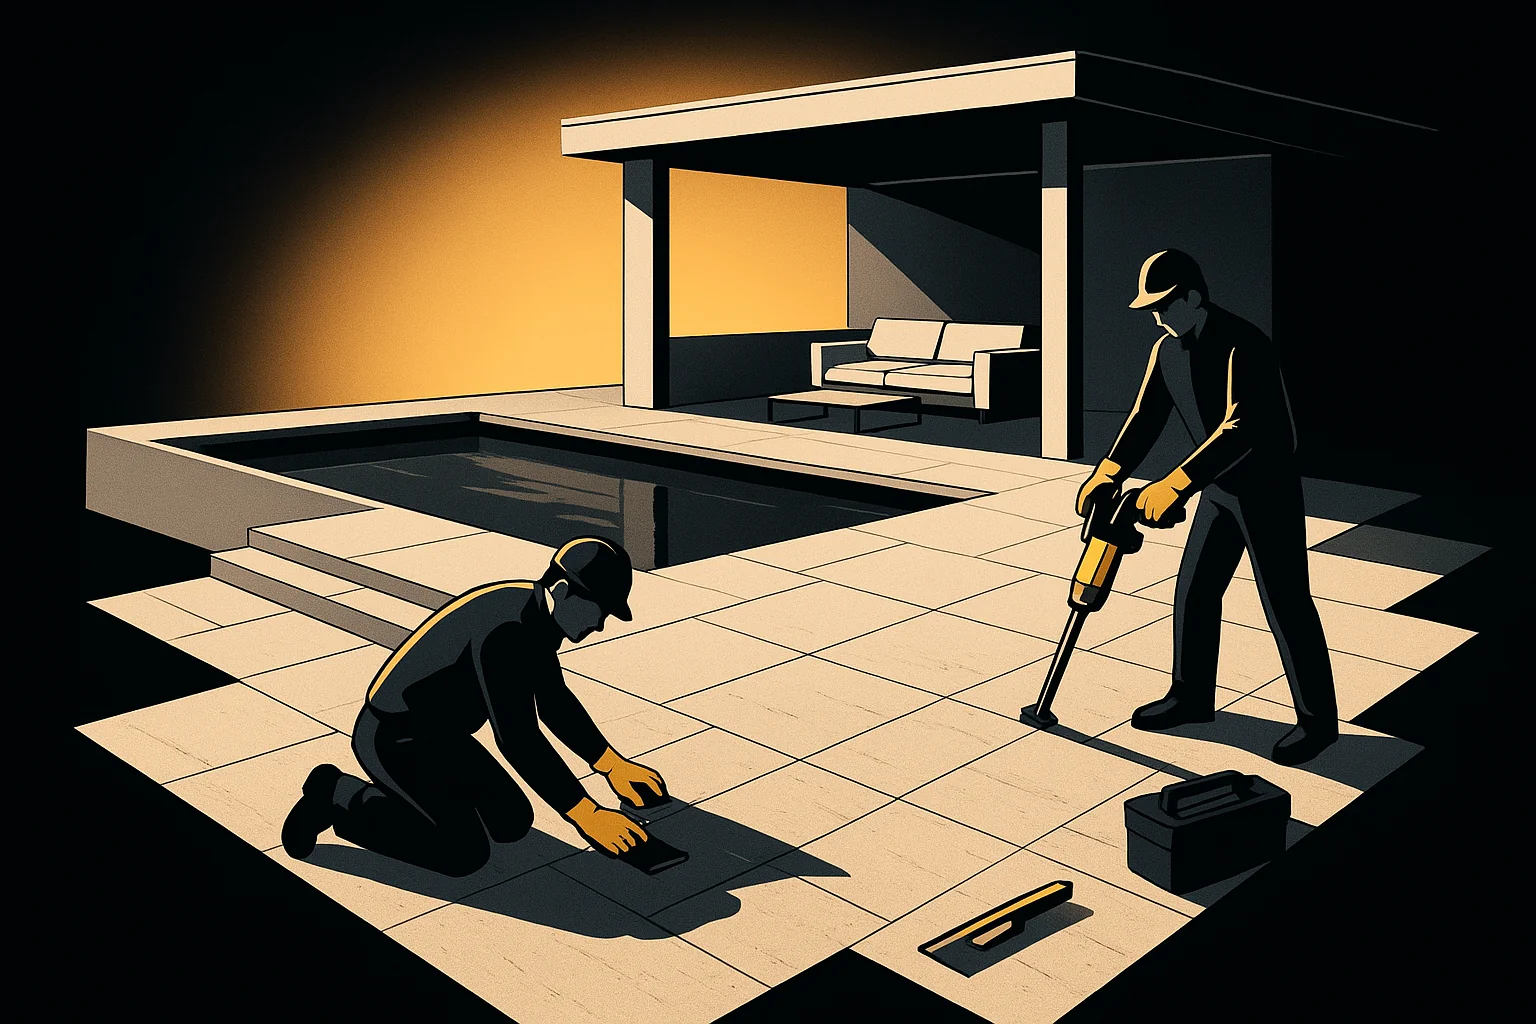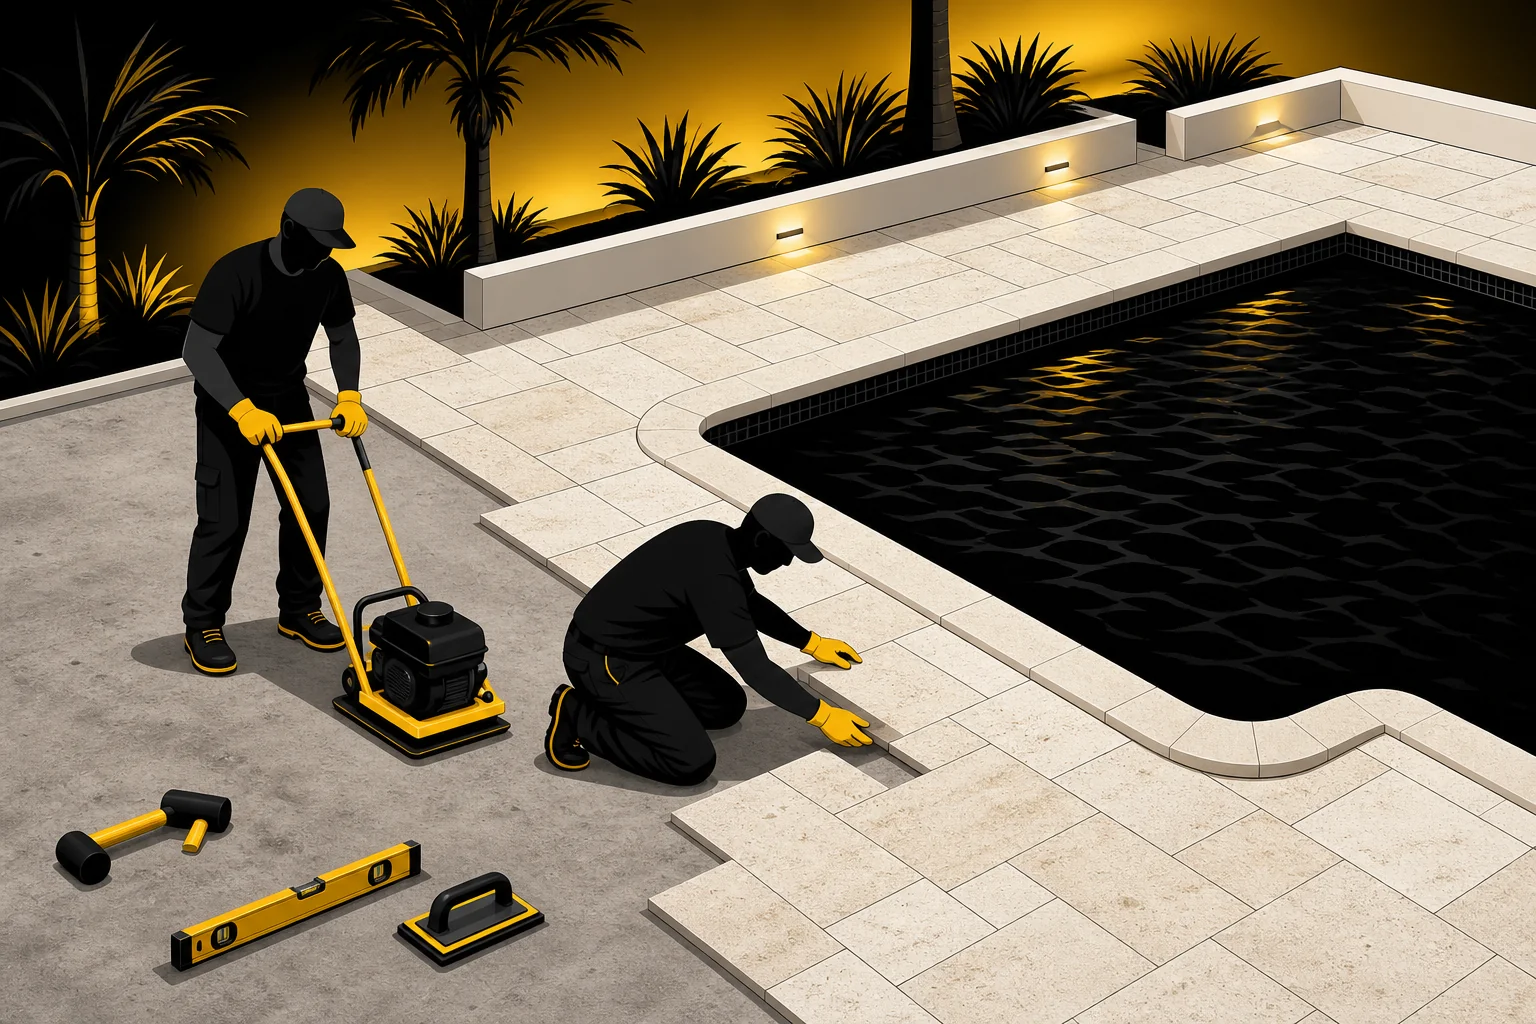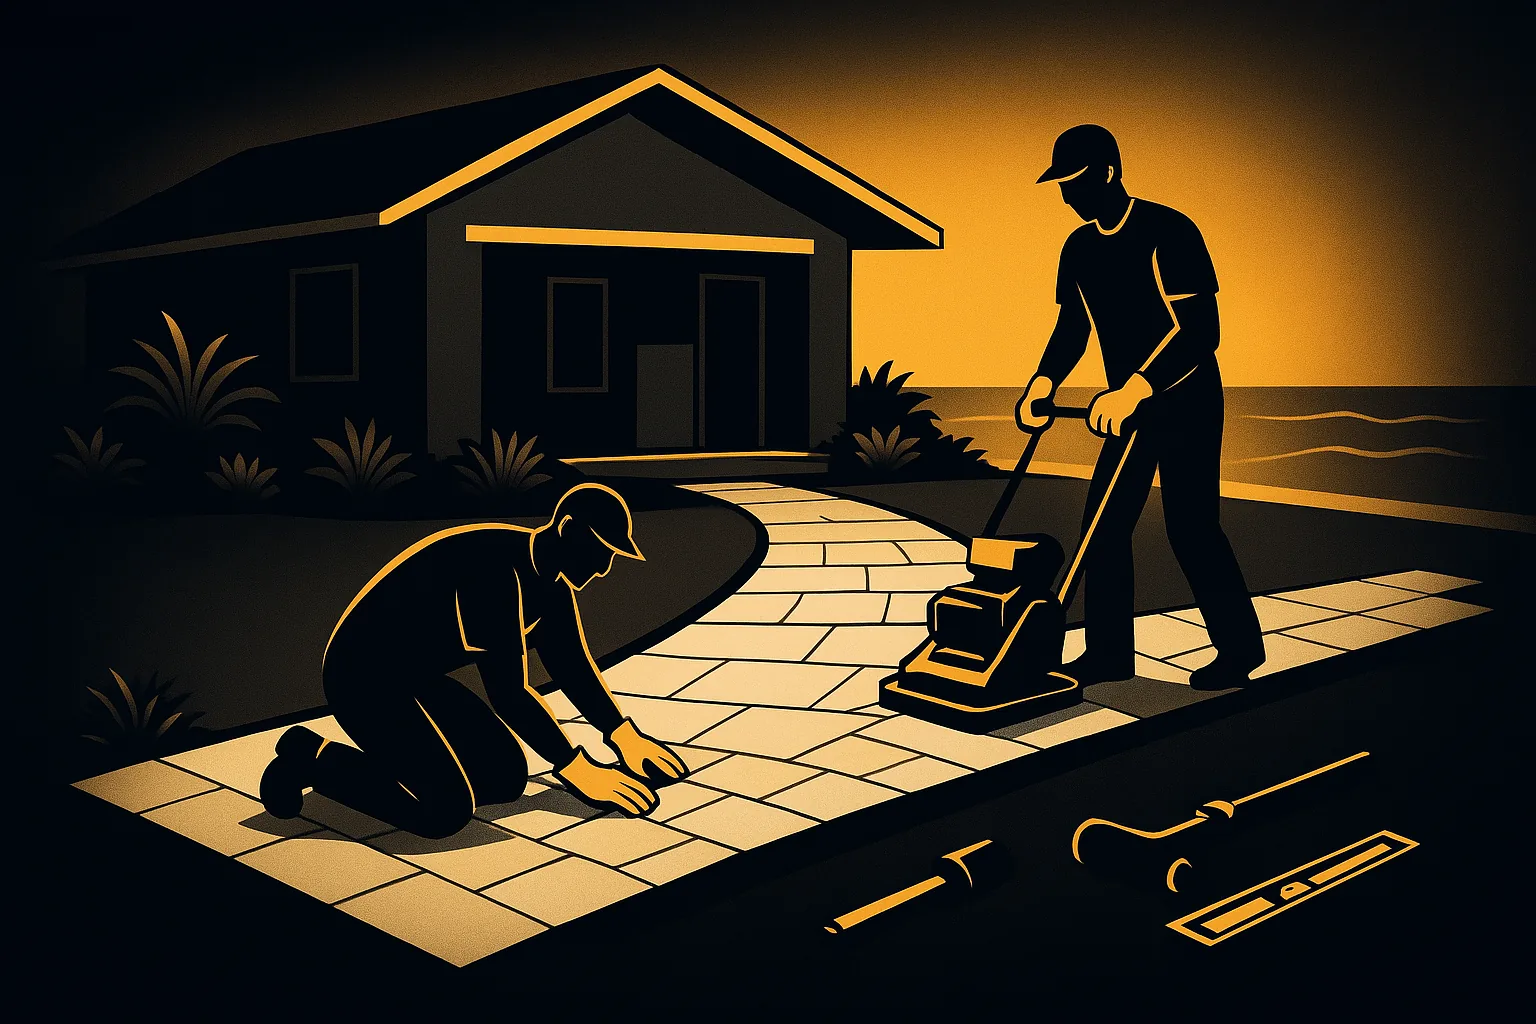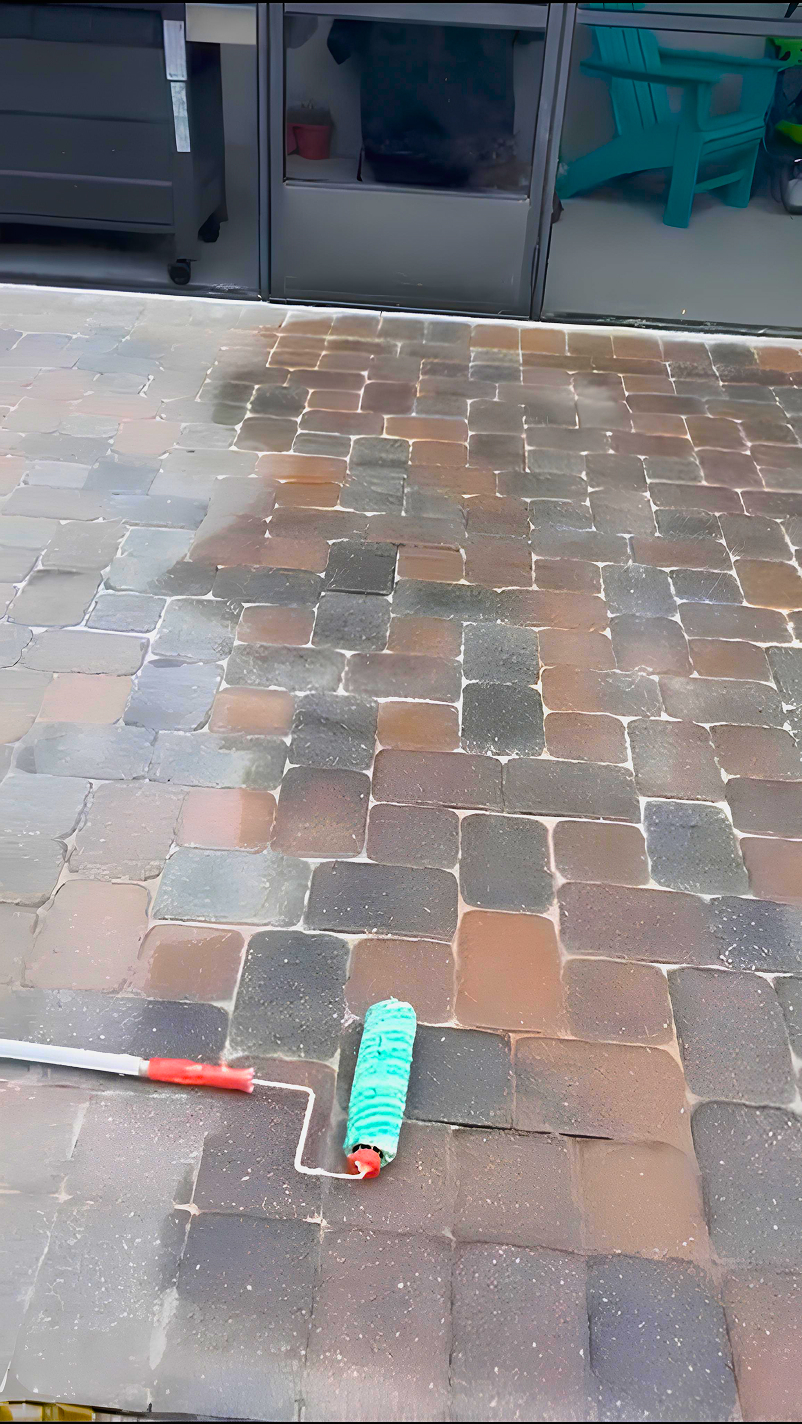
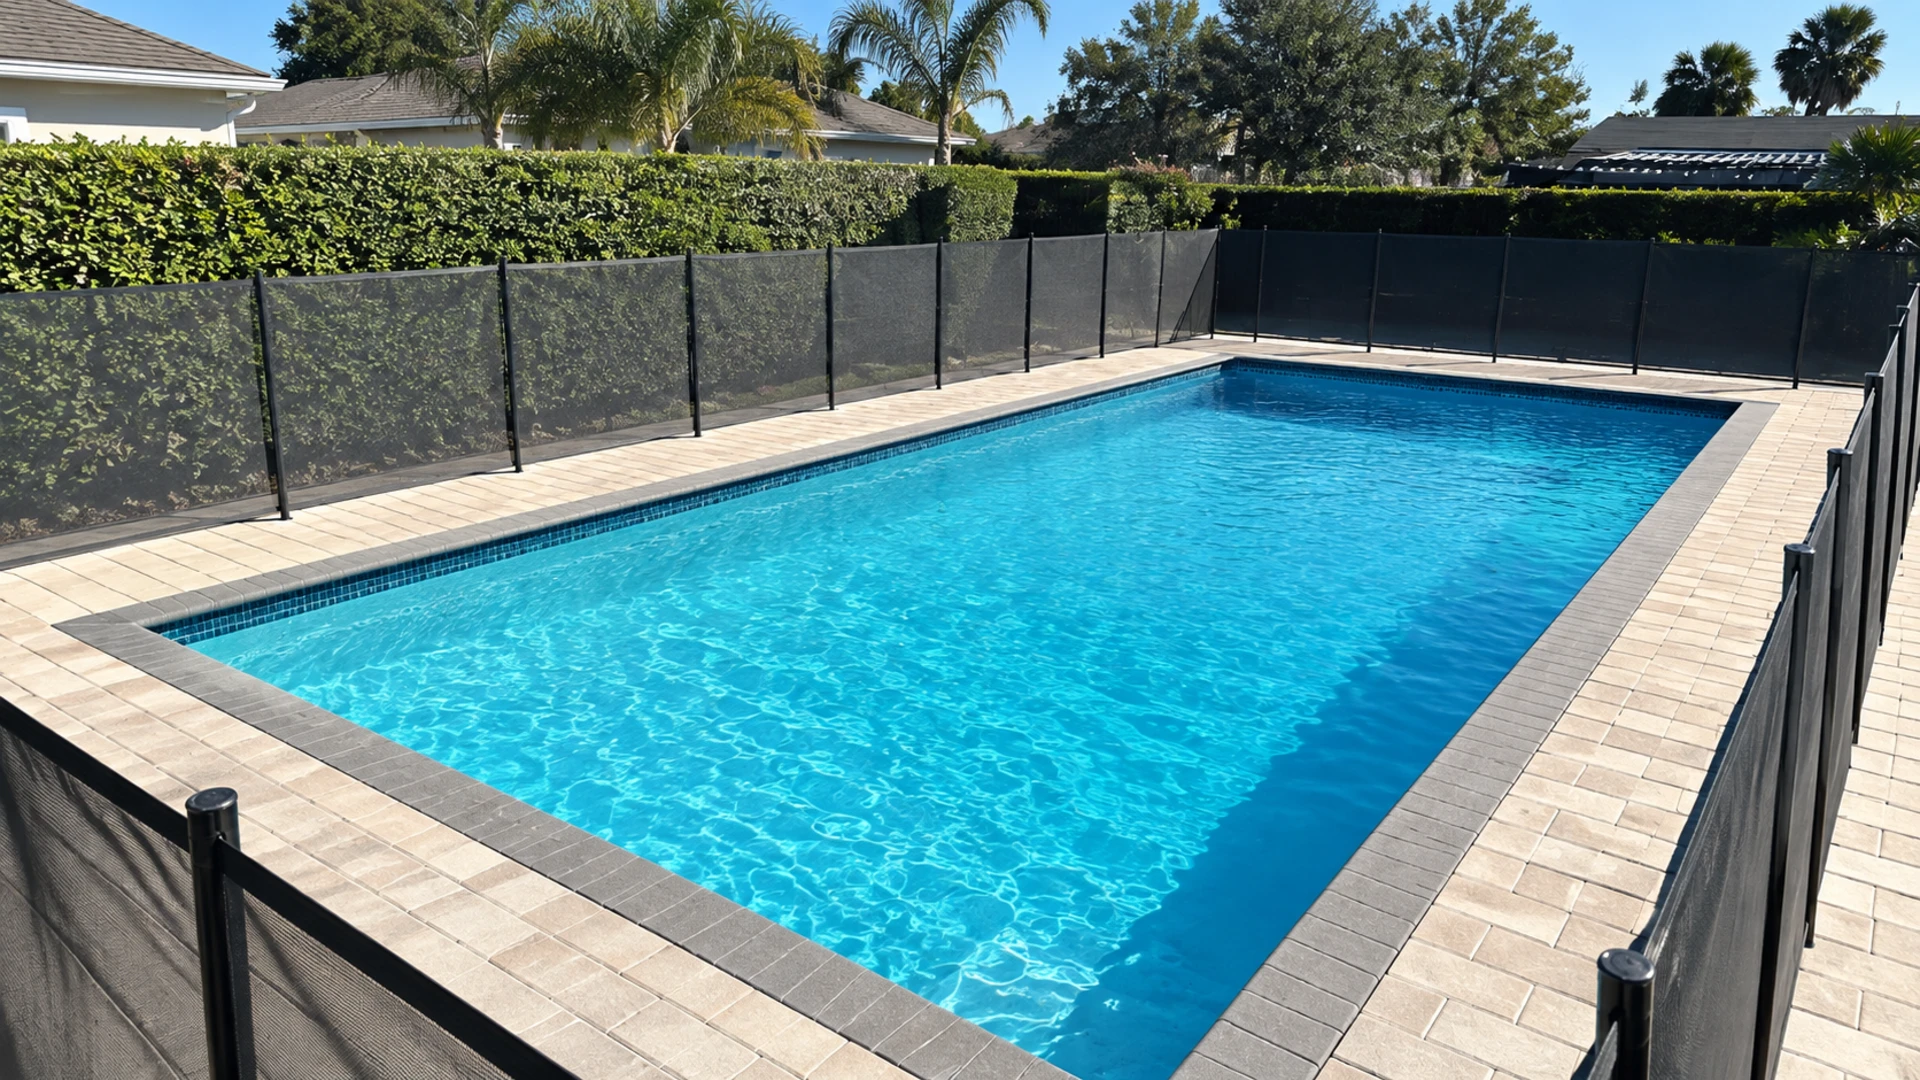
Homeowners often notice low areas and water paths on a completed pool deck as one small visual change, yet the pool-deck low area should not be reduced to a close-up. The pool-deck low area belongs to a paved system with borders, joints, grades, access routes, and nearby structures. Reading those relationships around the pool-deck low area defines better questions for a Largo property visit.
A responsible discussion of pool paver water review does not promise a cause, material match, or correction from an image. Record the installation around the pool-deck low area, compare stable and affected areas, and note water behavior after normal rain. Evidence from the pool-deck low area narrows the conversation without building the scope on an unsupported remote guess.
The sections below address temporary surface moisture being treated as proof of a drainage defect through the specific context of the pool-deck low area. For the pool-deck low area, they cover photographs, transitions, optional surface care, repair boundaries, and estimate language. Code, structural, drainage, and product decisions affecting the pool-deck low area remain property-specific and belong with the appropriate on-site professional.
Pool Deck Drainage Inspection: Read the existing condition before choosing a fix
Document where water remains after ordinary rain and how long it takes to clear before cleaning, lifting, resetting, or sealing begins. At the pool-deck low area, photograph the same location from a wide viewpoint and include the connected paving.
For the pool-deck low area, compare it under ordinary dry conditions and after normal Florida rain; record how it relates to joints, borders, grade, and nearby structures. Together, those views establish a dated baseline for the pool-deck low area without pretending to diagnose it remotely.
Keep observations separate from possible causes
Record deck pitch, joint condition, screen runoff, and landscape flow as separate clues, but leave the cause open for the property visit. For the pool-deck low area, separate those observations from unrelated marks or normal color variation.
When reviewing the pool-deck low area, compare the affected location with stable pavers from the same installed area; reserve base, drainage, edge, and structural conclusions for the site visit. That distinction keeps the discussion about the pool-deck low area factual until measurements and site conditions can be checked in person.
Plan around the whole paved area
Review the wet area in relation to coping, doors, fence lines, and walking routes as part of the complete installed layout. Across the pool-deck low area, preserve the installed pattern, border rhythm, and practical walking or driving path.
Across the pool-deck low area, keep transitions usable where the pavers meet lawn, doors, steps, coping, or pavement; use the existing material family as the visual baseline for any approved correction. The layout plan should preserve the useful connections around the pool-deck low area and make every visible matching limit explicit.
Define a controlled work sequence
Document a cautious reset sequence that keeps pool edges and access protected before installed units are removed. Within the pool-deck low area, limit removal to the area needed to expose and address the confirmed condition.
Within the pool-deck low area, protect reusable units and maintain their orientation when the scope allows; inspect alignment, compaction, joints, and connected edges before closeout. The work sequence for the pool-deck low area also needs a clear pause point if the exposed condition differs from the accepted scope.
Follow water through the surrounding grade
Document rainfall routes around the pool perimeter without an artificial hose test under ordinary weather and site conditions. Around the pool-deck low area, distinguish roof runoff, irrigation, landscape flow, and paved-surface movement.
Around the pool-deck low area, confirm that water has a practical route away from buildings and occupied areas; escalate repeated ponding or soil washout for a property-specific drainage review. Water notes for the pool-deck low area should identify what was observed and what still requires another trade or property-specific review.
Protect connected property details
Protect coping, drains, screen enclosure, safety fence, and adjacent deck sections throughout access, removal, cleaning, or compaction work. Beside the pool-deck low area, keep doors, walls, coping, curbs, fences, lawn, and planting beds outside the work zone.
Beside the pool-deck low area, match joint width, border alignment, and surface plane across the finished transition; document the completed condition before equipment and temporary protection leave the site. Written boundaries protect both the pool-deck low area and the connected features meant to remain untouched.
Use a maintenance routine that fits Florida conditions
Add safe visual checks after rain without walking on slippery areas to the recurring observation log. In records for the pool-deck low area, sweep organic debris before it holds moisture or hides changing joint conditions.
For routine notes about the pool-deck low area, repeat photographs from the same safe viewpoints after heavy rain or service work; follow product and contractor guidance before washing or applying any sealer. A dated routine for the pool-deck low area is more useful than aggressive treatment performed before the condition is understood.
Recognize shortcuts that can hide the real issue
Avoid sealing over trapped moisture or attempting to force water toward the pool; leave the final method open until the site condition and limits are understood. Before decisions about the pool-deck low area, do not use aggressive pressure or improvised chemicals as a substitute for diagnosis.
Before approving work on the pool-deck low area, reject isolated cosmetic work that redirects water or transfers movement to another edge; avoid promises of an invisible match when age, availability, and exposure affect color. The proposal for the pool-deck low area should state unresolved cause, material, color, drainage, and compatibility questions plainly.
Turn the site visit into a clear written scope
Measure the measured low area, connected elevations, access, and trade boundaries during the property visit. During the estimate for the pool-deck low area, list access, removals, reusable material, replacement limits, exclusions, and final checks.
In the quote for the pool-deck low area, separate optional cleaning or sealing from installation and repair requirements; keep photographs, dates, assumptions, and the accepted finished condition with the quote. This written document should separate required work, optional surface care, exclusions, assumptions, and final checks for the pool-deck low area.
Homeowner observation checklist
- Document where water remains after ordinary rain and how long it takes to clear before cleaning, lifting, resetting, or sealing begins
- Record deck pitch, joint condition, screen runoff, and landscape flow as separate clues, but leave the cause open for the property visit
- Review the wet area in relation to coping, doors, fence lines, and walking routes as part of the complete installed layout
- Document a cautious reset sequence that keeps pool edges and access protected before installed units are removed
- Document rainfall routes around the pool perimeter without an artificial hose test under ordinary weather and site conditions
- Protect coping, drains, screen enclosure, safety fence, and adjacent deck sections throughout access, removal, cleaning, or compaction work
- Add safe visual checks after rain without walking on slippery areas to the recurring observation log
- Avoid sealing over trapped moisture or attempting to force water toward the pool; leave the final method open until the site condition and limits are understood
- Measure the measured low area, connected elevations, access, and trade boundaries during the property visit
For ongoing observations related to the pool-deck low area, keep the checklist with dates, wide photographs, and notes about normal weather or service changes. Update records for the pool-deck low area after heavy rain, landscape work, cleaning, repair, or a visible change. Preserve every earlier image as its own dated observation so later comparisons of the pool-deck low area do not rewrite the property history.
Read pool-deck water only under safe, ordinary conditions
A useful record shows the low area together with nearby coping, drains, doors, fence lines, and the route water appears to follow. Photograph only when the deck is safe to enter and use natural rain or routine pool conditions; do not create standing water for the sake of a test. Record when the surface first appears wet and which areas remain damp later, using similar viewpoints when possible. Splash, rainfall, irrigation, and runoff may leave different patterns, so describe what was observed without naming the source unless it is known. The property visit can then measure the surface, inspect connected details, and determine whether the written scope needs coordination beyond the paved deck.
Use timing and location to describe a pool-deck low area
Water on a pool deck needs context before it becomes a drainage conclusion. Record where the wet area begins, which direction it appears to extend, and how it relates to coping, drains, doors, screen edges, and connected walkways. Use only ordinary rainfall or routine pool conditions, and wait until the surface is safe to approach. A second photograph taken later from the same viewpoint can show whether the area cleared, changed shape, or remained visible. Splash, runoff, and temporary moisture may overlap, so the notes should describe the pattern without naming the source unless it is known. This time-based record gives the on-site review a practical place to measure pitch and transitions while avoiding an artificial flood test or a remote claim that the deck is defective.
Keep pool details and drainage responsibilities separate
A paving scope near a pool should identify every connected feature that must remain protected. Coping, drains, door thresholds, screen structures, and safety barriers may require their own qualified review, and the estimate should not silently absorb those responsibilities. Ask which surface limits will be measured, whether any stable section remains untouched, and how the finished plane will be checked near existing transitions. If observed water appears to enter from a roof, landscape, irrigation source, or another system, record that route and state whether coordination is needed. The goal is not to assign blame among trades; it is to prevent a local paving correction from redirecting water or disturbing a protected detail. Written boundaries also give the homeowner a clear basis for comparing the approved work with the post-service condition.
From first observation to a measurable site conversation
Begin the property walk for the pool-deck low area at a safe wide viewpoint and name the paved area in ordinary property language. Mark the visible change around the pool-deck low area, its approximate limits, and one stable comparison area. The first pass should connect the pool-deck low area to the normal route without trying to prove why the condition exists.
For a second safe view of the pool-deck low area, wait for ordinary dry weather or rainfall and approach only when the paving is safe. Compare the water path and drying pattern around the pool-deck low area from the same viewpoints, then add the date and any known irrigation or landscape change. Protect the evidence: do not move units, lean on barriers, enter standing water, or create an artificial test around the pool-deck low area.
Use the final pass to prepare site-visit questions about the pool-deck low area, access, measurements, connected edges, reusable sections, matching limits, trade boundaries, optional care, and exclusions. The practical goal is to read pool-deck water only under safe, ordinary conditions; it is not to write a technical specification or price the pool-deck low area from unverified assumptions.
Questions homeowners often ask before the site visit
What should I document first for a pool deck drainage inspection?
Begin the record for the pool-deck low area with its property connections rather than a suspected cause. Use a wide view of the pool-deck low area, note its visible limits, and include one stable area from the same installation for comparison. Preserve the original dated images so measurements and technical conclusions can be added during the visit without rewriting the earlier evidence for the pool-deck low area.
Should the pool-deck low area be cleaned or sealed before it is evaluated?
Surface care and repair answer different questions at the pool-deck low area. Avoid aggressive pressure or improvised chemicals around the pool-deck low area until the visible condition and installed finish are understood. Cleaning may suit confirmed buildup around the pool-deck low area; sealing requires compatible preparation, moisture, joints, and product history. Neither service should be sold as the correction for unverified movement, grade, drainage, or edge conditions at the pool-deck low area.
What should an on-site estimate say about the pool-deck low area?
The visit should place the pool-deck low area in its access route, surrounding transitions, water paths, and matching constraints. Ask the reviewer to list removals, reusable work, replacement limits, exclusions, and closeout checks specifically for the pool-deck low area. That written scope keeps the main project risk visible and separates required work, optional services, and assumptions from a remote guess about the pool-deck low area.
Use the record to plan the next step for a pool deck drainage inspection
For service context related to a pool deck drainage inspection, review JaxTeller Brick Pavers’ Paver Pool Decks page. The Poolside & Garden Paving archive provides related homeowner topics for the context around the pool-deck low area. These pages frame the services around the pool-deck low area; they do not determine the condition or scope of a specific property.
For general industry or public guidance related to a pool deck drainage inspection, consult the Florida Building Code information portal. Use that resource as background only; decisions about the pool-deck low area still depend on local measurements, applicable requirements, installed-product directions, and property-specific professional review.
A sound plan for a pool deck drainage inspection begins with dated evidence, protects the connected installation, and ends with a written scope and closeout record. If conditions around the pool-deck low area change before work begins, update the observations and ask whether the estimate needs revision instead of assuming the earlier limits still apply.
Request a property-specific review
Ready to discuss a pool deck drainage inspection at your property? Contact JaxTeller Brick Pavers or review the company’s completed projects. For current visual references, visit Instagram or Facebook.
Send property details about the pool-deck low area through WhatsApp, call +1 407-907-8308, or email jaxtellerbrickpavers@gmail.com. The Maps listing provides location context. Share wide photographs and observable facts about the pool-deck low area, but rely on the site visit for diagnosis, measurements, and the final estimate.