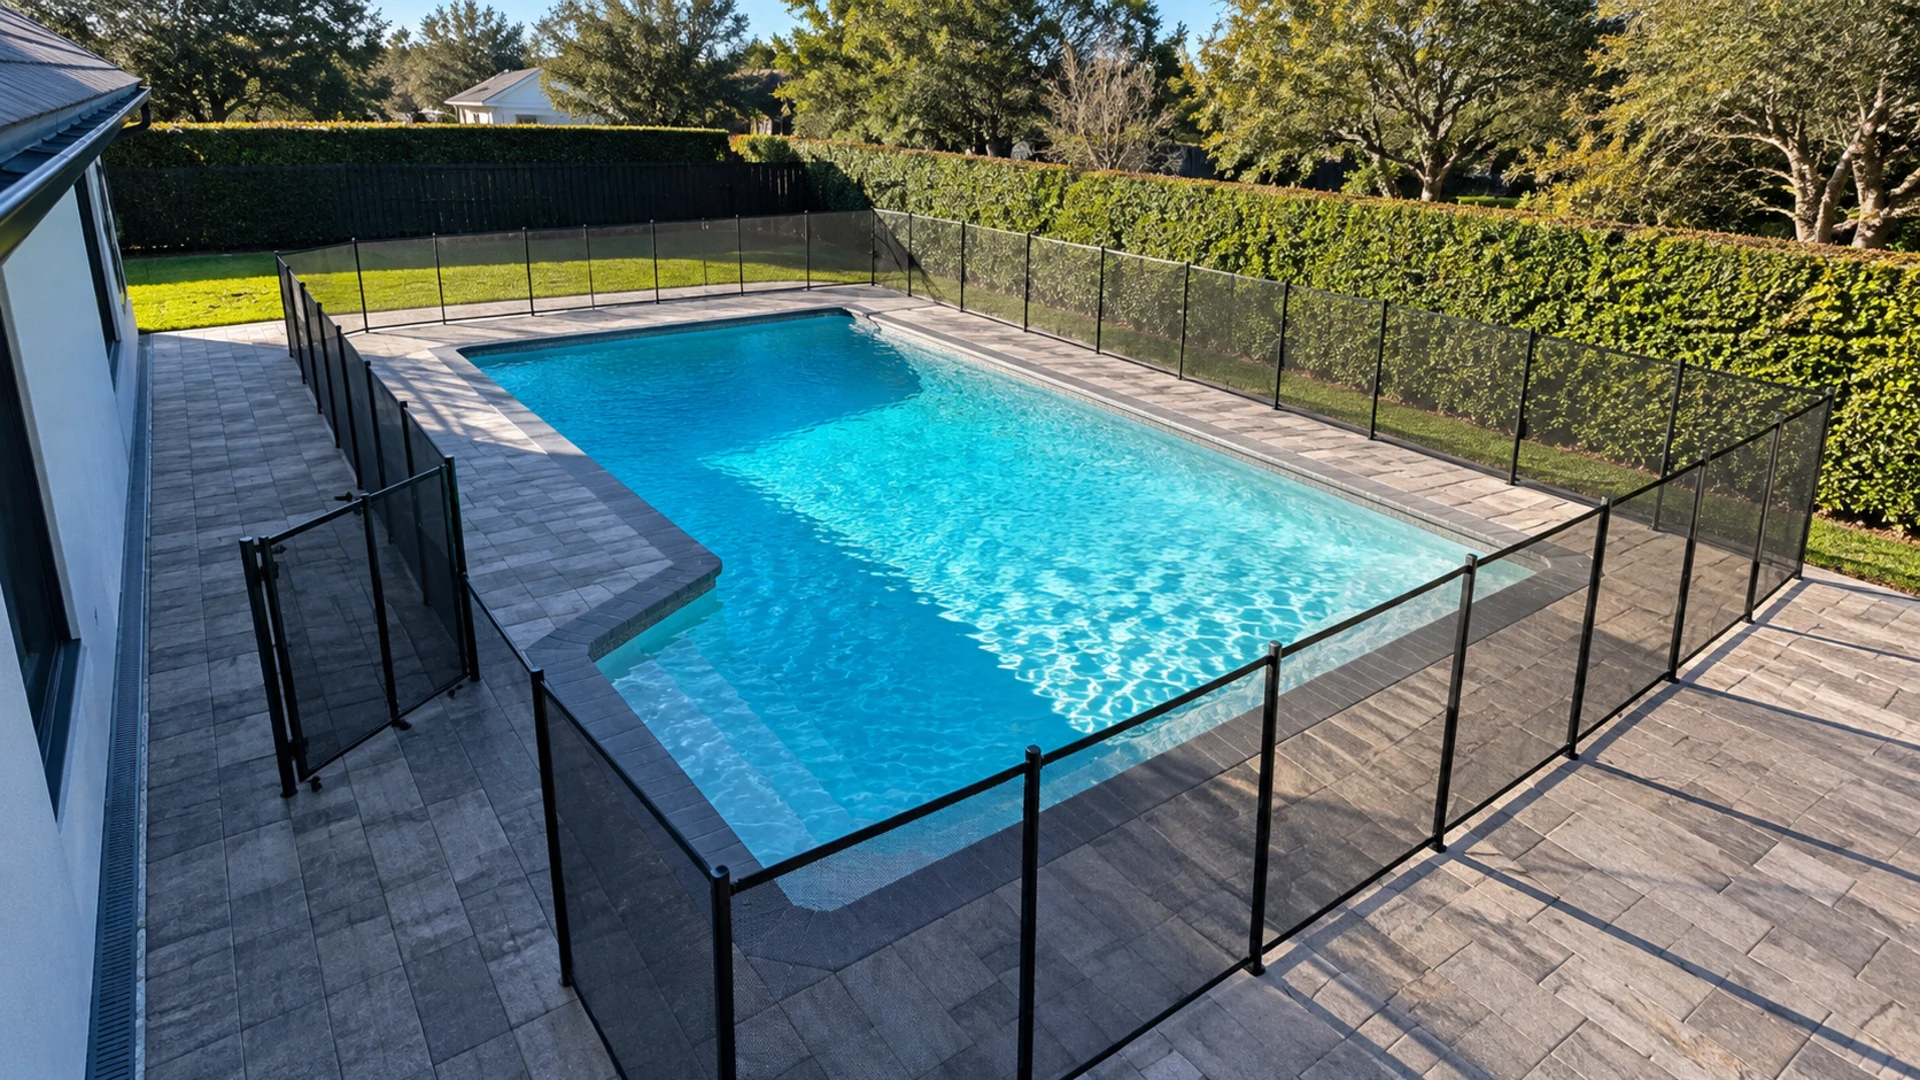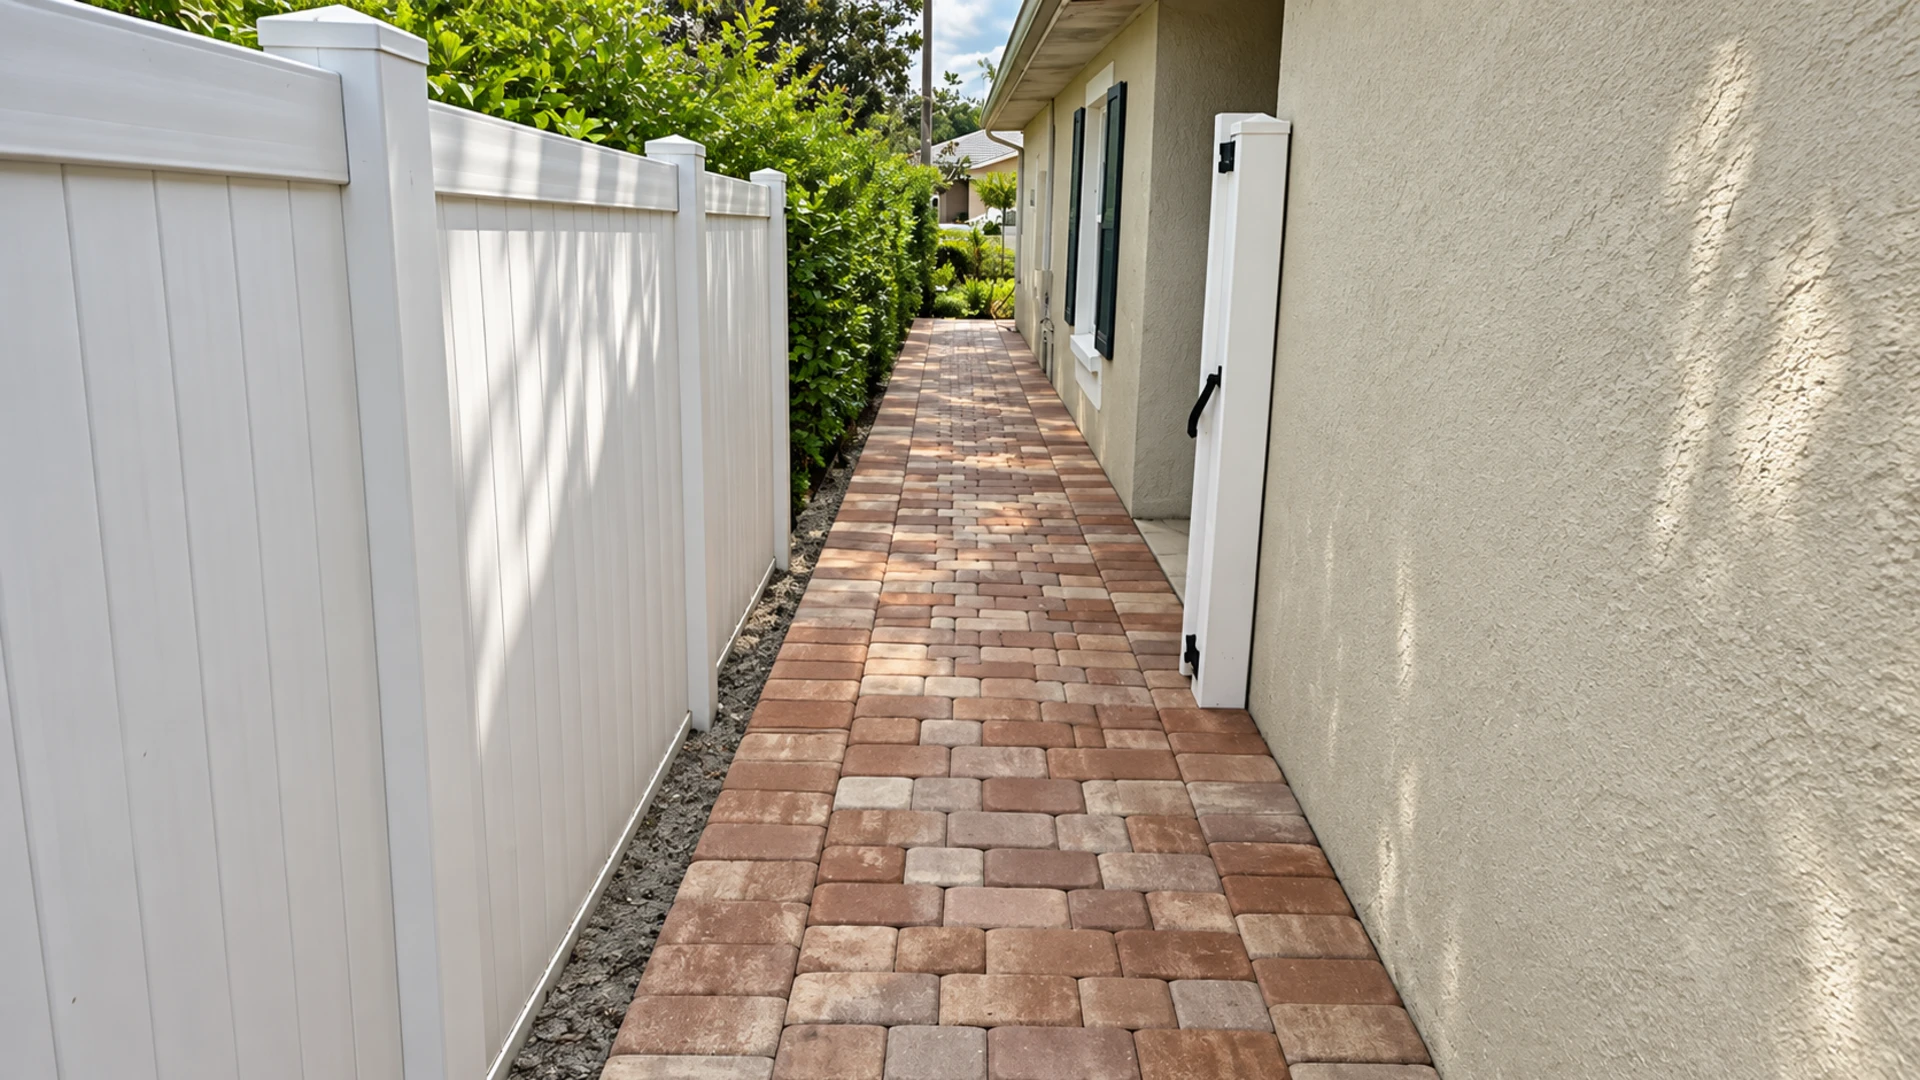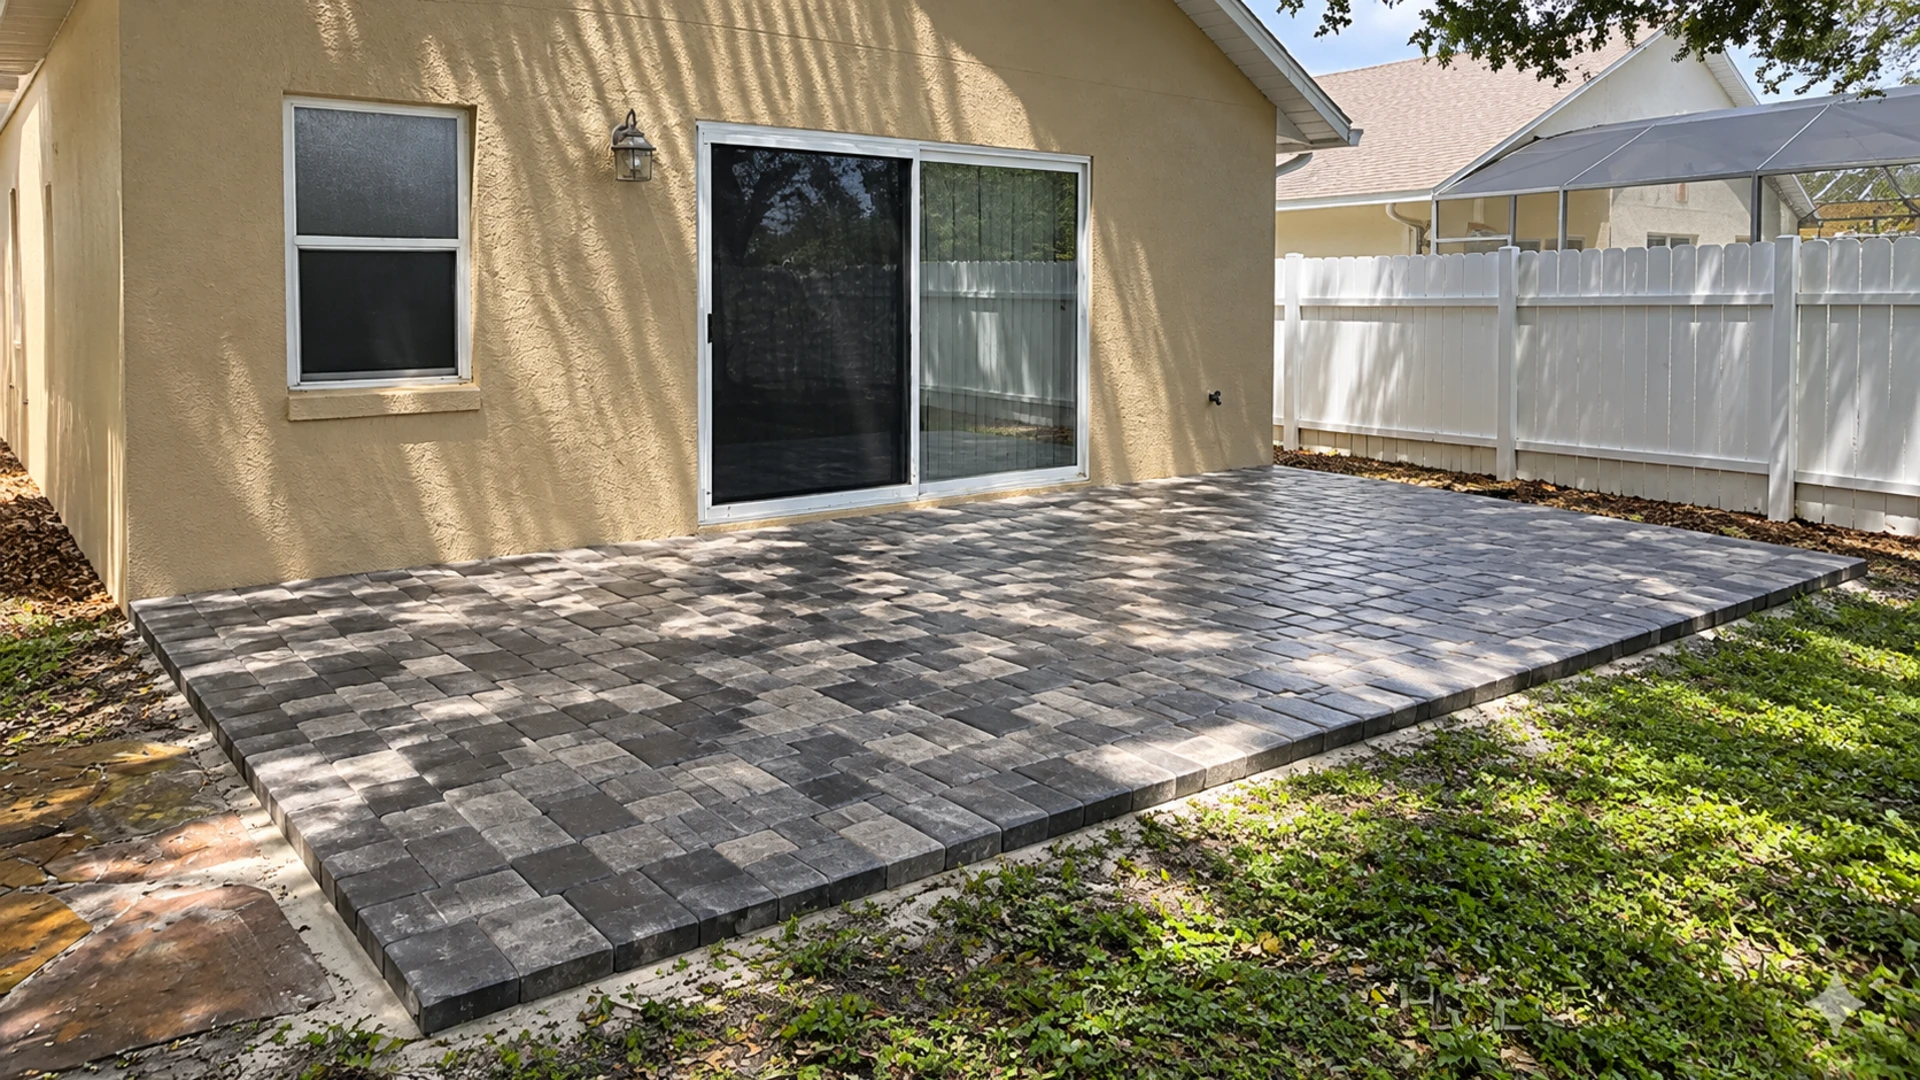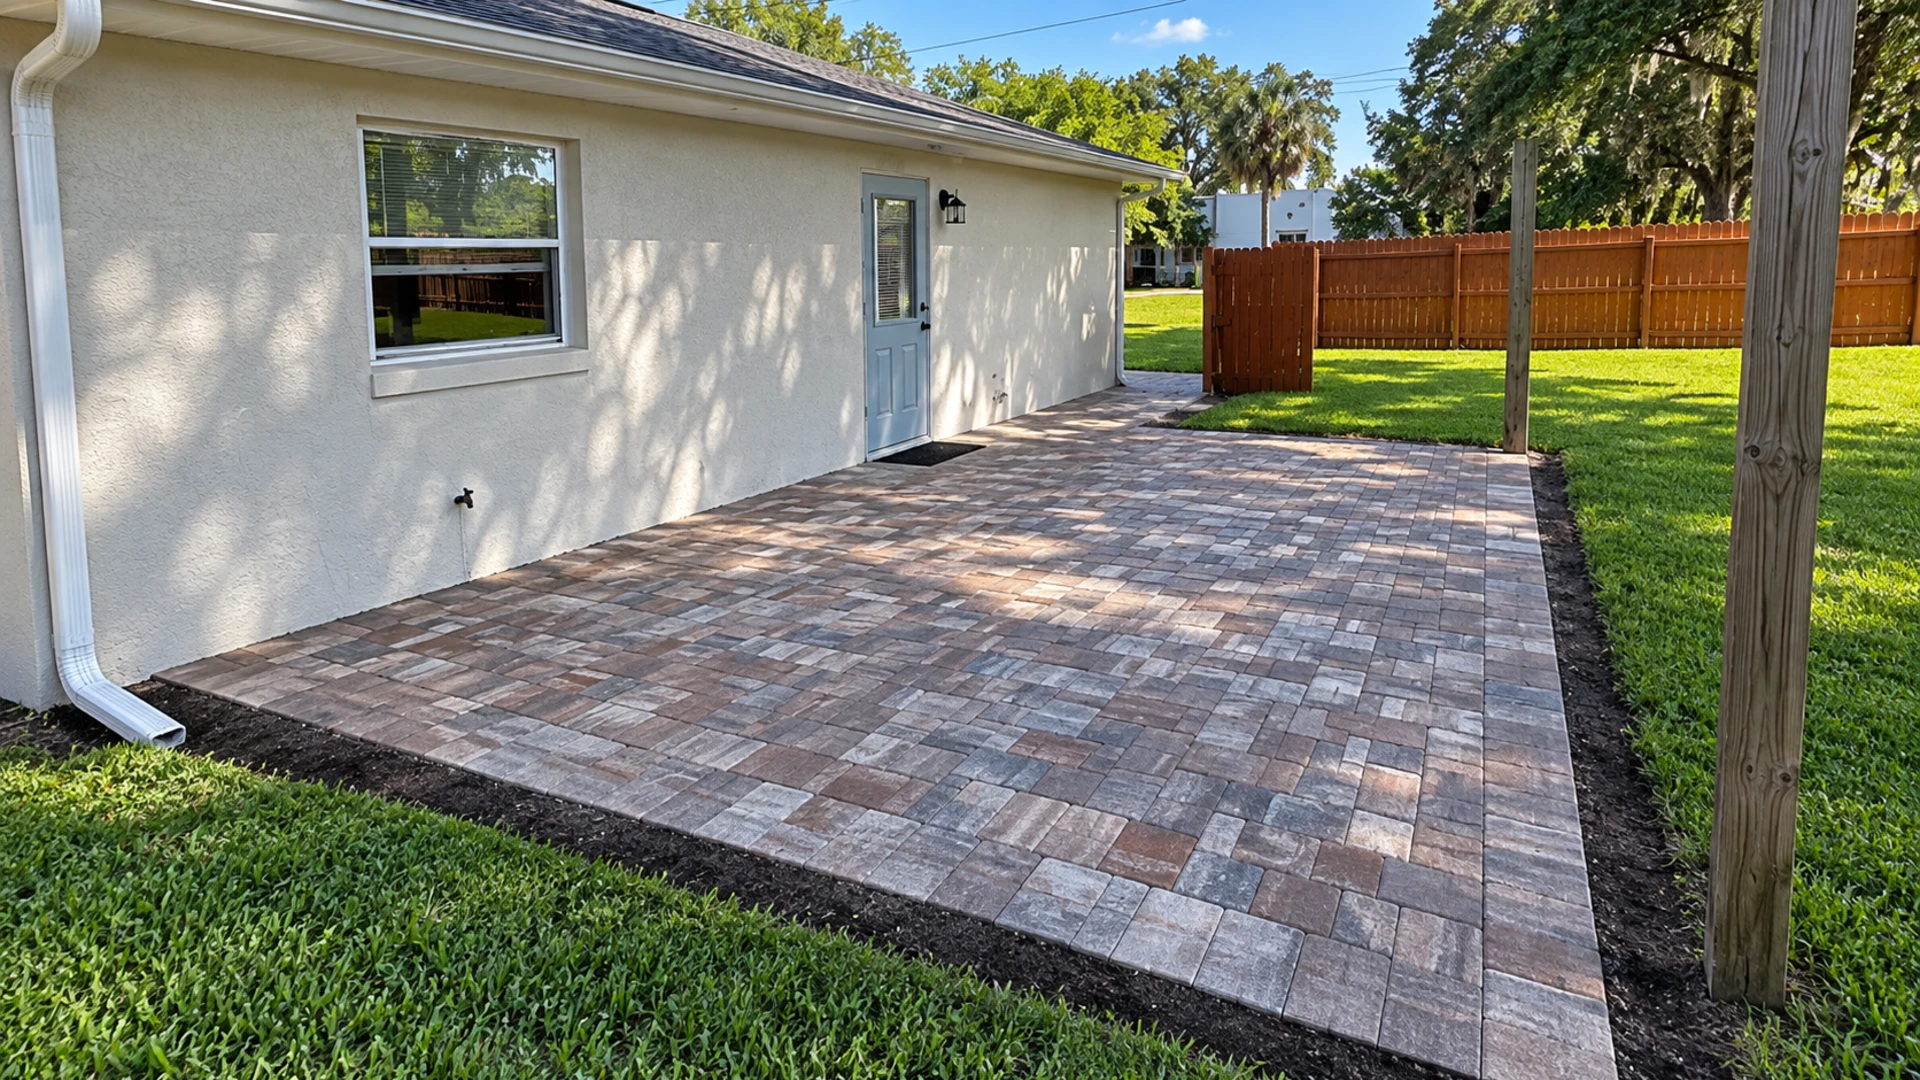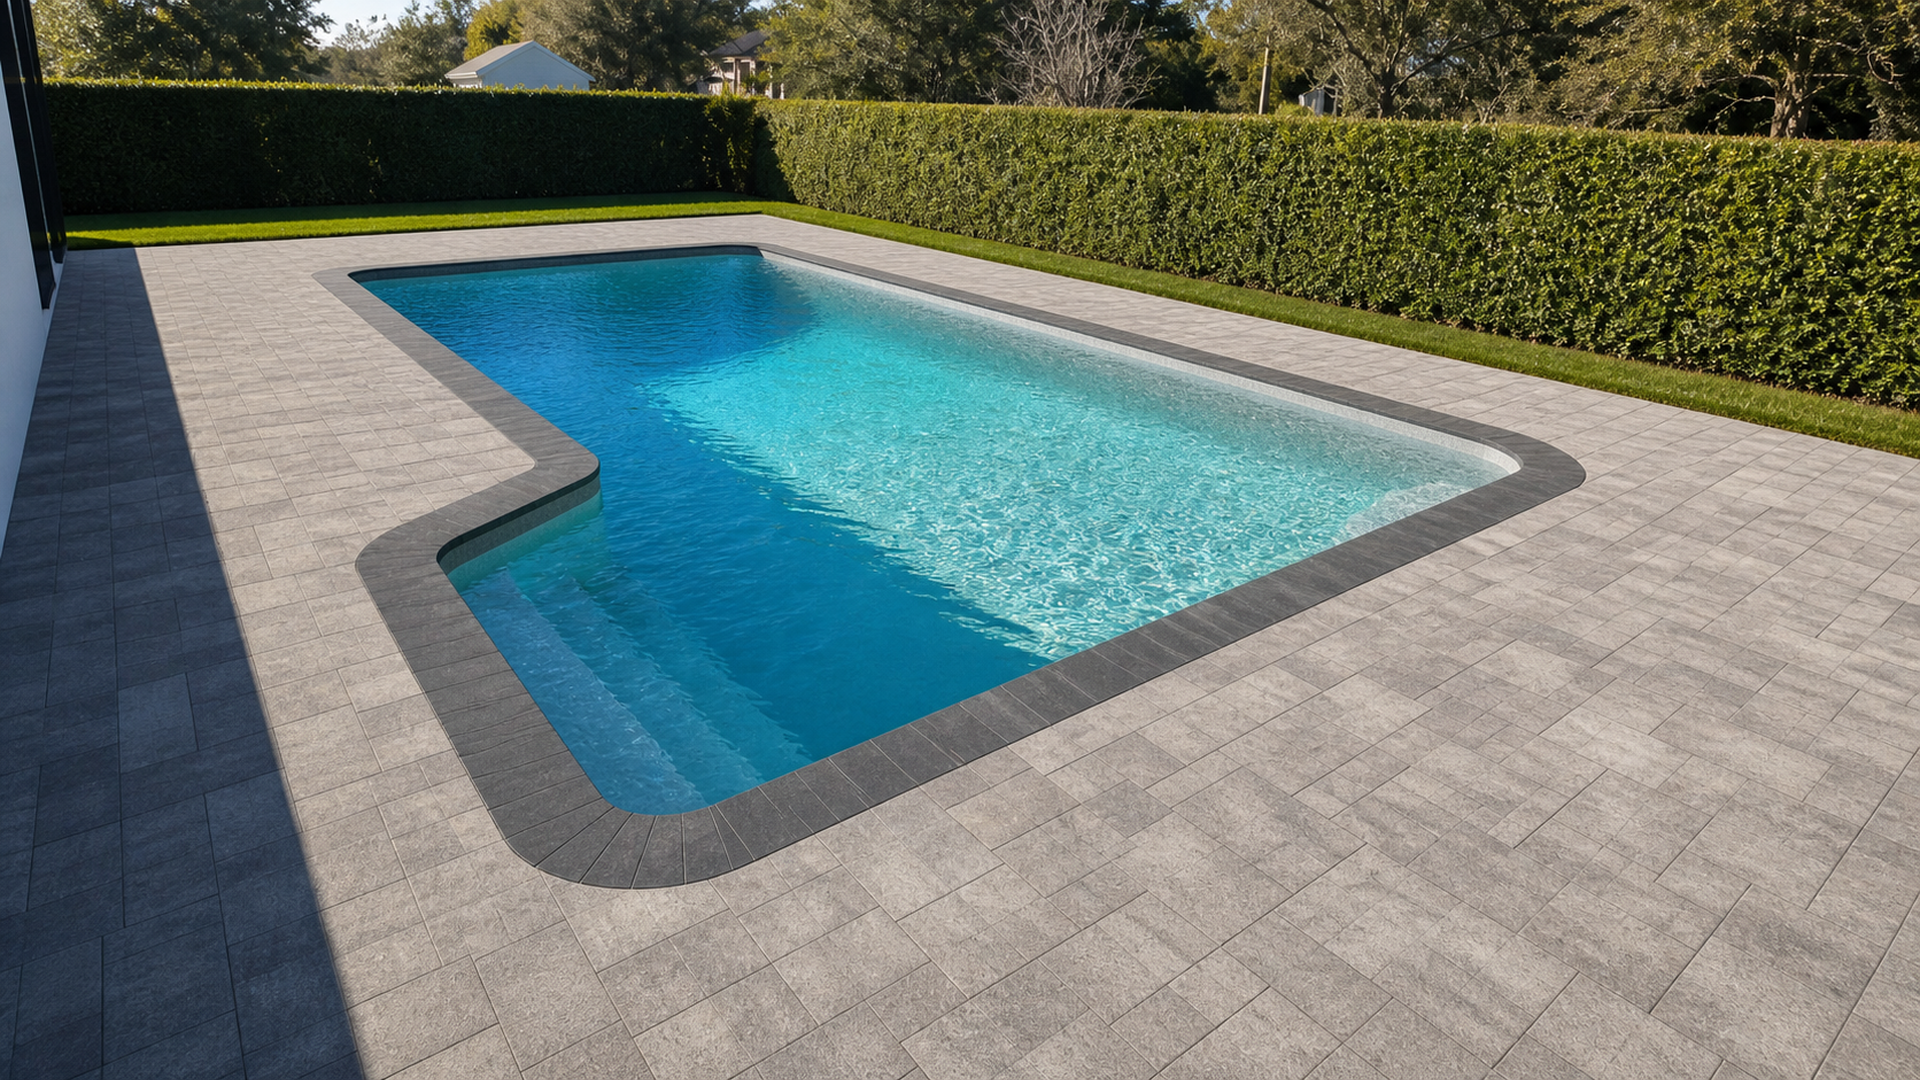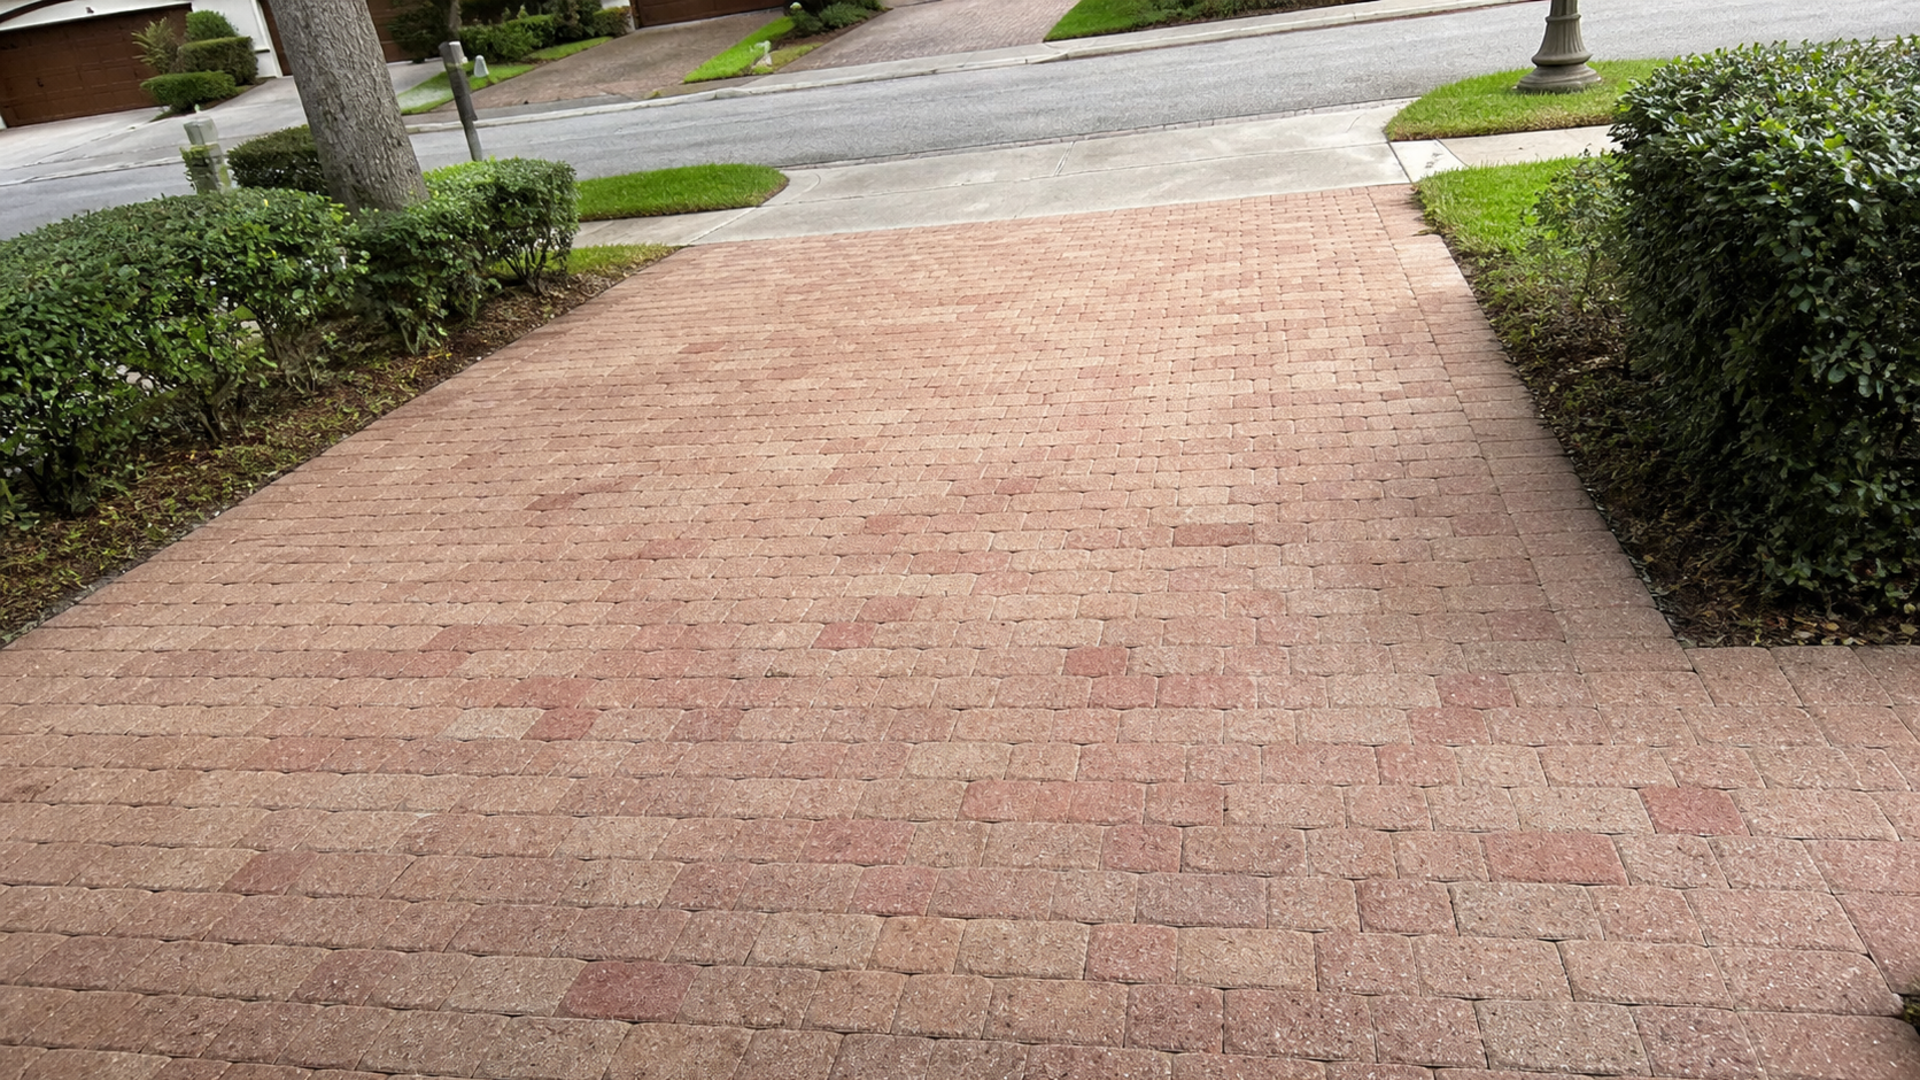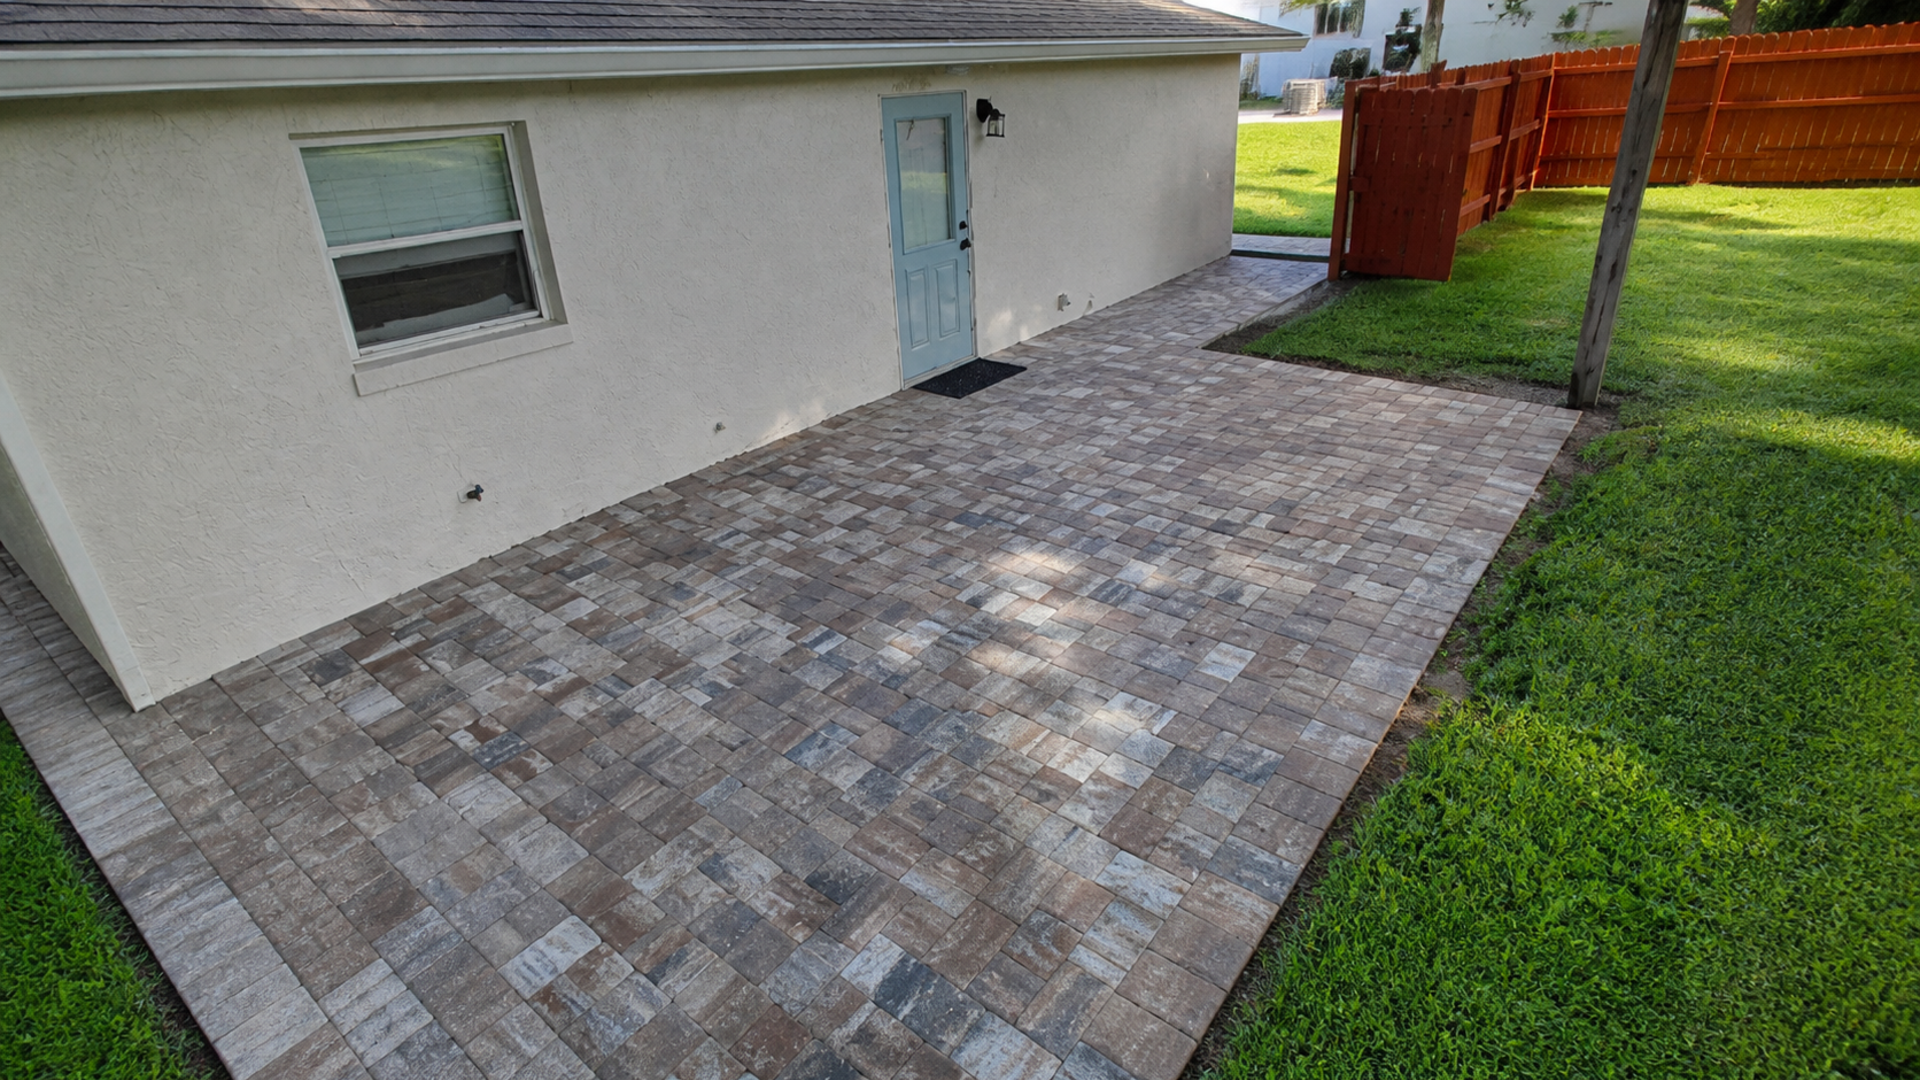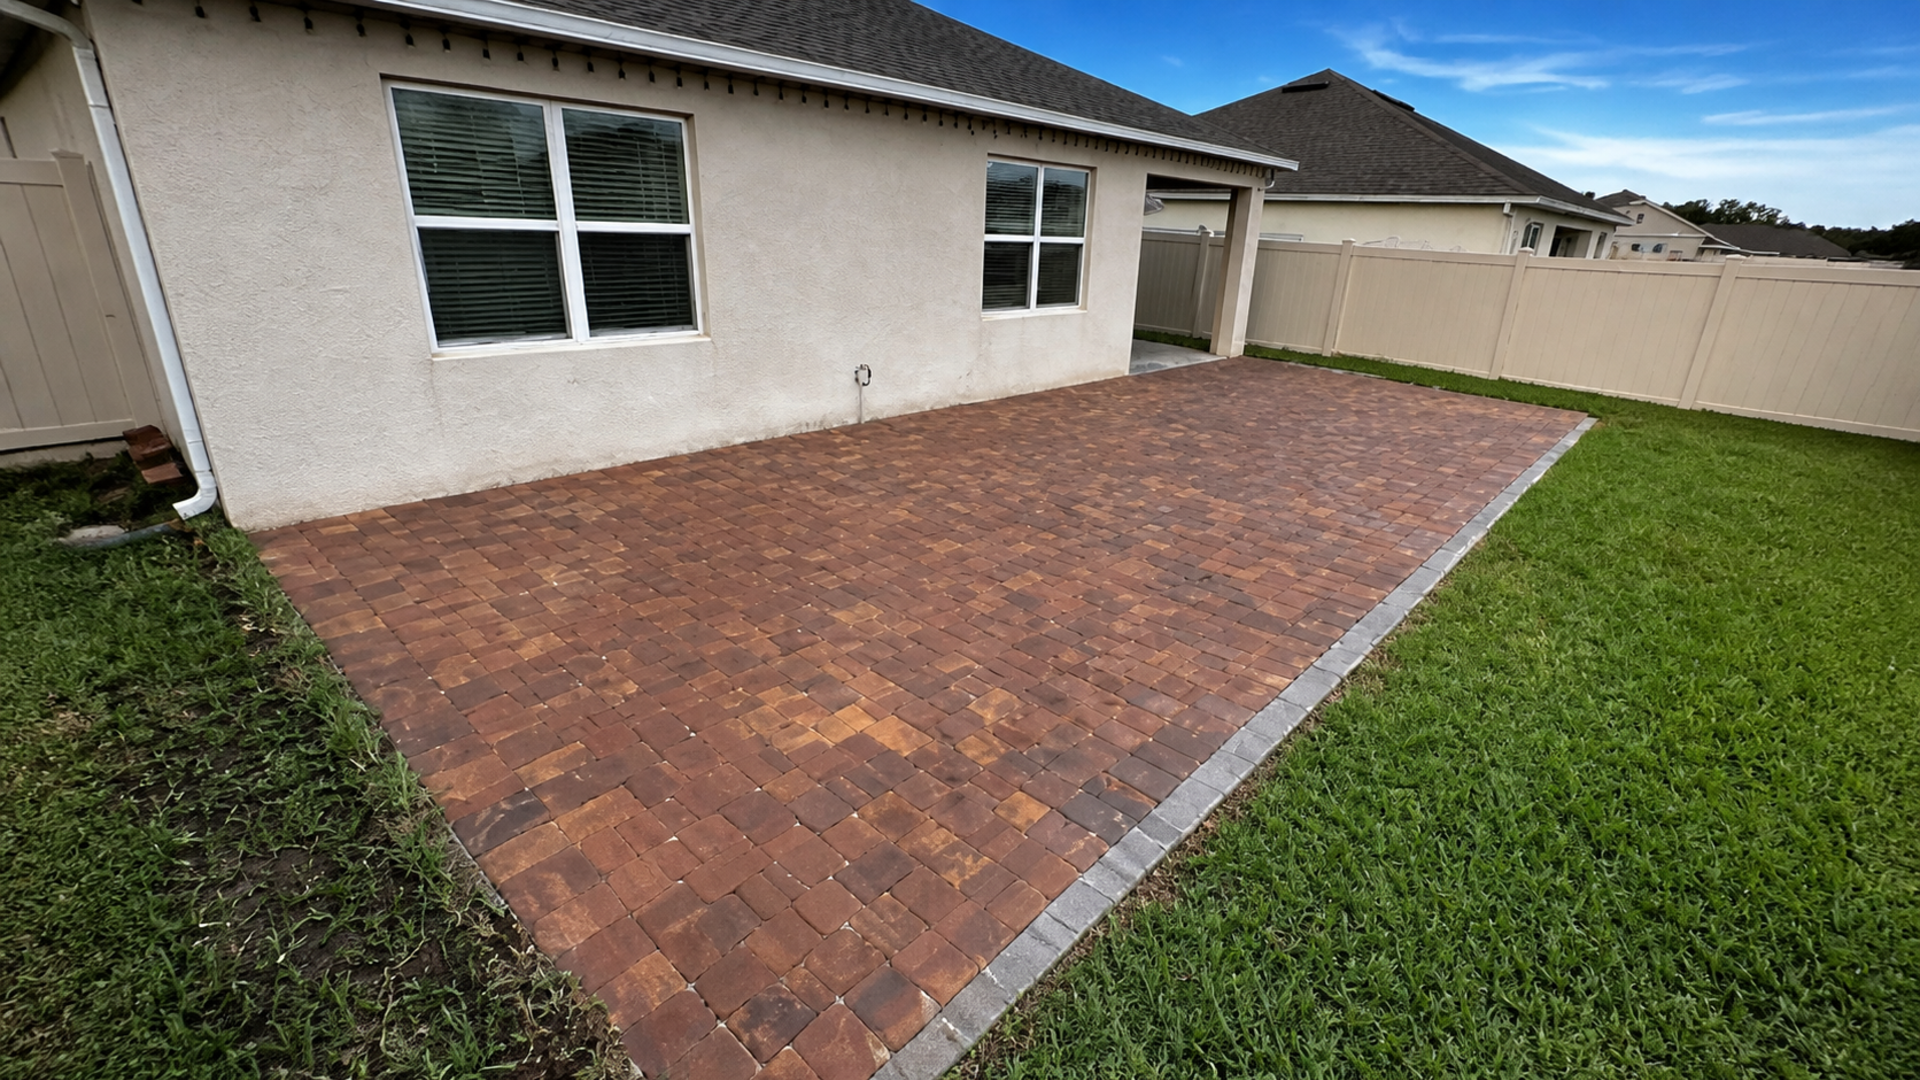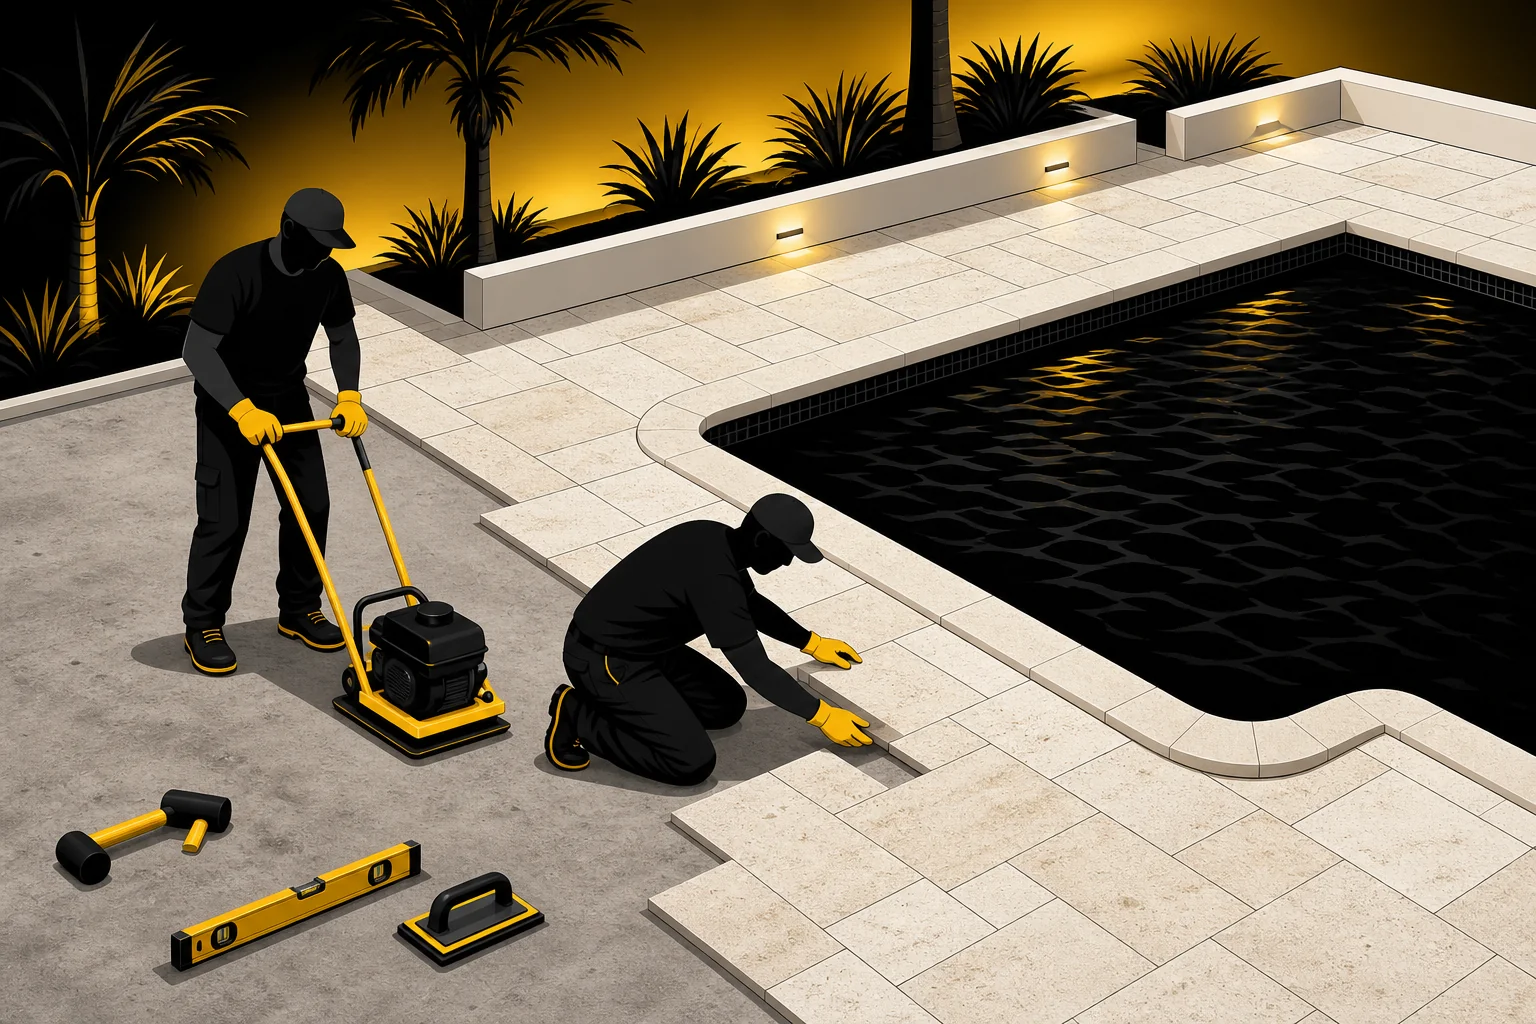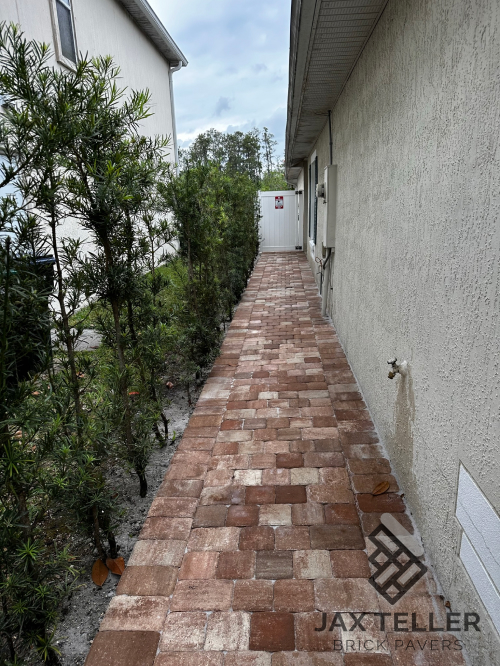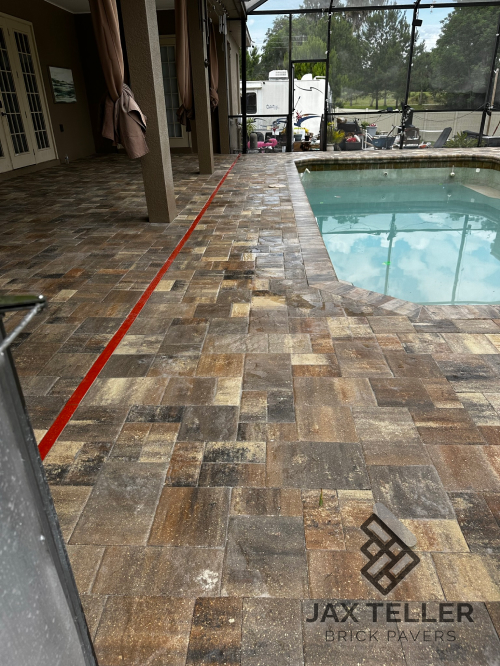

Pool coping replacement signs often begin as small changes at the pool edge: a unit that moves, a joint that opens repeatedly, or a corner that feels sharp under a hand. Therefore, document these pool coping replacement signs early. Coping meets the deck, pool structure, and waterline finish, so one visible problem can have several possible causes. A professional inspection separates cosmetic wear from a condition that needs broader evaluation.
Not every crack requires full replacement, and not every loose piece can be solved with fresh mortar. For example, the damage may affect one impact point, several adjacent units, or a complete perimeter interface. In addition, deck movement and failed joints can keep stressing a repaired edge. The correct scope follows the cause and condition, not the most obvious symptom.
Read pool coping replacement signs as a system
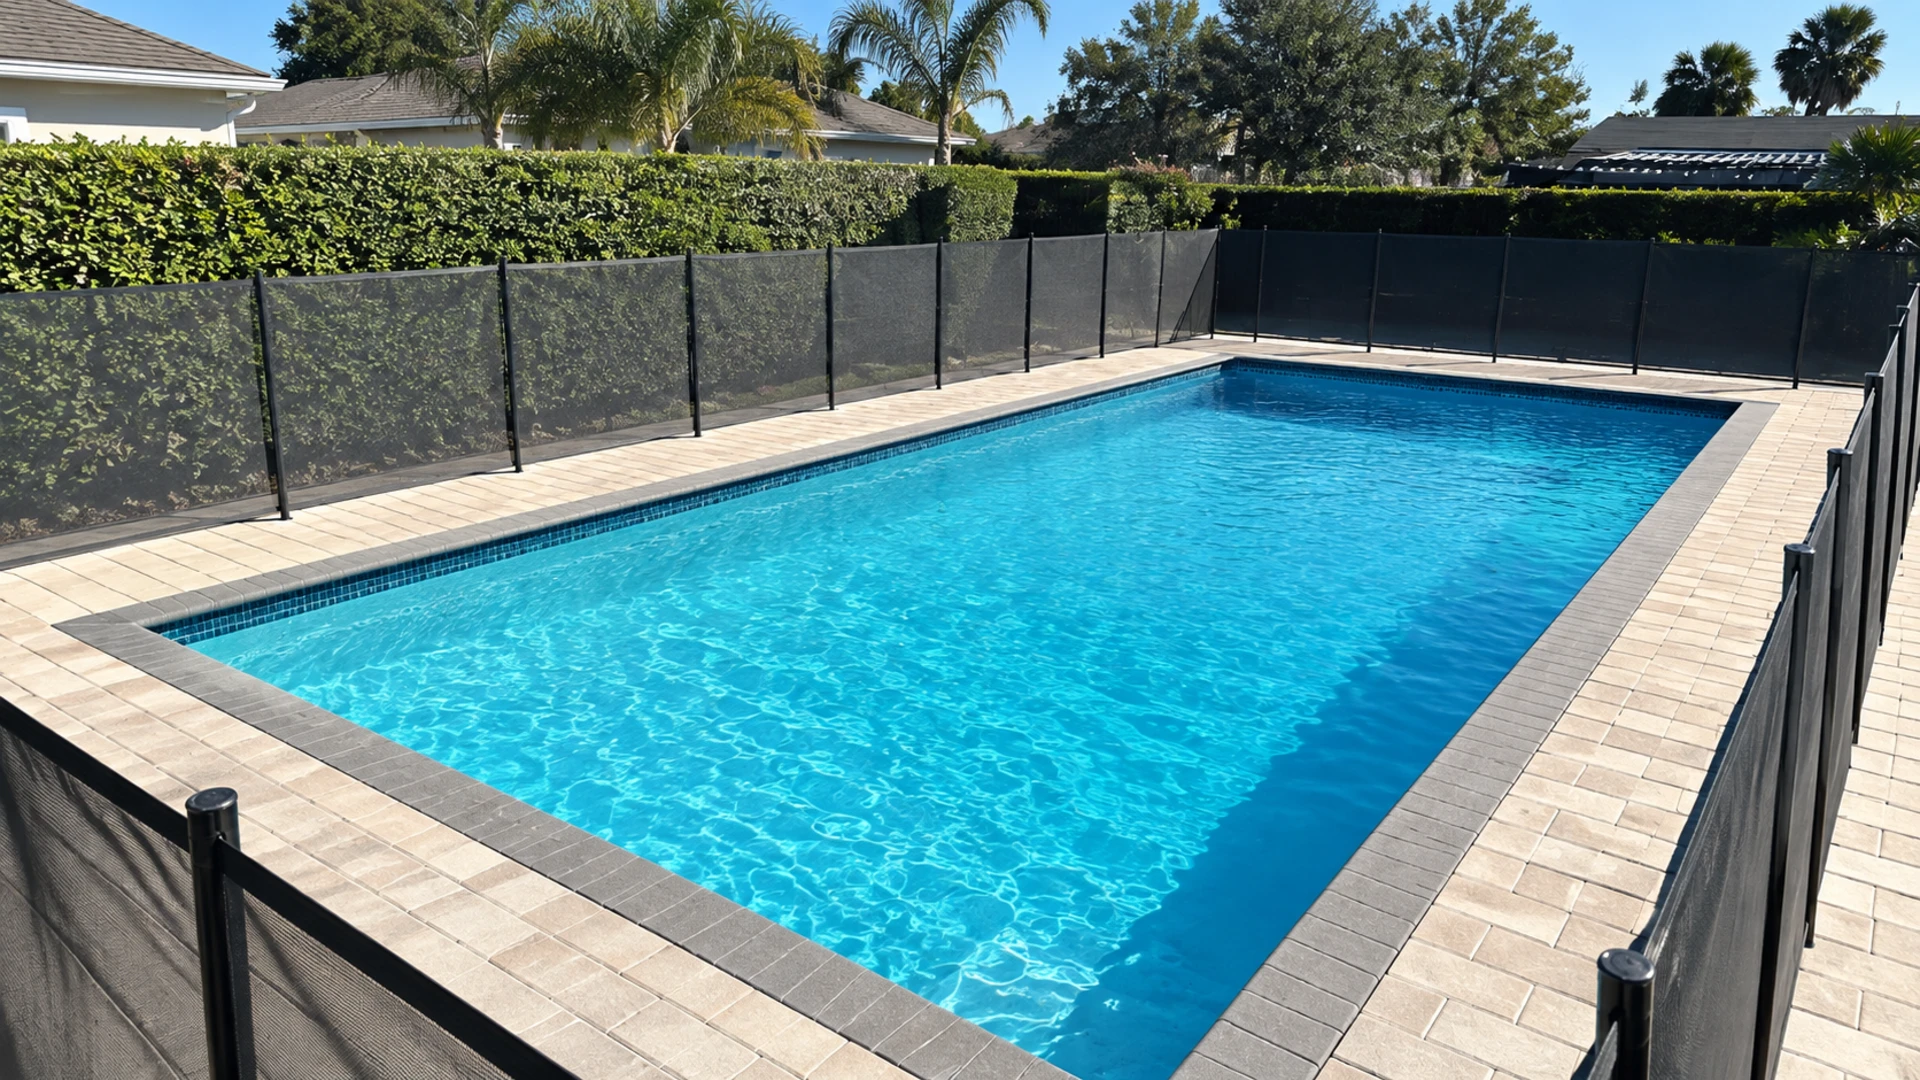
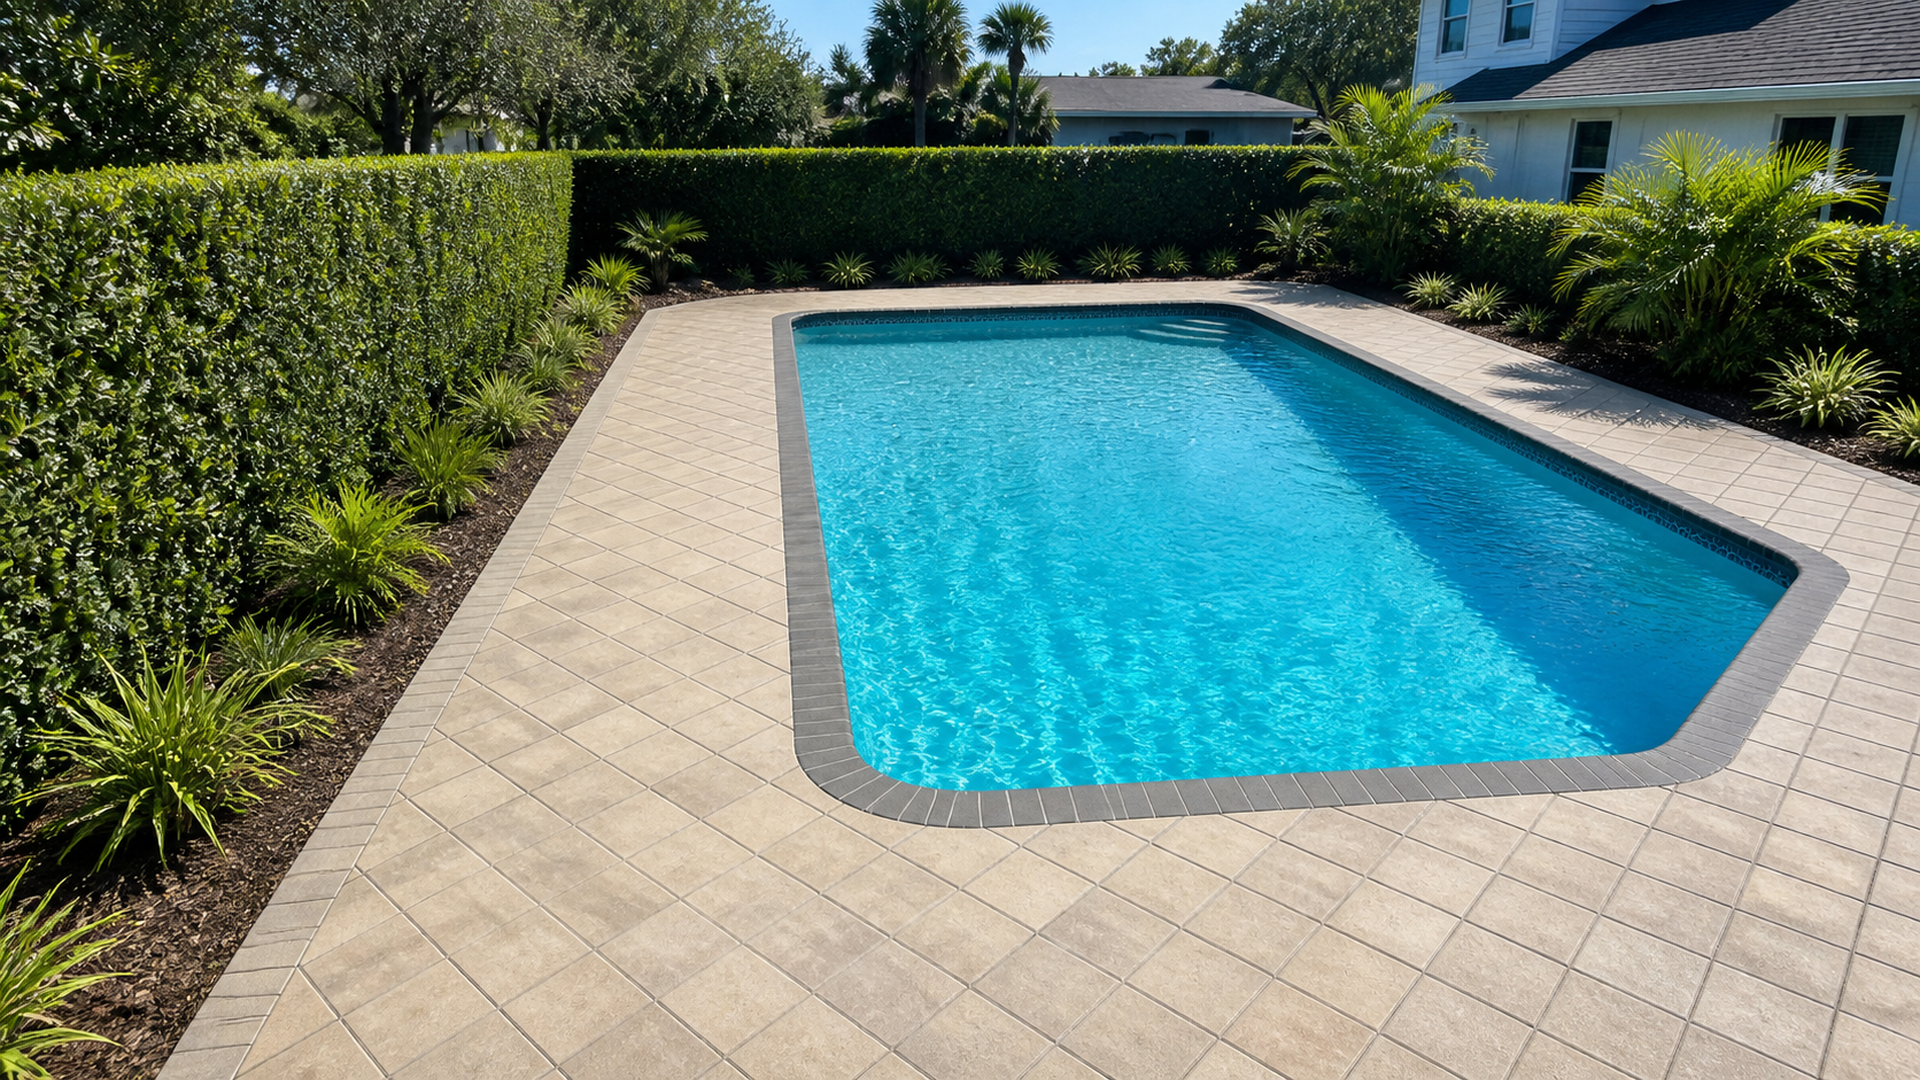
Coping forms the cap around the pool and provides the transition from water to deck. Consequently, an inspection should include the top surface, outside deck joint, inside waterline face, corners, penetrations, and nearby paving. A photo of one crack rarely tells the complete story. Pattern, location, sound, movement, and recent change provide essential context.
First, review the edge from the dry deck during good light. Then look across the coping at a low angle to spot lifted corners, inconsistent elevations, and widening joints. If safe, observe the waterline face from outside the pool. However, never climb, drain, or enter a pool to inspect a condition without appropriate precautions and professional direction.
Document pool coping replacement signs before testing
Photograph each suspect location with a wider view and a close view. In addition, note the date, recent storms, nearby repairs, and whether the condition changes when the area is dry. A simple sketch can number corners, skimmers, steps, and raised features. This record helps a contractor compare isolated damage with a repeating perimeter pattern.
- Loose, rocking, lifted, or tilted coping units
- Open, crumbling, missing, or repeatedly repaired joints
- Cracks through a unit or across several connected materials
- White deposits, damp zones, rust marks, or recurring discoloration
- Sharp chips, rough edges, or unstable corners near normal contact
- Waterline tile movement, hollow areas, or changing alignment
- Deck settlement, spreading joints, or pressure against the coping
- Changes around skimmers, rails, steps, spillways, and wall transitions
Do not pry, hammer, or inject material into the joint during this documentation stage. Otherwise, the test can enlarge damage or conceal useful evidence. A qualified professional may use controlled sounding or movement checks during the inspection. Homeowners can contribute most by preserving a clear history.
Loose or rocking coping deserves prompt evaluation
A coping unit should not visibly rock during normal contact. Therefore, movement suggests that support, bond, joint conditions, or an adjacent interface may have changed. The loose piece can also expose edges or allow more water into vulnerable spaces. Keep people away from an unstable area until a professional evaluates it.
One loose unit near an impact point may support a localized repair. In contrast, a sequence of hollow or moving units can indicate a wider bond or substrate problem. The inspector should map how far the condition extends before proposing removal. Replacing the first loose piece alone may miss the actual boundary.
Special shapes require extra planning because a curved corner, radius unit, or discontinued profile may be difficult to match. Consequently, save any safely removed intact piece for identification. Do not assume a current product has the same dimensions as the original. Accurate matching affects edge alignment and deck transitions.
Why fresh bonding material may not be enough
Reattaching a unit requires a sound receiving surface and a compatible installation method. However, old residue, cracks, moisture, movement, or missing support can prevent a durable localized repair. The professional may need to remove compromised material and inspect below. Any concern involving the pool beam or structure should go to an appropriately qualified pool or structural specialist.
The joint around the repaired unit also matters. Therefore, the scope should restore the relevant movement or sealant detail instead of rigidly filling every gap. Product selection depends on the existing assembly. Generic mortar or caulk advice cannot define a site-specific pool-edge repair.
Repeated joint failure points to movement or moisture
A weathered joint and a joint that repeatedly opens are different conditions. For instance, ordinary surface aging may appear evenly across an area, while a recurring split at the same location suggests ongoing movement. The direction and continuity of the opening matter. In addition, joints near corners, skimmers, raised walls, and deck interfaces deserve careful comparison.
Replacing only the visible filler can create a short-lived cosmetic improvement. Consequently, the inspection should ask what each joint is intended to do and whether surrounding materials remain stable. Some locations need an appropriate flexible detail, while others form part of the setting assembly. A qualified professional must identify the correct condition.
Water can enter open joints, but the visible opening may not reveal the complete moisture path. Therefore, check roof discharge, deck slope, drains, splash patterns, and plumbing concerns as applicable. If water loss, structural change, or plumbing leakage is suspected, involve the relevant pool or plumbing professional. Coping replacement should not hide an active source.
Crack location matters more than crack count
A chip from a dropped object has a different implication than a crack that continues through coping, joint, tile, and adjacent deck. As a result, map where the line starts and stops. Also note whether nearby units have changed elevation. A connected crack pattern may require more specialized evaluation than a single damaged edge.
Hairline surface marks can remain stable, yet homeowners should monitor new or changing cracks. Therefore, place dated photographs in the same orientation without marking or grinding the stone. Do not rely on memory alone. Visible growth, repeated joint opening, or increasing movement strengthens the case for prompt professional review.
Cracks near skimmers, steps, raised spas, columns, or other structural features deserve careful context. However, their presence does not diagnose a structural failure by itself. Pool construction varies, and only a qualified professional can evaluate the hidden assembly. The coping contractor can help expose and restore finishes after the responsible specialist defines the repair.
Separate material damage from assembly movement
Stone or manufactured coping can crack from impact, unsupported sections, incompatible setting, or movement. Consequently, replacing a visibly broken piece may solve an isolated material event but not a recurring assembly issue. The removed unit and receiving surface can provide evidence. Photograph both before preparation changes them.
Also inspect the corresponding deck area. If joints spread outward or pavers settle beside the coping, the deck may be influencing the edge. In contrast, an intact stable deck around one chipped unit supports a narrower hypothesis. The final scope should state which observations justify repair or replacement.
Watch for water-related clues without guessing
Recurring dampness, white deposits, rust-colored marks, or dark joints can signal water movement, but they do not identify the source alone. Therefore, compare the condition with irrigation timing, rainfall, pool use, and equipment operation. Note whether deposits return after cleaning. A pattern around one penetration may differ from a uniform weather-exposed band.
Efflorescence and mineral deposits can appear on masonry as moisture carries soluble material. However, cleaners and methods must suit the coping and adjacent tile. Aggressive experimentation may alter the finish or push more material into joints. Get product-specific guidance before cleaning a diagnostic area.
If the pool appears to lose water or the deck stays unexpectedly saturated, contact the appropriate pool or leak-detection professional. In addition, avoid treating sealer as a universal moisture repair. A surface coating cannot correct a failing plumbing line or structural interface. Diagnose first, and coordinate finish restoration afterward.
Uncomfortable edges can justify replacement
Coping should create a usable transition for hands and normal pool entry. Consequently, sharp chips, unstable corners, severe surface loss, or awkward previous cuts can justify action even without a deeper defect. Safety and comfort are legitimate scope drivers. Restrict access to a sharp or moving location until it receives attention.
A localized edge repair may work when the unit remains sound and the product allows an appropriate method. On the other hand, replacing the unit can produce a more controlled profile when damage is extensive. Matching still matters because a new piece may differ in thickness, radius, texture, or color. Review a sample at the actual edge.
Widespread discomfort can indicate that the existing profile no longer suits the household’s use. Therefore, a broader coping renovation may consider a different approved edge shape while coordinating waterline tile and deck height. This is a design change, not a simple unit swap. The pool assembly must guide feasibility.
Inspect the tile, beam, and deck interfaces
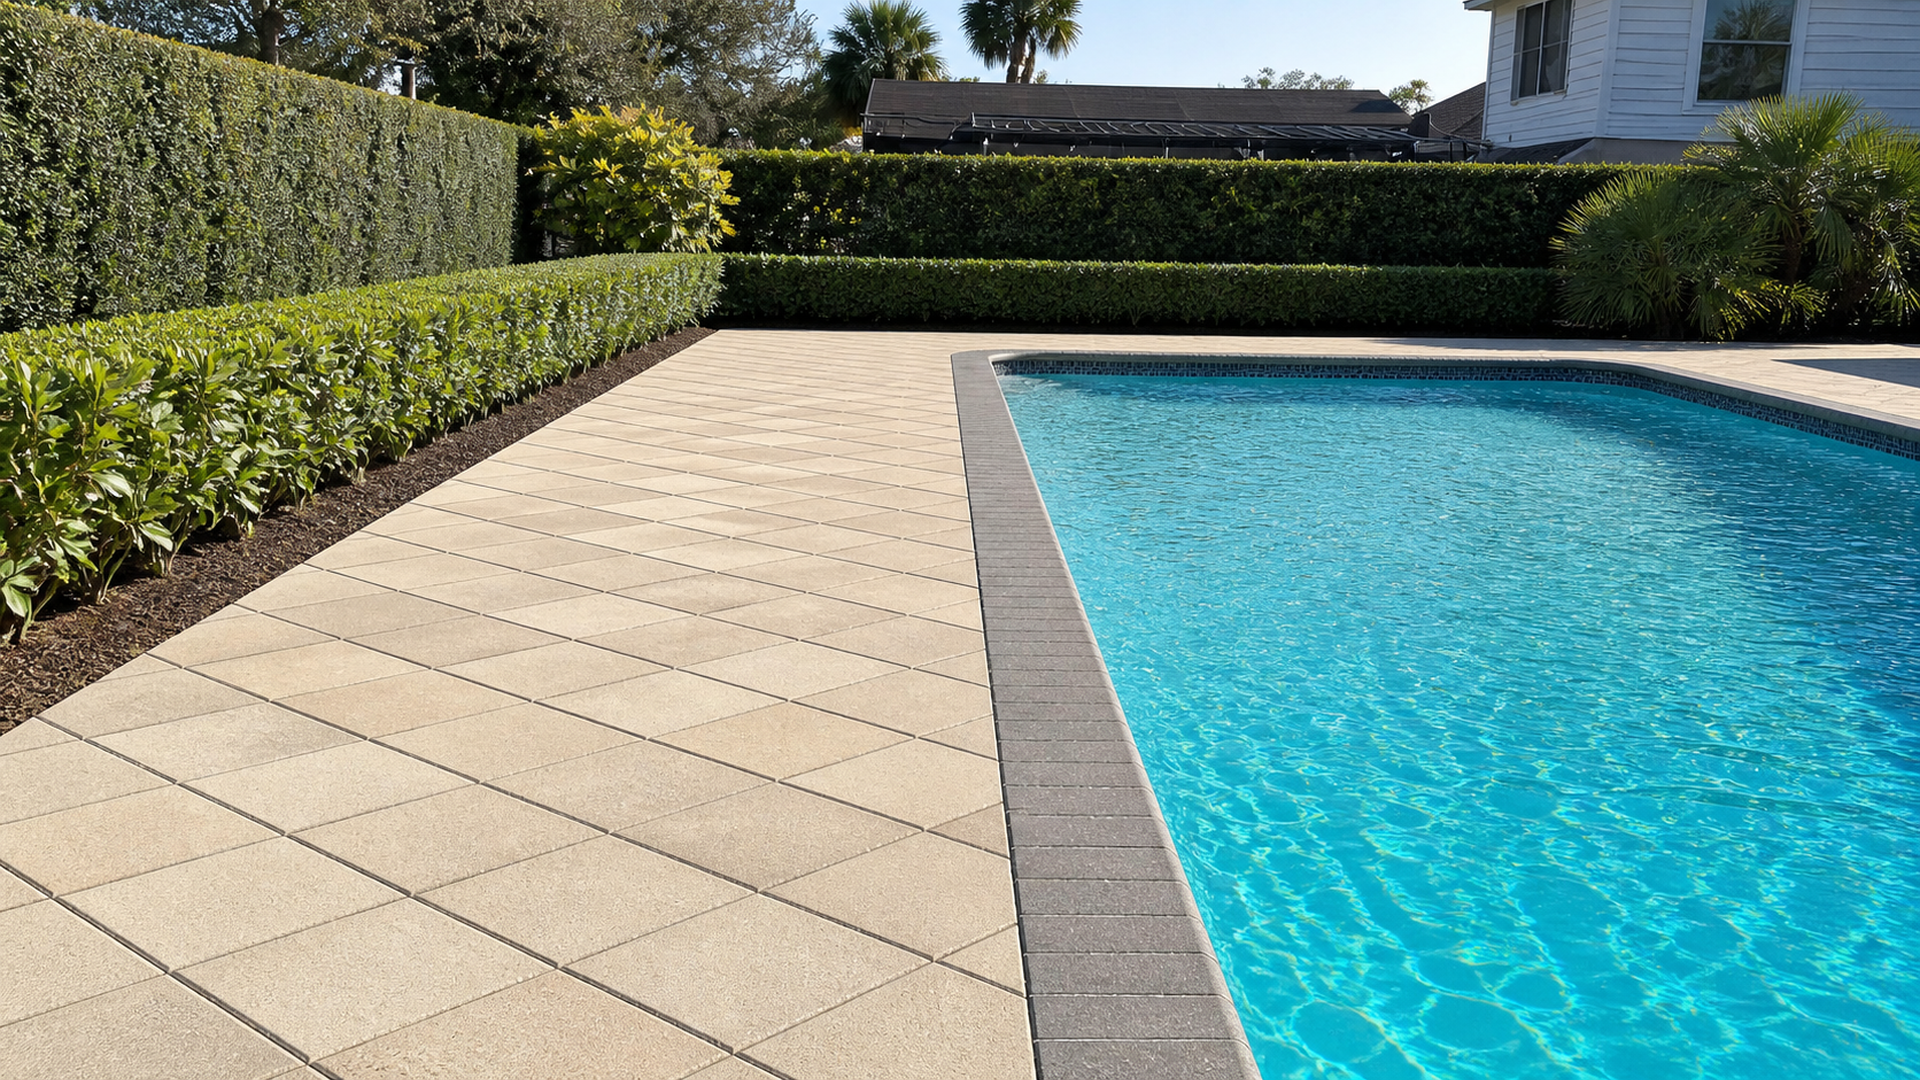
Coping does not operate alone. The waterline tile below and deck surface outside create two visible interfaces, while the pool structure sits beneath. Therefore, a condition review should trace symptoms across those boundaries. Tile displacement beneath a cracked coping run may change the required team and scope.
Deck settlement can create a lip, open the outside joint, or press irregularly against the pool edge. As a result, replacing coping without correcting the adjacent deck may preserve the stress. Conversely, removing stable coping for a deck-only low spot may expand the project unnecessarily. Measurements help assign each symptom to the right component.
Existing movement details should remain visible in the inspection. However, previous repairs may have filled or concealed them. Qualified professionals should determine what the joint needs to do before new stone or pavers bridge it. This coordination becomes especially important during a full pool-deck remodel.
Decide between localized repair and broader replacement
Localized work can make sense when damage has a known isolated cause, nearby units remain stable, and compatible material is available. Moreover, the receiving assembly must support the repair. One impacted corner or limited failed section may fit this approach. The estimate should still explain how the new work will meet old material.
Broader replacement becomes more reasonable when loose units repeat, profiles no longer match use, cracks cross several interfaces, or repairs have failed repeatedly. In addition, a planned deck renovation may make coordinated coping work more efficient. Scope should follow evidence, not a fixed percentage of damaged units. Every perimeter has different special shapes and transitions.
Material availability can influence the decision without becoming the only reason. If the original product no longer exists, a small patch may look visibly different. Therefore, compare salvaging, blending, replacing a logical section, or redesigning the full rim. Honest expectations matter because new and weathered materials rarely become perfectly identical.
Coordinate the replacement palette
A new coping selection should relate to pool tile, deck pavers, house finishes, and the shape of the water. For example, a neutral edge can quiet a busy deck blend, while a subtle contrast can sharpen the pool outline. Review full-range samples outdoors. One hand-selected unit cannot represent an entire order.
Thickness and module affect construction as much as color. Consequently, a wider or deeper coping may require new cuts, elevation transitions, or corner solutions. The design should show those conditions before demolition. Save labeled spare units and completion photos after the project.
Pool-edge condition checklist
- Photograph the whole perimeter: include wide views and details with dates.
- Map movement: note rocking units, lifted corners, lips, and adjacent deck changes.
- Trace joints: record repeated openings across coping, tile, walls, and paving.
- Classify cracks: distinguish isolated impact damage from connected patterns.
- Observe moisture: compare deposits and damp areas with rain, irrigation, and pool operation.
- Protect users: restrict access around sharp, loose, or unstable edge sections.
- Review interfaces: include waterline tile, skimmers, rails, steps, deck, and structural features.
- Identify materials: save product records, spare units, and safely removed samples.
- Assign specialists: involve pool, structural, plumbing, or code professionals when evidence requires them.
- Define the scope: document why localized repair or broader replacement addresses the cause.
Bring this record to the site visit so the inspector can see how conditions changed. Furthermore, ask what hidden evidence removal may reveal and how that discovery would affect the scope. A good proposal defines both known work and reasonable contingencies. That clarity matters at an interface with several systems.
Frequently asked questions
Does one cracked coping unit require full replacement?
Not automatically. If the crack came from an isolated event and surrounding conditions remain sound, localized replacement may work. However, connected cracks or recurring movement need broader evaluation. Material matching and the receiving surface also affect the decision.
Can loose coping wait until the next remodel?
Loose material can create a hazard and expose the assembly to more damage. Therefore, restrict access and arrange a prompt inspection. The final work may still coordinate with a future remodel, but a professional should first determine whether temporary protection is appropriate. Do not rely on improvised adhesive.
Why do coping joints keep cracking?
Possible causes include movement, incompatible repair materials, support problems, or moisture-related conditions. However, the crack pattern and assembly determine the answer. Replacing filler without diagnosis may repeat the failure. A pool-edge inspection should identify the intended joint function first.
Can replacement coping match an older deck?
A coordinated result is often possible, but an invisible match cannot be promised. Existing surfaces have weathered, and current batches can vary. Therefore, review representative samples and consider a logical replacement boundary. Blending and border strategy can manage contrast.
Should a pool professional inspect beneath the coping?
When symptoms involve the beam, tile, plumbing, shell, or unexplained water loss, an appropriately qualified pool professional should participate. In addition, structural concerns may require a structural specialist. The paver contractor can coordinate access and finish restoration. Each professional should stay within the relevant scope.
Arrange an evidence-based pool-edge review
JaxTeller Brick Pavers plans and renovates paver pool decks with attention to coping transitions and adjacent surface conditions. Therefore, a coping and pool-edge inspection can document loose material, joint patterns, deck movement, matching options, and the likely repair boundary. Specialized concerns can then go to the appropriate pool or structural professional before finish work proceeds.
The official Florida Building Code information system provides statewide code resources and access points for current documents. However, local administration, project scope, and existing conditions can affect requirements. Homeowners should verify site-specific permitting and code questions with the relevant local authority and qualified professionals.
Ready to transform your pool deck? Arrange a coping and pool-edge condition inspection through the JaxTeller contact page, and view our project gallery before discussing material coordination. Moreover, follow current work on Instagram and Facebook, or share photos through WhatsApp.
Finally, call +1 407-907-8308, email jaxtellerbrickpavers@gmail.com, or open our Largo location in Google Maps. Contact JaxTeller Brick Pavers at +1 407-907-8308 or jaxtellerbrickpavers@gmail.com for your free estimate!