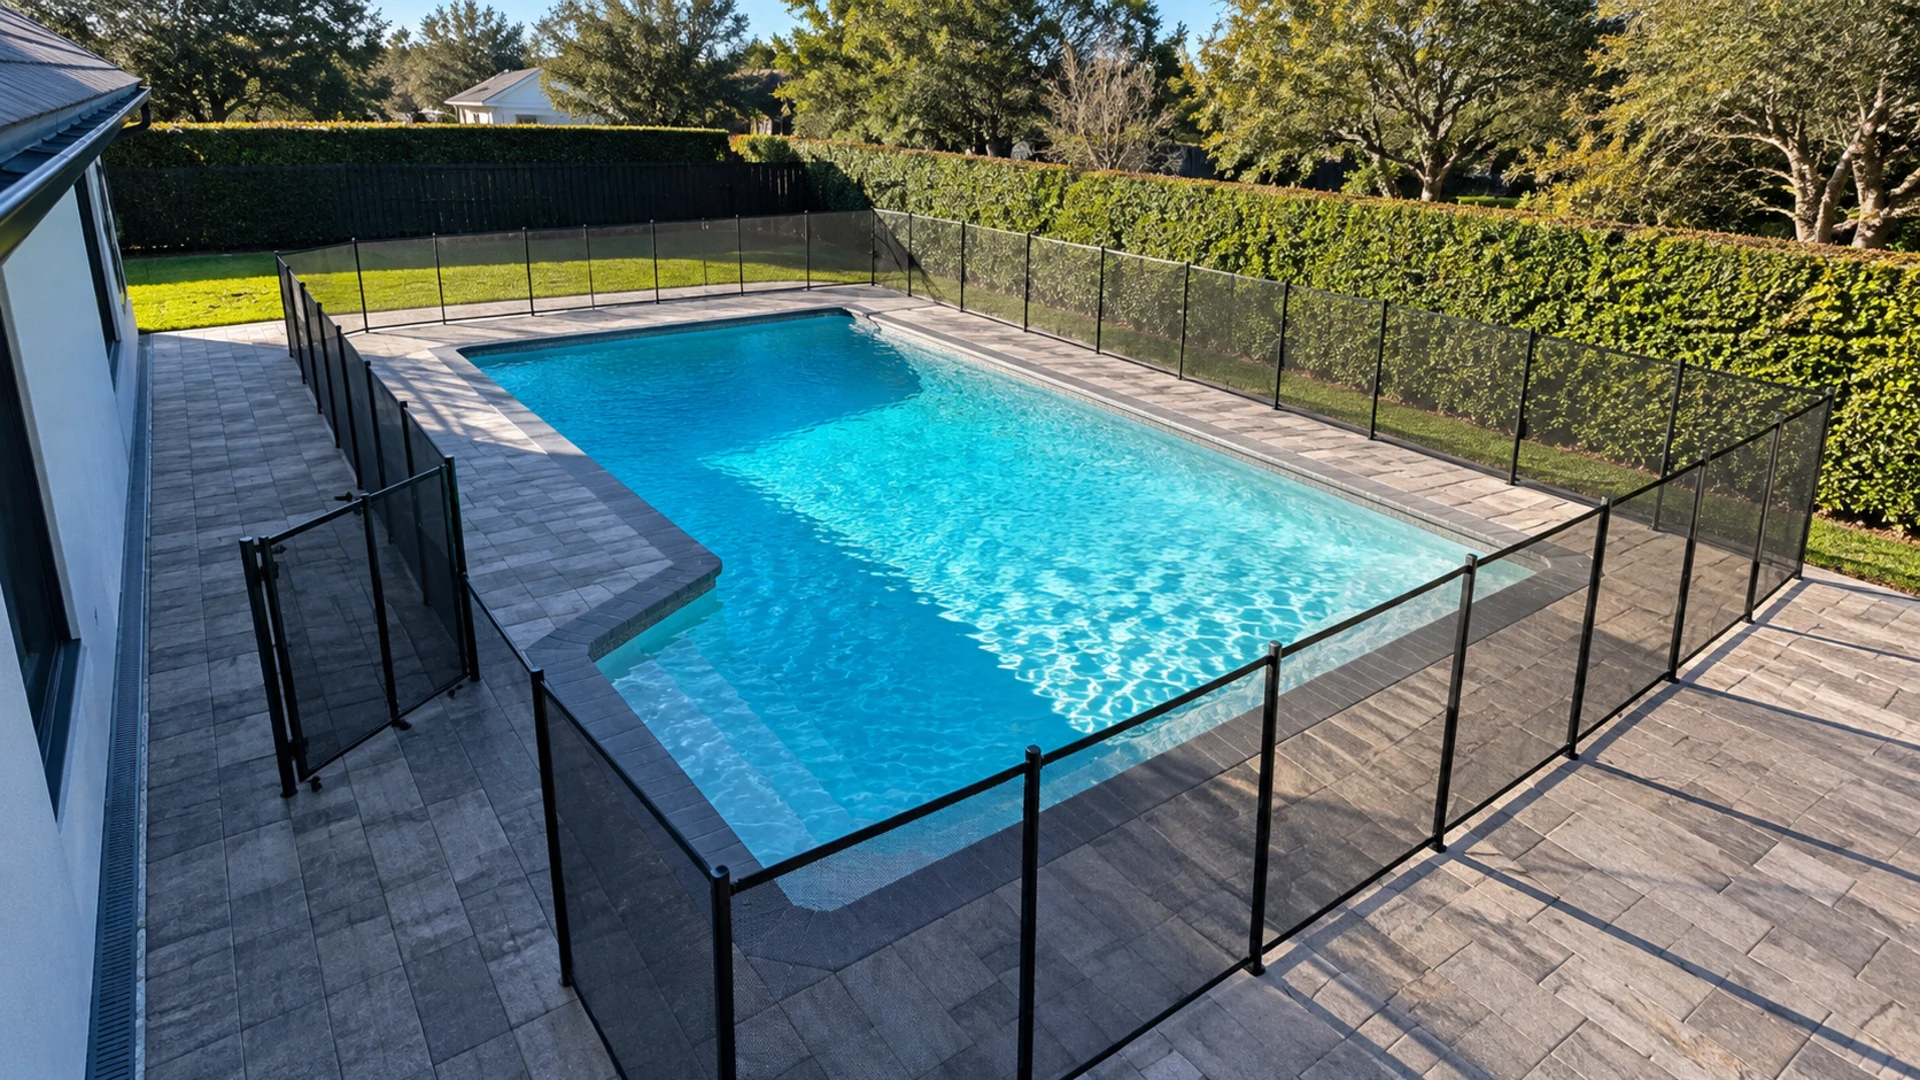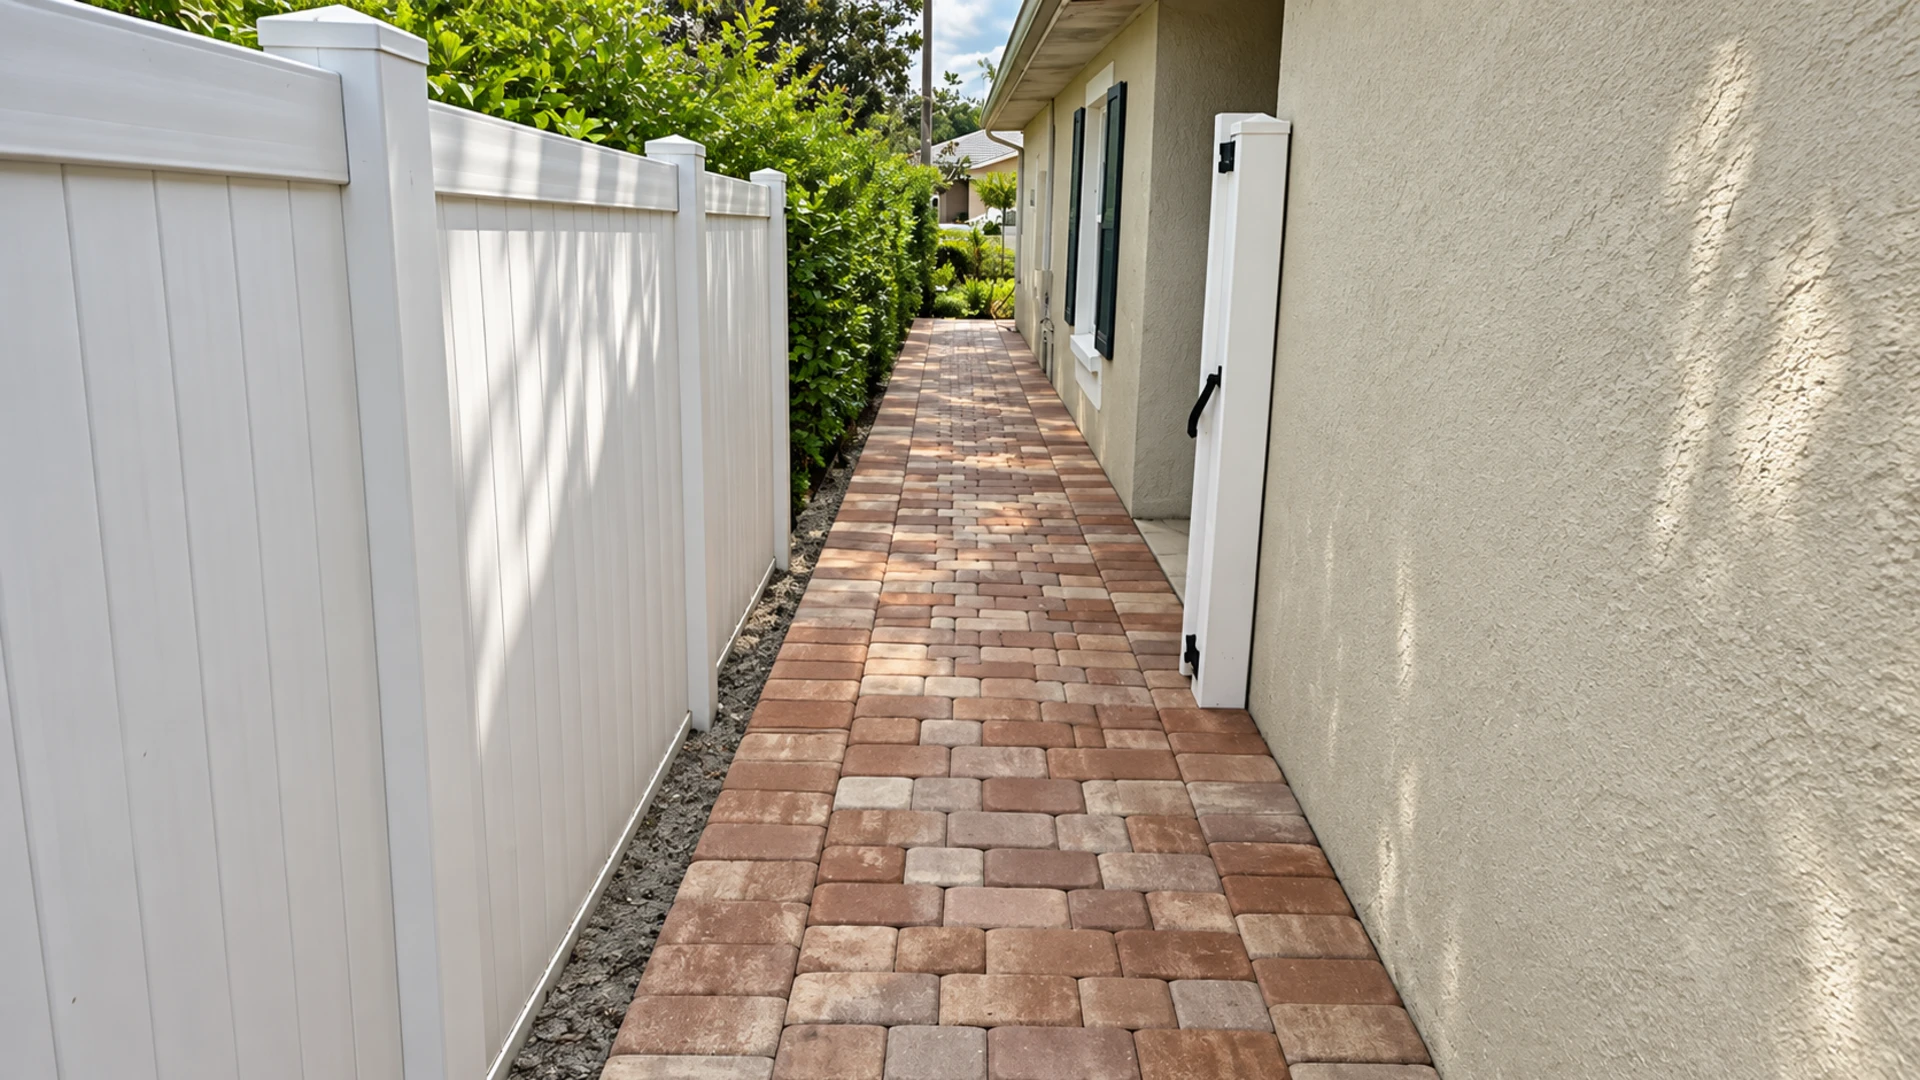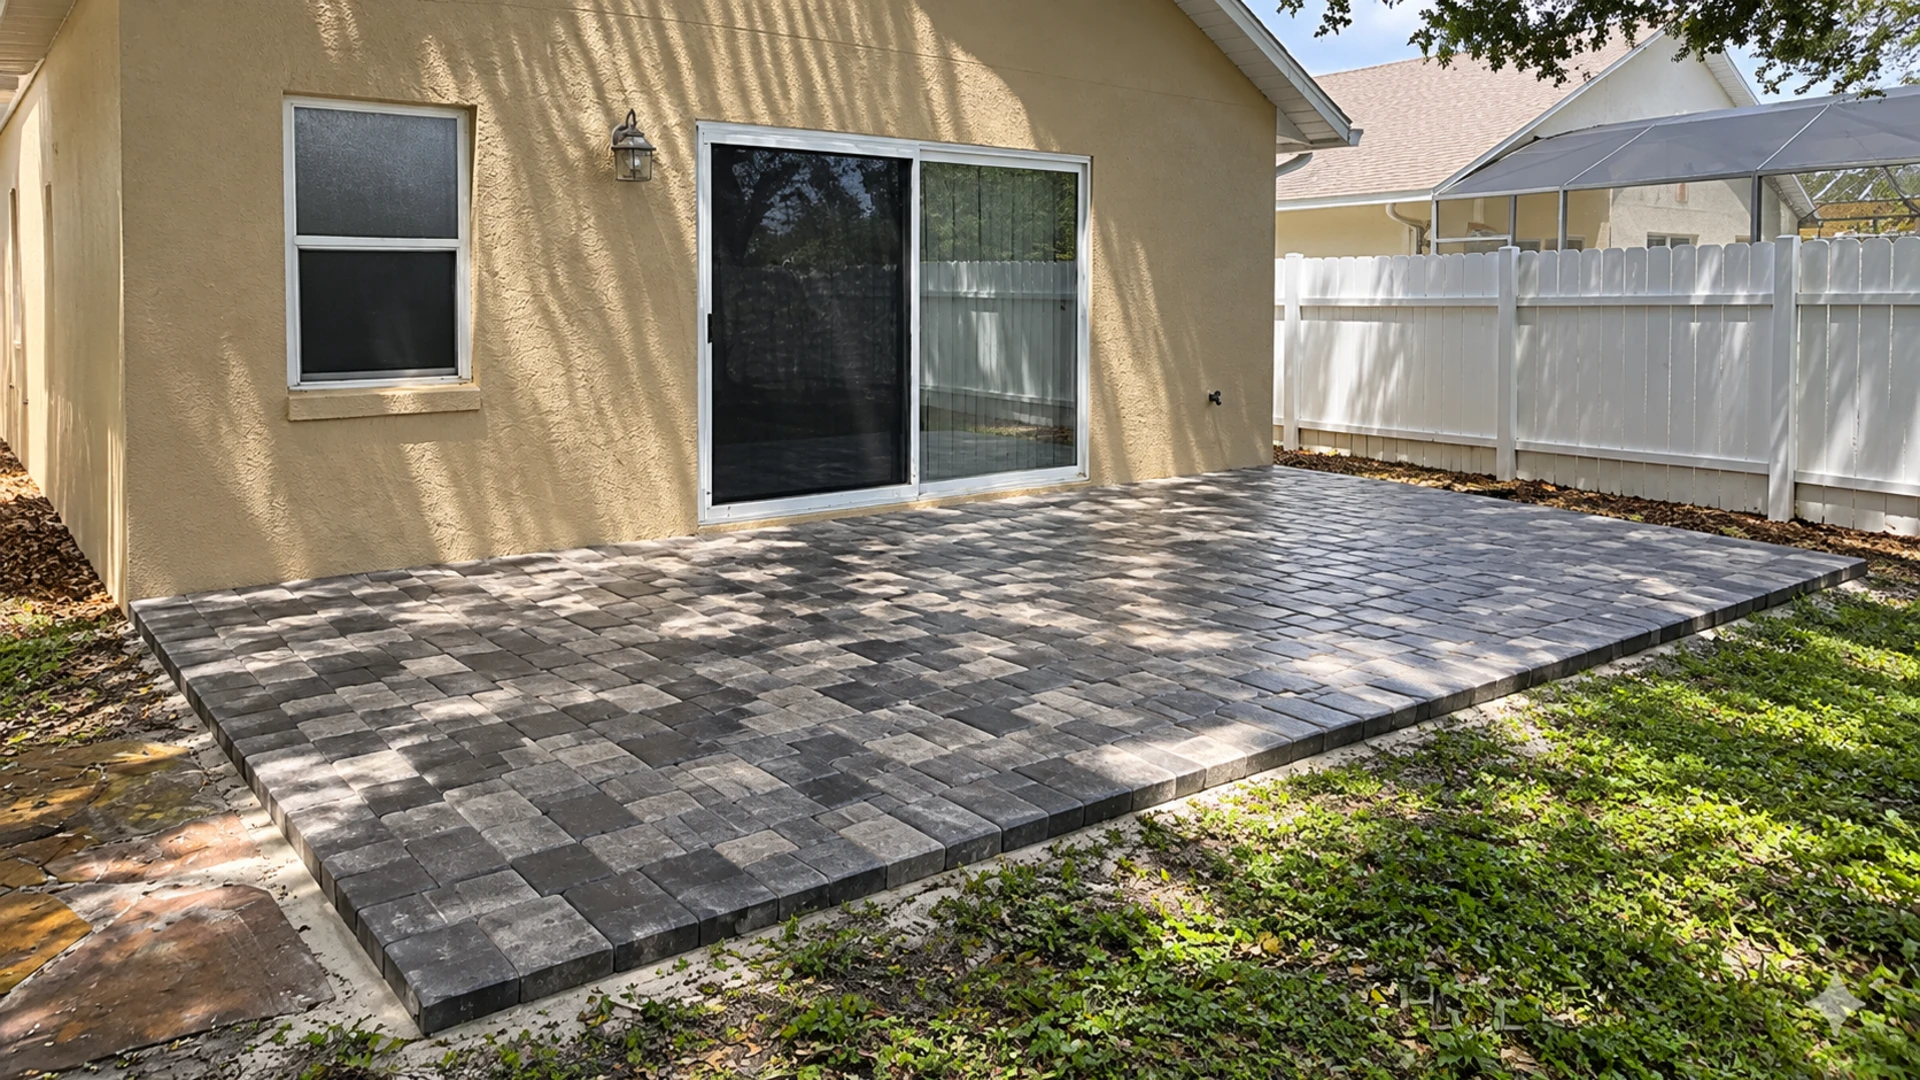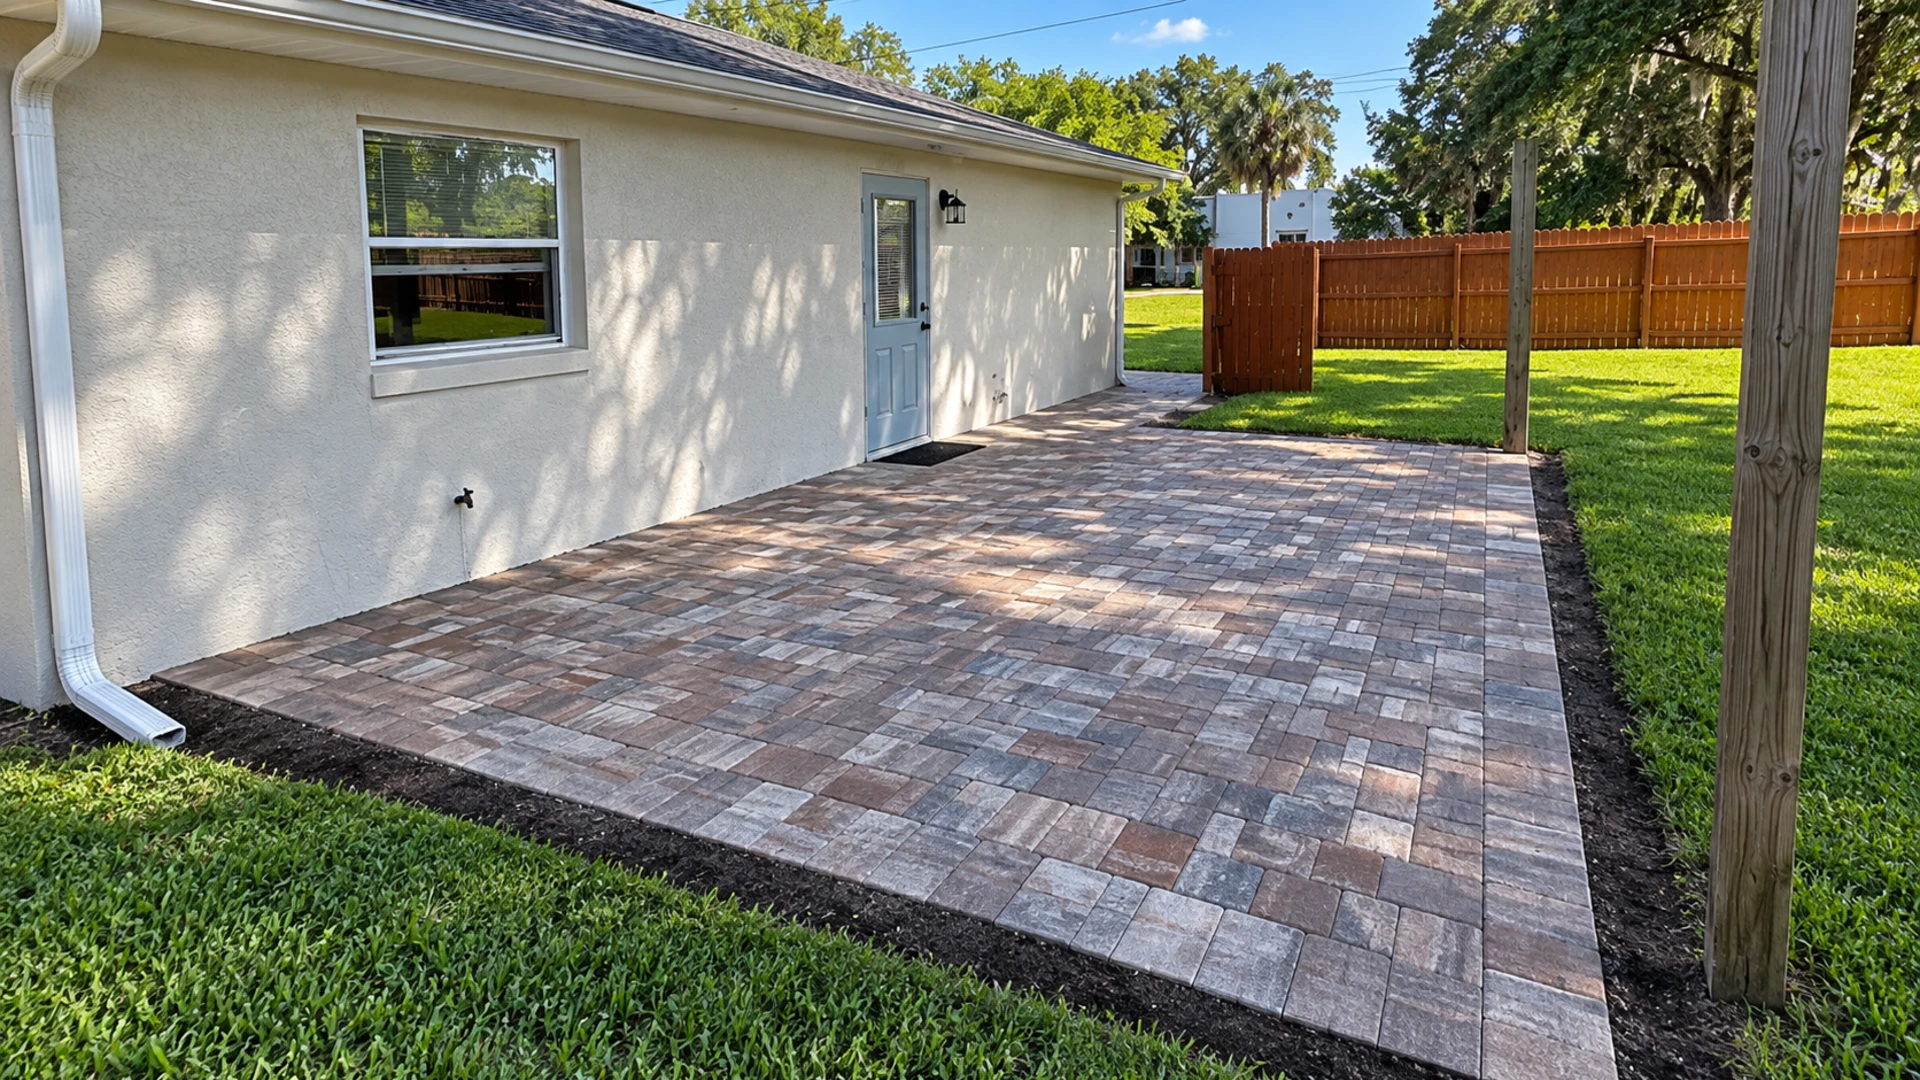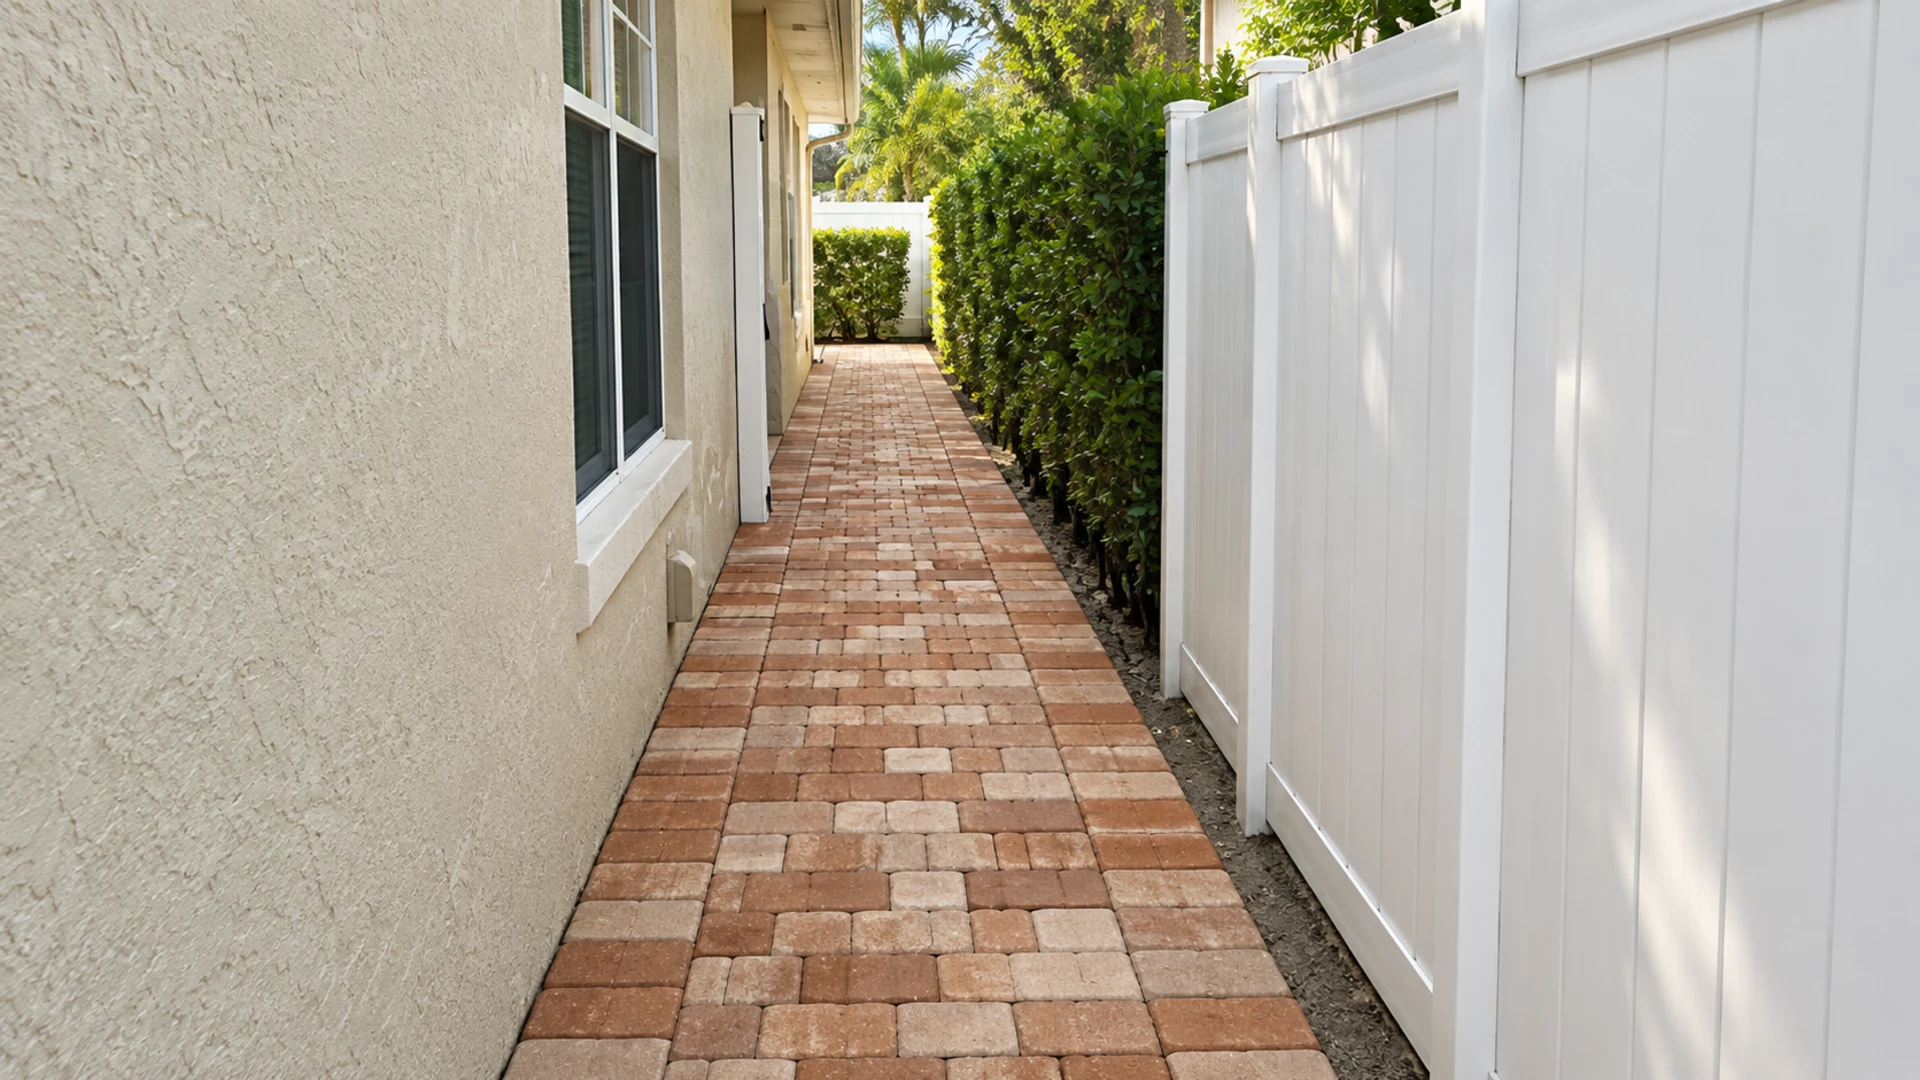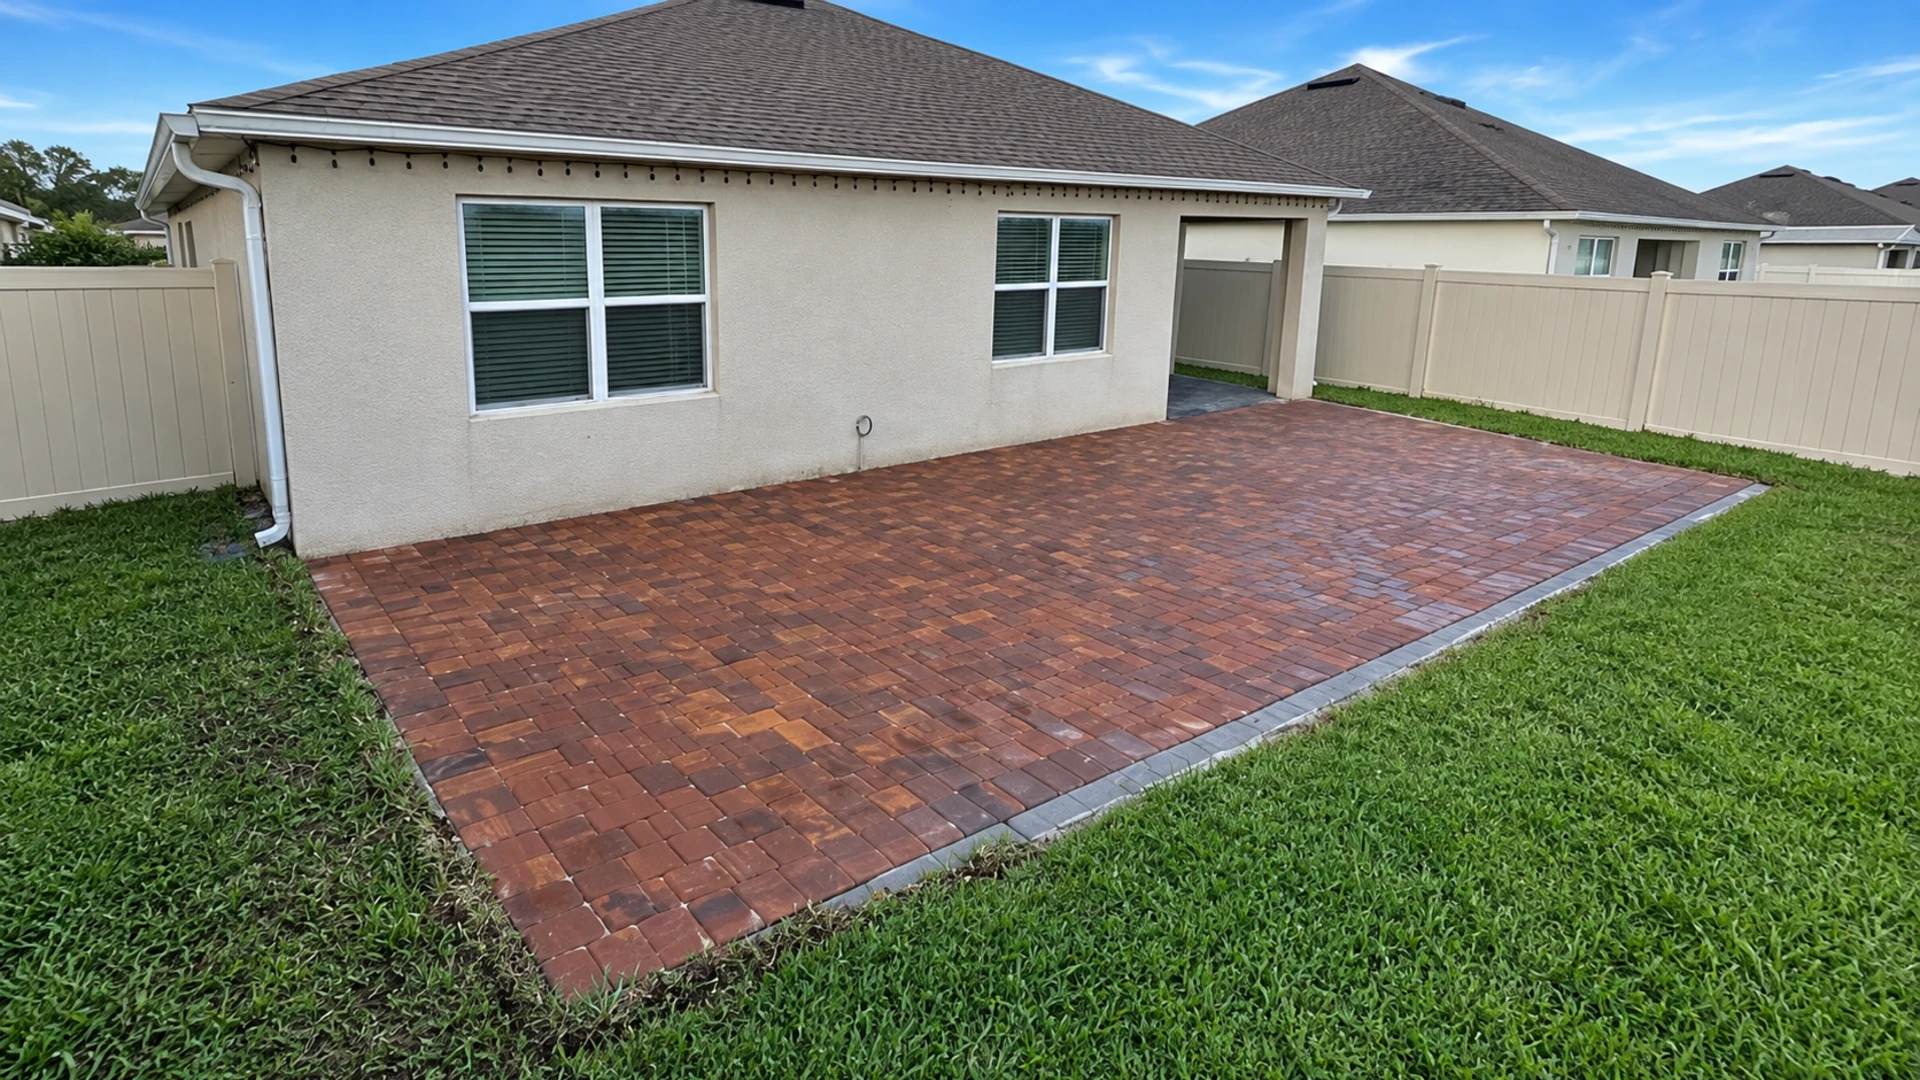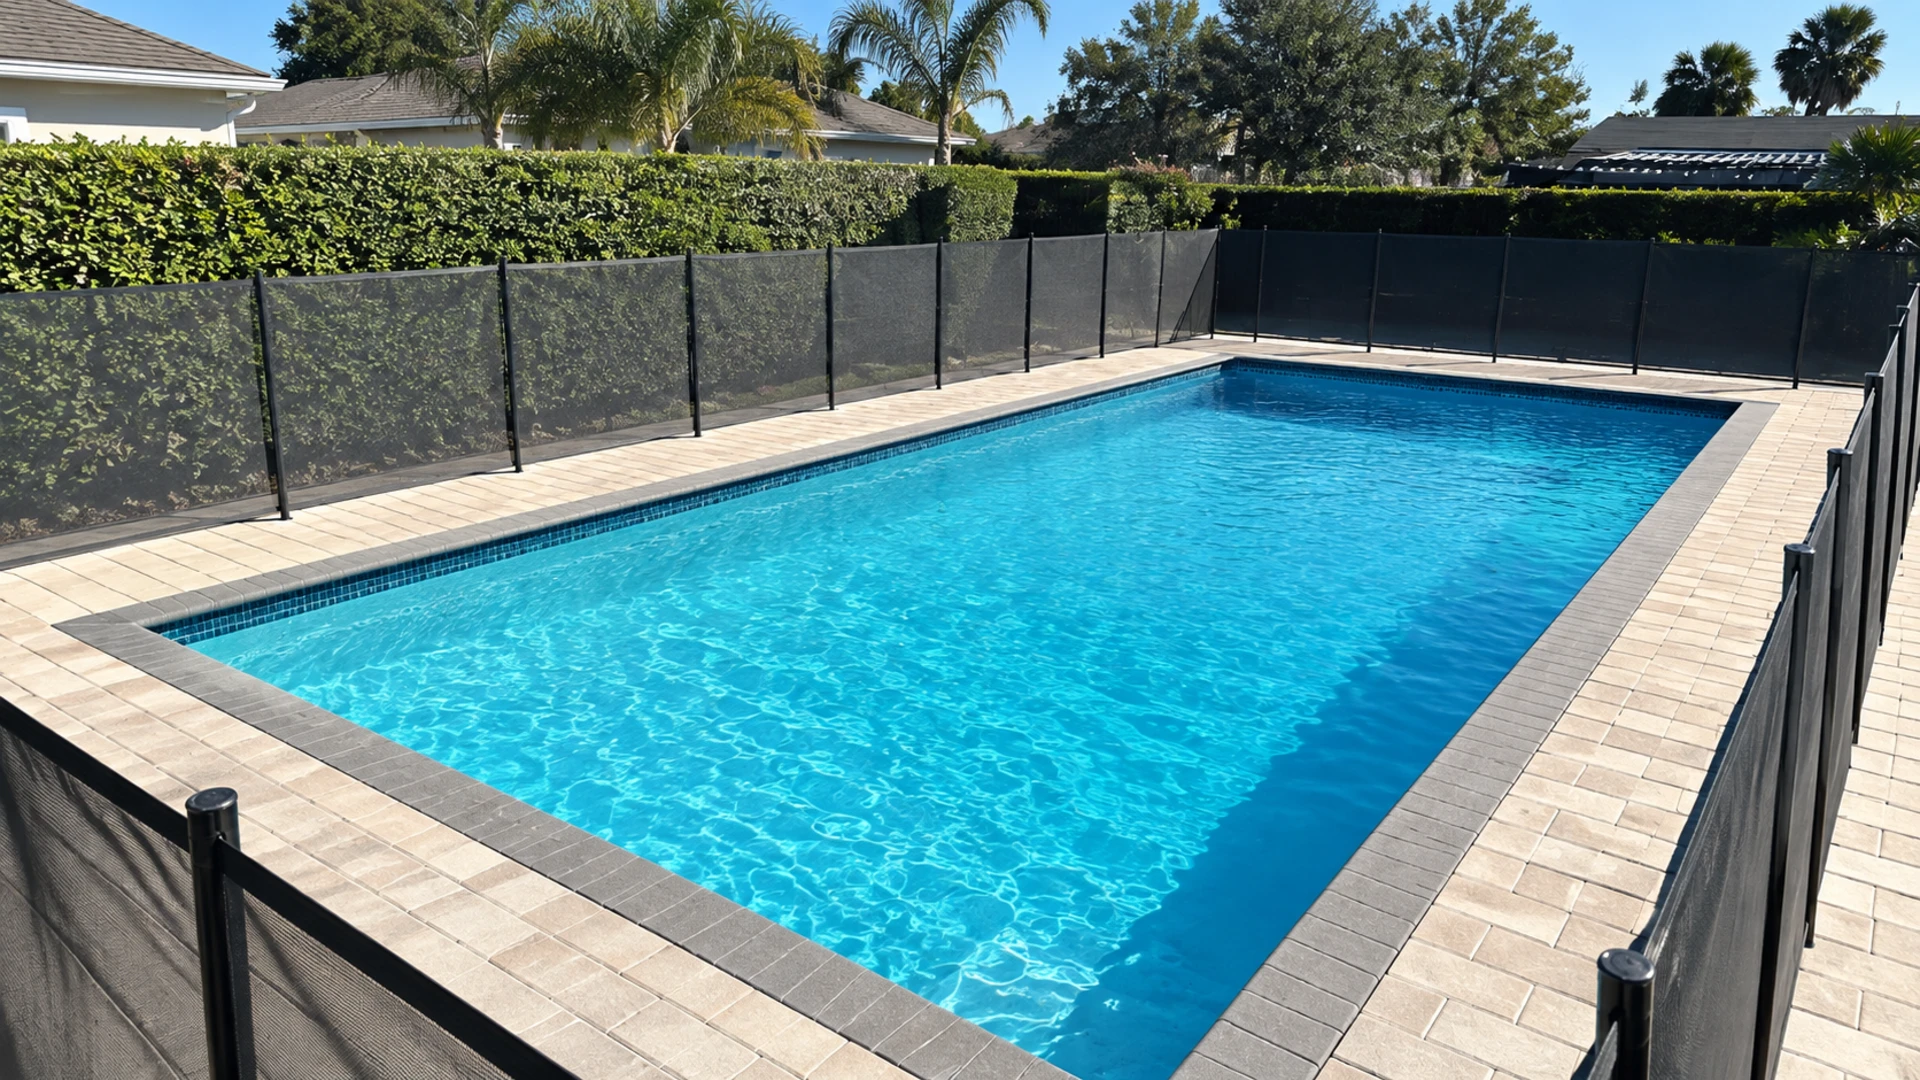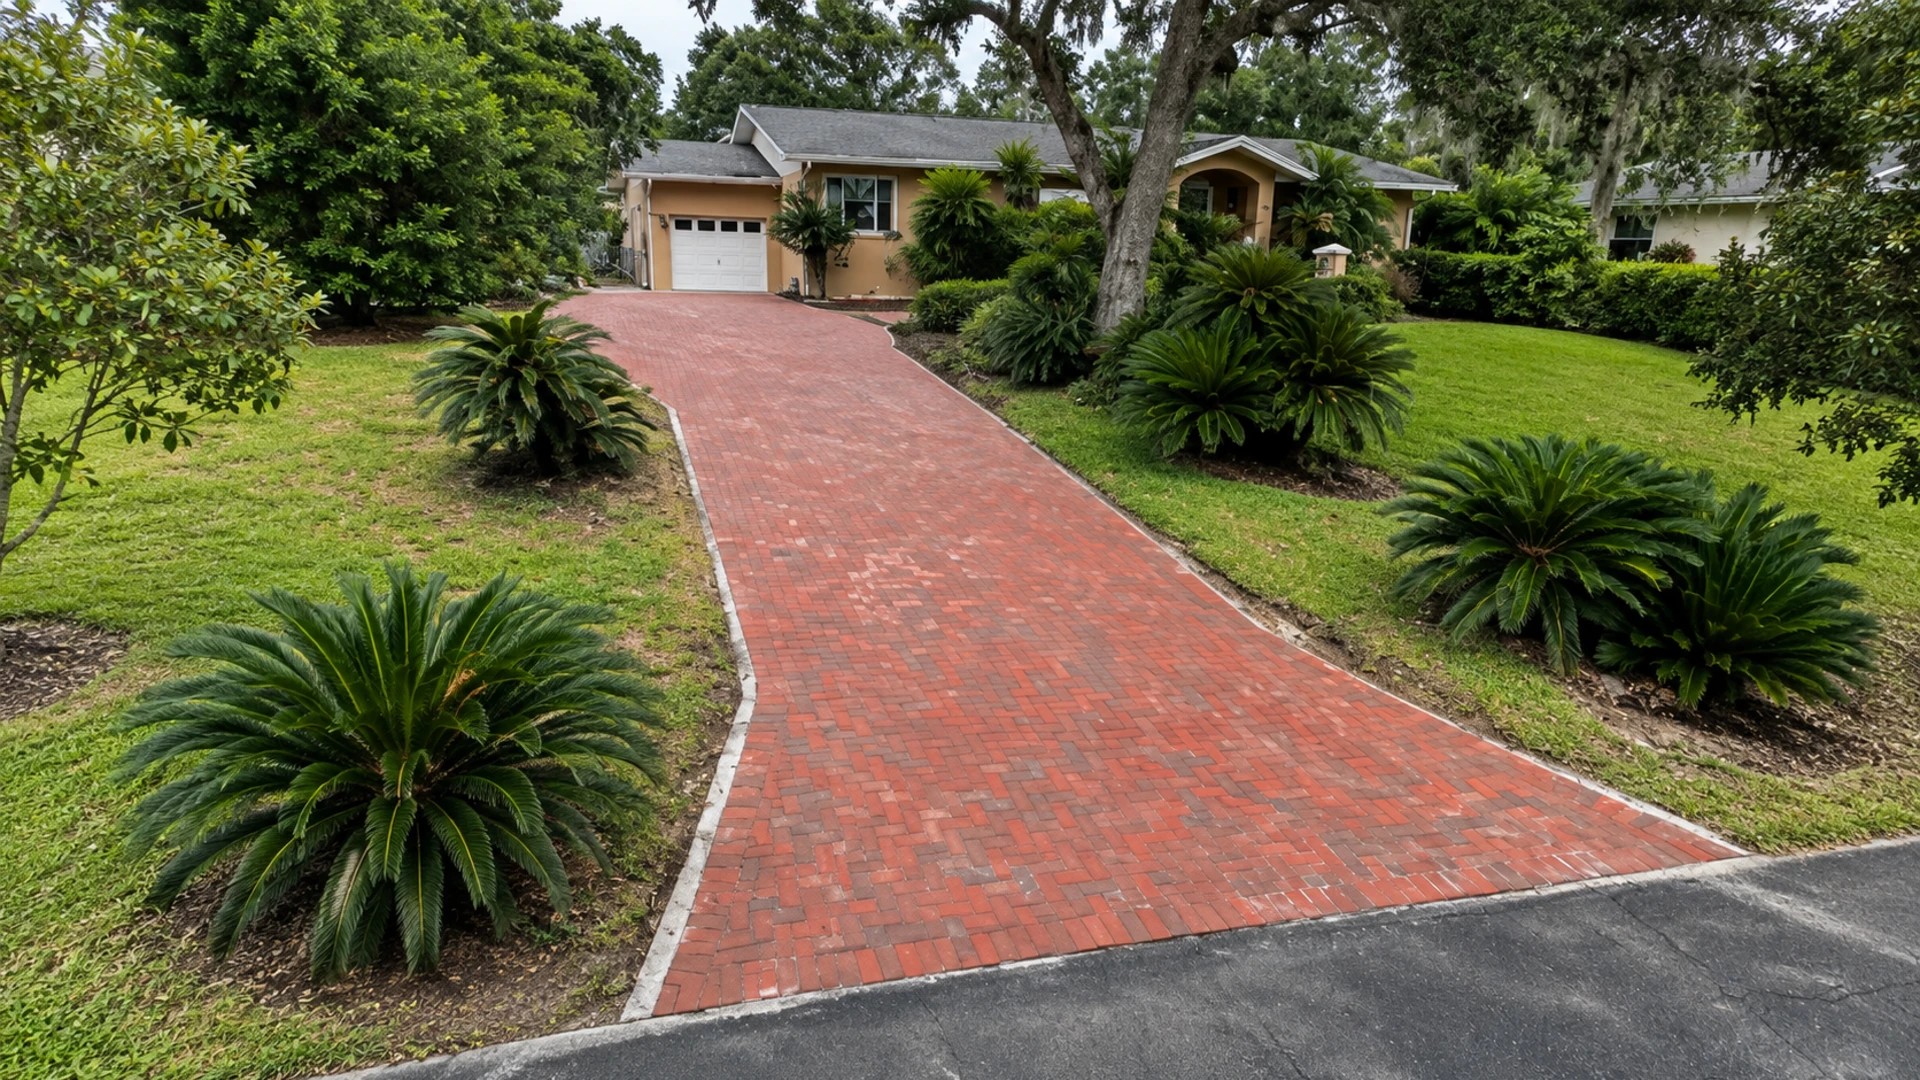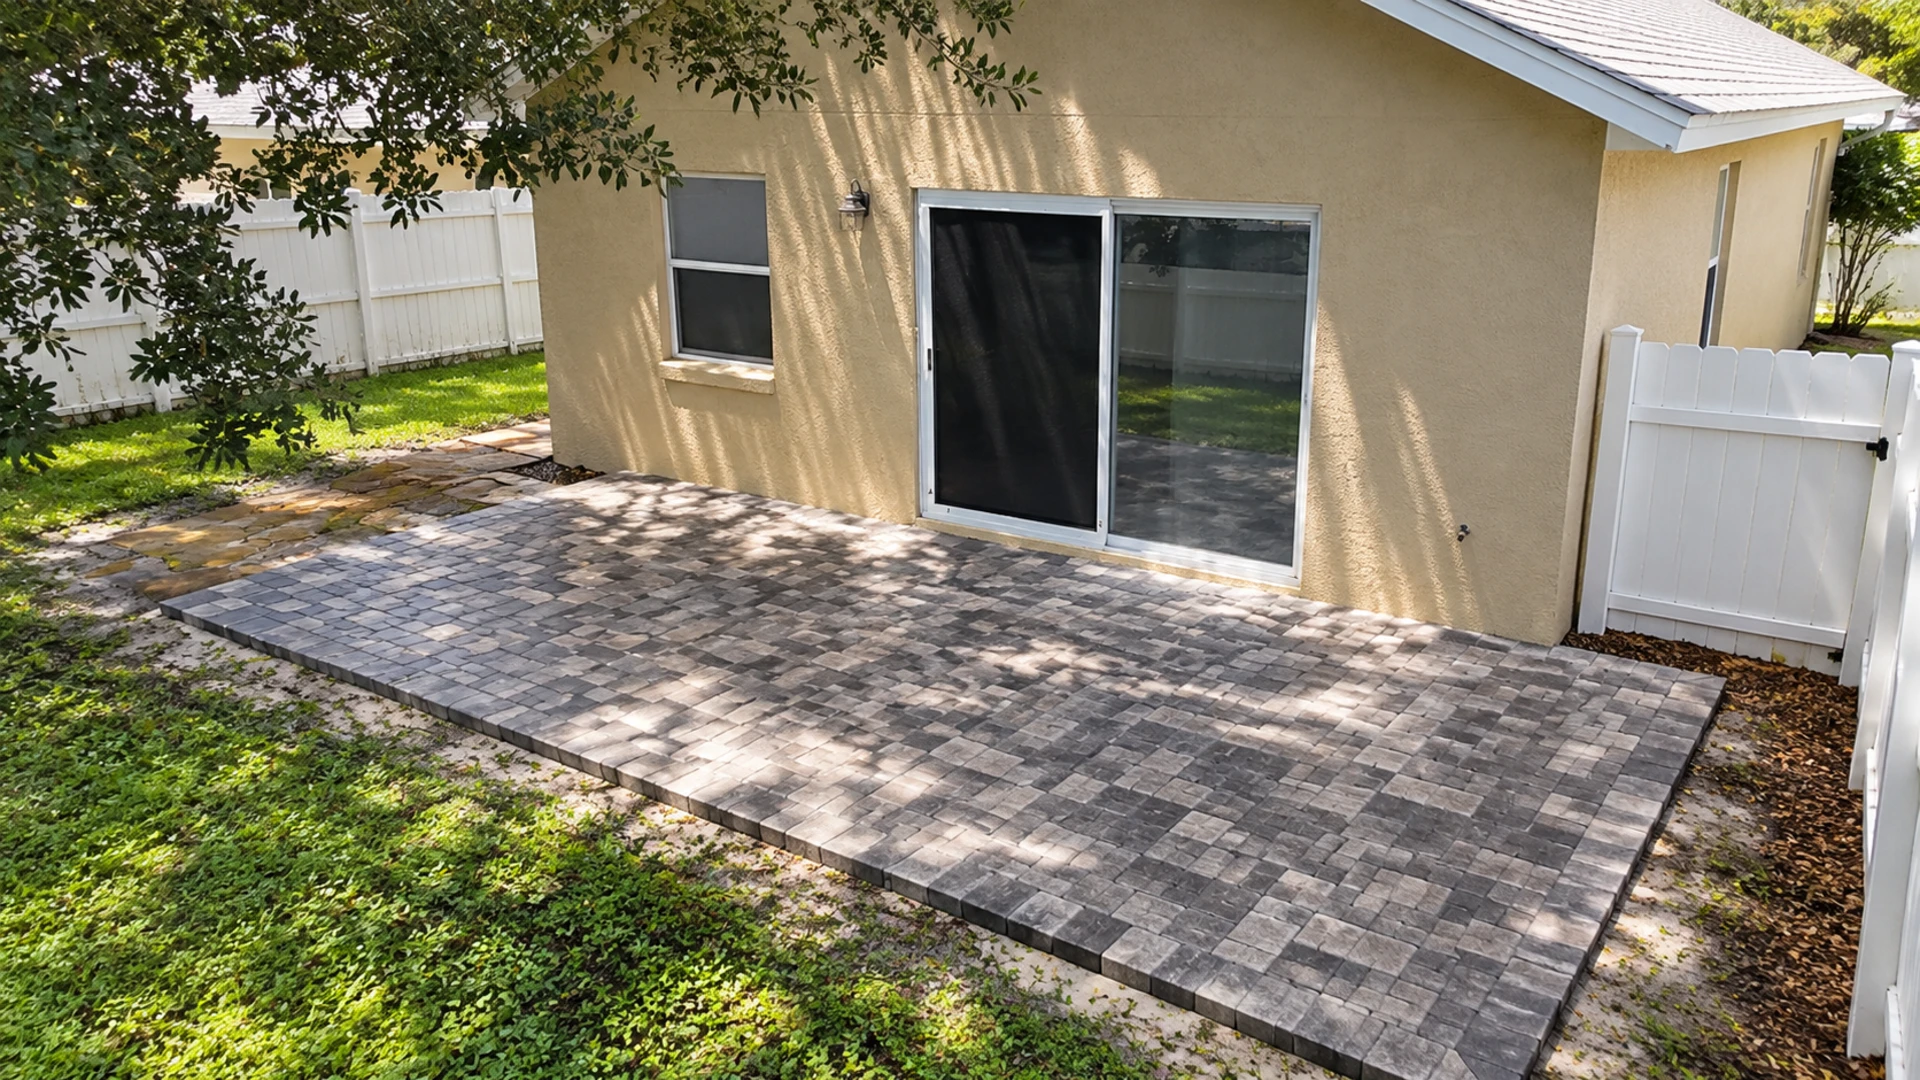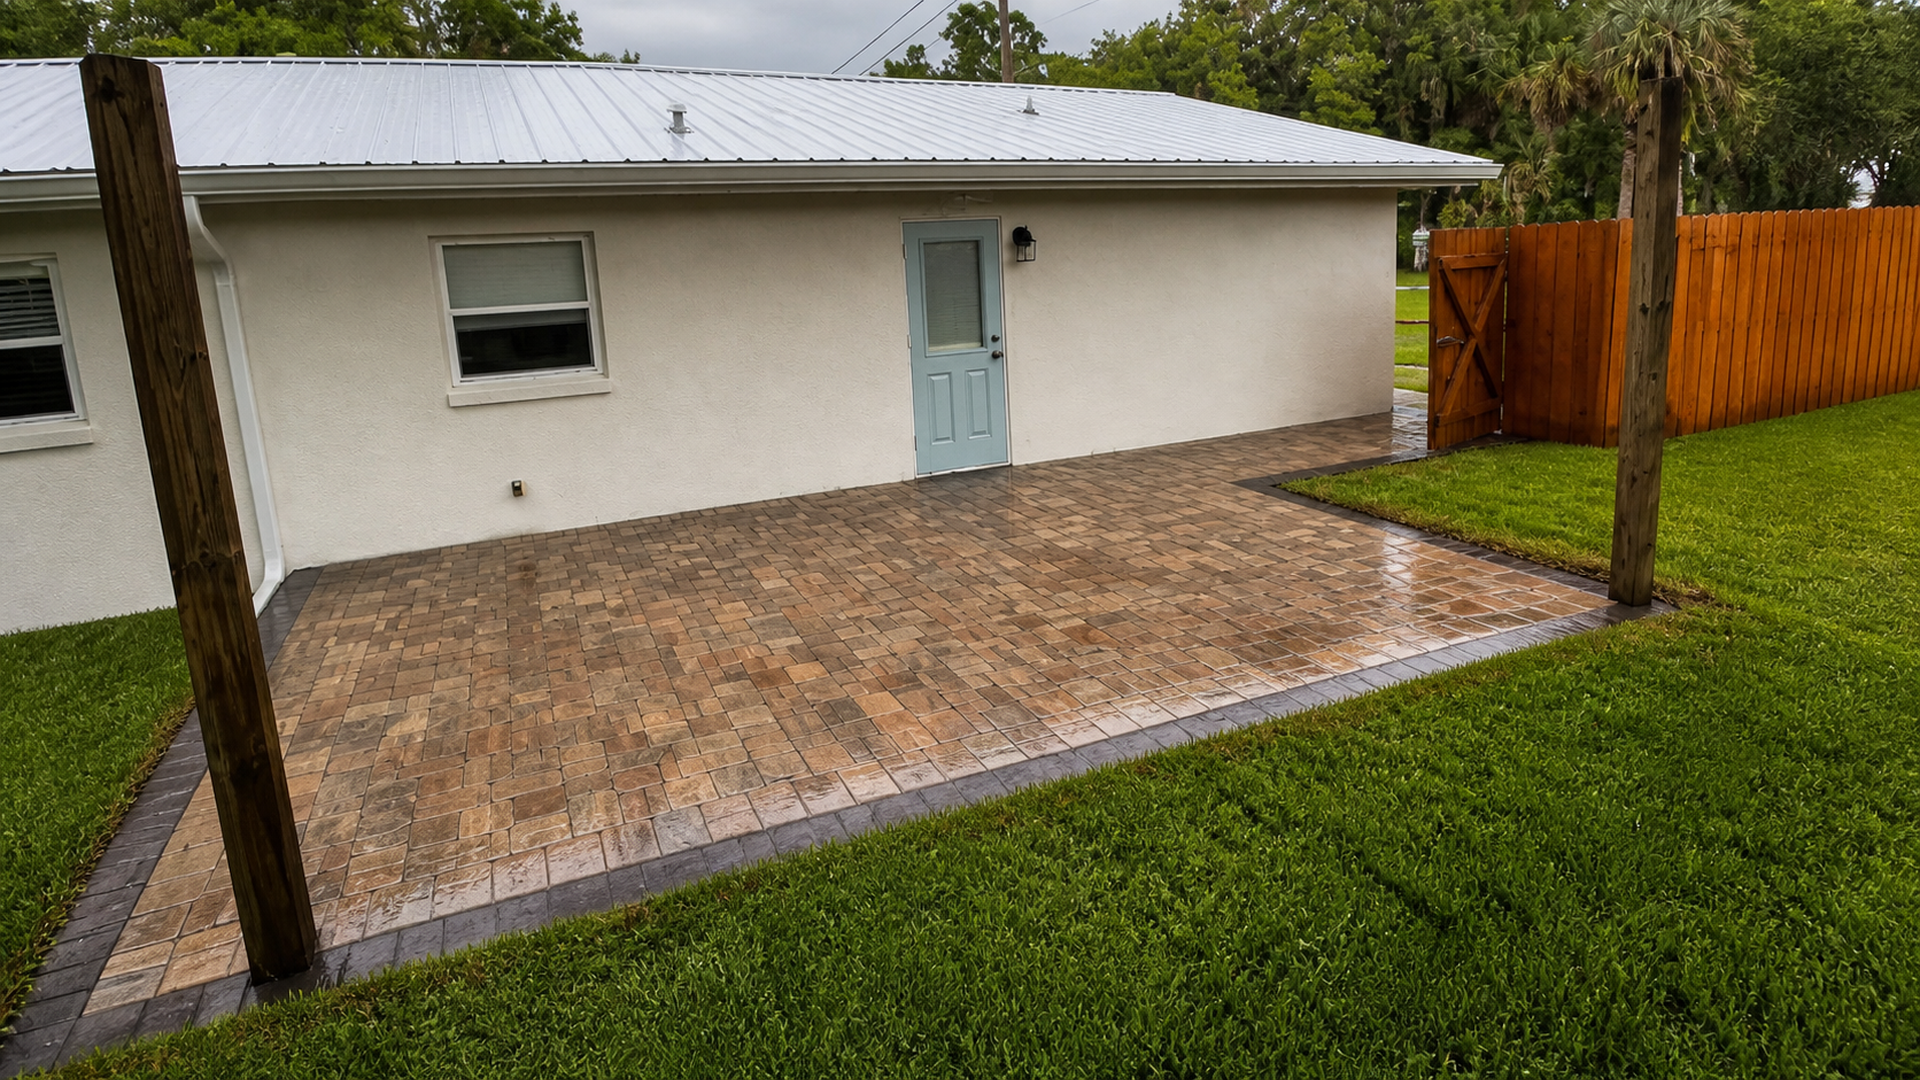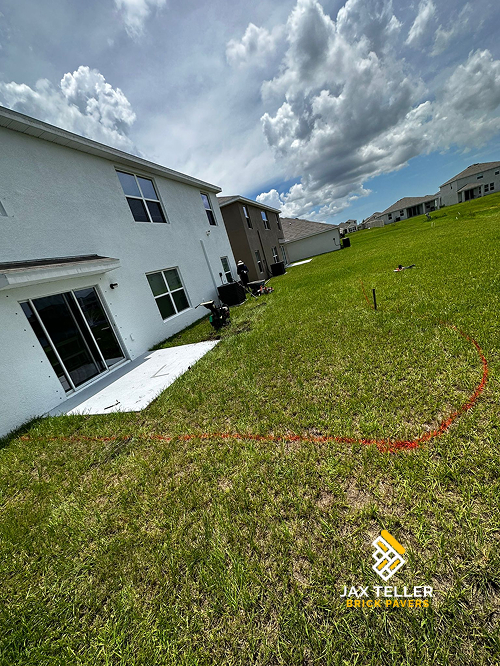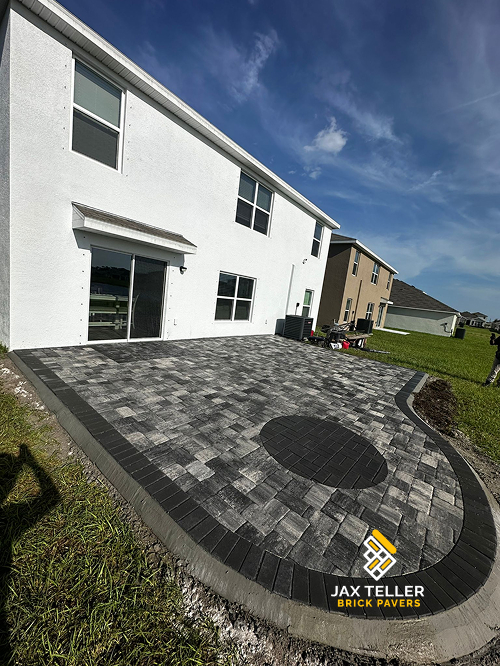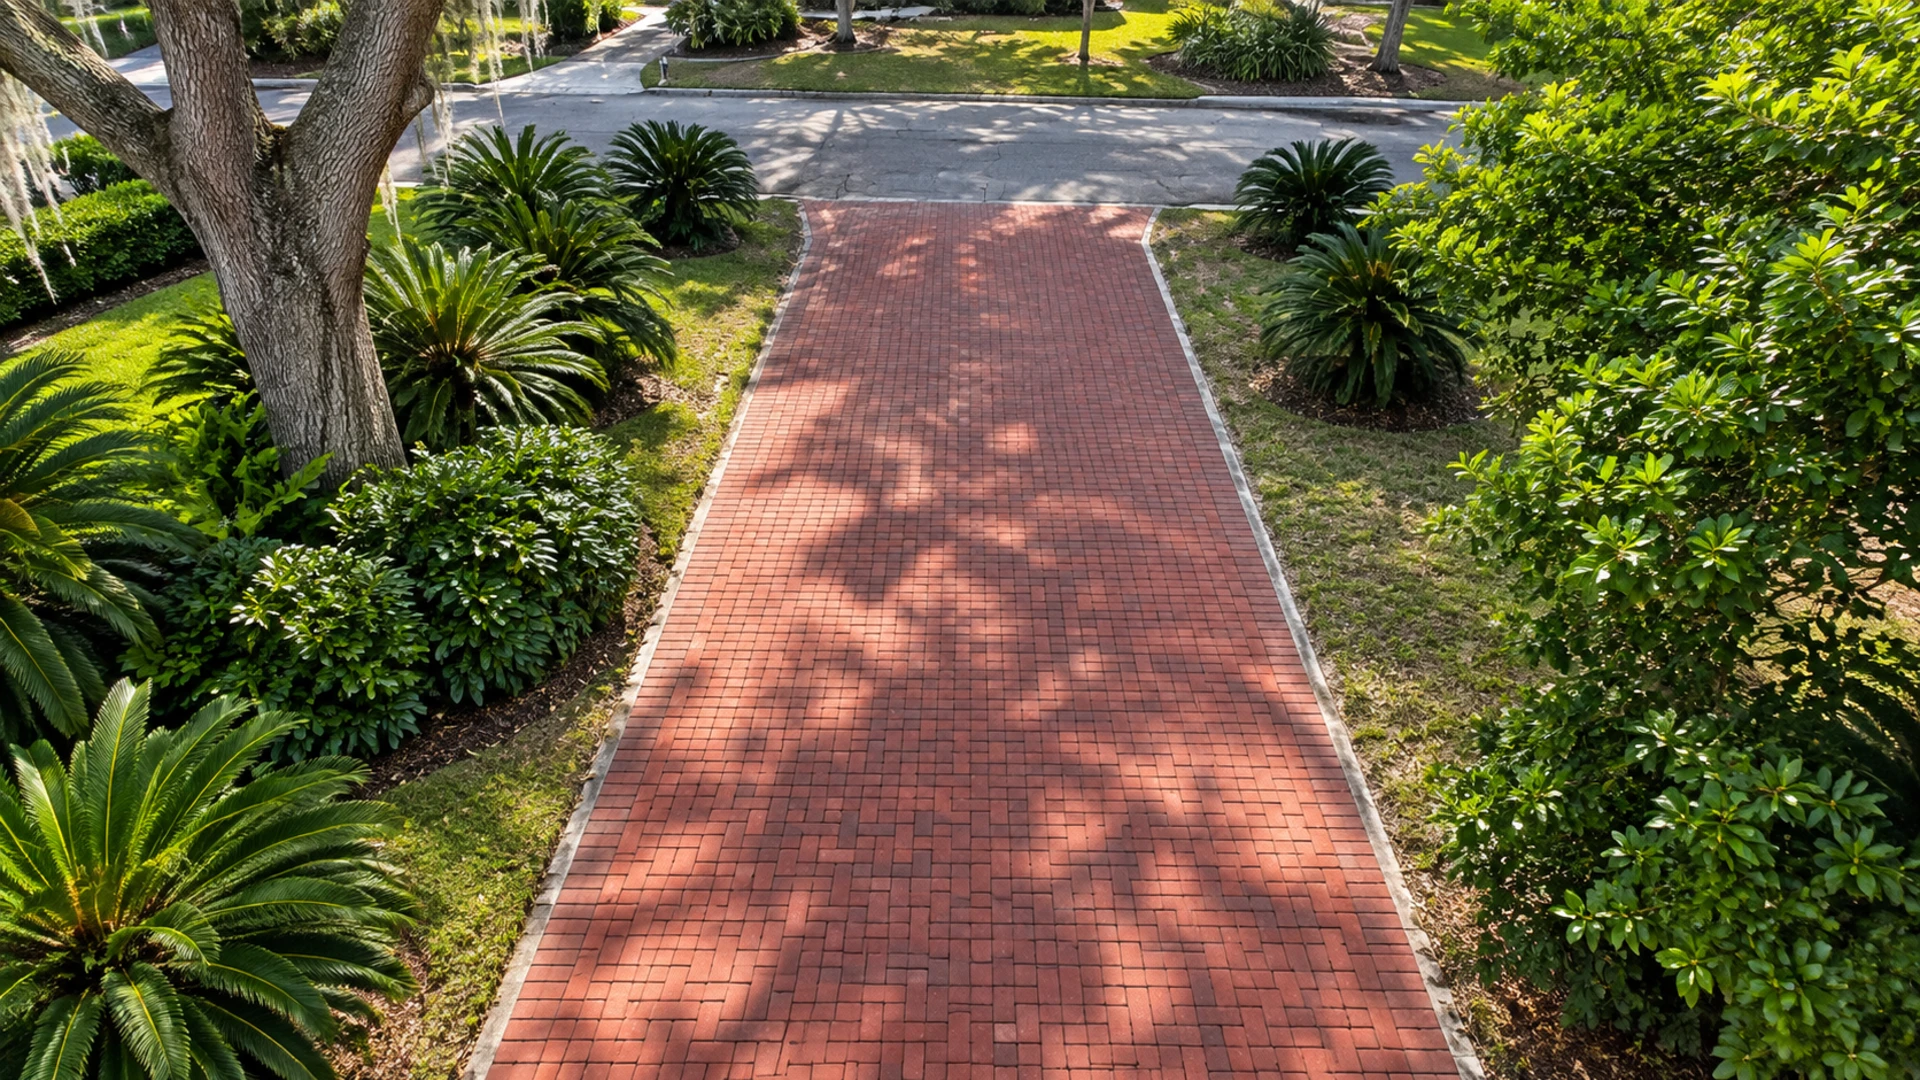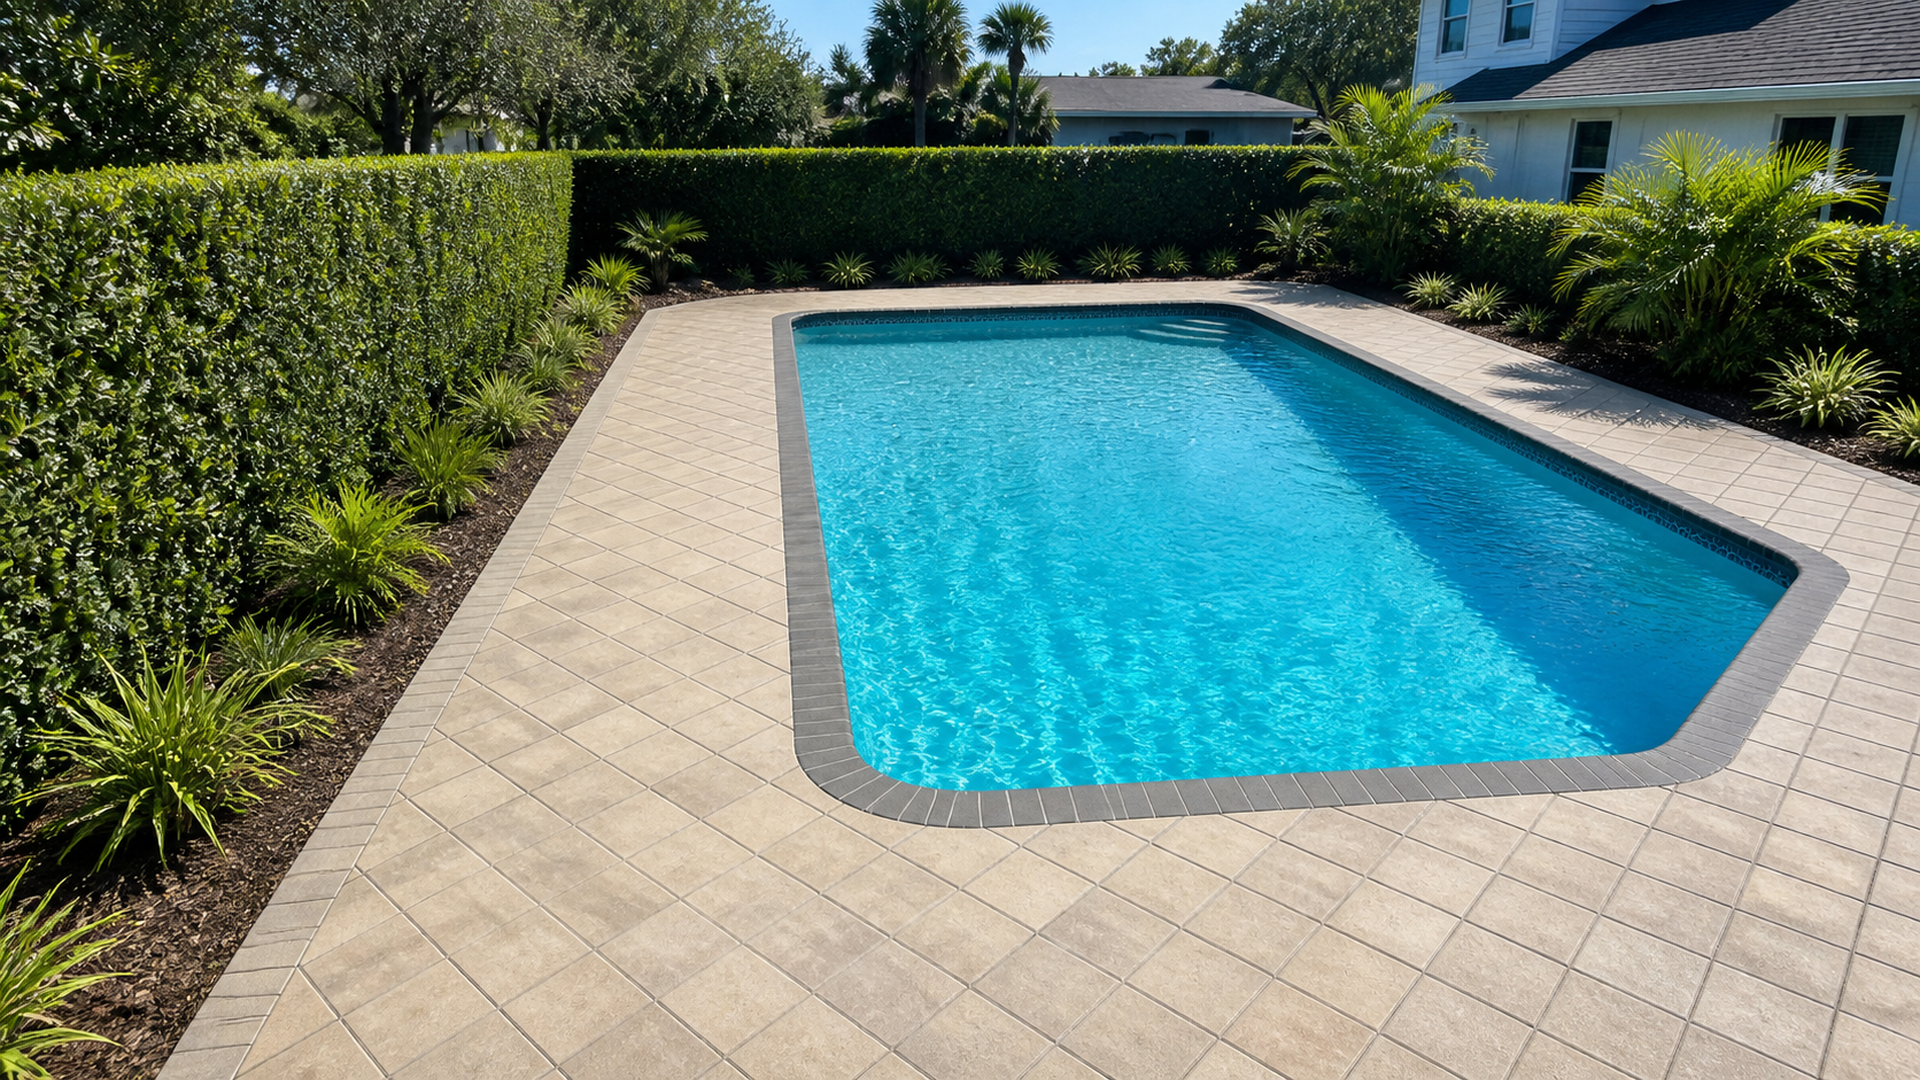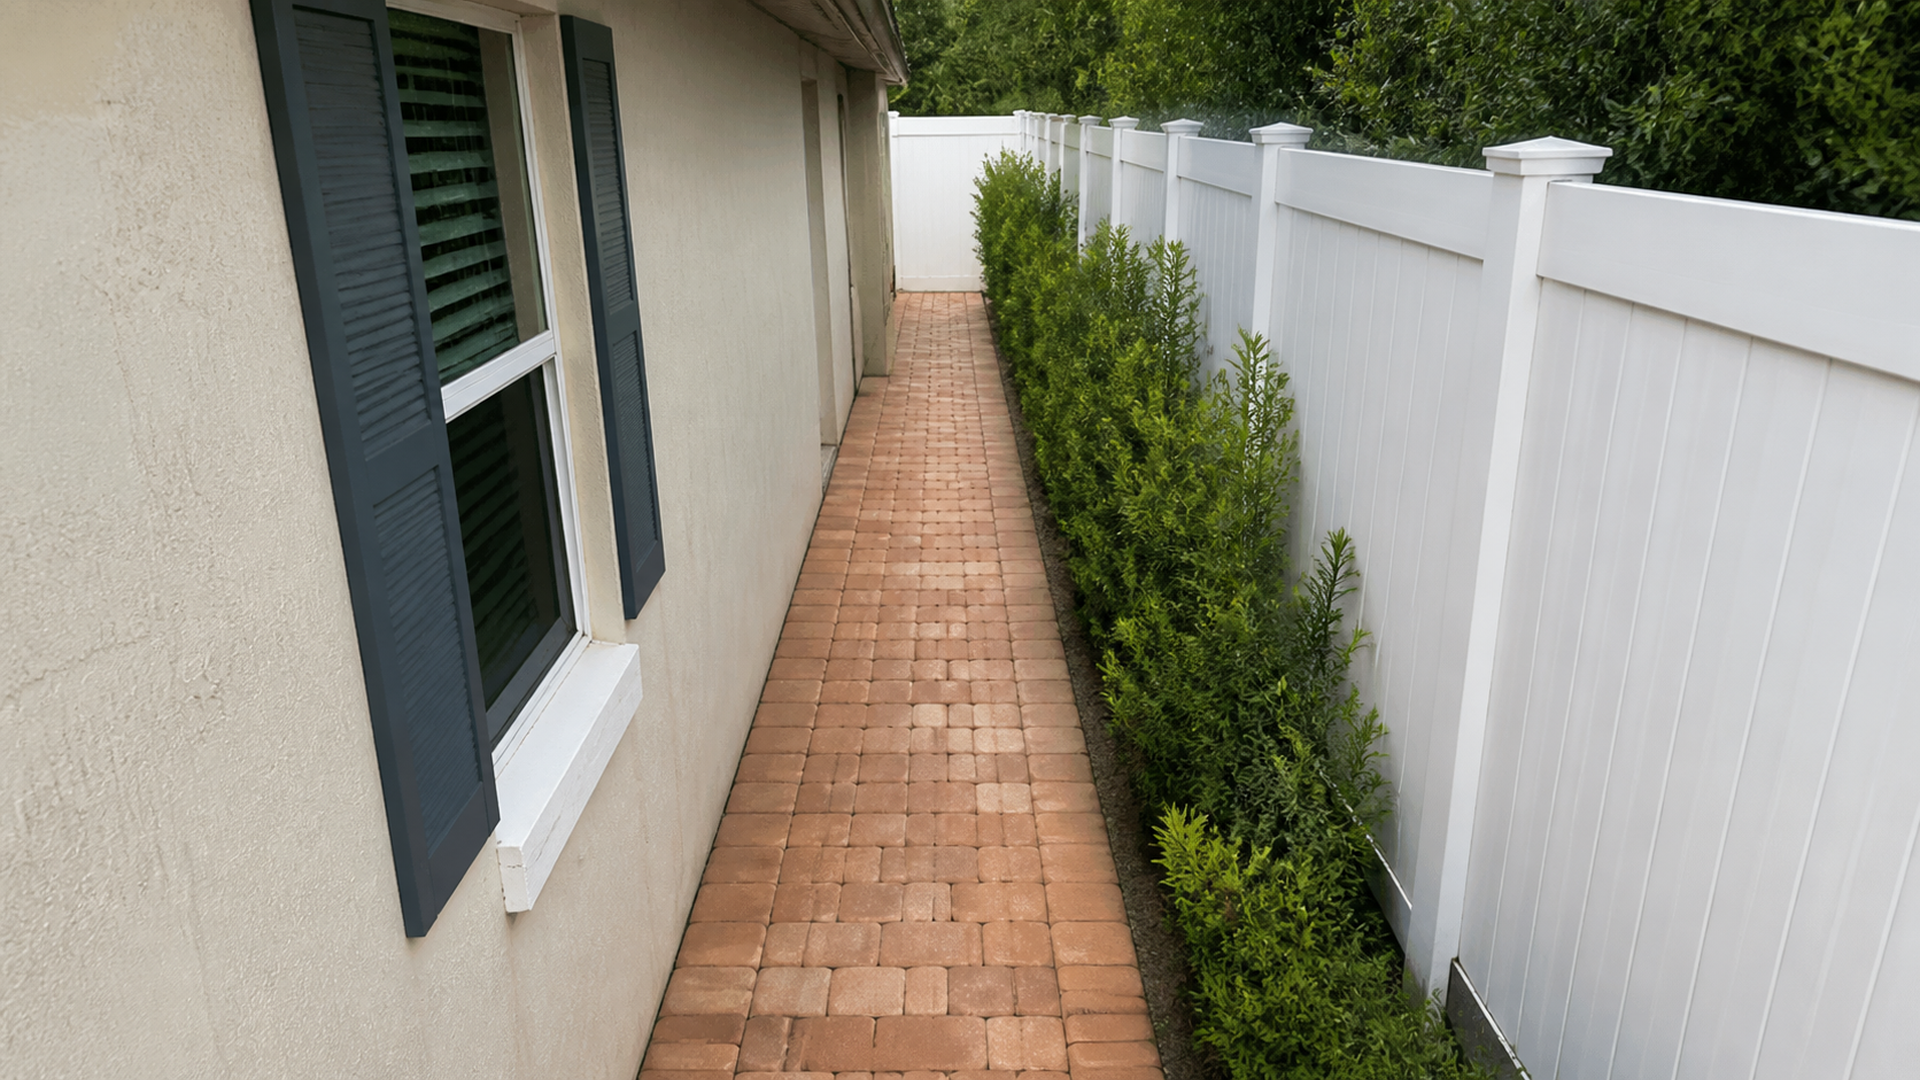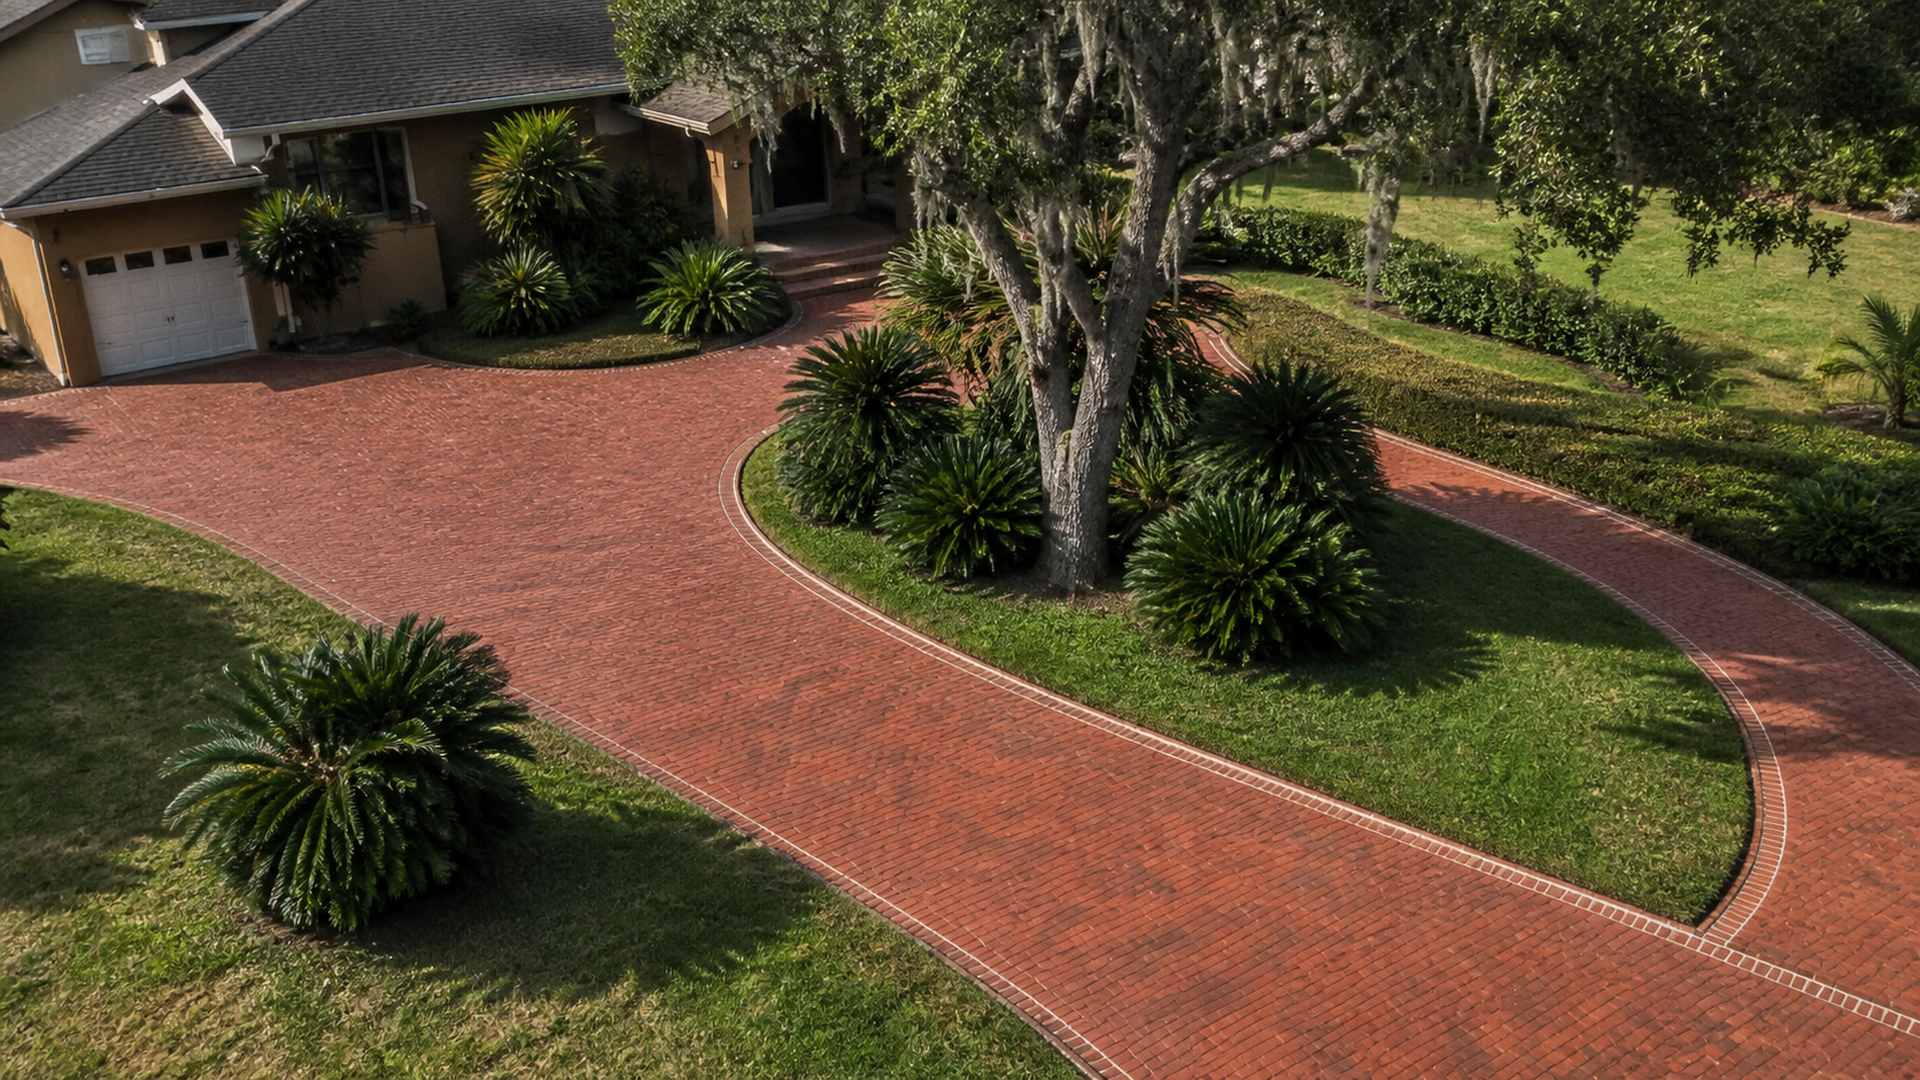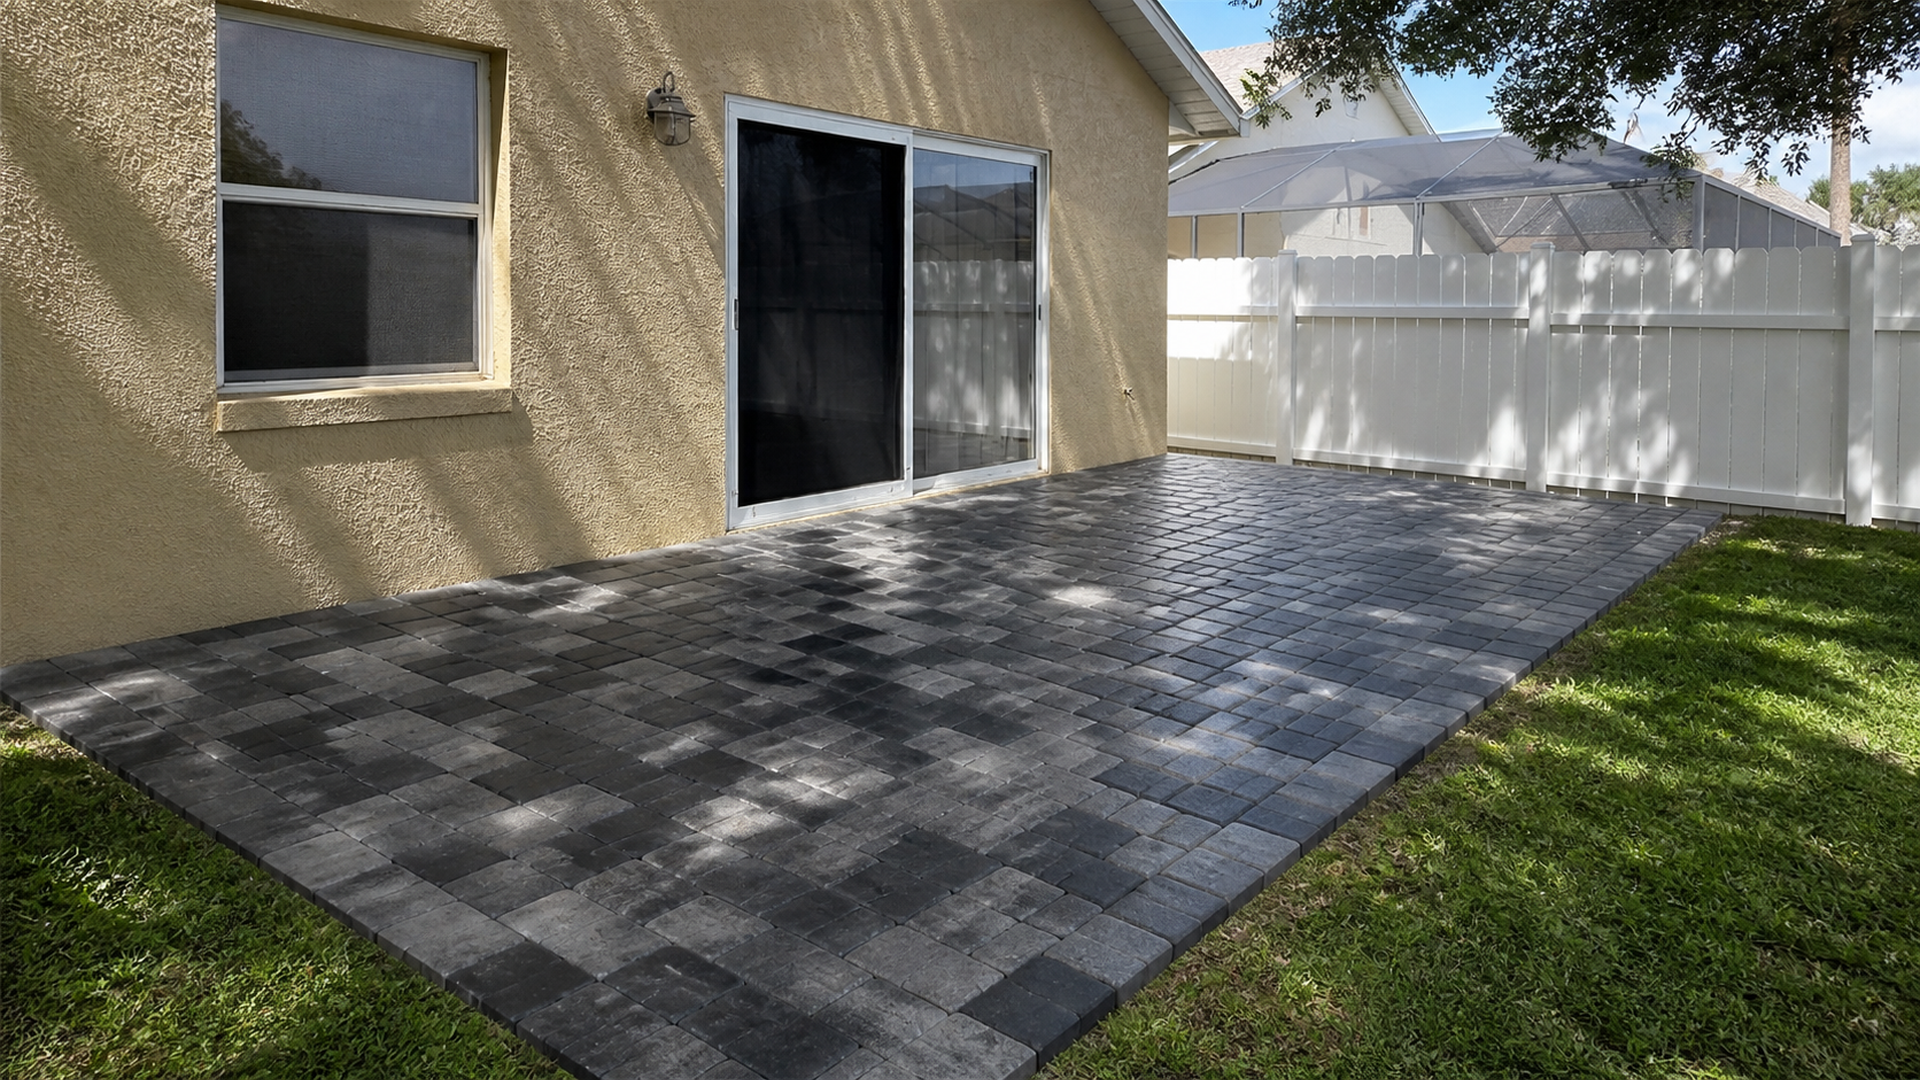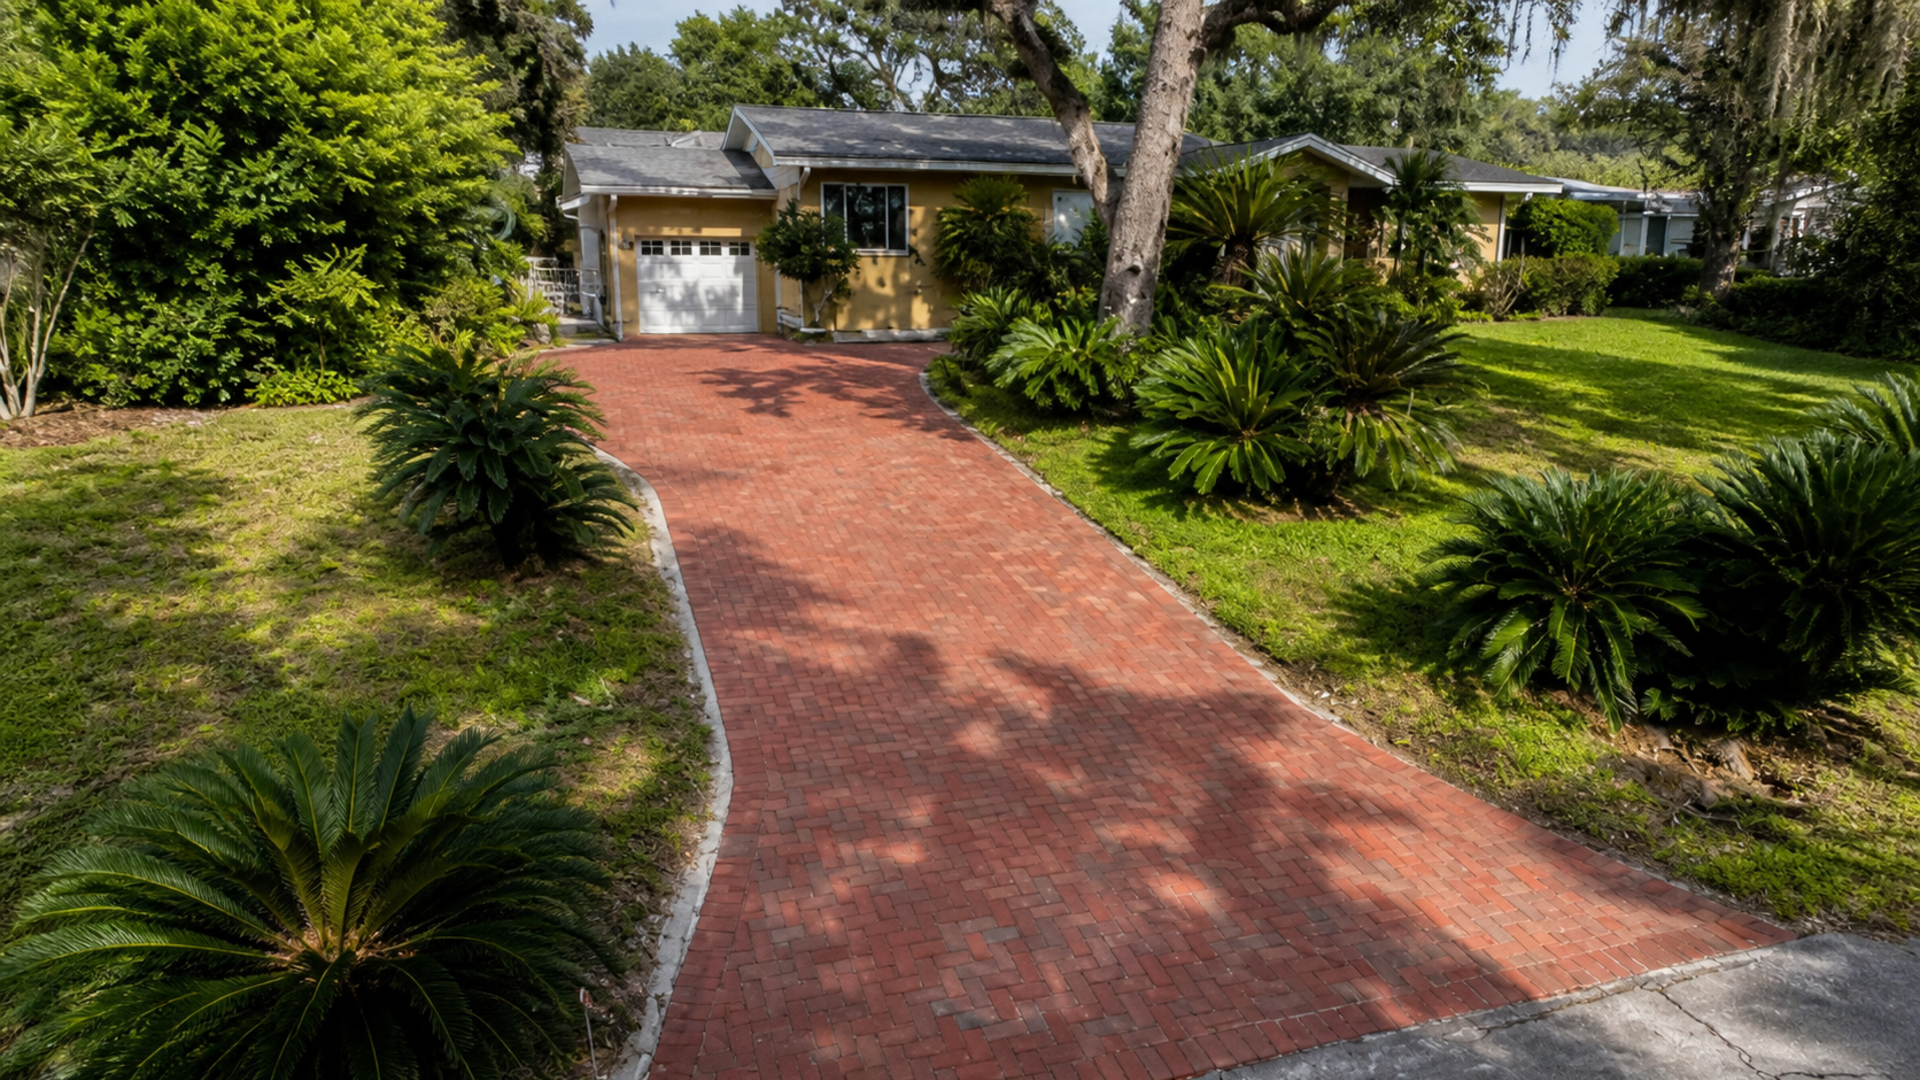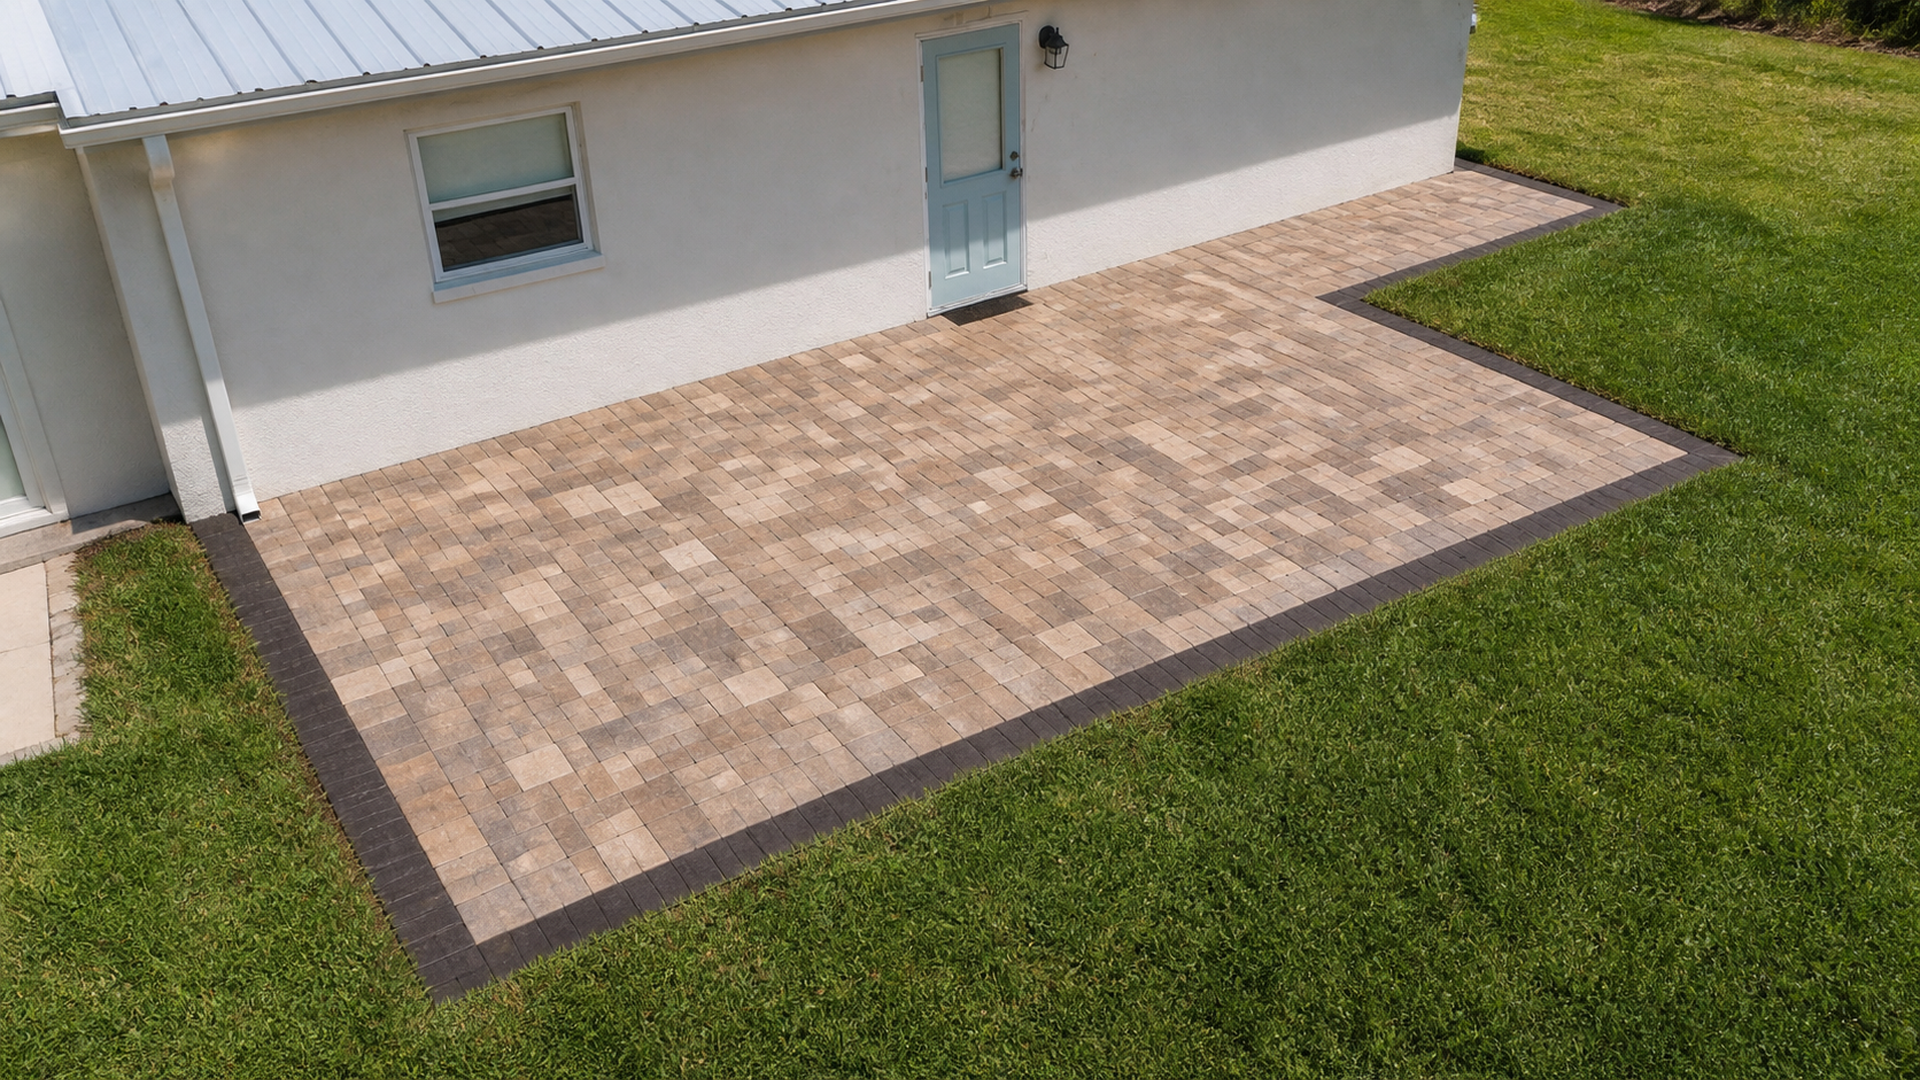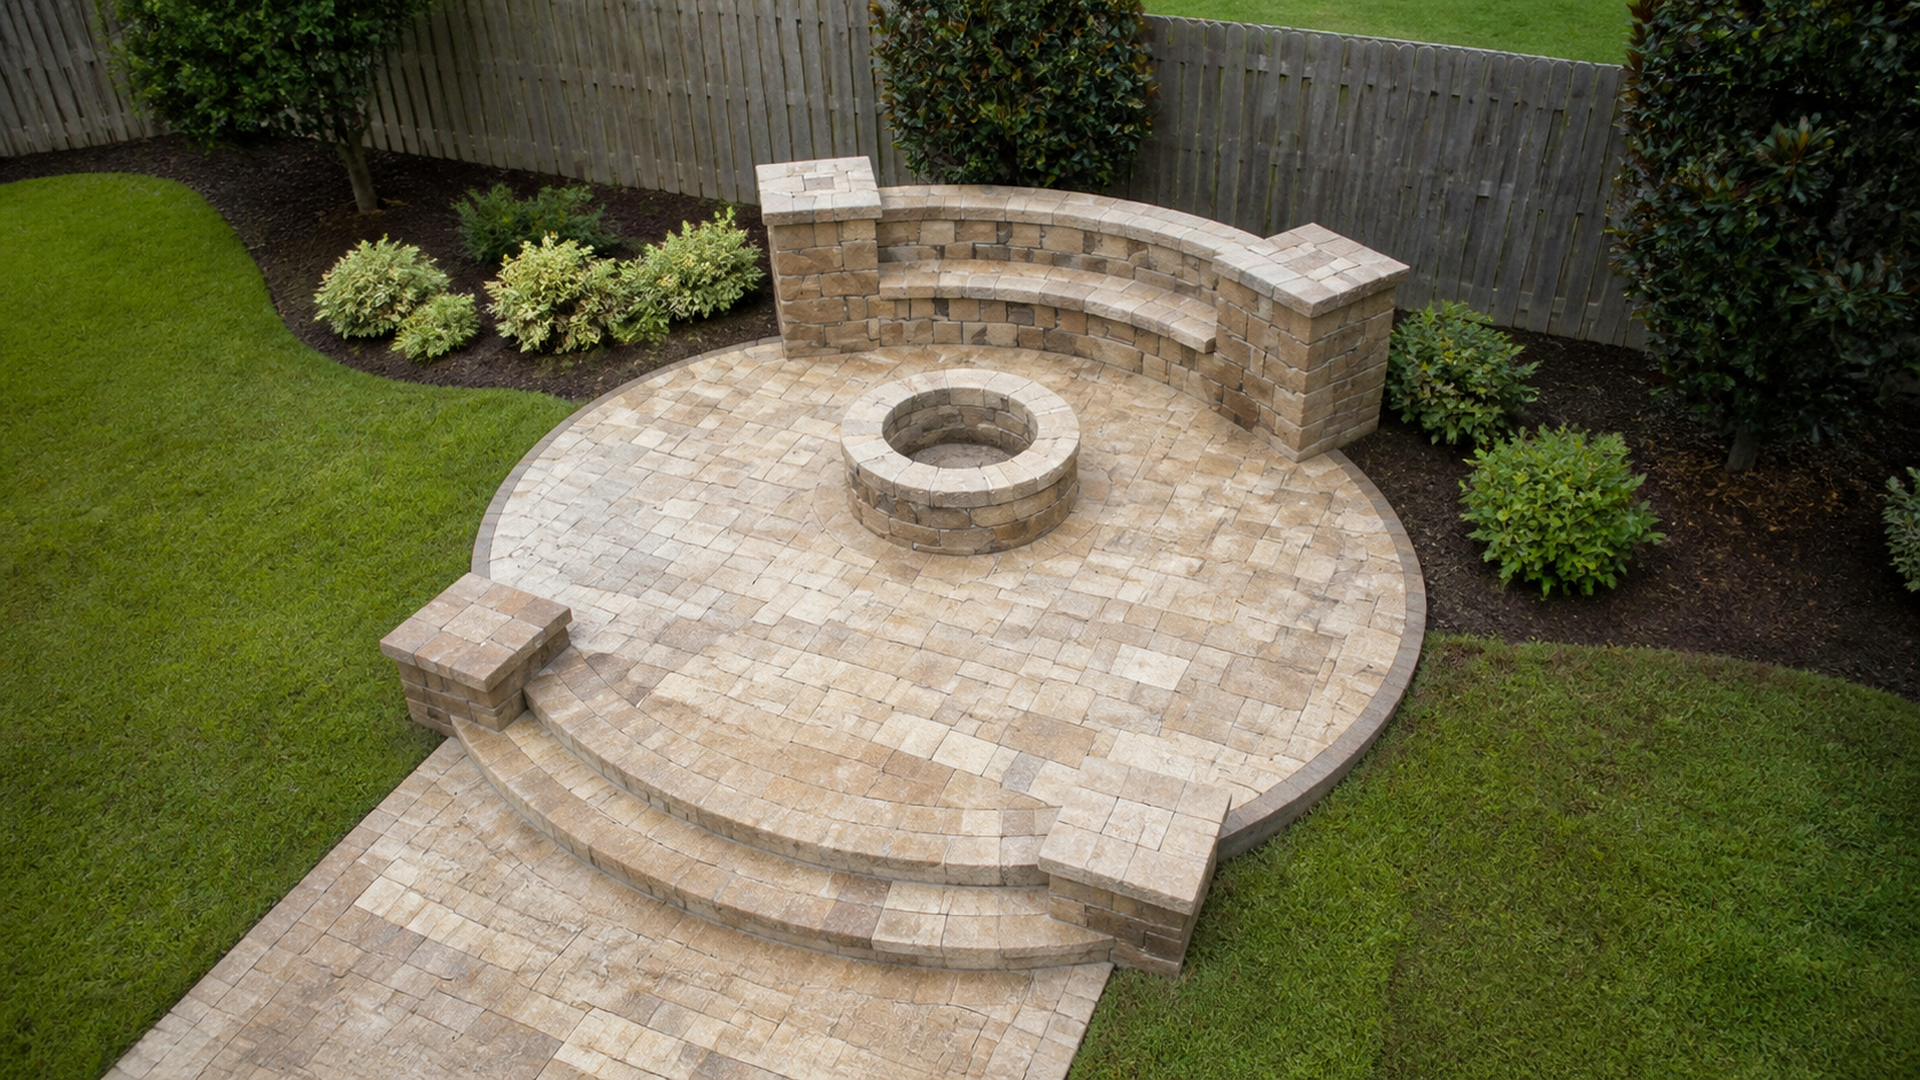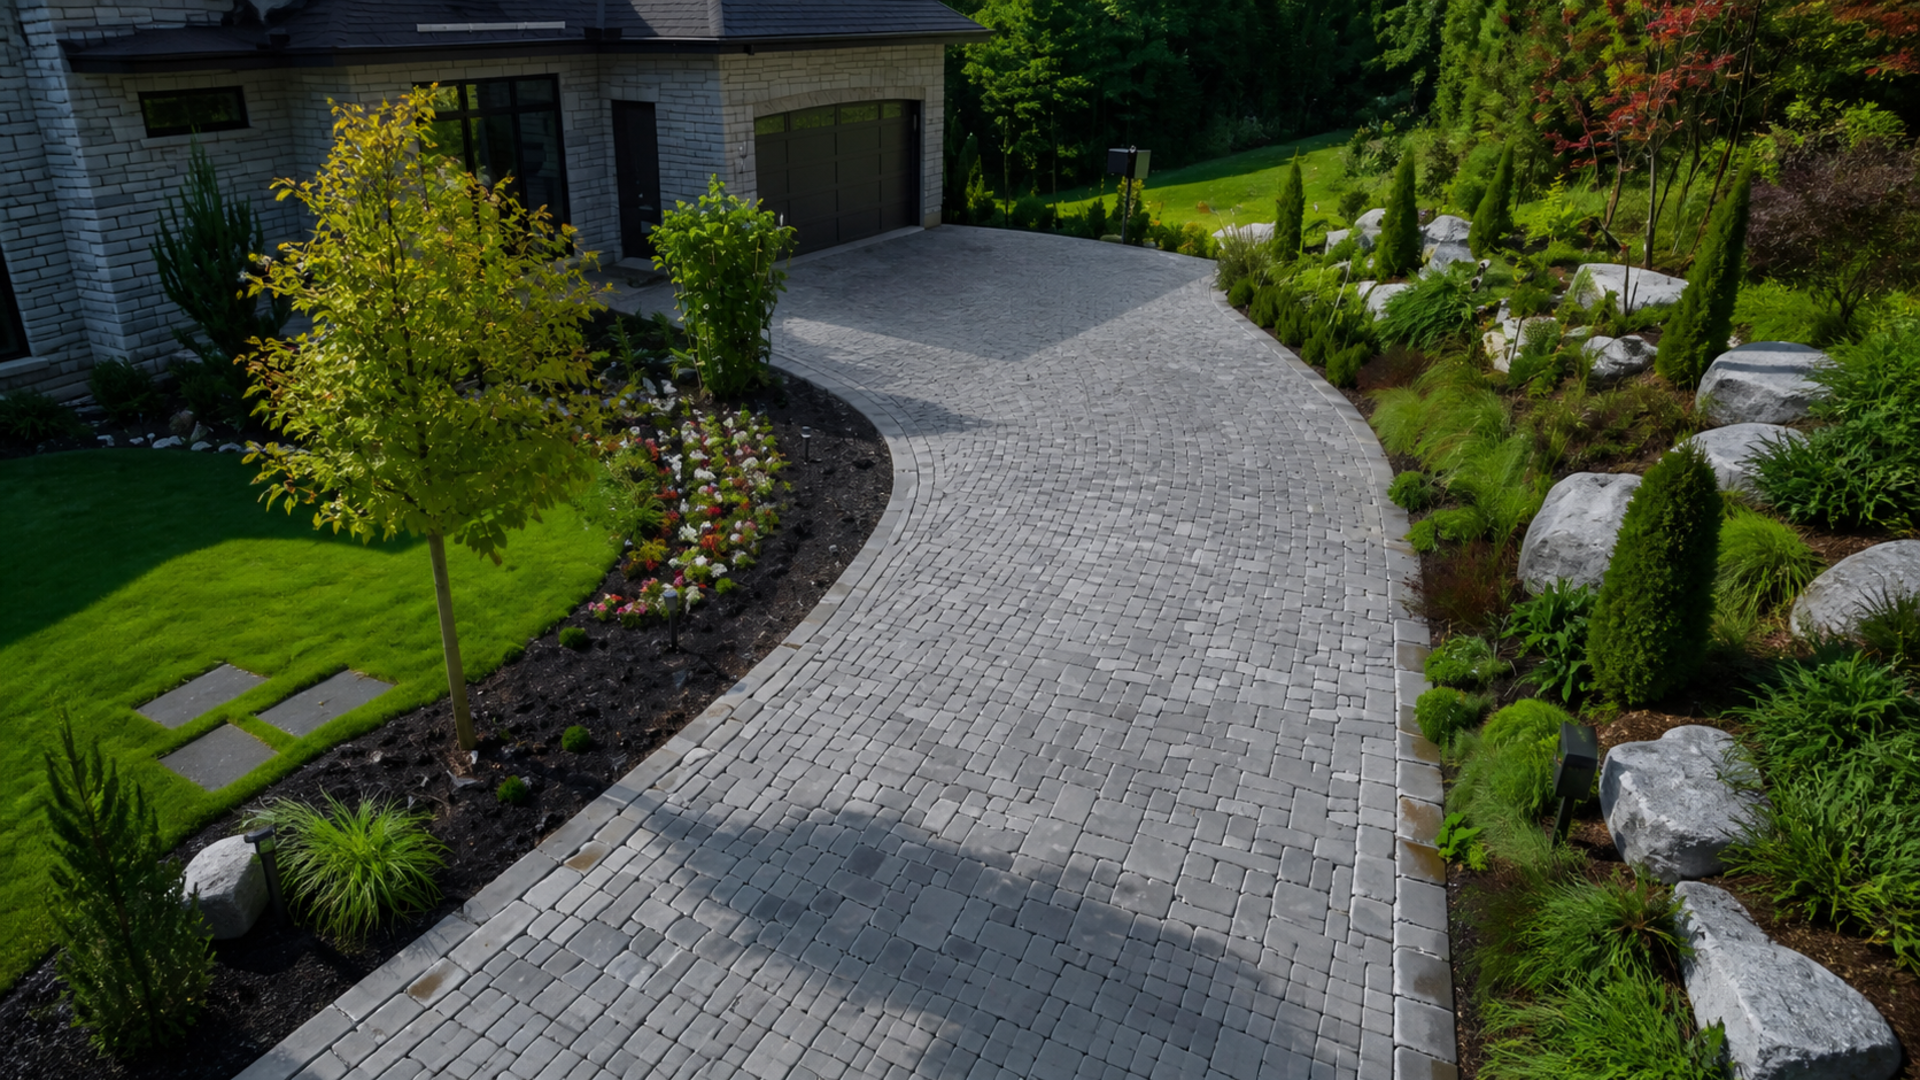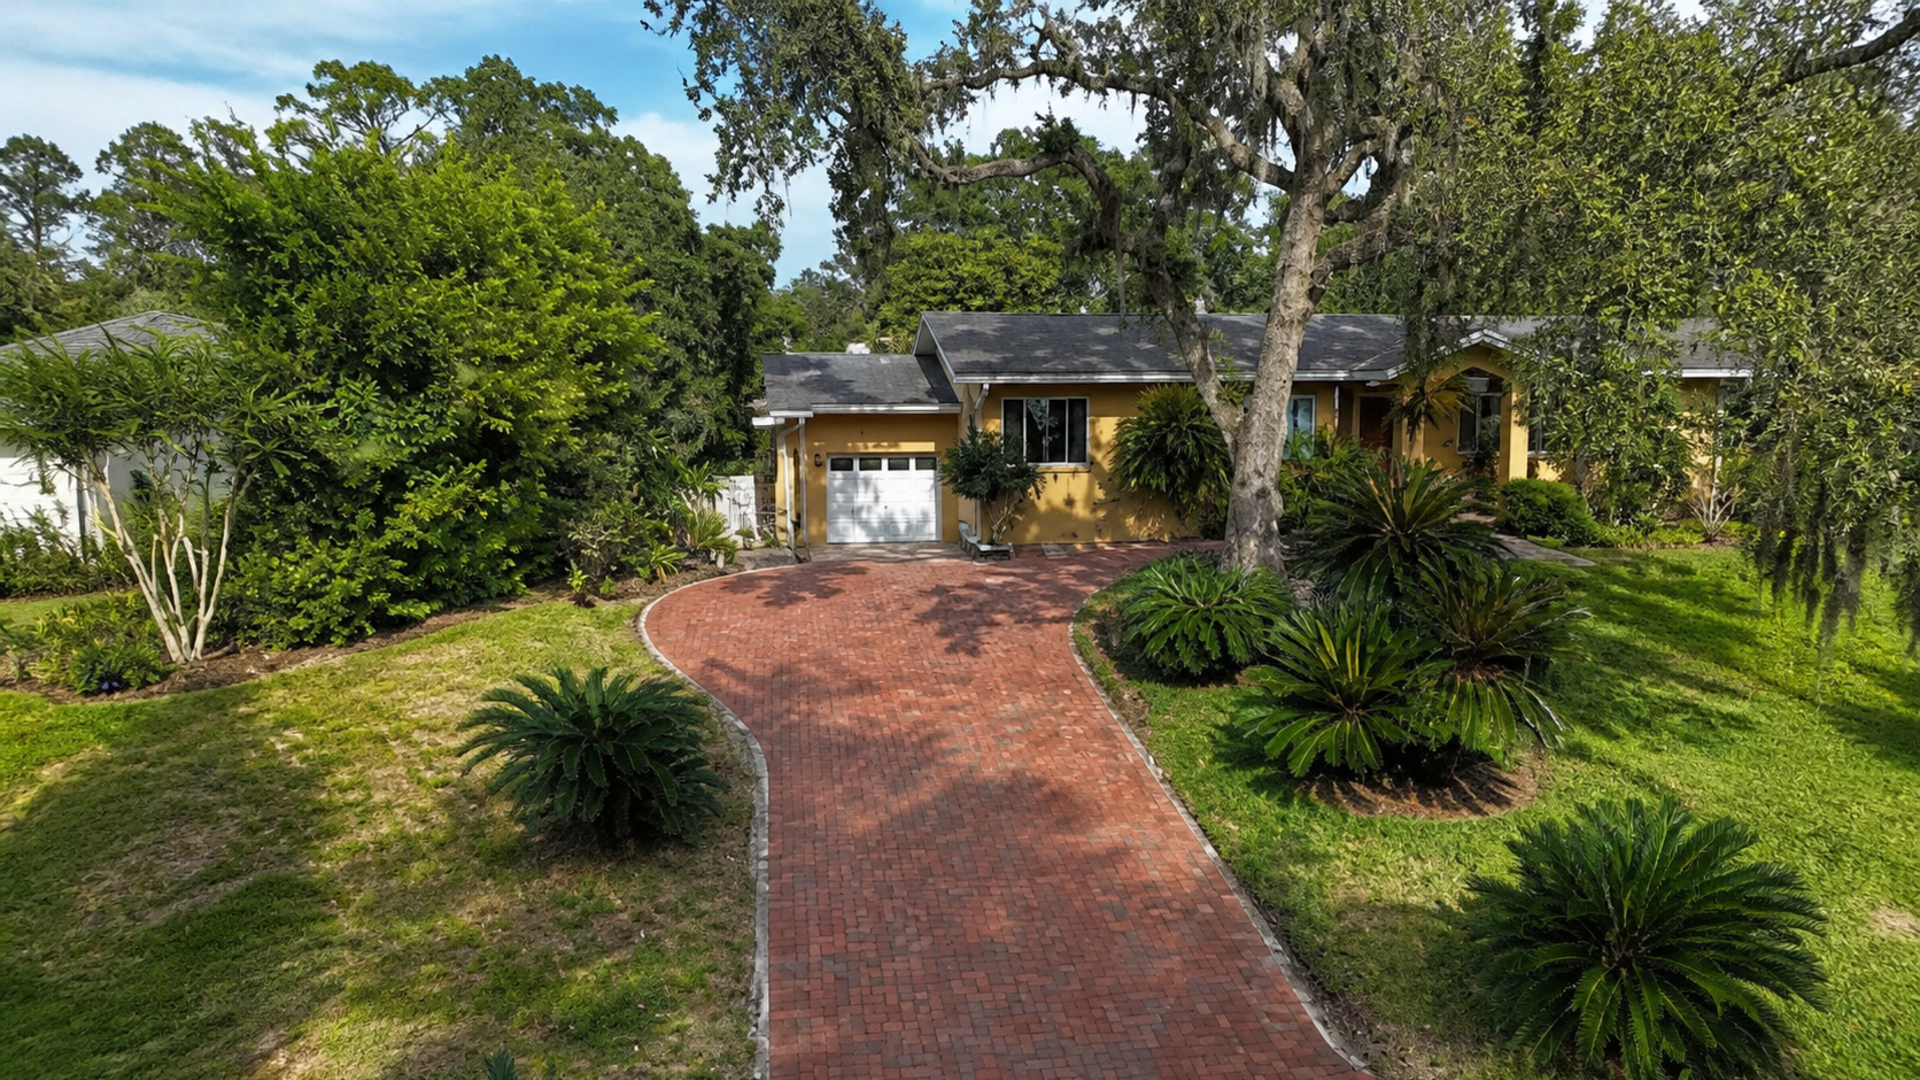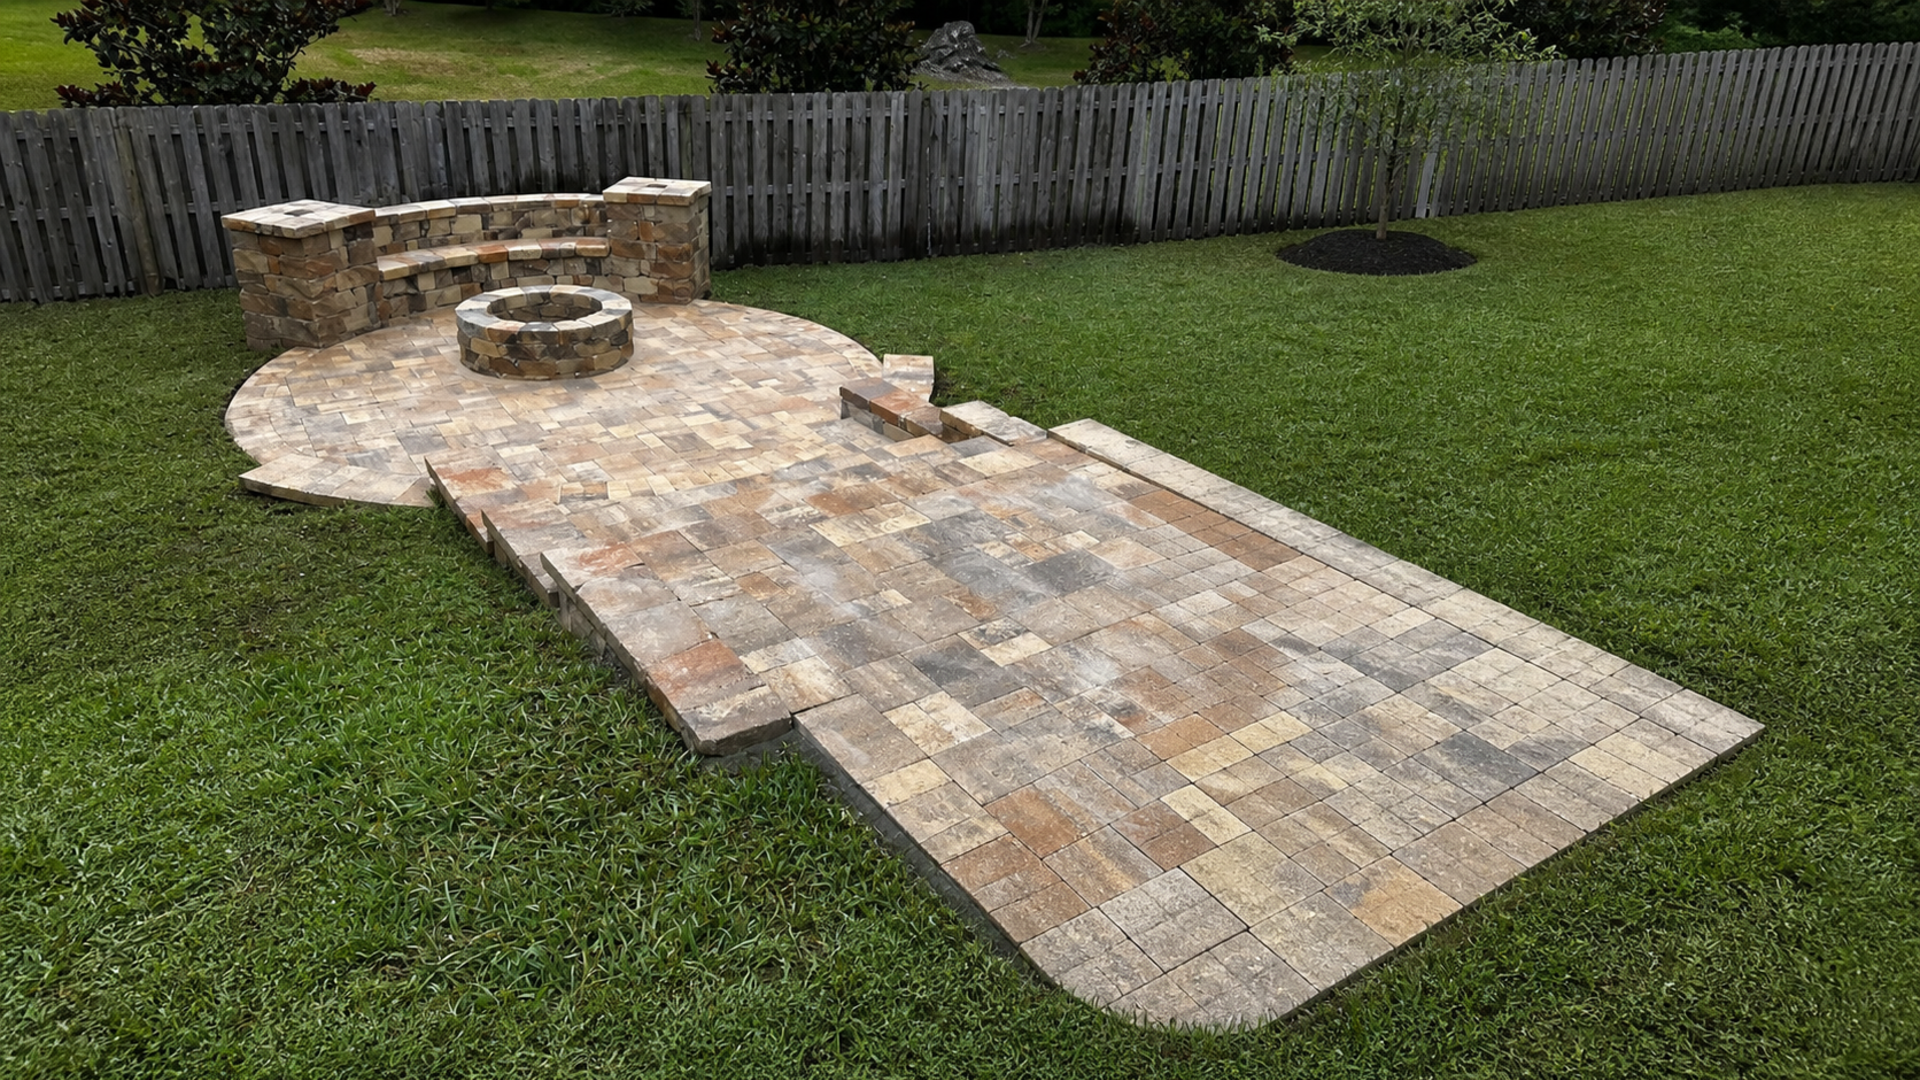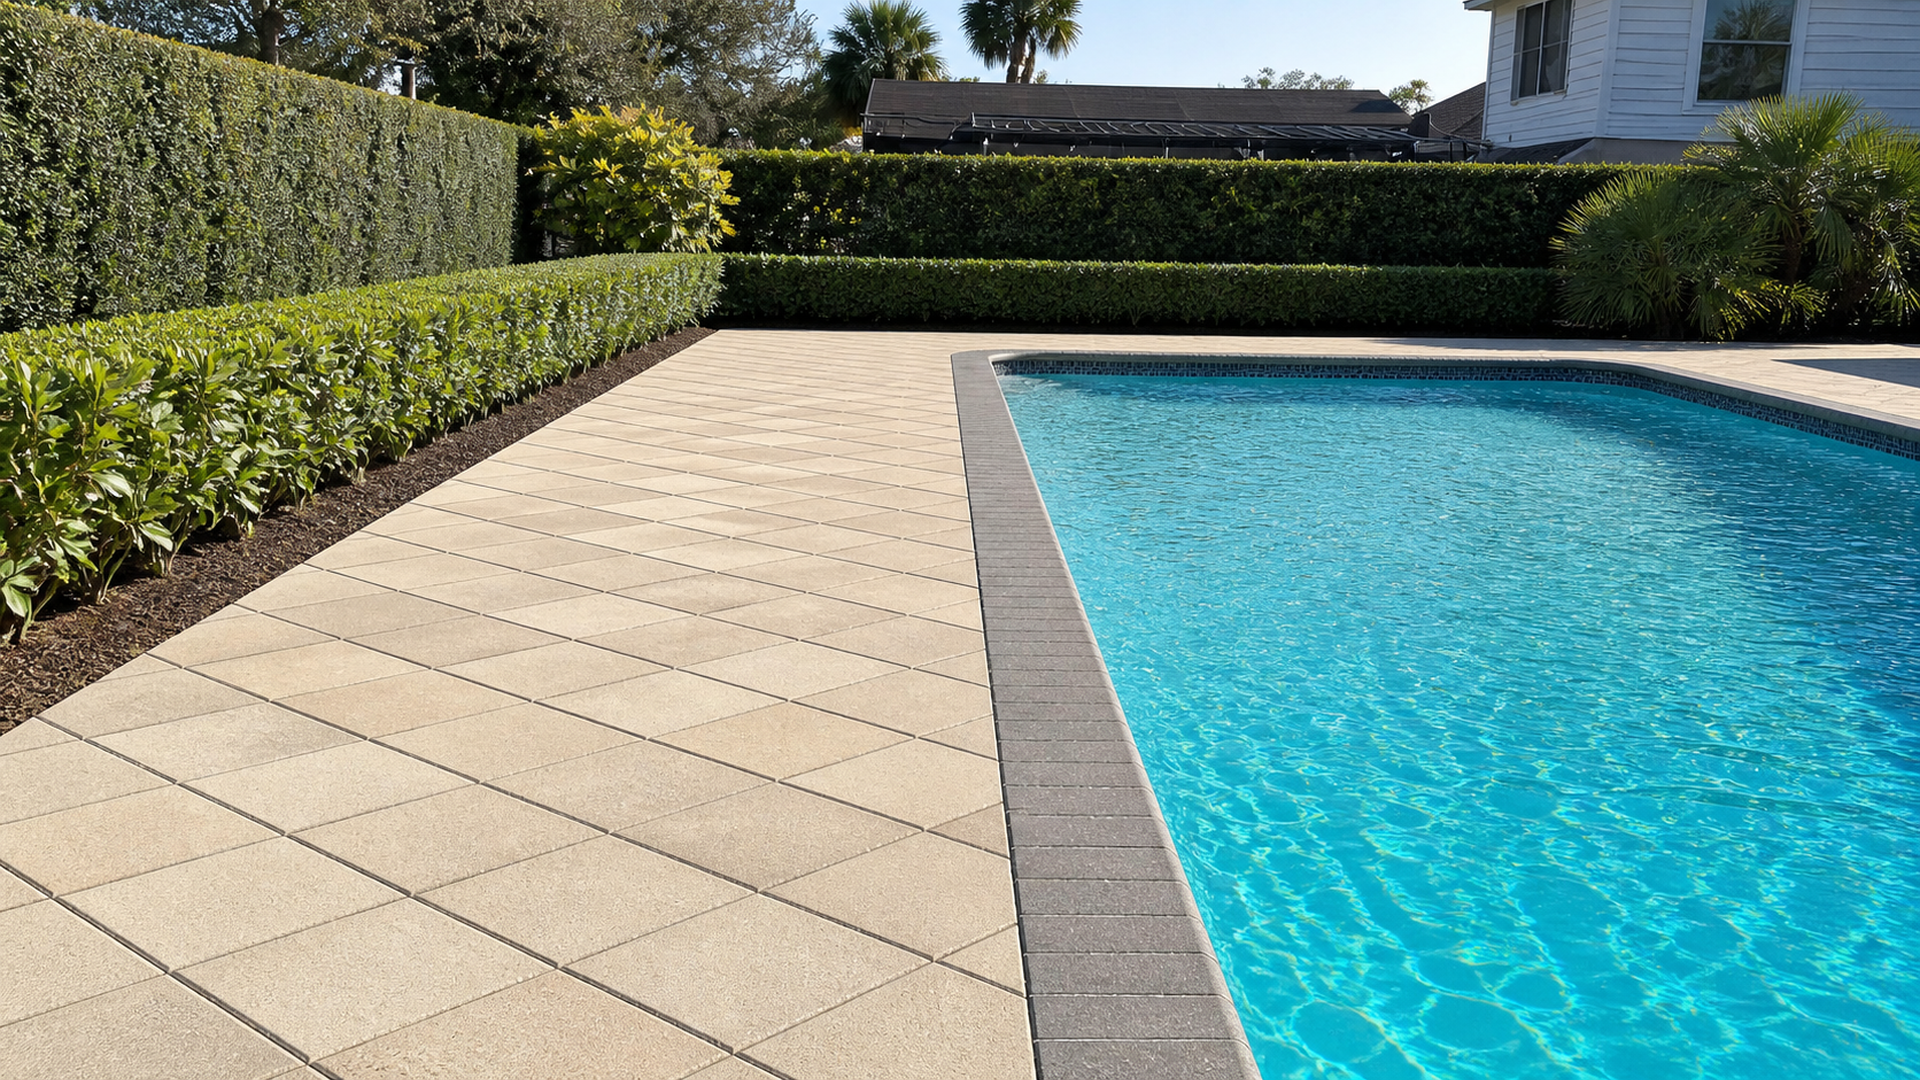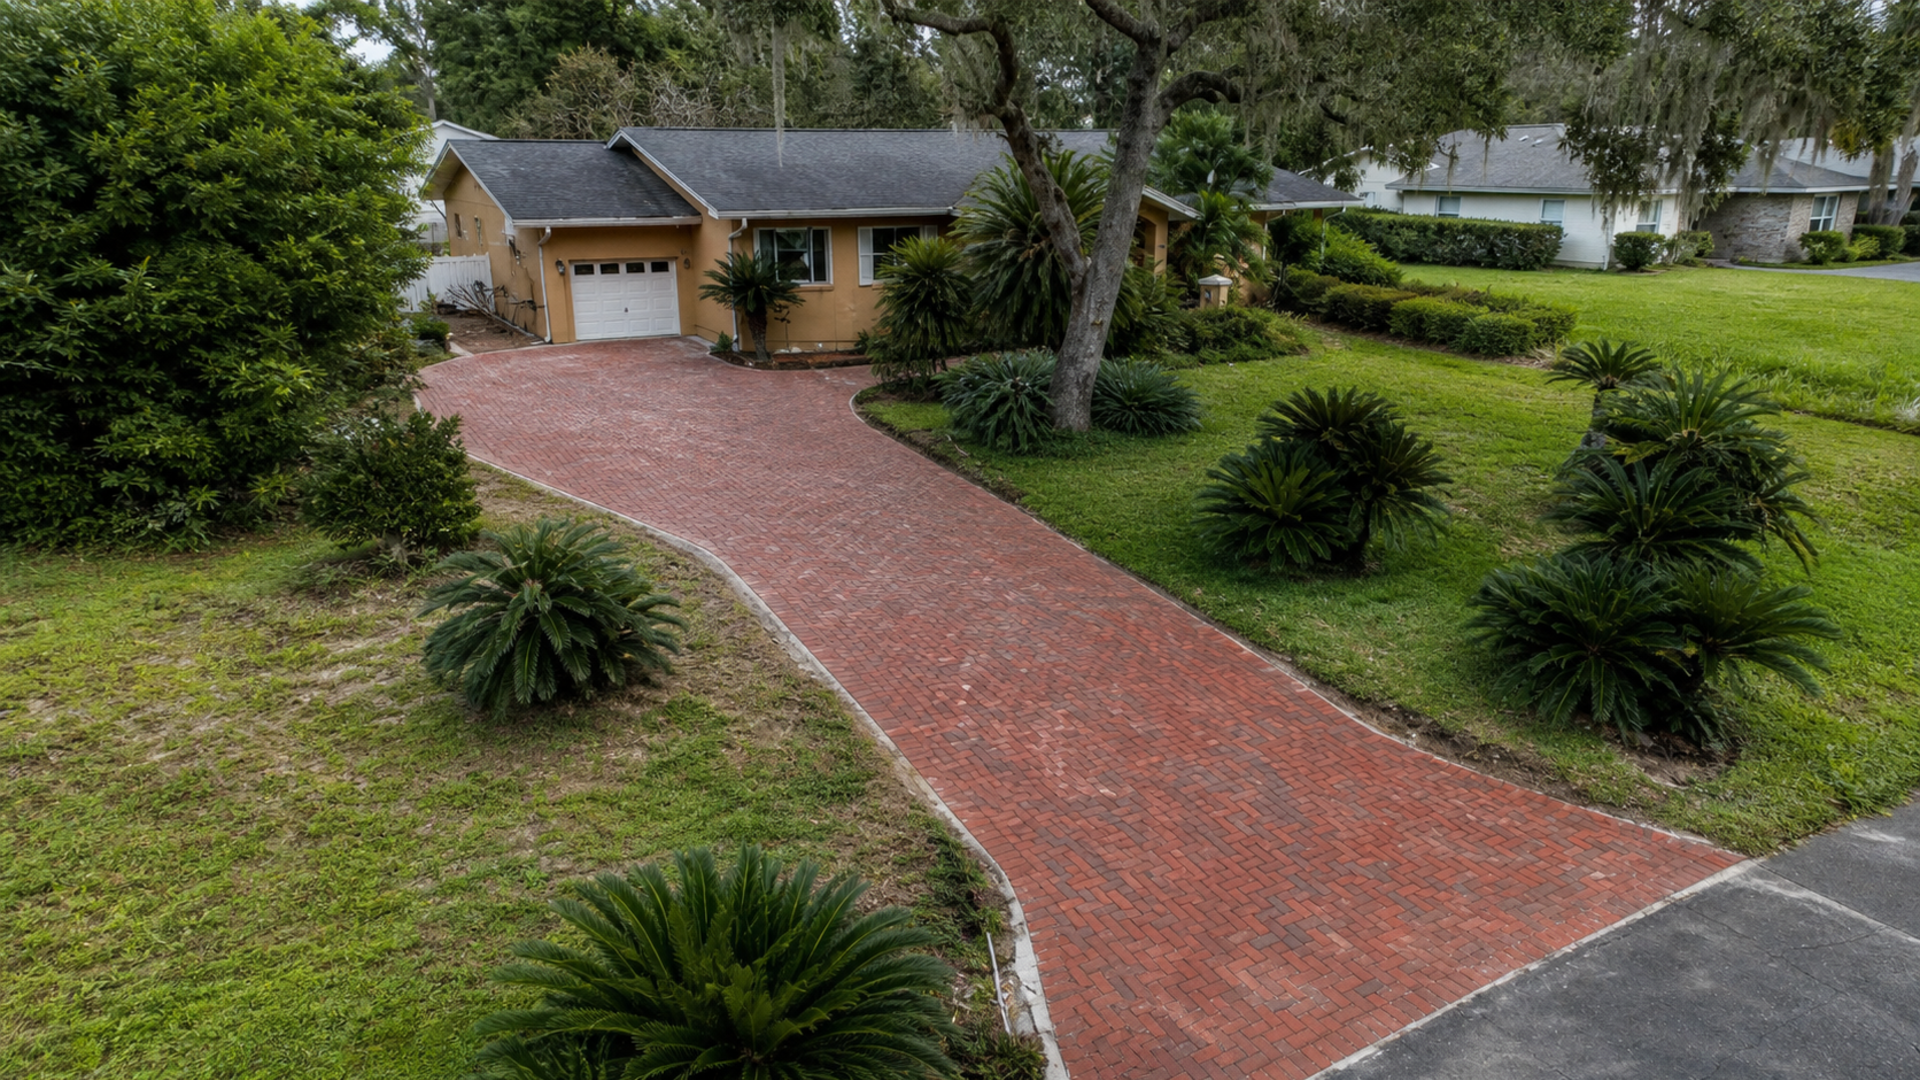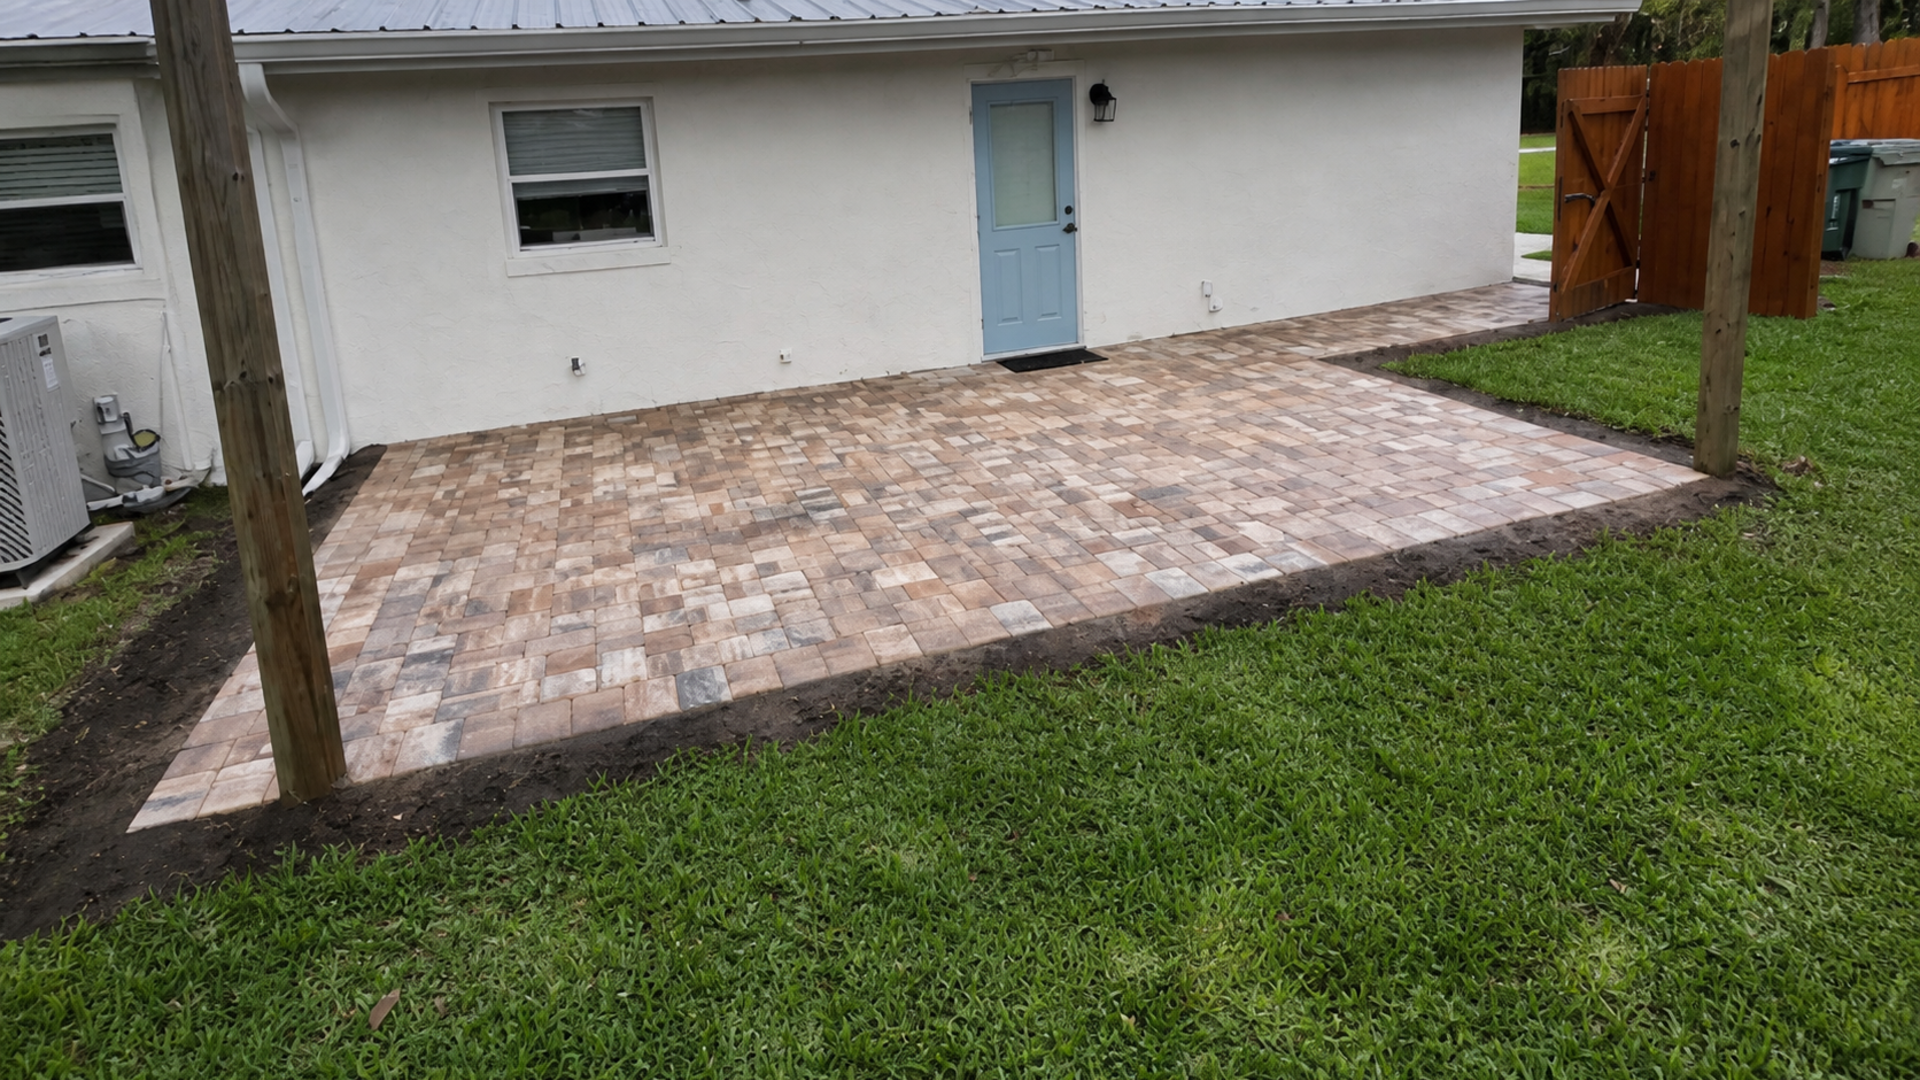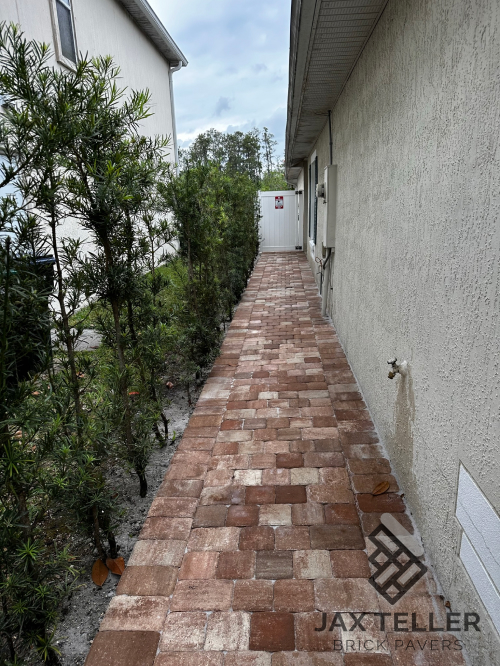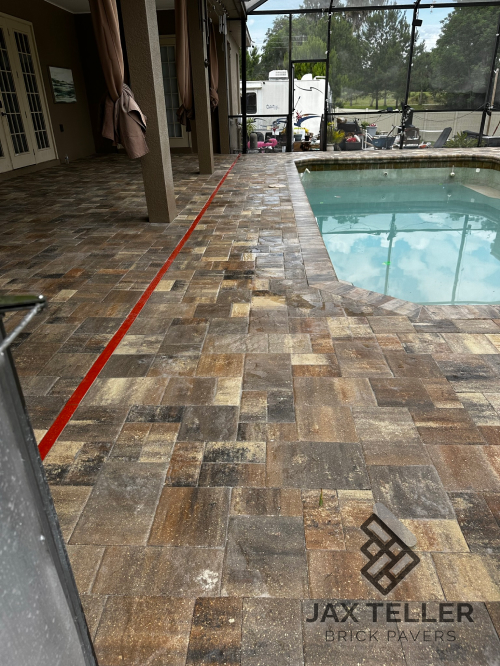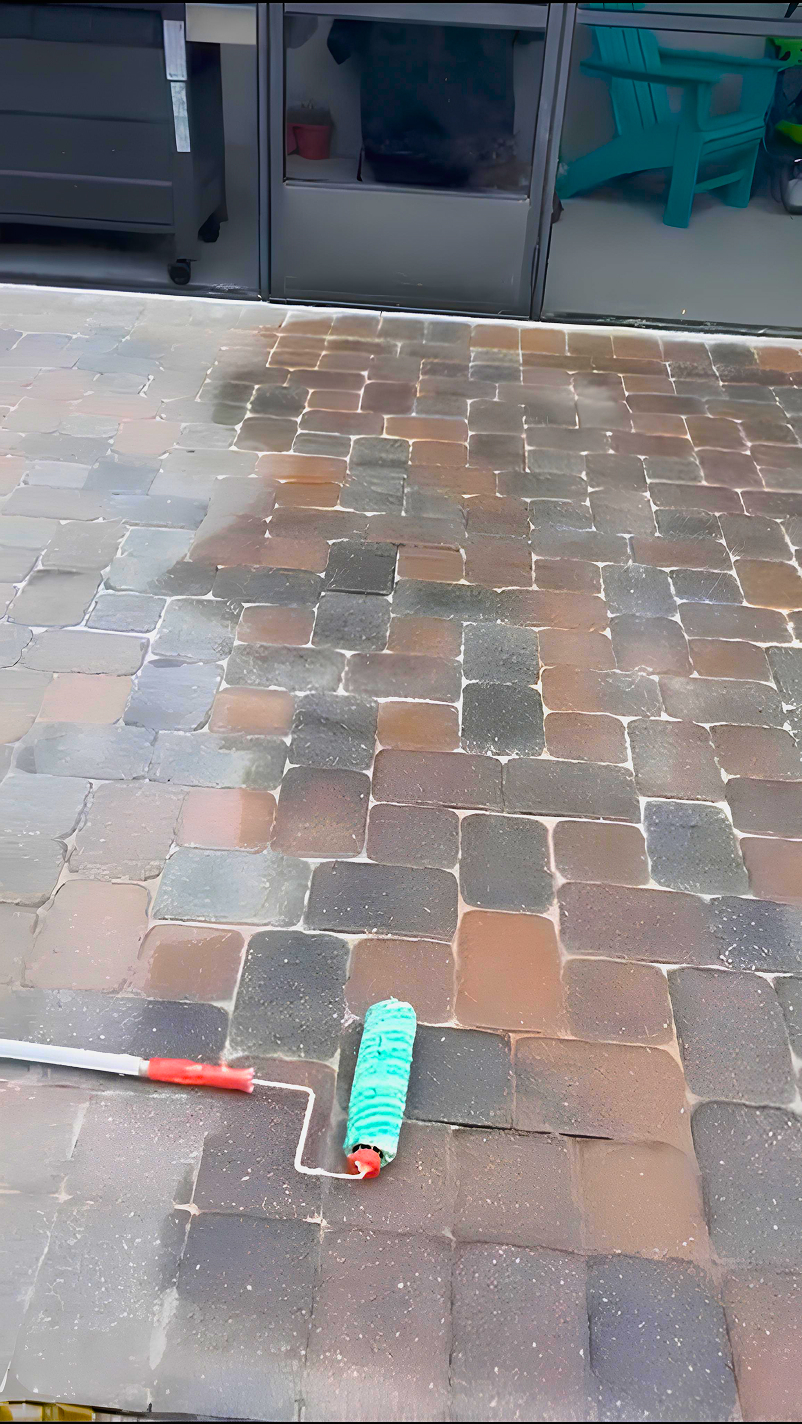

Storm ready pavers Florida planning begins with what a homeowner can actually control before severe weather arrives. Specifically, a careful inspection can uncover blocked drainage, loose edge units, settlement, and unsecured outdoor objects. It cannot make a property flood-proof, but it can reduce avoidable hardscape problems.
Because hurricane season can bring heavy rain and strong wind, preparation should cover the entire route water and people use. Therefore, look beyond the center of a patio or driveway. Inlets, edges, downspout outlets, tree zones, thresholds, and discharge points often reveal more than the broad surface.
What storm ready pavers Florida homeowners can prepare
First, separate hardscape readiness from whole-property emergency planning. Pavers form only one part of the site. Roof drainage, yard grades, municipal systems, nearby water, and soil also influence storm behavior. As a result, a sound paver area may receive more water than the property can discharge. Extreme events can exceed the wider site’s capacity.
Nevertheless, homeowners can improve visibility and access before conditions deteriorate. An open drain is easier to evaluate than one buried under leaves. A secured chair cannot scrape across the patio. Likewise, an early repair is safer to schedule than emergency work as a storm approaches.
Use a boundary-to-boundary inspection
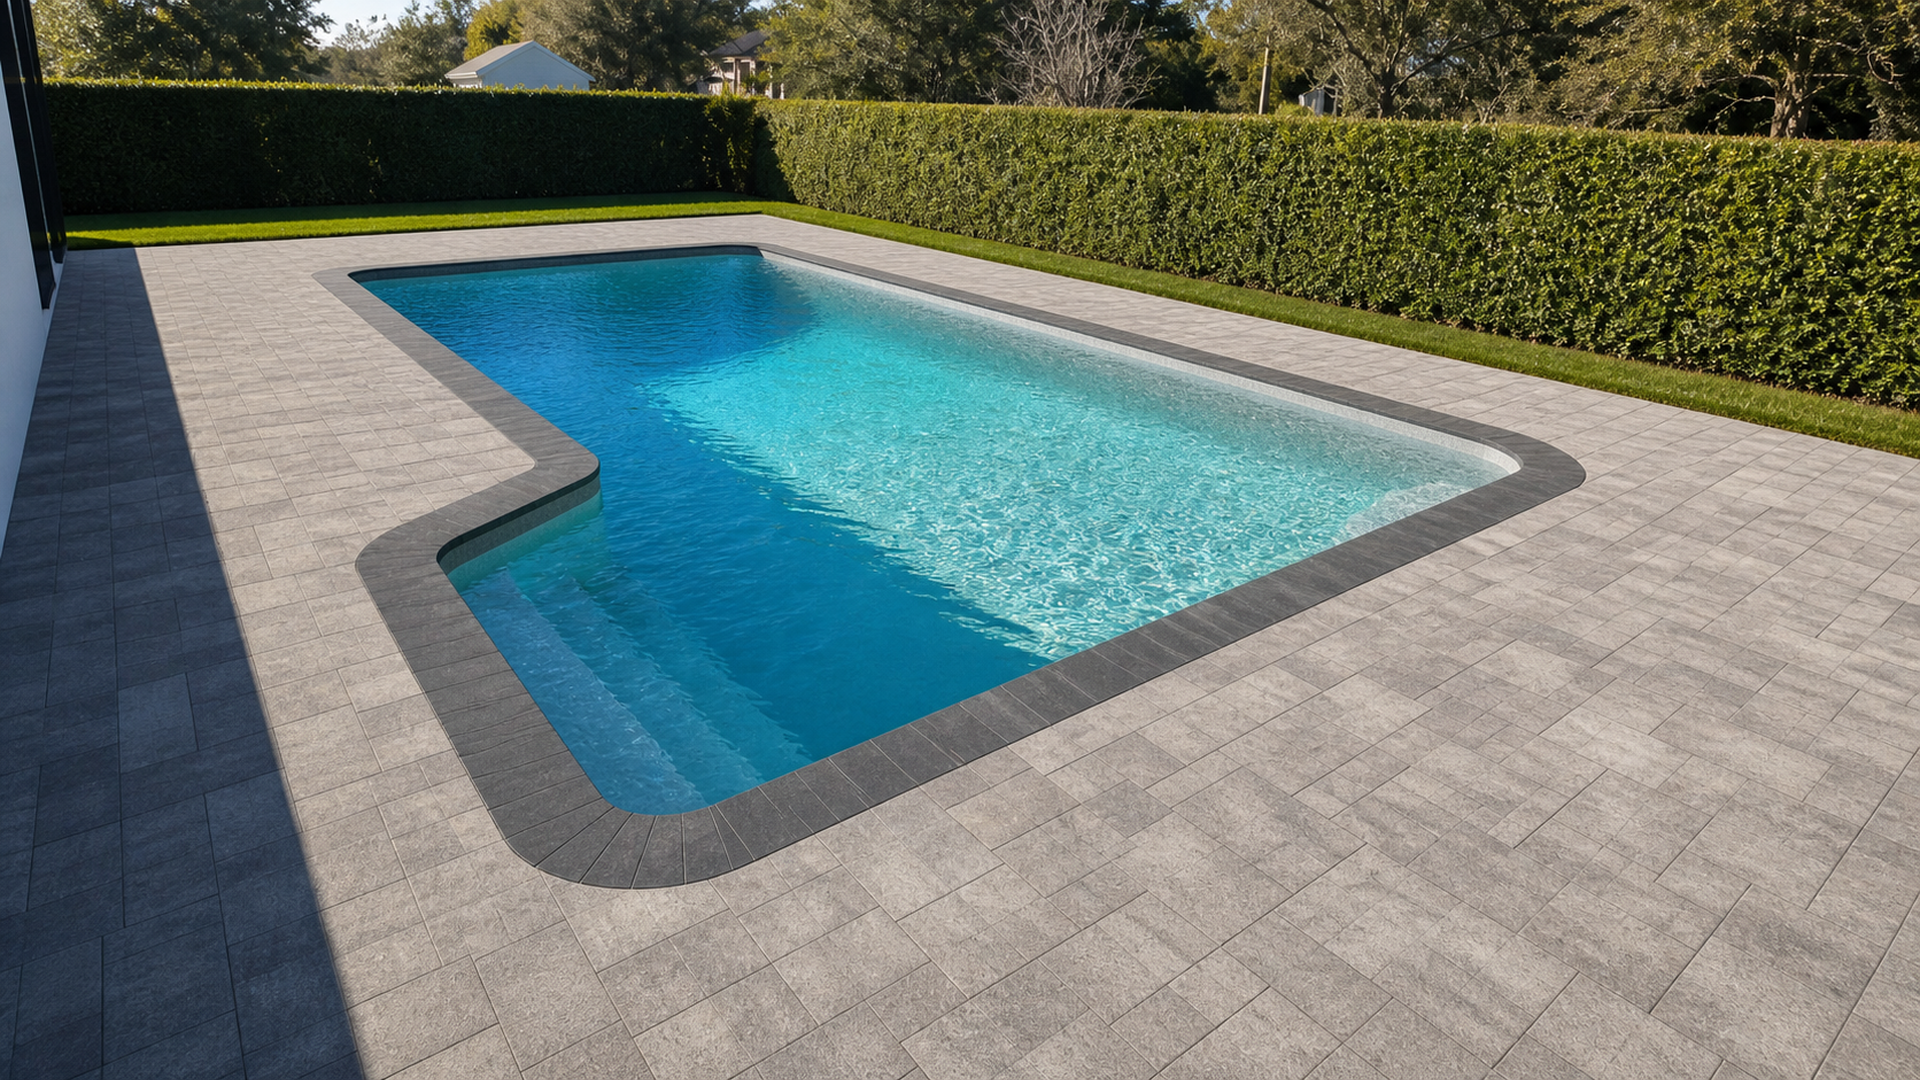
Begin where the hardscape meets the house, garage, pool, street, lawn, and planting beds. At each boundary, note the direction water should travel and any obstacle in that route. Then inspect the surface between those points. This method follows function instead of simply hunting for cosmetic flaws.
In addition, walk the property after an ordinary rain when it is safe. Small puddles, sediment fans, displaced mulch, and dark flow lines can indicate how water moves. However, never enter standing or moving floodwater to inspect a surface, and do not perform outdoor checks during dangerous weather.
Clear the complete drainage route
A clean inlet is only the beginning of a working route. For example, a channel drain can appear open while its outlet is buried, crushed, or blocked downstream. Therefore, preparation should trace water from the collection point to a lawful, functional discharge location without redirecting it onto a neighboring property or vulnerable building area.
Similarly, examine where roof downspouts release water. Concentrated roof flow can cross a walkway, erode a landscape edge, or overwhelm a low patio corner. Because of this, hardscape observations should be shared with the appropriate drainage or roofing professional when the source sits outside the paver system.
Inspect inlets without altering the designed grade
Remove leaves, seed pods, mulch, and loose debris from accessible grates before a storm watch turns preparation into a rush. Meanwhile, avoid digging around a drain or lowering surrounding pavers casually. The surface geometry guides water, so an unplanned change can create a new low spot or weaken support beside the inlet.
Furthermore, note broken grates, rocking frames, or gaps where bedding material appears to be escaping. Those symptoms deserve professional evaluation because replacing a grate may not address movement below it. A photo taken in dry conditions gives the contractor a useful starting point.
Watch for sediment that tells a story
Sediment on pavers may arrive from bare soil, an eroding edge, construction, or a joint. Consequently, do not sweep away the evidence before noting its source and direction. A repeated fan-shaped deposit often points toward the path that needs attention.
After documenting it, clear loose material so it does not enter a drain. However, avoid pressure washing debris into an inlet or across the pool deck. Controlled collection protects downstream components and makes the cleaned surface easier to monitor during the next normal rainfall.
Check edges, joints, and settled areas before heavy rain
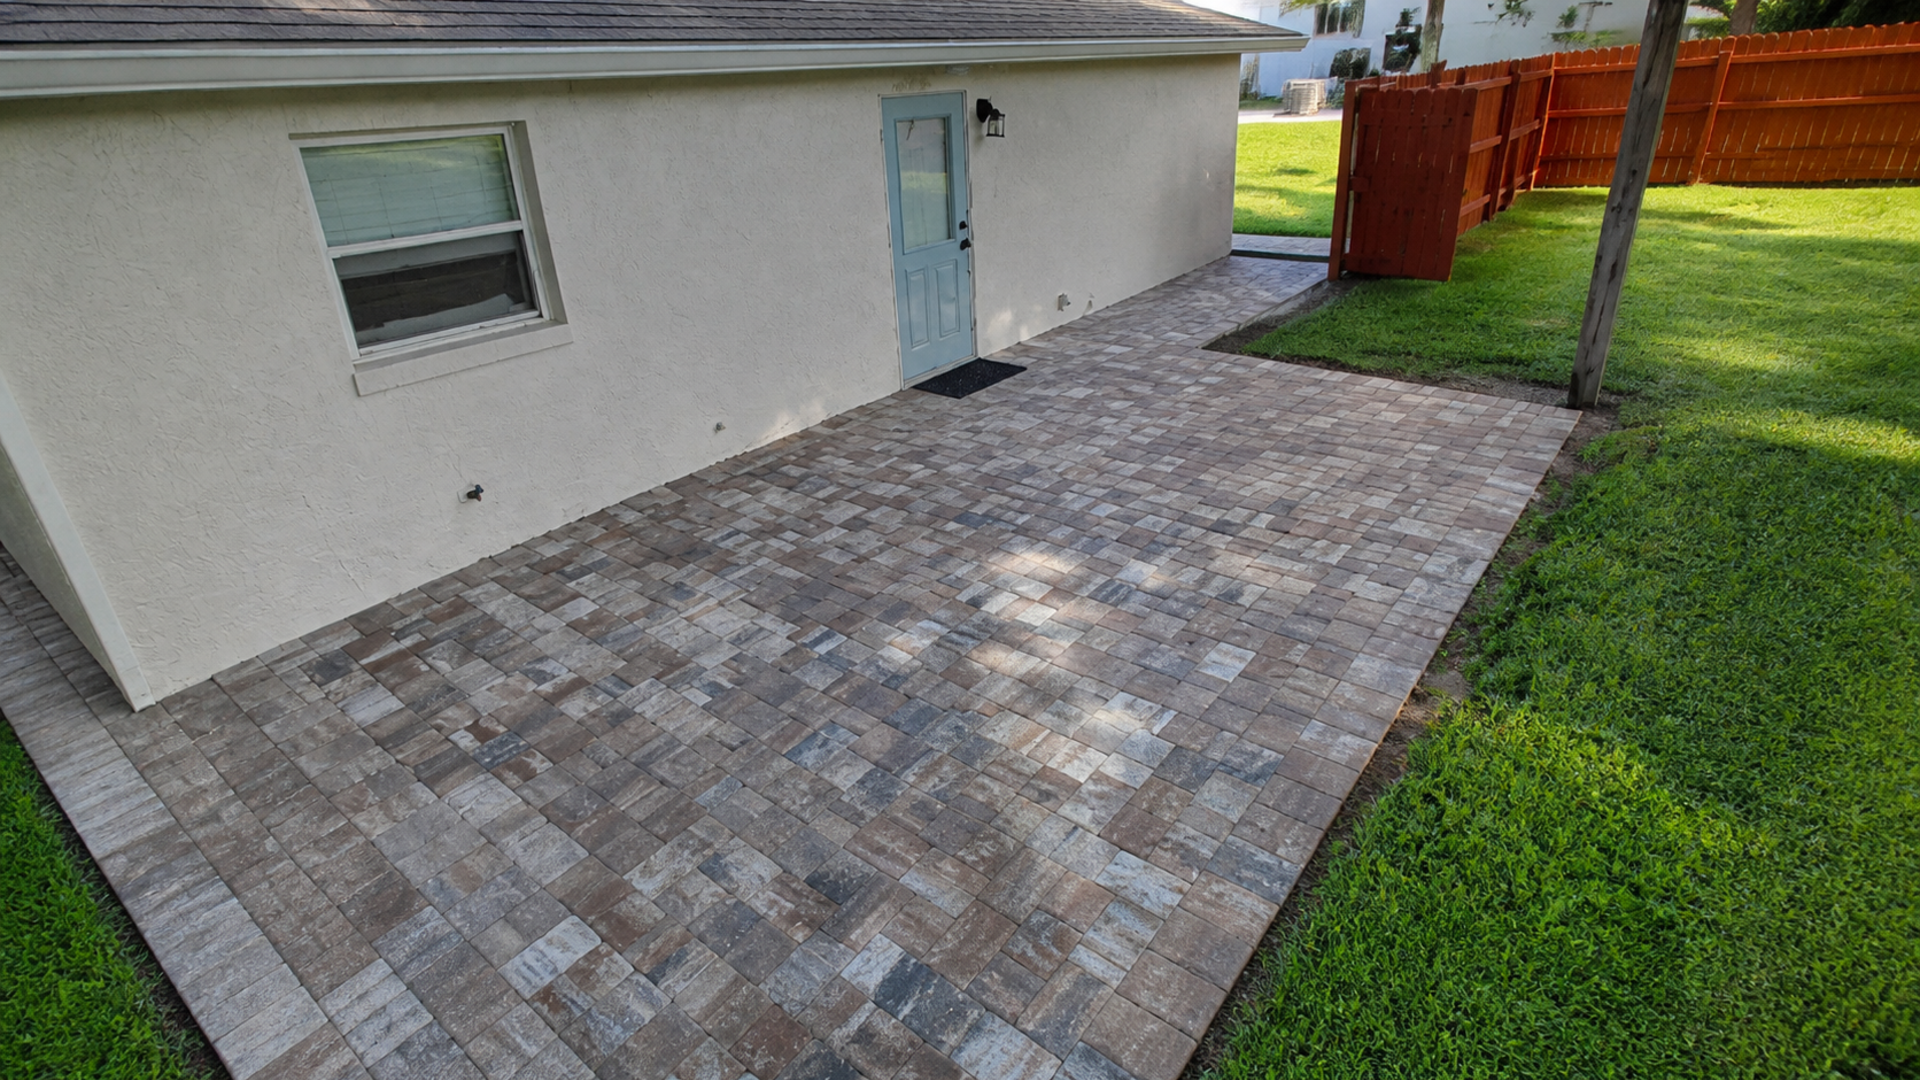
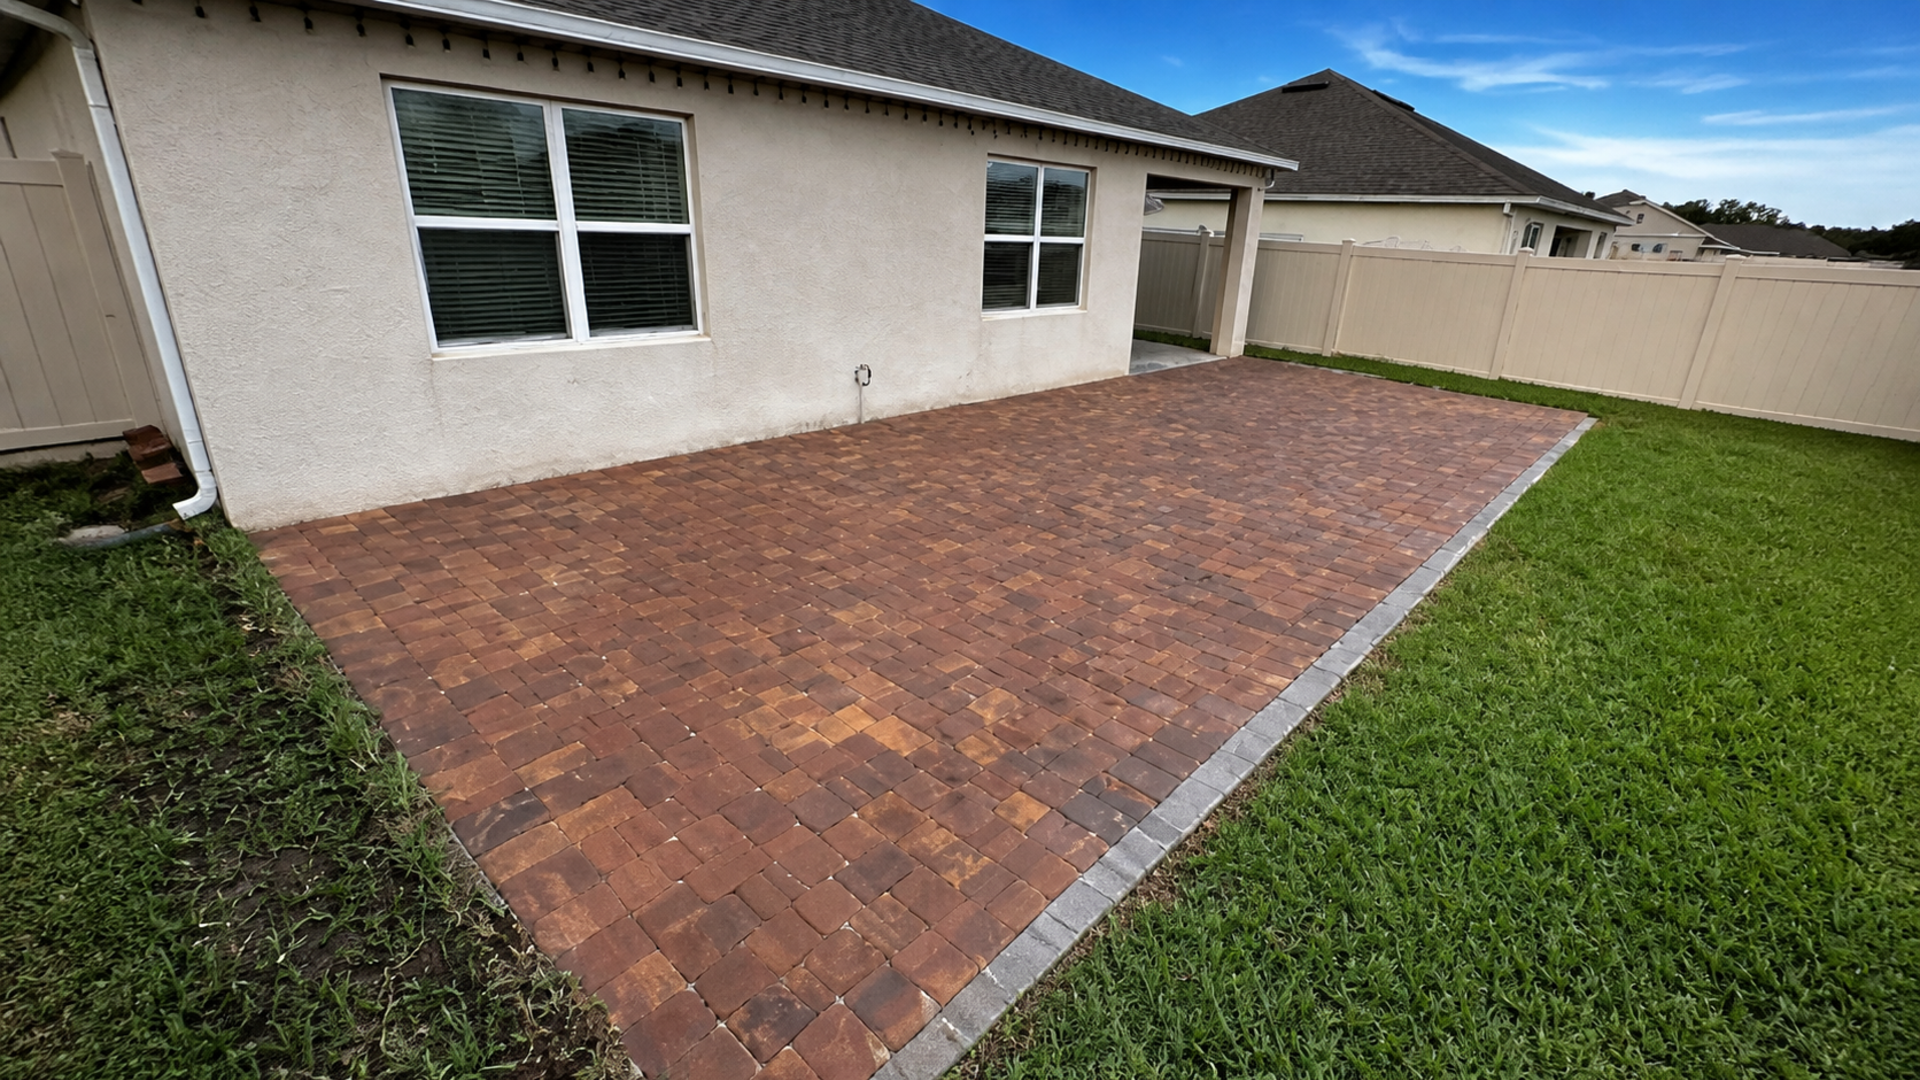
Edge restraints help keep the field aligned where pavers meet softer ground. If an edge has moved, units may spread, joints may open, and bedding can become exposed. Therefore, walk the perimeter and look for outward rotation, gaps, undermined soil, or a line of stones that no longer follows the original geometry.
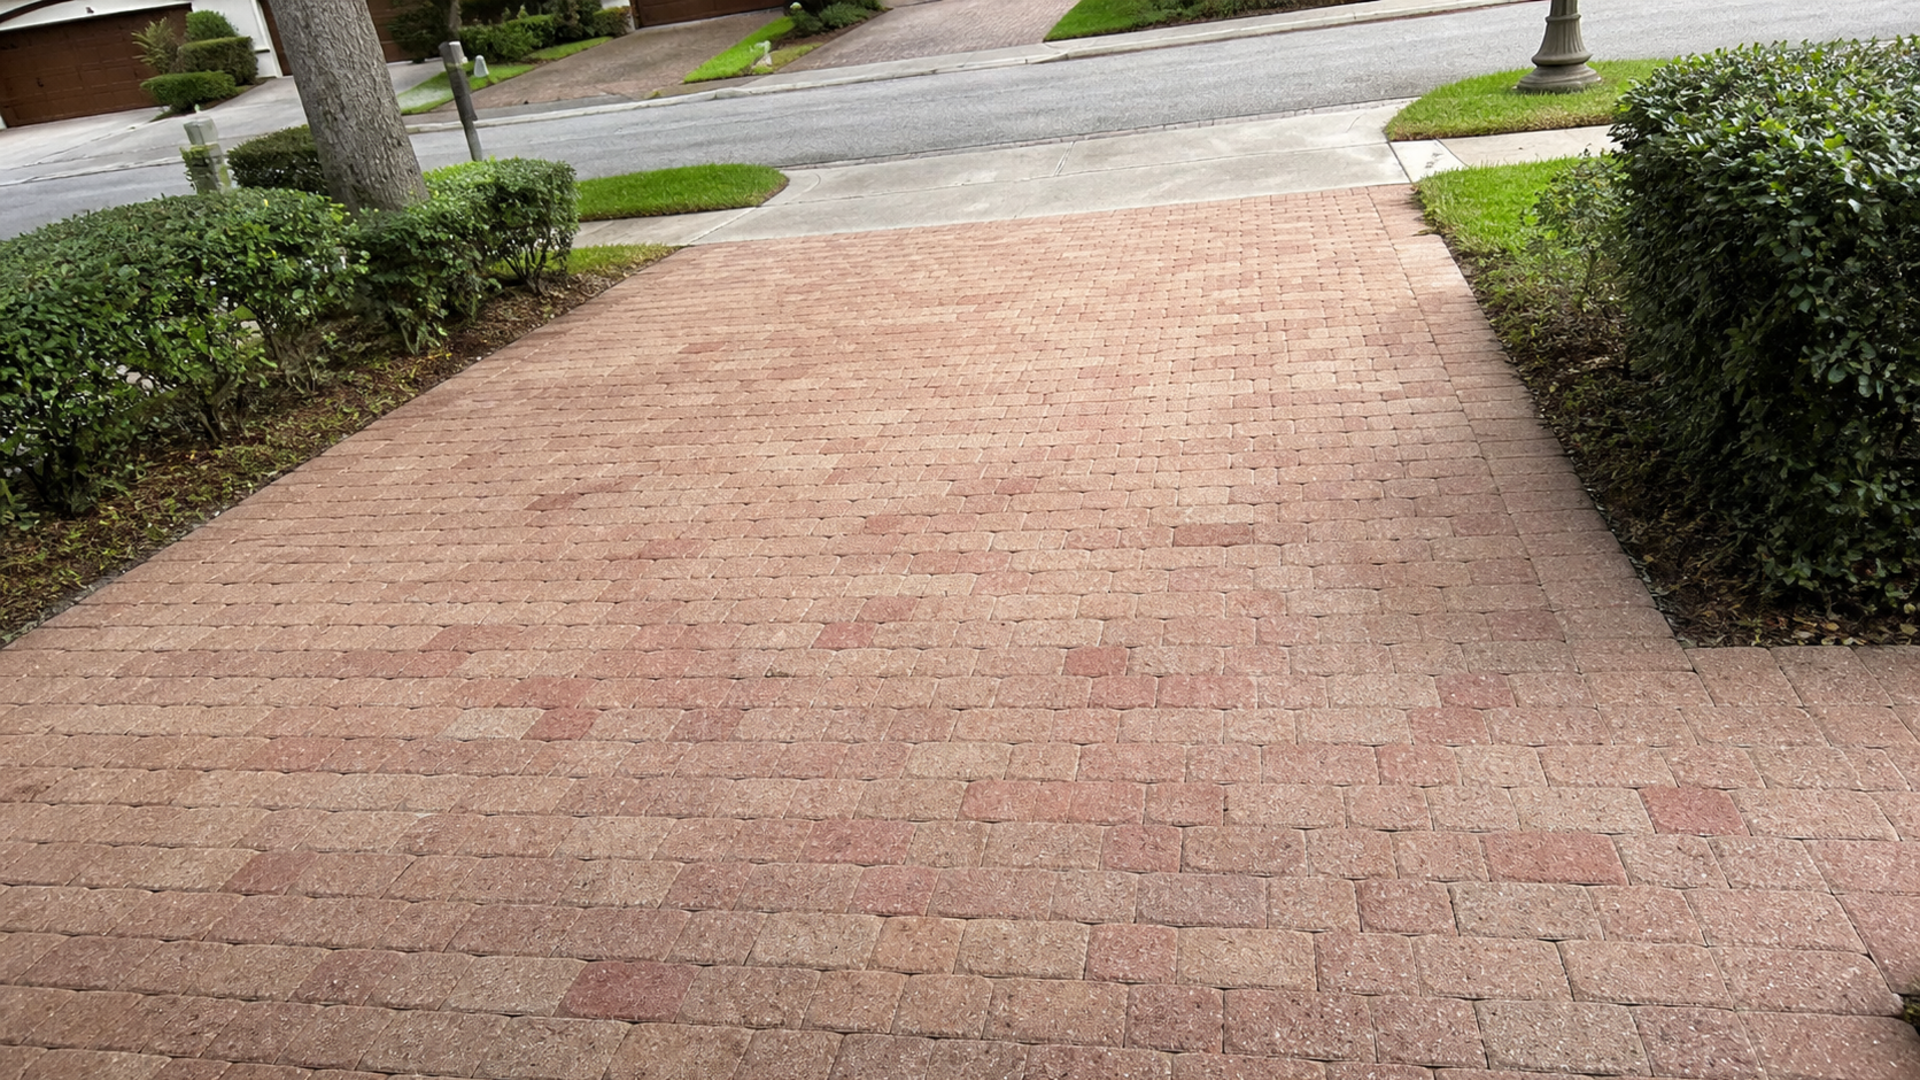
Within the field, identify rocking units, abrupt height differences, and depressions. These are not merely appearance issues. In particular, a low area can hold water. A raised corner can also become harder to see during rain or a power outage. Mark concerns in photographs instead of using loose objects that could become windborne.
Do not fill a low spot from the top
Adding sand or patch material over a depression does not restore the support below. Instead, a proper repair requires lifting affected units and identifying the cause. The crew then rebuilds support and restores the intended grade. The scope may expand if weak material continues beyond the visible low point.
Because timing matters, schedule that work early in the season when possible. A contractor may need dry conditions to evaluate the base and complete the repair correctly. Last-minute cosmetic work can conceal evidence without making the area more reliable.
Look closely at tree-root zones
Roots can lift pavers, alter drainage, and disturb edges, yet cutting them can damage a tree. Therefore, significant root conflicts require coordination with a qualified arborist and hardscape professional. The goal is to evaluate both the living tree and the walking or driving surface rather than sacrificing one through guesswork.
Moreover, watch for new soil cracks, leaning trees, or exposed roots near hardscape after prolonged rain. Those signs extend beyond paver maintenance. For safety, keep people away and contact the appropriate tree professional if stability is uncertain.
Remove or secure items that wind can move
A well-prepared patio surface can still be damaged by a loose umbrella base, planter, grill accessory, or decorative object. Before severe weather, follow local emergency guidance and move portable items into an appropriate secure location. In addition, do not rely on weight alone when a product’s manufacturer calls for a different storage or anchoring method.
Planters deserve special attention because saturated soil adds weight and overflowing pots can release sediment across the paving. Nevertheless, dragging heavy containers may scratch units or injure the person moving them. Use safe handling methods and get help well before urgent conditions develop.
Keep access routes clear
Do not stack stored furniture in a walkway, at a gate, or beside a door that may serve as an exit. Instead, preserve a direct route for household members and emergency access. This is especially important when darkness, rain, mobility needs, children, or pets could make navigation more difficult.
Likewise, confirm that temporary shutters, cords, or storage arrangements do not create a trip hazard over pavers. A calm daytime walkthrough can identify conflicts that become much harder to manage during a power loss. Adjust the storage plan before the weather changes.
A practical pre-season hardscape checklist
- House edge: Confirm that visible surface flow leads away from vulnerable thresholds and wall transitions.
- Drain route: Clear accessible inlets and verify that the downstream outlet is not obviously blocked.
- Low areas: Photograph ponding, settlement, rocking units, and abrupt height changes.
- Perimeter: Check edge restraints, exposed bedding, erosion, and displaced border units.
- Roof water: Observe downspout and valley discharge during a safe, ordinary rain.
- Landscape: Remove loose debris and note mulch, soil, or roots affecting the paving.
- Outdoor items: Secure or store furniture, umbrellas, planters, tools, and grill accessories safely.
- Access: Keep doors, gates, walkways, and utility areas clear.
- Records: Save dated photos so post-storm changes are easier to compare.
For broader hurricane readiness, follow official local instructions and review Ready.gov hurricane guidance. In particular, emergency alerts, evacuation decisions, supplies, and personal safety take priority over hardscape inspection. A paver checklist should support that plan, never distract from it.
What to do after the storm
After authorities indicate conditions are safe, begin with a visual survey from stable ground. Watch for downed lines, standing water, damaged trees, sharp debris, washouts, and displaced structures. If any hazard appears, stop and contact the responsible utility, emergency service, or qualified professional before approaching the pavers.
Once the area is safe, compare it with the pre-storm photos. New sediment, joint loss, edge movement, dips, or lifted units can reveal where water or roots affected the system. As a result, a contractor receives a clearer account than a description made from memory.
Prioritize function before appearance
First, address conditions that affect access, drainage, or stable footing. Color differences and scattered stains can wait until the surface is safe and the water route has been evaluated. Otherwise, cleaning may erase clues or direct water into a damaged edge.
For sunken areas, loose borders, or storm movement, JaxTeller’s paver repair and installation service can assess the condition. The team can then discuss a targeted scope. Therefore, share both before-and-after photos and identify where water entered and exited the hardscape.
Storm ready pavers Florida post-event record
- Record the date and approximate conditions without entering unsafe areas.
- Photograph the full driveway, patio, and walkway before close details.
- Mark new ponding, sediment, edge movement, and uneven units on a simple sketch.
- Note blocked drains or outlets, but clear them only when conditions are safe.
- Separate urgent access hazards from repairs that can be evaluated later.
- Keep receipts, contractor findings, and completed repair photos with the property file.
Create a seasonal observation log
A single inspection shows current conditions, while a simple log reveals change. At the start of the wet season, photograph the same wide views of the driveway, patio, walkways, drains, and boundaries. Then repeat those views after an ordinary safe rainfall and after any event that appears to alter the surface.
Use fixed landmarks to make comparisons meaningful. For example, stand beside the same column or photograph toward the same gate. In addition, include a ruler or another appropriate scale near a gap only when the area is dry and safe. The purpose is documentation, not precise engineering measurement.
Record causes and consequences separately
A puddle is an observed consequence, while a blocked outlet is one possible cause. Therefore, write what you can see before assigning an explanation. Notes such as water remained beside the garage after rain are more useful than an unsupported conclusion that the entire base failed.
Likewise, note whether landscaping, roof discharge, irrigation, or recent excavation changed nearby. This context helps a contractor decide what to inspect, yet it does not replace direct diagnosis. As a result, the first site visit can focus on evidence instead of reconstructing the timeline from memory.
Keep the log with emergency and property records, but do not delay urgent safety action to complete it. If a tree, power line, washout, or unstable structure creates a hazard, stay away and contact the appropriate service. Documentation becomes useful only after personal safety is protected.
Review the log at the same point each year instead of waiting for a warning. In particular, compare repeated low spots, recurring sediment, and edges that need frequent cleanup. A pattern may justify a drainage or base evaluation even when no single storm caused dramatic damage. Early discussion gives the contractor time to investigate under ordinary conditions.
Additionally, note when ordinary maintenance changes the evidence. Fresh mulch, irrigation repairs, drain cleaning, or nearby excavation can alter the next observation. Record those dates briefly. Consequently, a later reviewer can distinguish a storm-related change from work that happened between photographs. This small habit makes the seasonal record more credible.
Frequently asked questions
Can pavers prevent hurricane flooding?
No. Pavers are one component of a larger site, and extreme water can exceed local drainage capacity. Therefore, avoid any contractor or product claim that a paver surface alone will prevent flooding.
Should I pressure wash my patio before a storm?
Routine cleaning is less important than safely collecting loose debris and keeping inlets accessible. Moreover, pressure washing at the wrong angle can disturb joints or push material into drains, so use a suitable method for the actual surface condition.
What if a few pavers rock underfoot?
Document the location and arrange an evaluation before severe weather when time allows. In the meantime, keep people away from an obvious trip hazard rather than attempting a rushed top-side patch.
Can I clear a drain during heavy rain?
Do not enter dangerous weather, moving water, or an electrically hazardous area to perform maintenance. Instead, clear accessible components in advance and wait for official safety guidance after the event.
Why take photos before hurricane season?
Dated photos create a useful baseline for comparing settlement, erosion, edge movement, and drainage evidence. Consequently, contractors and homeowners can discuss observed change with more precision after a storm.
Schedule a calm pre-season walkthrough
Ready to elevate your outdoor space with custom brick pavers? Before severe weather enters the forecast, ask JaxTeller Brick Pavers for a pre-season paver and drainage walkthrough. You can contact the team, review completed projects, and follow current work on Instagram and Facebook.
For direct scheduling, use WhatsApp, call +1 407-907-8308, or email jaxtellerbrickpavers@gmail.com. In addition, find the Largo location on Google Maps. Bring photos of low spots, drains, edges, and past stormwater paths to the visit.
Finally, schedule inspection work while conditions remain calm. Contact JaxTeller Brick Pavers at +1 407-907-8308 or jaxtellerbrickpavers@gmail.com for your free estimate!
Schedule a pre-season paver and drainage walkthrough.