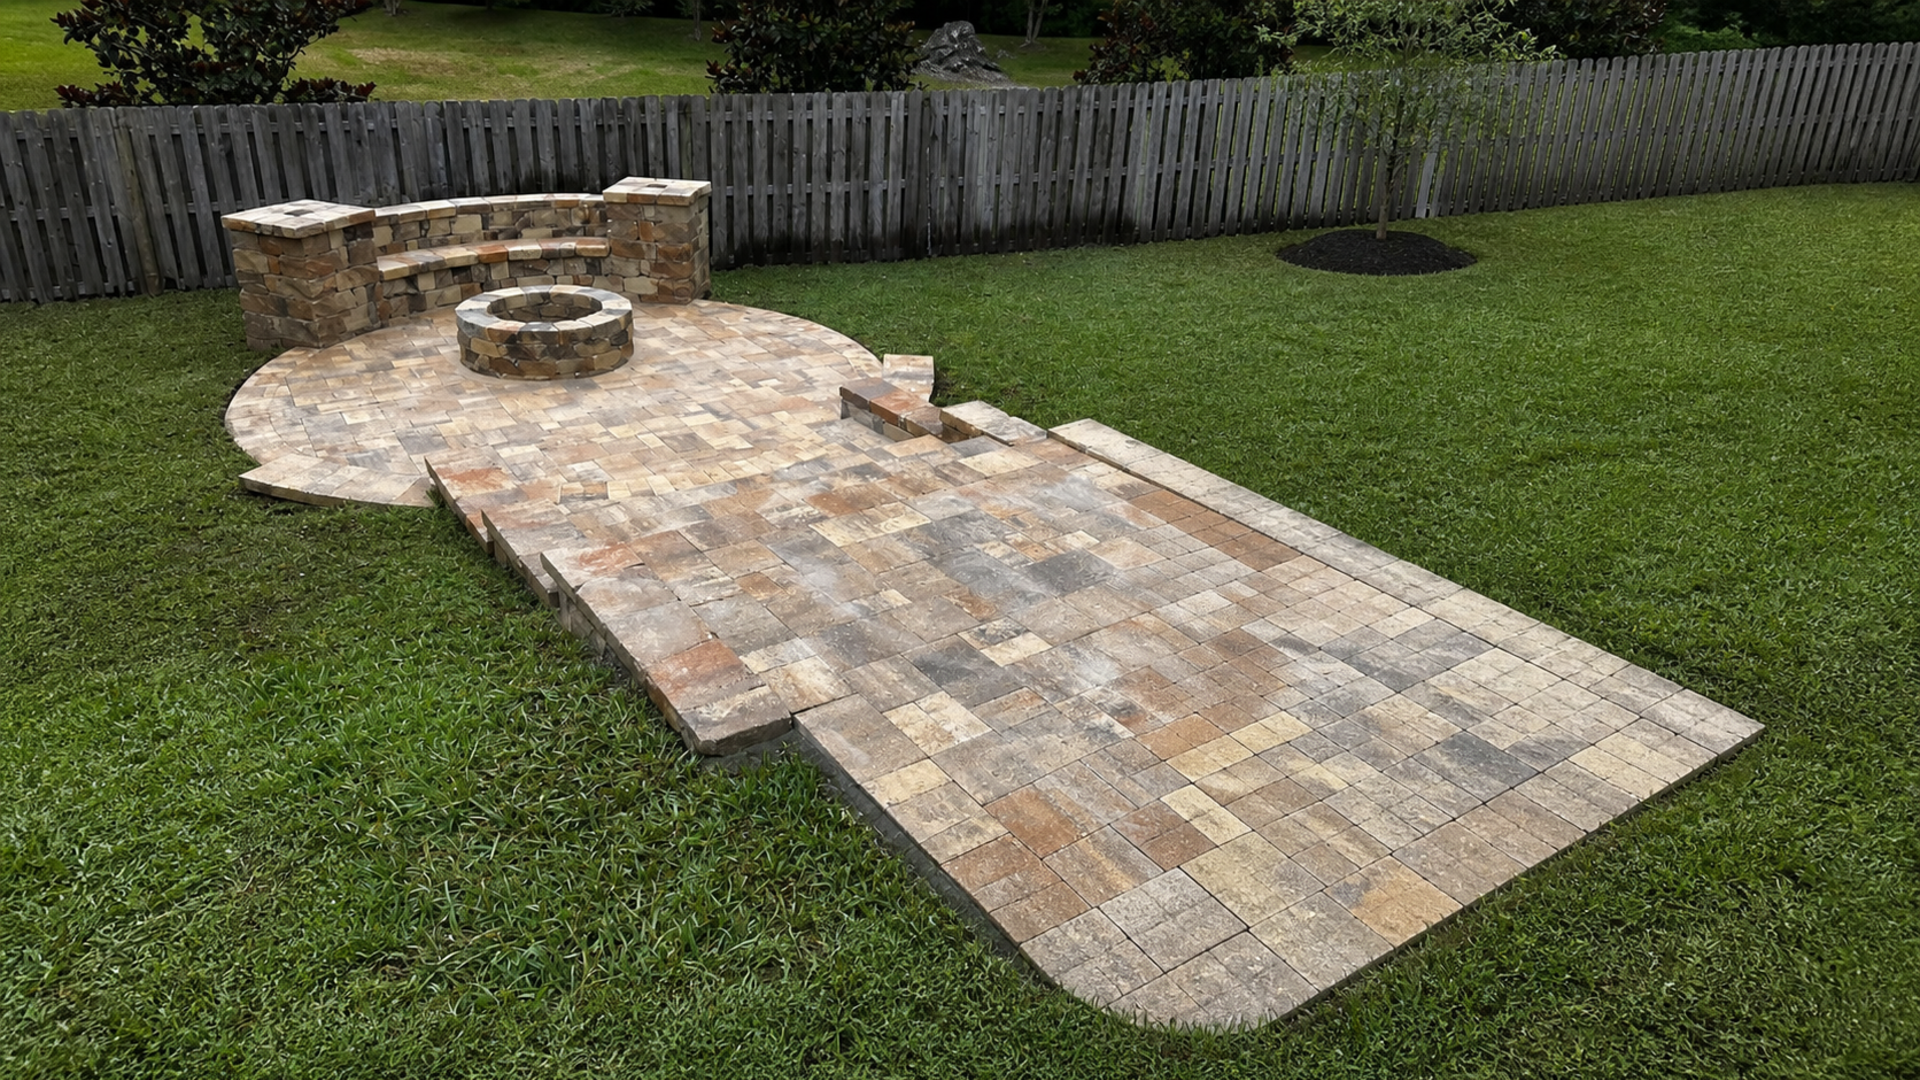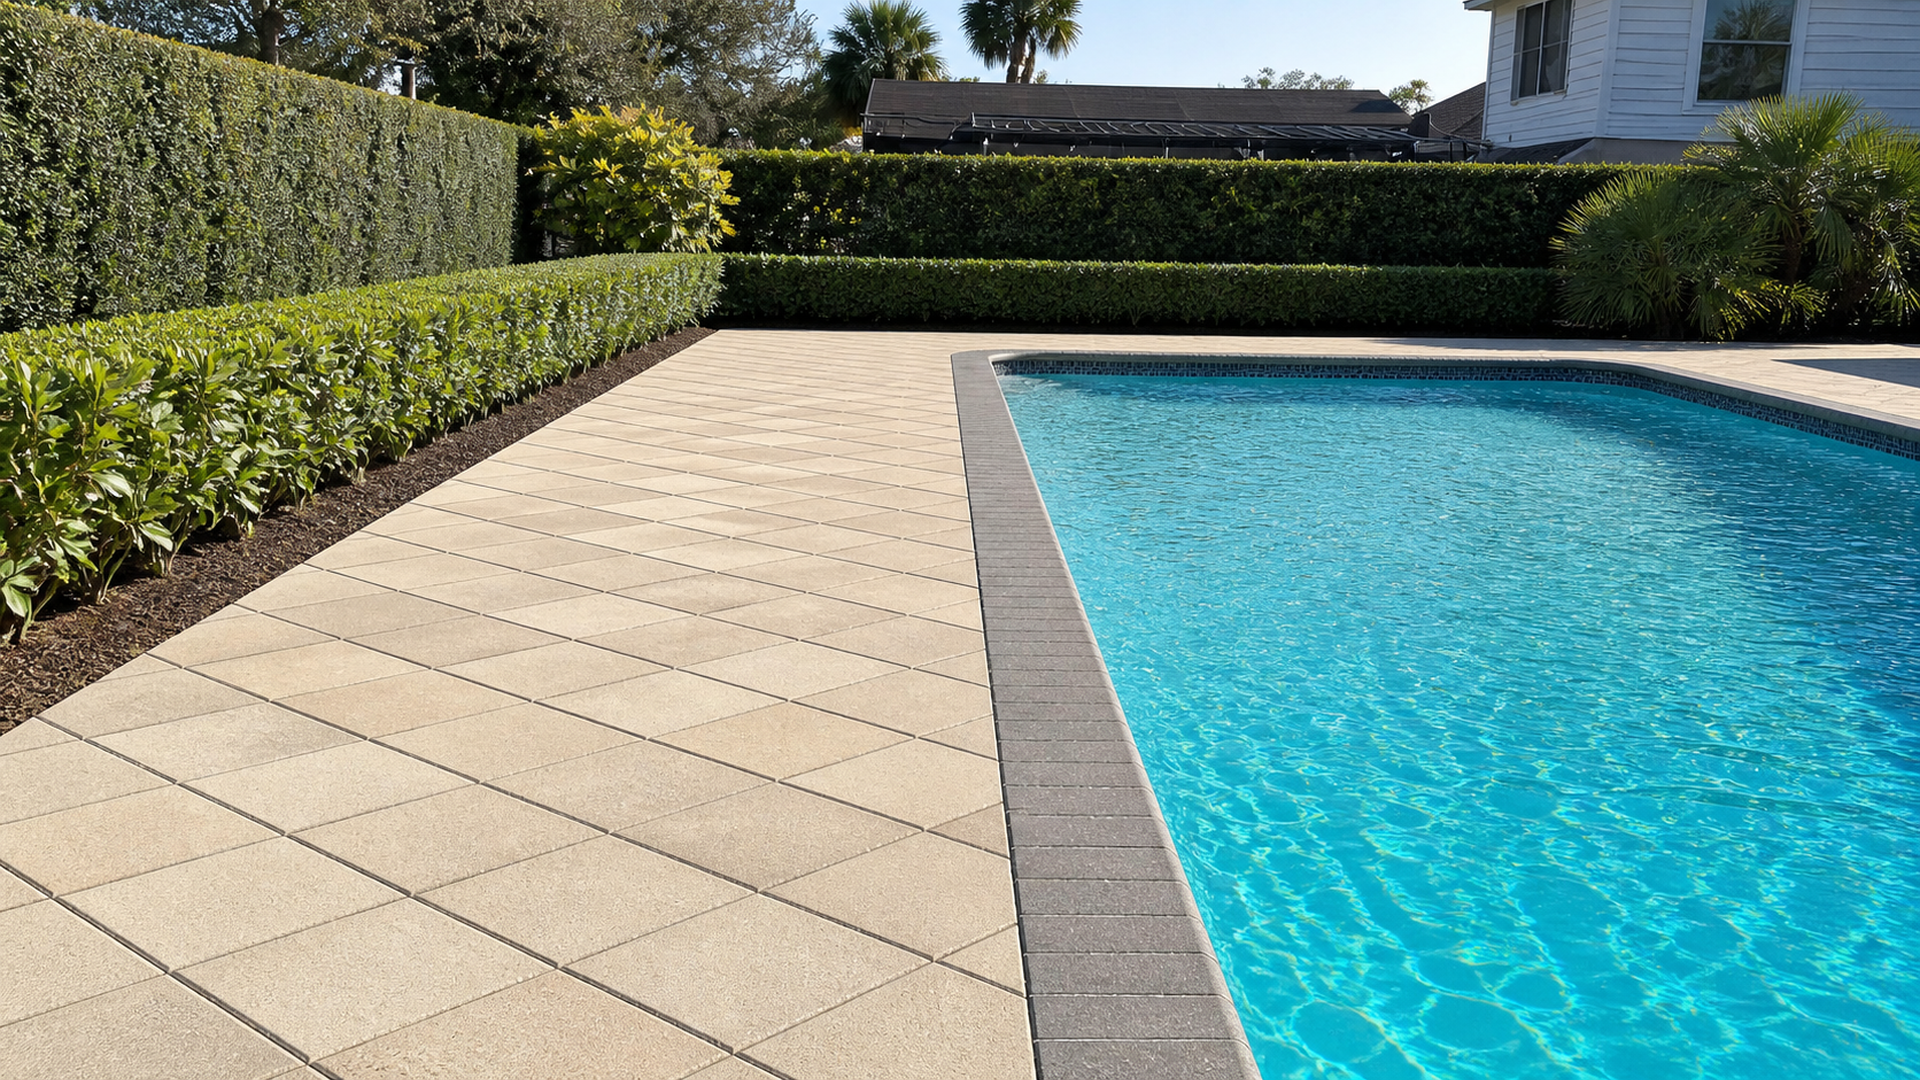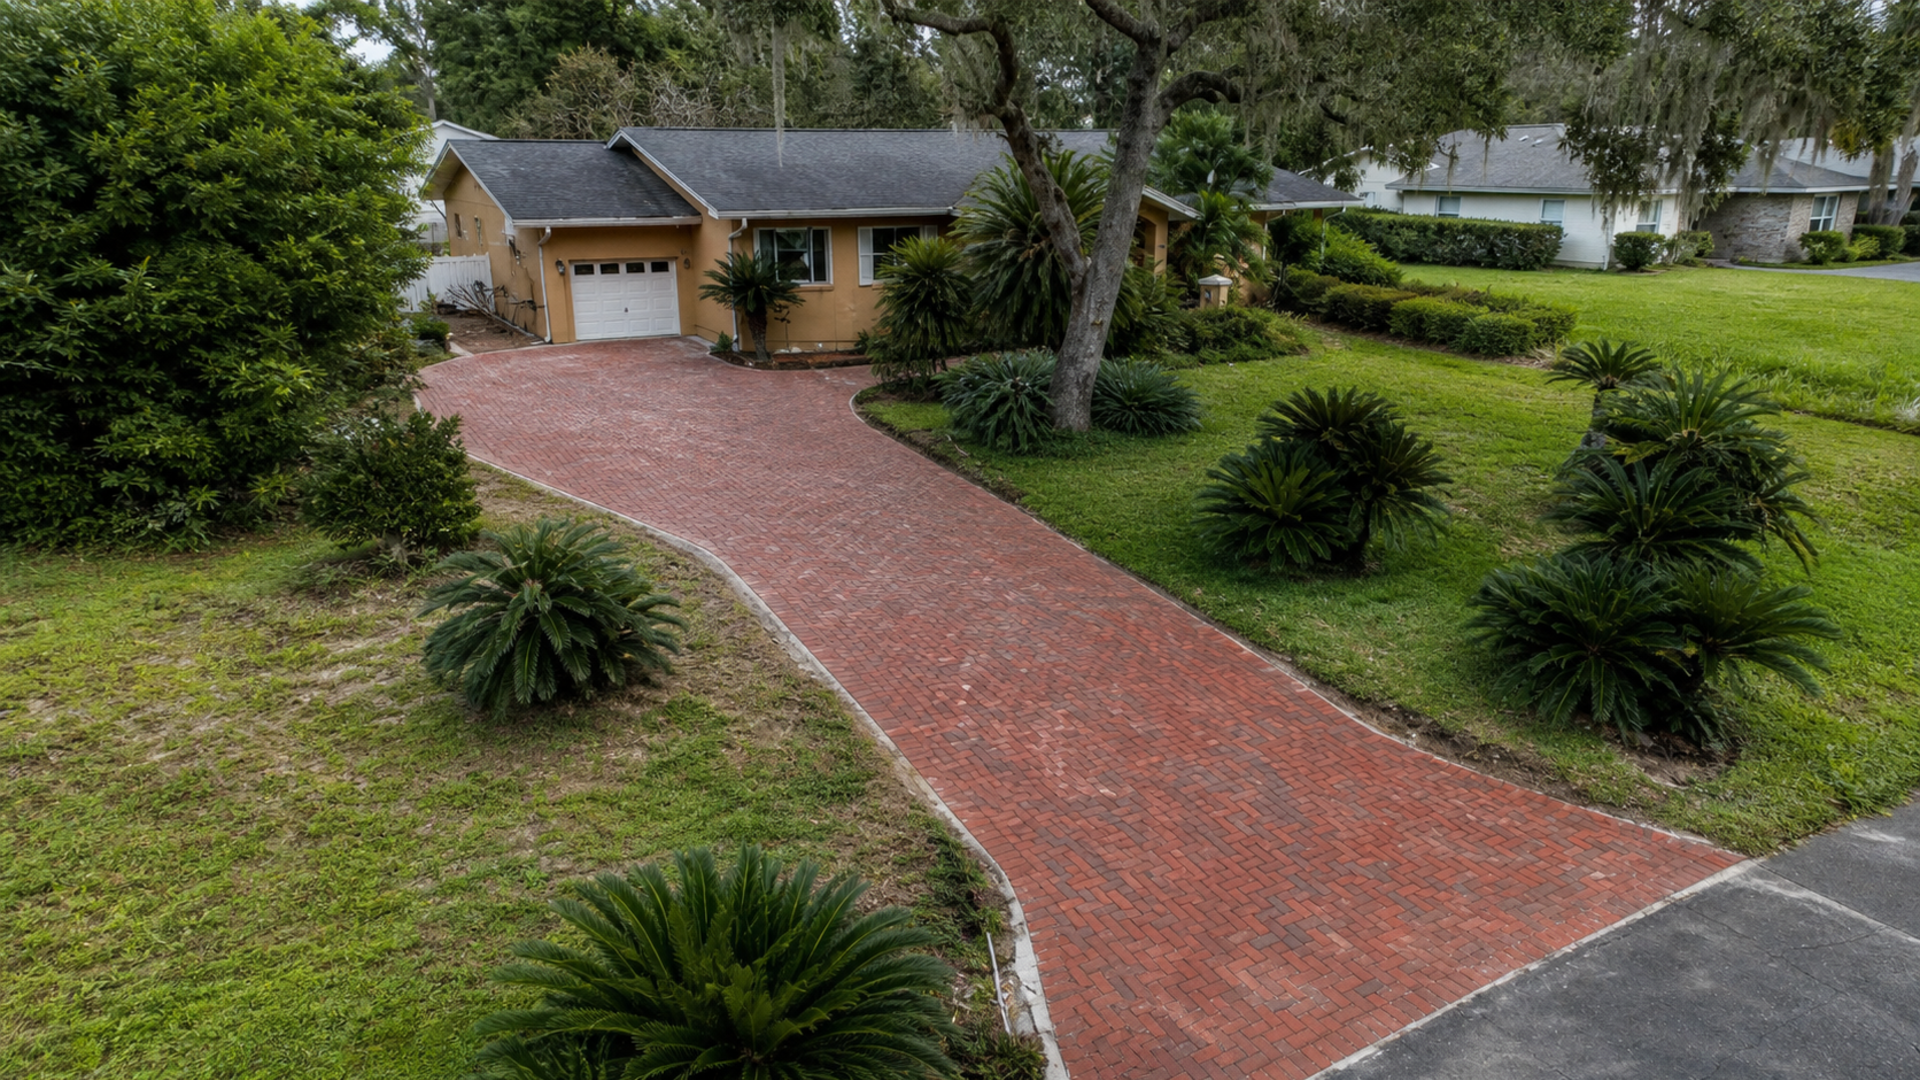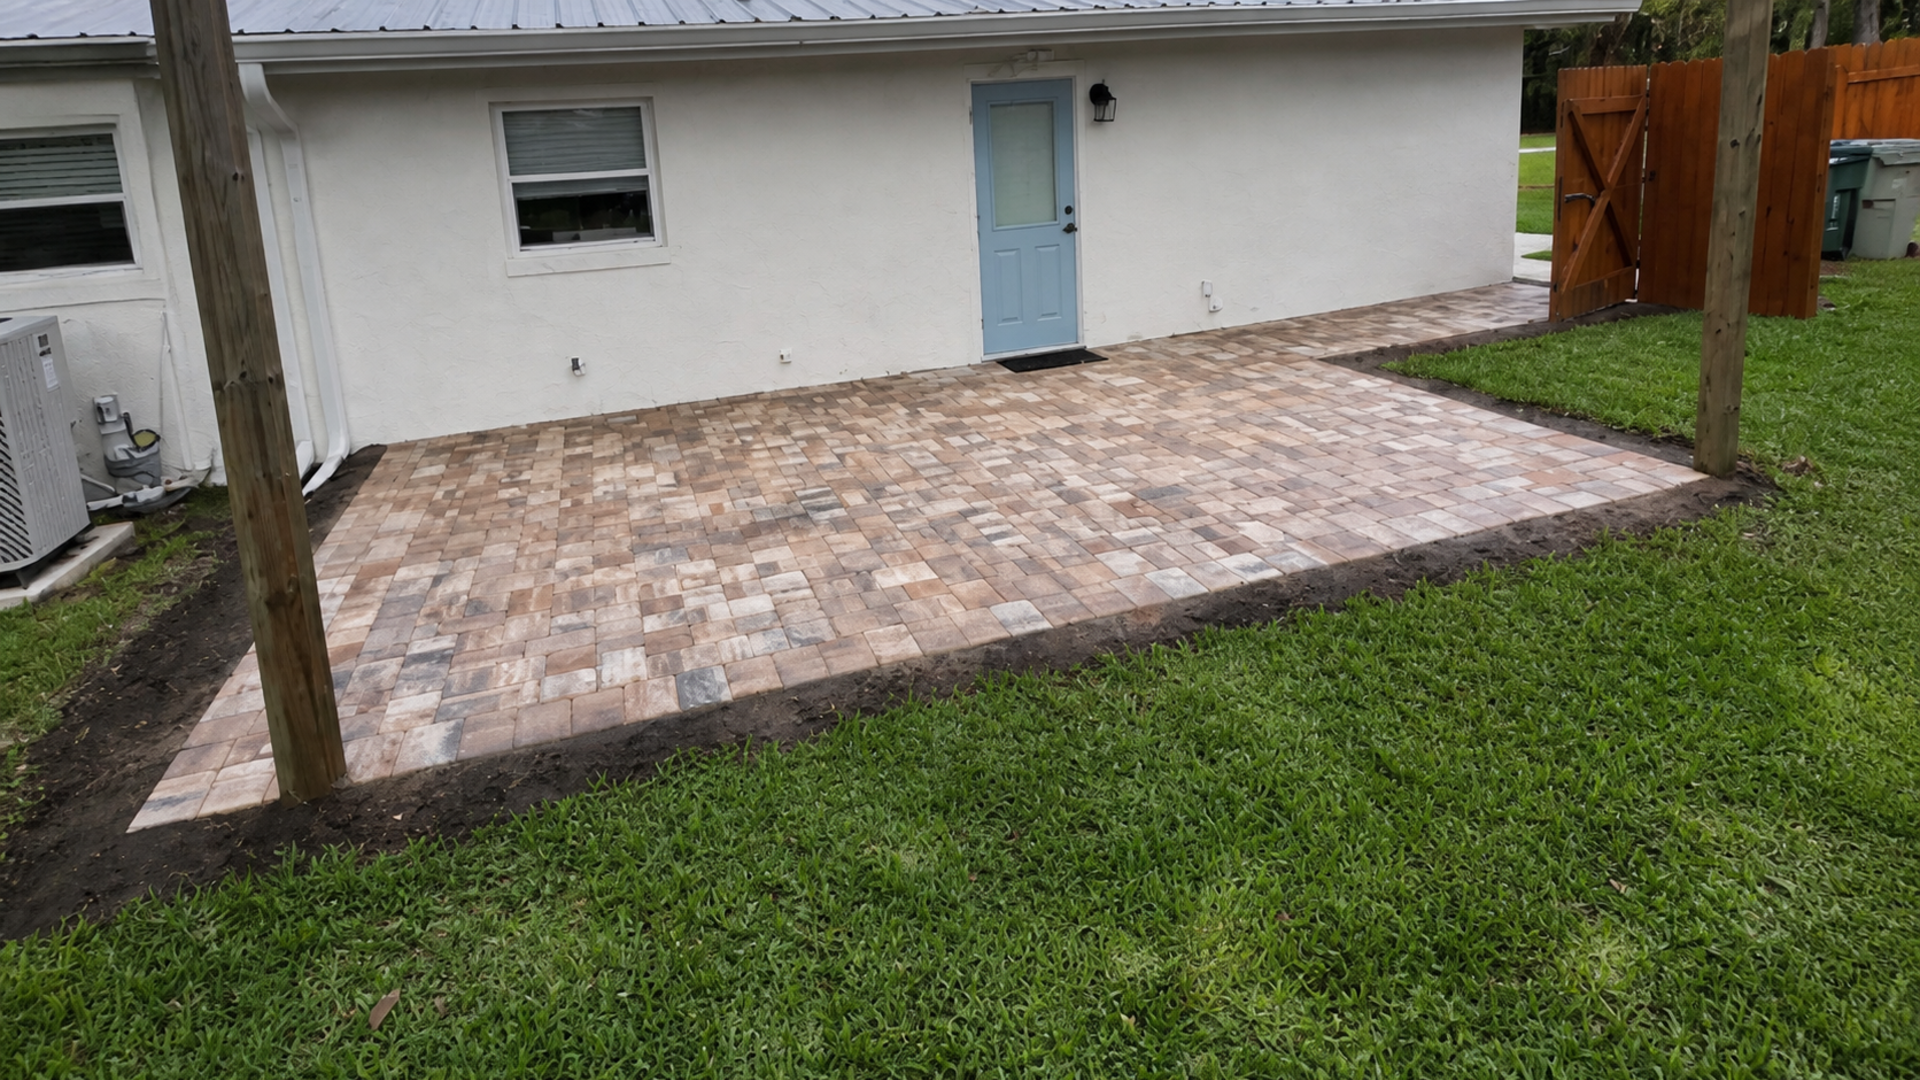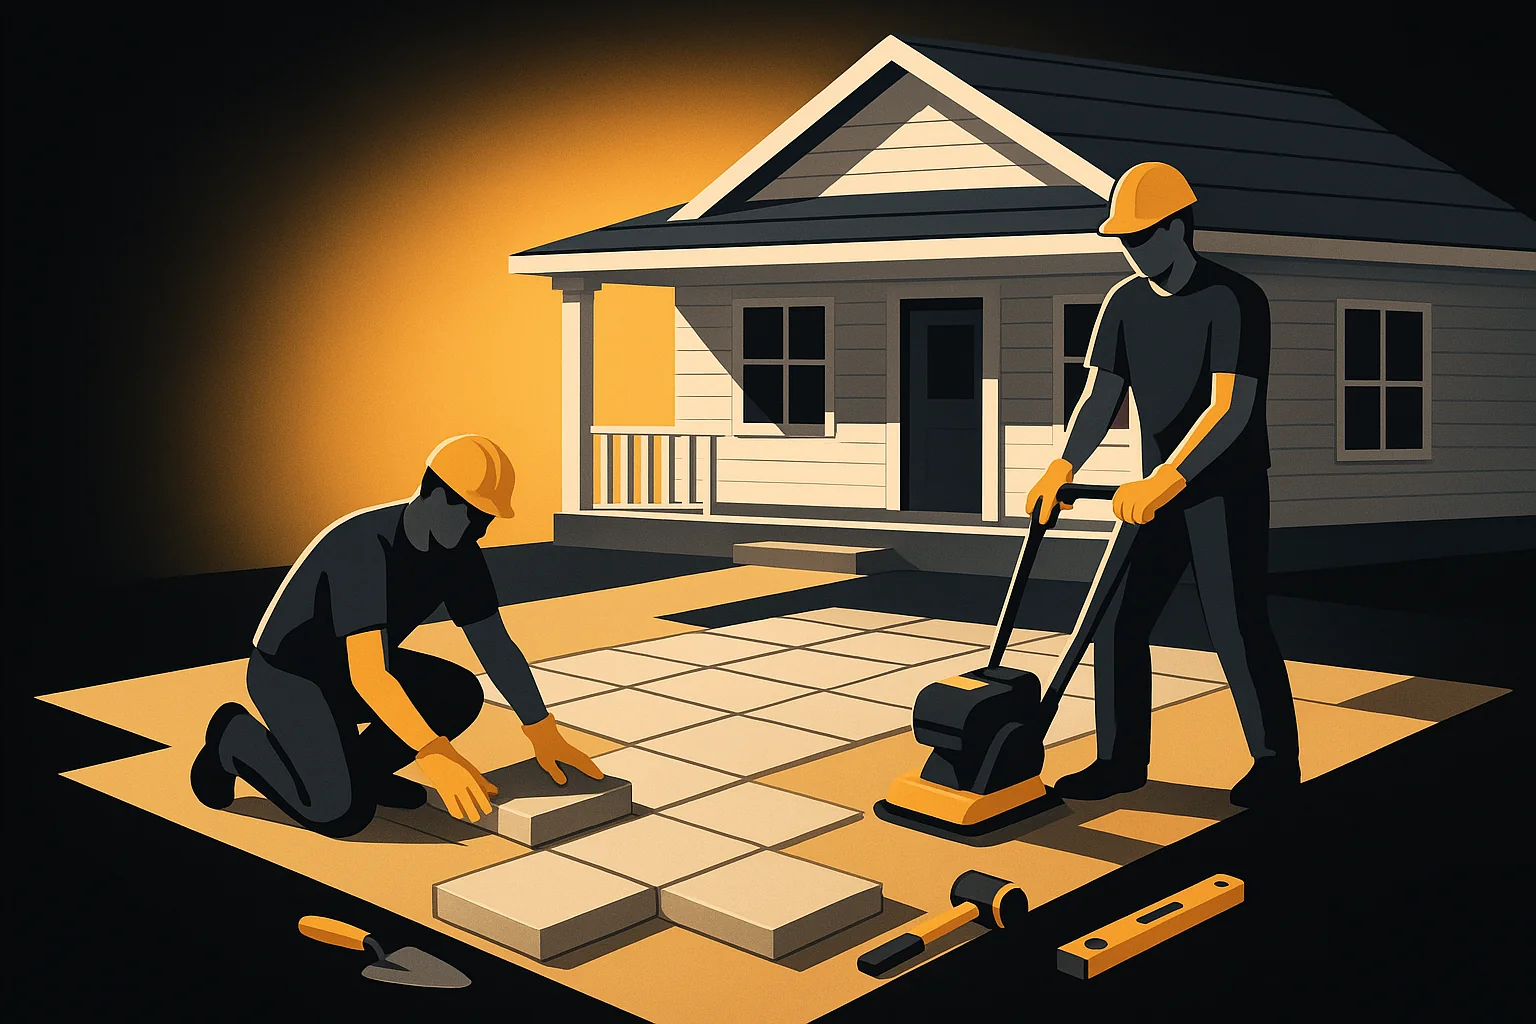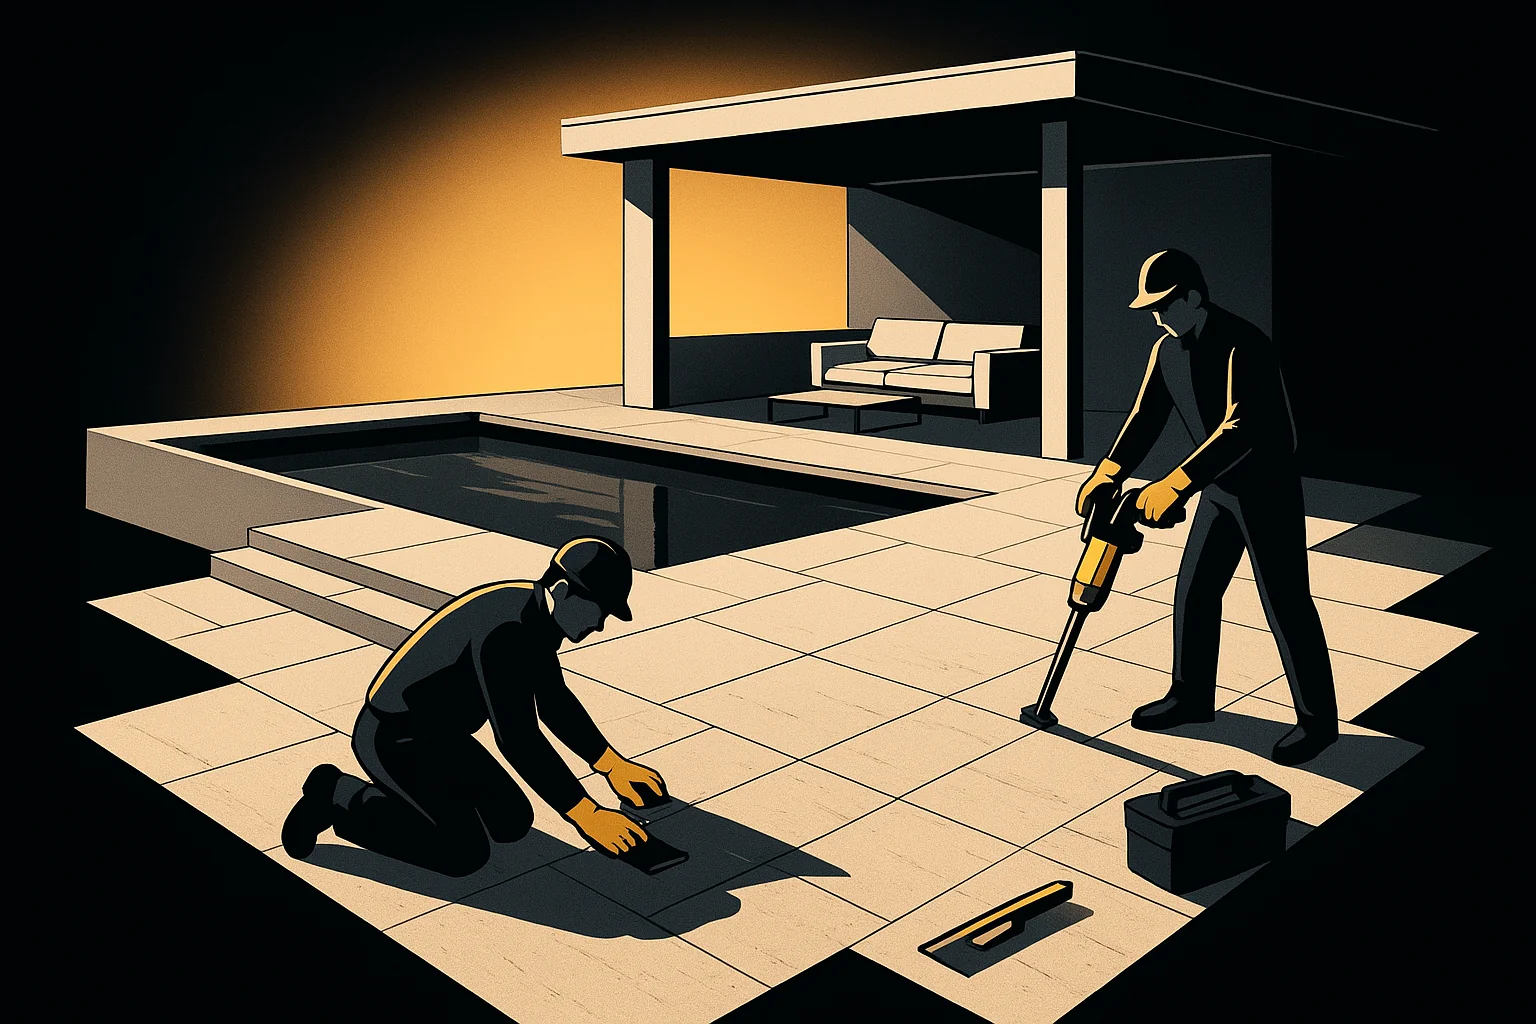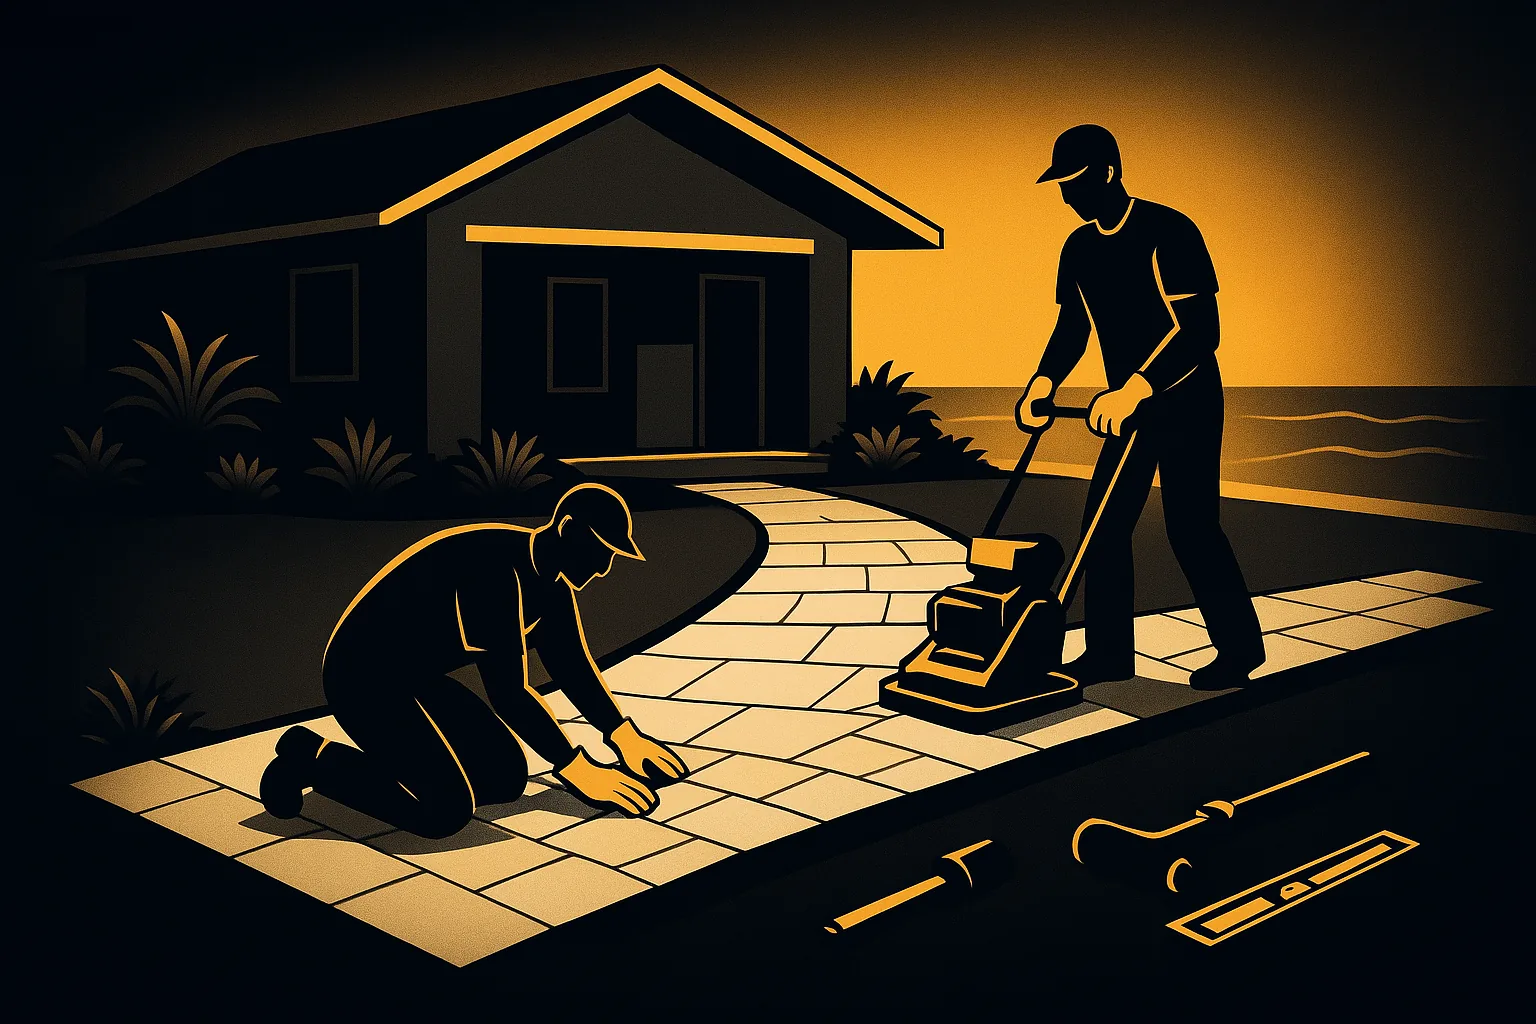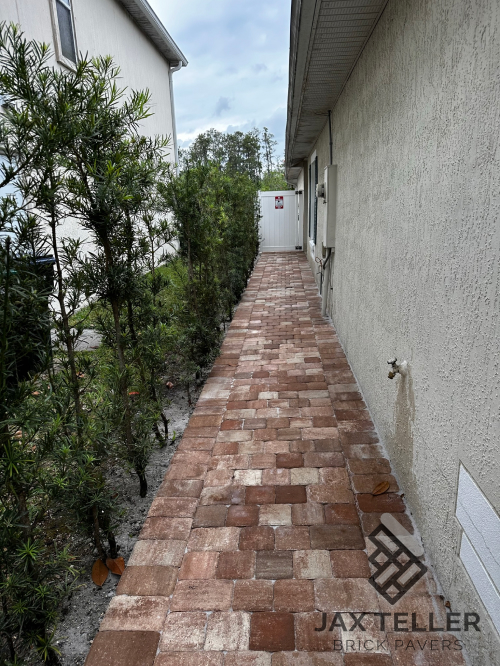
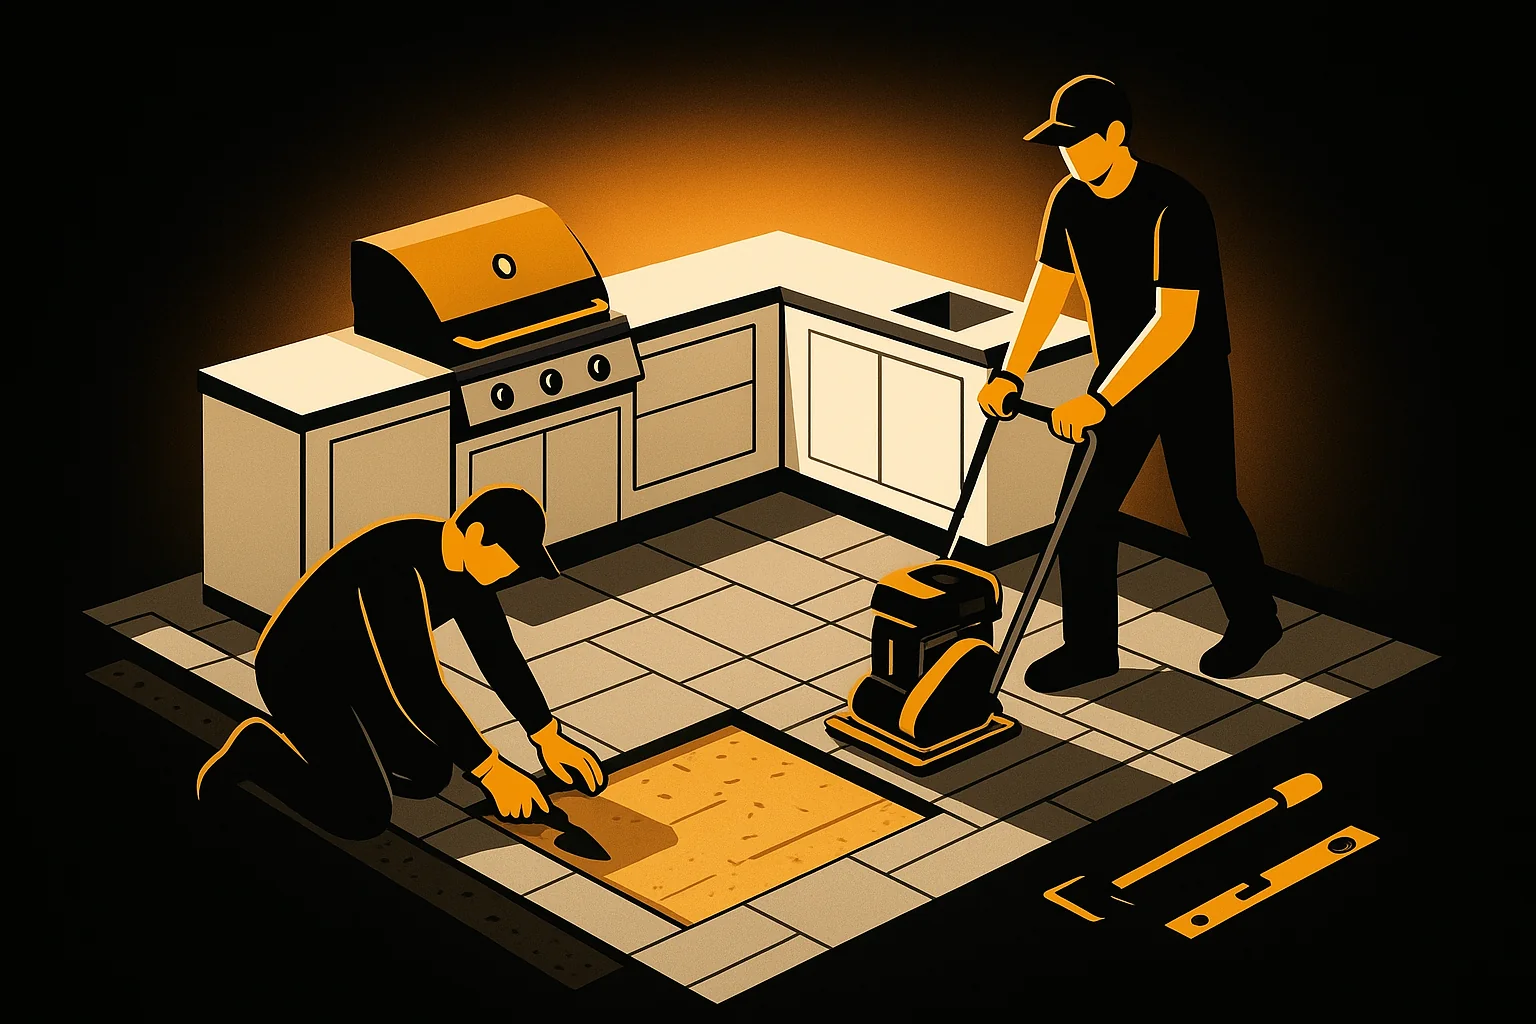
Outdoor kitchen paver base planning should begin before cabinets, appliances, and utility lines define the work area. In fact, a beautiful paver field cannot compensate for a foundation that ignores concentrated weight, water flow, or service access. A coordinated plan turns the patio and kitchen into one buildable system.
For Florida homeowners, coordination matters because heavy rain, sandy soils, and irrigation can expose planning errors quickly. Therefore, the right first conversation is not simply about color or pattern. It is about what will sit on the surface, what must pass below it, and how every part can be reached later.
Why outdoor kitchen paver base planning starts with the finished layout
First, mark the true footprint of every cabinet run, island, grill, refrigerator, sink, and freestanding appliance. A concept sketch is helpful, but a dimensioned layout reveals where legs, walls, and equipment corners transfer weight. As a result, the hardscape contractor can distinguish ordinary walking areas from zones that need a different support strategy.
In addition, include doors, drawers, grill lids, seating, and working aisles in the plan. A cabinet may fit on paper while an open refrigerator blocks the only circulation route. Similarly, a bar overhang may place stools directly over a drain or utility access point. Planning those movements protects both the base design and daily comfort.
Map concentrated loads, not just square footage
Cabinets spread some weight, while masonry islands, stone counters, pizza ovens, and large appliances can create concentrated loads. Therefore, the installer needs accurate product information and construction details before preparing the foundation. The appropriate assembly depends on the equipment, soil, drainage, and structural concept, so a qualified professional should review unusual or especially heavy features.
By contrast, guessing from the overall kitchen size can hide the most demanding point. A compact island with a thick stone top may affect the base differently from a longer, lighter modular cabinet run. Consequently, record equipment weights when manufacturers provide them and identify any support feet, curbs, or built-in masonry walls.
Separate stable support from the decorative field
Next, decide which components can sit on the paver system and which require a dedicated pad or other support detail. That decision must come from the project team rather than a generic rule. Nevertheless, making it early lets the installer coordinate elevations so the visible paving meets cabinets and equipment cleanly without improvised wedges or awkward cuts.
A dedicated support area should not become a hidden dam. Instead, its edges and elevation must work with the patio drainage plan. Water needs a continuous route away from the house and occupied kitchen zone, even where foundations, curbs, or cabinet bases interrupt the open paver field.
Coordinate utility routes before base material is placed
Utilities create the clearest reason to sequence the work carefully. For example, electrical conduits, water supply, waste lines, gas piping, and low-voltage runs may cross beneath the future kitchen. If crews discover a missing route after compaction and paving, they may have to remove finished work and disturb a base that was already performing well.
Moreover, each trade needs a shared reference for locations and elevations. The plumber must know the finished surface height. The electrician needs the cabinet and appliance plan. Meanwhile, the hardscape installer needs to know which penetrations require protection, separation, or accessible termination points.
Use sleeves and access points intentionally
Outdoor kitchen paver base planning can reserve sleeves where future lines may cross a difficult section. However, a sleeve is useful only when its size, route, ends, and purpose are documented. An unidentified pipe buried beneath cabinets does not create practical flexibility. A mapped pathway with accessible ends does.
In particular, avoid placing junctions, shutoffs, cleanouts, or serviceable connections where fixed cabinets will block them. Local requirements and manufacturer instructions may control exact clearances and methods. Therefore, licensed trades should design and install regulated utility work, while the hardscape plan supports their approved locations.
For combustion appliances and fuel systems, consult the applicable instructions and qualified professionals. The National Fire Protection Association publishes safety information and standards resources. However, a website article cannot determine rules for a specific property. Consequently, confirm current permitting, fuel, ventilation, and electrical requirements with the responsible authorities and trades.
Create one coordination drawing for every trade
Even a simple drawing can prevent conflicts when it uses fixed reference points. For instance, dimension each sleeve from the house wall or another permanent feature rather than from a temporary stake. Then note the intended finished elevation, cabinet face, appliance centerline, and access direction.
Additionally, photograph open trenches and installed lines before crews cover them. Wide views show context, while closer images capture turns and crossings. As a result, future service work relies on a clear record instead of uncertain memories or unnecessary exploratory removal.
Design drainage around cabinets, walls, and equipment
A patio slope that works in an empty area may behave differently after a kitchen occupies one edge. Because of this, the drainage review should treat cabinets, support pads, curbs, and appliance recesses as potential interruptions. The goal is to keep stormwater and routine wash water moving toward an approved outlet without trapping it beside finishes or equipment.
In Florida downpours, a small low point can collect water faster than expected. Still, pavers alone do not solve a poor discharge route. The team must consider surface grading, base behavior, adjacent soil, roof runoff, pool-deck flow, and any drain system as connected parts of the property.
Protect the house transition first
First, review door thresholds, wall finishes, weep paths, and any step between indoor and outdoor floors. Water should not be directed toward the home merely to simplify the kitchen layout. Instead, the patio elevation and kitchen footprint must respect the building interface and preserve a clear path away from vulnerable transitions.
Likewise, roof downspouts and valley discharge can overwhelm a carefully graded work zone. Therefore, identify where roof water lands before finalizing the island location. In some projects, redirecting or managing upstream water is more important than adding a drain beside the grill.
Keep drain components serviceable
A drain hidden behind a deep cabinet may be impossible to clear. Consequently, inlets, channels, and cleanable components need reachable positions. They also need an outlet that remains functional beyond the patio edge. A decorative grate offers little value if sediment, mulch, or roots block the downstream route.
Furthermore, the finished paving should guide water without creating an uncomfortable dip in a standing area. A measured elevation plan helps the installer balance drainage with stable appliance placement. When site constraints make that balance difficult, the team should resolve it before ordering cabinets.
Plan the surface for cooking, cleanup, and future changes
The kitchen floor is also a working surface. For example, grease, food spills, ice, and wind-driven rain tend to collect near grills and sinks. Therefore, choose the paver material, joint treatment, and finish with realistic cleanup expectations. A test sample can reveal how the selected surface responds before the entire patio is committed.
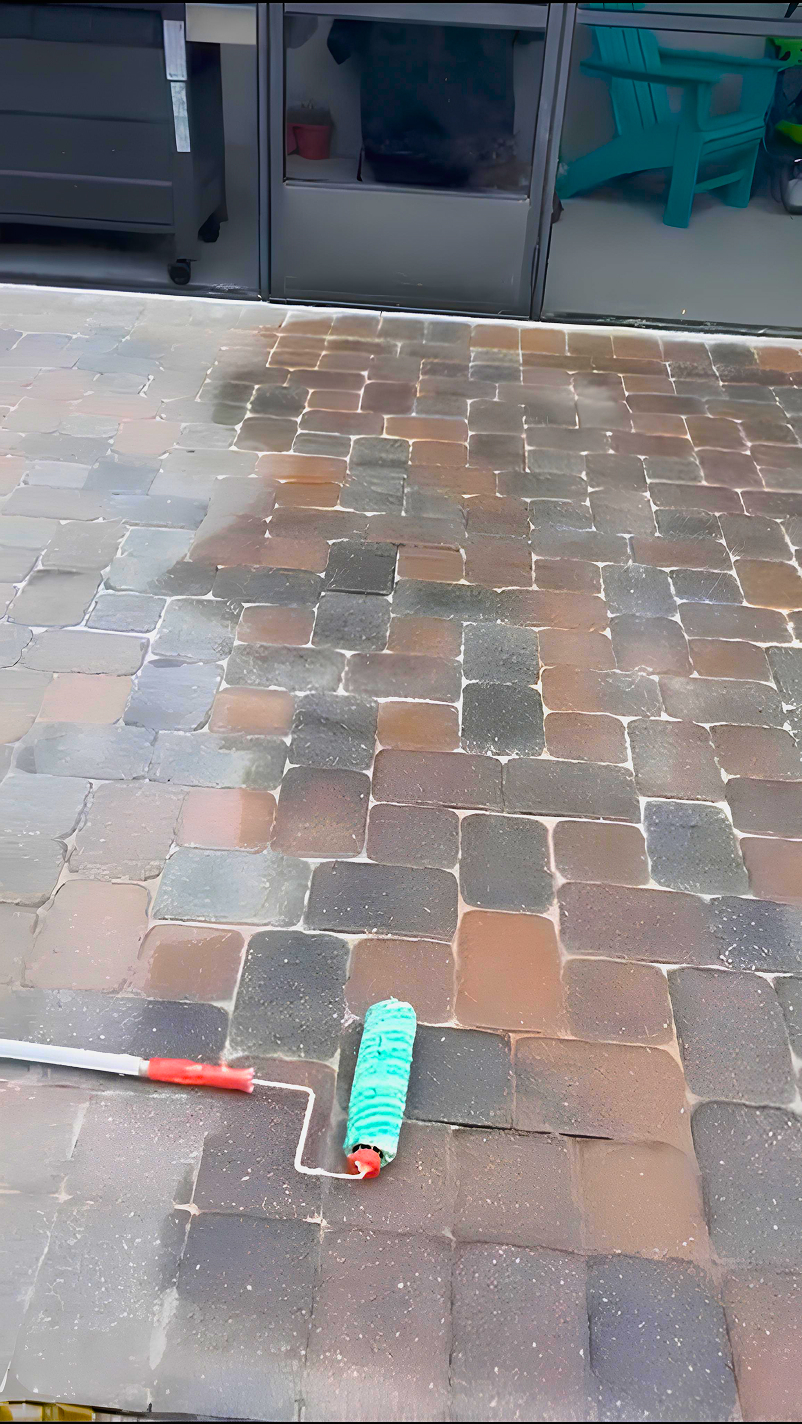
At the same time, avoid treating sealer as a substitute for sound drainage or careful use. Product compatibility, substrate condition, moisture, and finish expectations all matter. Consequently, any treatment should follow the paver manufacturer’s guidance and a project-specific evaluation.
Use cuts and borders to support the layout
A deliberate border can frame an island, organize cuts, and make future access more legible. However, a narrow strip of small pieces beside cabinet feet may loosen or look improvised. The installer should study the module from the most visible edges and adjust the starting point before laying the field.
Similarly, removable units can preserve access to selected utility routes when the design allows it. That advantage disappears if mortar, fixed trim, or cabinet panels trap the exact area that may need service. Thus, the kitchen details and paving details should be reviewed together.
A practical preconstruction sequence
A clear sequence reduces rework because each decision supplies information to the next trade. In practice, the order may change with permits, products, and site conditions. Nevertheless, homeowners can use the following framework to ask whether the critical dependencies have been addressed.
- Confirm the kitchen footprint, appliance models, door swings, seating, and circulation.
- Identify concentrated loads and obtain a project-specific support recommendation.
- Map required gas, electrical, water, waste, and low-voltage routes with qualified trades.
- Set finished elevations and review thresholds, roof runoff, and approved discharge paths.
- Place and document sleeves, pads, and access points before base preparation closes them in.
- Prepare and compact the hardscape assembly for the verified site and loading conditions.
- Lay out paver modules, borders, and cuts around the confirmed cabinet footprint.
- Verify utility terminations and drainage behavior before fixed cabinets conceal the work.
Outdoor kitchen paver base planning checklist
- Layout: Dimensioned cabinets, appliances, openings, stools, and working aisles.
- Loads: Known equipment, countertop, masonry, and support-point information.
- Utilities: Approved routes, sleeves, shutoffs, cleanouts, and service clearances.
- Water: Surface slopes, roof discharge, drain access, and a verified outlet.
- Elevations: Door thresholds, cabinet bases, equipment pads, and adjoining paving.
- Records: Photos, measurements, product information, and final as-built notes.
- Future access: Paver areas that can be lifted without dismantling the full kitchen.
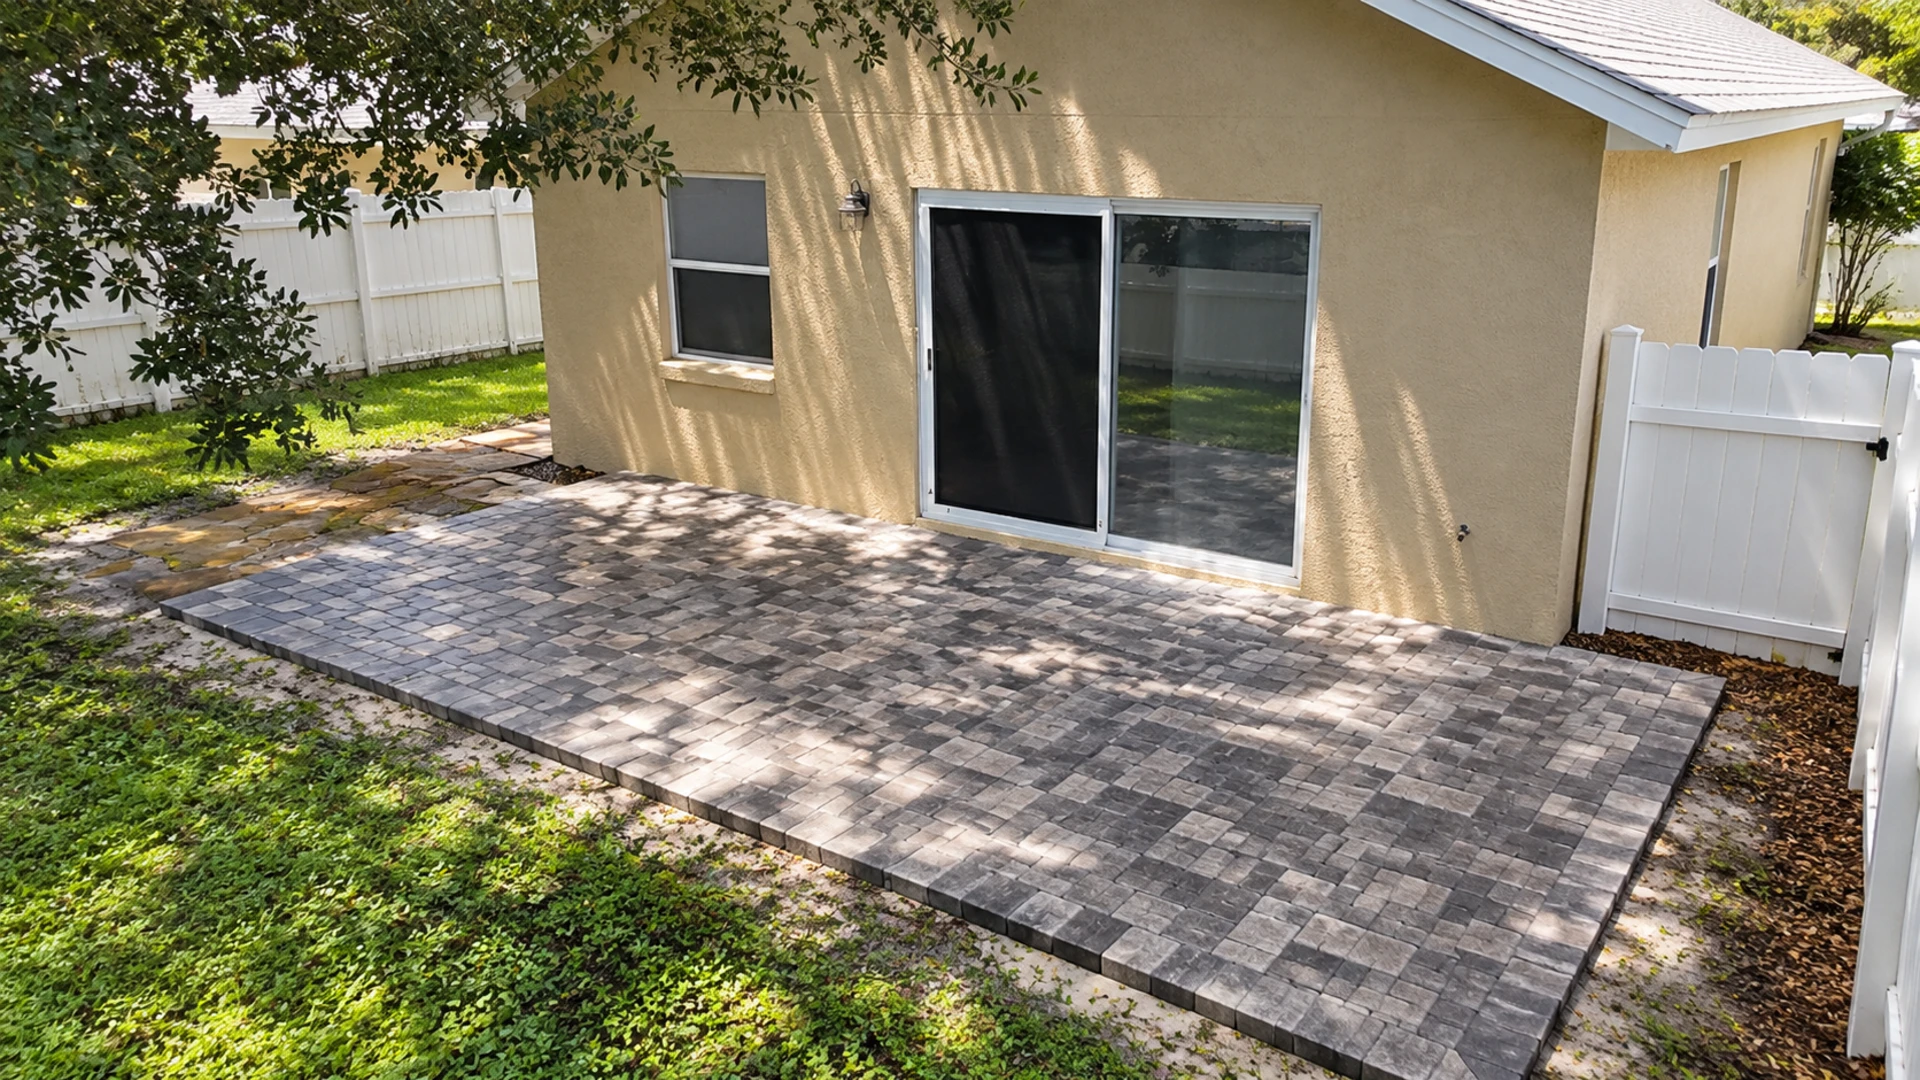
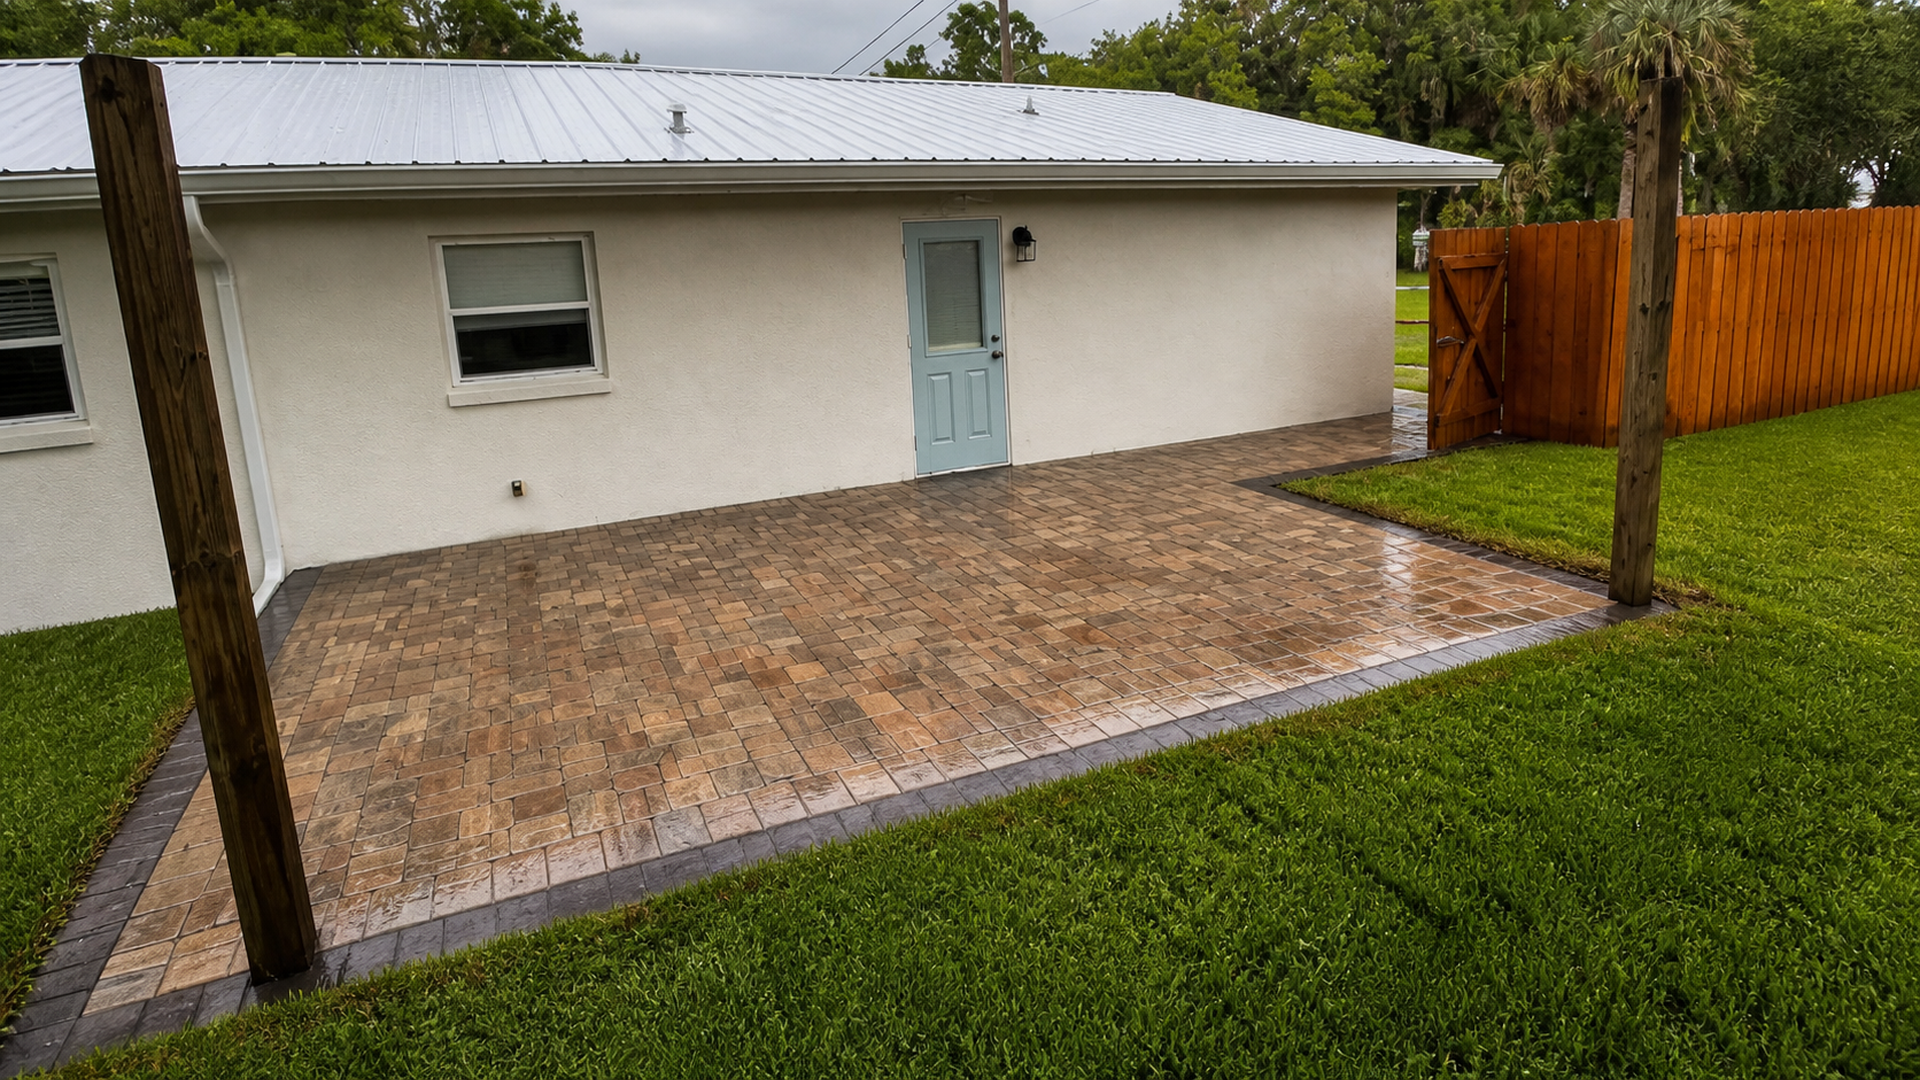
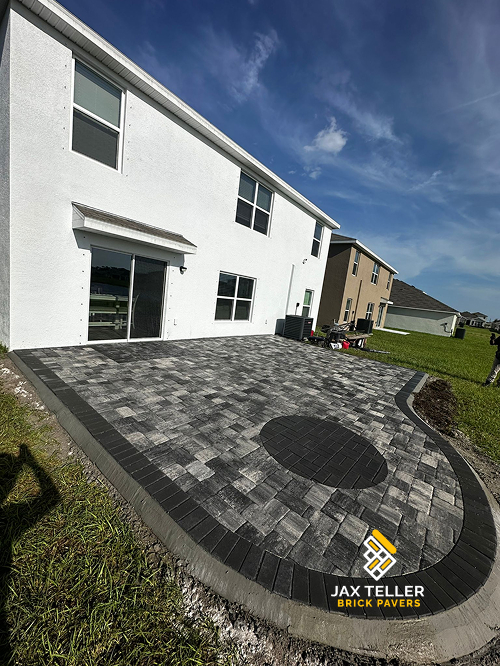
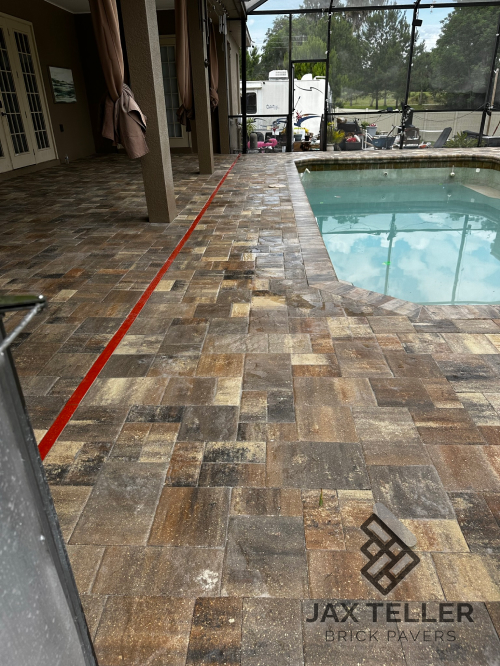
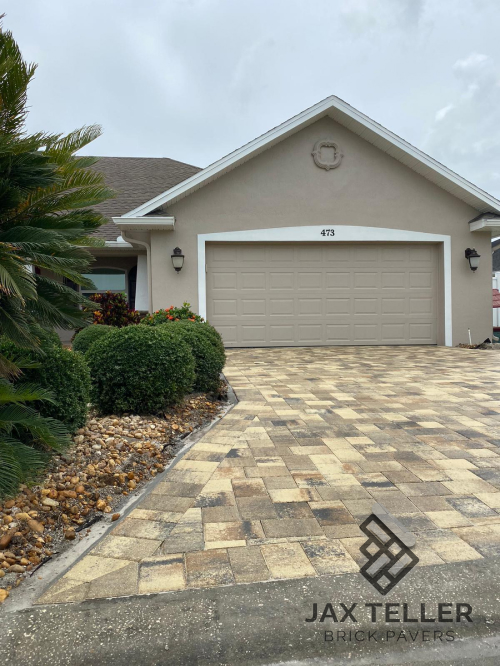
For homeowners building a complete entertaining area, JaxTeller’s backyard paver and patio service provides a useful starting point. It helps coordinate the kitchen footprint with the surrounding hardscape. In addition, reviewing the full patio connects dining, circulation, drainage, and service access. This keeps the island from becoming an isolated object.
Verify the base plan before cabinets cover the work
Before cabinet delivery, hold a focused walkthrough with the current drawing in hand. First, compare each visible sleeve, pad, drain, and termination with its measured location on the plan. If an item moved during construction, record the actual position and ask the responsible trade whether the change affects clearances, connections, or access.
Next, confirm the finished paver elevation with representative units rather than relying only on a mark on a wall. Cabinet toe kicks, appliance openings, doors, and leveling feet all depend on that final plane. Consequently, a small elevation mismatch discovered now is easier to resolve than one found after counters connect several cabinets into a rigid assembly.
Test the kitchen footprint at full scale
Use removable tape or chalk approved for the surface to mark cabinet faces, appliance doors, seating, and working aisles. Then walk through grilling, serving, opening the refrigerator, and carrying dishes from the house. As a result, the team can catch a conflict between a utility location and daily movement while the layout still permits adjustment.
Finally, run water only through an appropriate, controlled test arranged by the contractor. The objective is to observe surface flow, not to simulate an extreme storm or overwhelm unfinished work. In addition, confirm that removable drain components remain reachable after the cabinet footprint is marked.
A signed verification note can list what the hardscape contractor observed and what licensed trades still need to approve. This division matters because a paver installer should not certify regulated gas, electrical, or plumbing work. Therefore, the cabinet installation should proceed only after the responsible parties close their own coordination items.
Frequently asked questions
Can an outdoor kitchen sit directly on pavers?
It depends on the kitchen construction, loads, paver system, soil, and local requirements. Therefore, the project team should verify the support detail instead of assuming every cabinet or masonry island can use the same assembly.
Should utilities be installed before the paver base?
Generally, approved underground routes and sleeves need coordination before final base placement and compaction. However, qualified trades should set the actual sequence so their work remains compliant, protected, and testable.
What happens if an appliance changes later?
A documented, modular plan can make some changes easier, especially when access routes remain reachable. Even so, a new appliance may require different utilities, clearances, or support, so the team must review it as a new condition.
Where should a drain go near an outdoor kitchen?
The correct location follows measured grades and a viable discharge route, not a universal distance from the cabinets. Consequently, a site review should account for the house, roof runoff, work areas, adjoining yard, and drain maintenance access.
Why keep spare pavers after construction?
Spare units from the original batch can help with future access or localized repairs. In addition, storing them dry and recording the product details improves the chance of a reasonable visual match if the kitchen or utilities change.
Coordinate the foundation before the kitchen arrives
Ready to elevate your outdoor living space? First, ask JaxTeller Brick Pavers to coordinate a hardscape base plan with your real kitchen layout. You can contact the team, review completed projects, and follow new work on Instagram or Facebook.
For a direct conversation, message the team on WhatsApp, call +1 407-907-8308, or email jaxtellerbrickpavers@gmail.com. You can also view the Largo location on Google Maps. Finally, bring the cabinet plan, appliance list, and utility questions to the first site review.
Finally, confirm the base plan before scheduling cabinet installation. Contact JaxTeller Brick Pavers at +1 407-907-8308 or jaxtellerbrickpavers@gmail.com for your free estimate!
Coordinate a hardscape base plan with your kitchen layout.