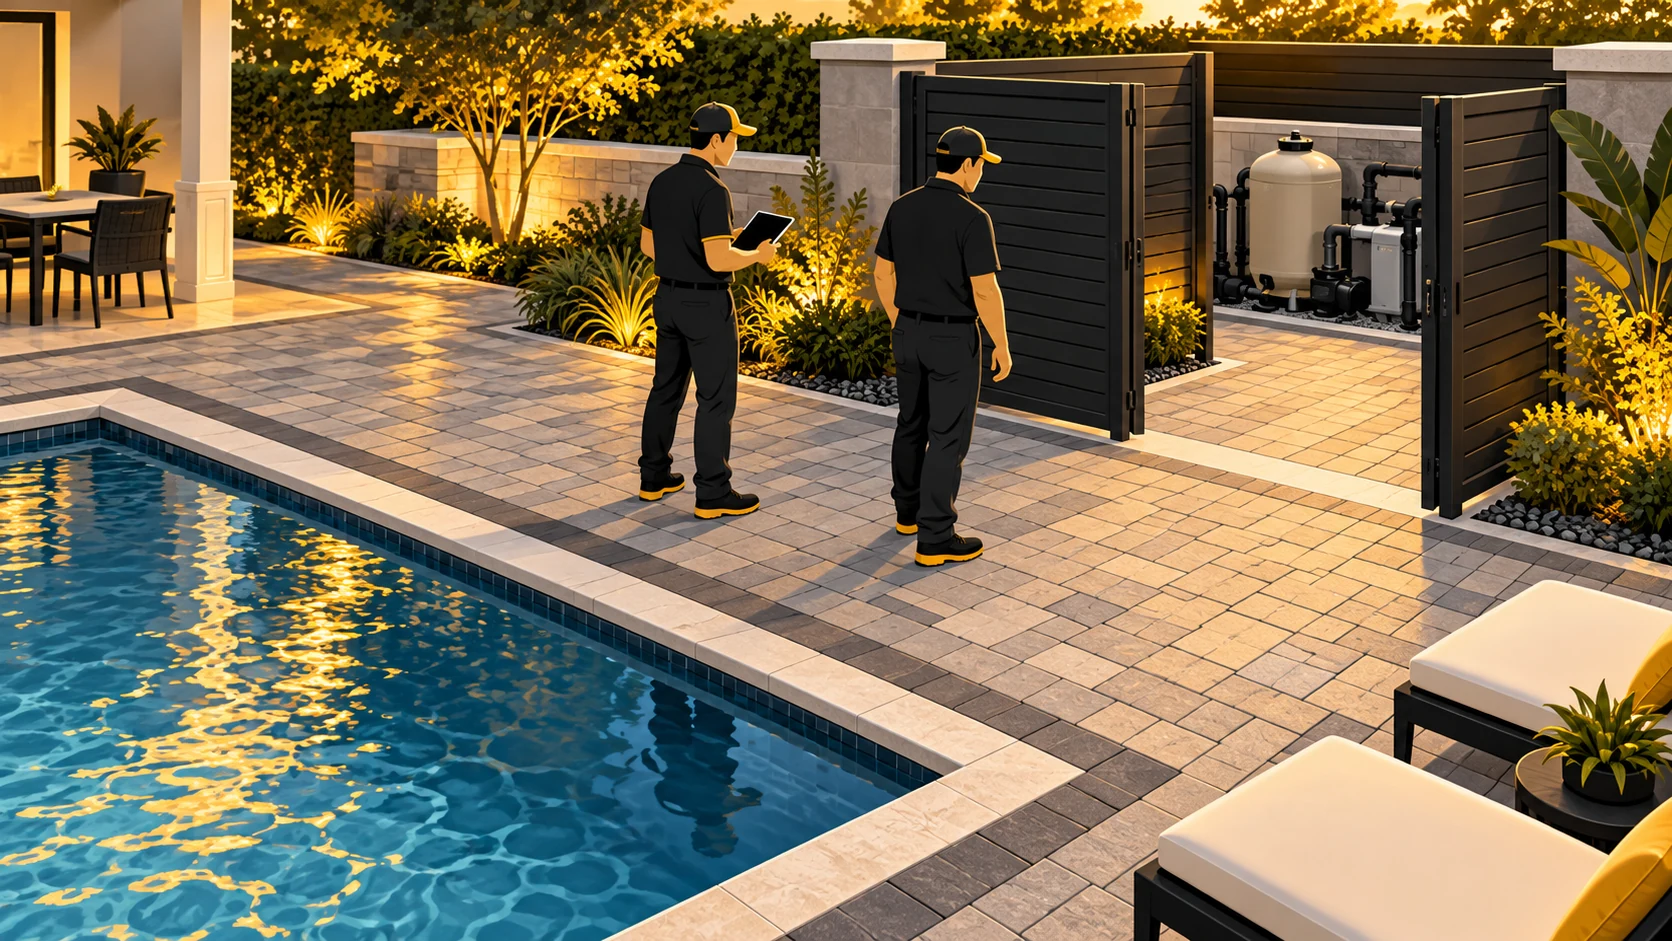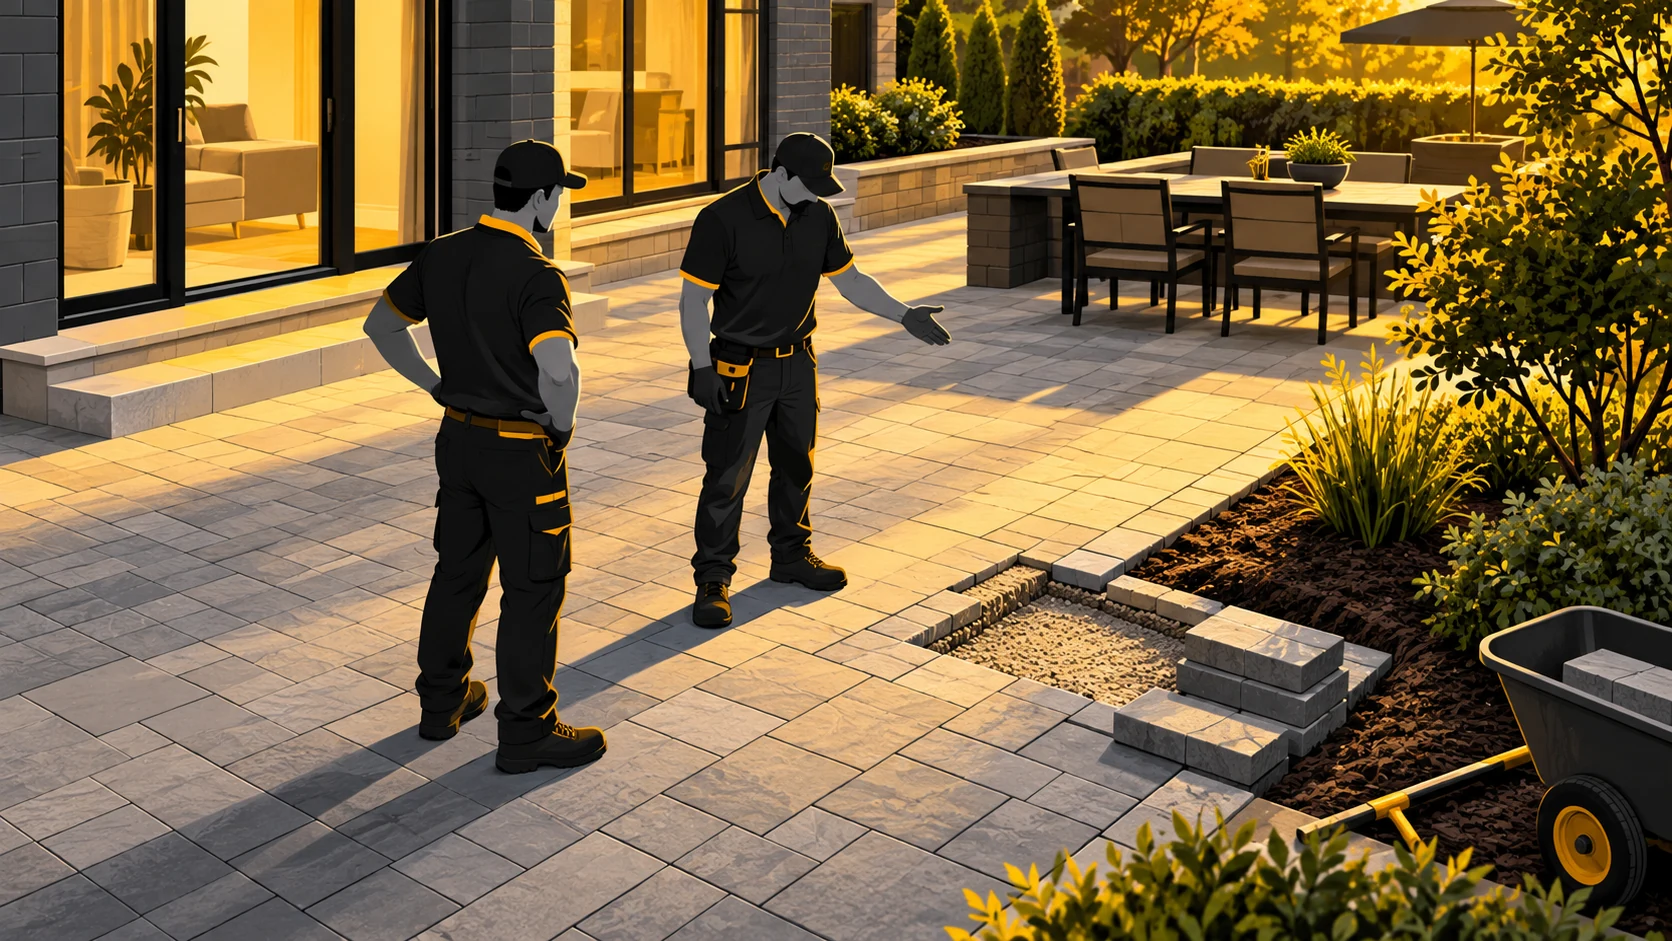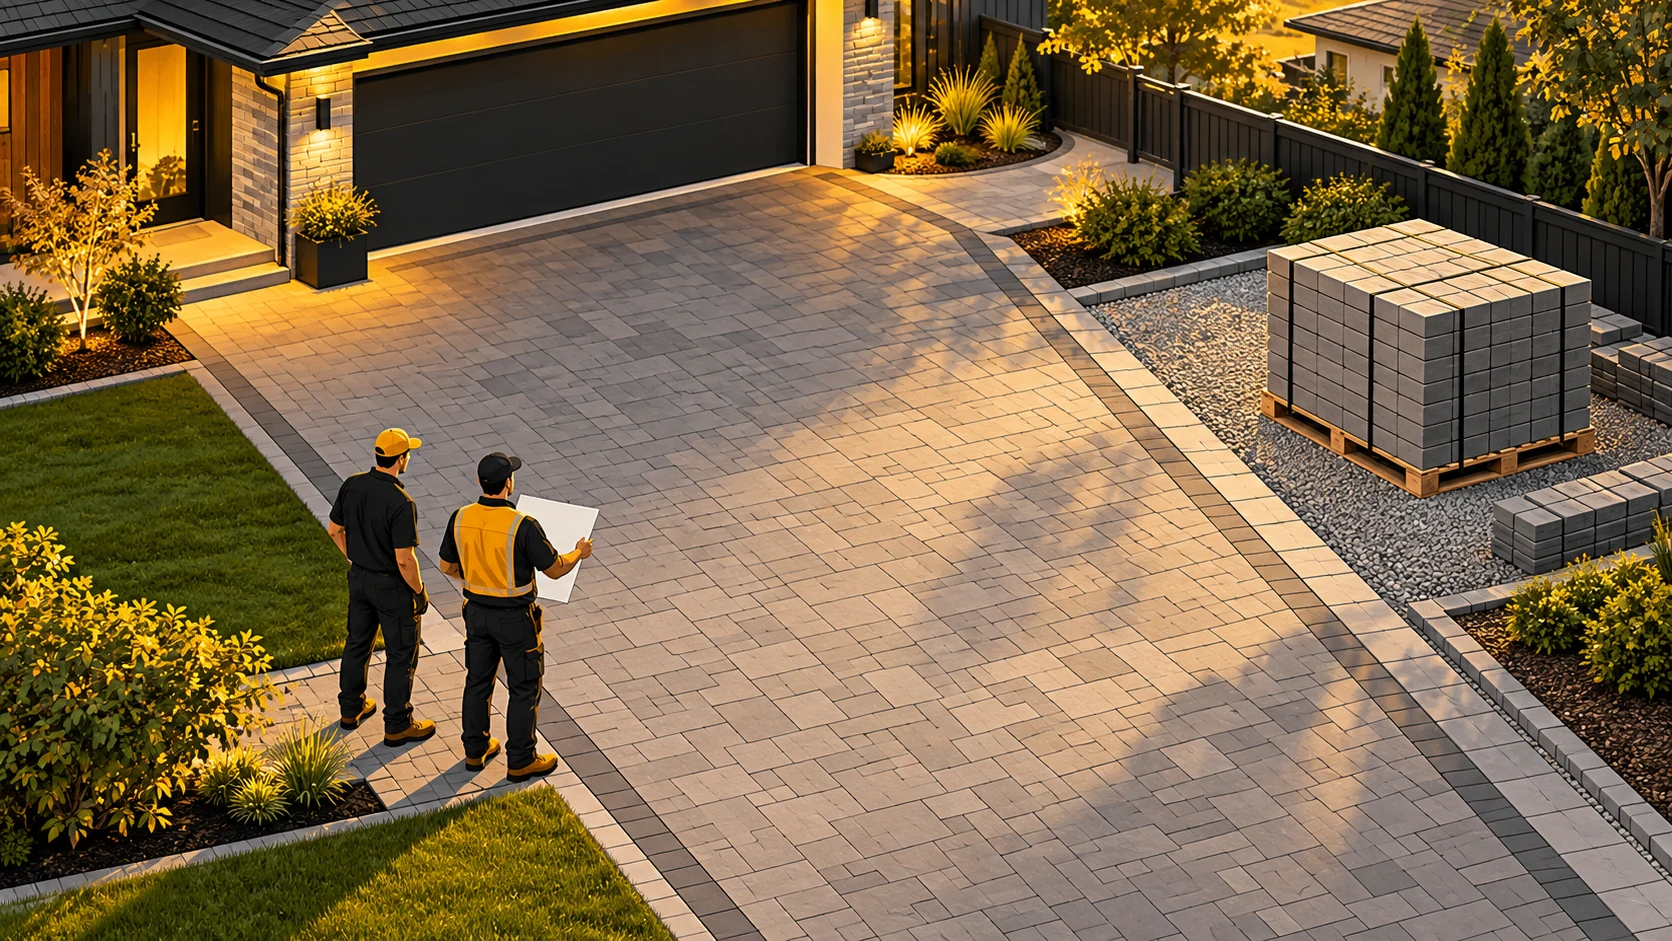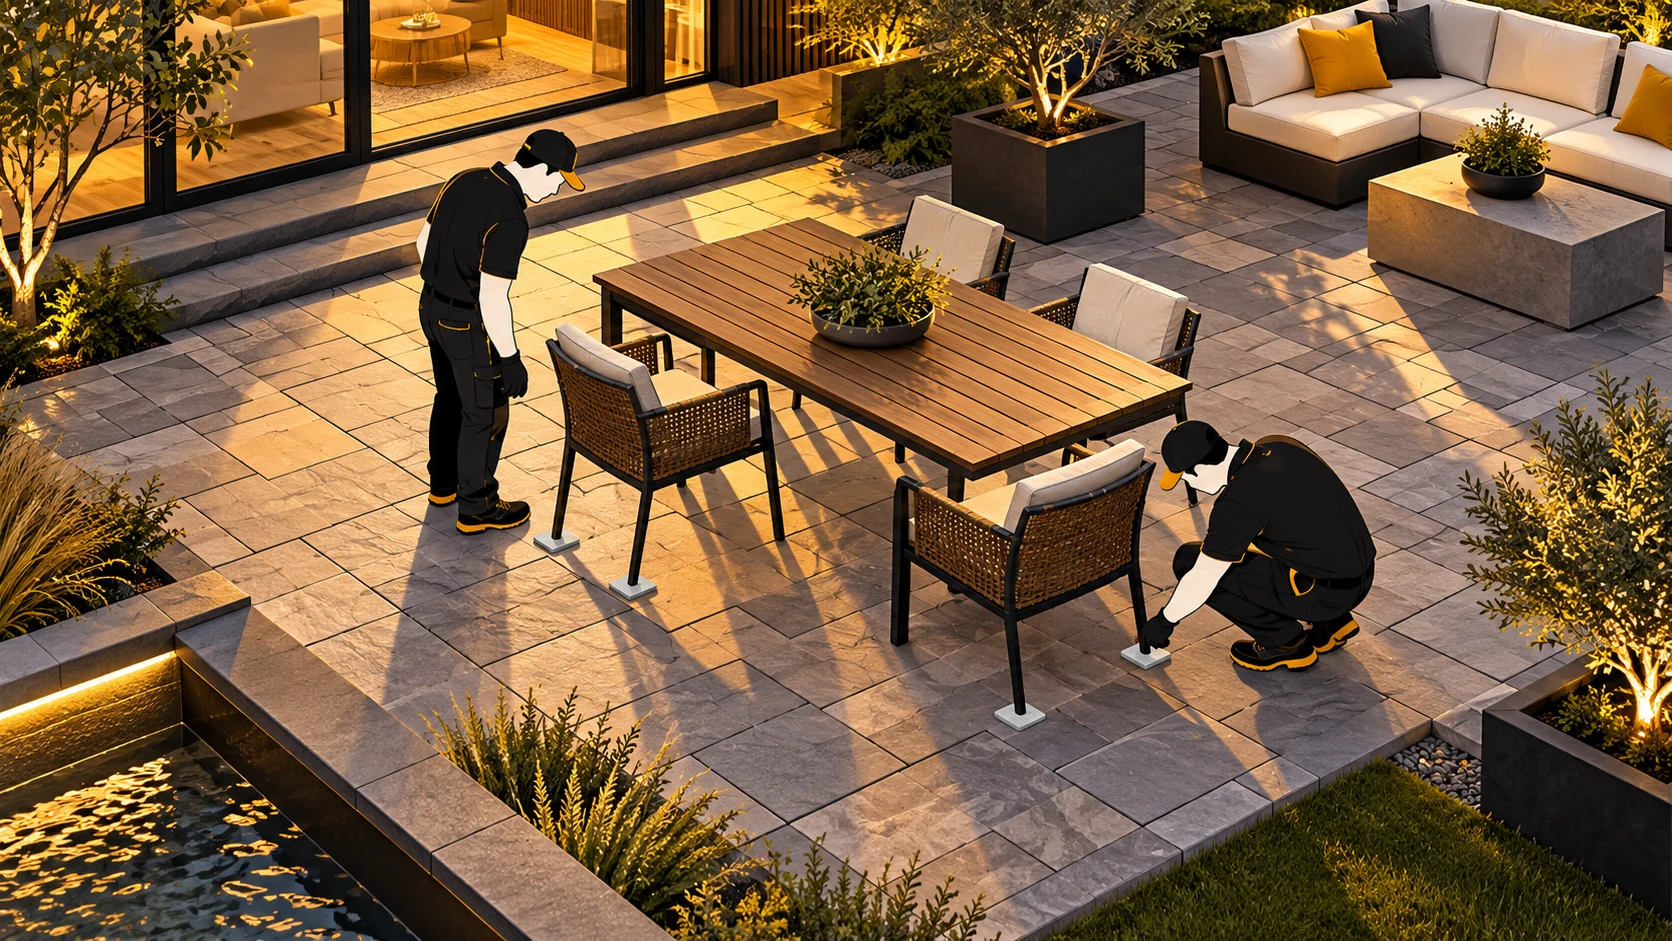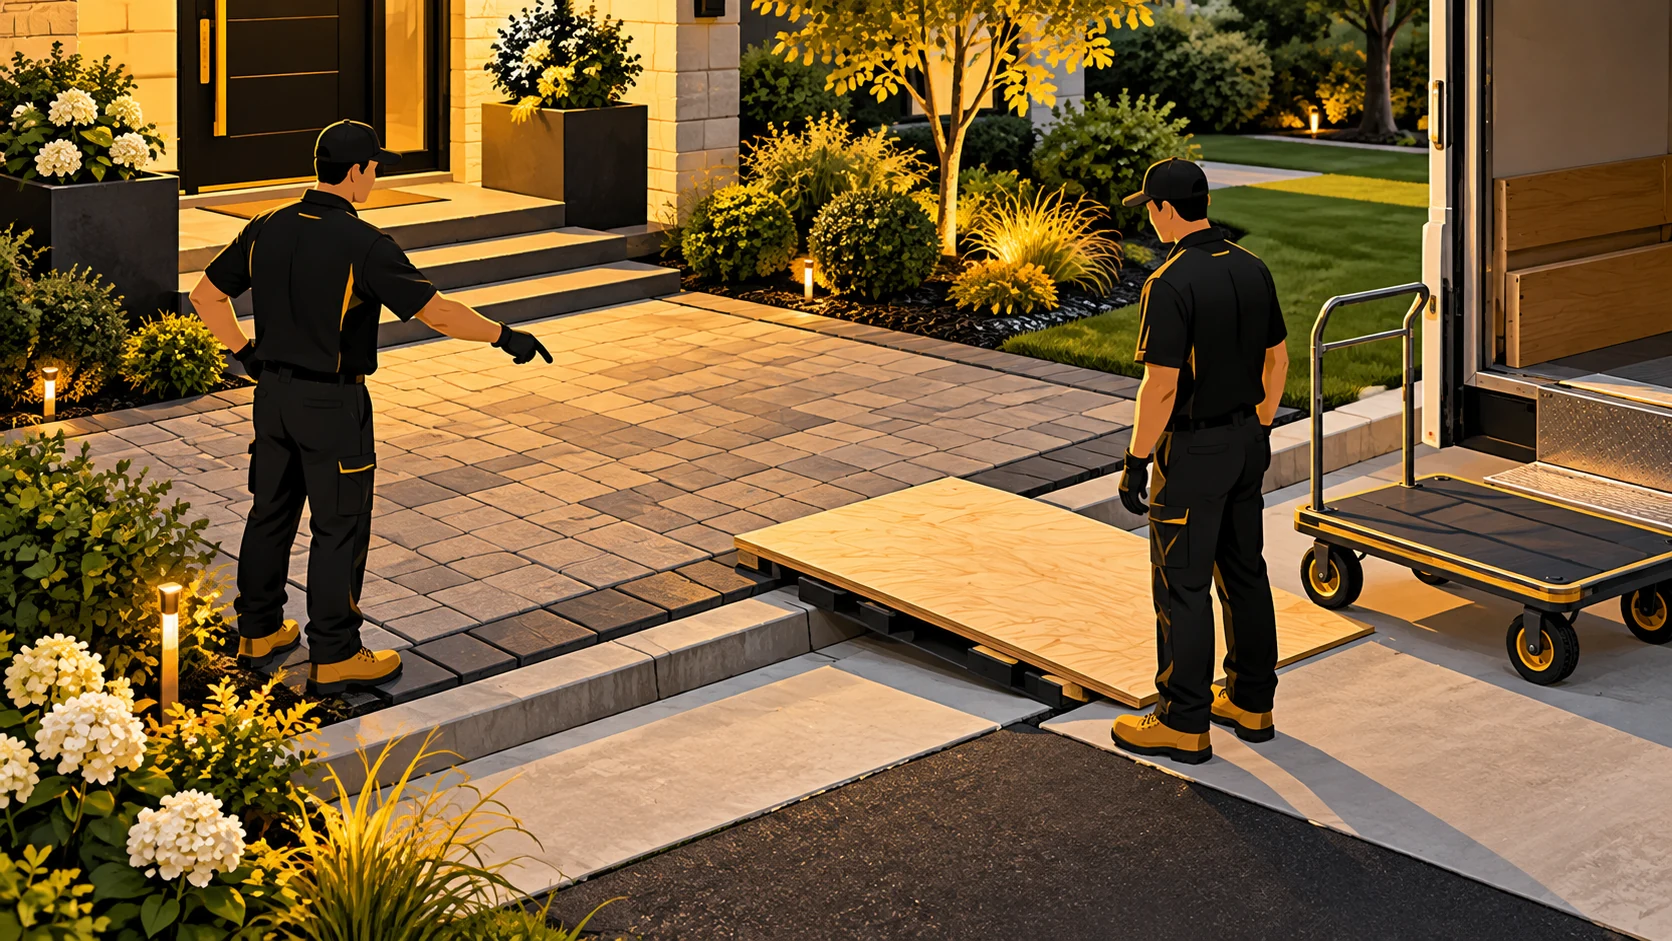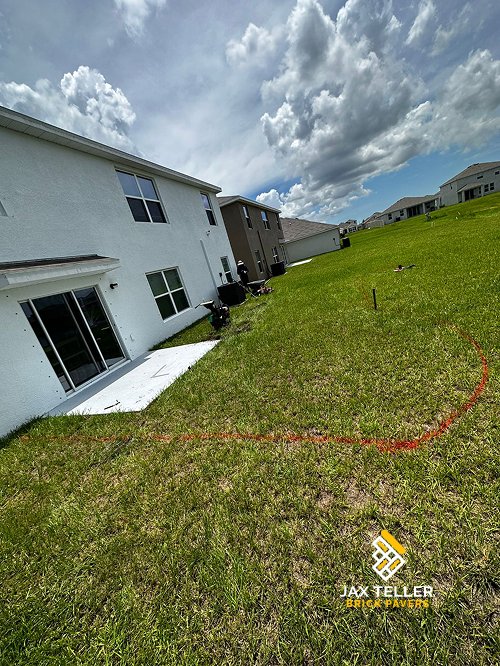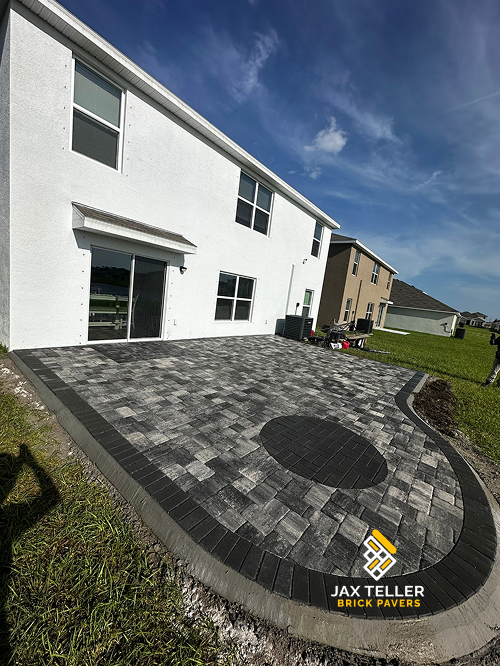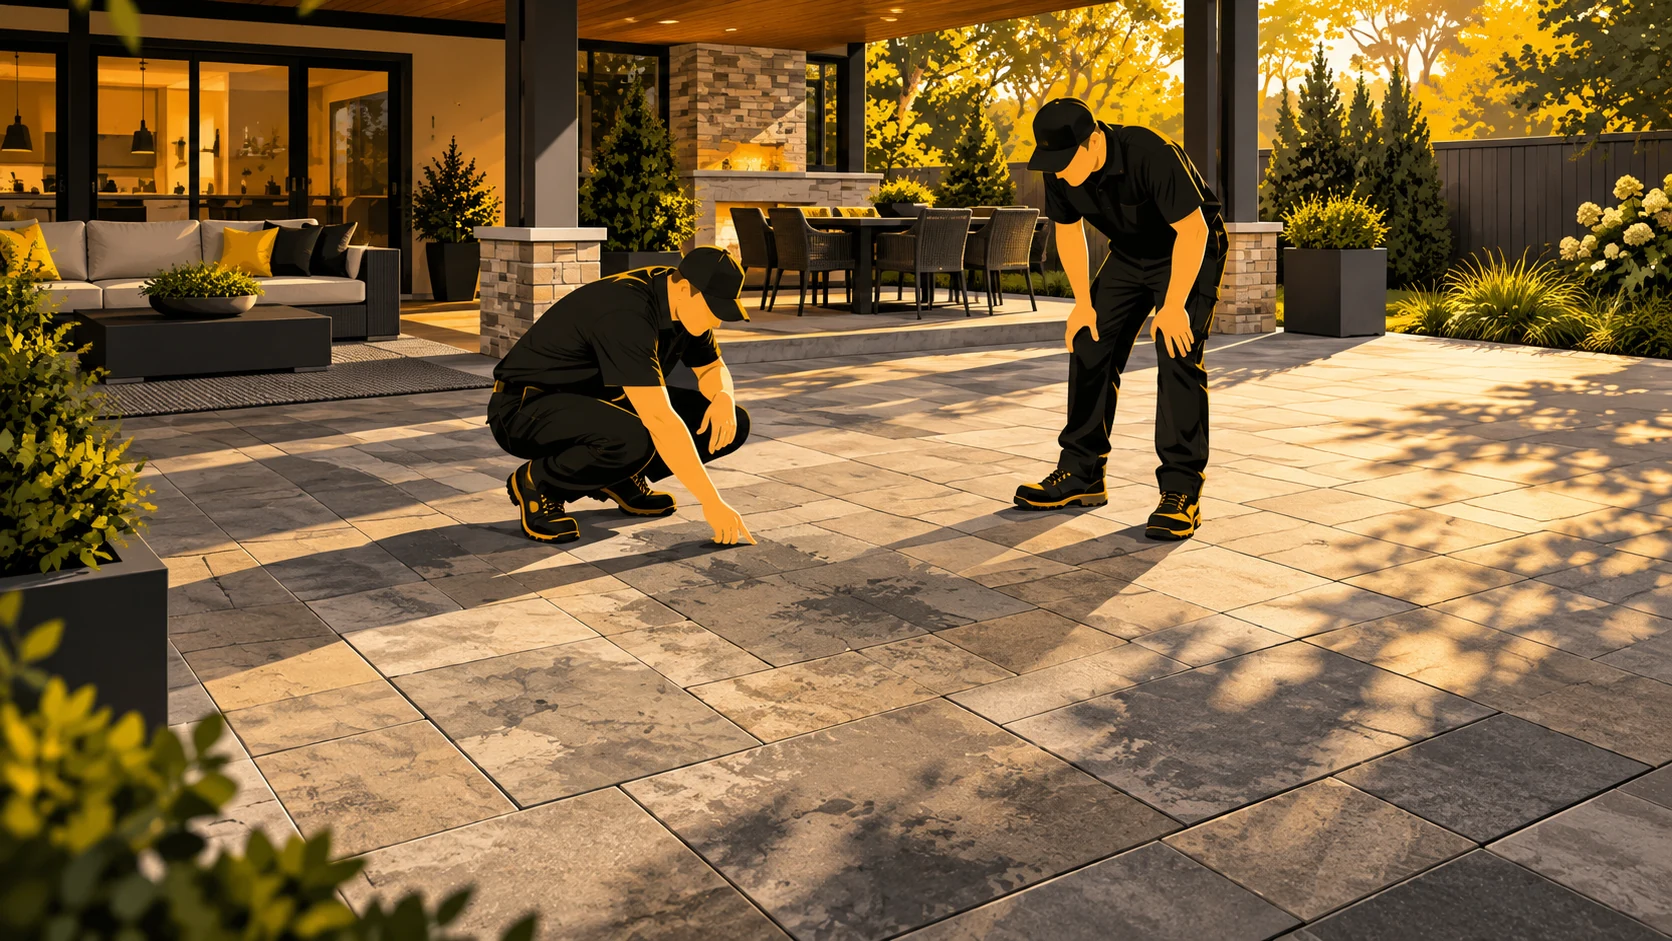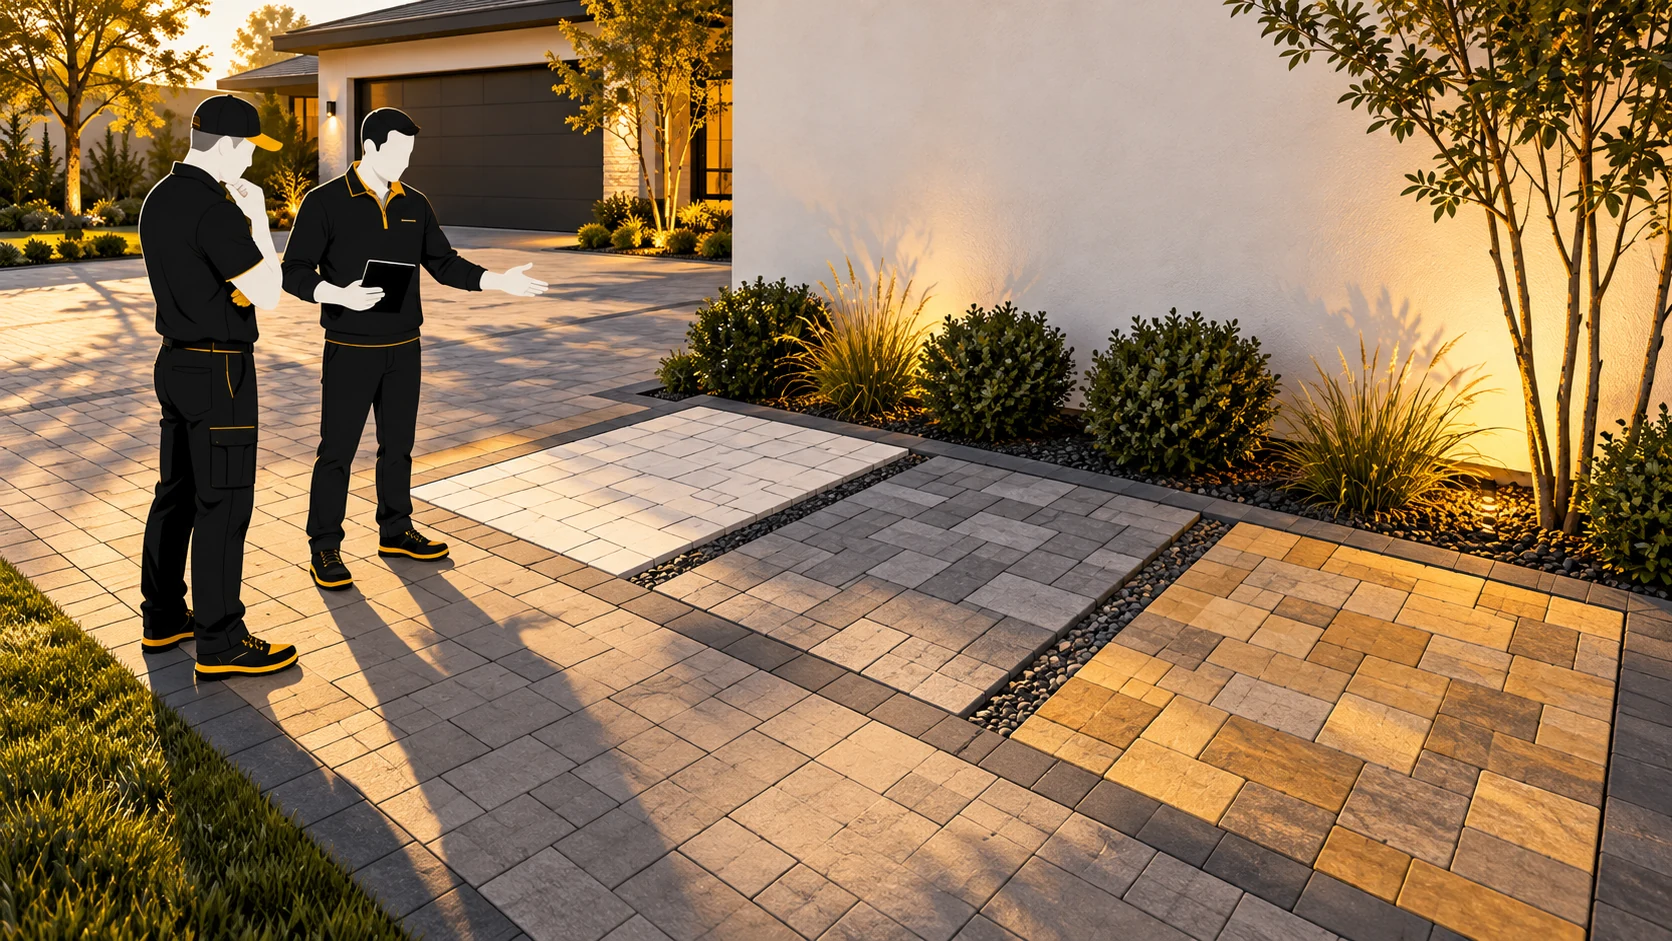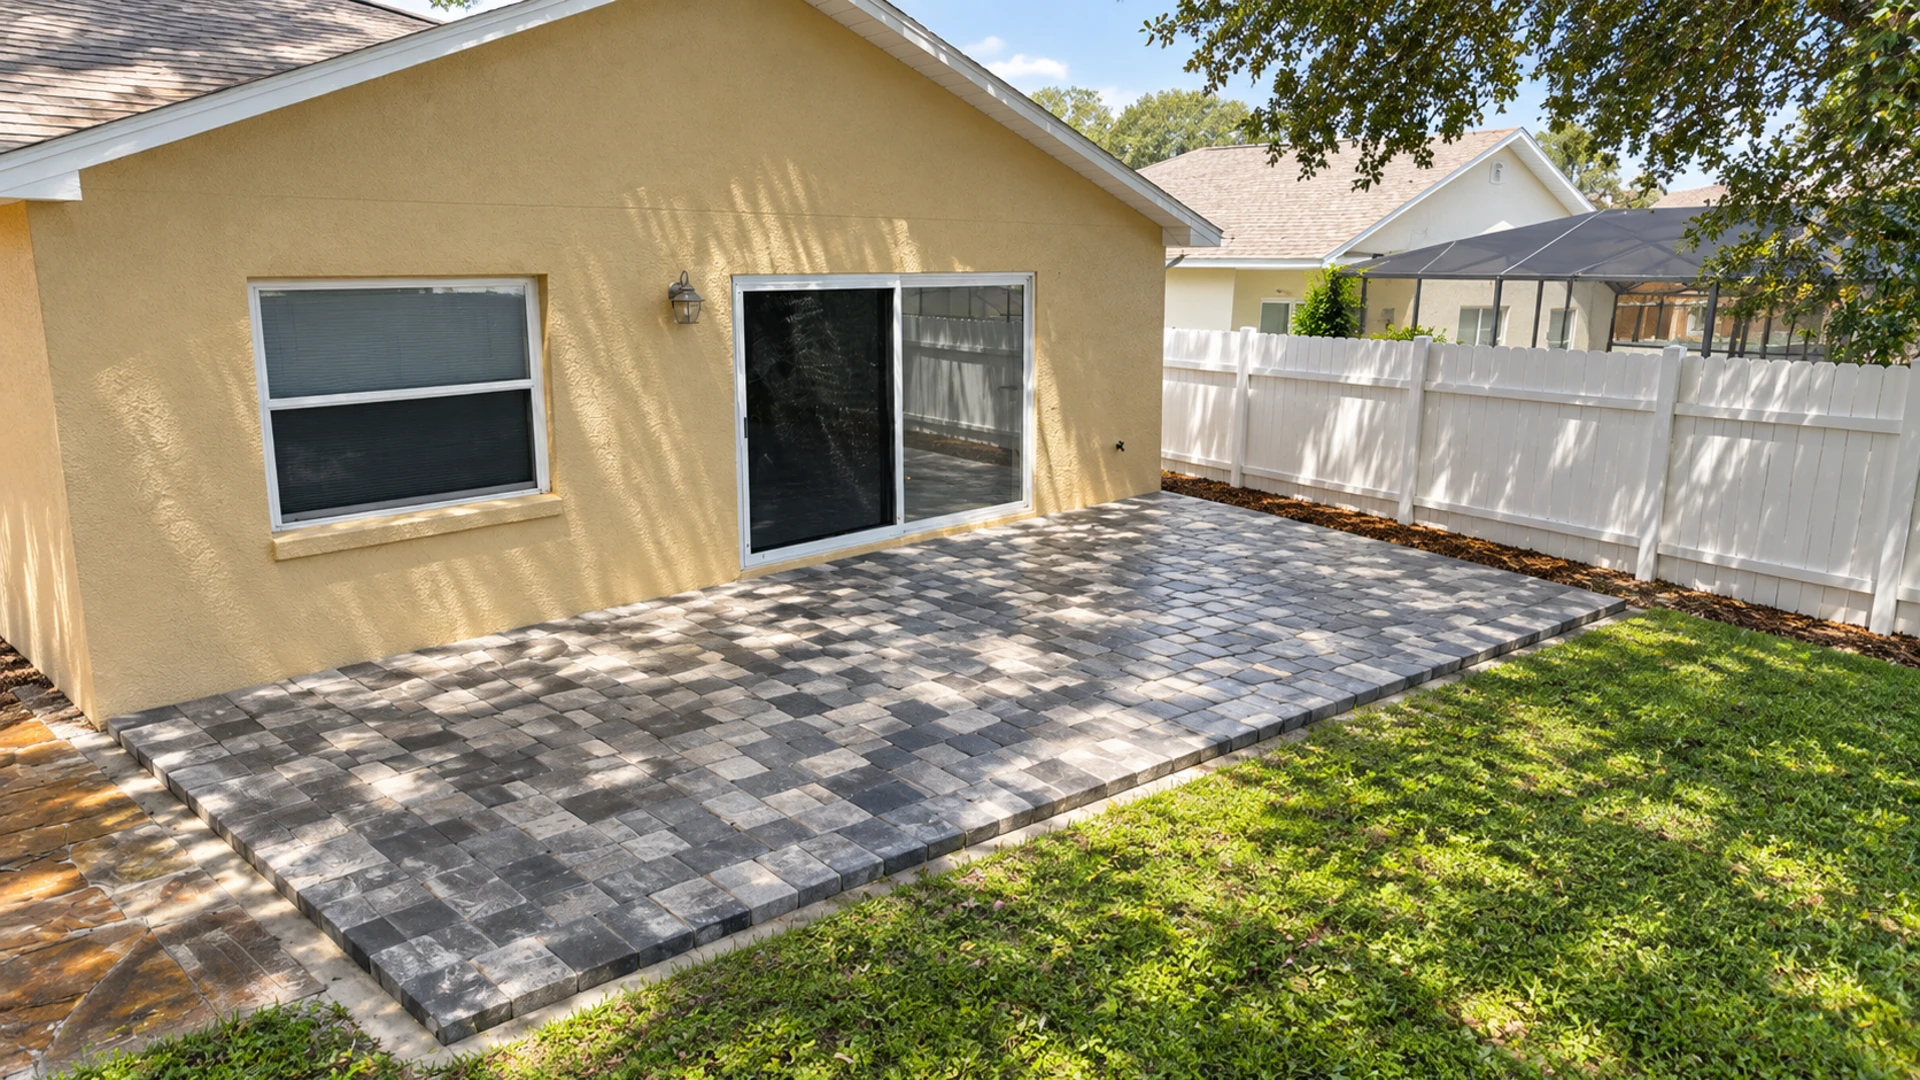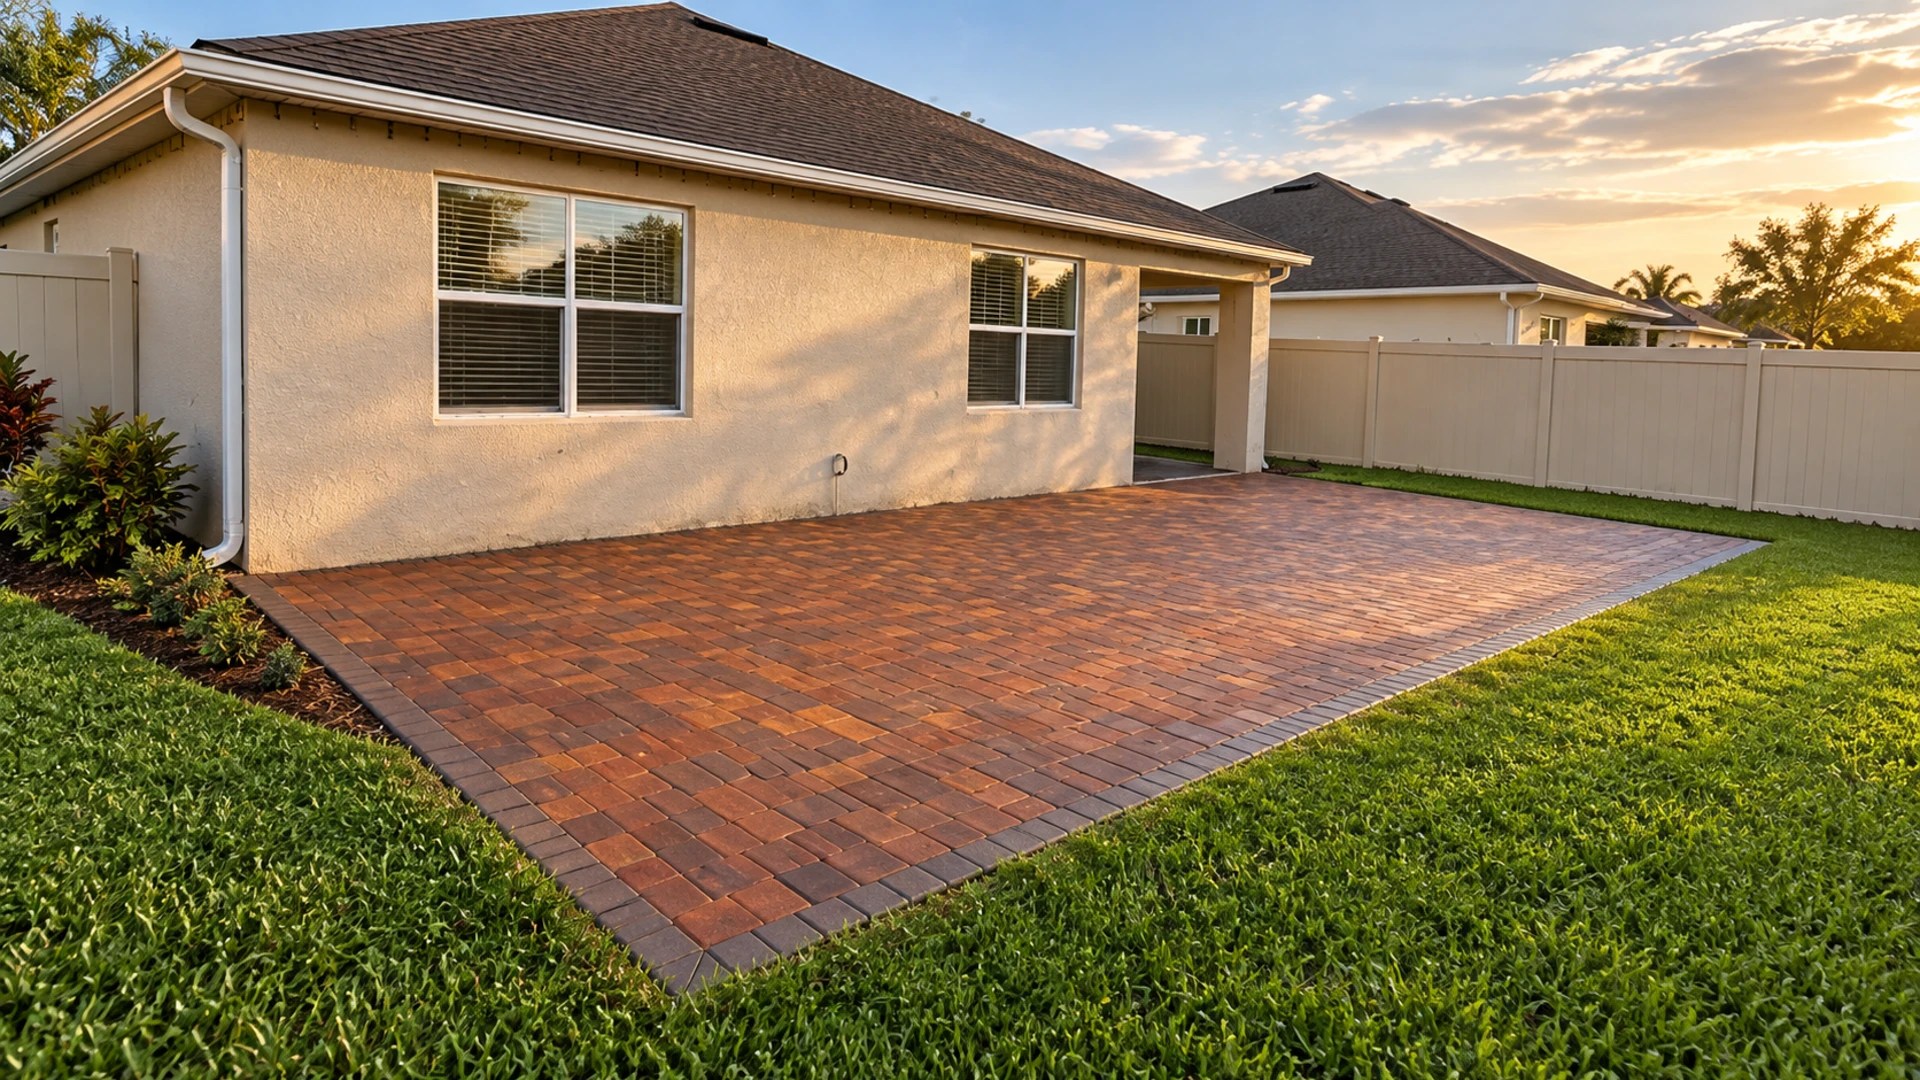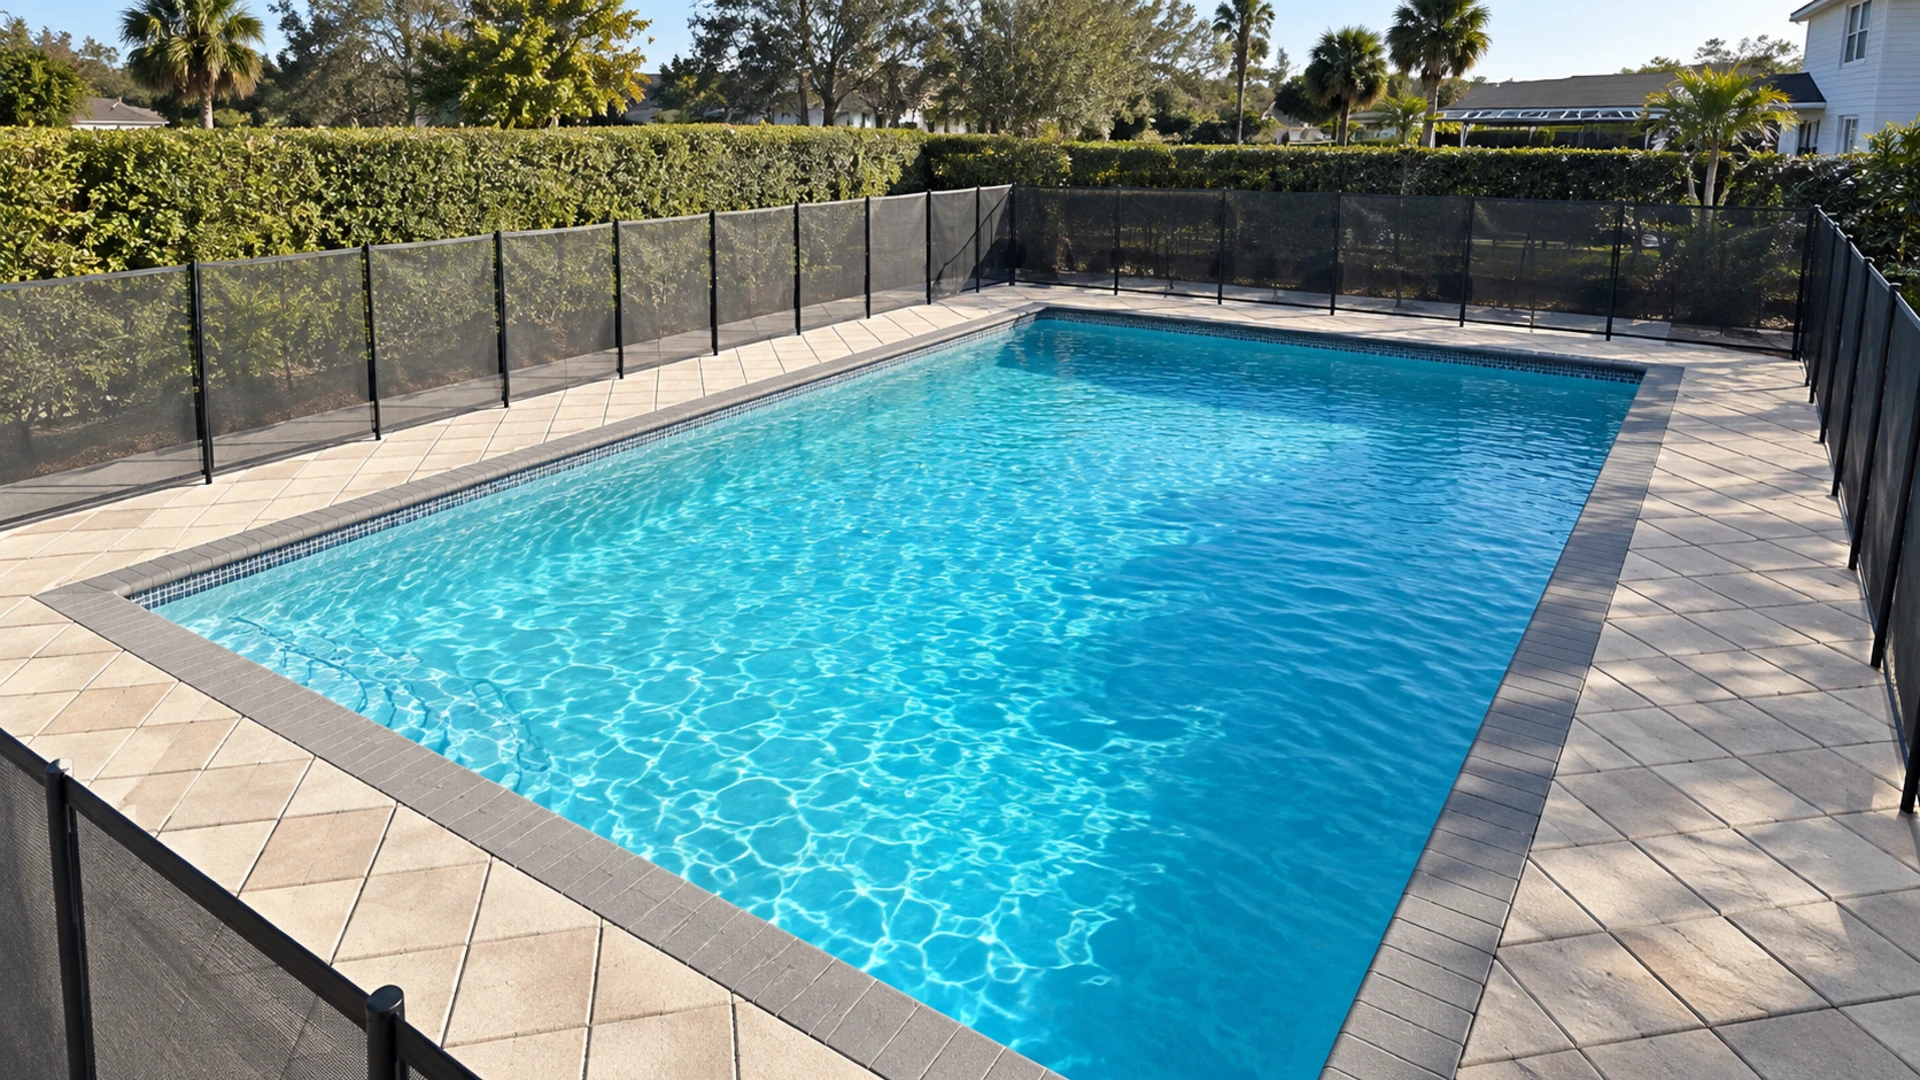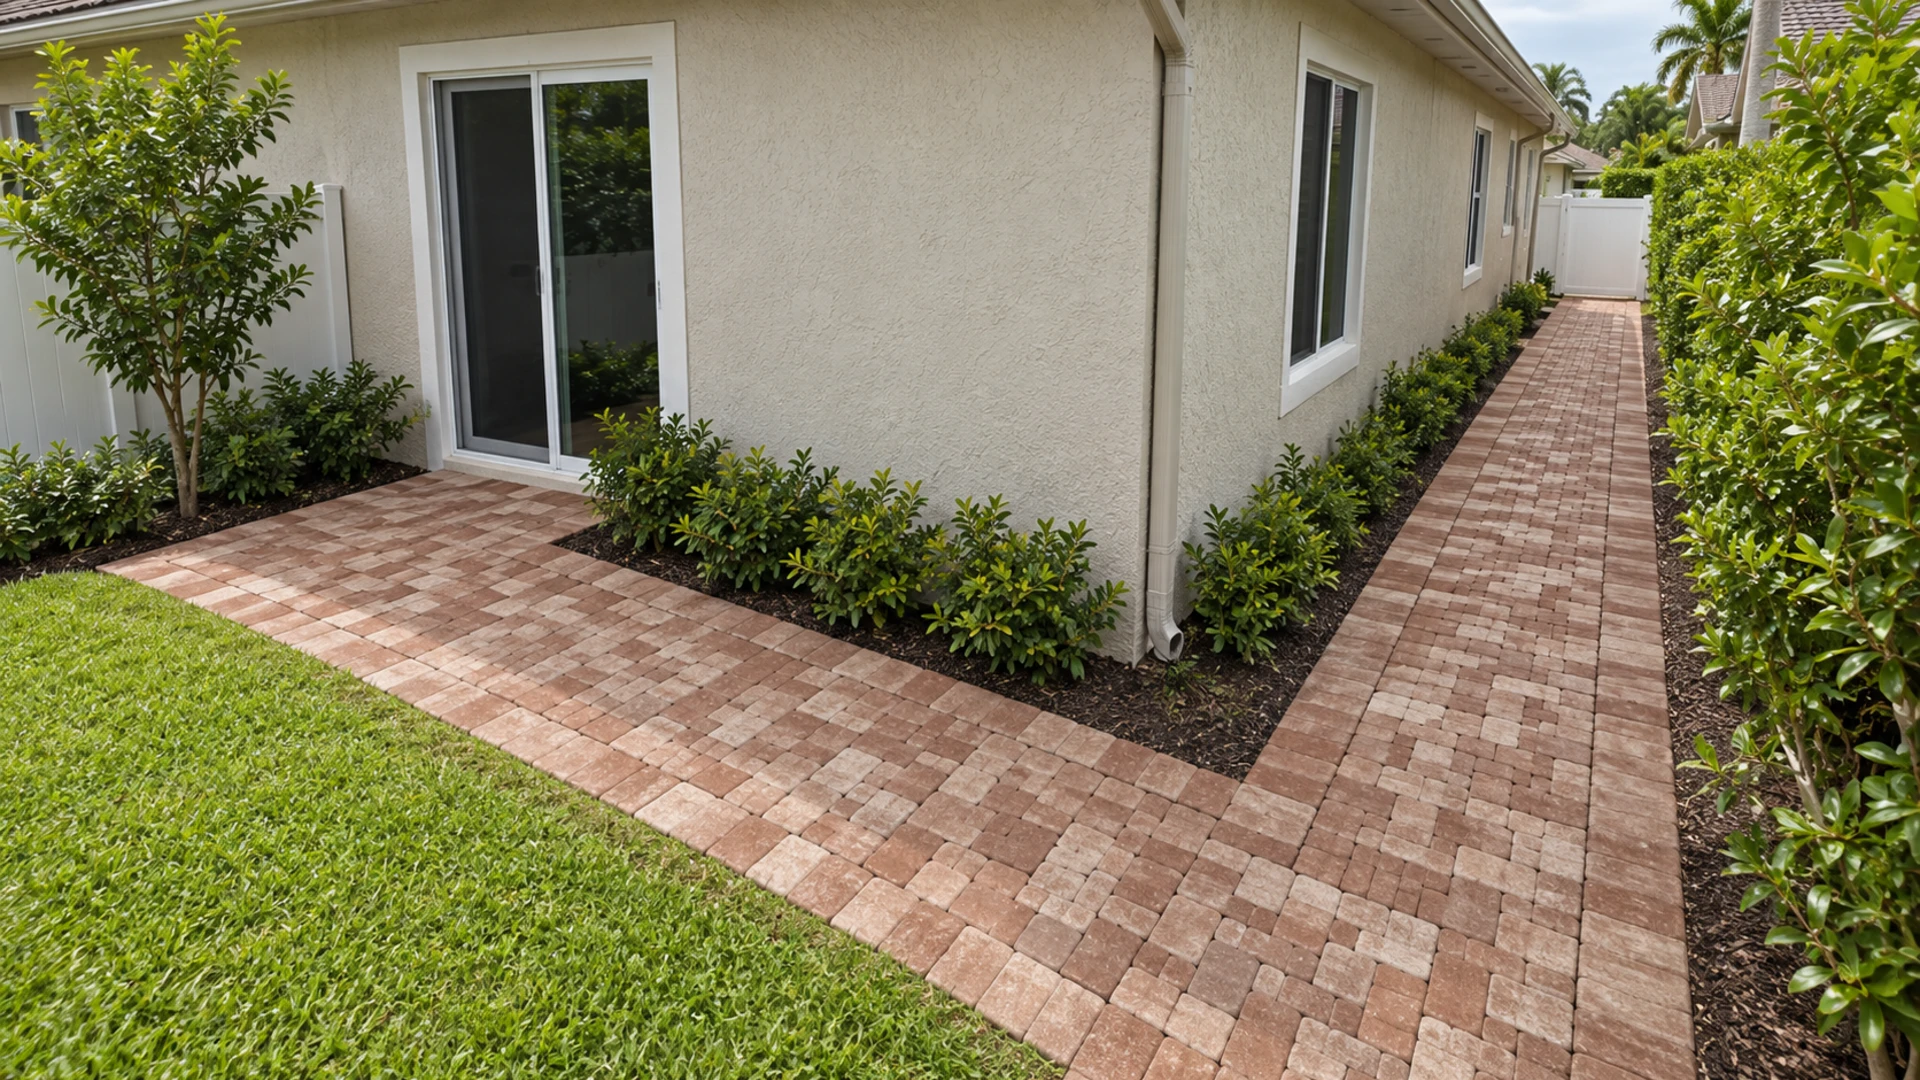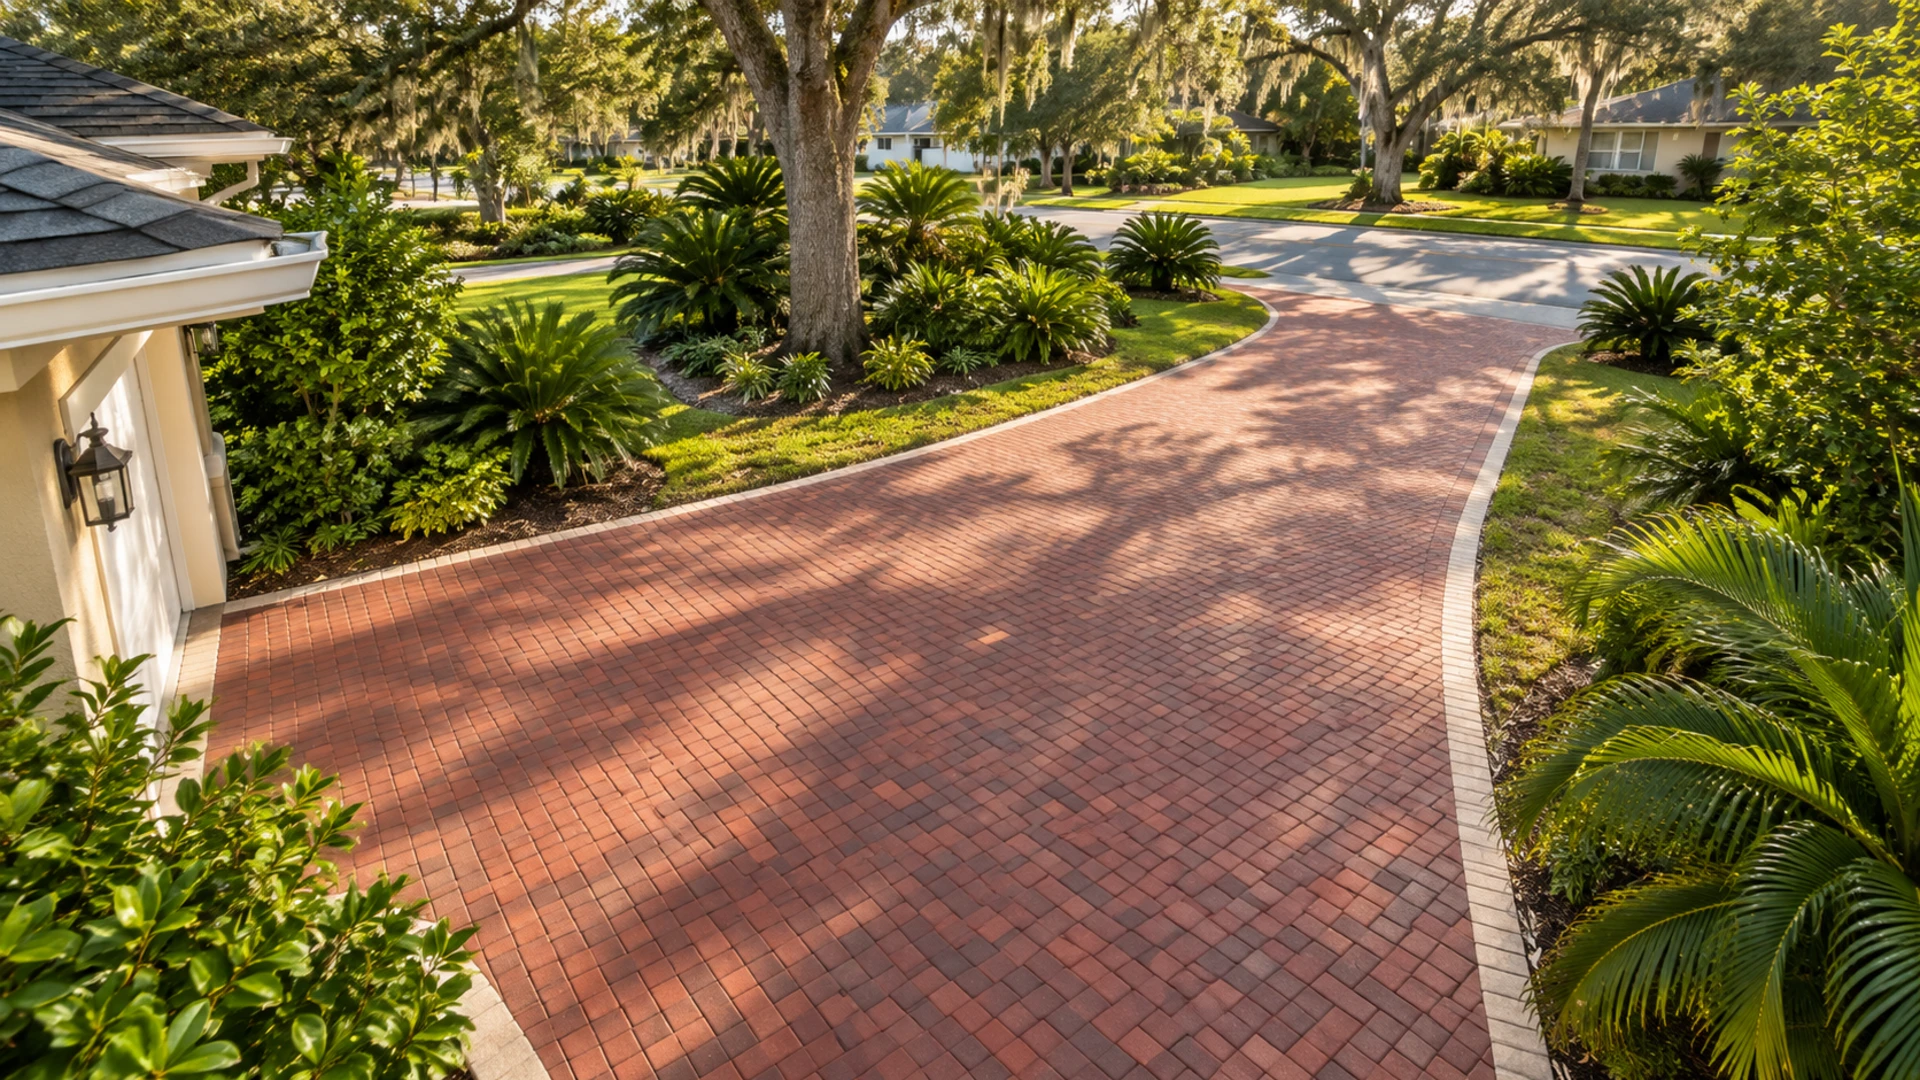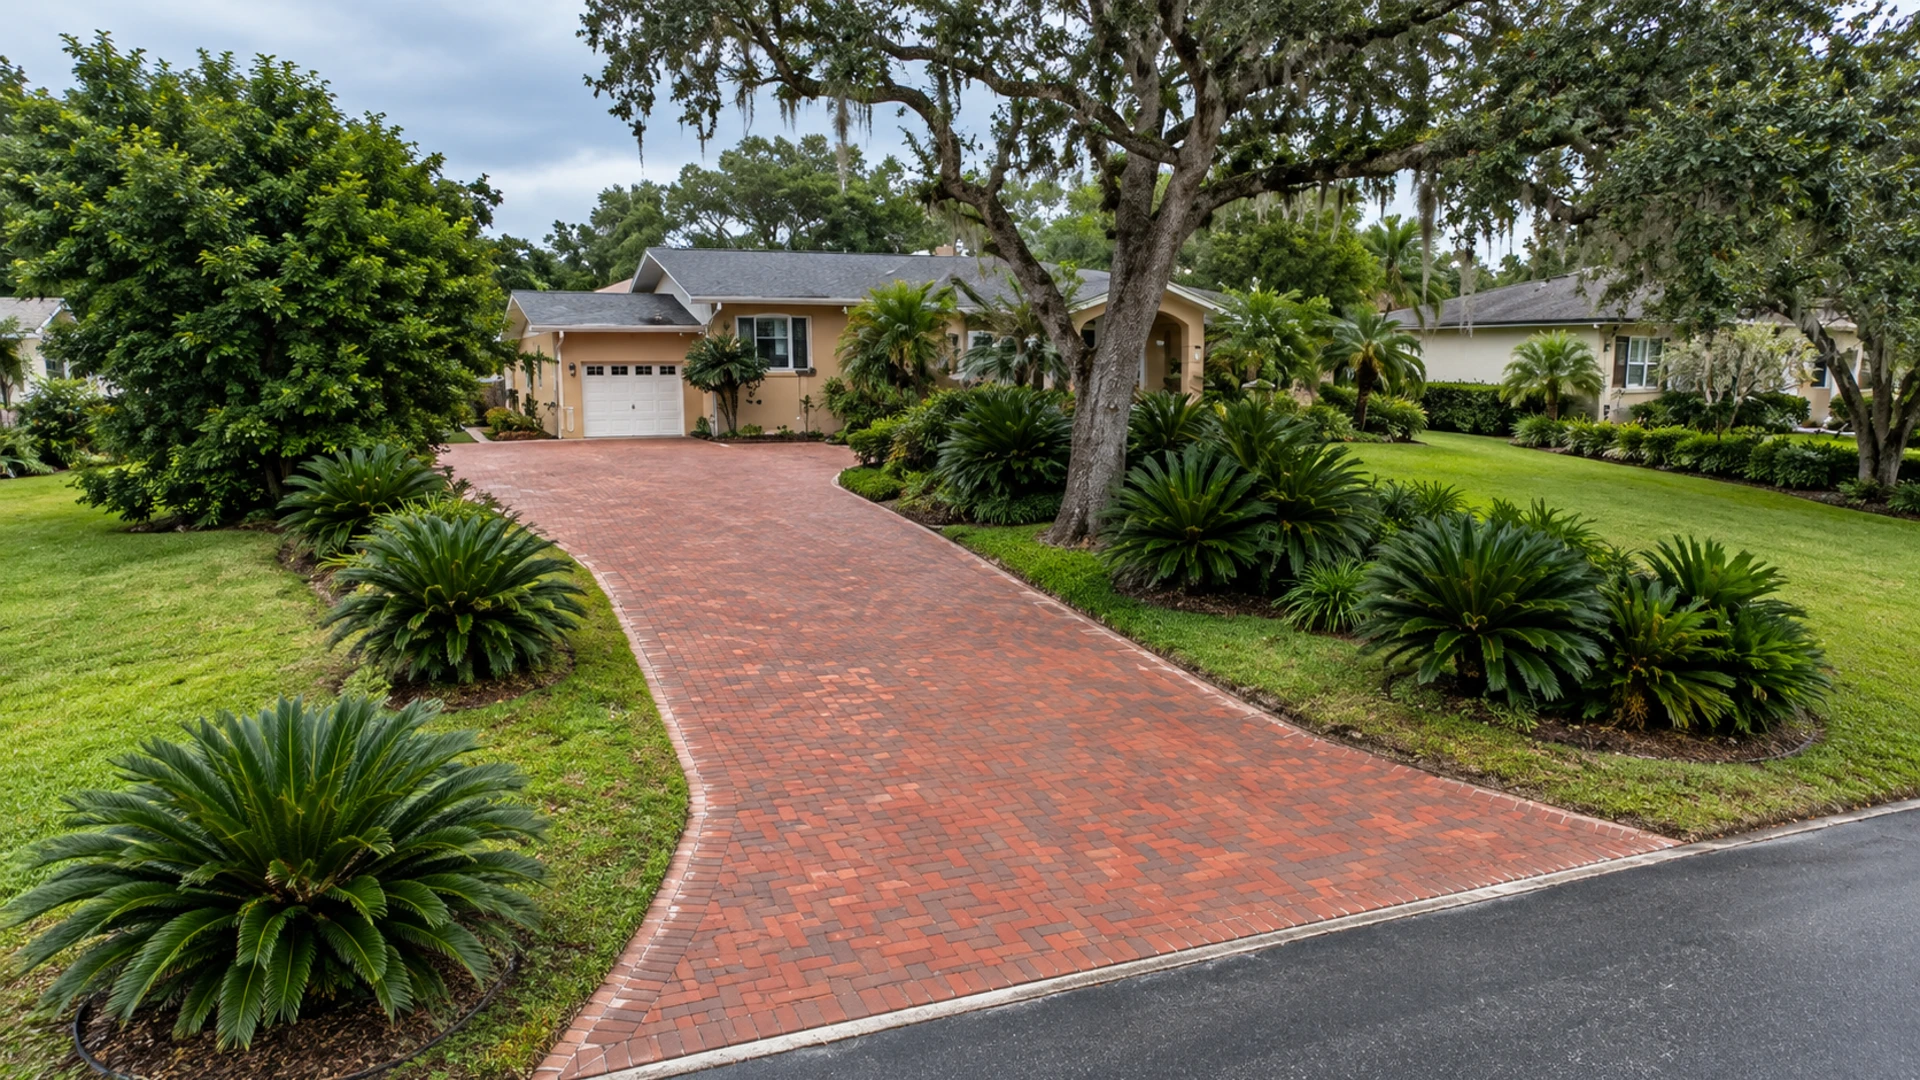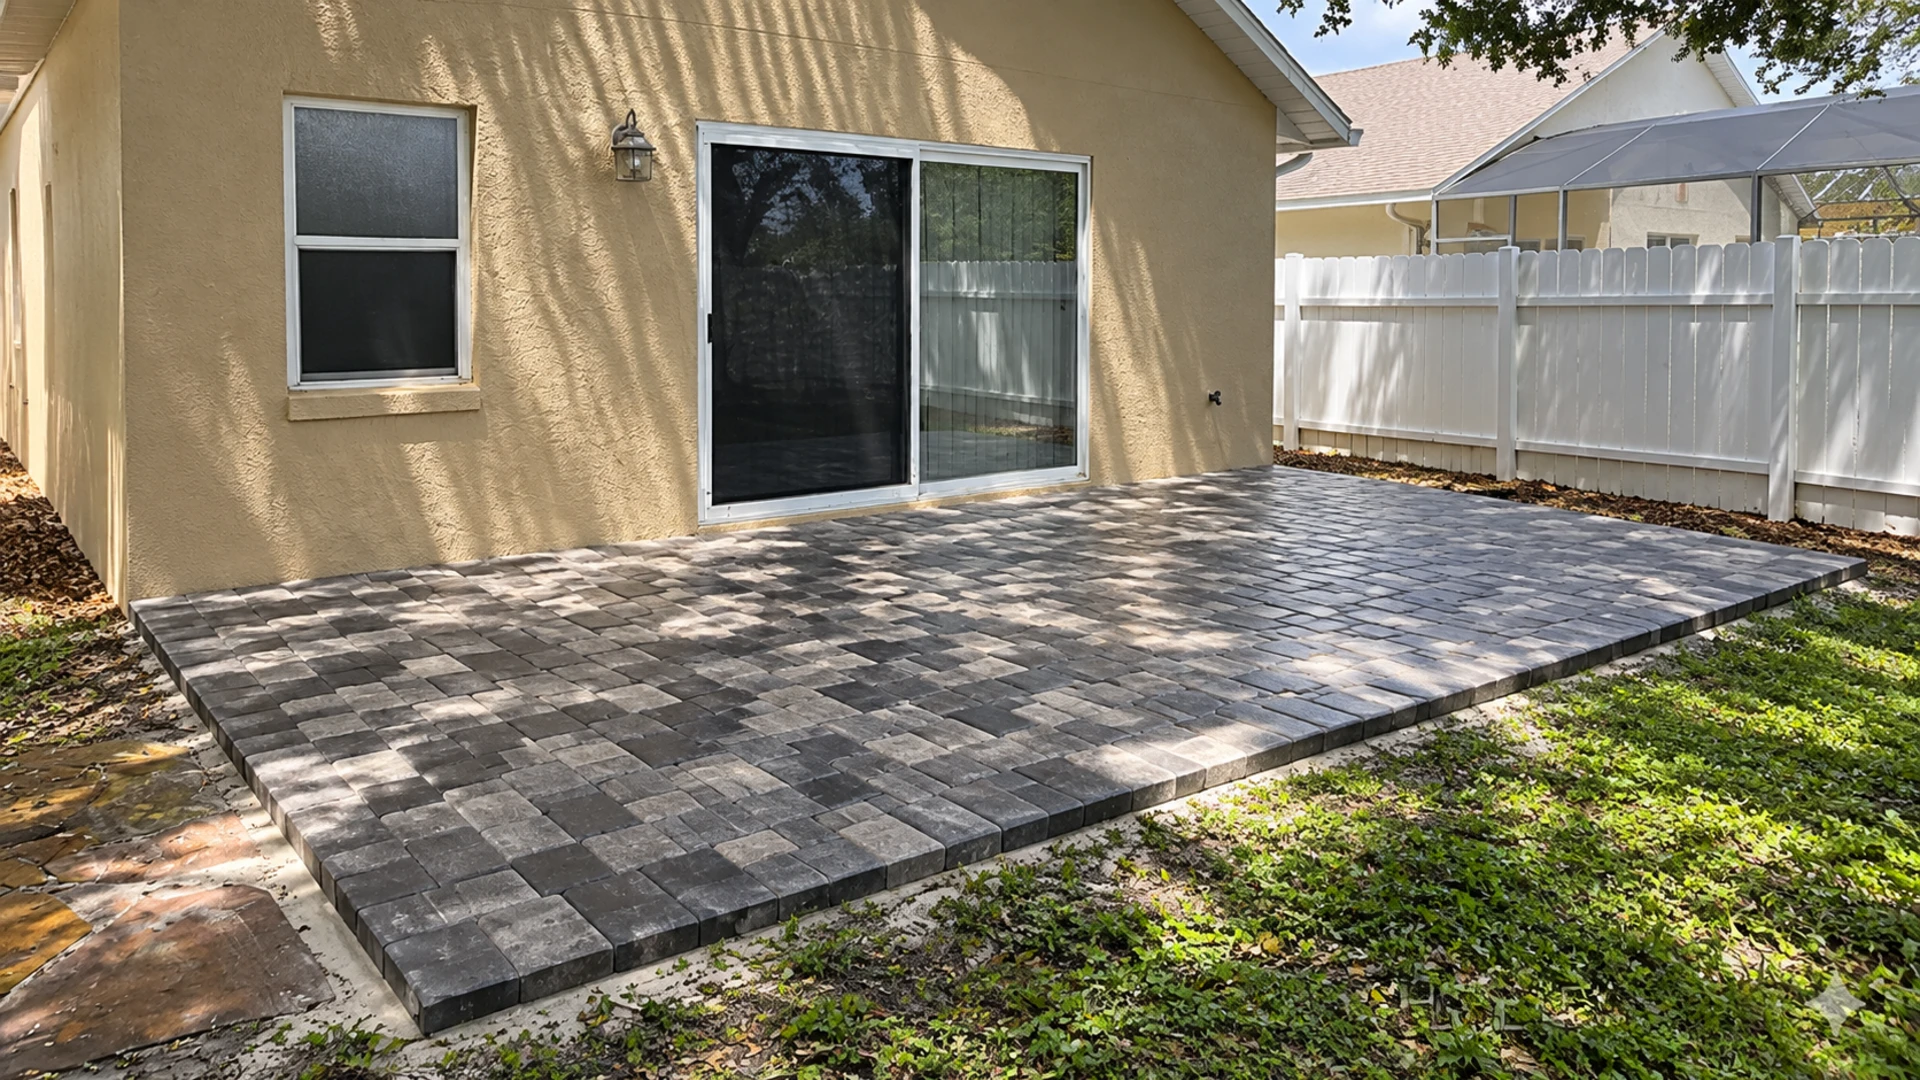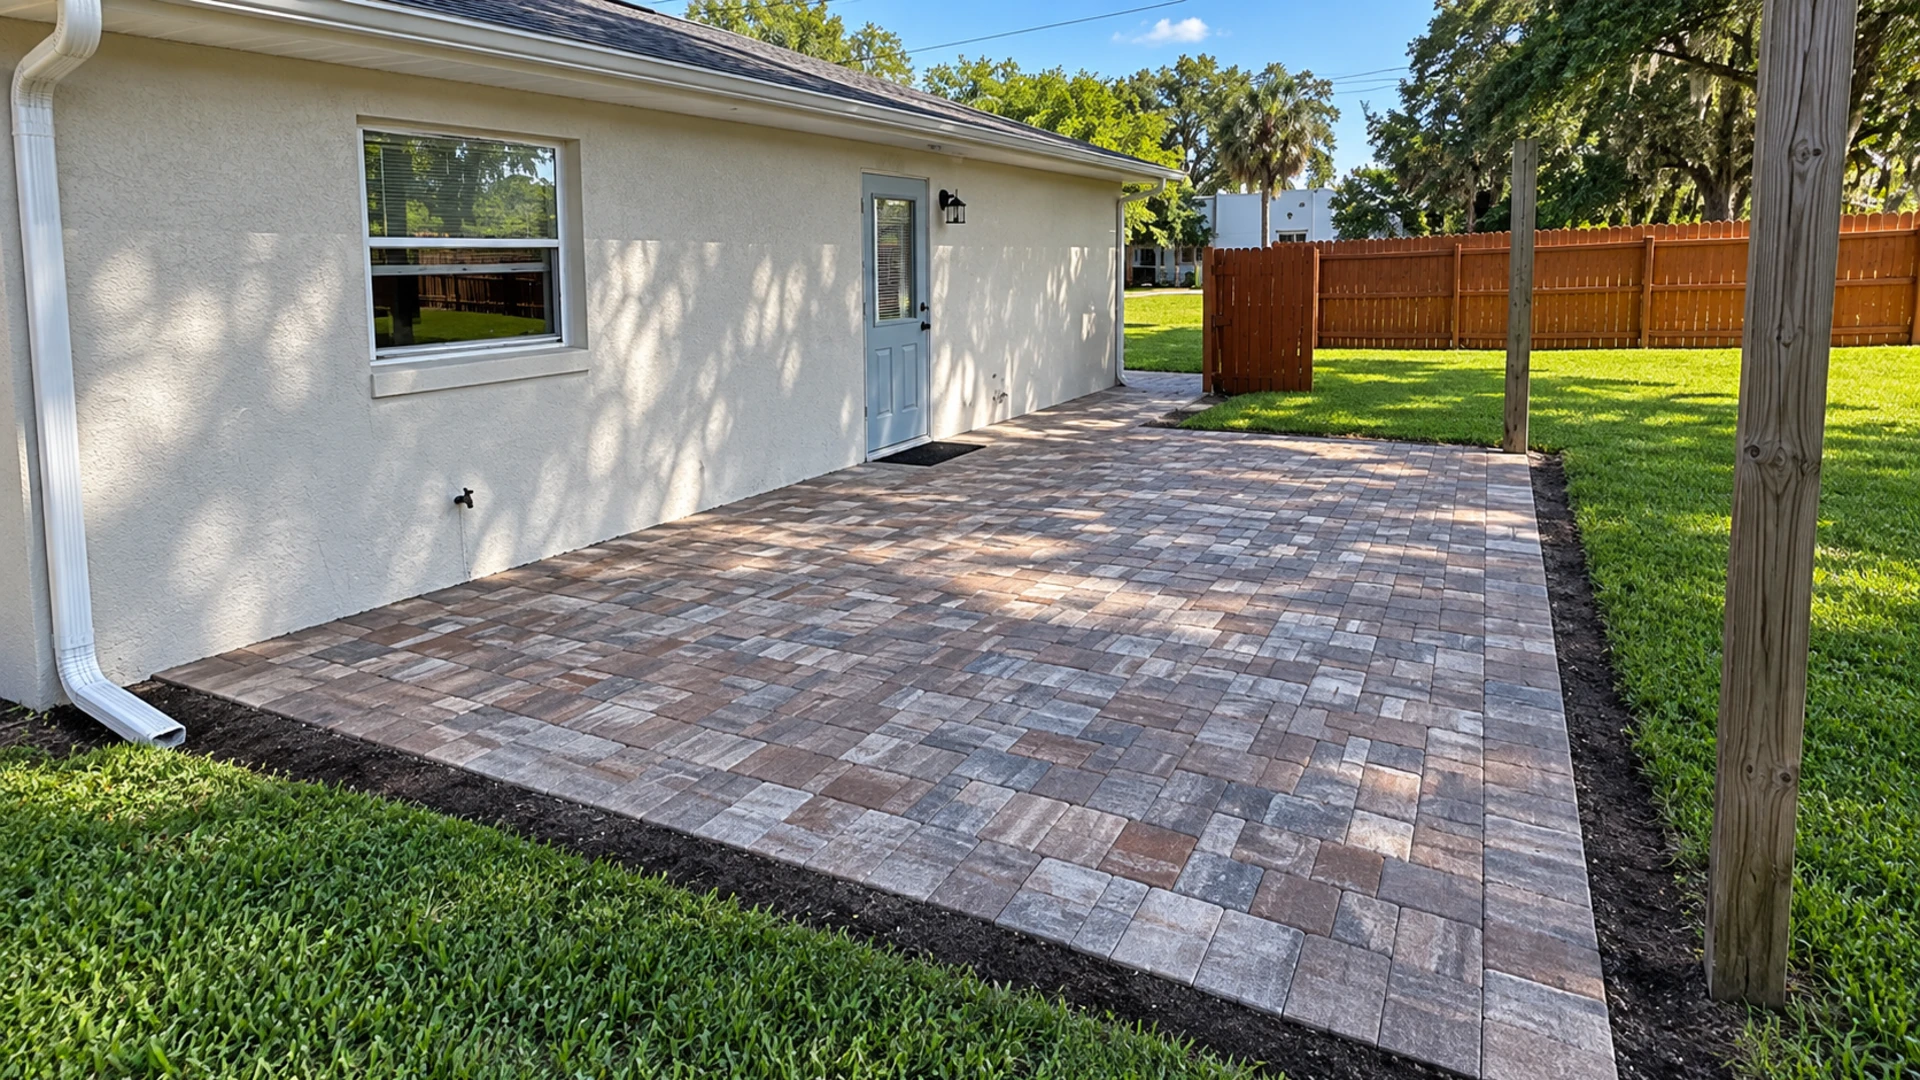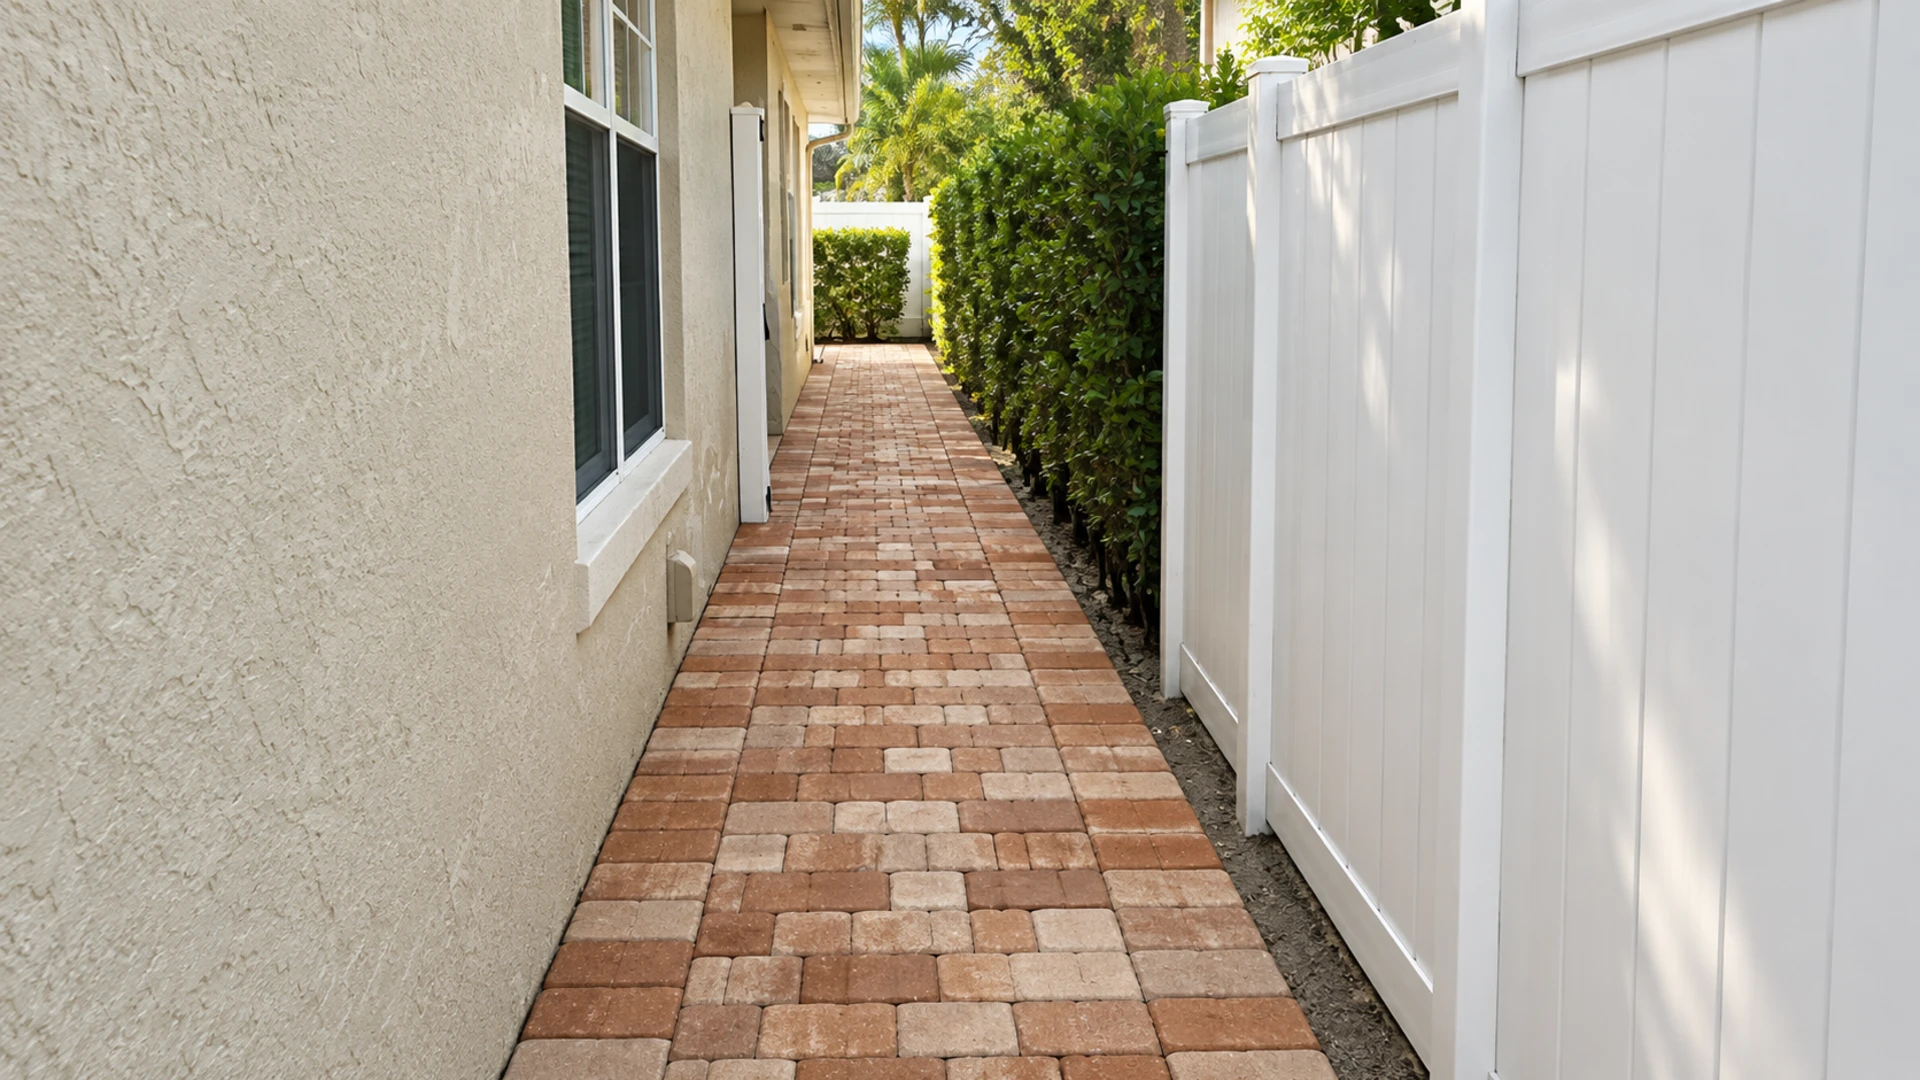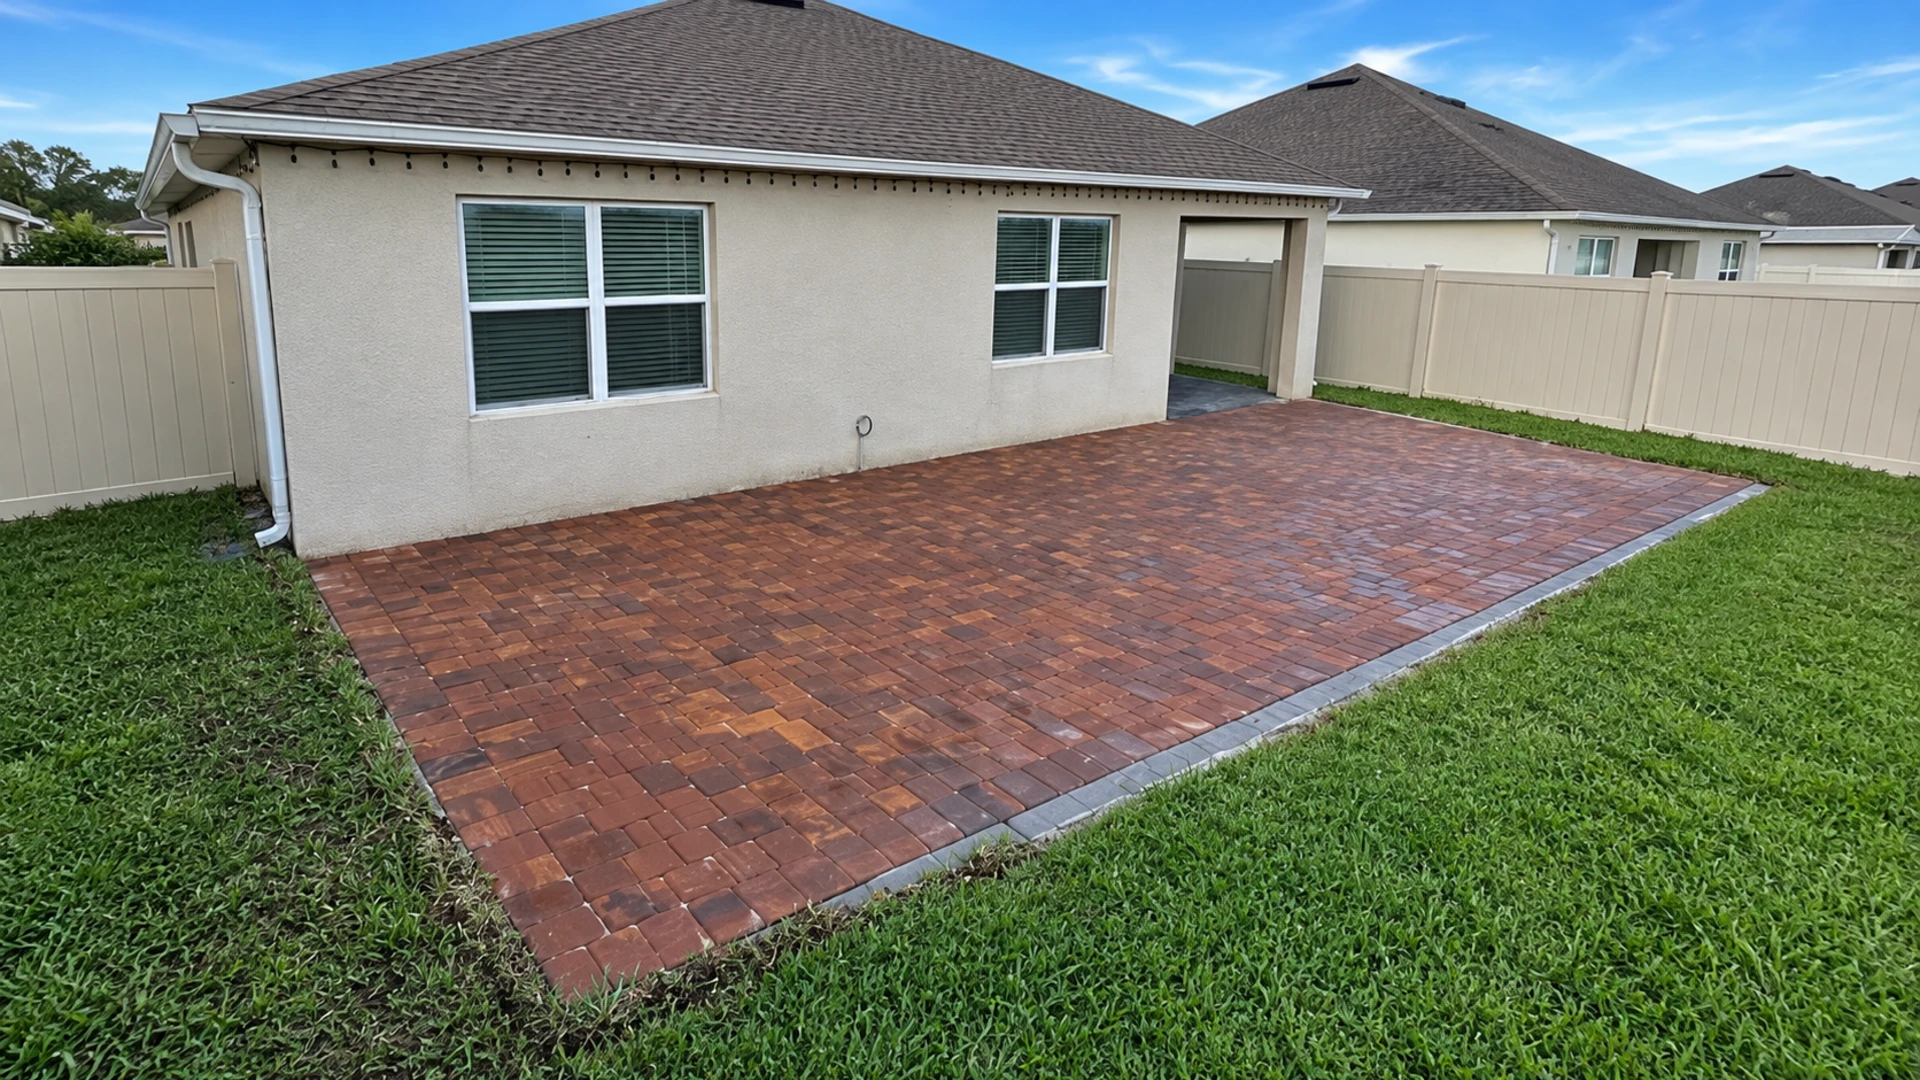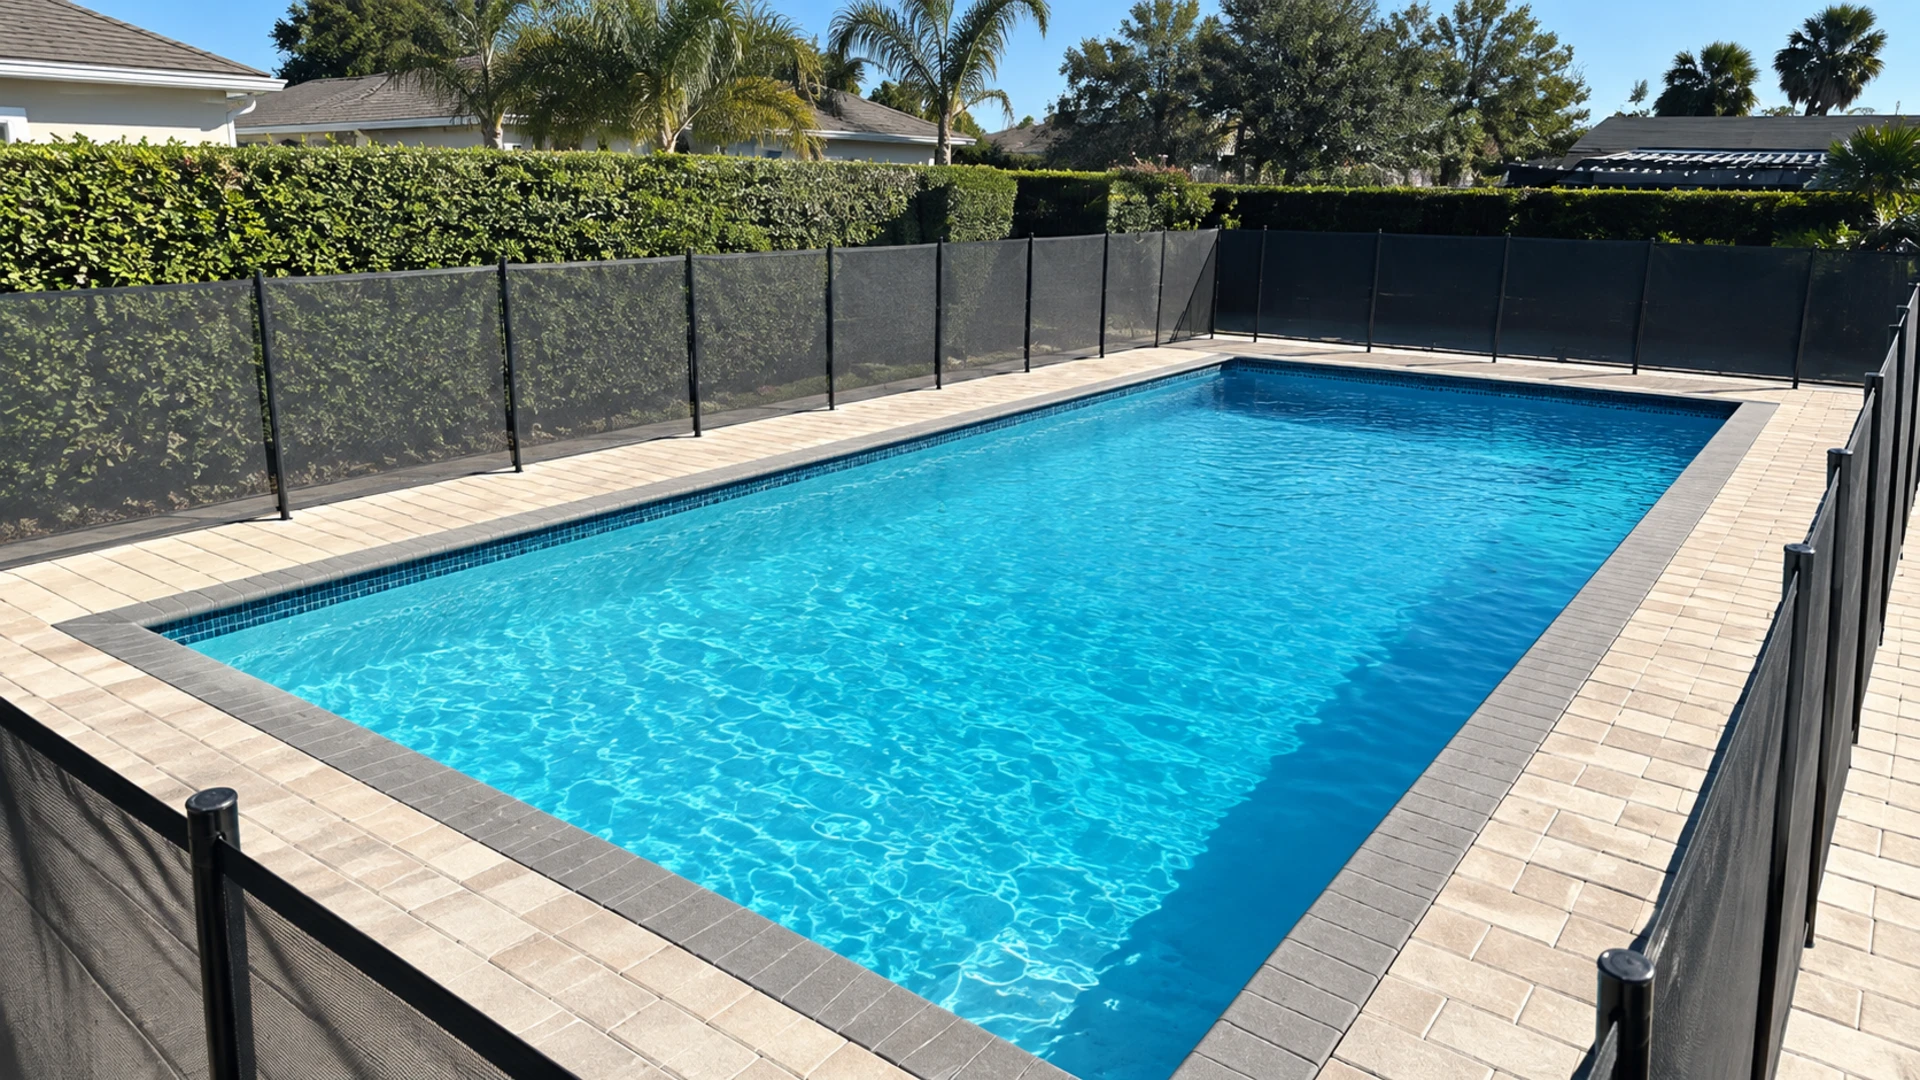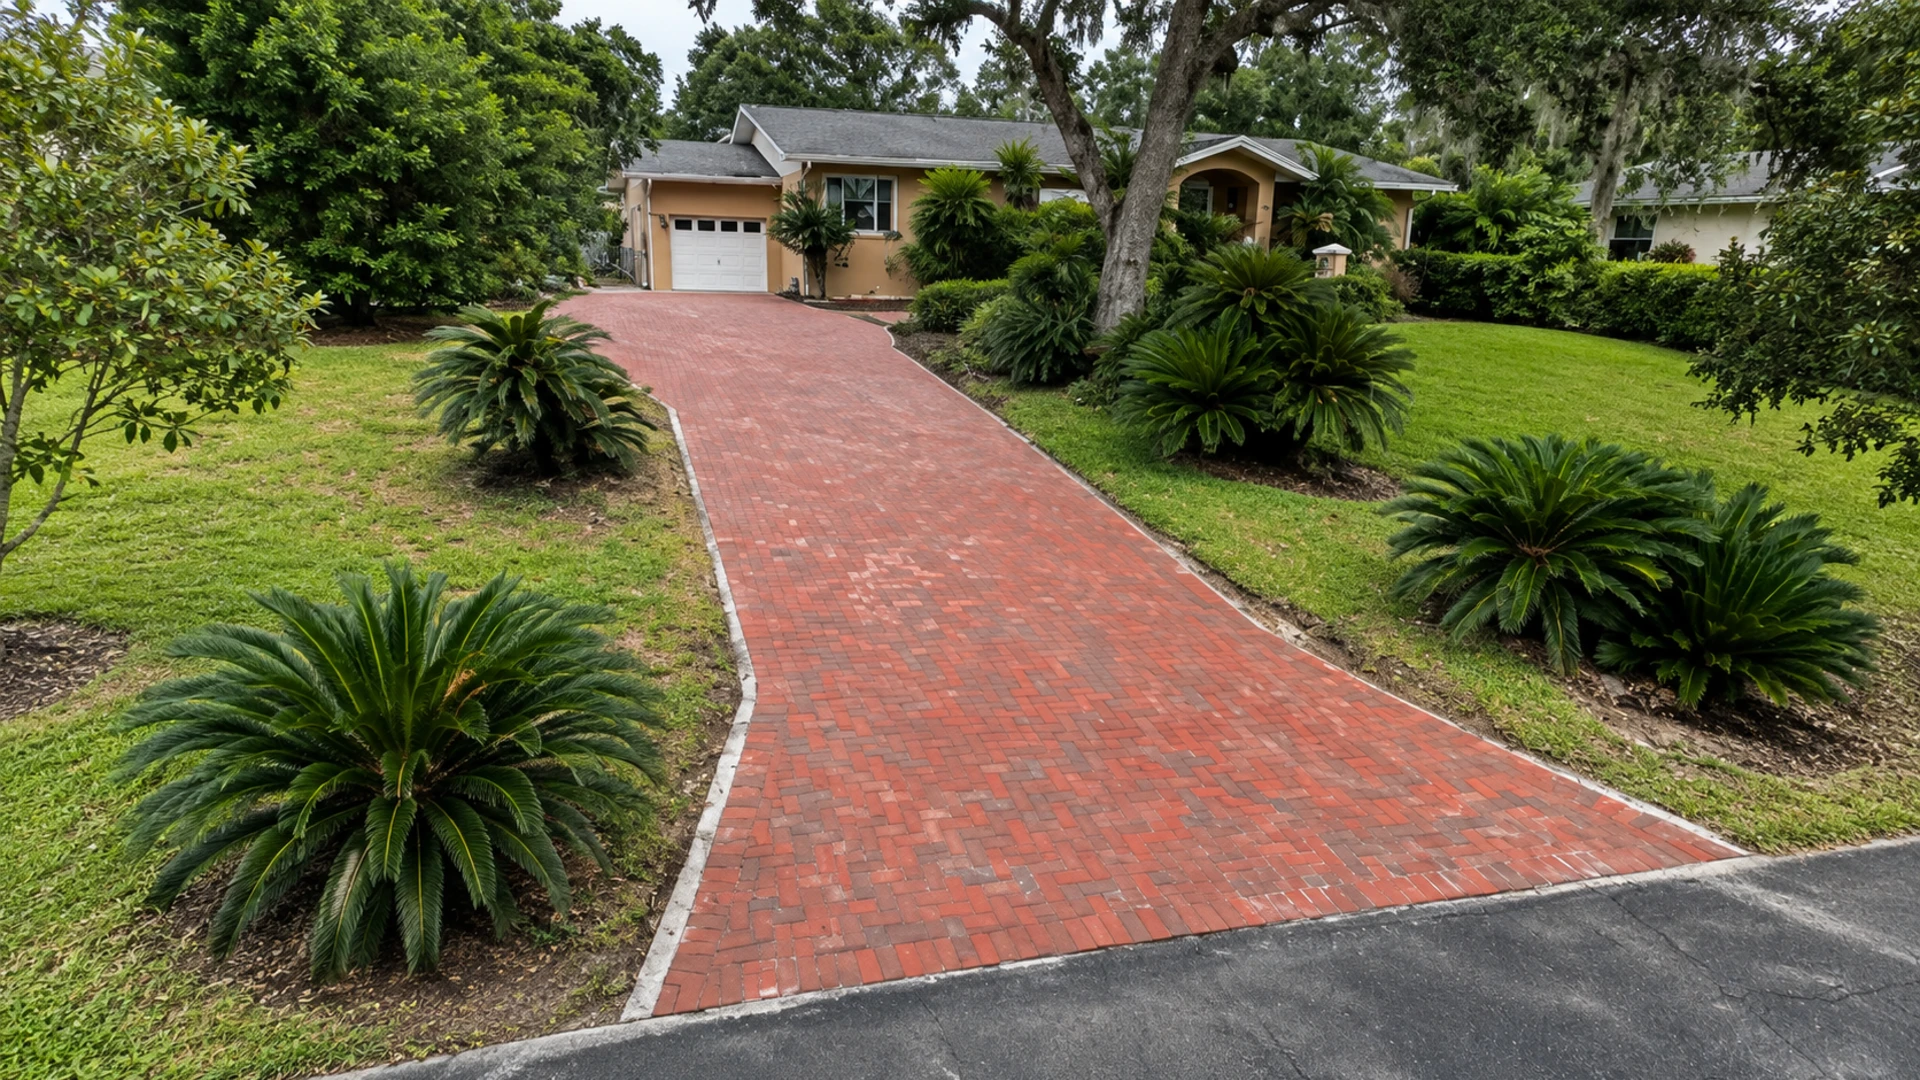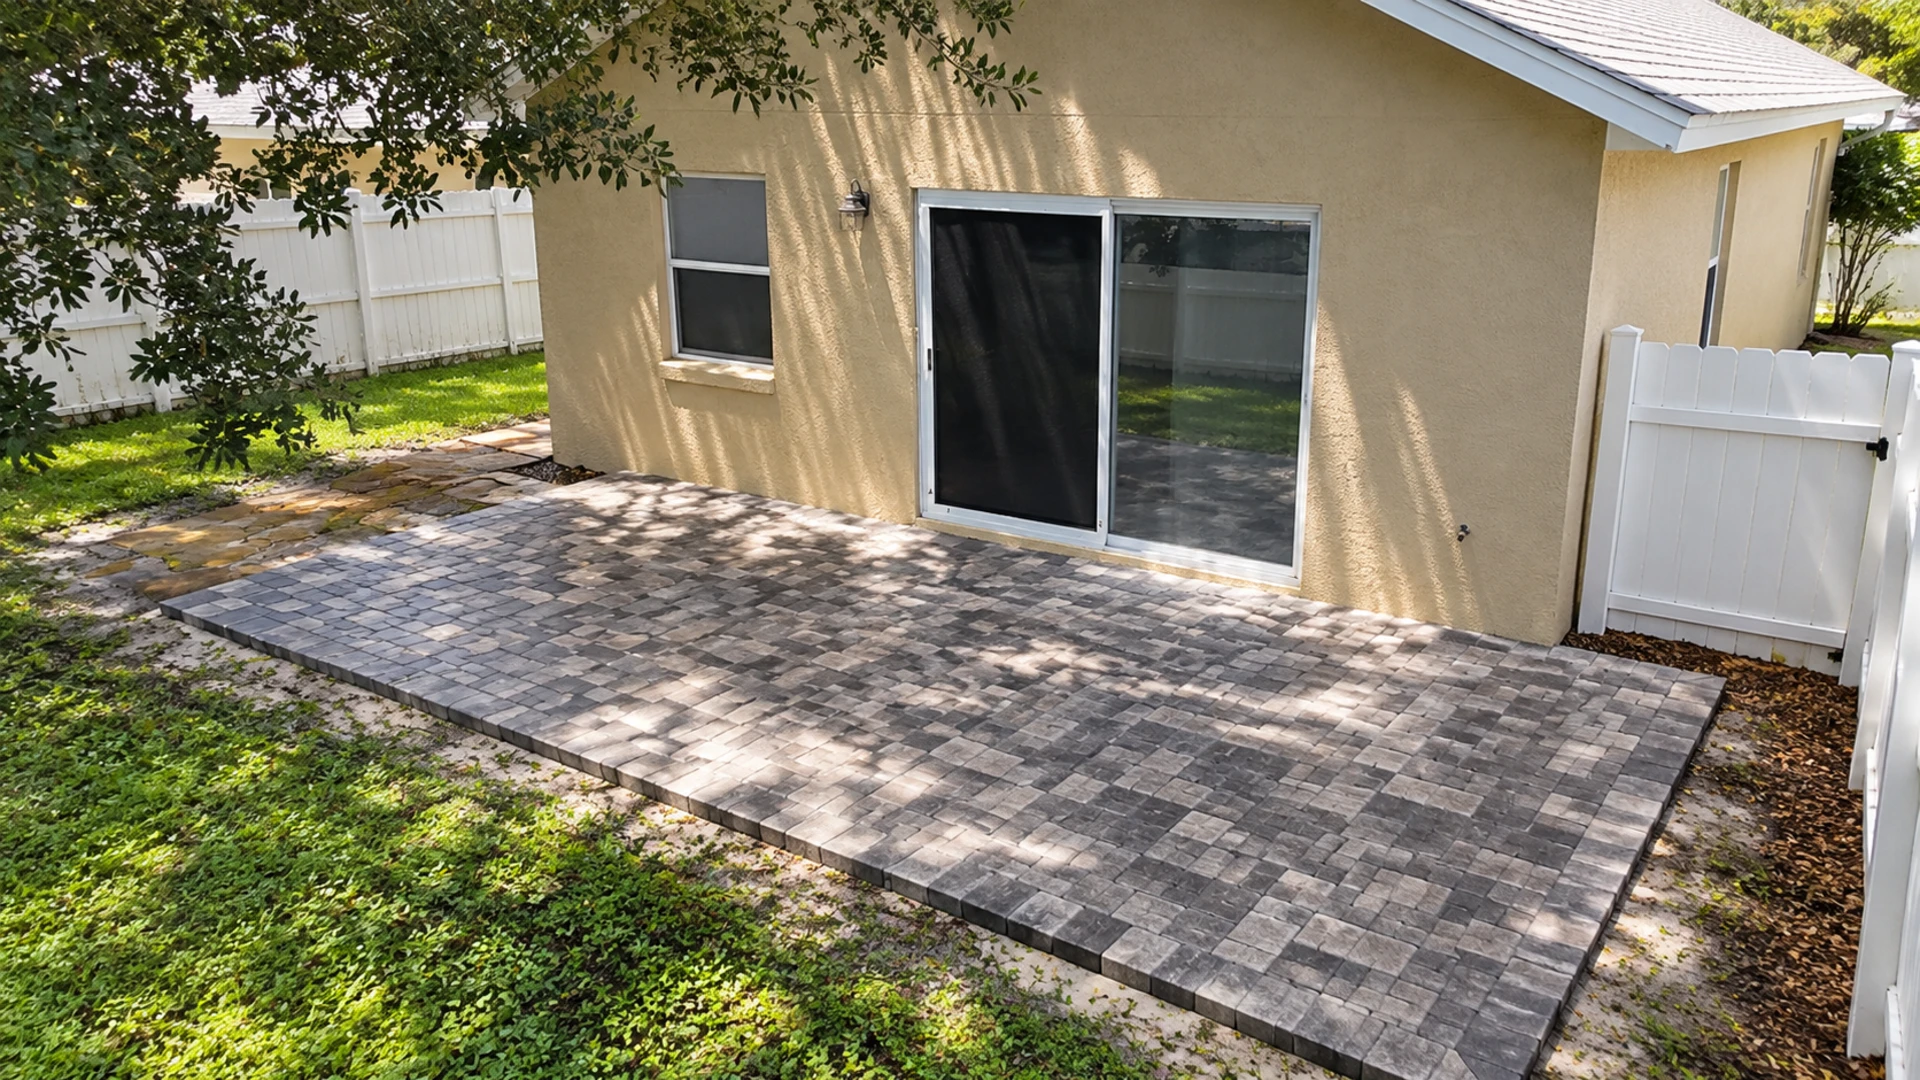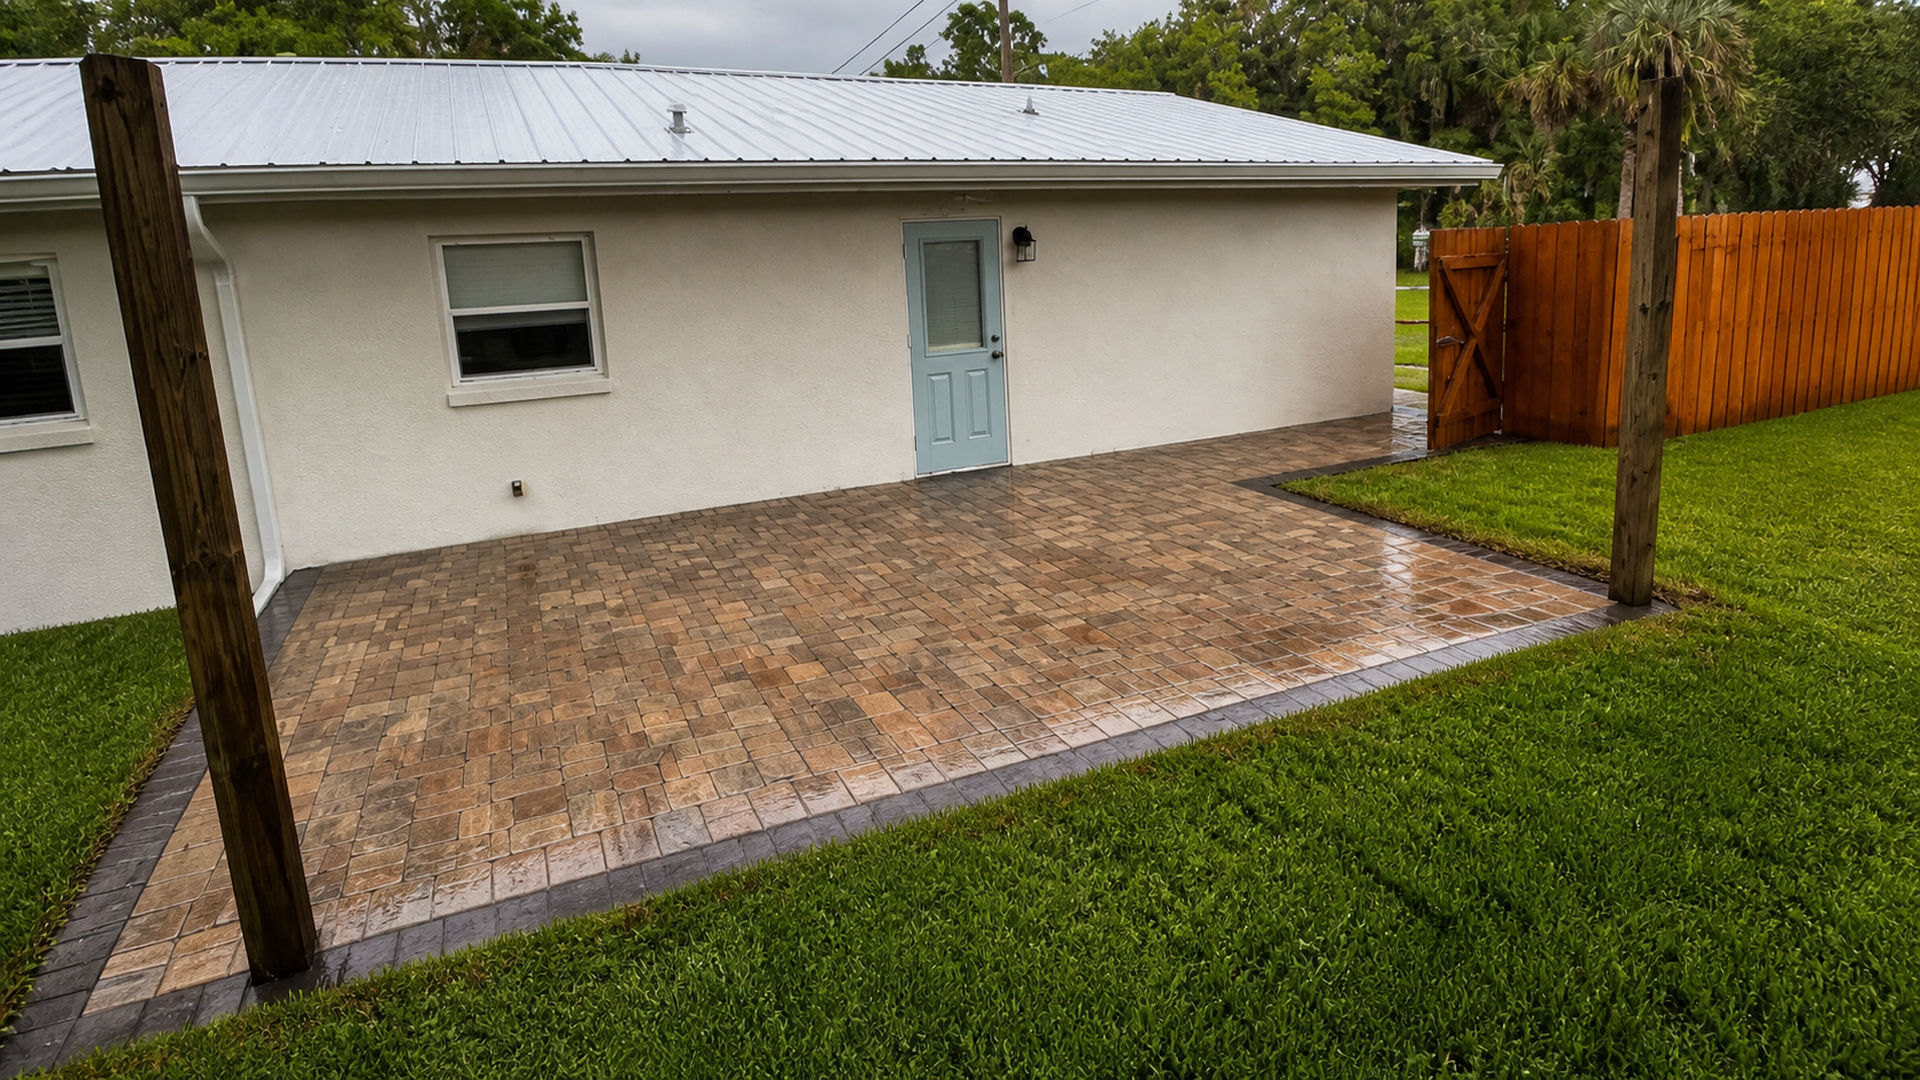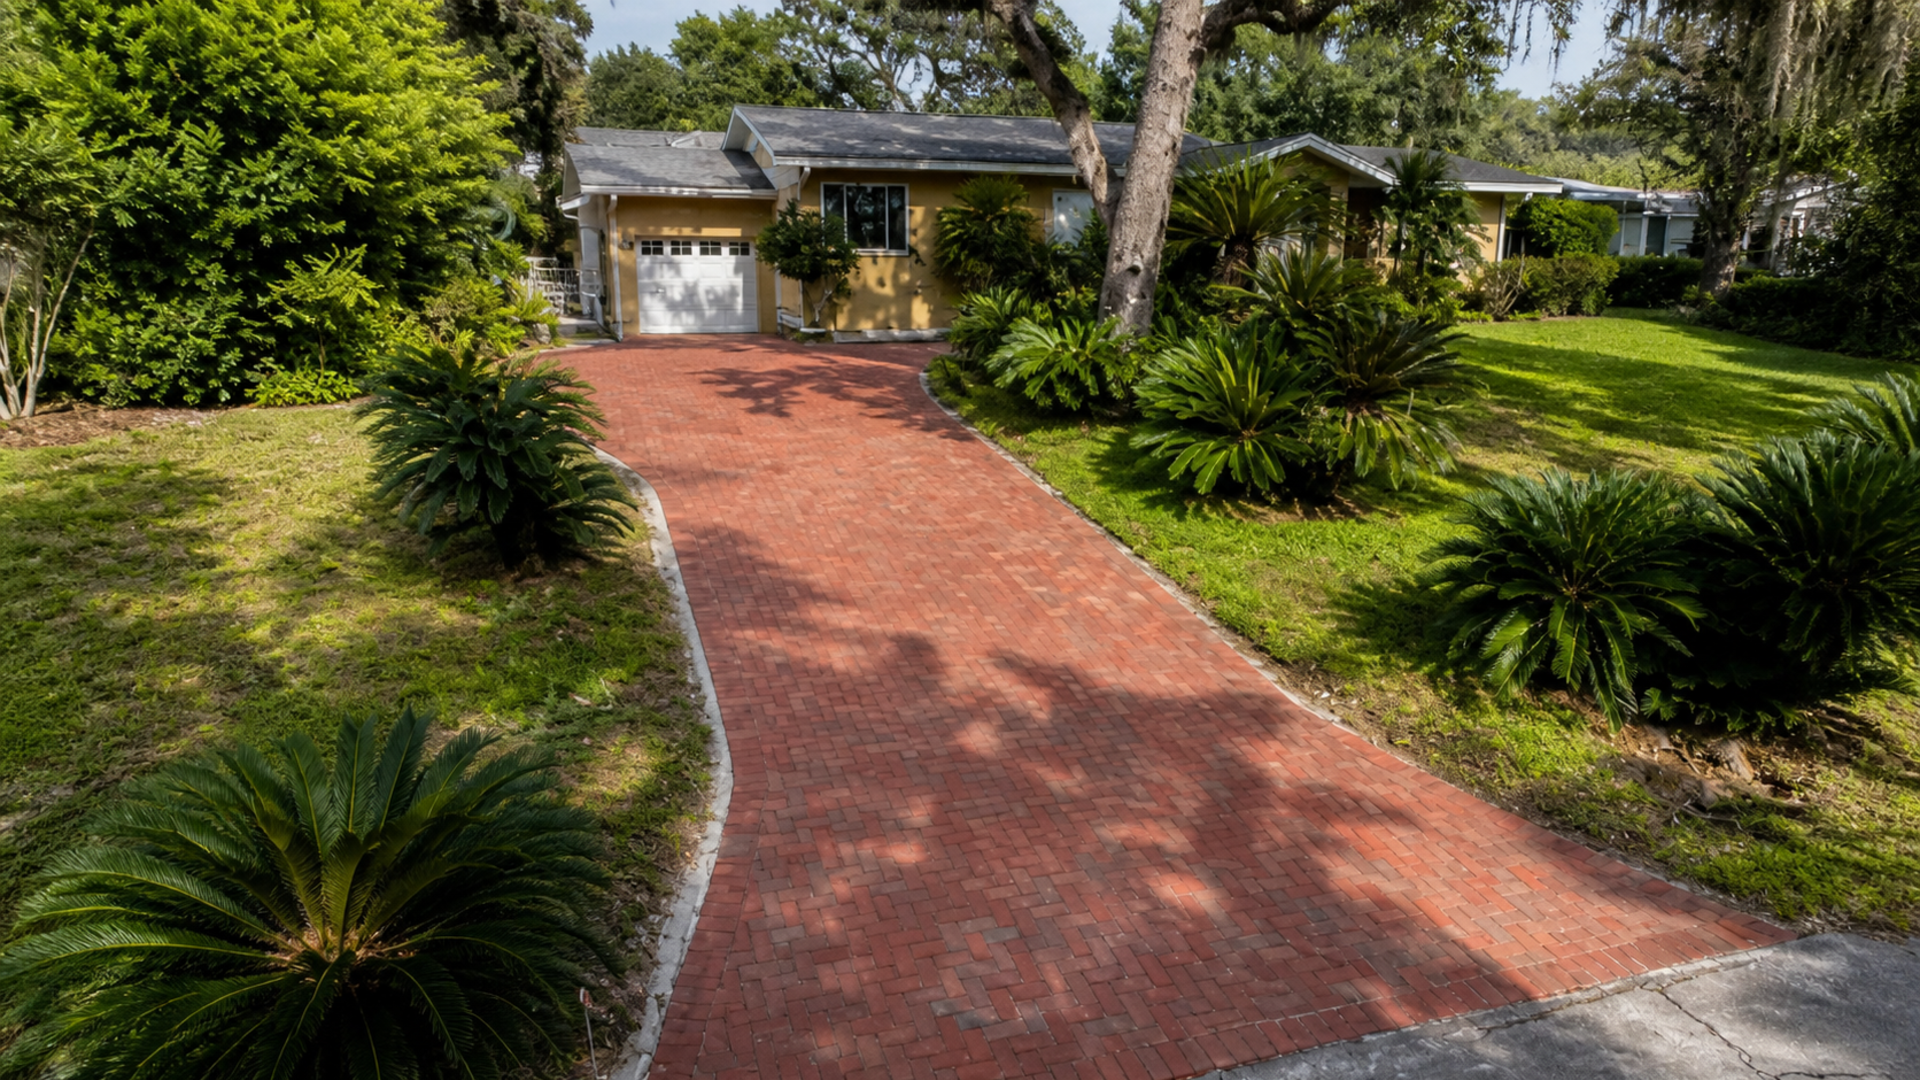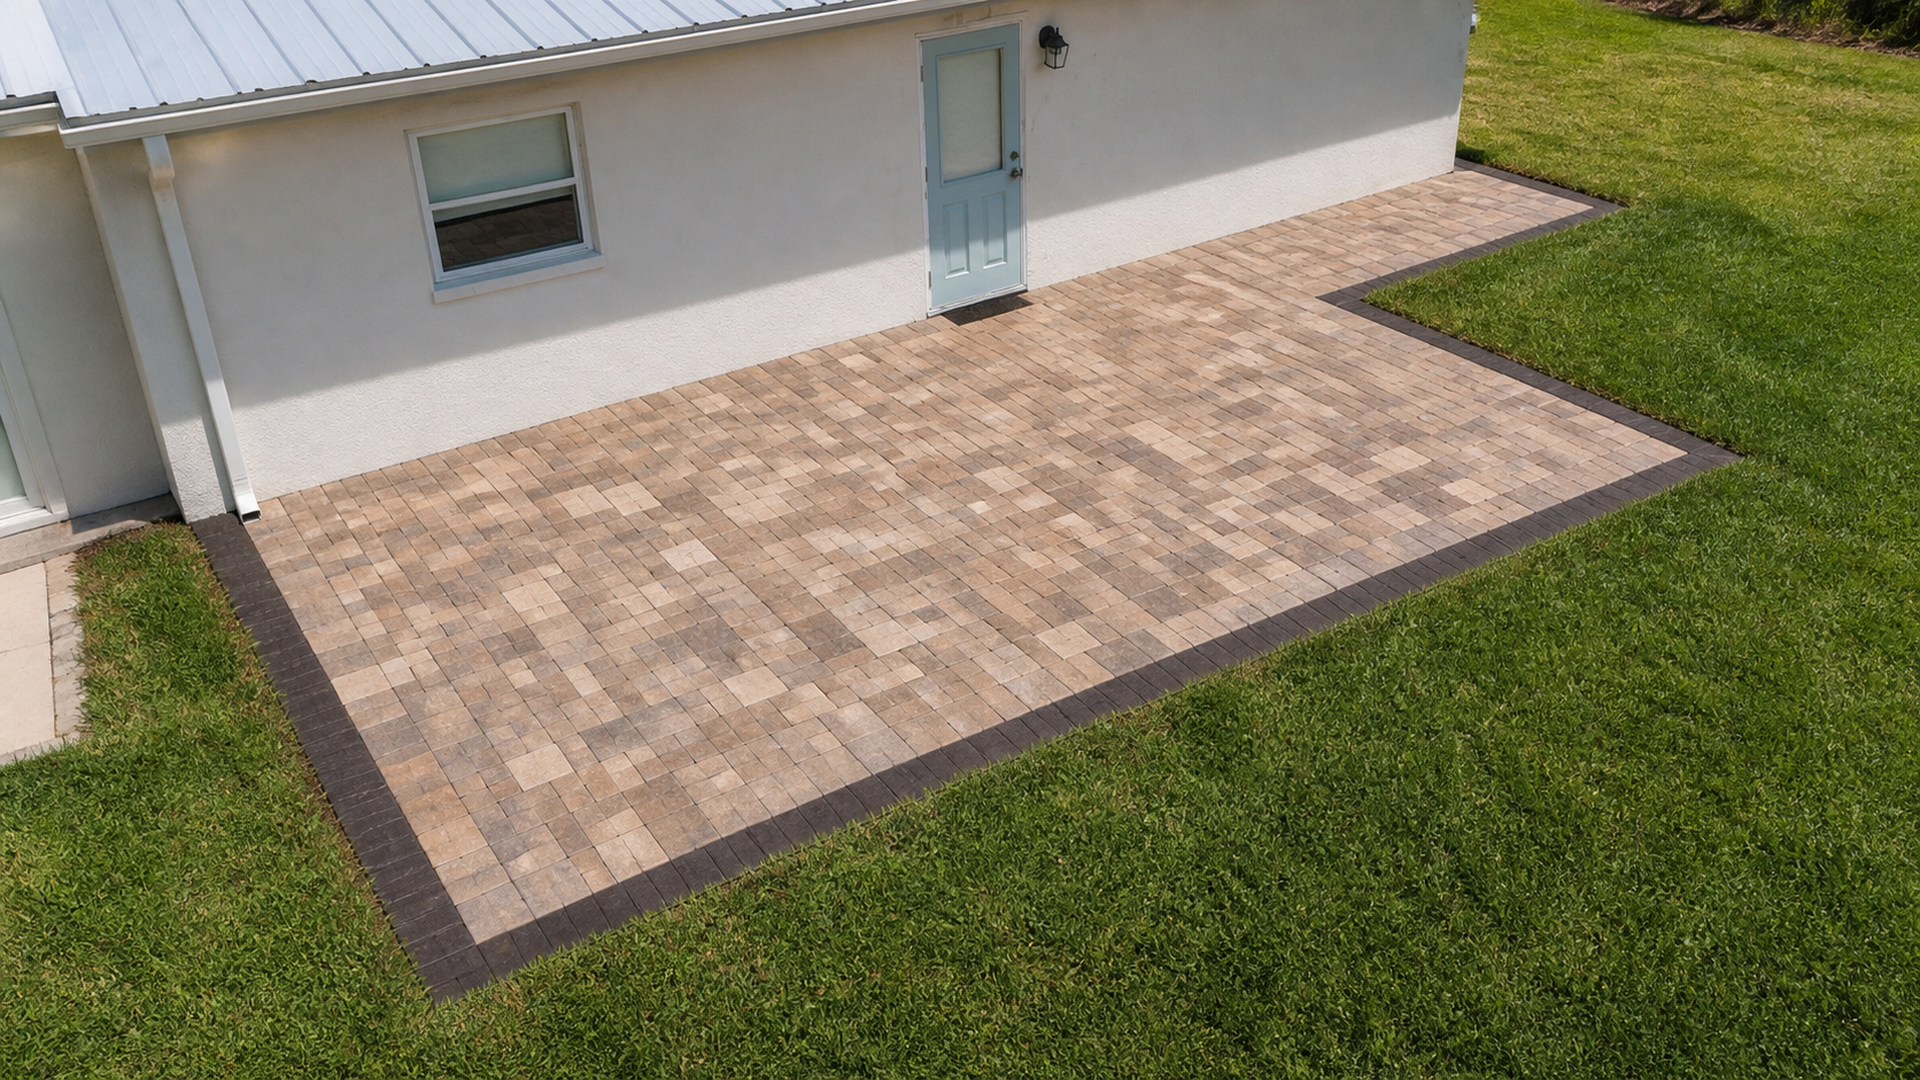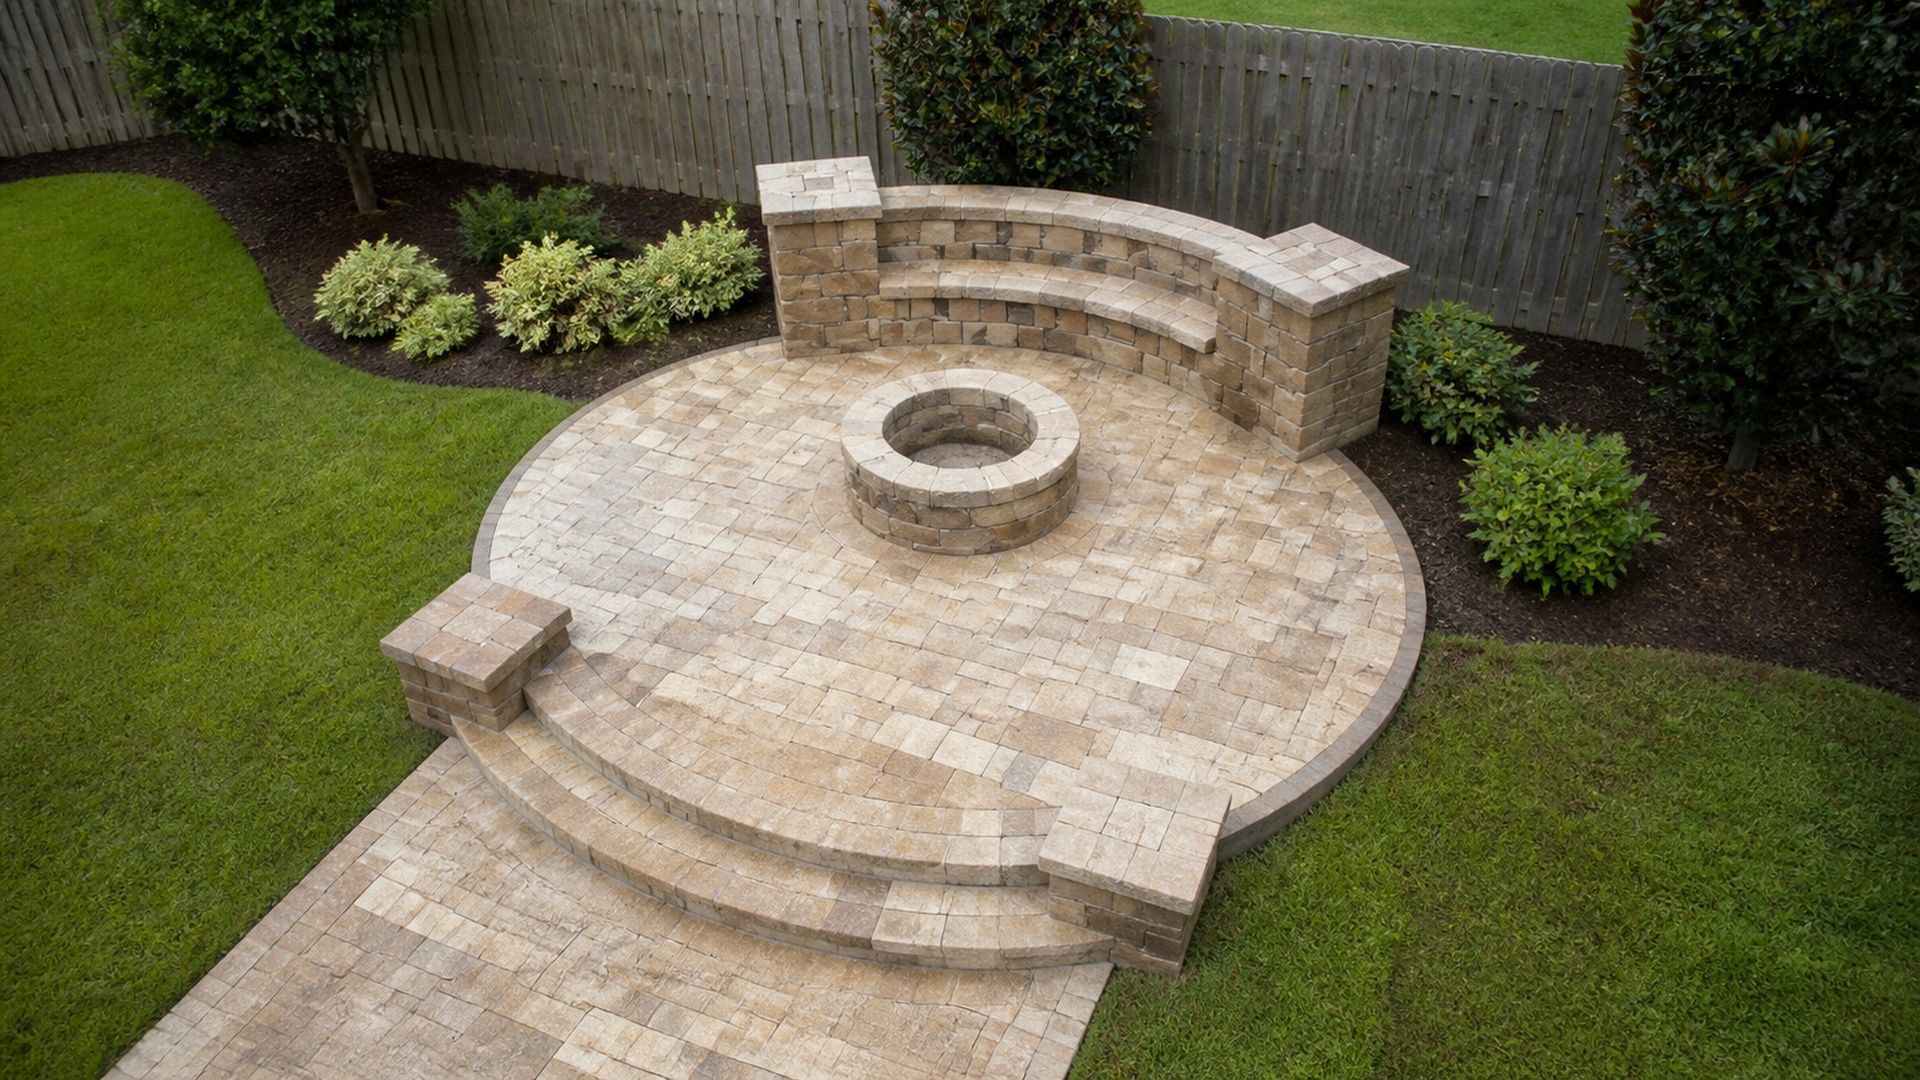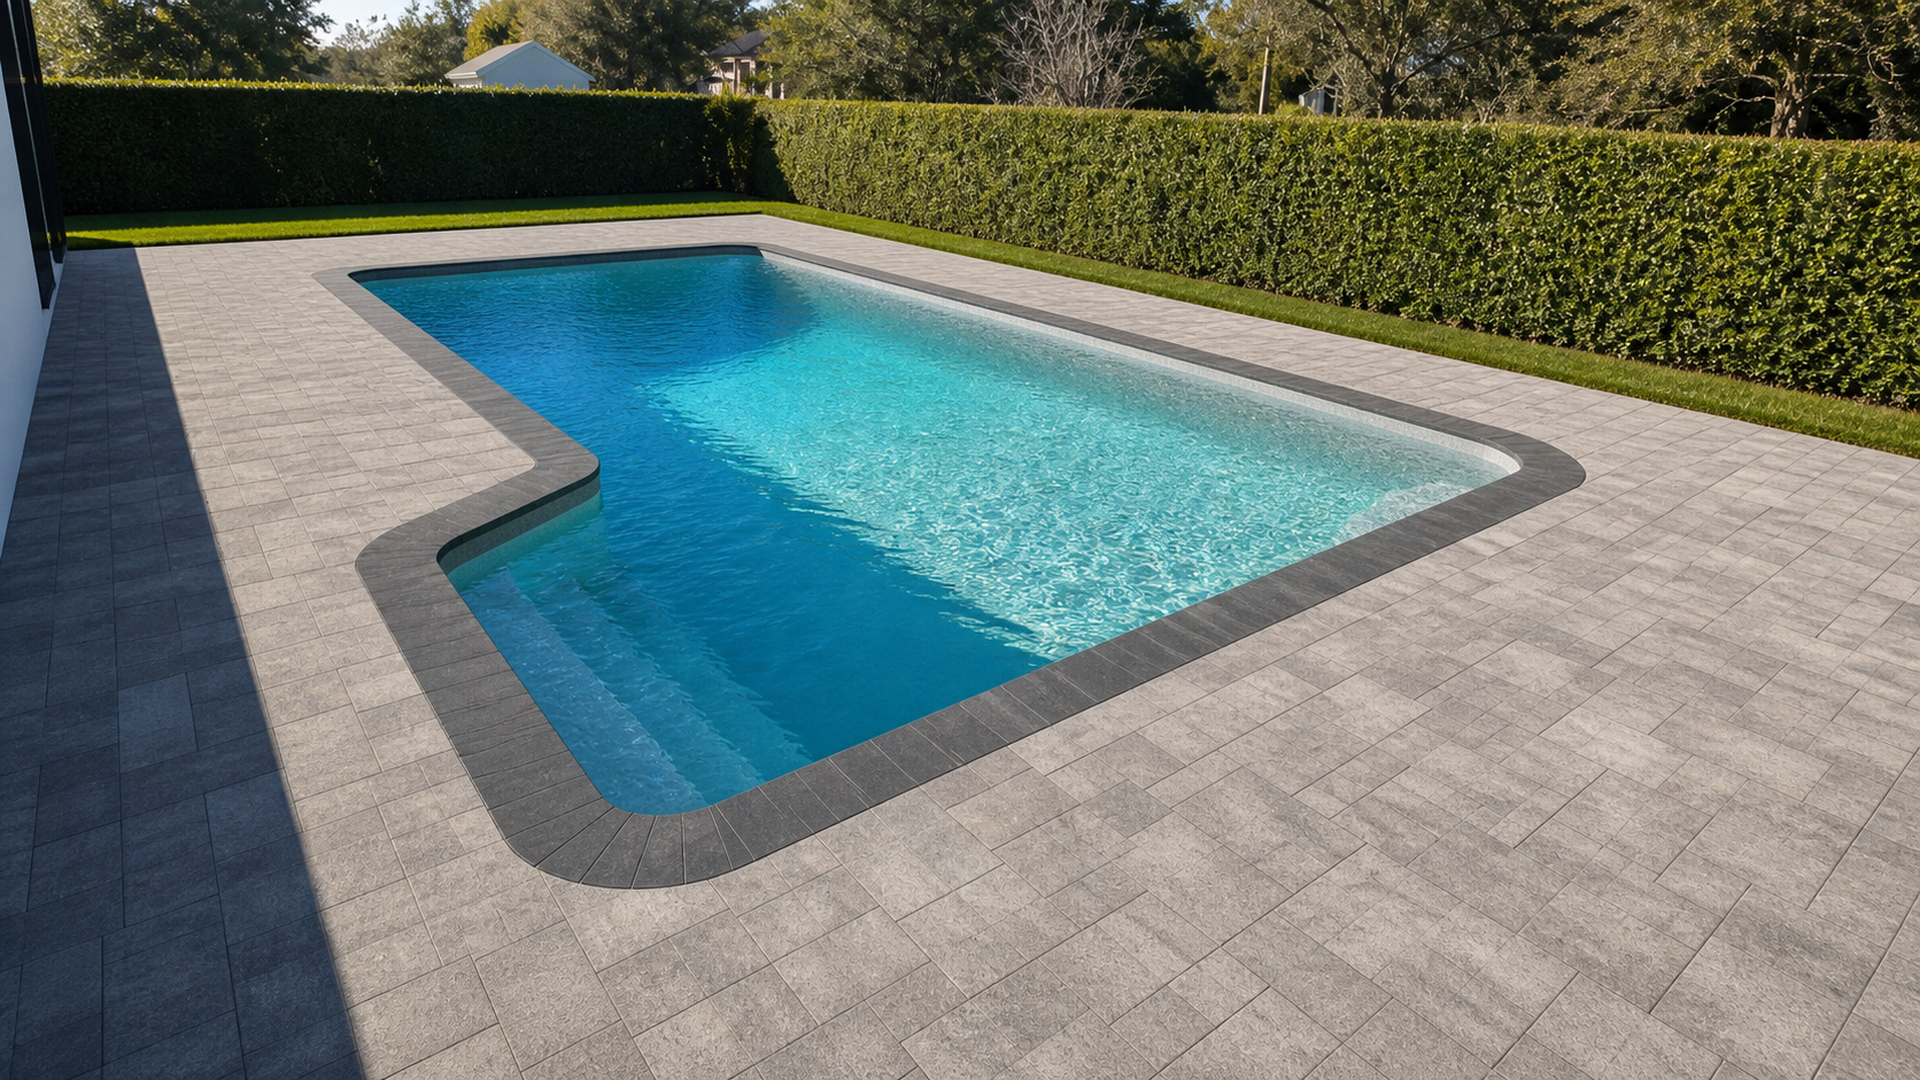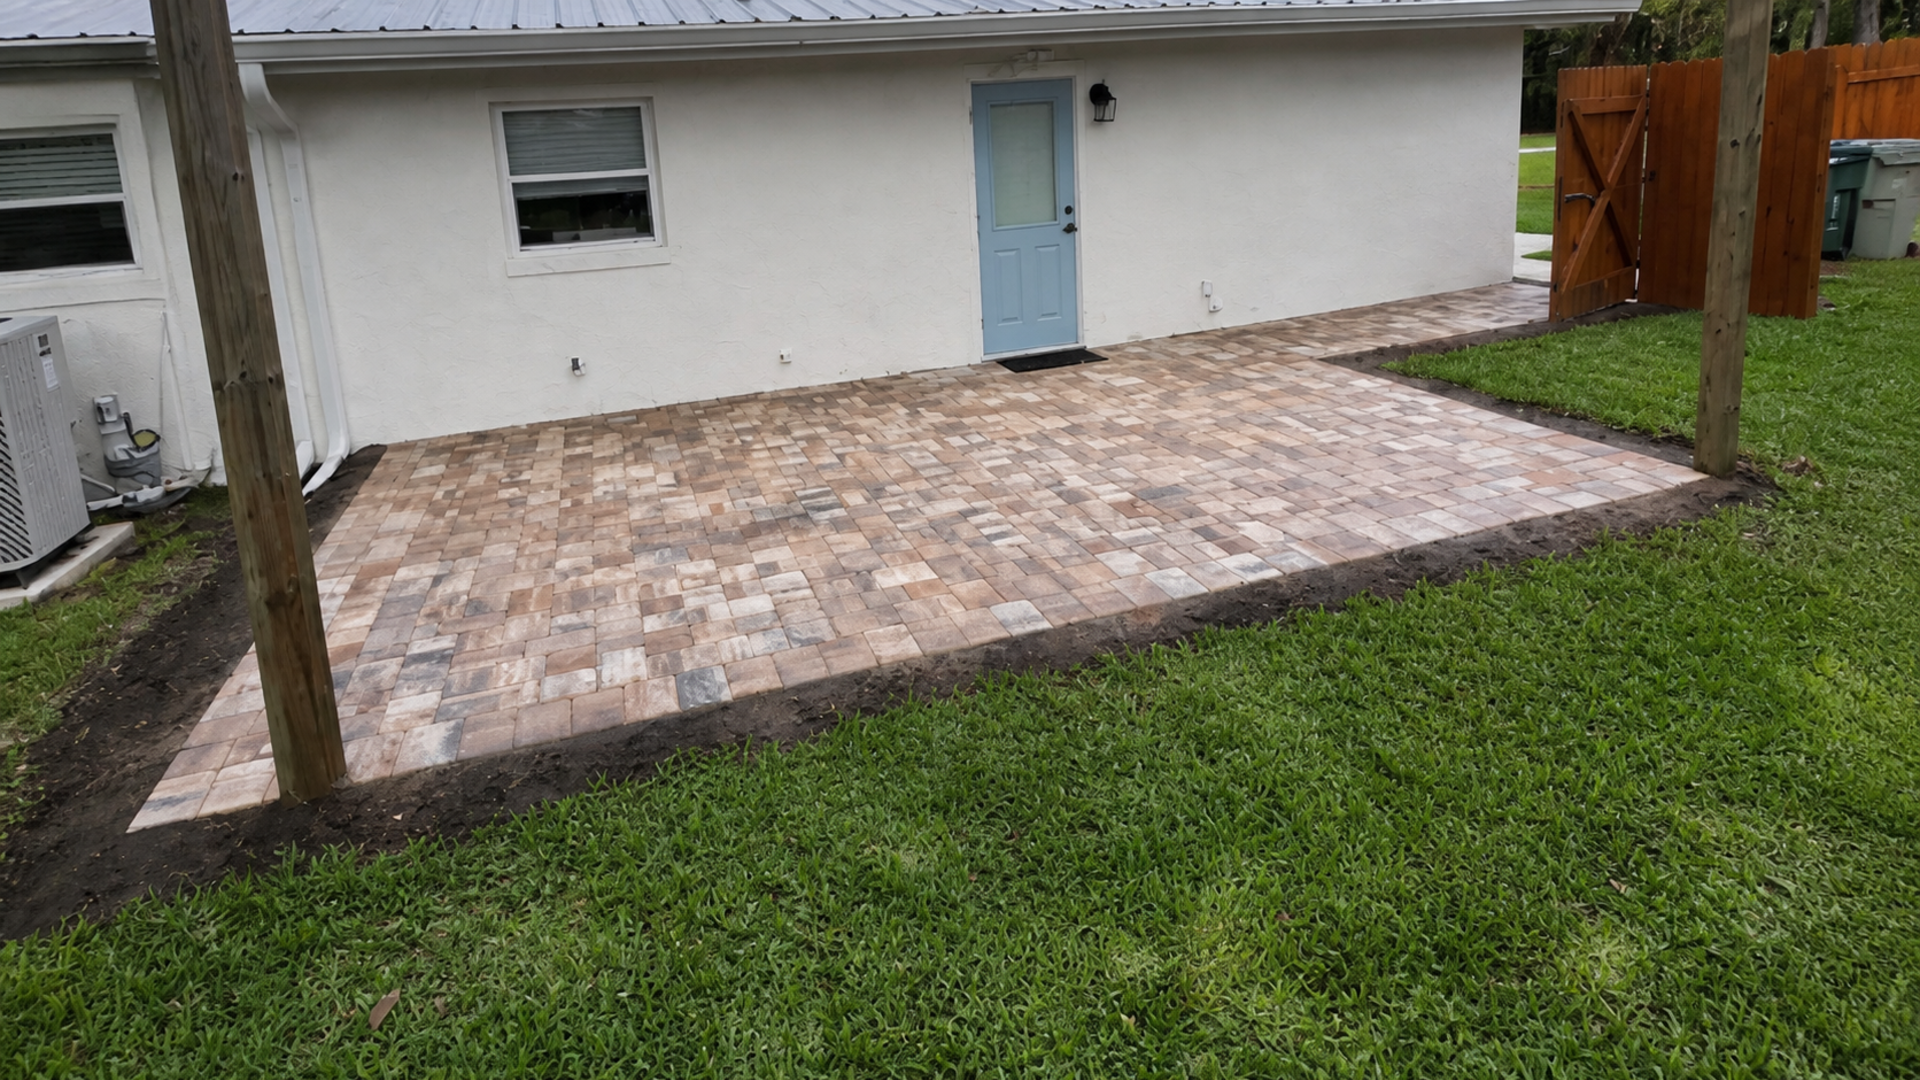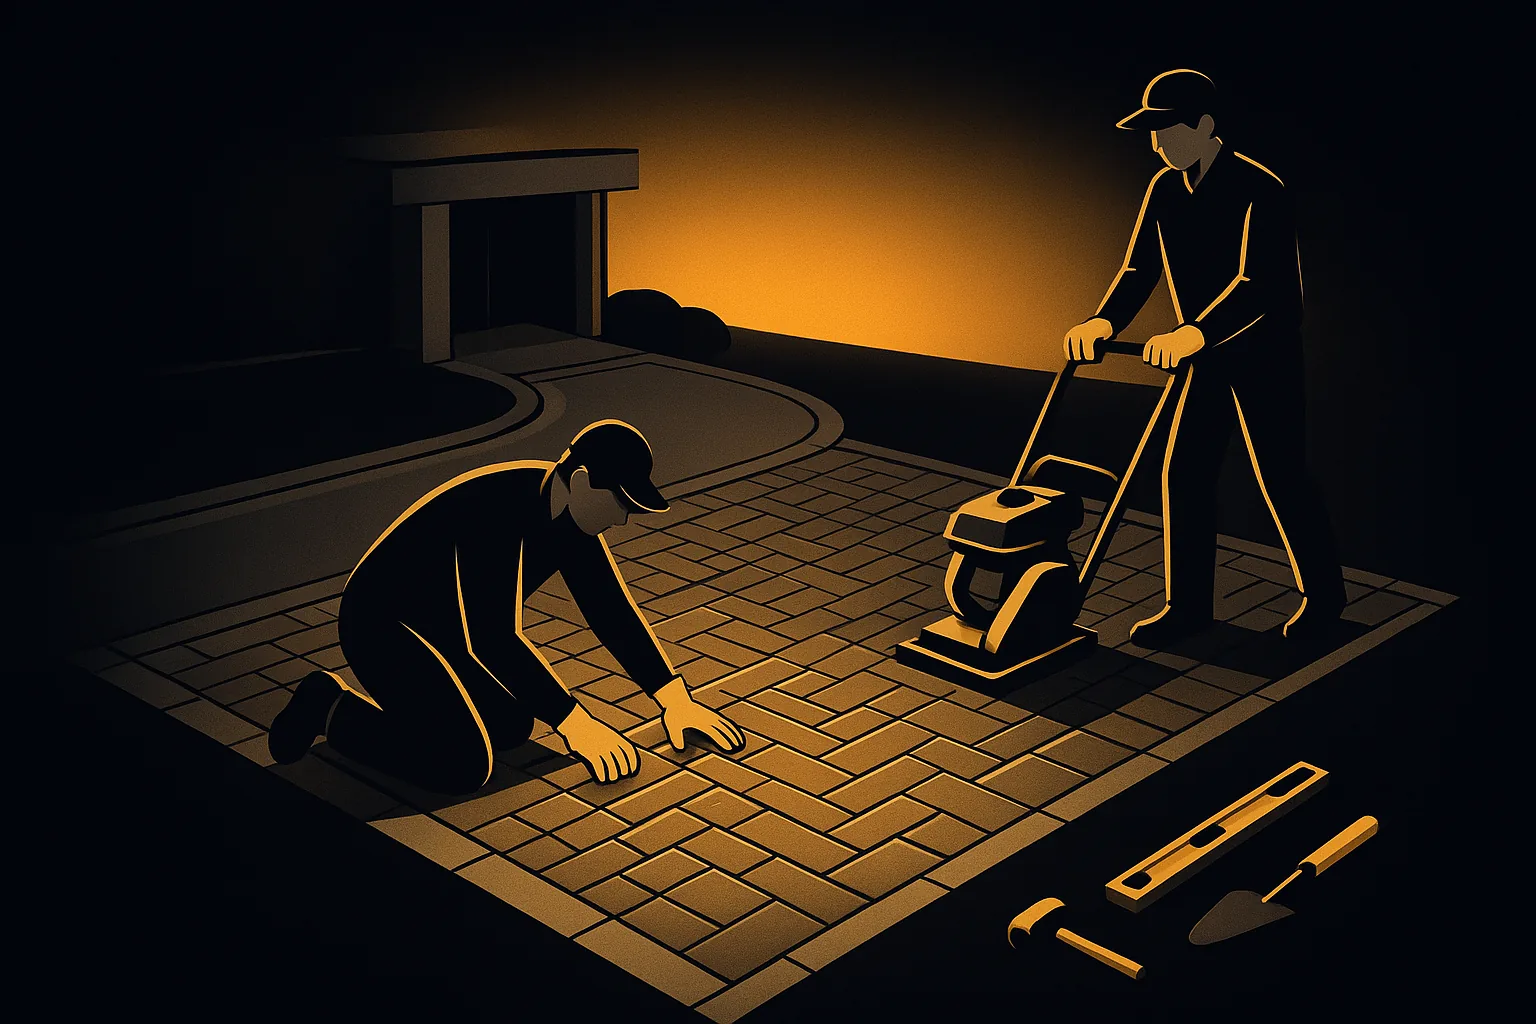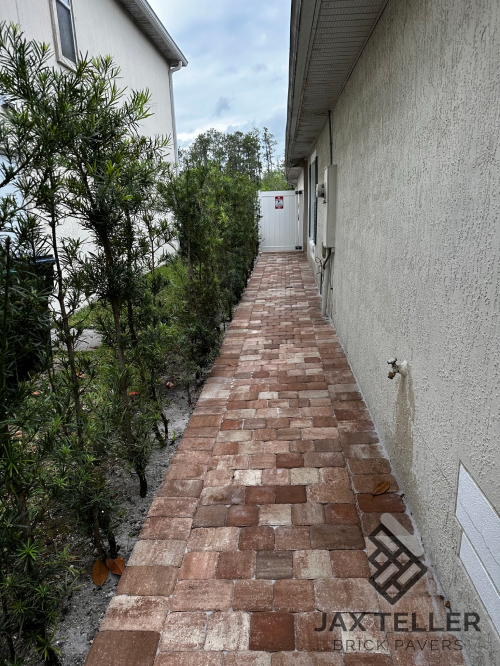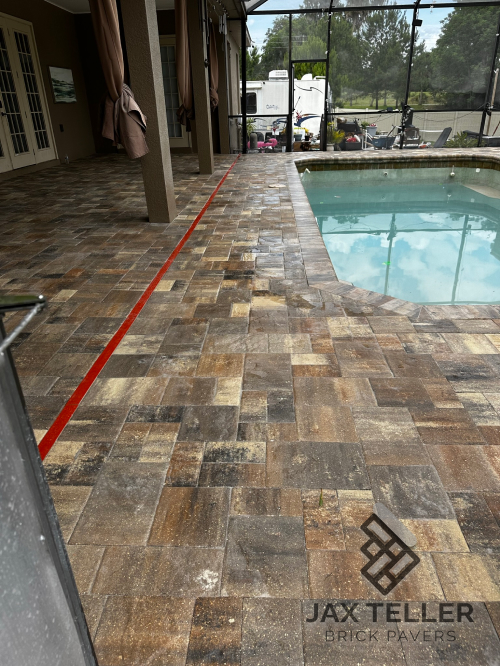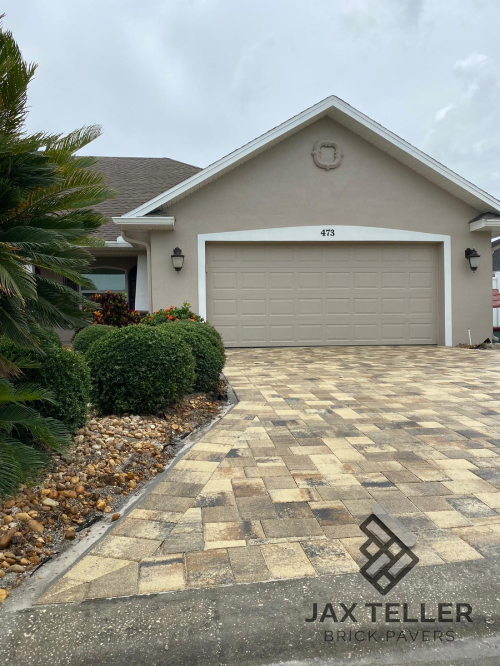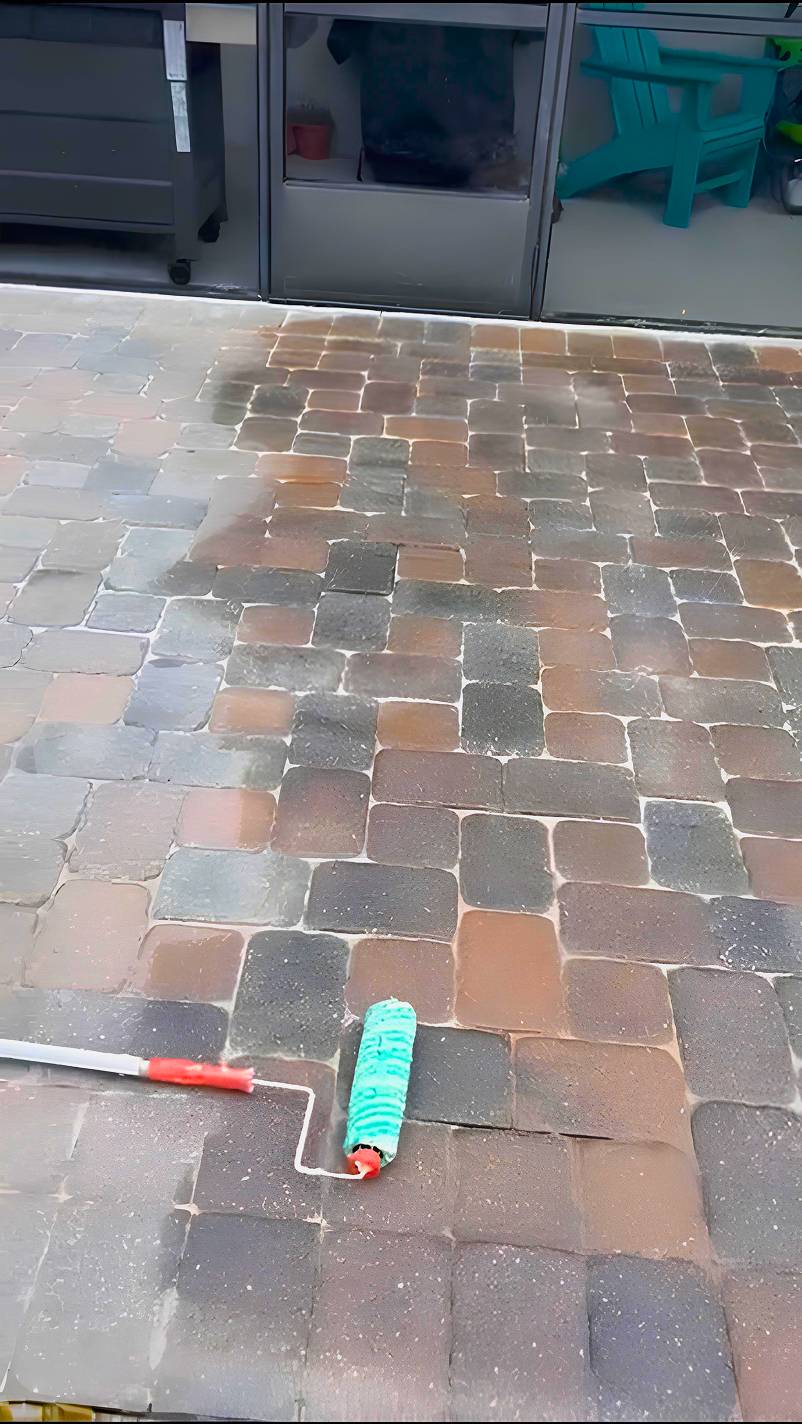


Paver cut layout affects the finished appearance of a patio long before the first unit reaches its final position. A pattern can look balanced in the center while producing awkward fragments beside doors, curves, or borders. Therefore, a Largo homeowner should review the important edges with the installer before treating a broad pattern choice as a complete design.
This review does not require you to become a paving technician or operate a saw. Instead, it helps you identify the views and transitions that deserve a deliberate decision. The contractor should determine the appropriate product, installation details, and cutting method. Your contribution is a clear description of the appearance and everyday use you expect from the space.
Read paver cut layout from the boundary inward
Begin with the actual shape of the proposed patio. For example, identify straight walls, curved planting beds, steps, and existing paving that will remain. These boundaries create different layout questions. A rectangular sketch that ignores a narrow corner can make the design look simpler than it will be on the property.
Next, ask which boundaries control the pattern and which will receive fitted units. The answer may reveal a tradeoff between two opposite edges. Therefore, review the whole field rather than requesting a perfect result at one side without considering the other.
Mark the most visible boundary in your notes. This might be the edge seen from the main living room or the approach from the garden. Knowing that priority helps the installer explain layout options in relation to the view you actually use.
Give paver cut layout a clear reference
Ask the contractor to identify the starting line or layout reference in plain language. Then connect it to a fixed feature you can recognize, such as the house wall or a selected doorway. This avoids approving a direction that different people interpret differently.
A drawing can show the intended arrangement, but it should identify whether it is conceptual or based on verified measurements. Moreover, record the current version. A later change in patio width can alter the edge cuts even if the original pattern name remains unchanged.
Keep the product reference with the drawing. Different unit dimensions or modular combinations can affect how the field meets its boundaries. Therefore, a pattern sketch and a material choice should develop together rather than move toward approval as unrelated decisions.
Distinguish a border from an edge restraint
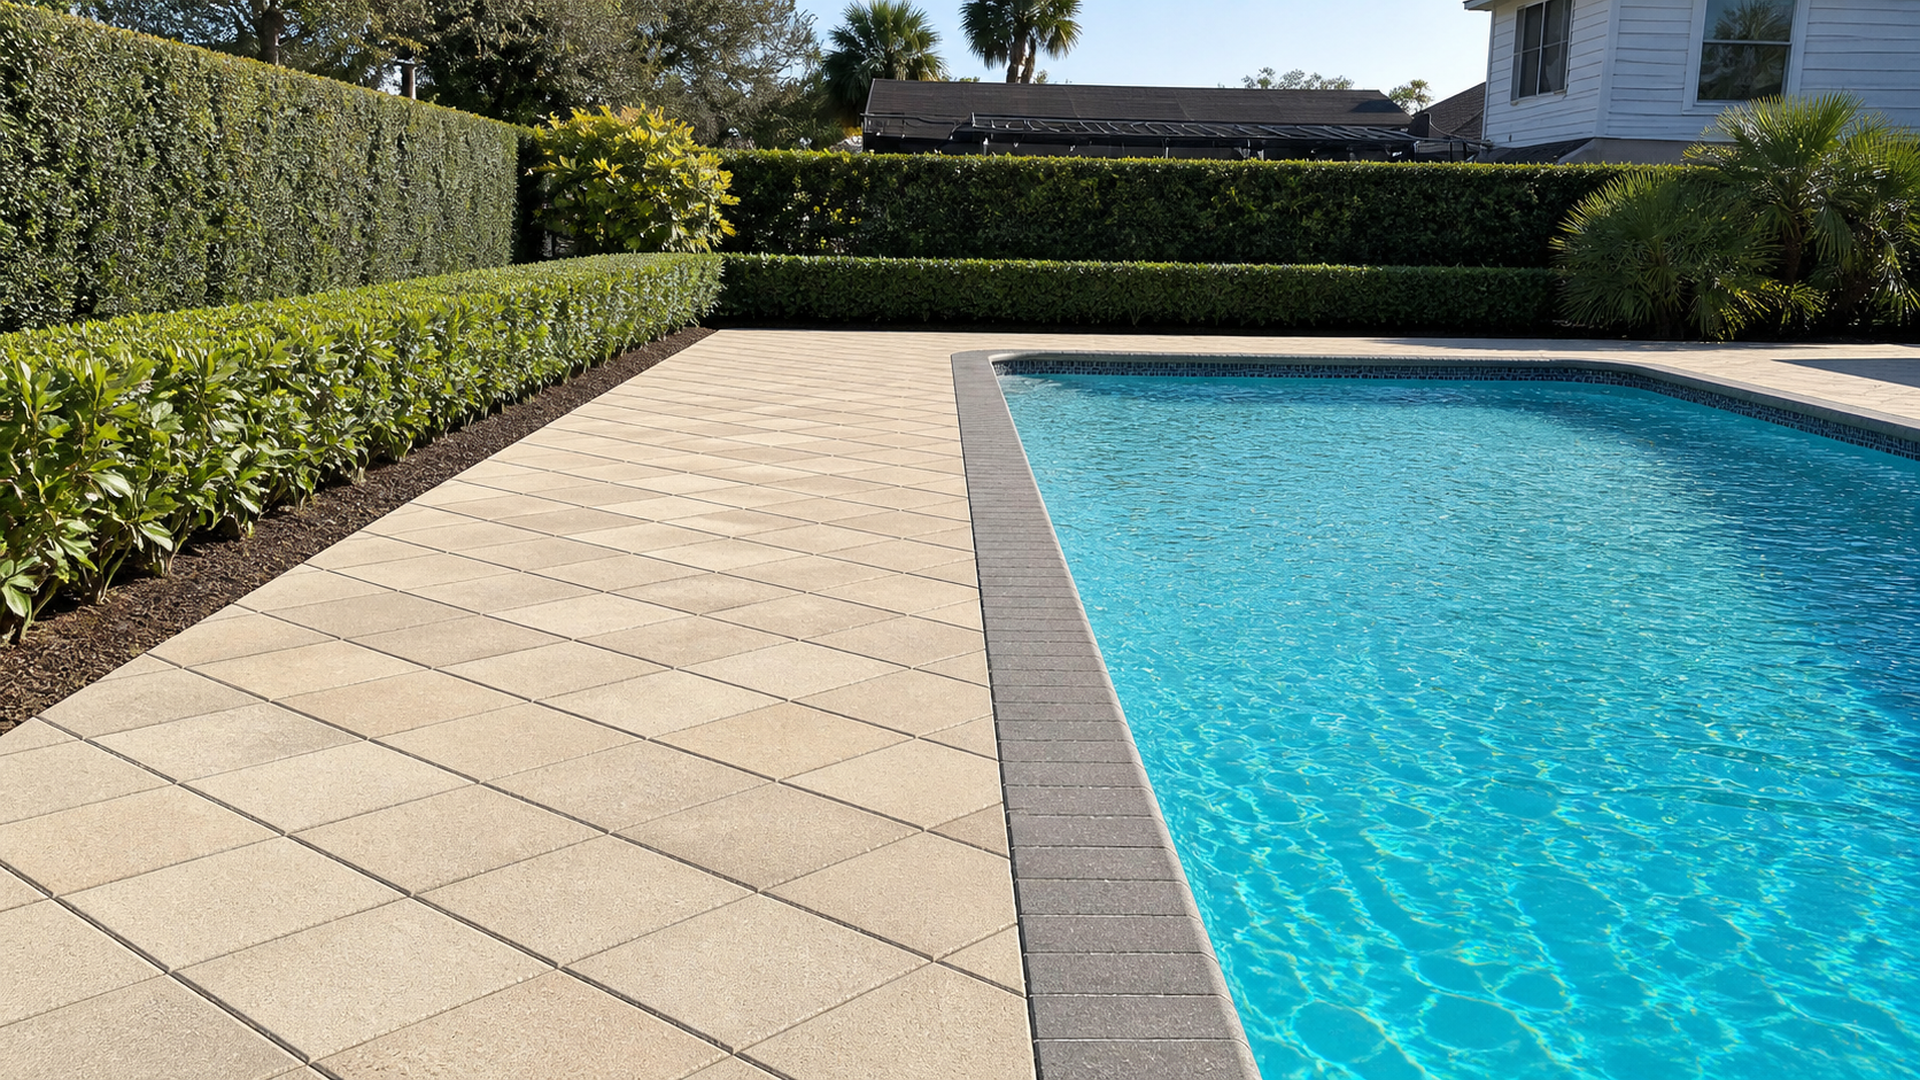
A visible border can create a visual frame around the field. However, that appearance role does not automatically explain the complete edge restraint system. Ask the installer to clarify both the decorative arrangement and the functional edge detail.
The CMHA edge restraint guide discusses perimeter support and fitted paving units. It provides technical context for the contractor's work. This article does not turn those details into universal dimensions for your patio or a homeowner cutting specification.
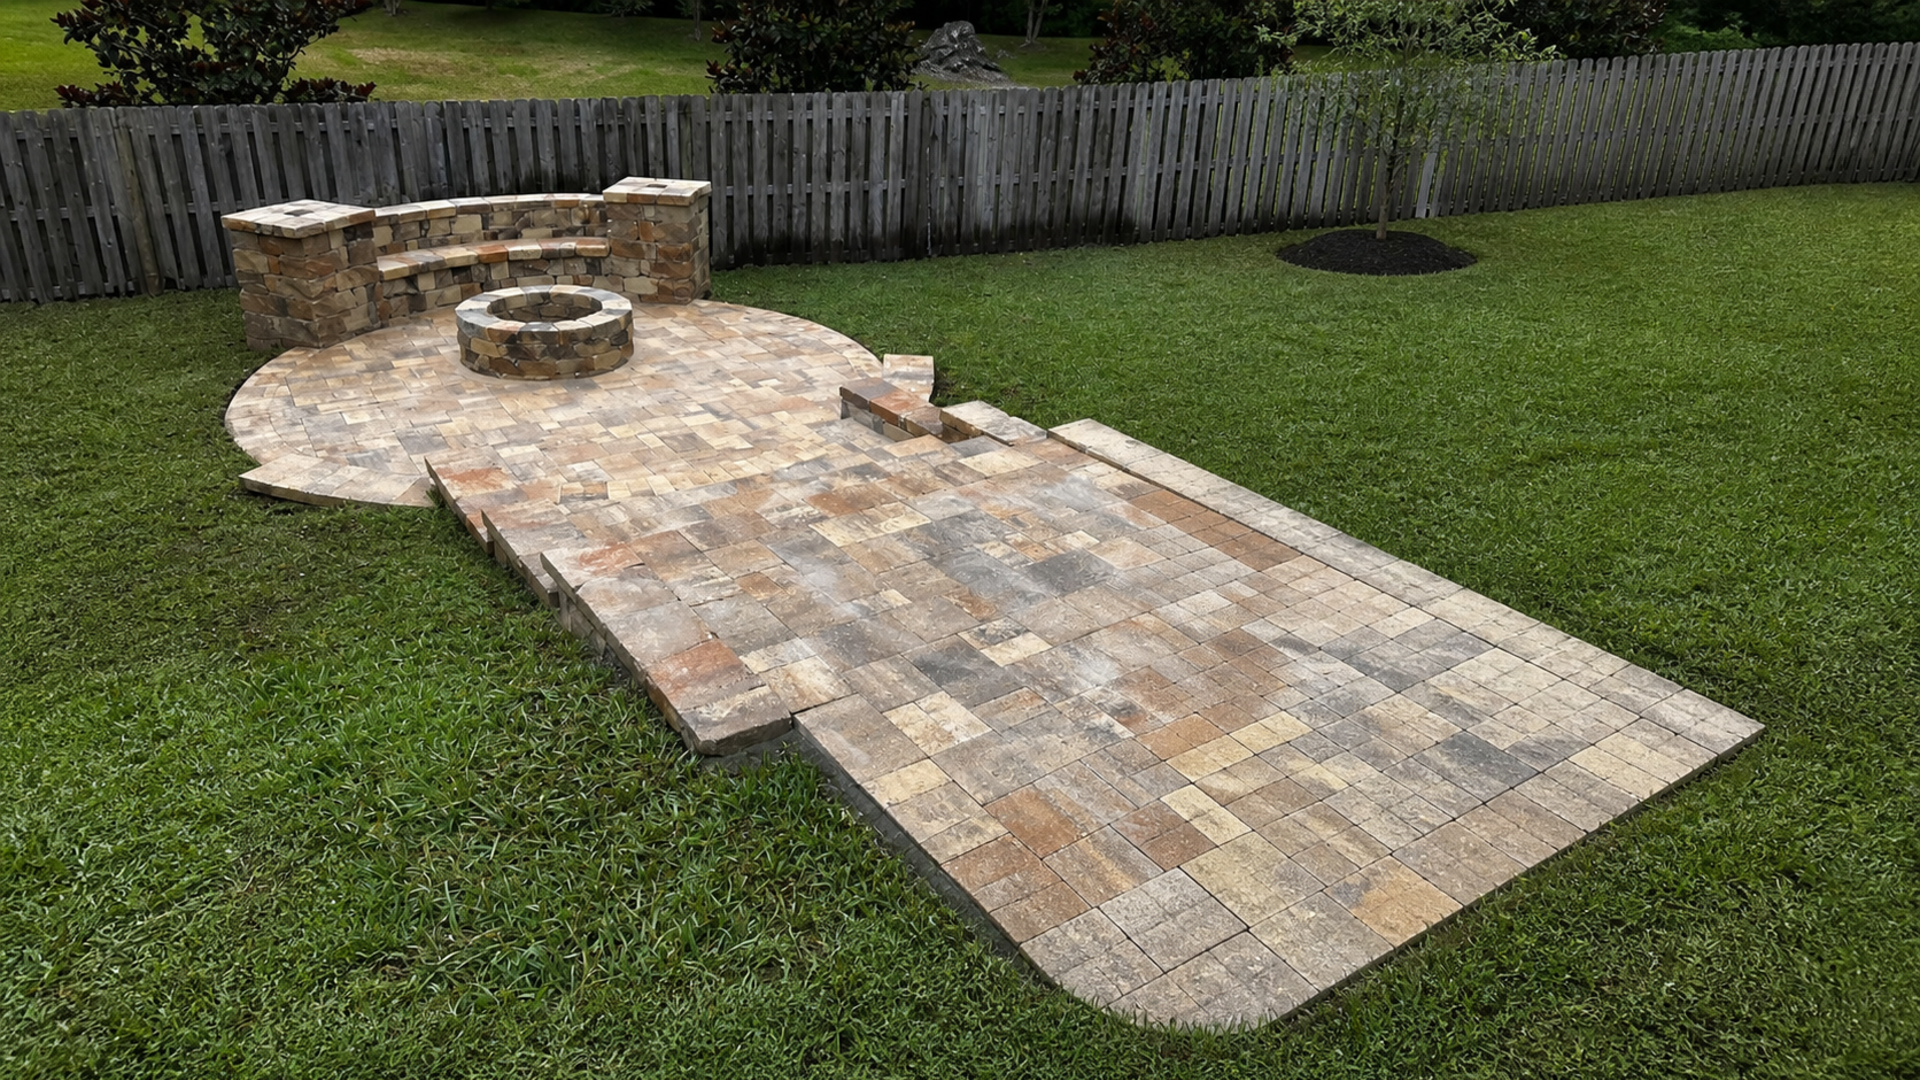
If you choose a contrasting border, ask how its width and direction affect the remaining field. A small visual change can shift the pattern at another boundary. Therefore, review the revised arrangement before assuming the installer can simply add a border without changing anything else.
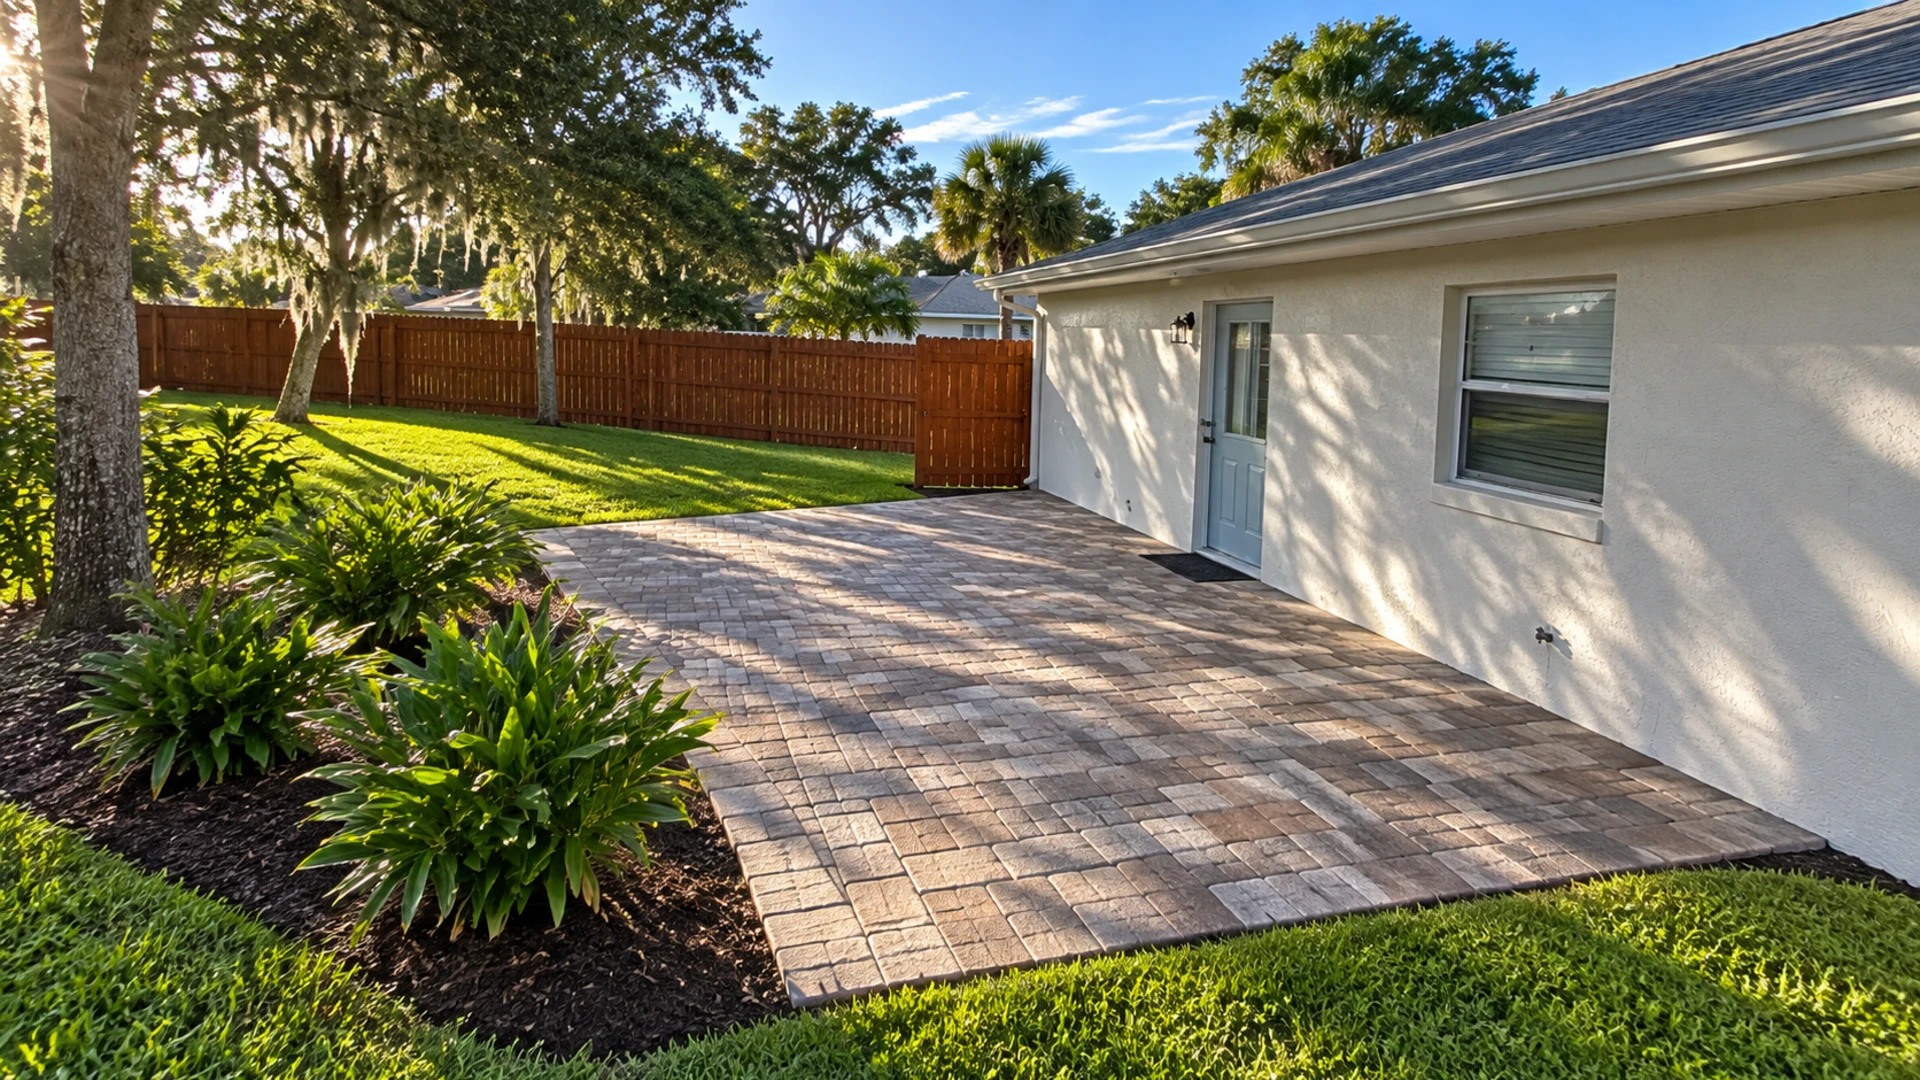
Review paver cut layout at doorways
Stand at each doorway and look outward at the proposed paving. For example, a pattern that seems centered from the garden may appear offset from the main door. Neither view automatically controls every design. The useful decision is which relationship matters most to your household.
Ask how the paving meets the threshold and any nearby steps. The installer should address levels, clearances, and the relevant technical details. Meanwhile, you can review whether the visible cut line and border support the intended appearance.
Do not ask the contractor to sacrifice a necessary technical detail merely to achieve visual symmetry. Instead, discuss the constraint and compare acceptable alternatives. A clear explanation can reveal a layout that looks intentional while respecting the actual site and installation requirements.
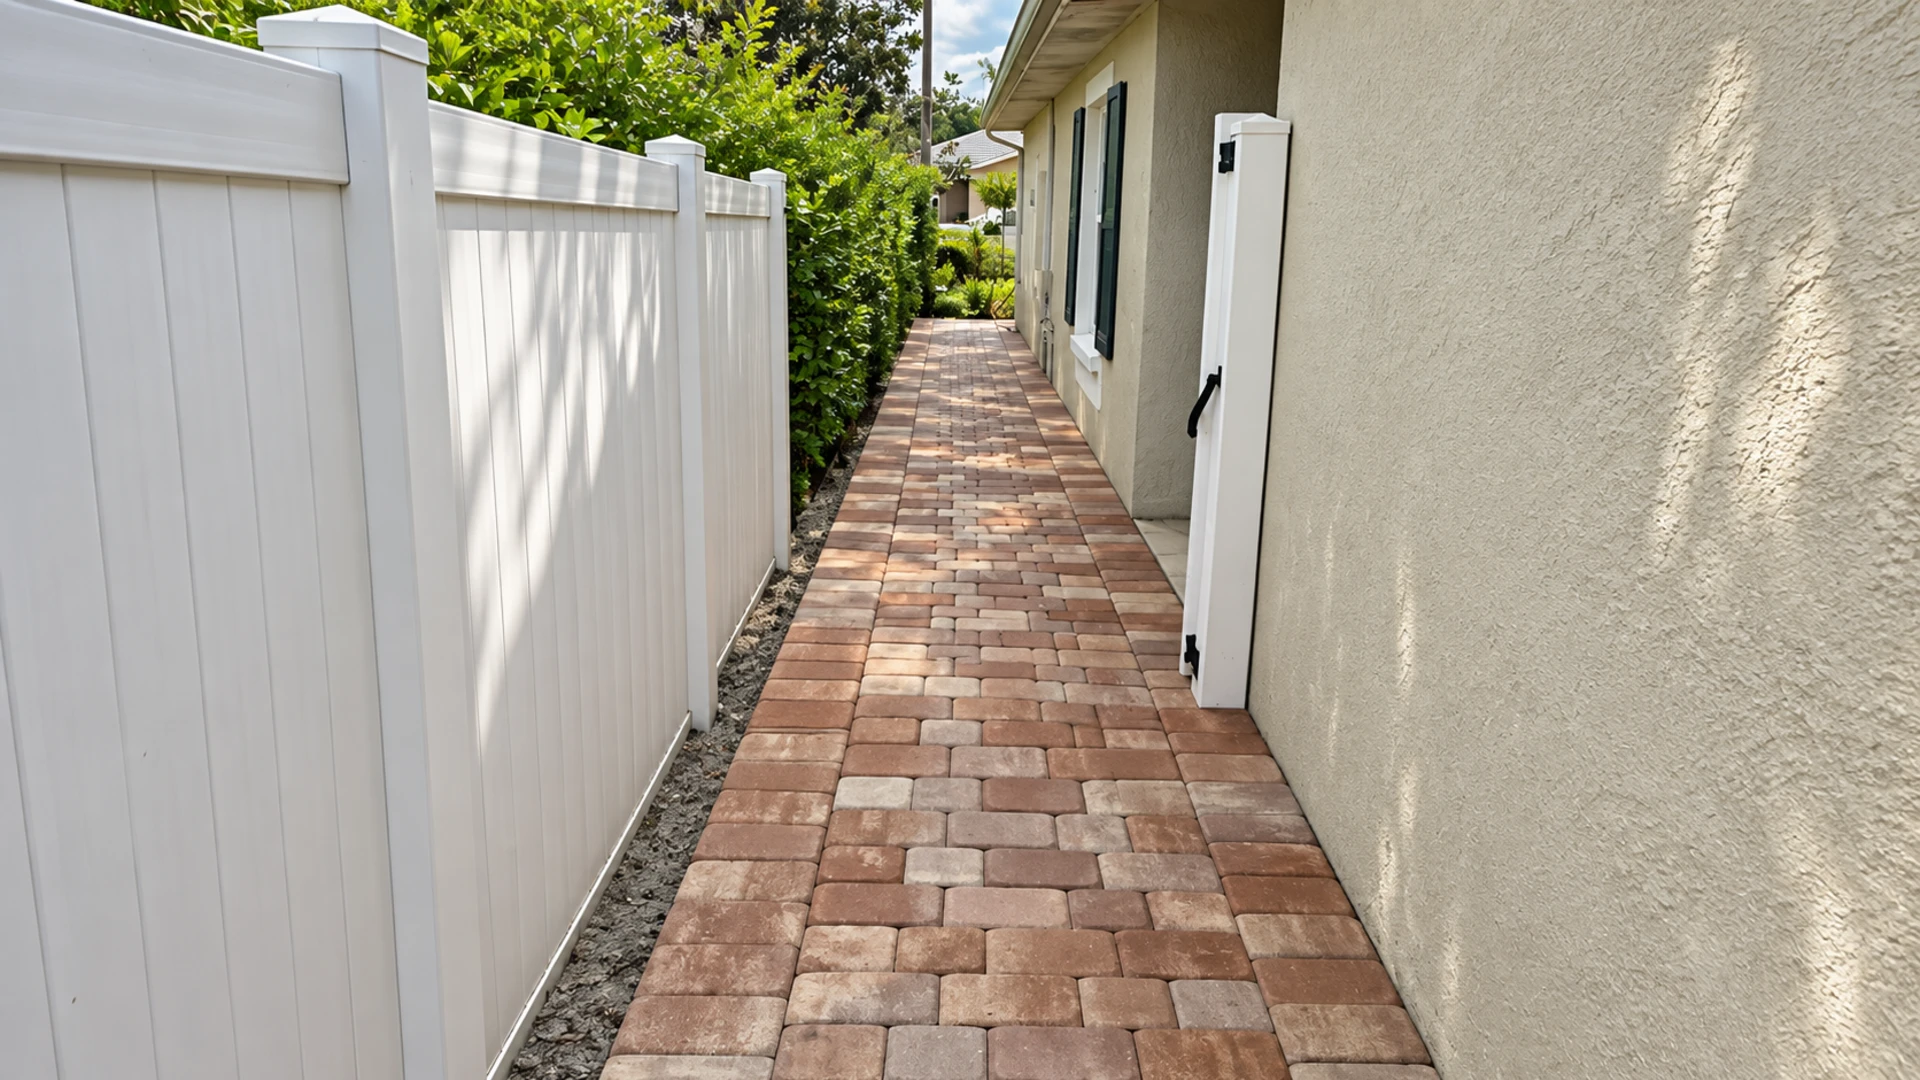
Look at narrow side strips before approval
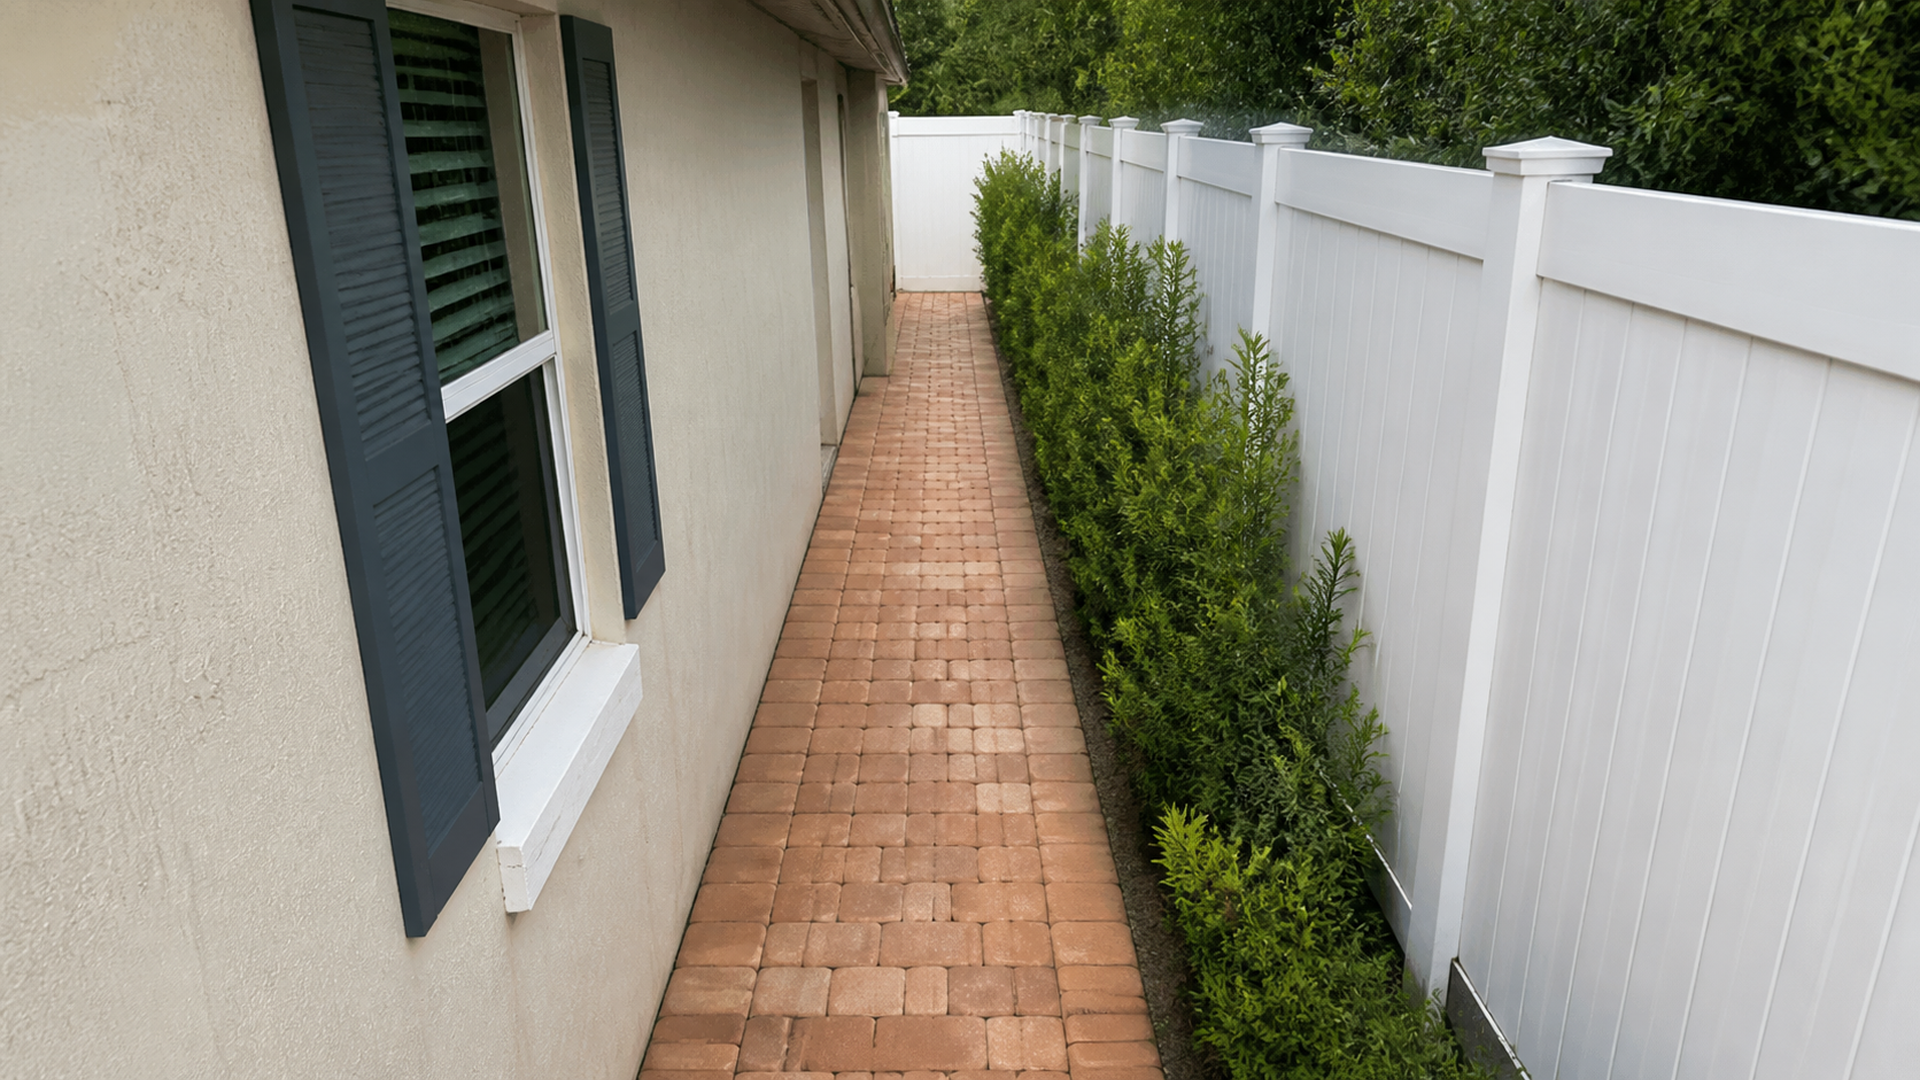
Identify areas where the field narrows between fixed features. For example, a planting bed may approach a wall, or a path may connect to a wider terrace. These locations can produce small fitted pieces that a broad central drawing does not make obvious.
Ask the installer to show how the pattern resolves at those points. Moreover, discuss whether a border, a slight geometric adjustment, or another product arrangement offers a better result. The contractor should assess the suitability of any change rather than follow a universal rule from a different project.
Keep the discussion focused on intentional appearance and appropriate construction. The objective is not to eliminate every cut. Most real properties contain interfaces that require fitting. Instead, ask whether the arrangement avoids unnecessary awkwardness at the locations that carry the most visual or practical importance.
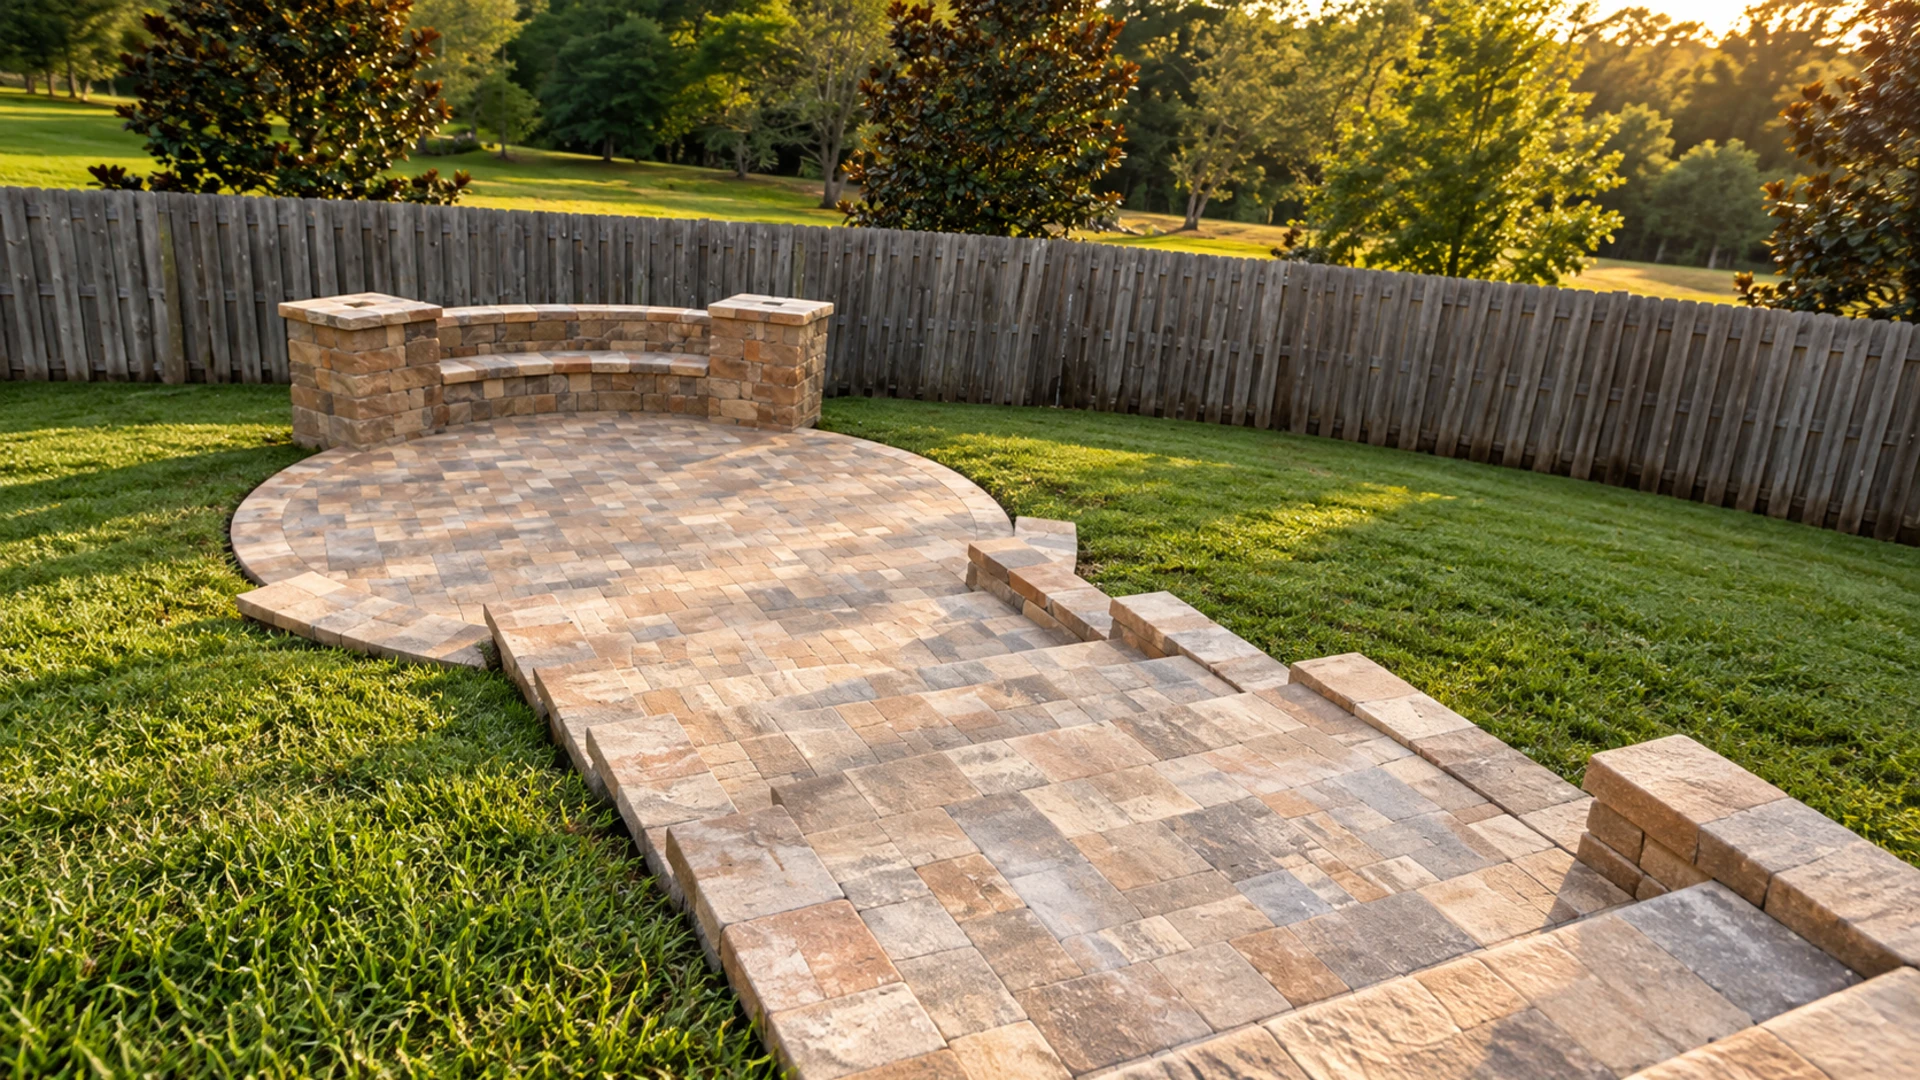
Review curves from normal viewing distance
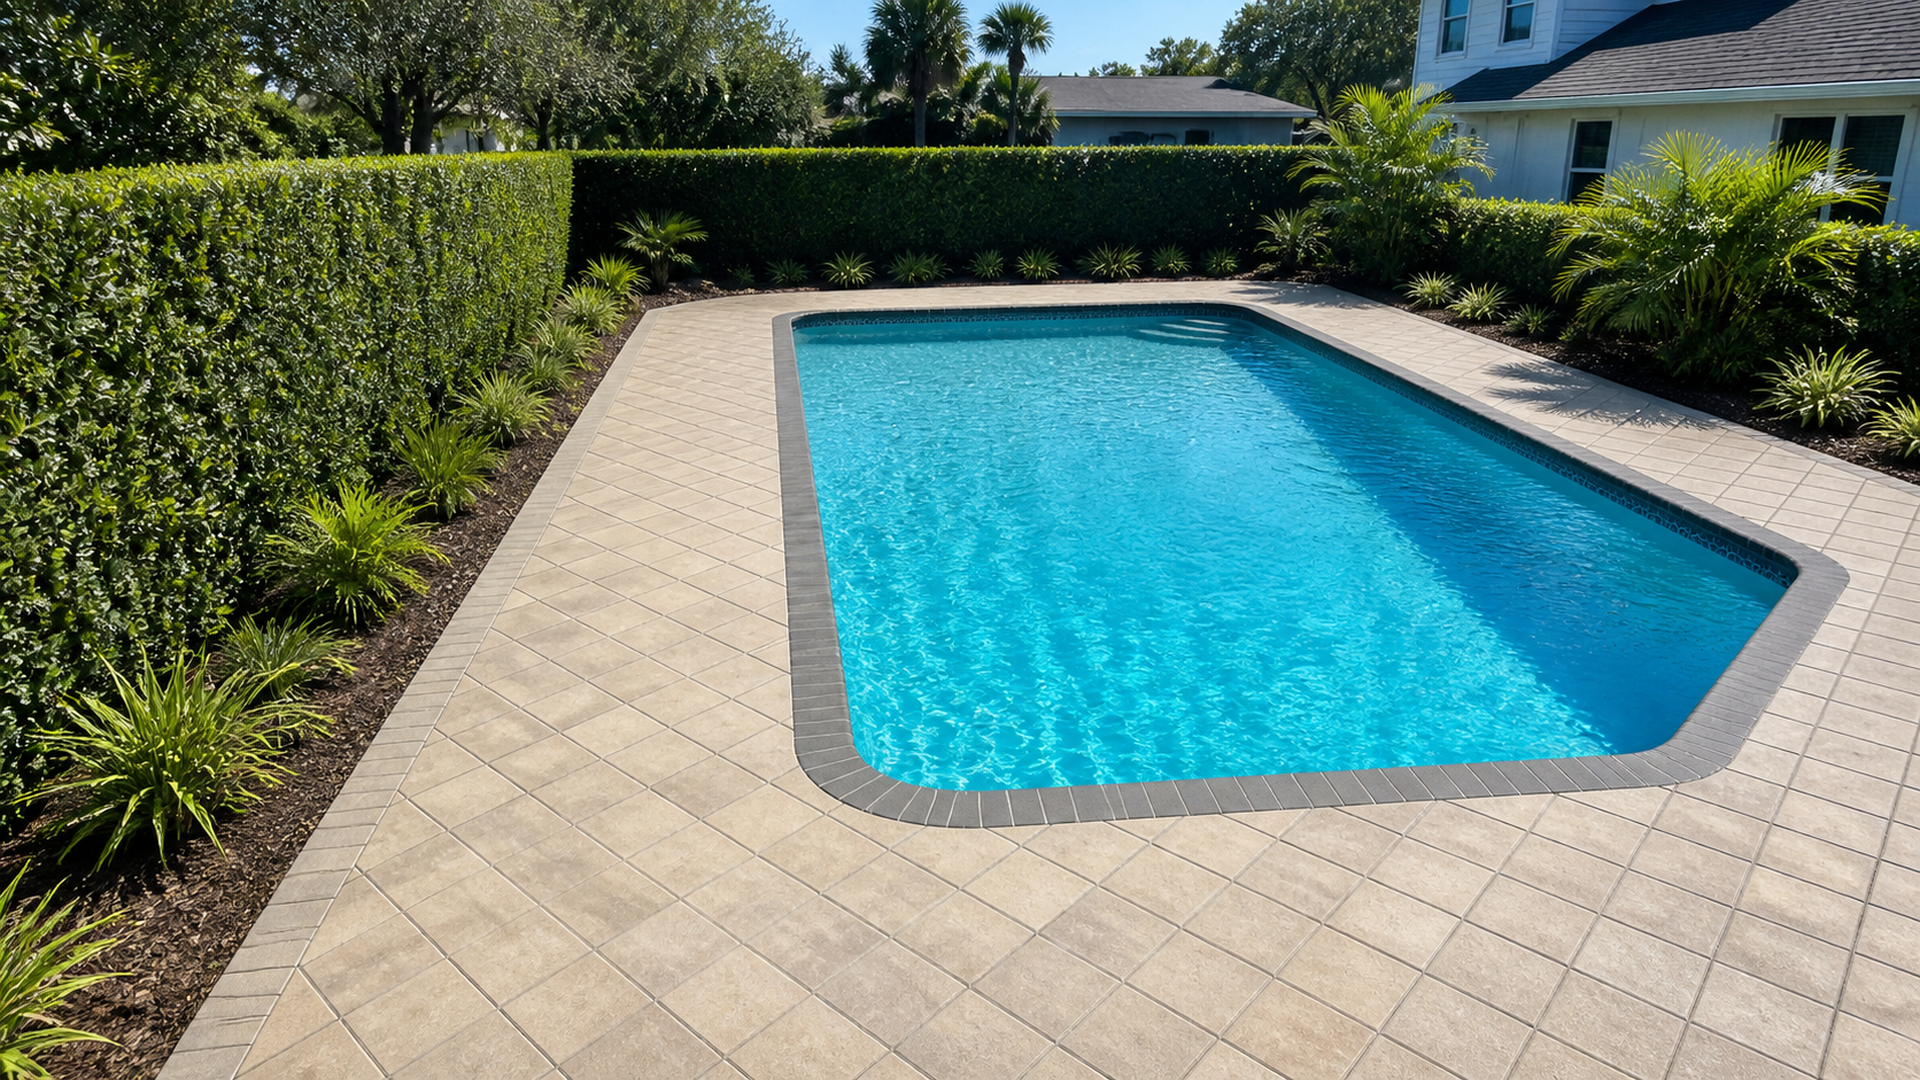
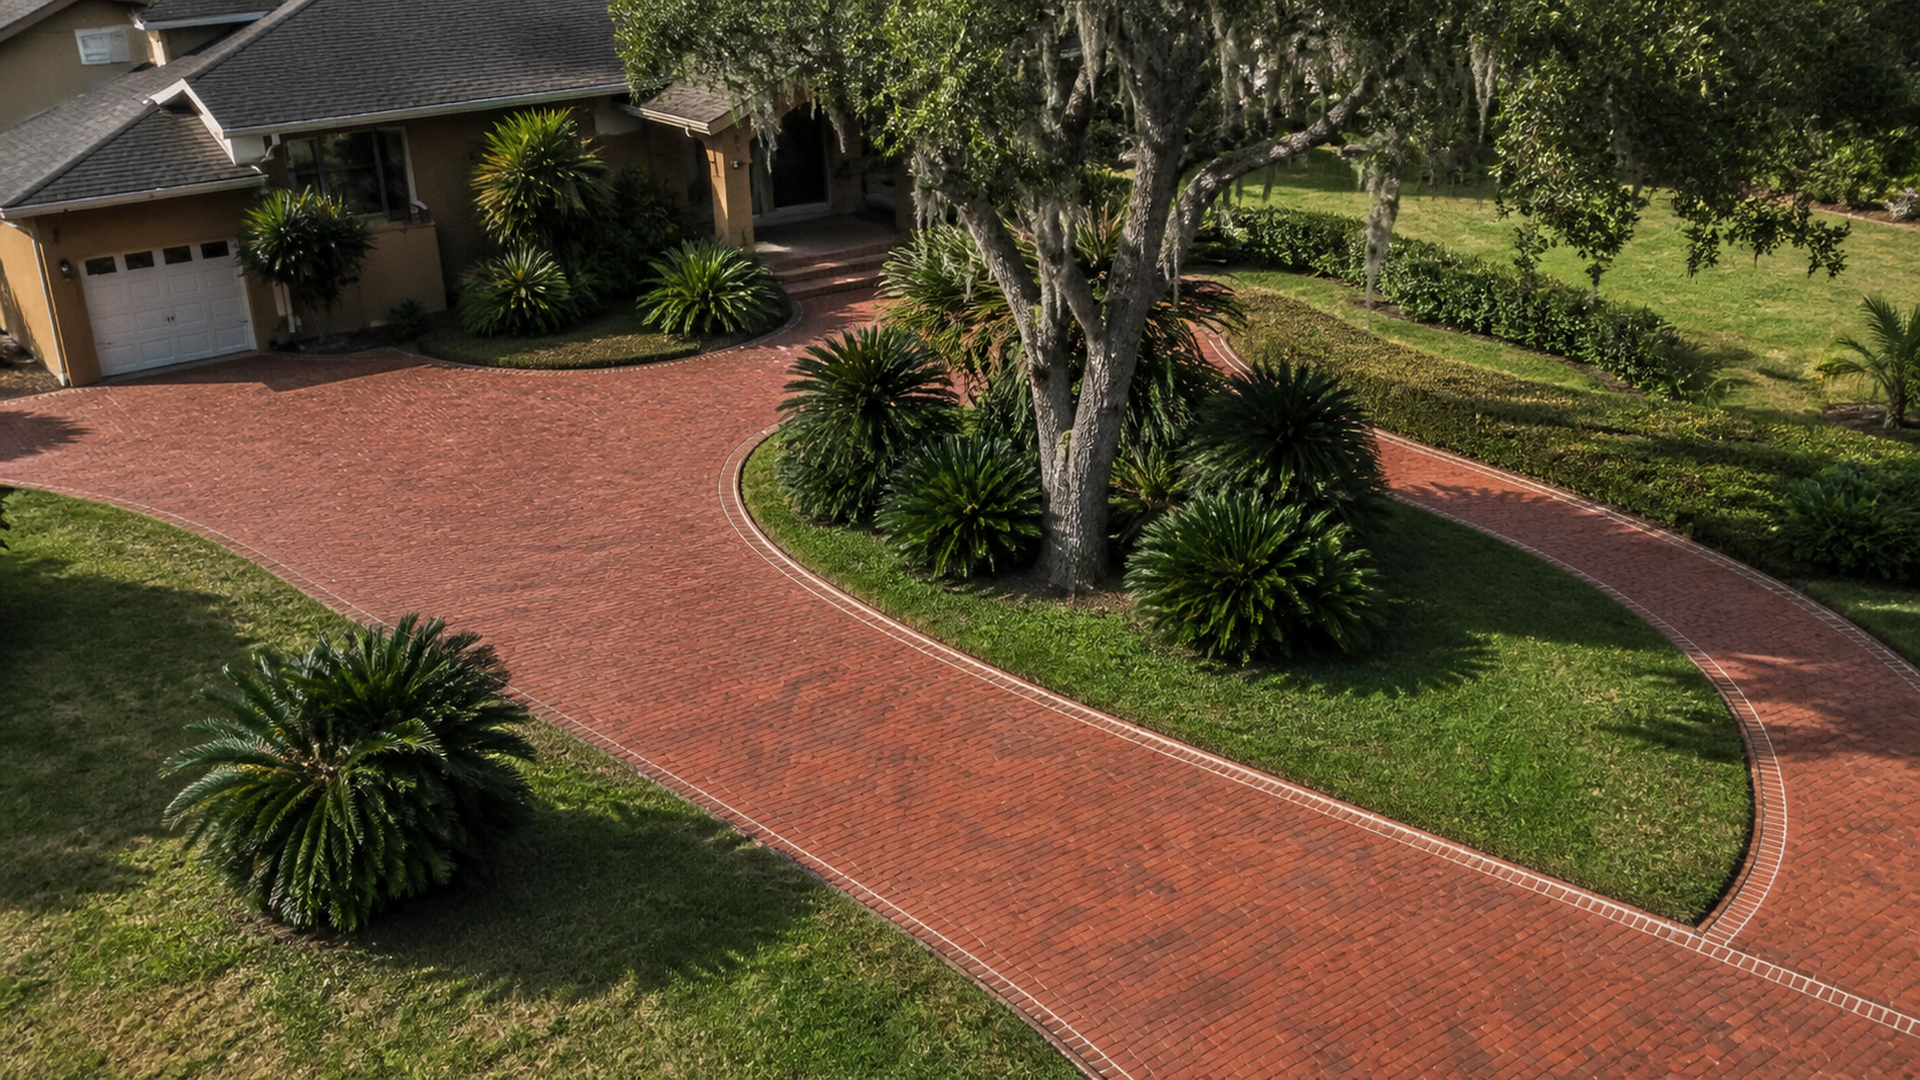
Curved boundaries can look very different close up and from the main patio view. Therefore, inspect both perspectives when discussing a layout. A detail that seems prominent in a close photograph may read as part of a smooth line across the whole garden.
Ask where the contractor expects fitted units and how the border follows the curve. Moreover, confirm whether the chosen product supports the intended design. A rendering can suggest a graceful arc without revealing every practical material constraint.
If the curve changes during the project, revisit the adjacent field. Moving a planting edge can affect more than the outer row. A dated drawing or marked photograph helps the team keep the current design clear and prevents an old approval from becoming the assumed instruction for a new shape.
Connect paver cut layout with pattern direction
Changing paver cut layout and pattern direction can alter how the patio meets its boundaries. Consequently, orientation deserves review alongside the edge detail. A directional arrangement that supports the main view may produce different cuts from the same pattern rotated another way.
Compare alternatives using the same product when possible. Otherwise, a change in color or unit size can distract from the layout question. Ask the contractor to explain the relevant tradeoffs rather than choosing only from the prettiest small diagram.
A useful comparison identifies the main view, border treatment, and difficult interfaces in each option. Then record your preference and the remaining technical questions. This gives the installer a clearer basis for finalizing the arrangement than a general request to make the pattern look balanced everywhere.
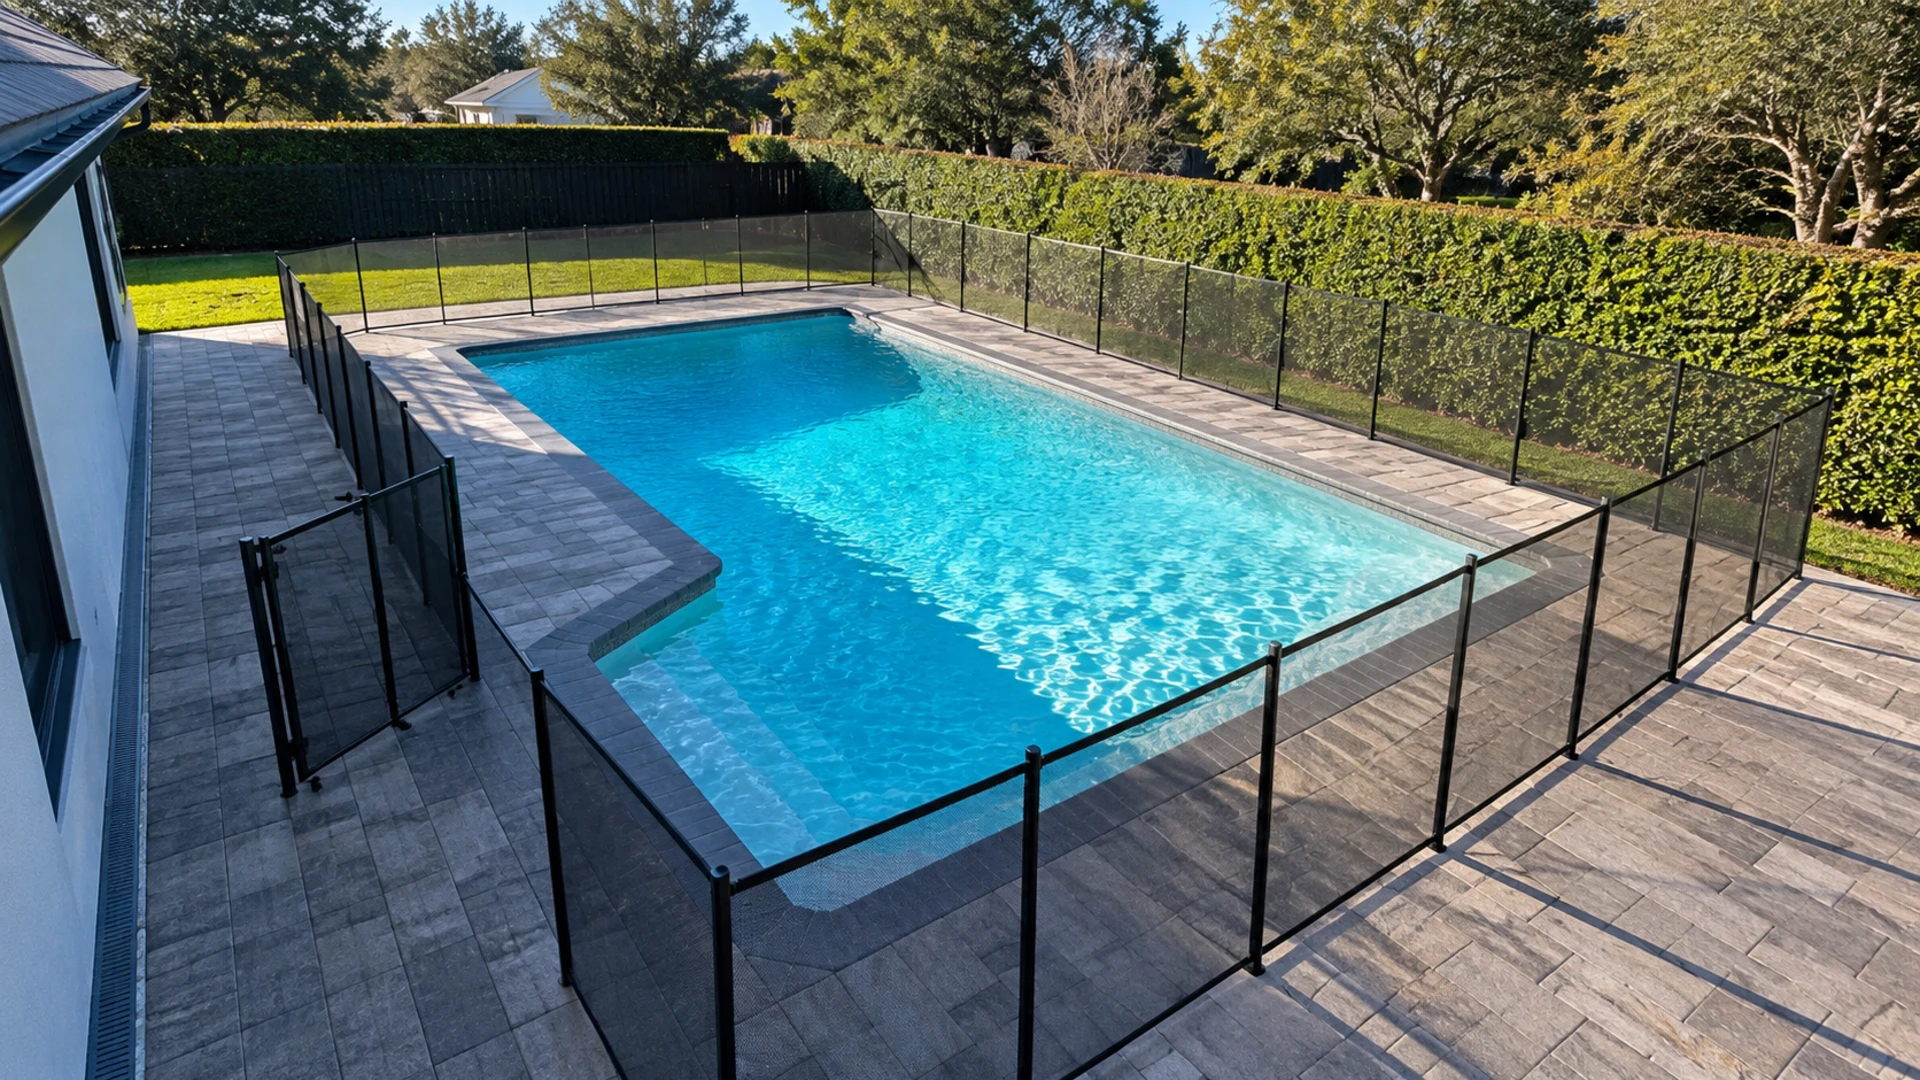
Include drains, posts, and existing features
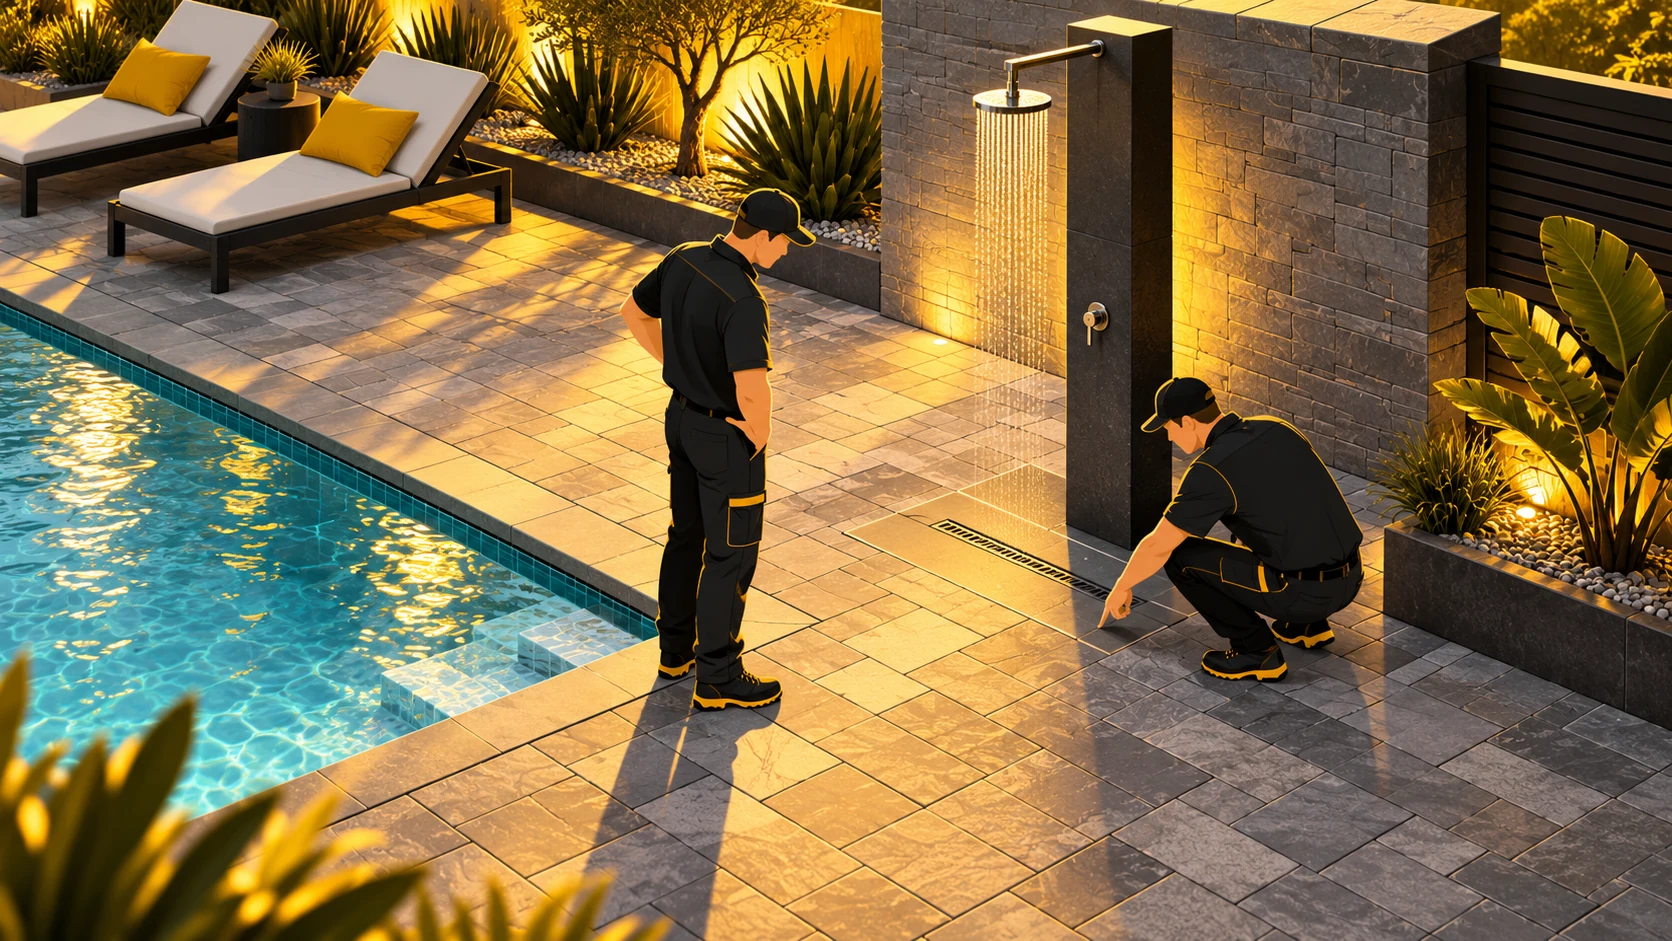
Show the contractor each feature that will interrupt the field. For example, a drain cover, column, or fixed post can create its own fitting question. Do not assume the installer can move those features merely to improve the pattern.
Ask who confirms their final position and required access. Moreover, identify any feature scheduled for installation by another trade. A layout based on an approximate post location may need revision after the actual fixture arrives.
Keep service access part of the conversation. A clean-looking arrangement should not bury a cover or make maintenance unnecessarily difficult. The right result combines a deliberate visual resolution with the actual function and requirements of the feature, rather than treating it as a decorative obstacle to hide.
Resolve two competing priorities with an example
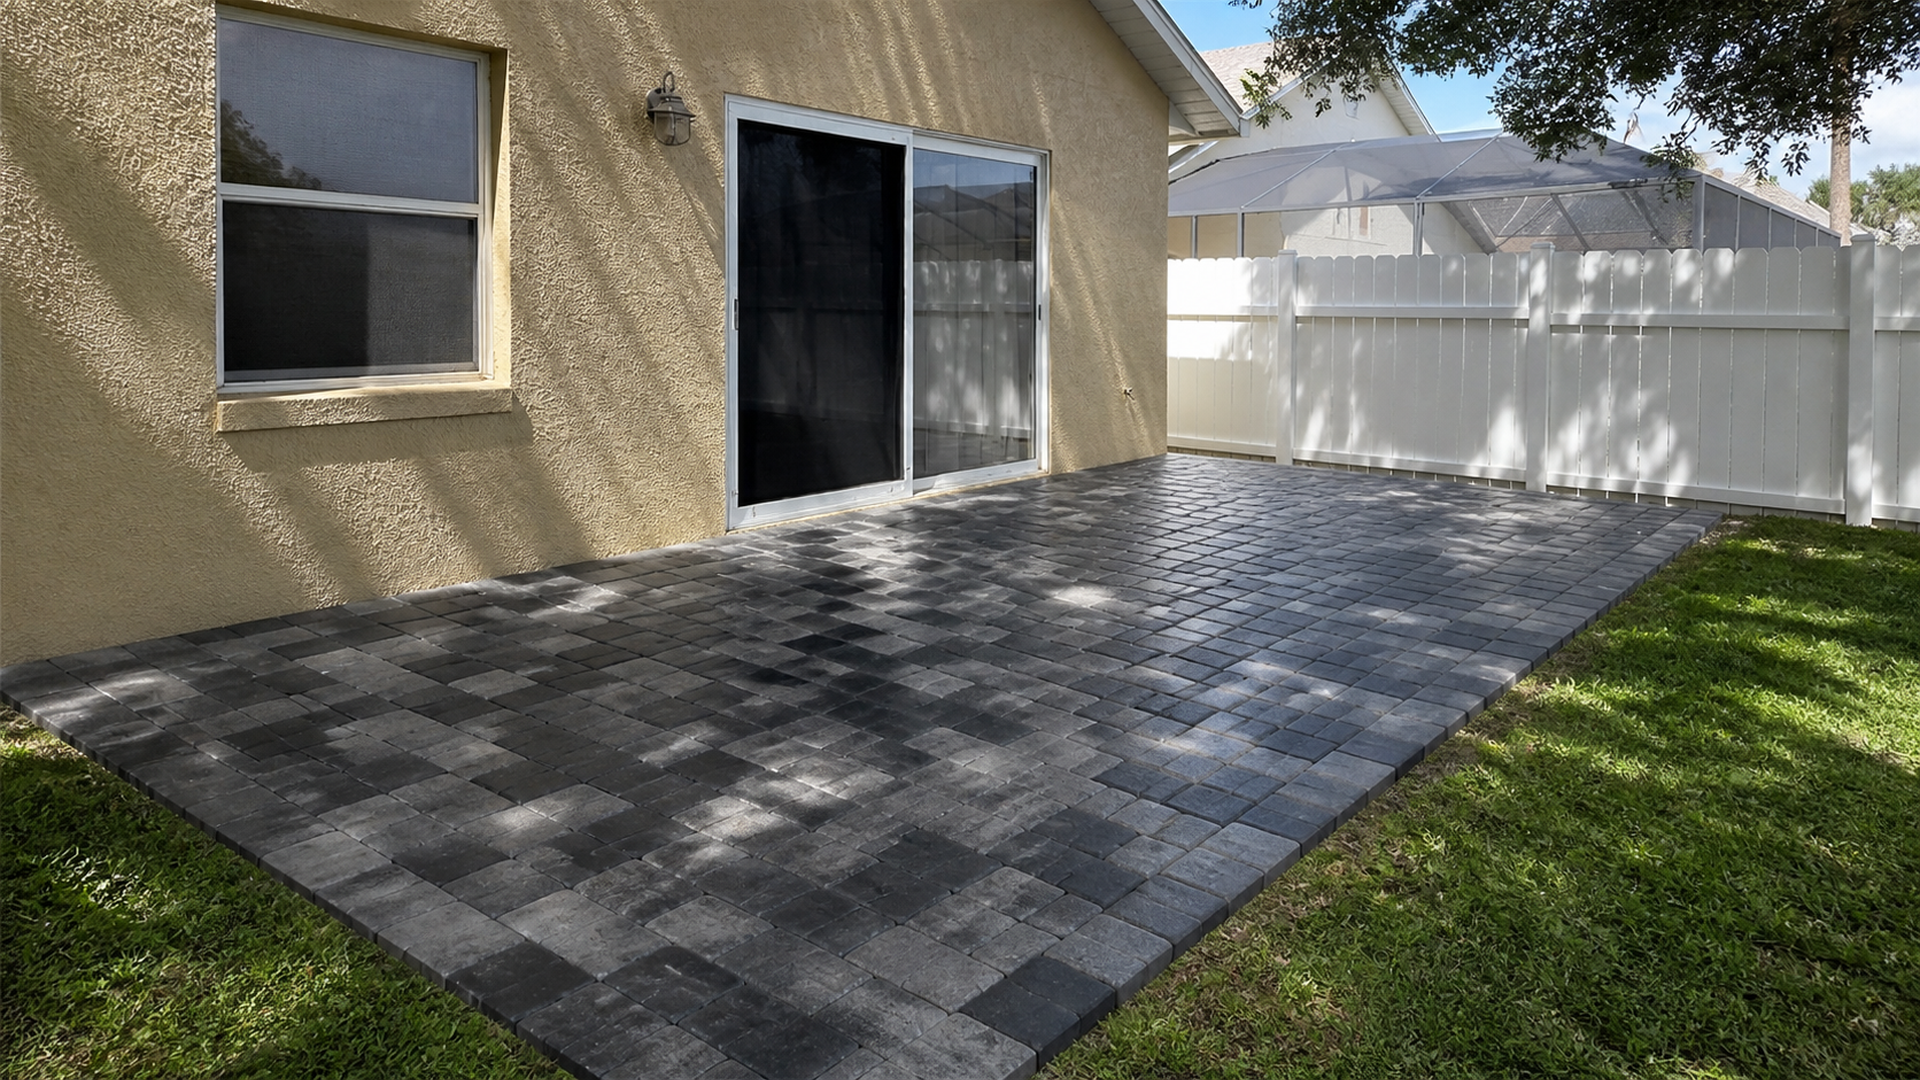
Imagine a rectangular patio with a main sliding door on one side and a curved garden edge opposite it. The homeowner wants the pattern to align with the doorway. However, that starting point may create a different sequence of fitted units along the curve.
The contractor can explain alternatives using verified measurements and the selected product. One option may preserve the doorway relationship; another may change the border or geometry to balance both views. The homeowner can then choose based on a clear comparison rather than discover the tradeoff after installation.
This hypothetical example does not establish that one starting point always works best. Instead, it shows why a useful review names the competing priorities. Once the team understands them, it can make an intentional decision and record the accepted outcome before committing to widespread placement.
Keep aesthetic changes connected to the scope
A request to widen a border or shift an edge may affect material quantity and labor. Therefore, ask how the proposed change alters the existing scope before approving it. Small visual adjustments do not always remain small operational changes.
Use the same written change process for a revised layout as for any other project decision. Identify the new arrangement, reason, and effect on the proposal when applicable. Moreover, make sure the installer and household decision-maker are working from the same version.
Avoid giving separate verbal instructions to different people on site. Conflicting preferences can create a problem even when each instruction sounds reasonable alone. Instead, route the decision through the agreed contact and keep the final direction visible in the current project record.
Leave cutting methods to the qualified crew
Homeowner approval should focus on the intended result and scope. The contractor should select the appropriate equipment, method, and site controls for the work. Therefore, this guide does not recommend a cutting tool, blade, or homeowner procedure.
Ask how the work area will remain separate from ordinary household movement. Moreover, follow the crew's access instructions and keep visitors, children, and pets away from active operations. A layout review should happen at an appropriate checkpoint, not by standing beside cutting work.
If you notice a concern during installation, speak to the agreed contact. Describe the location and the difference from the approved plan. This allows the team to review the issue without interrupting an operation or encouraging an improvised adjustment by someone who lacks the full design context.
Agree on a paver cut layout checkpoint
Ask when the contractor can show the key paver cut layout relationships before completing the whole field. The appropriate checkpoint depends on the project. However, agreeing on it early gives you a chance to review the main edges without expecting the crew to undo completed work casually.
Be available for that agreed decision or identify another authorized person. A project can stall when an important visual choice remains unresolved. Conversely, a missed review should not silently authorize a different arrangement without a clear communication process.
At the checkpoint, compare the current work with the approved reference. Focus on the boundaries and interfaces already identified. Introducing an unrelated complete redesign at that moment creates a different scope conversation and should receive the same deliberate review as any other substantial change.
Inspect the finished layout as a whole
During closeout, view the patio from the doorway, approach, and garden positions used during planning. Then review the specific borders and fitted areas discussed earlier. This gives the walkthrough a consistent basis rather than relying on whichever close-up first attracts attention.
Ask the contractor to explain any agreed difference between the final arrangement and the earlier drawing. Moreover, keep photographs of those resolved details. A change can be appropriate, but the record should show that the team understood and accepted it.
If something remains unclear, describe the location and expected relationship. Avoid diagnosing a structural problem solely from an unusual-looking cut. The contractor can assess the concern in context and explain whether it needs correction, further review, or simply a clearer account of the selected design.
Keep spare units connected to the selected design
Ask whether the closeout plan includes identified spare units for future service. The answer should relate to the actual product and order rather than an arbitrary reserve percentage. Moreover, retain the material reference and any pattern information that would help a later contractor understand the finished arrangement.
A future repair near an edge may involve both a replacement unit and the surrounding layout. Therefore, a photograph of the completed border can be useful alongside the product label. It shows how the original design resolved a corner or transition instead of leaving the next provider to infer that relationship from an isolated block.
Do not assume that saving material guarantees an invisible later repair. Exposure, surface treatments, and changing conditions can affect appearance. Instead, treat the record as a useful starting point for assessment. It preserves the design intent while allowing the future contractor to evaluate the actual condition and appropriate repair scope.
Turn the layout discussion into a useful estimate
Share a few photographs of your patio boundaries and identify the views that matter most. In addition, explain whether existing paving, doors, steps, or fixed features must remain. This helps JaxTeller discuss the real geometry instead of quoting an isolated pattern without site context.
Explore the backyard pavers and patios service and review the project gallery for examples of finished spaces. A gallery can help you describe a preference. However, your own measurements, selected product, and technical assessment should shape the final layout.
Ready to elevate your outdoor living space? Contact the team through the contact page, follow JaxTeller on Instagram and Facebook, or discuss your ideas on WhatsApp. Location details are available on the map. Contact JaxTeller Brick Pavers at +1 407-907-8308 or jaxtellerbrickpavers@gmail.com for your free estimate!